*Affiliate links are used in this post. This is at no extra cost to you and as always, I only share items I truly love. Check out my full disclosure here.
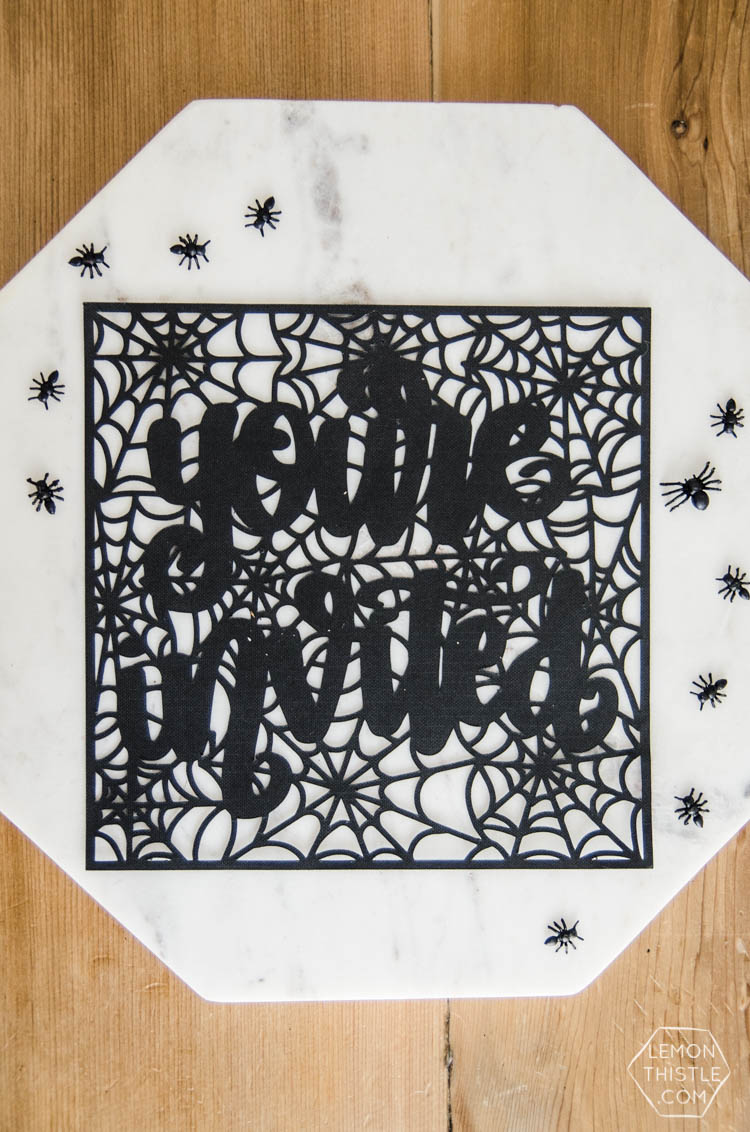
Is it too early for Halloween? NAH! I’m so excited for today’s post. Not just because it was super fun to make (or because it marks my starting on all things fall!) but because I get to share a really exciting monthly project I’ve been working on with some rad bloggers.
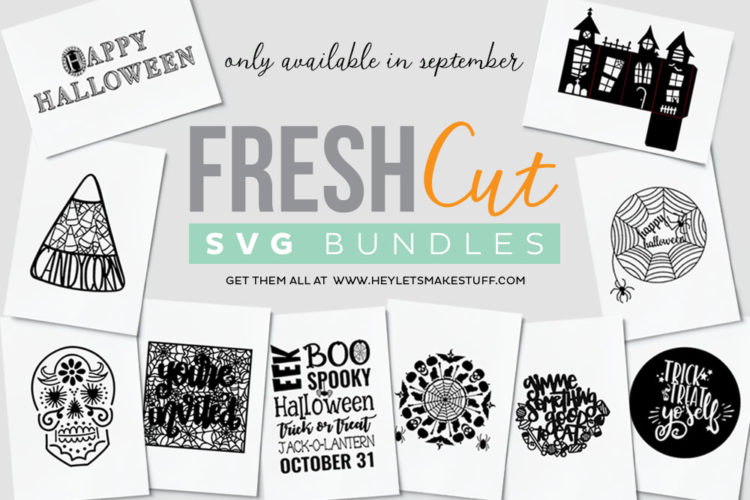
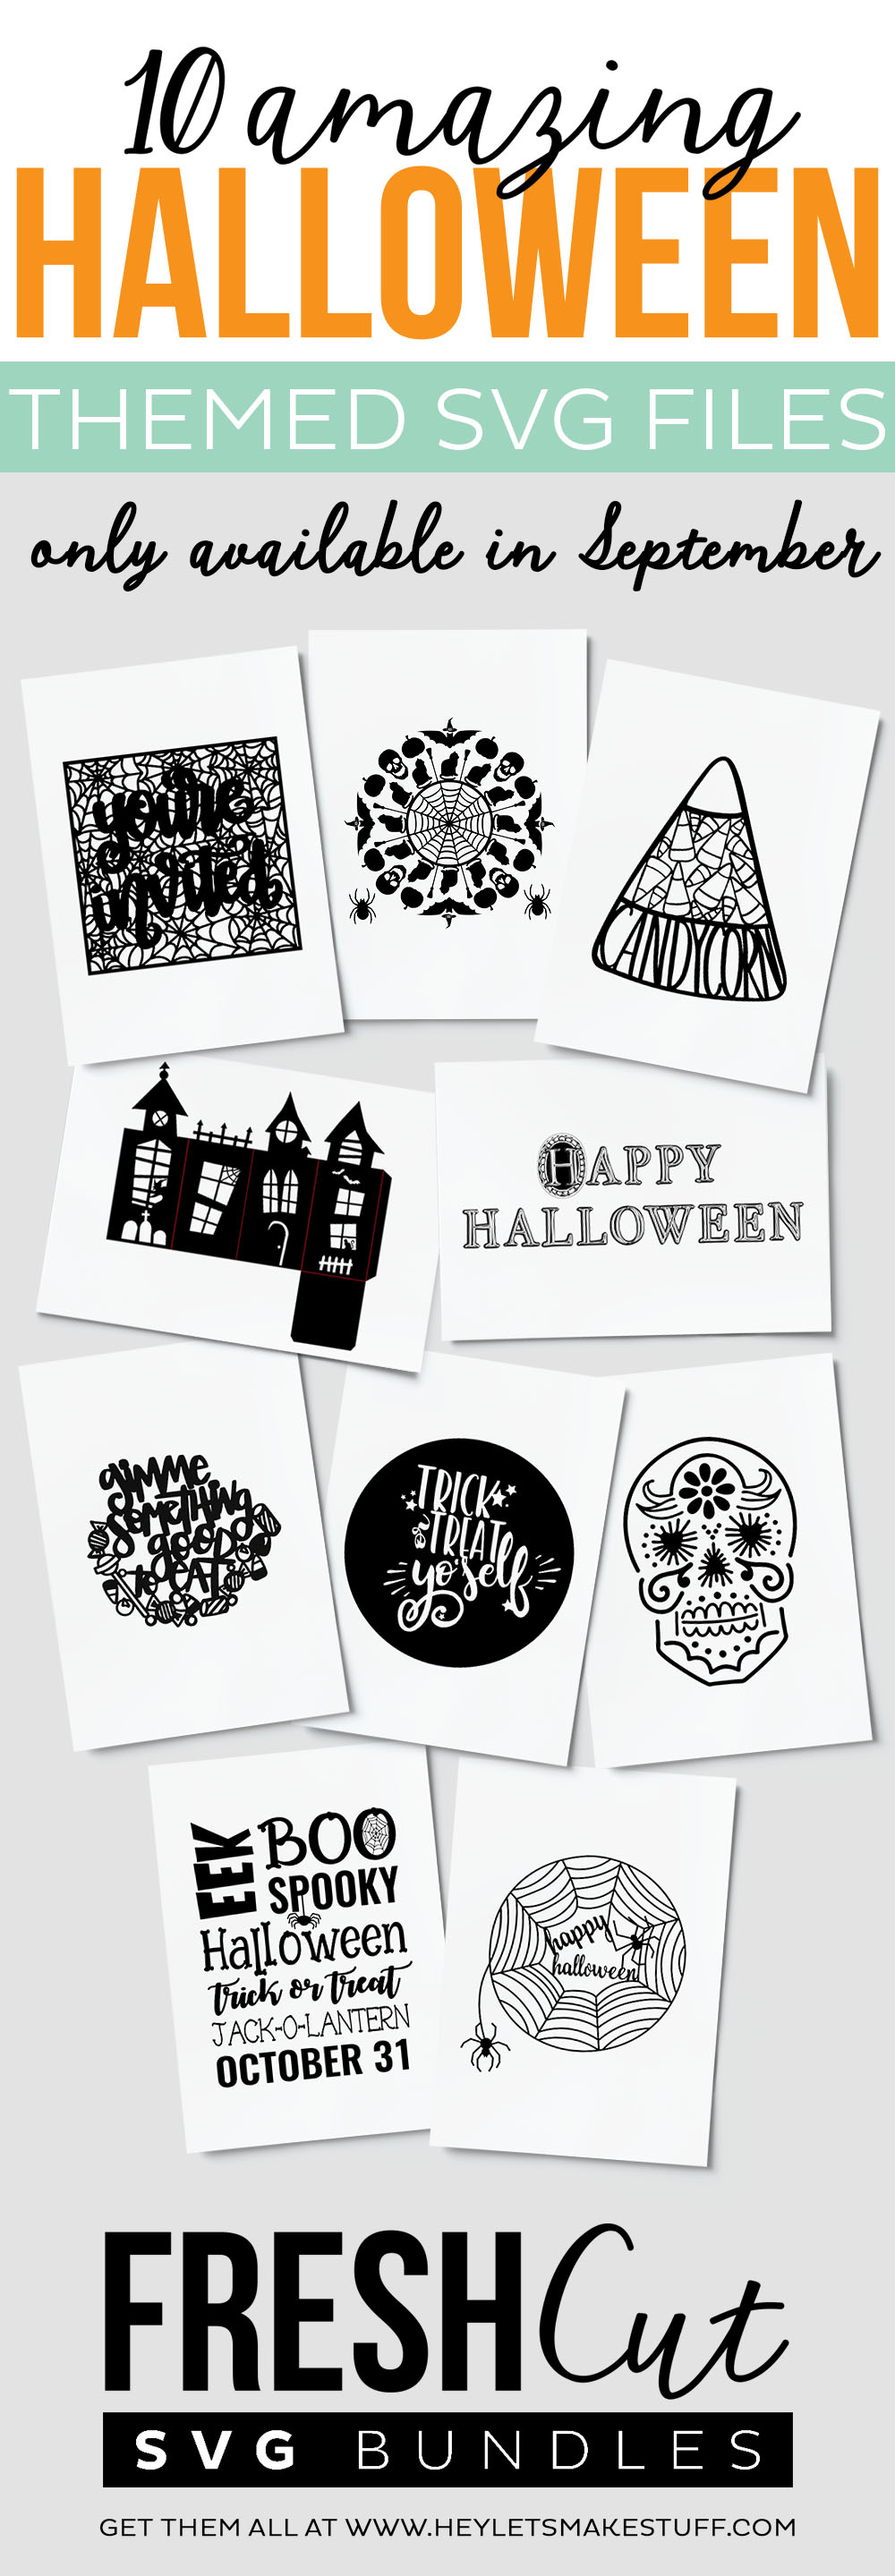
I’m partnering with 9 other blogger/designers to offer a bundle of SVG (Cut Files) at a discounted rate and this month the theme is Halloween. It’s only going to be available for this month and then it’s gone for good! So you get 10 rad Halloween themed files for $9.99 and can I just say how. many. things. you can make with them!?
You can find the bundle right here.
UPDATE: This bundle was only available for September 2017 BUT you still can grab just my file in Cori’s store RIGHT HERE.
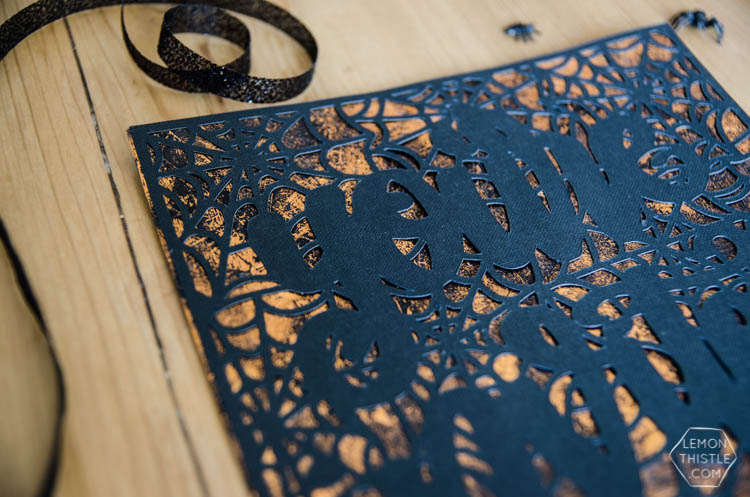
But today I wanted to not only share my design with you but share how I used it to make these gorgeous aged copper foil invitations. I had the toughest time photographing these because they looked so much better in person! The shine and texture of the copper foil is so beautiful, it’s hard to translate that in a photo. Ready to see the how-to?
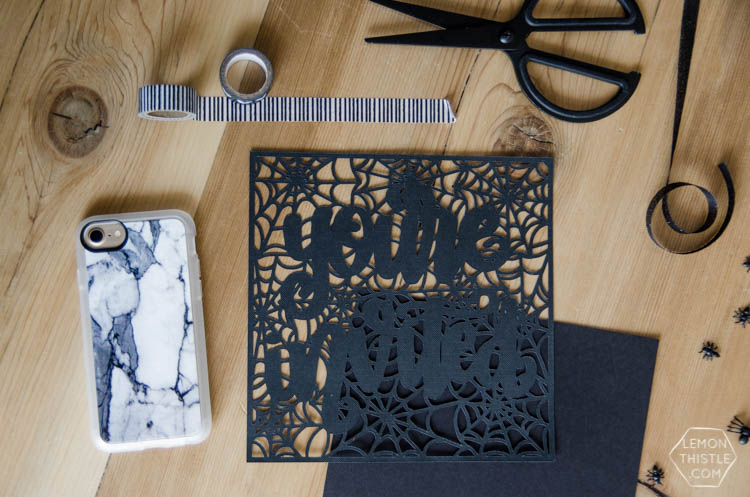
The first thing you’ll need to do is take your file and cut it out. I tested out my new Cricut Maker on this cut and was SO pleased with how clean all the intricate cuts were! I used the Cricut brand cardstock for this one. I shared all my tips for weeding intricate cuts in this post here– but basically the light grip mat and Spatula is your best friend! Make sure to bend the mat back instead of bending your cardstock.
When that’s done, cut another piece of cardstock for the backing of the invitation- a flat/no texture one is best for this piece. That will be the one you apply your foil to and write your details on the back of. At this point… the cut out is pretty rad as is. You could totally send this solo with a note holding the details or use a white or orange backing. I wanted to make it a bit more special so pulled out my Deco Foils! If you haven’t used them before… they’re so much fun to play with! I have made a ton of projects using them and really love how easy they are to work with. I’ve linked all the products so you can jump over and read about them if my instructions are confusing without the context.
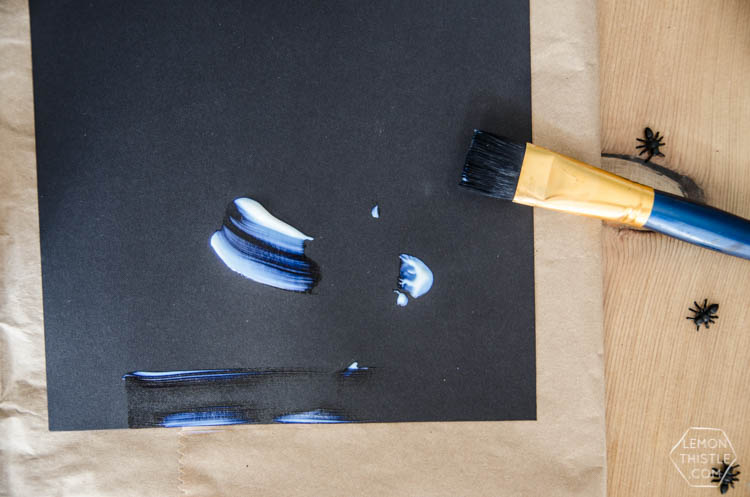
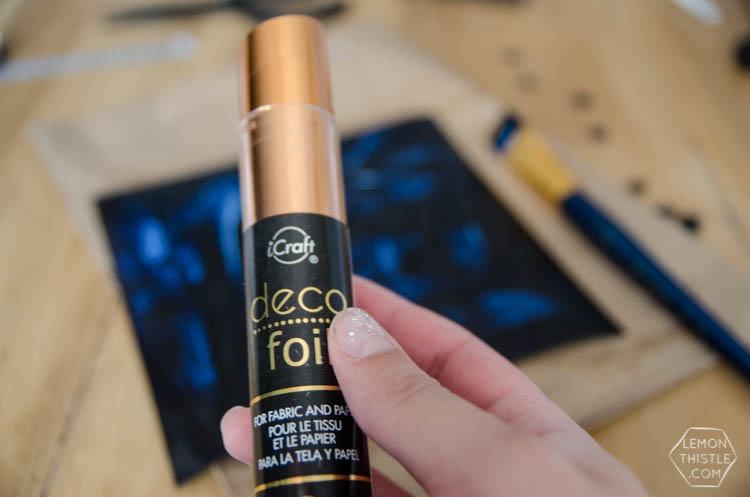
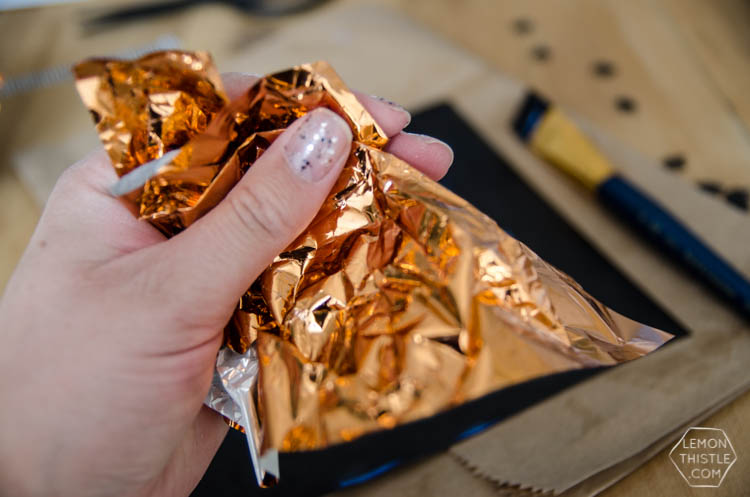
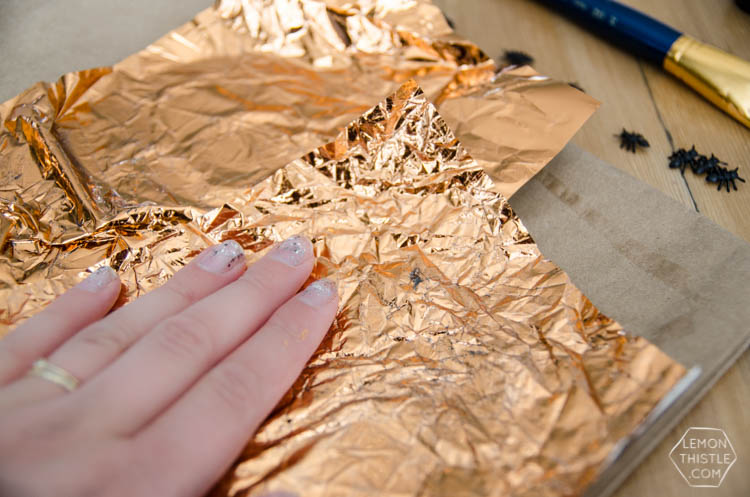
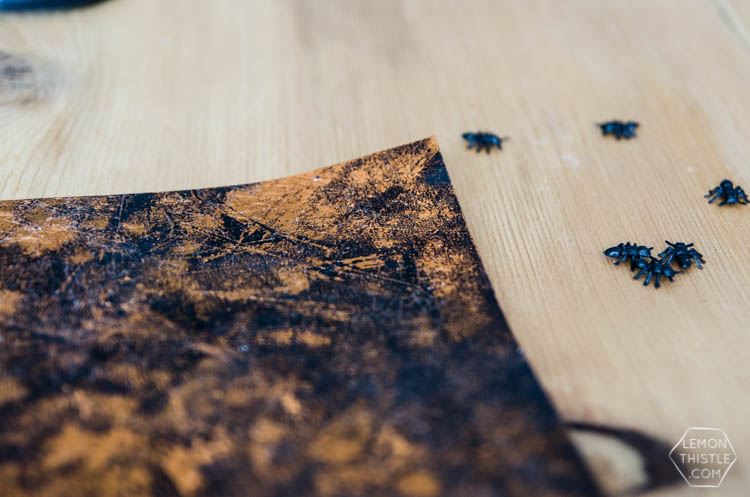
I used one of my favourite metallics- Copper, but you could also use a brighter orange. This one is called Mango, but I have it and it’s just a nice bright orange- perfect for halloween! There are SO many ways you could transfer your Deco Foils but I wanted to try something new for an antiqued spooky look so took some time playing with a new Mixed Media Medium and crumpling the foil. I totally LOVE how it turned out and can’t wait to try it on a sign. I applied the Mixed Media Medium with a brush and let it start to dry. It will go clear instead of that blue colour and be tacky to the touch. You need to apply it fairly quickly so it dries evenly. Crumple your foil, then smooth it out (colour side up) and press it down really well with your fingers. Peel it back to reveal your crinkly aged copper masterpiece! If you miss some spots (the medium dries too quickly or maybe it was still wet) you can use another section of your foil and press it down again to fill the spaces.
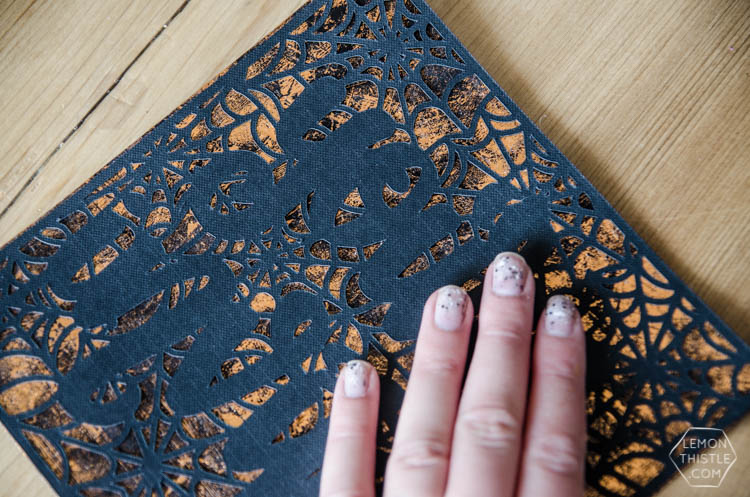
Then you can go ahead and use some of the medium to affix the cutout to the copper backing! That’s IT. I used a white jelly roller pen to add details on the back.
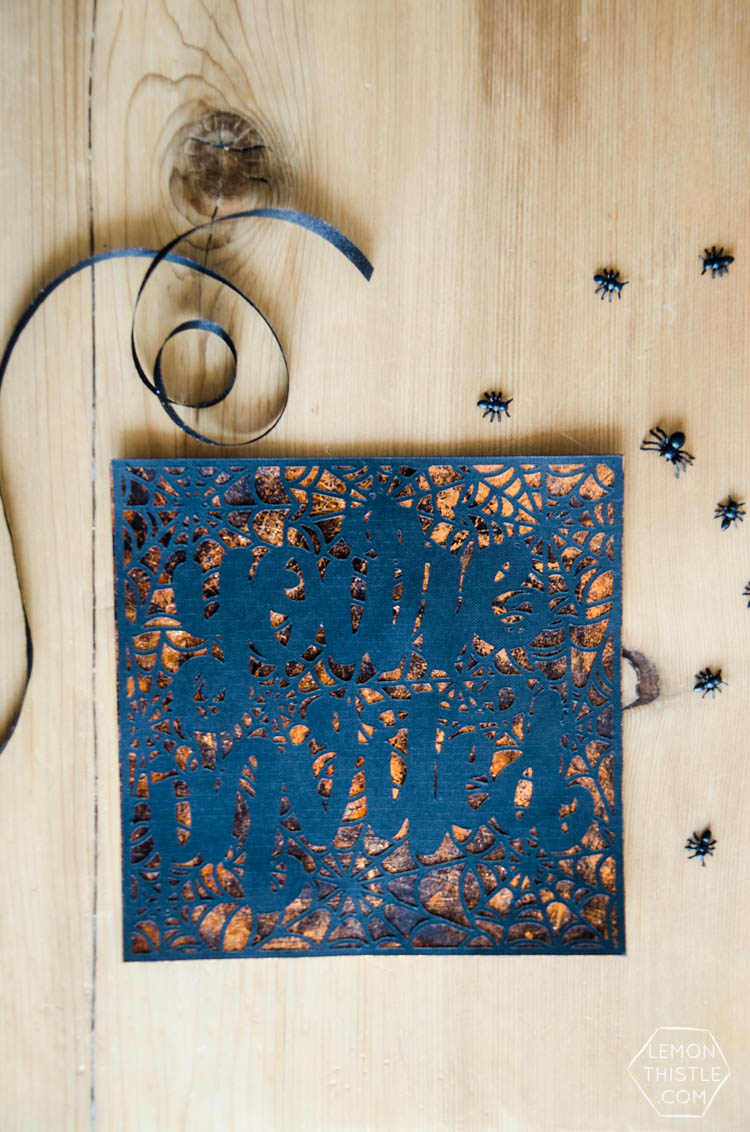
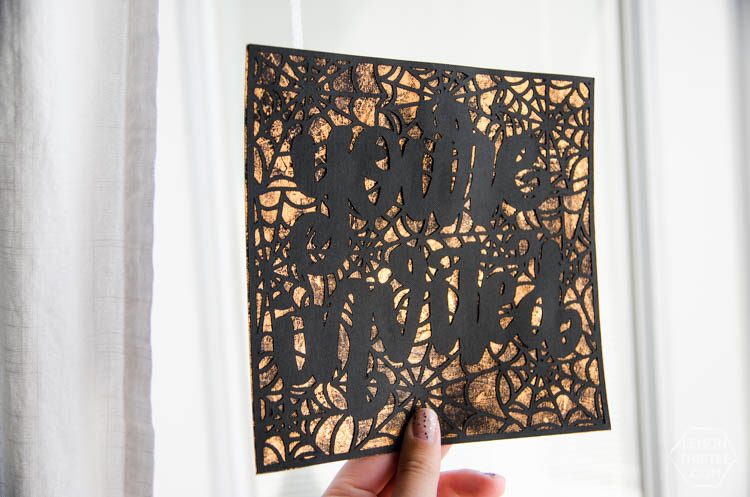
I’m pretty much in love with this, you guys. Expect to see spiderwebs on more projects before Halloween is over! Any requests? ;)
If you want to get this design for yourself… Make sure to get this spooky bundle of TEN Halloween cut files before they’re gone for good! This limited edition bundle is only available for the month of September for a fraction of its retail value. Ten of your favorite bloggers (self flattery?) have come together to offer these files, which are perfect for décor, mugs, totes, t-shirts, and anything else you can imagine! Cut files are designed to be used with Cricut, Silhouette, and other compatible cutting machines and software that use SVG files. We also have a private FB group we’d love to invite you to, only for our friends who have purchased one of our bundles! You’ll be able to see what other people are making with their bundle, and have the chance to win next month’s bundle for FREE!

 Bloom Free Coloring Sheet
Leave a Reply