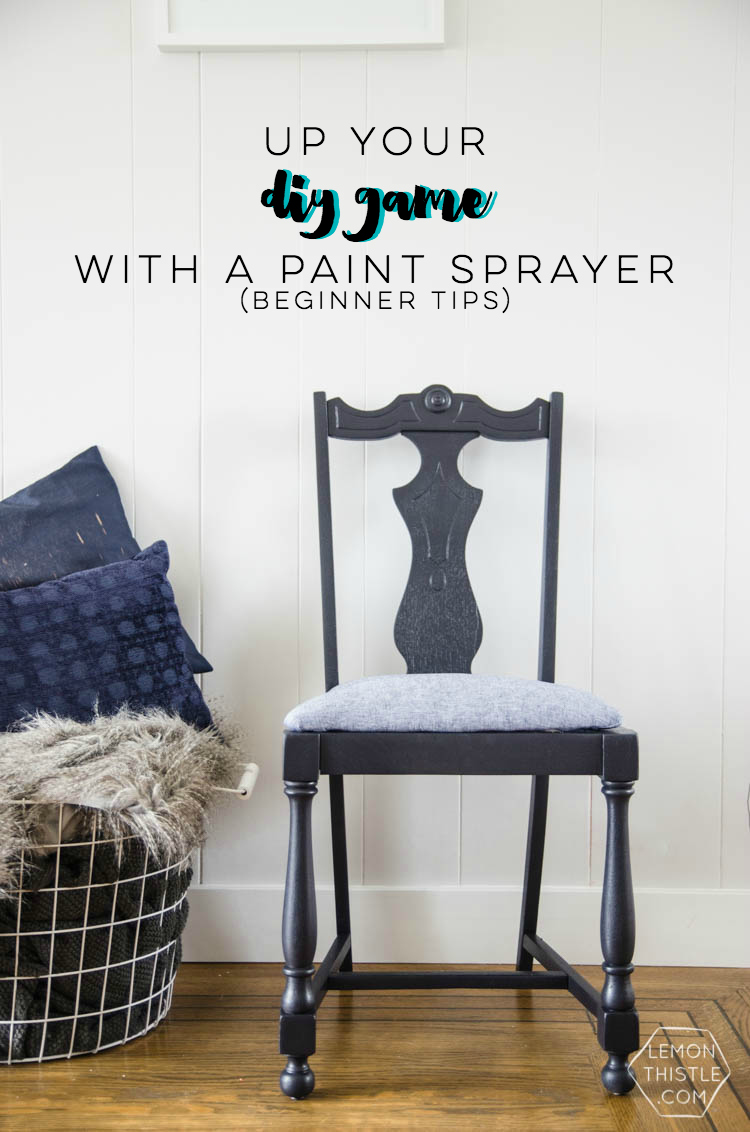
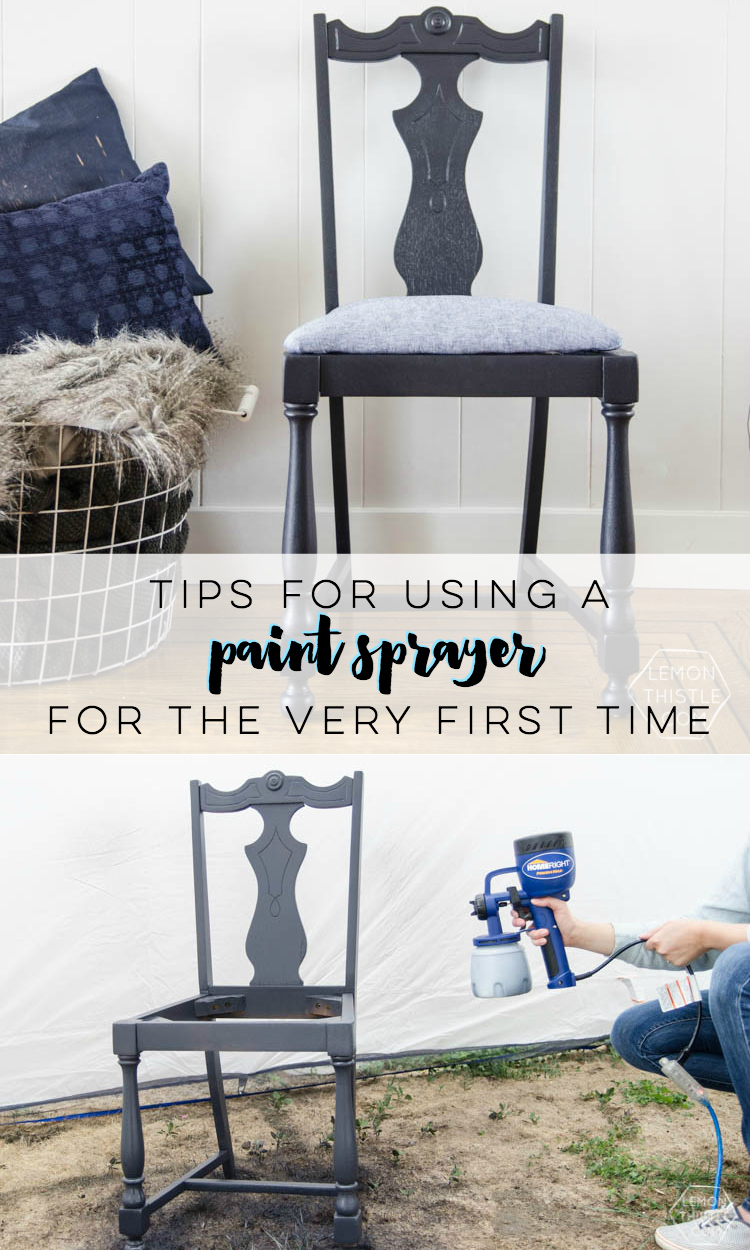
If you’re a pro with a paint sprayer, you can go ahead and skip this post… because I’m talking about using it for the first time ever and you’ll learn nothing- I’m sure. BUT if you are yet to use a paint sprayer, if it’s on your wishlist, or if you’re new to using one… hopefully I can help you avoid some mistakes and save some time by making them for you (I’m real good at making them). A paint sprayer has been on my wishlist for a long time because I knew it would instantly make my paint projects look so much more pro… but to be honest- they totally intimidate me! Spray paint? Totally fine. Power tools? Totally fine! Power painting? I don’t know what it is! But I finally got my hands on a Finish Max Paint Sprayer from HomeRight and thought this vintage chair was the perfect piece to test it out on.
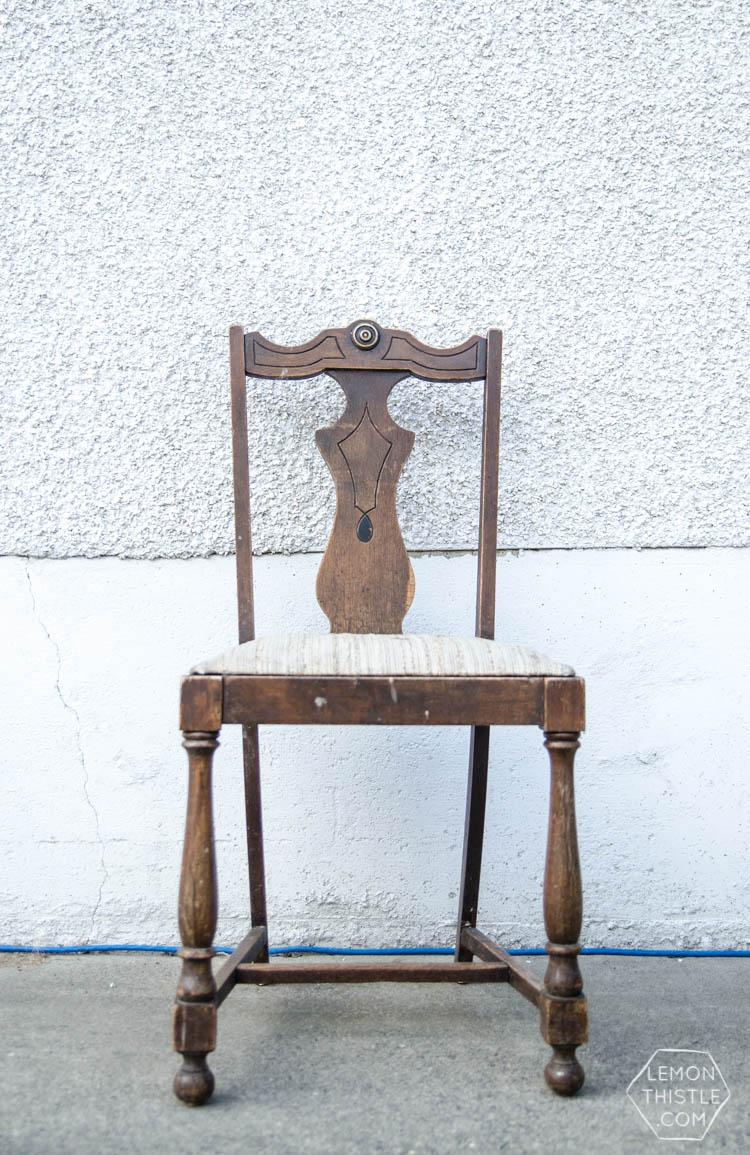
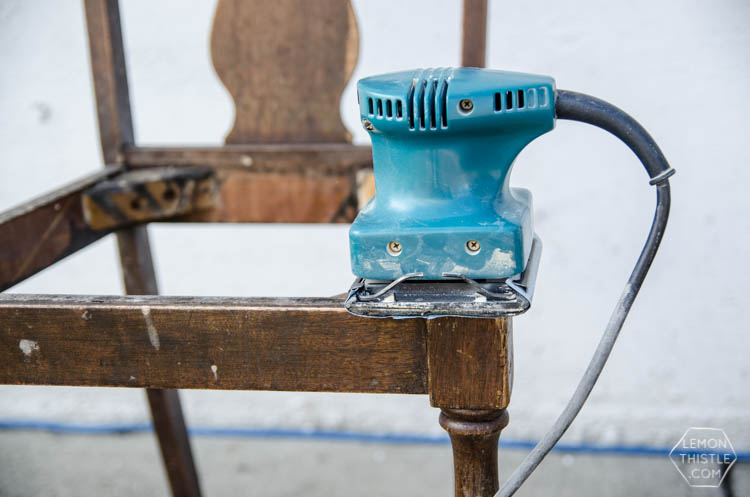
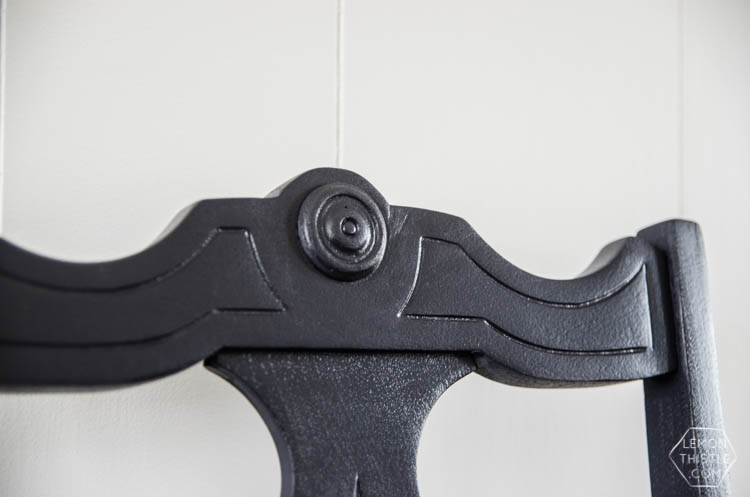
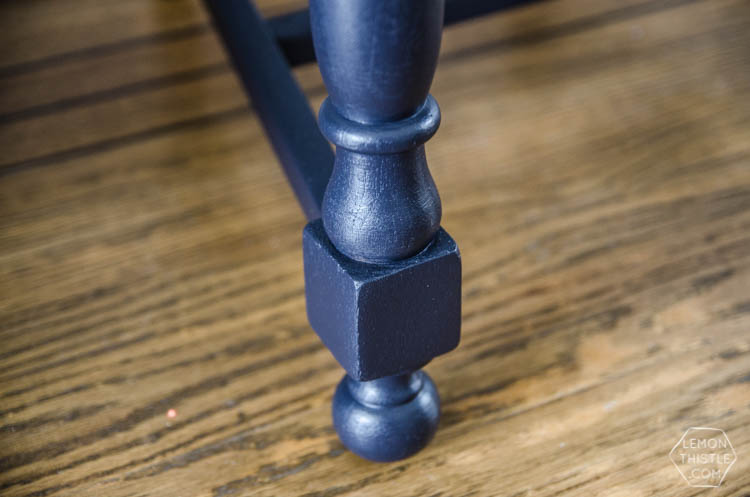
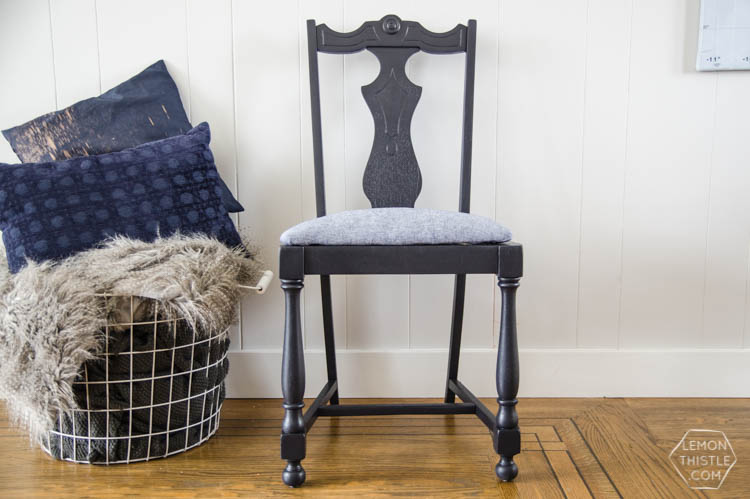
Let’s talk about this chair for a second. I scored it and it’s twin in a Facebook auction for $6. I thought $3 a chair was an awesome deal, but the one was beyond repair. This guy was still in pretty good condition, but needed some clean up and wood glue. I popped the seat off and sanded it down- which took way longer than I’d expected, this piece was waxed like crazy. I was really excited about the lovely wood underneath, I tried to keep some of the worn character it had, but when I got to the back of the chair, I was disappointed to find it was plywood and really super obvious without a heavy stain and wax. So I scrapped my idea of leaving it natural with a clear coat and opted for a paint. You can actually still see the wood texture is different on the back even through the paint.
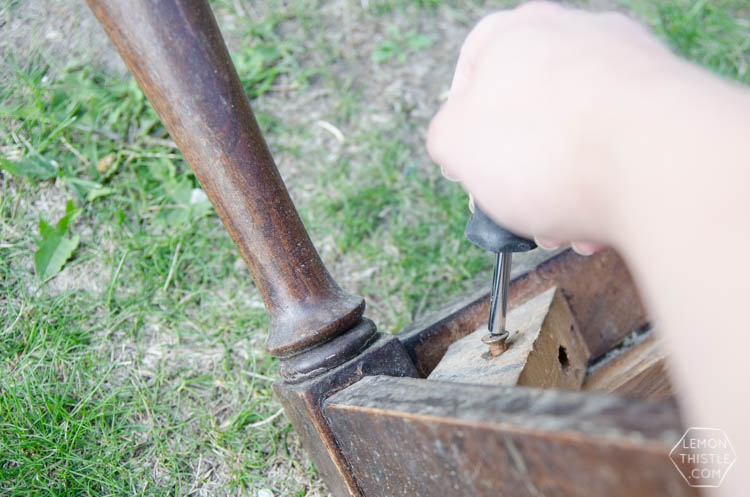
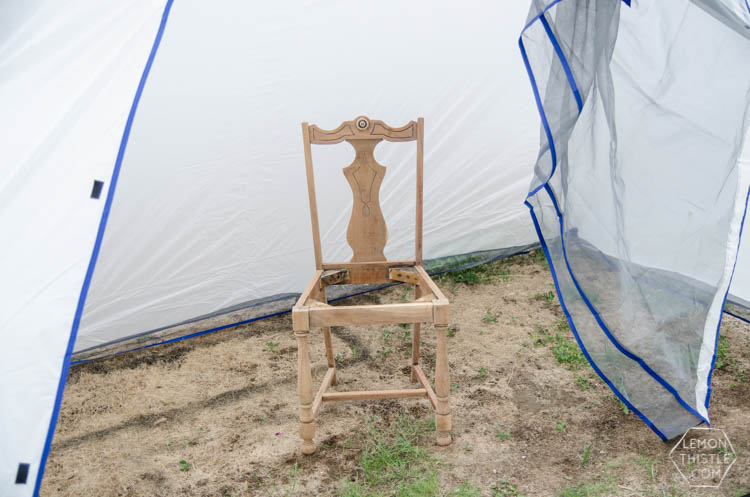
I wanted to do something that was fairly neutral to match a bold green pattern I’m planning on doing in the entry way where this chair will eventually live. I chose this blue linen look fabric for the seat and was planning to paint the chair a soft gray, but had leftover of this charcoal colour from my kids nook (It’s Para Paint ‘On the Runway’ in a semi-gloss) and thought it would be fun to try a darker colour. I am SO in love with this deep charcoal on the chair. It has almost a blue undertone that plays so well with the fabric seat, you guys… I feel like I won on this combination. Another note… the seat on this baby was METAL. I feel like it must have been super old- no one does that anymore. It was rusted out and there was bugs in it (ew). So I cut out a new seat from plywood to pad and cover. Since my material was fairly light weight, I used a iron in interfacing to toughen it up. Okay… back to the painting part.
I’m going to go ahead and admit all my mistakes to you so you can avoid them, okay?
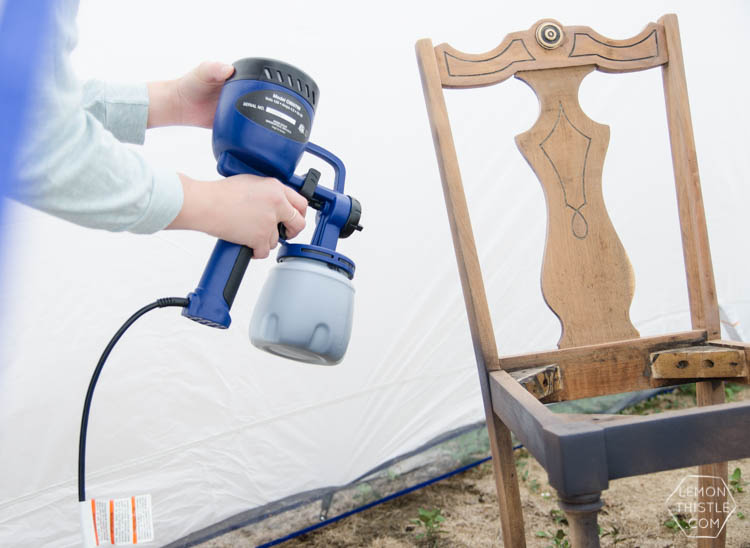
I set up the HomeRight spray shelter (having a tent to paint is kind of genius, but I’ll chat more on that another day) which was awesome and saved my fence from overspray but I should have put down a drop cloth because the sprayer was so powerful it blew some dead grass up which stuck in the paint. The second coat, I sanded it lightly (220 grit) to get rid of that and put down wood to keep that from happening again.
I wanted to show you how short the cord is on this baby too… make sure you have a long enough extension cord because feeling like you’re at the end of the rope is the worst.
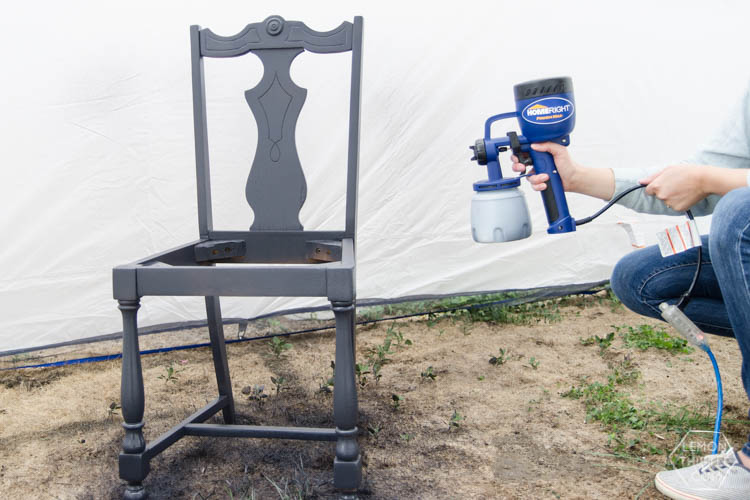
So since I was so intimidated, I actually read through all of the instructions (which I never do) and saw that with old paint you are supposed to strain it before you use it. I thought that the paint I had would be fine since I just opened it a month ago. NOPE. I was so frustrated I couldn’t get it to spray evenly the way I thought it should until I realized there were chunks of goopy paint trying to come out. *Sigh* The second coat, I strained the paint and it went on PERFECT. Such an easy step but if you skip it, such a pain!
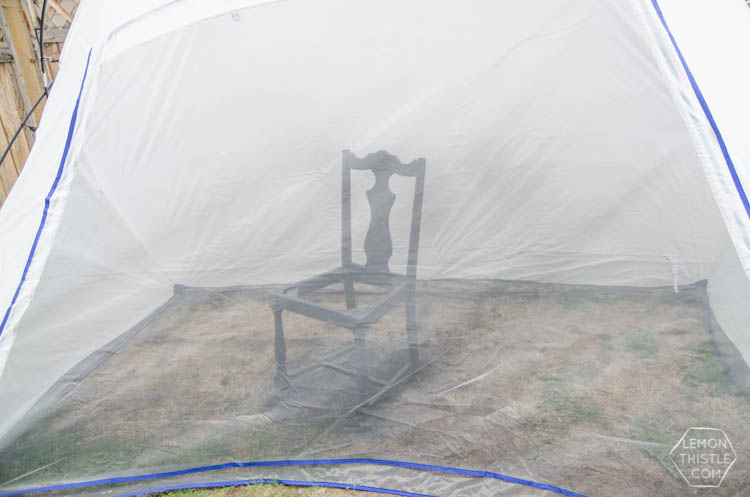
Once I had the paint strained… this thing was seriously easy to use. I’ll use it all the time now that I know that. I liked having the spray vertical rather than horizontal, but pick whatever works for you. The only other thing that I found frustrating at first was cleaning it. I have heard over and over that cleaning it is the most important part of using a paint sprayer, but I’m kind of lazy and want everything to be quick. So I read the instructions, did as it said and was frustrated when it didn’t work quickly.

So here’s my tips to make it go quicker for you (if you don’t have a utility sink). Dump your paint back into the can, then take the pick up tube and canister to your sink and rinse them. Fill it with soapy water like it says (for latex paint), then bring it back outside or wherever to continue your cleaning (spraying the cleaner through). It will clean it out SO much quicker than if you dumped your solution into a painty container to be sucked through a painty tube… You’d have to spray so much longer to get clean stuff coming out. Common sense, really… am I right? It also came with a ‘quick clean’ type kit that I’ll try out next time. It looked intimidating too.

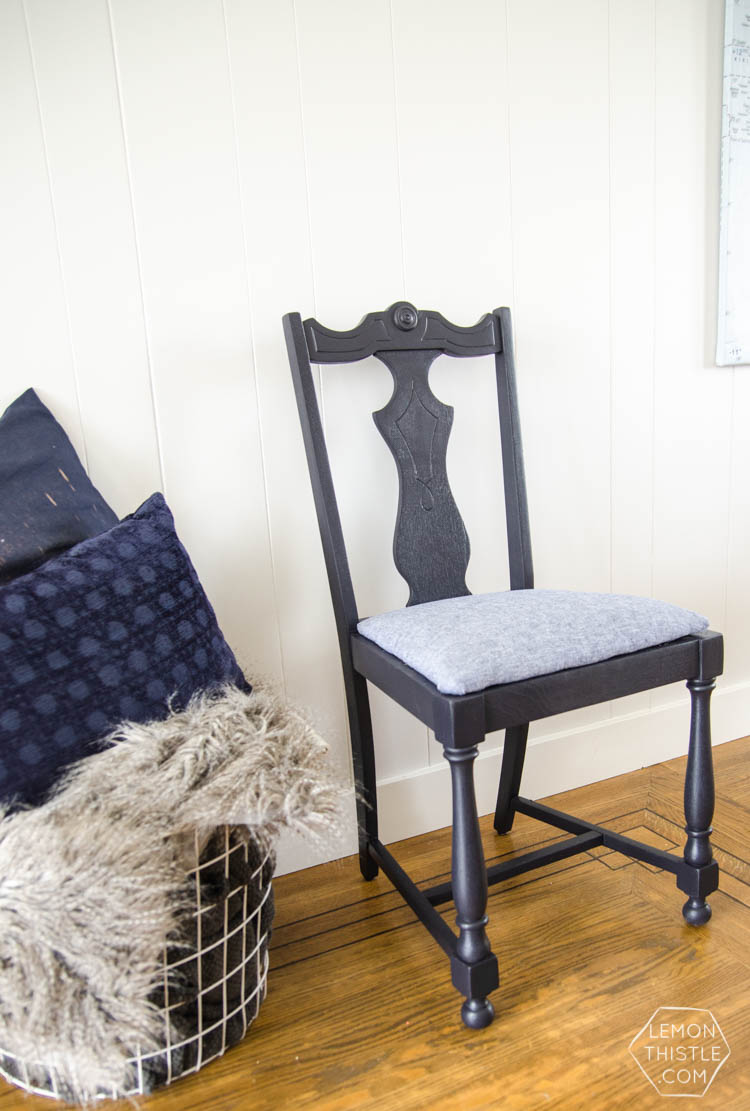
So my biggest takeaways on using a paint sprayer are that YES you can do it, it’s pretty easy to use; NO it doesn’t take forever to clean if you cheat and wash the big parts first; and listen to the instructions by straining and putting down a drop cloth. Not bad, right? I am already planning to put this thing to work now that I know I can use it. My doors need to be painted and I’ve been putting it off, this will make it so much easier!
Are you intimidated by using a paint sprayer? I’d love to hear any tips that you have (if you do happen to have tried one!).
If you’d like to use the same one as me- I’m really impressed by it! You can grab it here on Amazon.

 Vintage Silver Chalkboard
So I have the same paint sprayer. It says to water down the paint to a thinner consistency but you don’t state that you did. I did it and have had trouble with the paint running. I really want to love my paint sprayer but so far I’m a bit frustrated.
Hi Michelle, Did you get a little ladle looking thing with it? It’s to check how thick the paint is. You should only need to thin it IF it is super gloopy. But every paint is different, so if you are finding it runs then back off on the thinning- at least that’s my trial-and-error attitude ;) Good luck!
I have one of these sprayers and yes, they can be frustrating. My tips…first, latex paint is notoriously “dirty” even new…ALWAYS strain latex paint even if it is straight from the store! Second, I used pipe cleaners to really get the down and dirty when I cleaned mine. AMAZING how much more “gunk” you can get out of the unit with pipe cleaners! And they don’t “shed.”
Pipe cleaners is GENIUS! Thank you for the tips Beck, I used it again today with a different paint and made sure to strain it (even though it was new).
what do you use to strain the paint?
I just used a kitchen strainer! Probably not the most recommended ;)