This simple DIY macrame project is made using a stick and only two macrame knots. I’m sharing the easy macrame project with step out photos to make this in an afternoon.
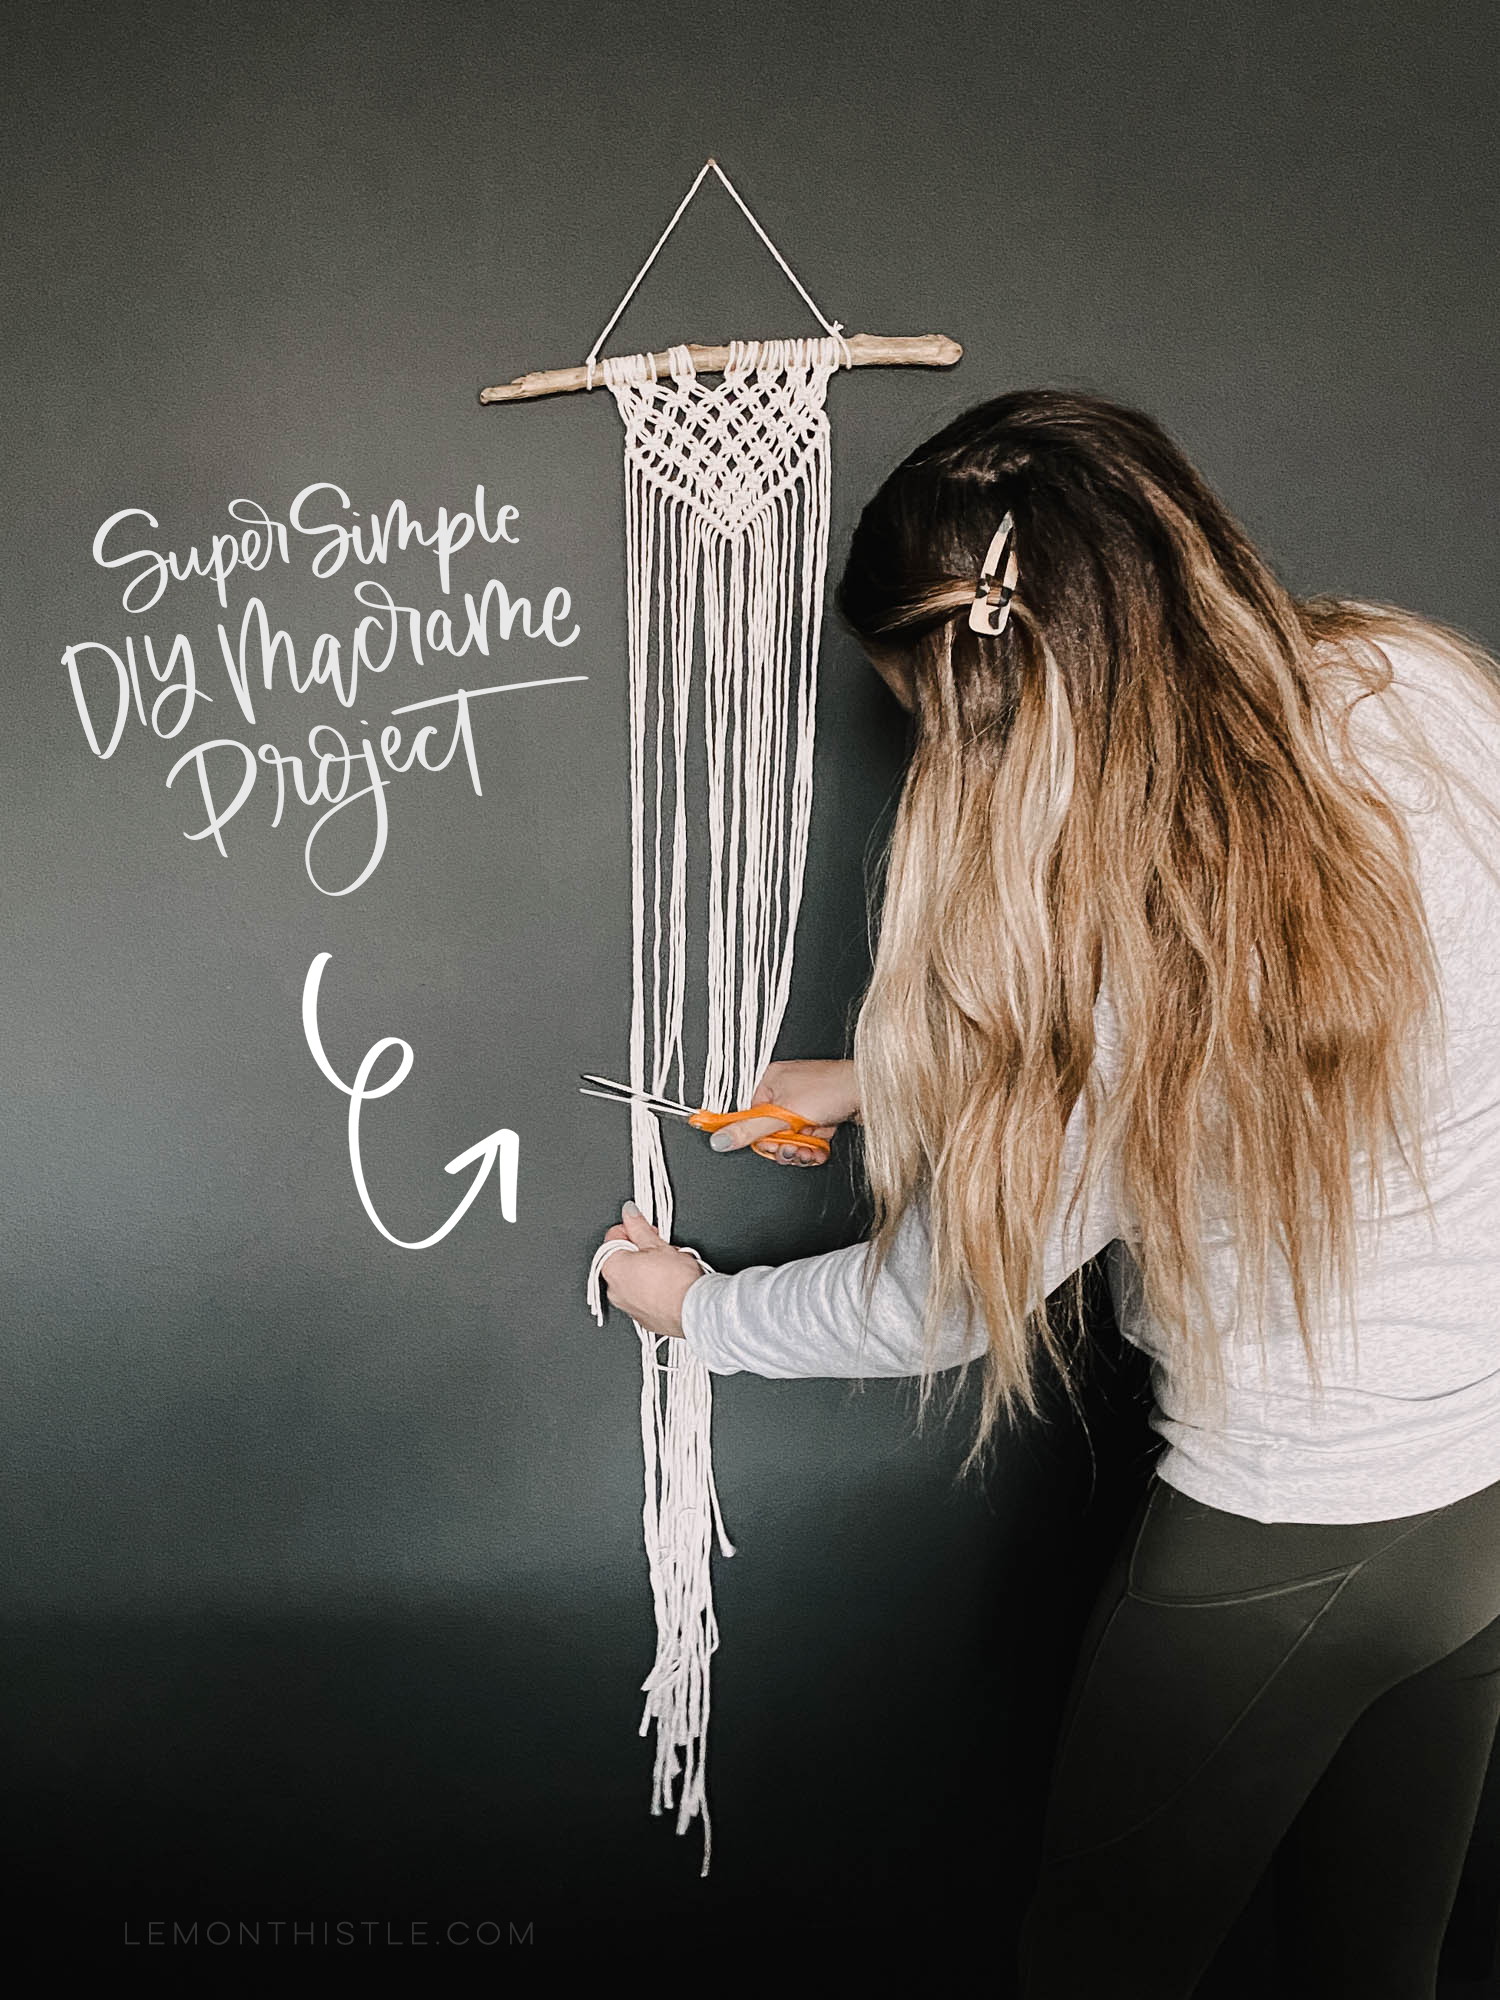
Yesterday I made this little super simple DIY macrame project… from start to finish including picking up the stick. I shared my progress along on Intagram including my bigger vision for the piece that I scaled back after taking out the second half of it… twice. And it turns out? Simple is sweeter on this one.
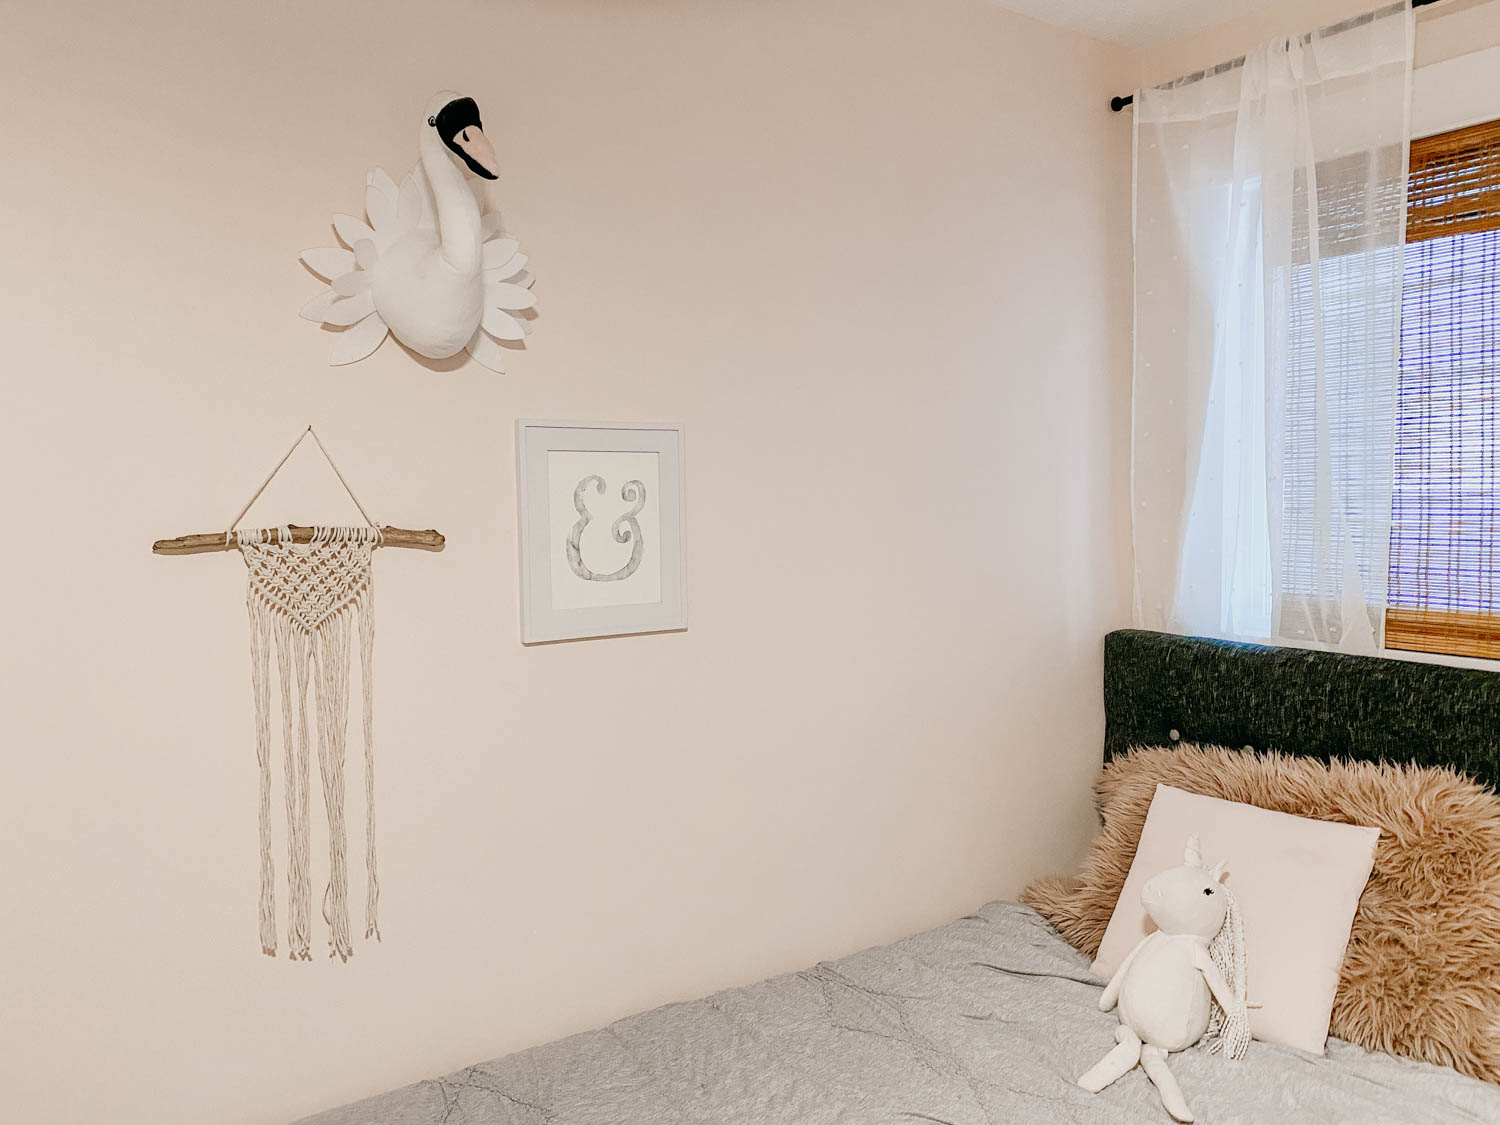
I thought today I’d walk you through the DIY tutorial to make your own simple DIY Macrame project using just a few knots. If you are totally new to macrame, this is a great beginner macrame project. You can hop over and check out this post here to learn the knots in the most basic, easy way I know how to teach. I’ve had so many people say this video and post was helpful for them so I’m confident you’ll come back here and take this piece on like a pro :)
The first thing you’ll need to do is get a stick or a dowel. I kept this one small because I was working with leftover macrame string- and I didn’t have a ton. Cut your string one arm length long (hand to hand when stretched wide) and cut even amounts to ensure your triangle comes to a point easily. This is the type of string I was using.
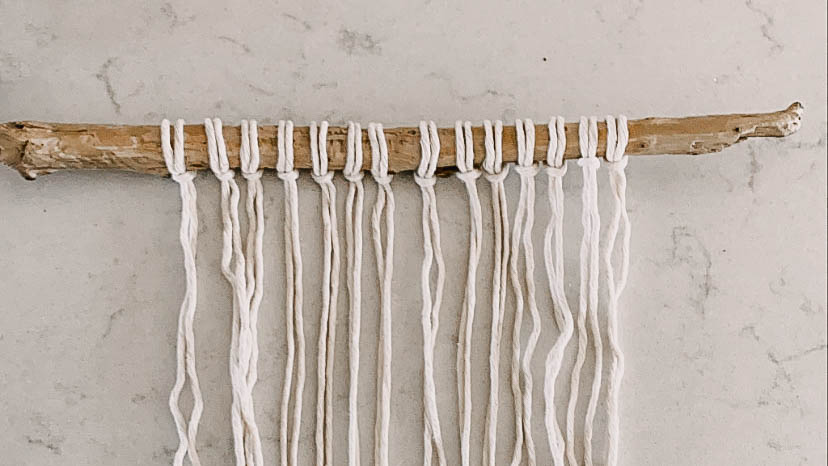
Loop them onto your stick in a larks head knot, I’m sure you’ve done this one a million times to hook things onto railings. If it seems confusing, again… check out this tutorial!
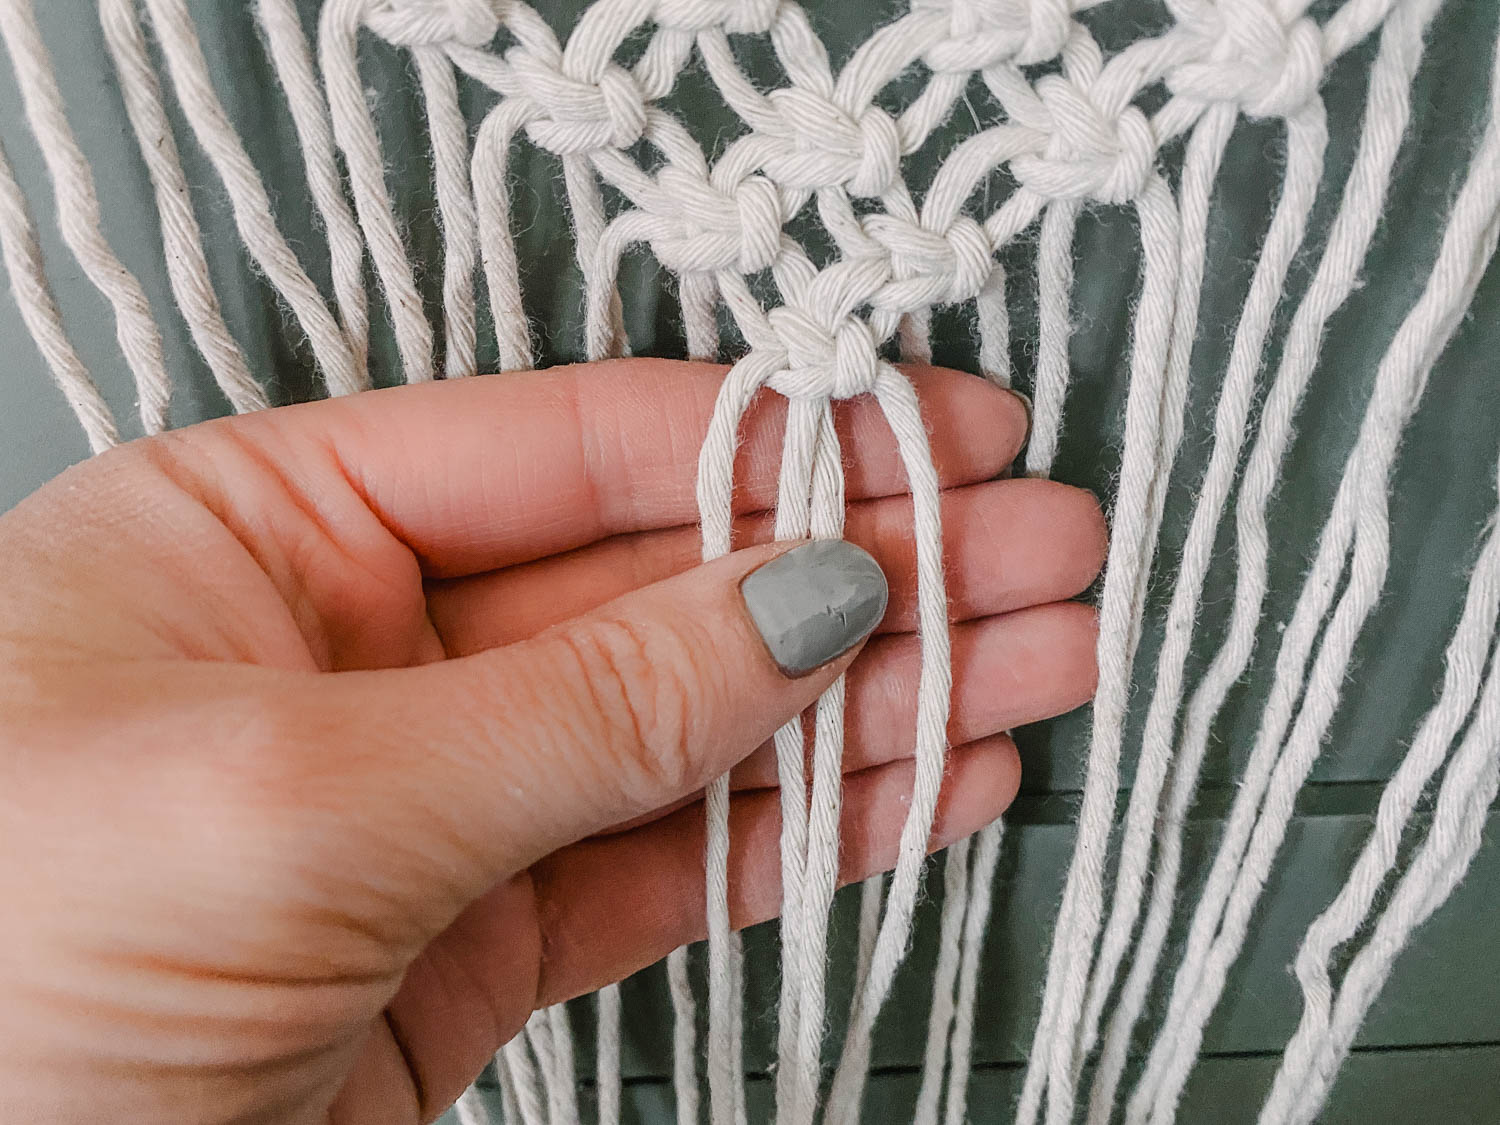
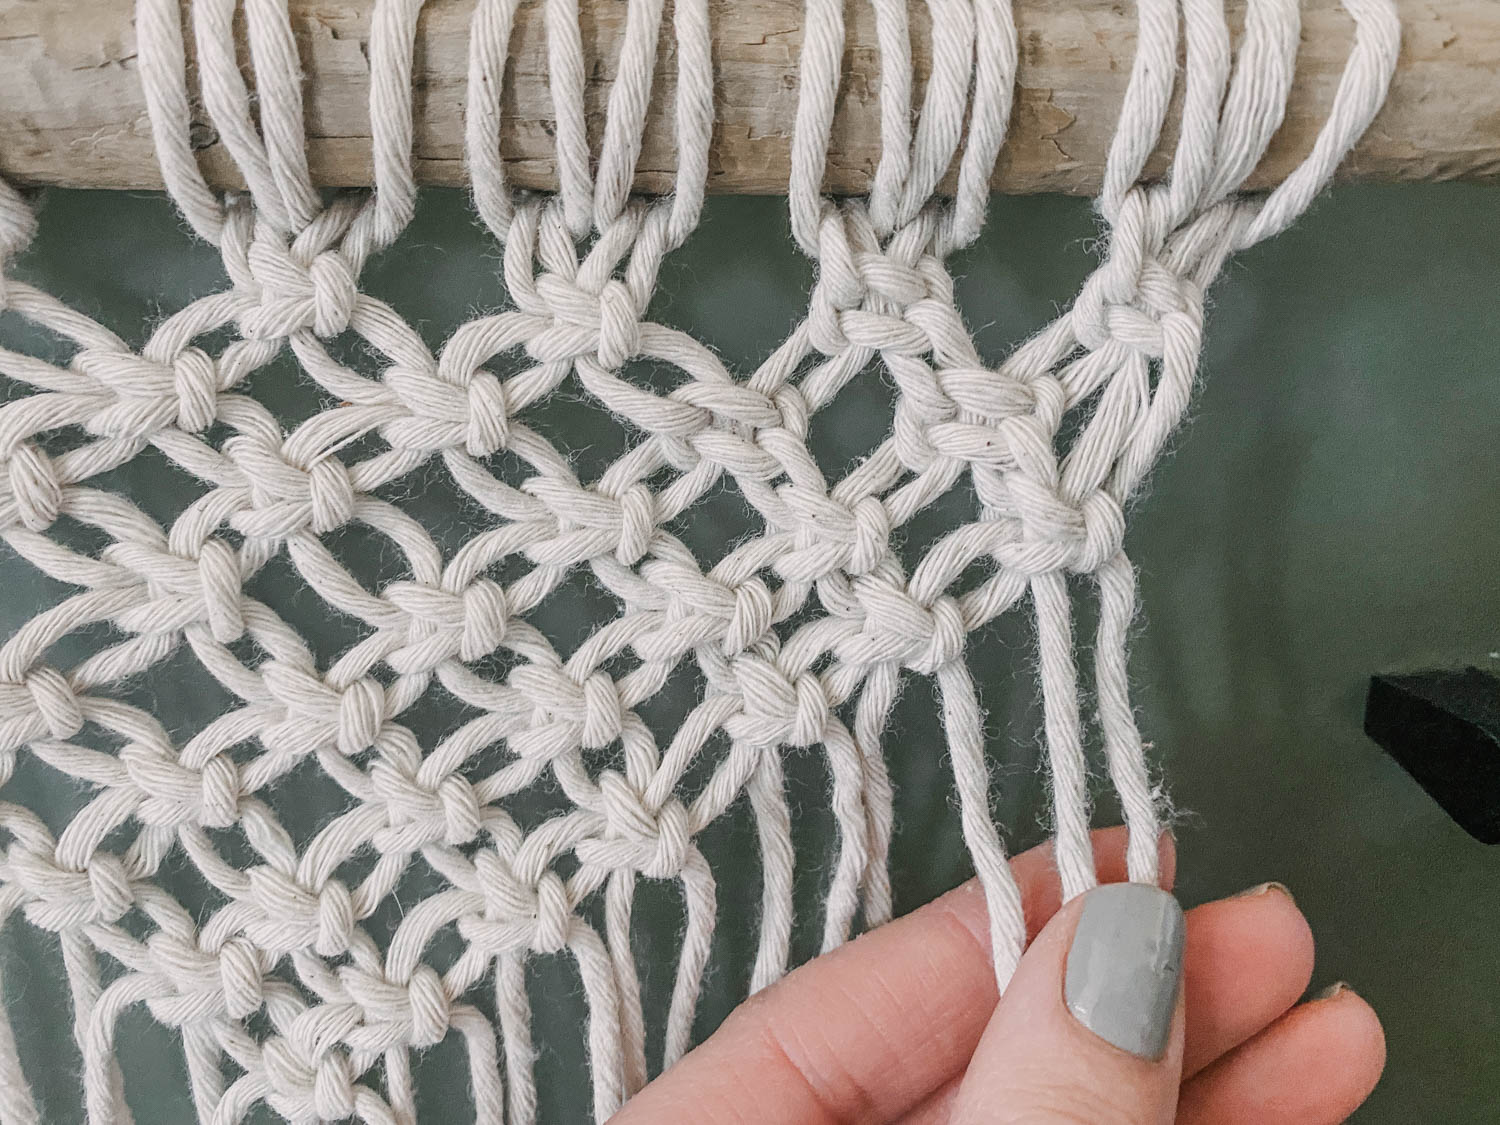
The first knot we’ll do is the square knot. It’s the famous friendship bracelet knot. Knot each section of four strings, then drop the outside two strings for the next line and get knotting- starting to make a triangle. Continue dropping the outside two strings until you get to a point.
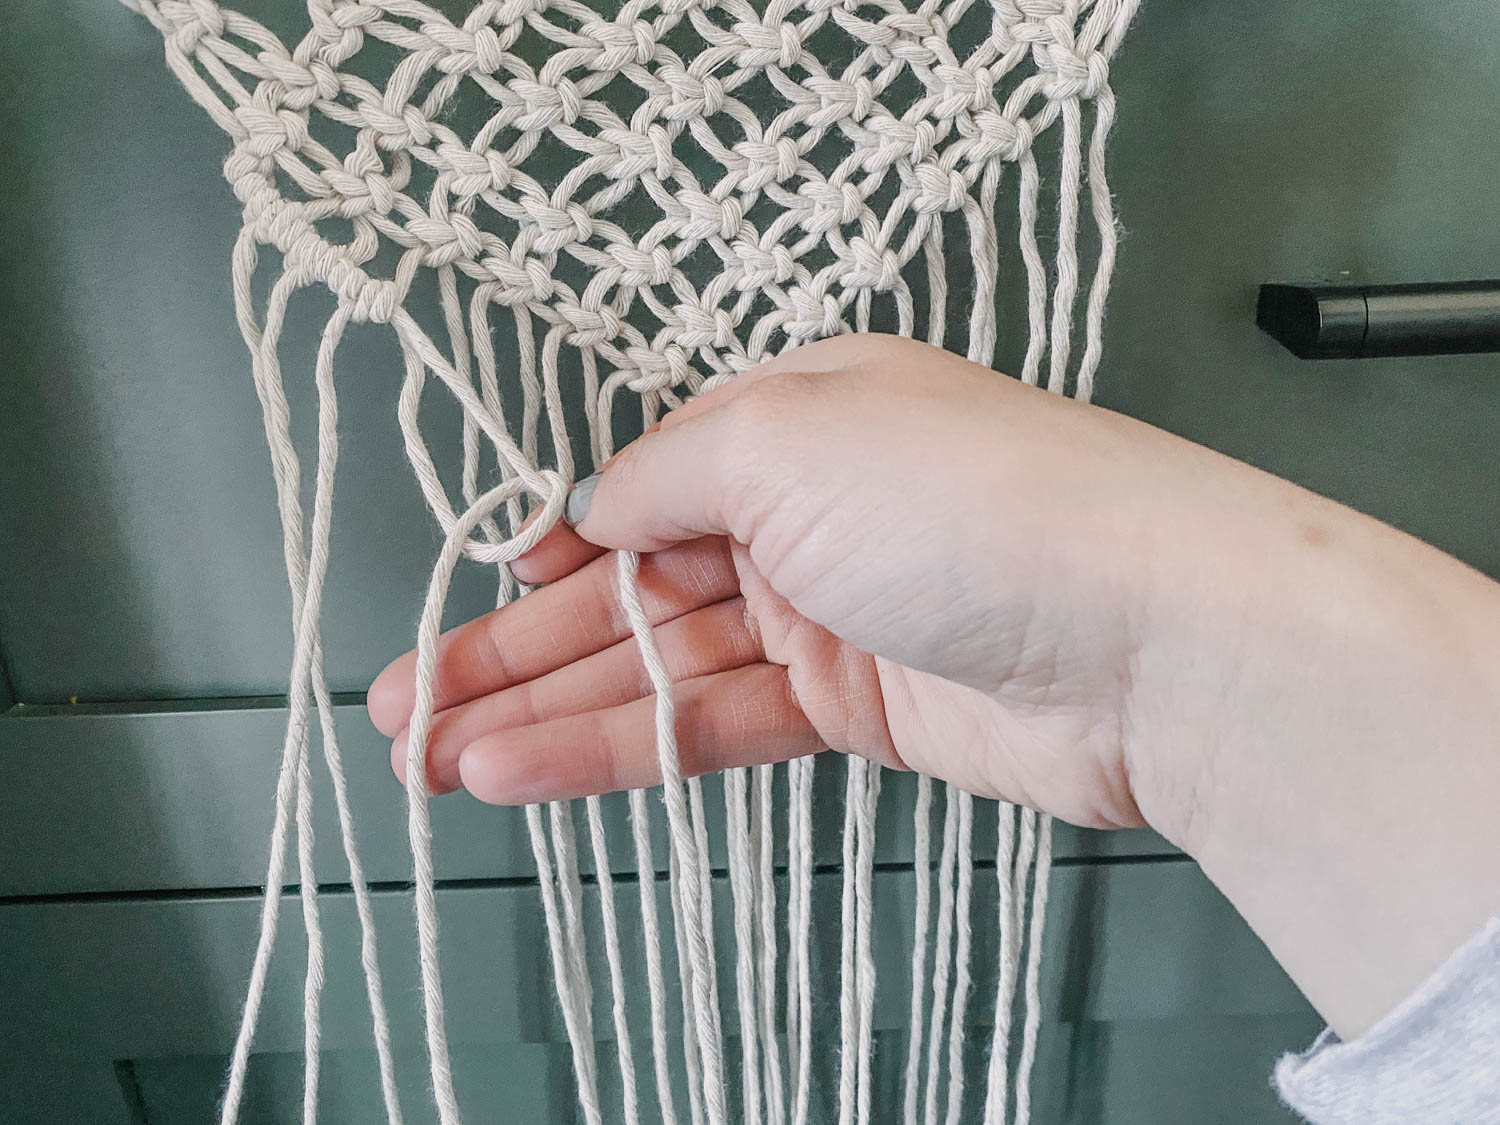
Now, let’s finish it off with a nice clean line of double half hitch knots. The outside edge strings will be your travelling strings and you’ll want to manage your tension on these looping knots so that you get a clean line. Hold the travelling string with a good tension if you find it’s buckling. I go through some troubleshooting for this in this video.
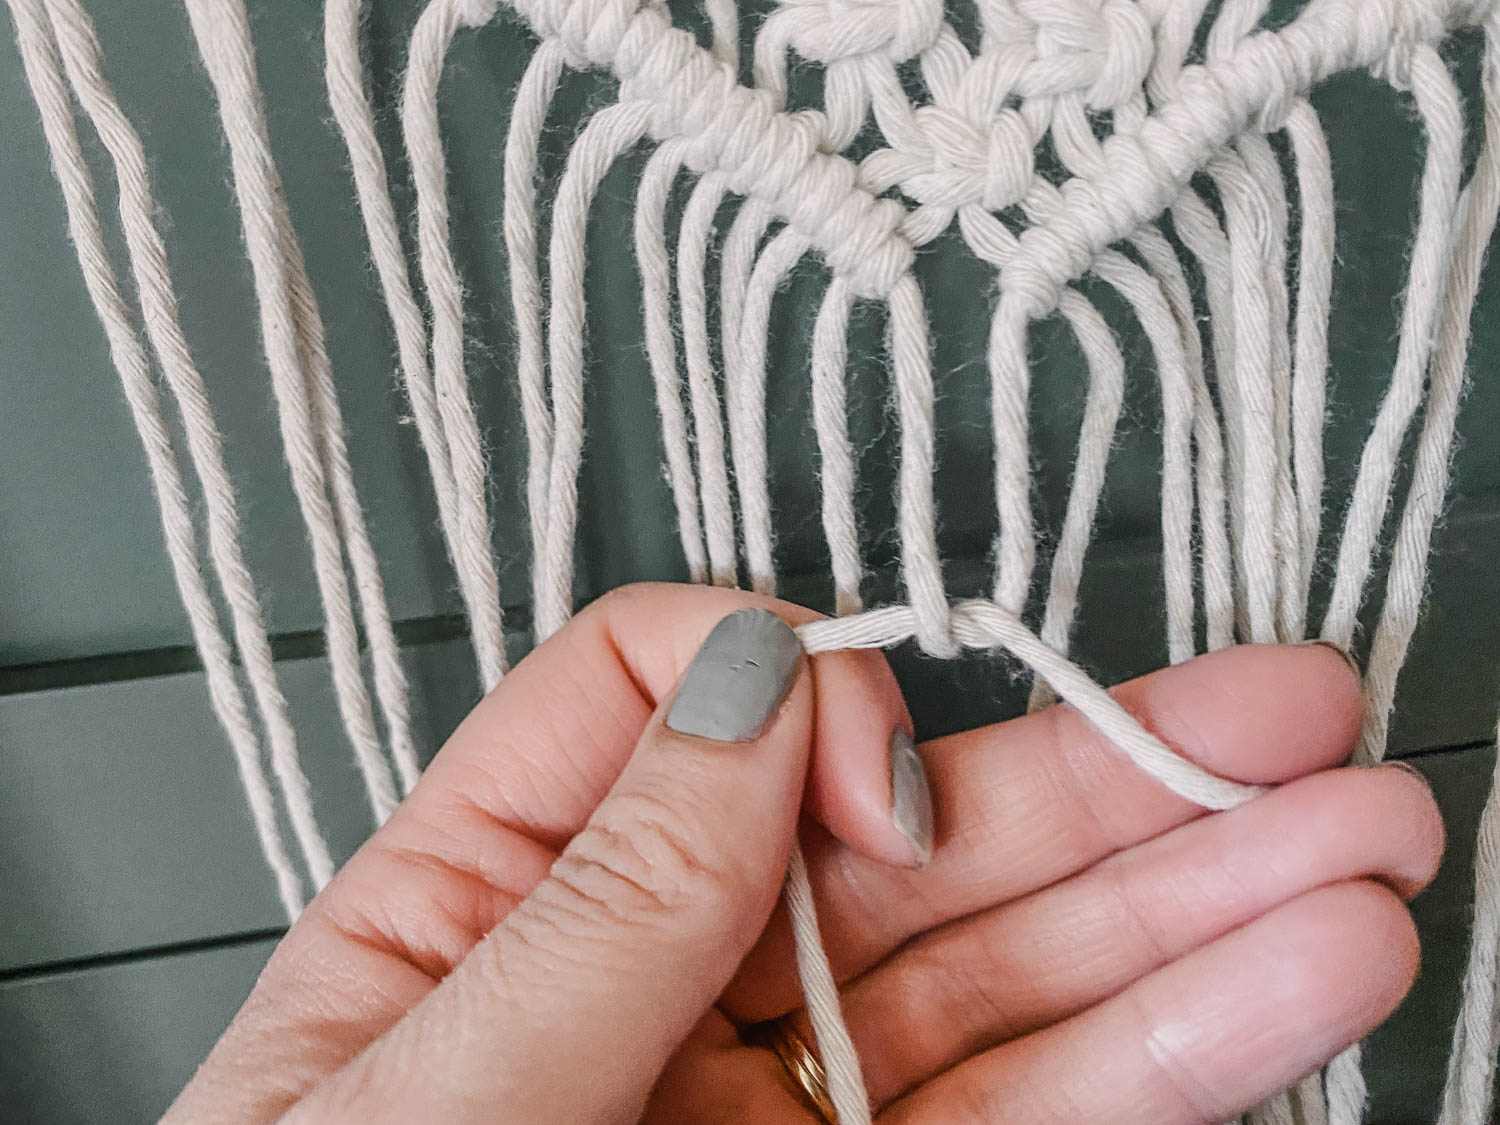
When you get to the centre point with both travelling strings… knot them and you’re done! Hang it up on a wall and trim it with sharp scissors. Then admire. That wasn’t that bad, was it? Have a new hobby? I think so! ;)

As always, if you make this simple DIY macrame project I would LOVE to see! Shoot me an email colleen@lemonthistle.com or tag me on social @colleenpastoor! XO


Leave a Reply