Before I get to today’s post… Happy Canadian Thanksgiving! I hope you’re celebrating with family or friends today. I’ve enjoyed a weekend jam packed with turkey, family visits, pumpkin patches, basement painting (with family of course!), and birthday celebrations. It’s been fantastic. But… now that Thanksgiving is out of the way, it’s time to dive head first into Halloween!
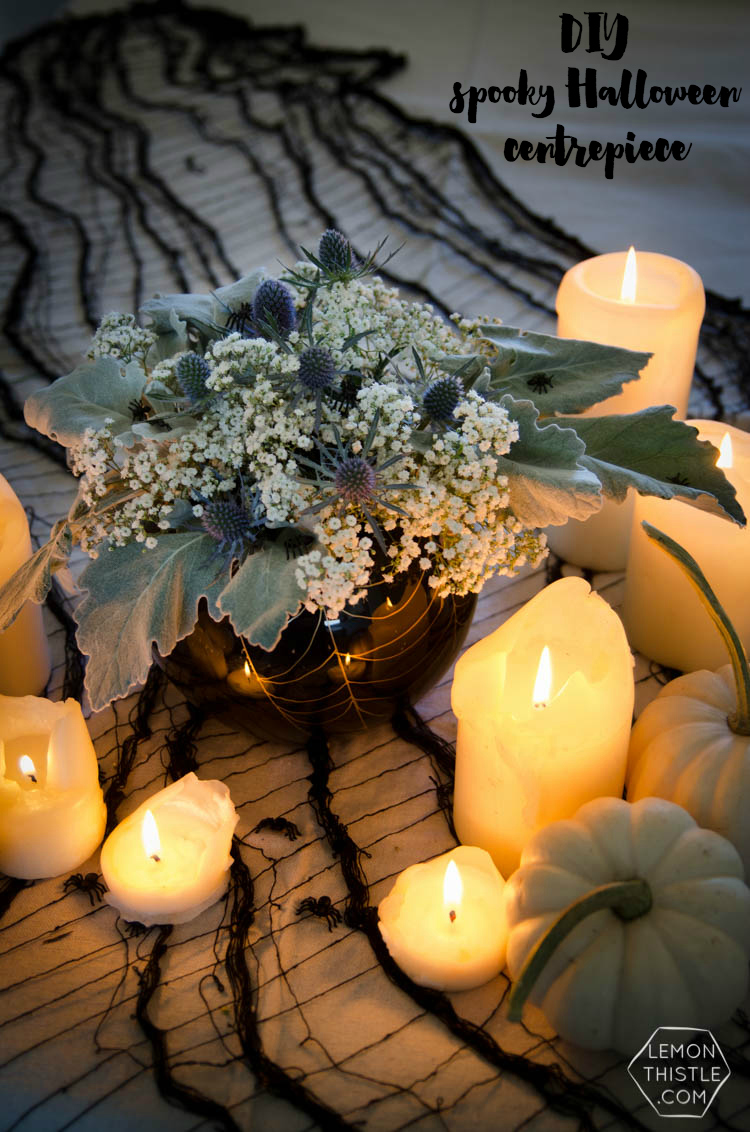
So I’m on a bit of a mission to class up all the holidays that are typically cheesy- full of dollar store decorations. Now, don’t get me wrong, I love the dollar store (in fact I shopped there yesterday) BUT why does halloween have to be all tacky? Lately I’ve been spotting some fabulous home decor for Halloween- but today I’m excited to tackle a Halloween Centrepiece, fit for an adult spooky dinner party! I’m teaming up with some of amazing DIY and party bloggers to bring you a Black and White (with gold!) Halloween with all the DIY details from invitations to recipes to decor and favours!
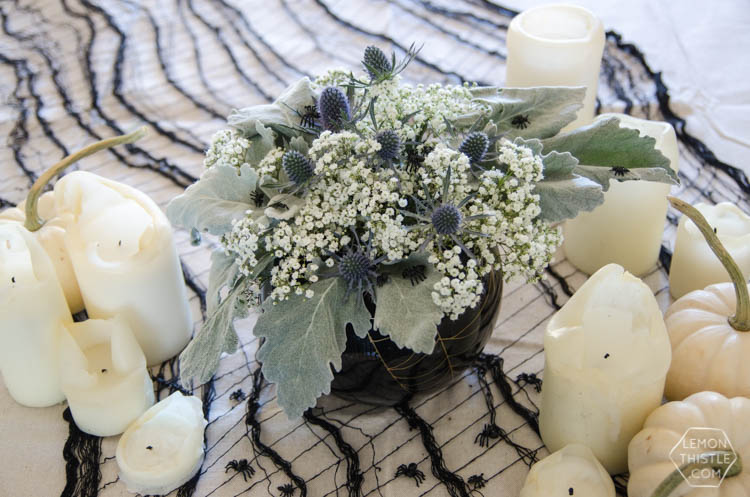
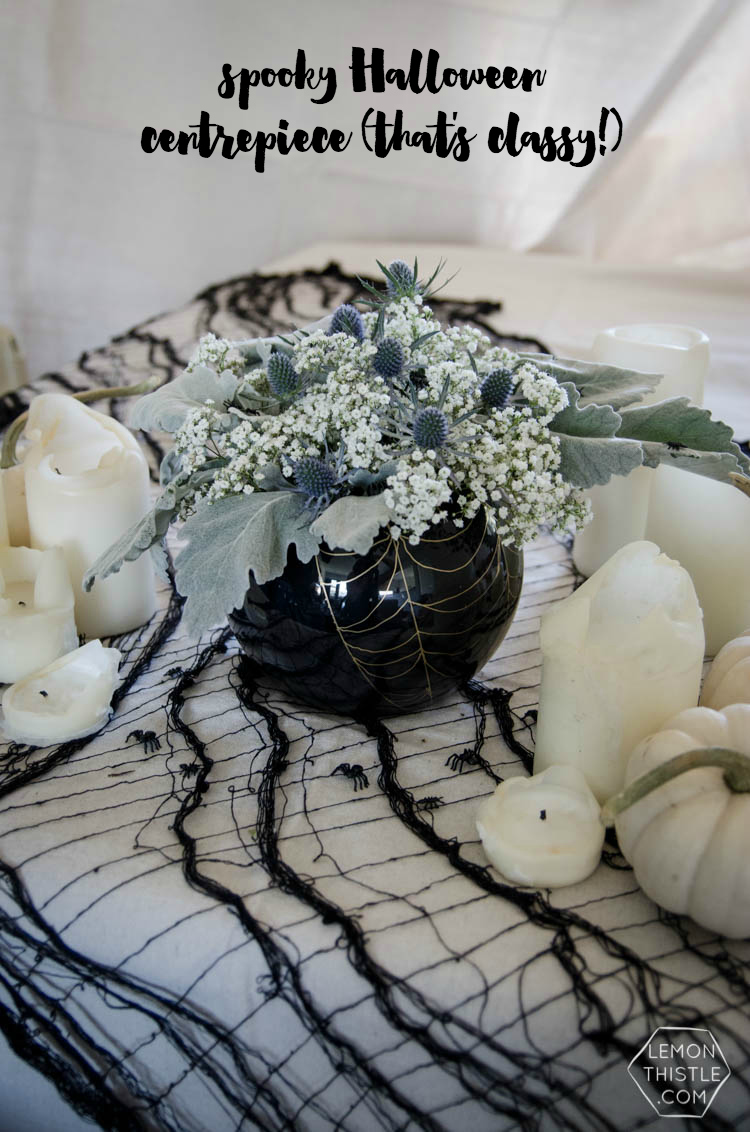
This centrepiece was so fun to put together- I loved the challenge of creating something a bit classy- fresh florals and subtle Halloween touches. The vase is a dollar store DIY (whoohoo!) and the florals were bought by the stem at a local florist for about $10. Ready to see the how-to? (and all the other amazing projects!!)
Here’s What You’ll Need to Make Your Own Spooky Floral Centrepiece:
- Clear glass vase- I chose a globe style
- Black acrylic paint and soft paint brush
- Gold paint pen (fine tip is best- like this one)
- Tape
- Scissors
- Dusty Miller (I used one large stem)
- Baby’s Breath (I used three stems)
- Thistle (I used one stem)
- Fake bugs or spiders (found at the dollar store)
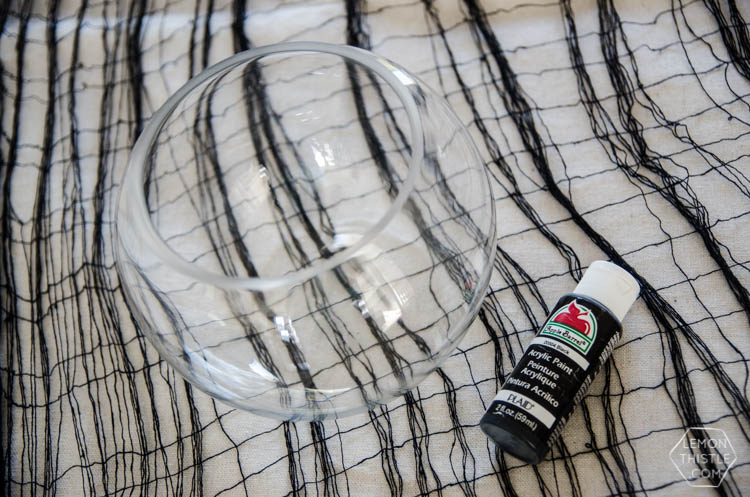
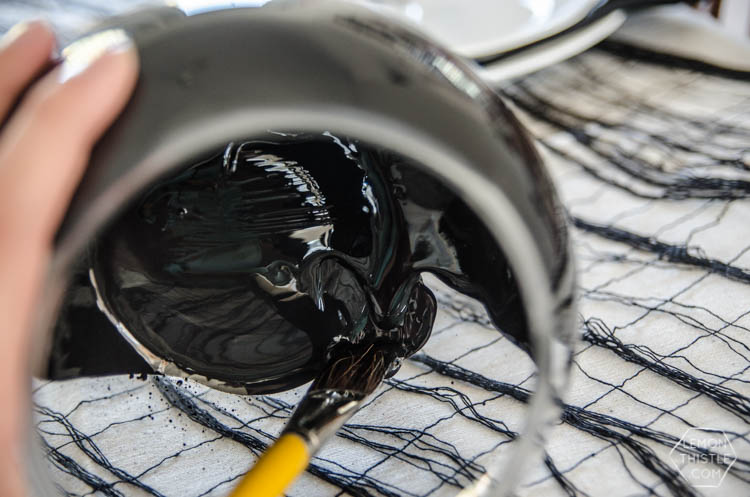
Start by preparing your vase. Just dump a bunch of your acrylic paint inside the vase and use your brush to spread it evenly. Once you’re happy with the coverage, let it dry completely.
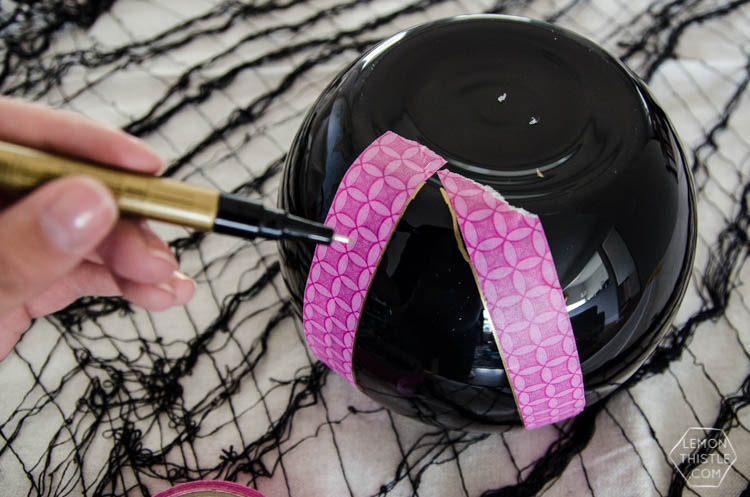
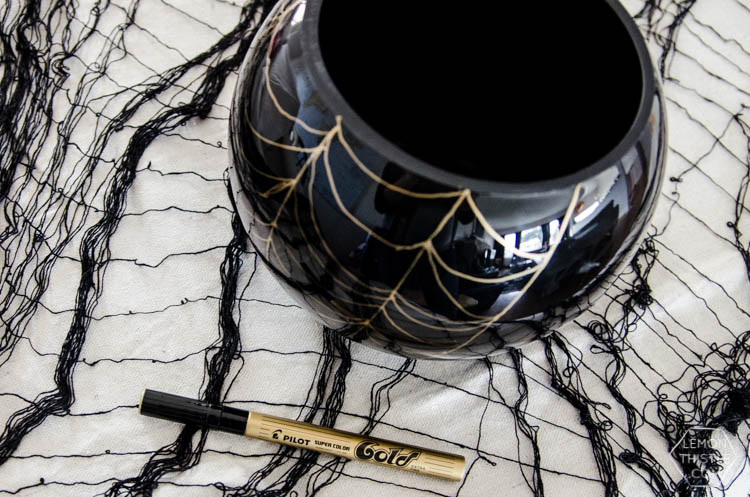
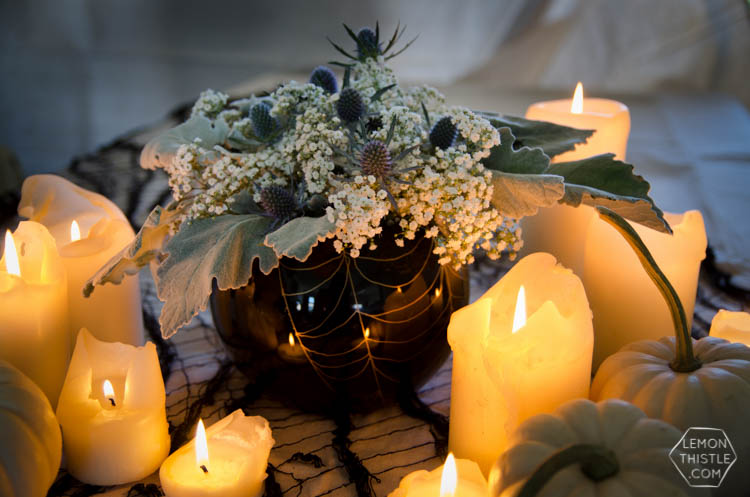
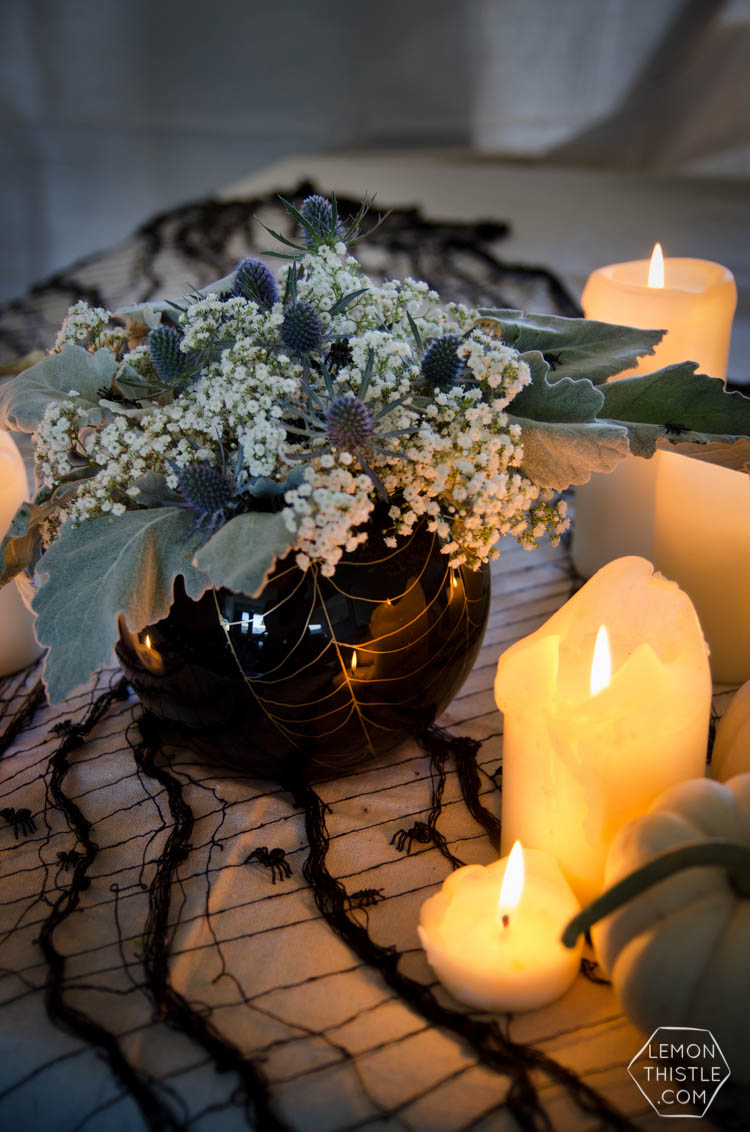
Next, it’s time to draw on your spider web design. I used masking tape to try get straight lines and had all the points come together in one spot at the bottom edge. My lines are not perfect at all, but they’re really not the start of the centrepiece anyways ;) If you were worried about getting straight lines, you can always use nail polish remover to clean up any lines you mess up and start over. Since your acrylic is inside the glass, you won’t remove any of the black.
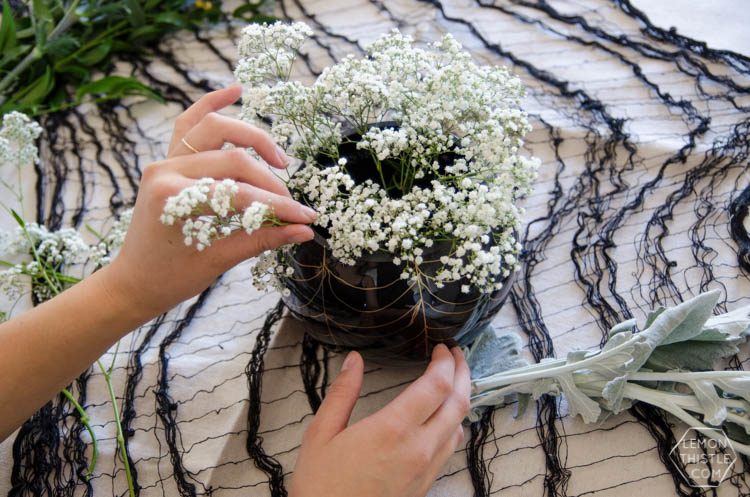
After your vase is complete, it’s time to start filling it! Make sure your paint inside is completely dry before adding water for the flowers. The first flower to add in is your base- the baby’s breath. Cut the stems into shorter pieces, adding them in so they create a level (ish) bed for the other florals.
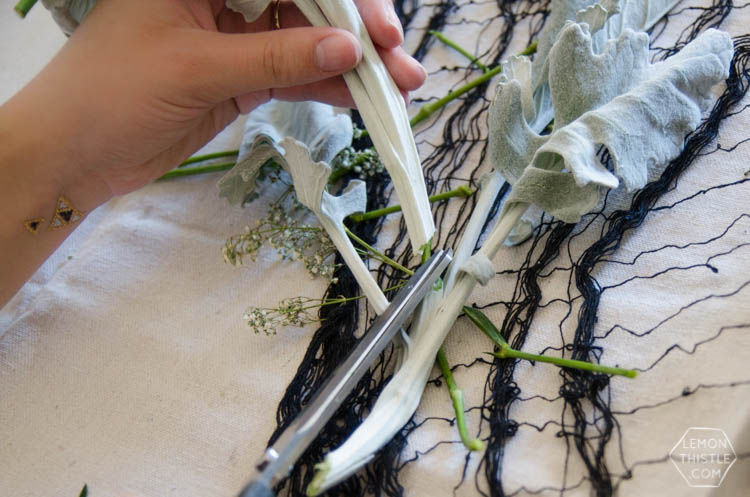
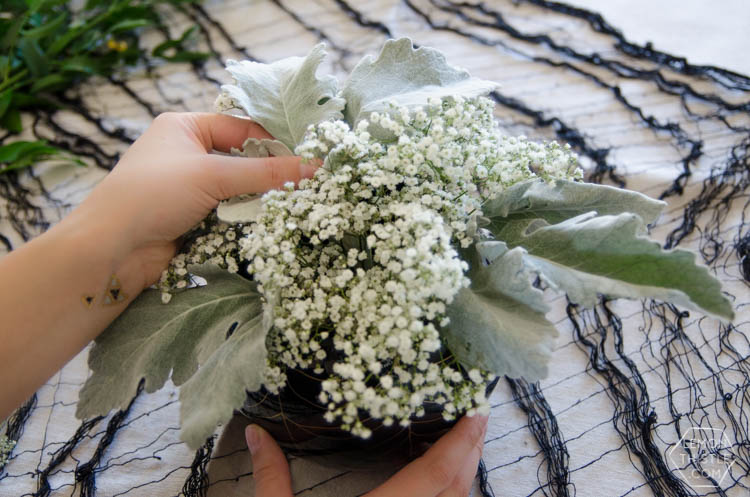
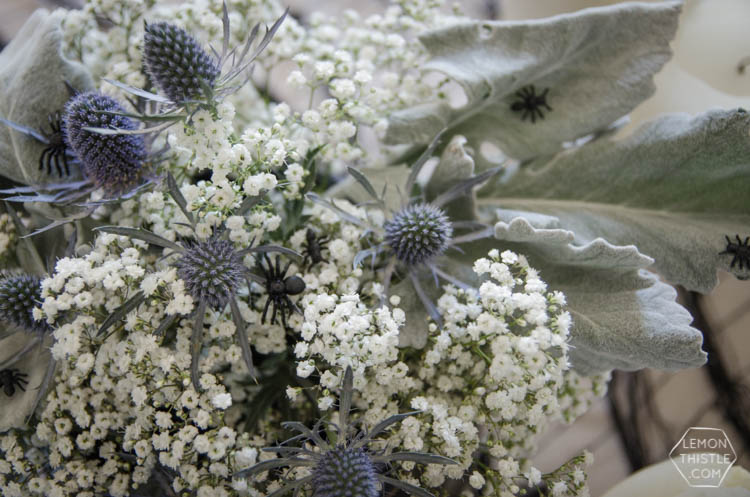
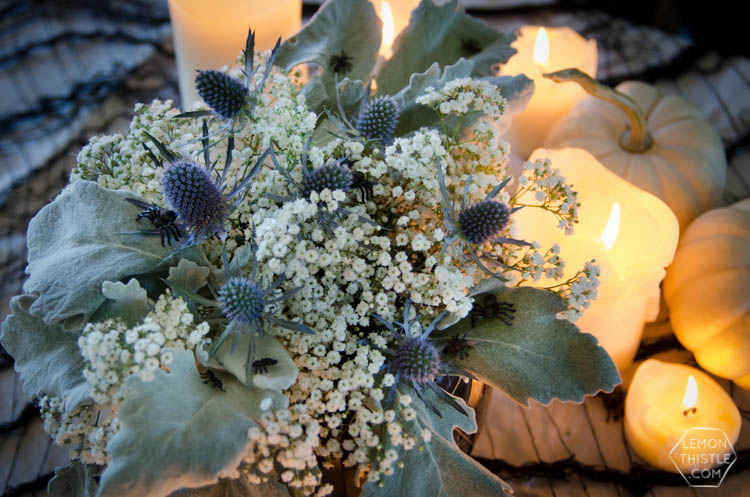
Next, you add in your dusty miller. I love the frosted look of these leaves, they’re so gorgeous! Now, I did say that I only used ONE stem of it… but it looks like a lot more. You just need to be creative in your cutting. I tried to get a good photo of that for you, I did the same thing with the baby’s breath to get so much of it. Where a stem branches off, cut it as close to the branch as possible. You won’t see that cut once it’s surrounded by other florals. I was able to get three ‘stems’ from my one stem of the dusty miller.
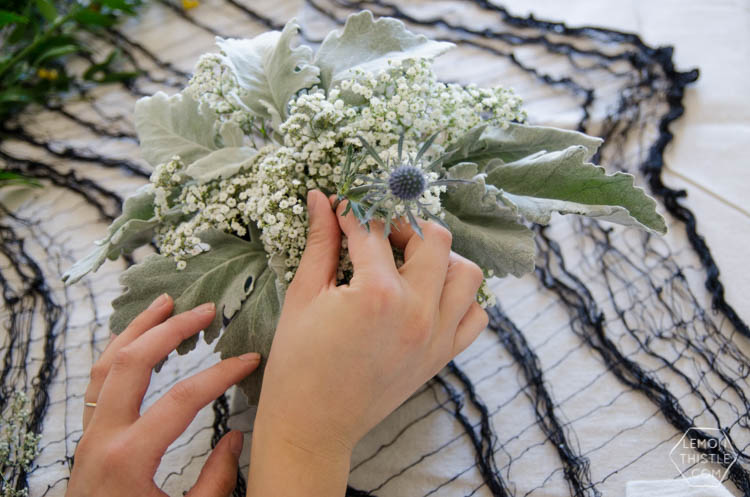
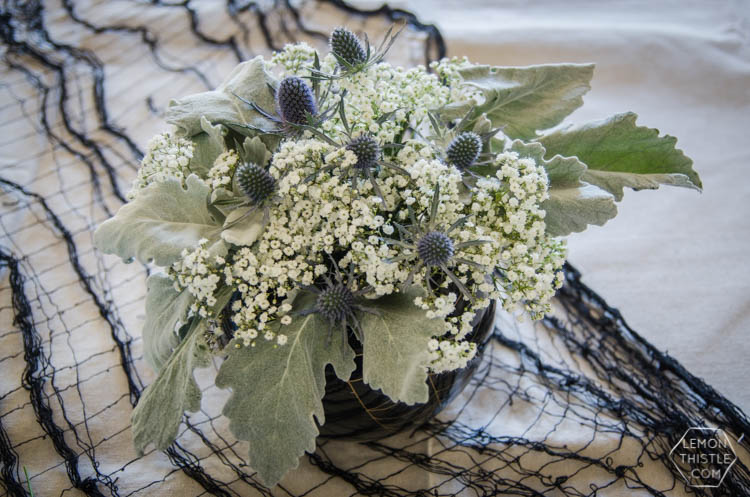
Last but not least, add in the thistle! I spaced it around, clustering some near the dusty miller. I love how the thistle looks somewhat like spiders with the spikes. There are different types of thistle, I chose a muted one instead of a more vibrant version. I really like this bouquet as is! I would add maybe a beautiful large white flower and call it a year round centrepiece (it would be so pretty for a white Christmas!) BUT since it’s Halloween, I chose to add in something a bit more fun (and creepy).
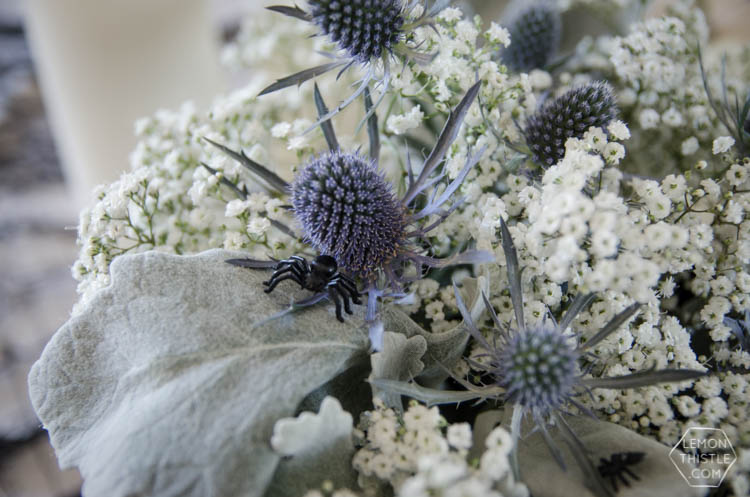
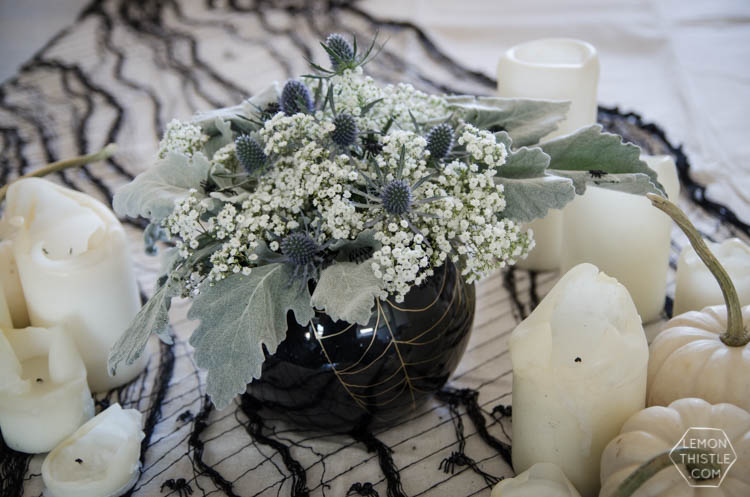
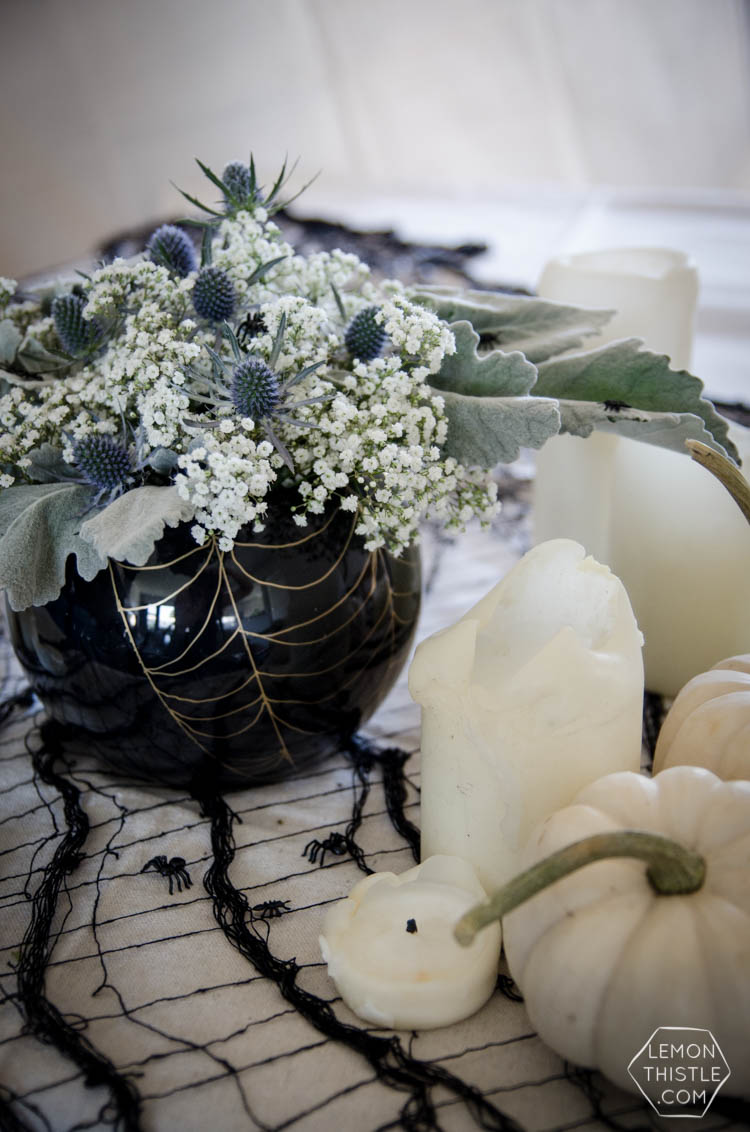
Bugs! I used fake spiders and ants I found at the dollar store to add in on some of the leaves and florals. I love how this finished it off! That’s all there is to this. And if you were wondering… it looks oh so much spookier when lit by candlelight!
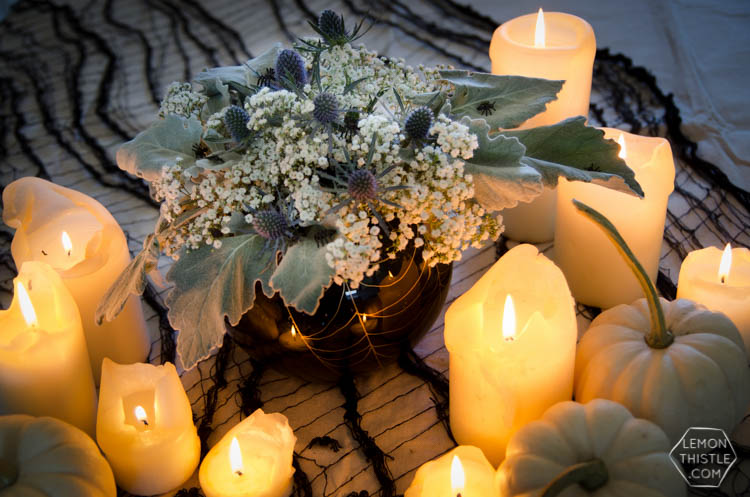
Now, hop over and check out the rest of the projects before you plan your own Halloween get together! Then come back over here and tell me your favourites :) Deal?
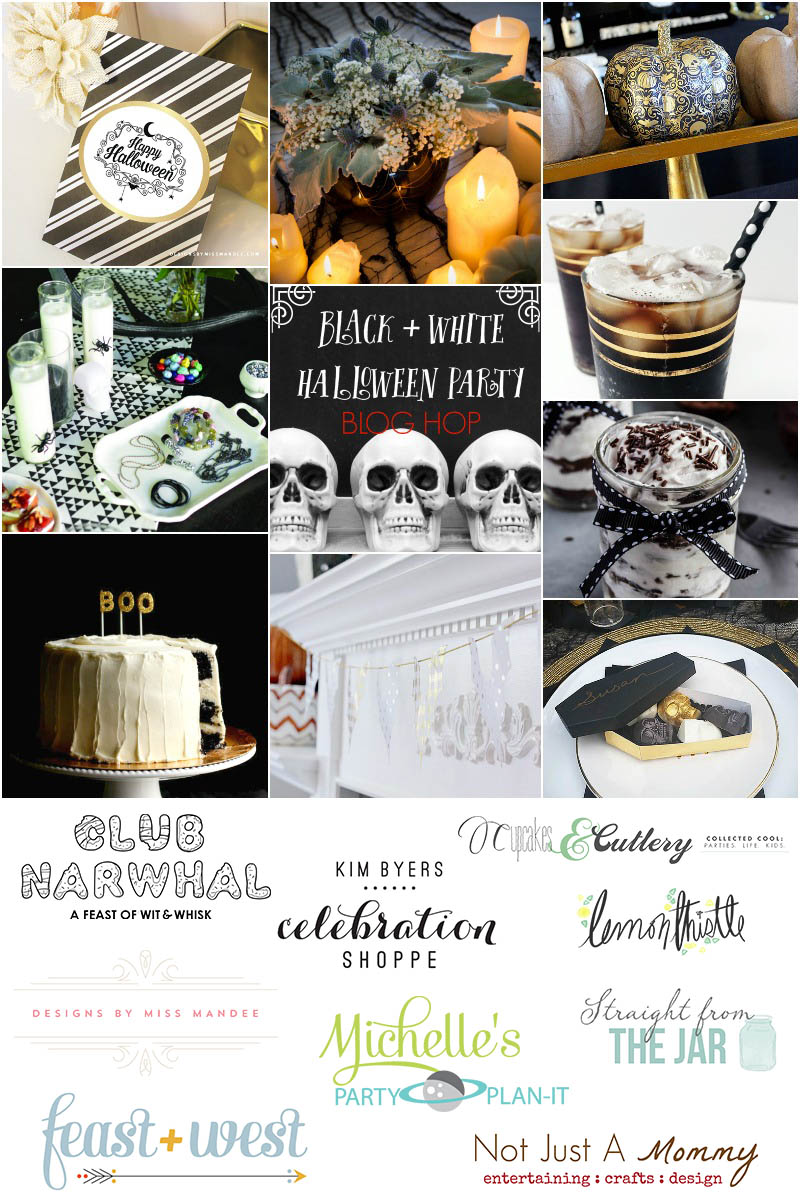
Be sure and hop over to all the creative blogs who are part of our Black + White Halloween Party Blog Hop; from invitations to party favors and everything in between, we have lots of inspiring Halloween party ideas to share.
- Halloween Party Invitation with Designs by Miss Mandee
- Spooky Floral Centrepiece with Lemon Thistle
- Design Your Own Pumpkin with Michelle’s Party Plan-It
- Halloween Bracelet DIY with Cupcakes & Cutlery
- The Tootsie Roll Cocktail with Feast + West
- Black Magic White Chocolate Truffle Cake with Club Narwhal
- Chocolate Cupcake and Coconut Whipped Cream Parfait with Straight From the Jar
- Foil Gold Halloween Bat Banner with The Celebration Shoppe
- Skull Candy Favors with Not Just A Mommy

Need even more black and white Halloween party ideas? Check out and follow our collaborative Black + White Halloween Party Pinterest board; so many great ideas are pinned there!

 Friendsgiving 2015: Casual and Organic
I LOVE the look of this centerpiece! So spooky but still gorgeous!
Thanks so much Sharon! I’m so glad it struck a balance :)
Wow! This turned out STUNNING! I am totally in love. :D
Thanks so much Mandee! I am in love with your invitations too :)
I love the thistle paired with the dusty miller – i’ve never seen them together before and it’s great!
Two of my faves! I used them at my birthday dinner together as well- I hope to be posting that soon :) Thanks for the love Yelle!
Awesome post ! Creating such floral centrepiece is time consuming but interesting task.
I would surely try this.