This post has been sponsored by Wayfair Canada. Check out my policies right here.
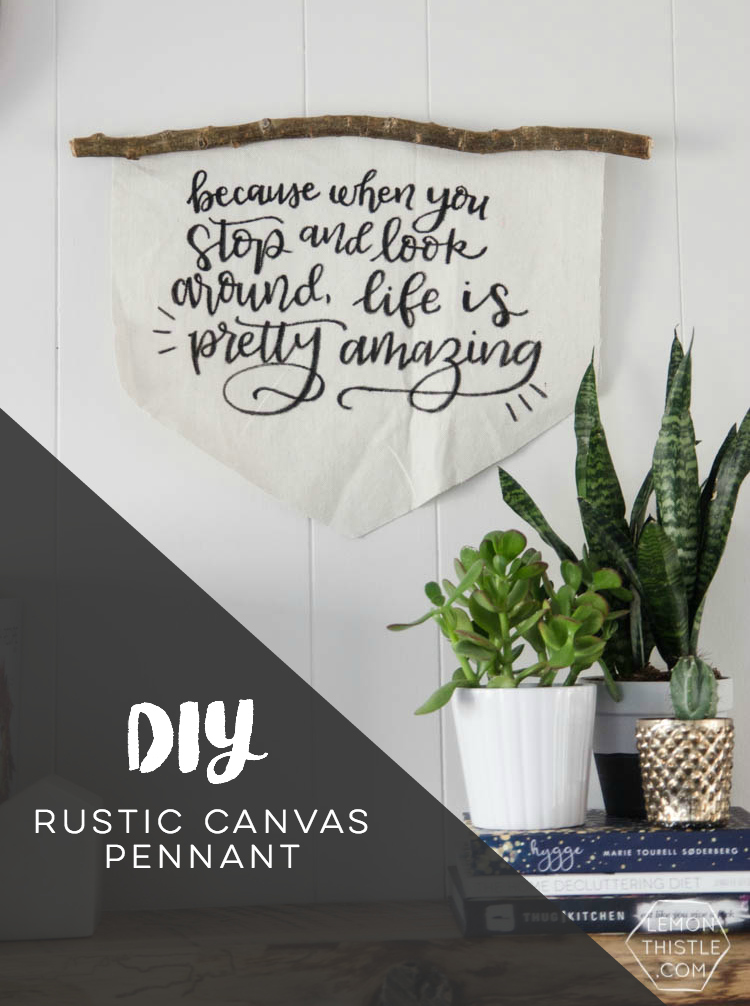
Today I’m sharing this DIY rustic canvas banner but it’s not the first time I’m sharing a project like this! If you’ve been following Lemon Thistle for a while now, you might have spotted similar projects in the past and that is the whole point of todays post! Wayfair Canada put out the challenge to re-make a past project to show how much your skills and style has changed as part of their Creation Renovation challenge. I knew I wanted to take on one of my lettering projects from the past. Hand lettering is something I’ve fallen more in love with and the more you do it, the better you get (or the more YOUR personal style you get). I decided to take on this DIY rustic canvas banner because I’ve always loved the combination of the stick and canvas, but since I no longer have an office to myself (that room’s now a nursery!), I changed up what was on the banner.
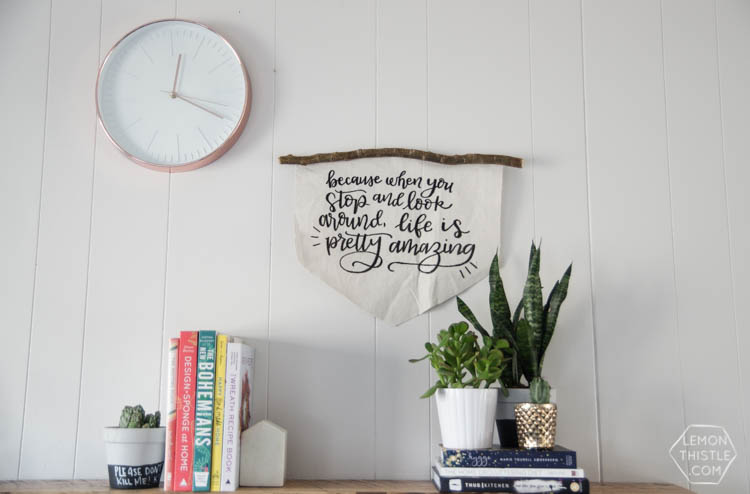
I really love this quote. I found it on Pinterest and lettered it before I looked up the source. It turns out it’d Dr Seuss (his quotes are all so good, I swear), but the one I based mine off of was missing a word. If you want to quote Dr Seuss, you should say, ‘because when you stop and look around, this life is pretty amazing.’
This challenge actually taught me a few things.
It reminded me that I’m not a patient crafter. I did up a template but then freehanded the banner. It also taught me that I’m not great at freehanding with a squeeze bottle- which is my usual method of painting on porous fabrics. I actually did this re-make THREE times because I wasn’t happy with it. If I had just been patient and transferred a template onto the banner, then painted slowly… I’m sure it would have taken the same amount of time and I wouldn’t have been so irritated! But that’s just how I craft, you guys. It’s always been how I craft- so c’est la vie. So now that I’ve done this project soooo many times, there’s a few ways that you could do this. I ended up landing on using a paint marker, but I’ll be doing up a ‘Lettering on Surfaces’ resource guide that will talk about allll the options (with photos and links!) soon, so I won’t dive into it here.
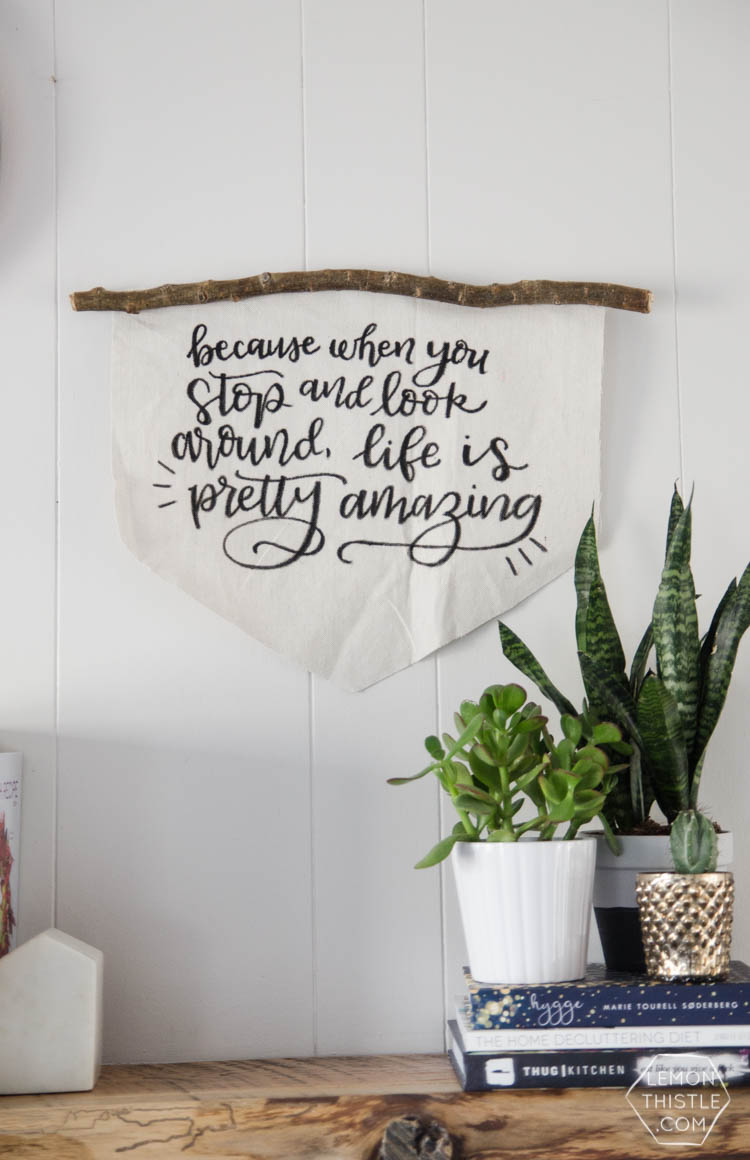
This DIY is super simple. I actually use drop cloth for the fabric- I buy the unwaxed stuff like it’s going out of style- it can be used for SO many things. I cut it width wise to fit my stick, then lettered it. When paint was dry, I added the glue to the stick (since it’s not totally straight) before pressing the fabric onto the stick. When the hot glue has dried, cut it close to the glue and cut your point if you’d like one. I added a sawtooth hanger to the stick to hang it.
Here’s the three remake attempts, if you were wondering ;)
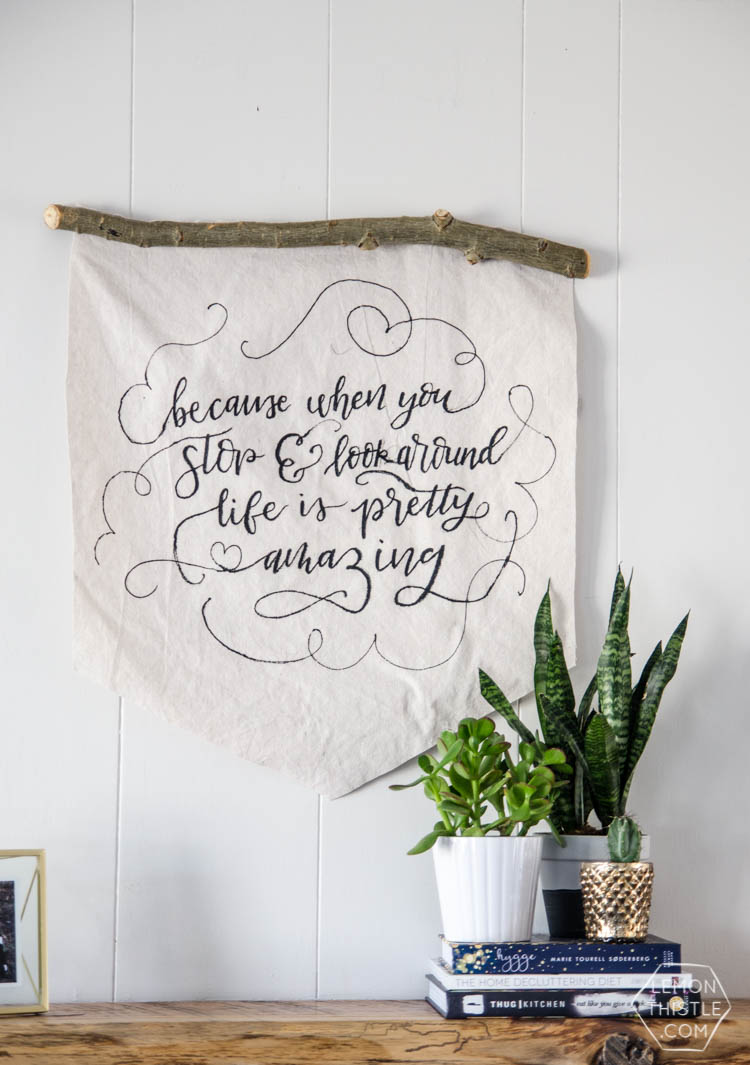
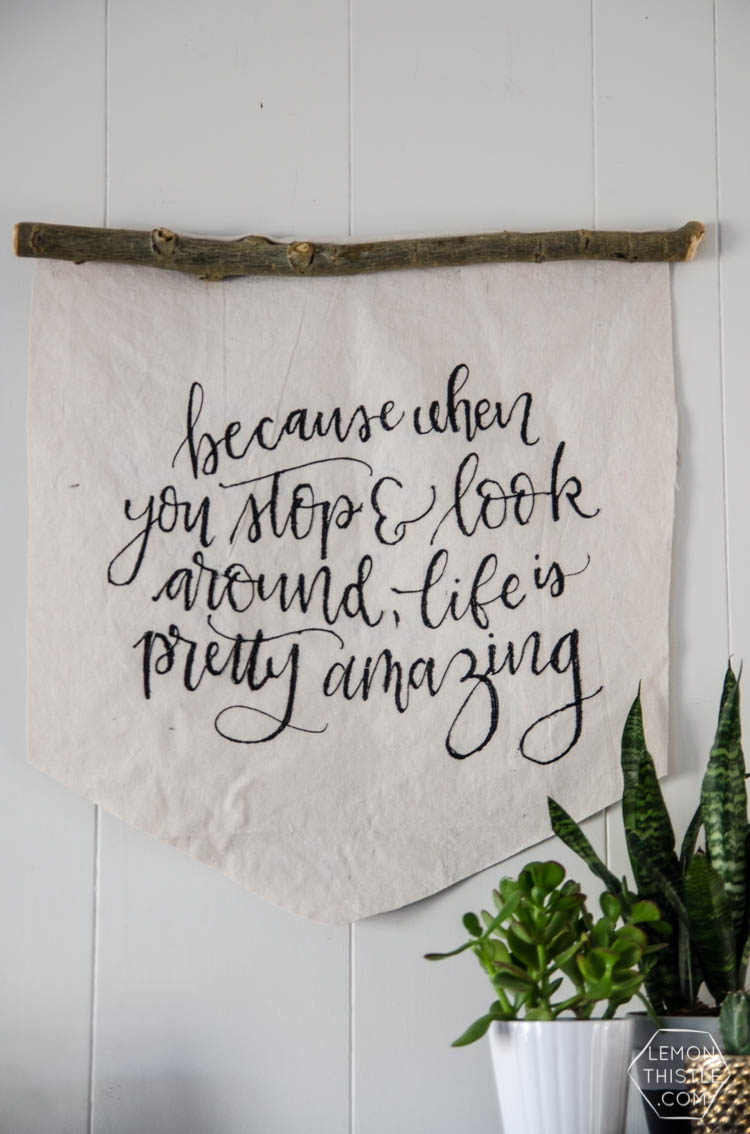
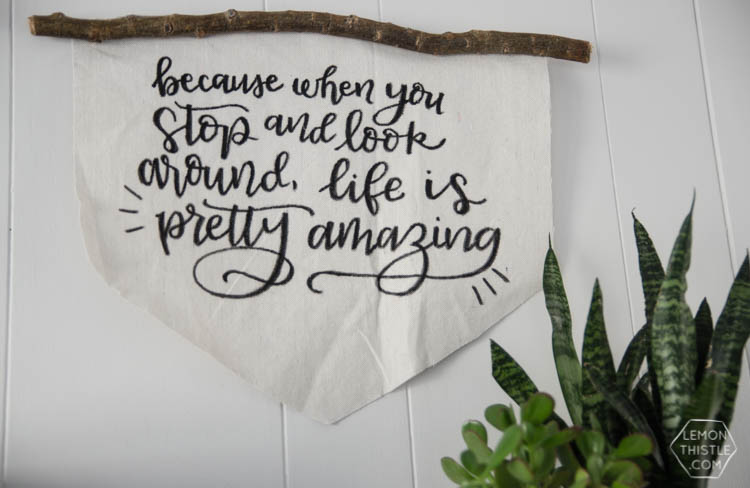
I’m so much happier with the lettering! It definitely feels more my style than the original with that tiny loop. I still don’t think I got the scale quite right (I should have made it a bit longer!), but I will happily have this baby hanging in my home :)
Thank you so much for the fun challenge Wayfair Canada!


 My First Ever… Spring Home Tour
Love this Colleen!
Thanks so much Meagan!
It’s beautiful Colleen!
Thanks so much Kendra!