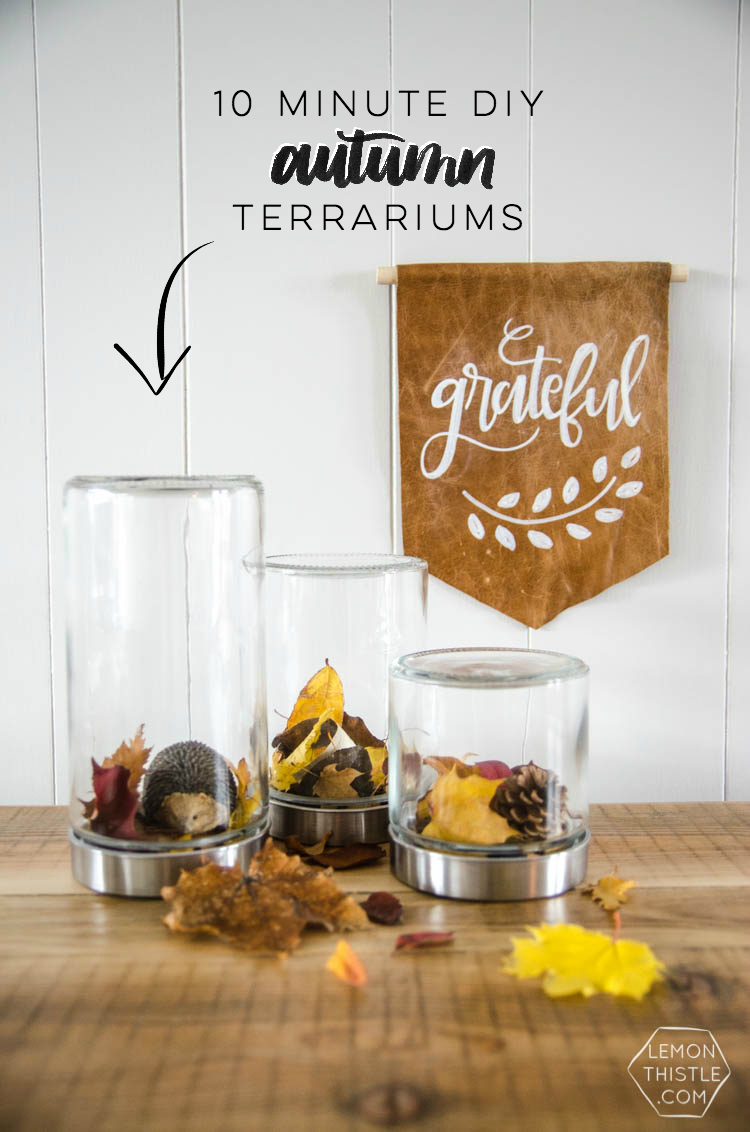
I really don’t do much for seasonal decor. It’s not that I don’t love it, I just don’t love having a LOT of stuff to store year round for one season. I really wish I could be a minimalist- the lack of stuff would feel so good- but I just like my stuff too much. But seasonal decor is an easy one to mostly cut. So when Wayfair Canada challenged some bloggers to make something autumn related with their simple glass canisters for #DIYMyWay… I knew it was the perfect opportunity to get creative. When autumn’s over, these can head right over to my pantry for dry food storage… or to my ‘office’ area to store some pretty craft supplies.
I love the natural colours in the autumn leaves and as many times as I’ve cut branches and stuck them in water (one of my favourite fall decor staples), they still brown and crumple. It must be the airtight seals, but these leaves have been in there for days and aren’t getting any crunchier! It’s awesome. Plus, collecting leaves made for a great activity with the kids after pre-school last week. We took 100x longer on our walk and filled the stroller basket with leaves of all shapes and colours. I chose mostly itty bitt ones with this project in mind, but the twins couldn’t resist the bigger ones too. We used up all of the leftover leaves in an autumn hedgehog paper craft (they’re super cute!).
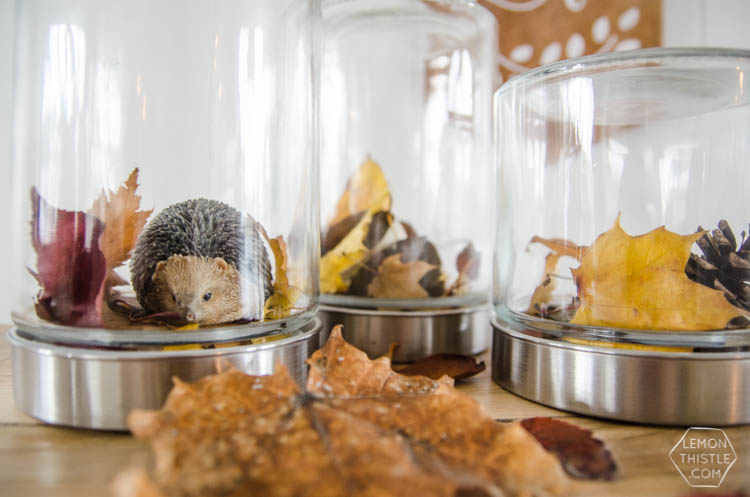
Don’t they look perfect with that little Grateful Leather Pennant? I have them hanging out on my desk in our living room right now but they would make an awesome centrepiece or kitchen decoration as well. Ready to see the quick how-to? There’s a few ways to make it happen.
To make your own Autumn Terrariums, you’ll need:
- Simple glass canisters (I used these ones)
- Rocks or floral foam
- Collected autumn leaves
- Pinecones, birch bark, animal figurines or other elements to add in the terrariums
- Hot glue and gun (optional- I opted not to use any glue so the containers can be re-used for food)
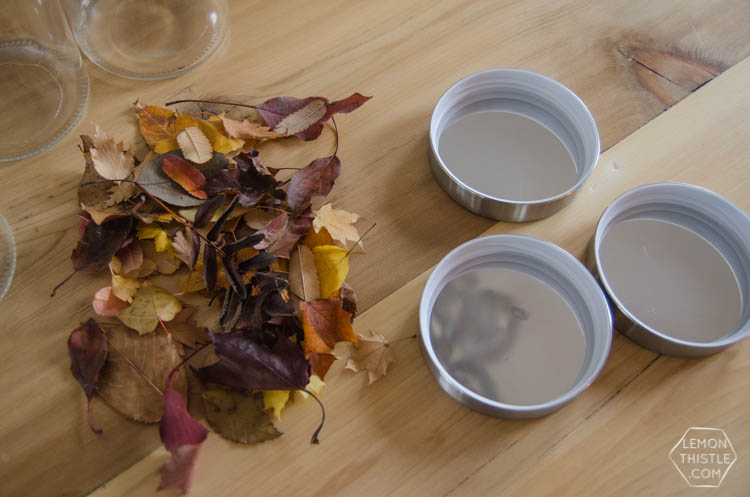
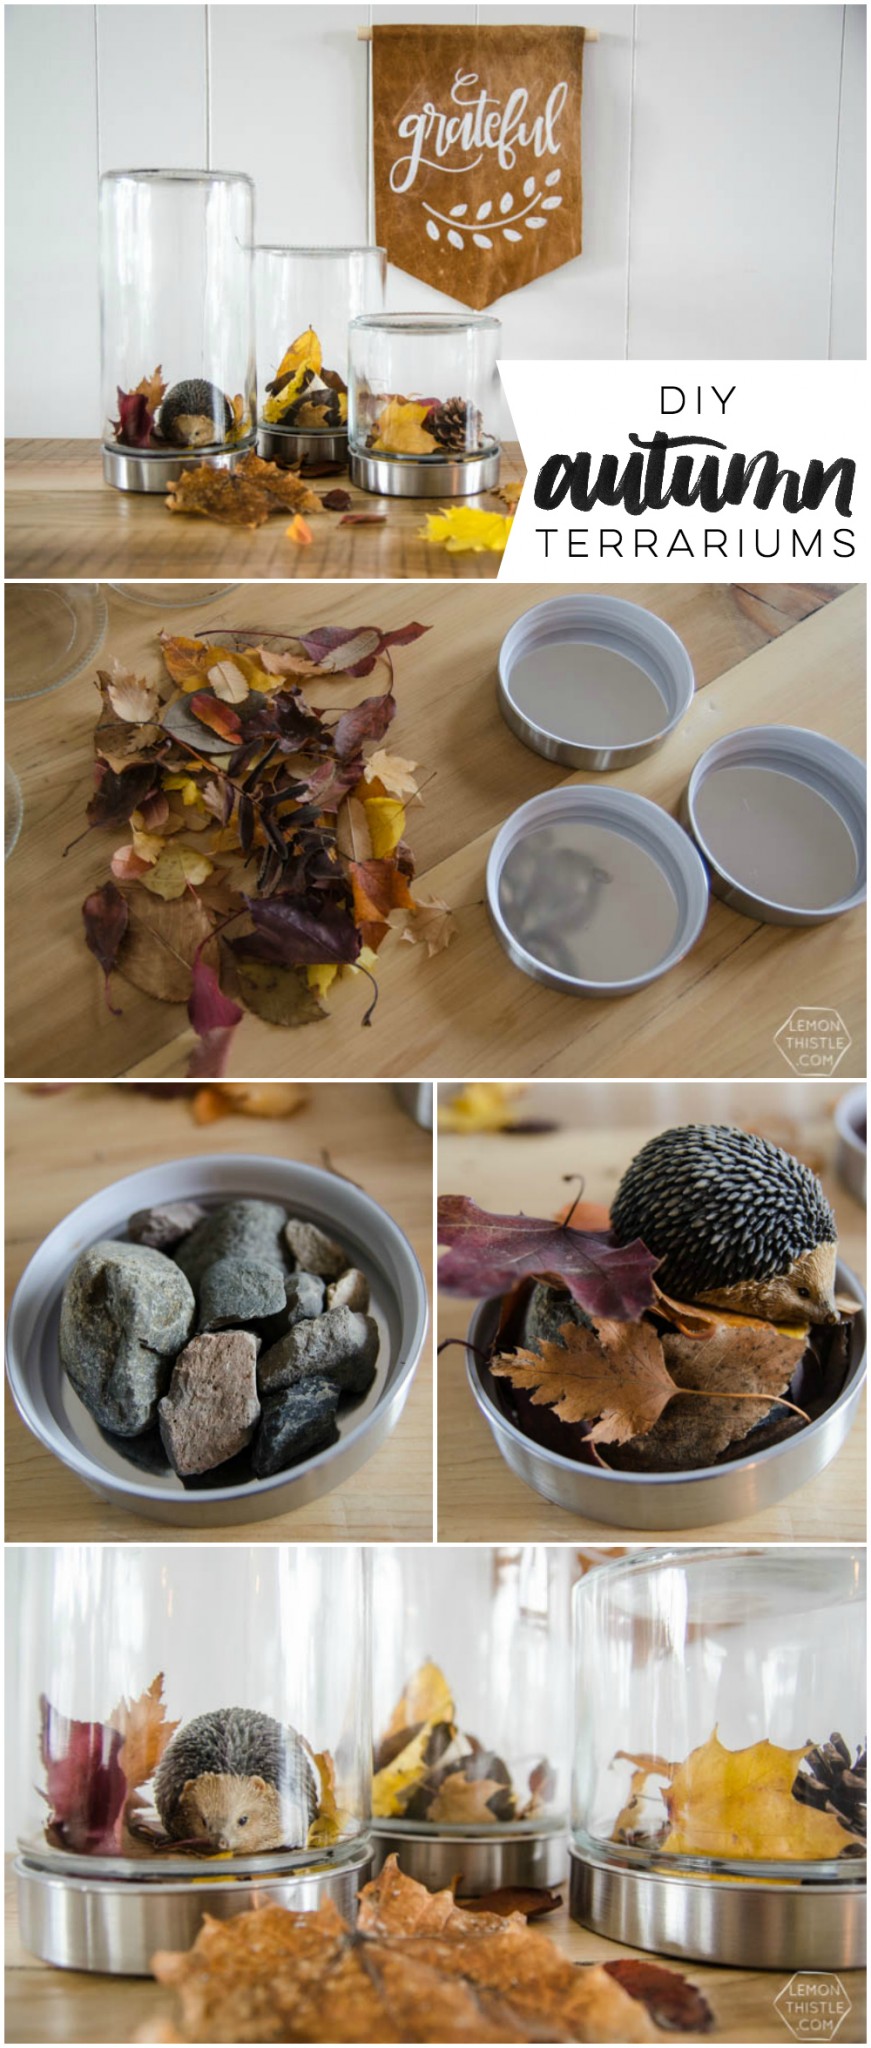
The lids to these babies are pretty deep (same as mason jars) so in order to see any figurines or decor you put inside, you’ll need to prop it up a bit. The easiest way to do this would be to hot glue some rocks in place, then hot glue the leaves on top to cover them. BUT since I wanted to be able to make use of these again after (and not store them in a box somewhere) I wanted to make it work without glue. SO I tried two methods.
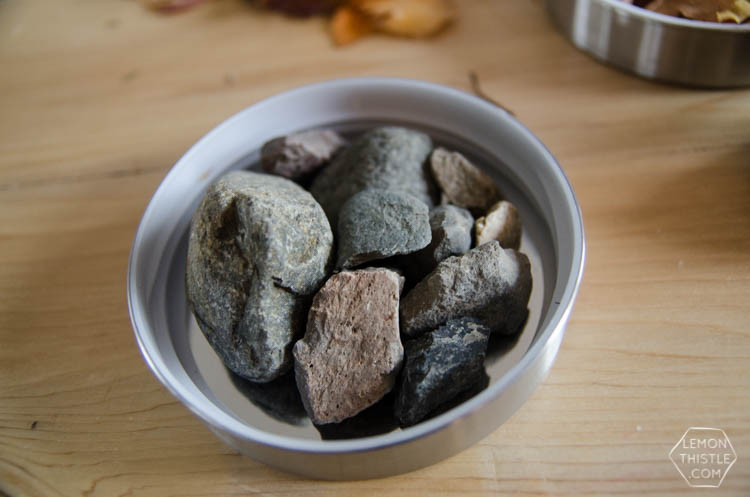
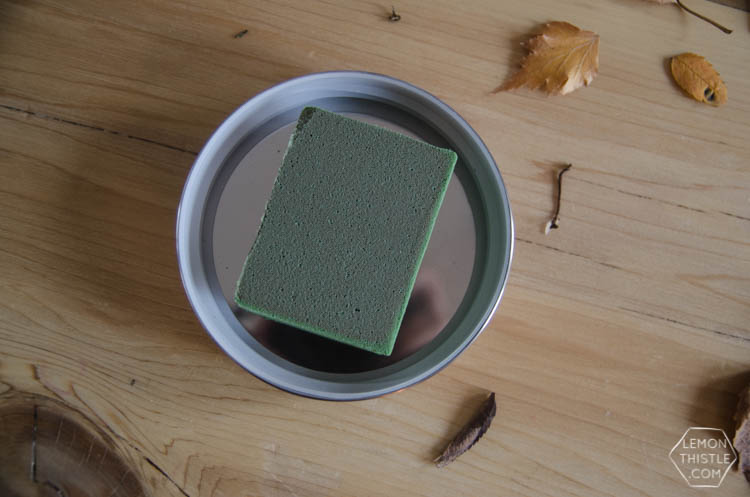
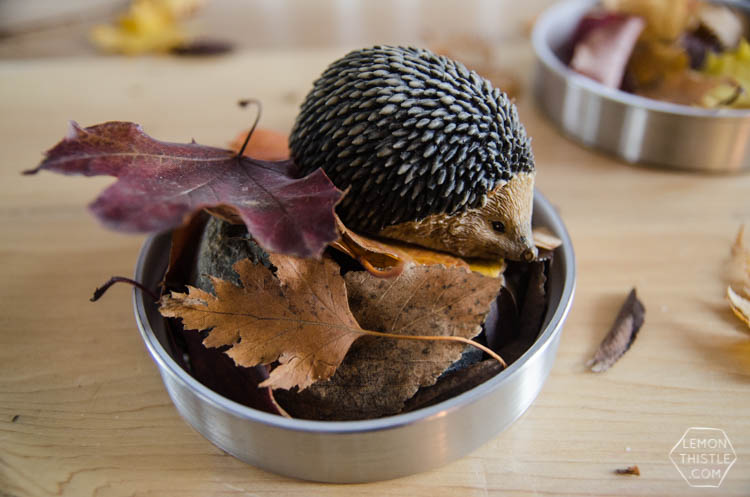
Stacking rocks, then covering in leaves and decor and starting with a small block of floral foam. I like the way the rocks worked better since it doesn’t matter if some peek through the leaves BUT the floral foam worked better for the terrarium with the hedgehog since it needed a relatively level surface to sit on.
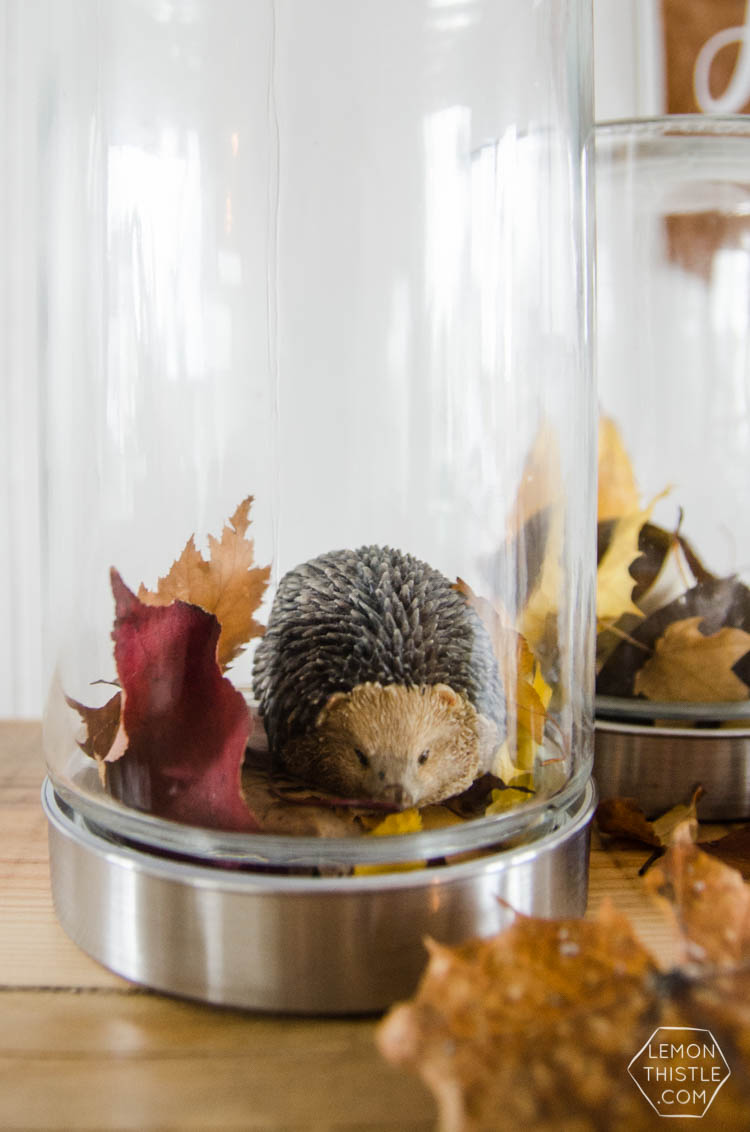
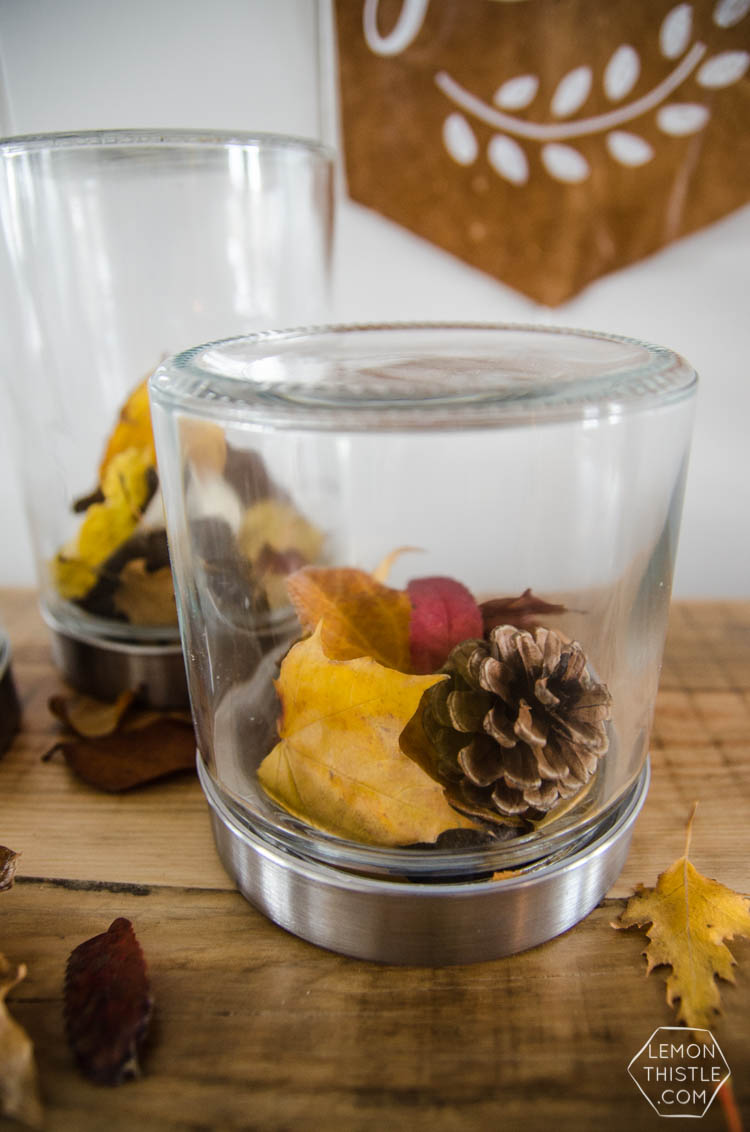
Keep in mind no matter how perfect it looks before you screw the top on, the glass container screws inside the lid so it bumps the leaves a bit and can move them out of your perfect placement. That’s why I liked the rocks, they became part of the scene. As an aside… that back terrarium has a nice big birch bark curl in it, you just can’t really get a good look at it I realized after editing the photos. It’s nice though, trust.
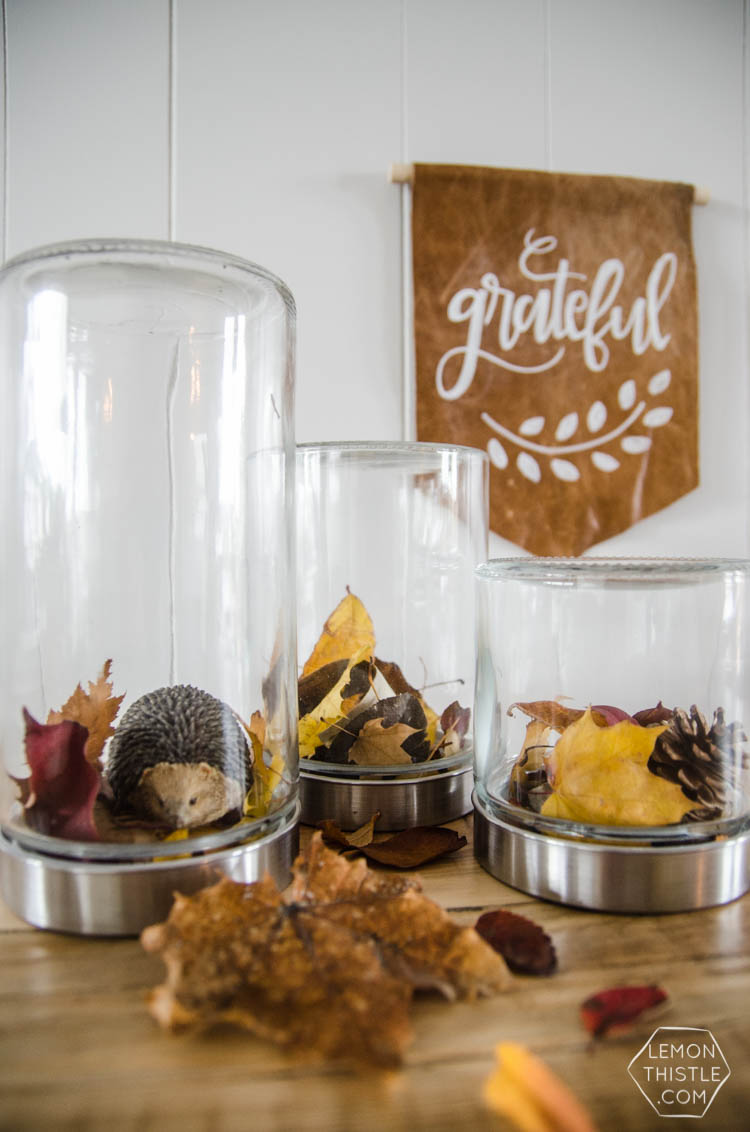
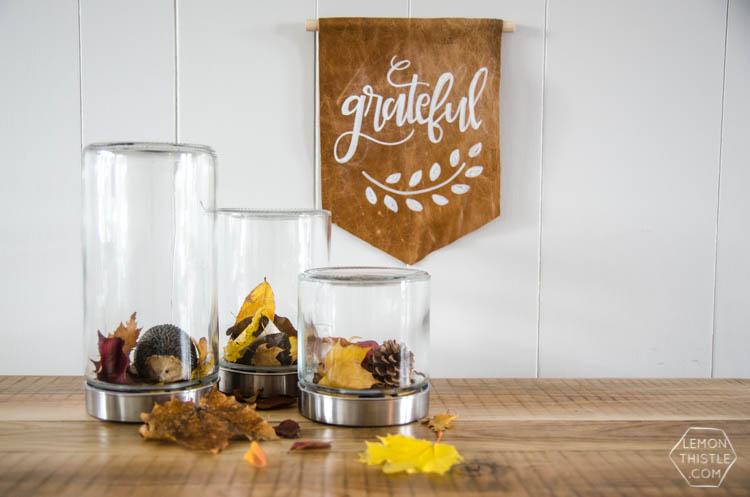
What do you think? My kids are loving that our hedgehog (he’s out year round, Shane bought him for me on a trip before we had kids) found a new home for fall. I might have to find a new home for him when the snow comes and make a little tradition out of it. They’re so simple but really bring the autumn vibe, I’m loving them!

Thank you Wayfair Canada for the rad challenge! If you want to participate and take a set of these glass canisters (from their basics collection) and DIY the crap out of them, just hashtag #DIYMyWay to join the fun :)
LIKE IT? PIN IT!

 Grateful DIY Leather Pennant
These are awesome Colleen! So simple, yet SO pretty!! I may have to do this next year :)
Thanks so much Lindi! You definitely should :)