This simple watercolor botanical art is perfect for a beginner- using just one paint and one brush. It’s an easy way to add a modern pop of colour to your home decor!
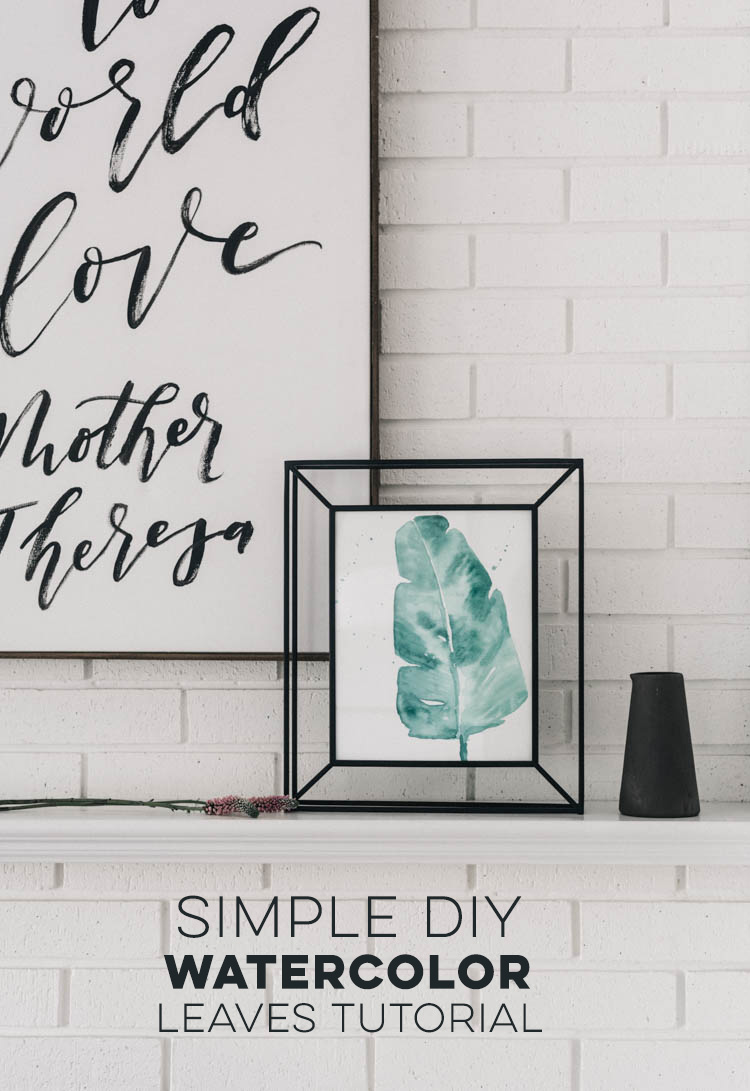
Last week I joined up with some amazing bloggers to share our summer wreaths and this week we’re sharing some summer DIYs (see them at the bottom of this post)! I’ve mentioned on the blog before that I’m loving LESS when it comes to decor- especially seasonal decor. It’s been so nice to have less THINGS to store between seasons. Knowing that- and since I moved my letter board into my entryway, this side of the mantel was looking a little bit bare (see it before here!) I thought I’d create something to fill the space that wouldn’t take up a ton of room to store.
Psst! This vignette is a small part of my summer house tour- you can check it out RIGHT HERE!
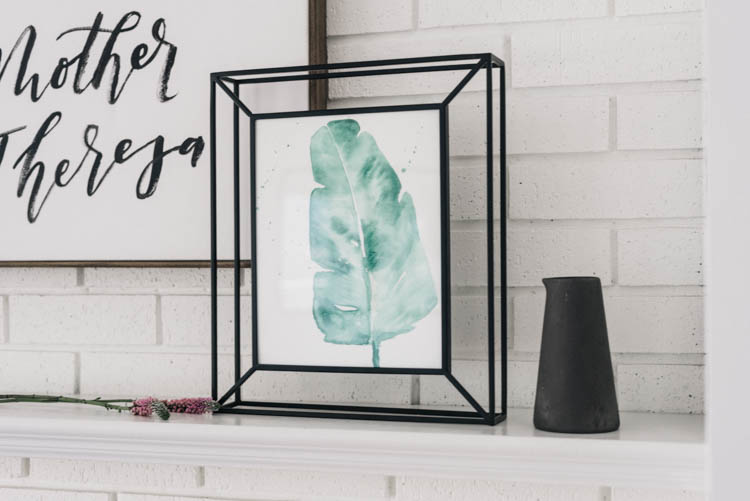
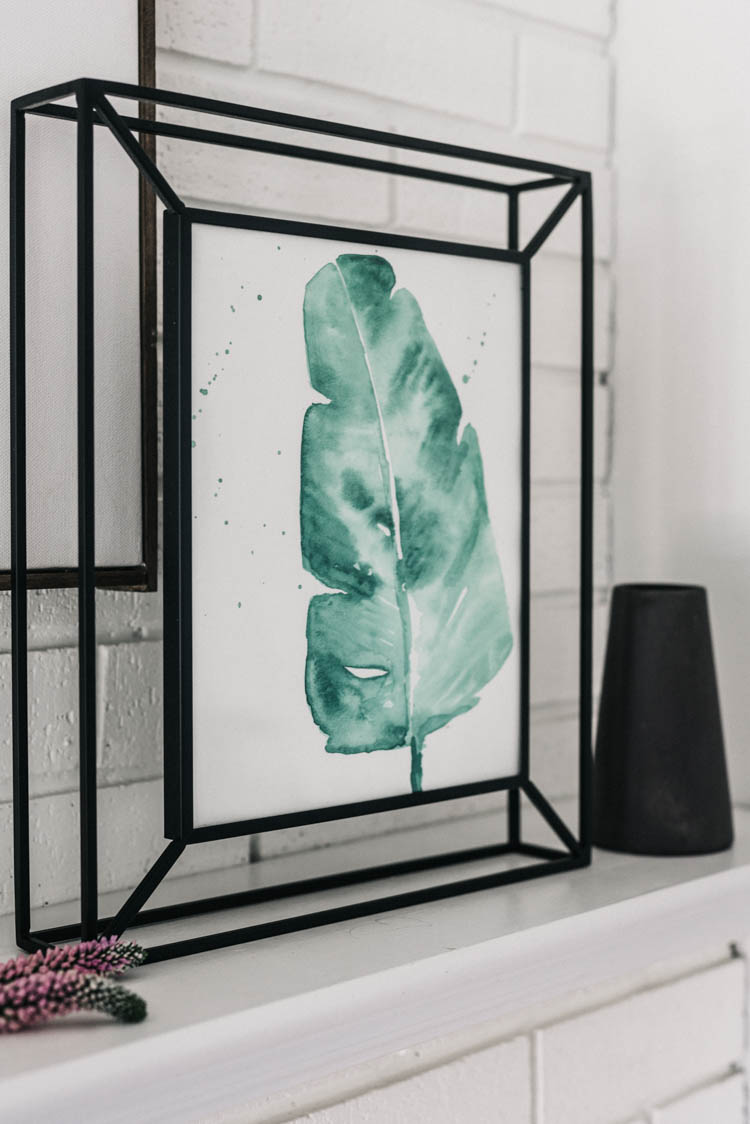
I love how this leaf art turned out! Since I’m not an artist, I kept it simple and worked with what I’ve become comfortable with. Bonus, that means like all of mine… this is a super beginner watercolor tutorial! This art takes just one color of paint with one brush. Want more tips? I got ya below ;)
For this project, I’m using Canson Watercolor Paper, Kuretaki solid watercolor (from this palette) a plastic pallet (just from the kids section at Michaels, they’re way more affordable than the ones in the art section!), and then a brush. The brushes I used are a sword brush (in the palm) and a round brush size 3 (banana leaf).
Get ready for completely NON technical terms, mmmmkay?
Before you paint anything, you’ll need to get your paint ready. For this project I used a solid watercolor, but if you want to use a liquid (tube), this video I made does a good job showing that! I use the plastic pallet to mix my paint. I fill one little pot with water and then use that water to pick up paint off the watercolor. I put as much of it as I can into another of the little pots… then I do that over and over until I think I have enough paint mixed up. To paint, I dip my brush back in the water before heading to the paper.
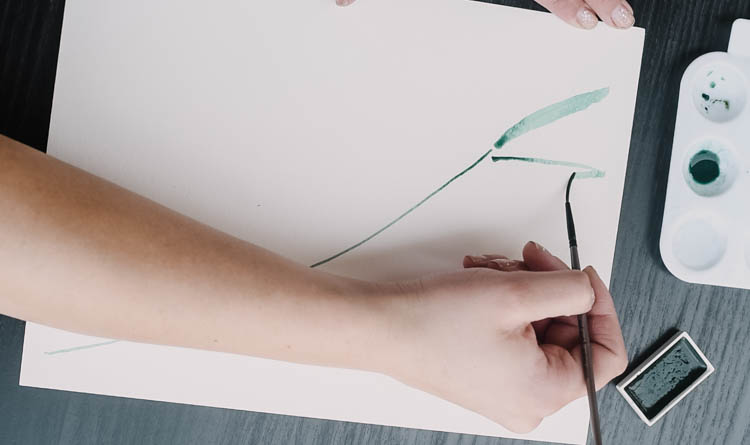
The simplest leaf to do is the palm leaf. This is because you can finish a leaf without letting the paint dry. The biggest trick that I’ve found (I think every tutorial that I’ve watched) is to keep your paint/ paper wet when working on a design. To get that flowing look where paint bleeds into darker corners- this is totally key. So since the palm leaf is separate leaves, that’s easy to do. I just painted each leaf individually then added darker corners or parts to each leaf as I went.
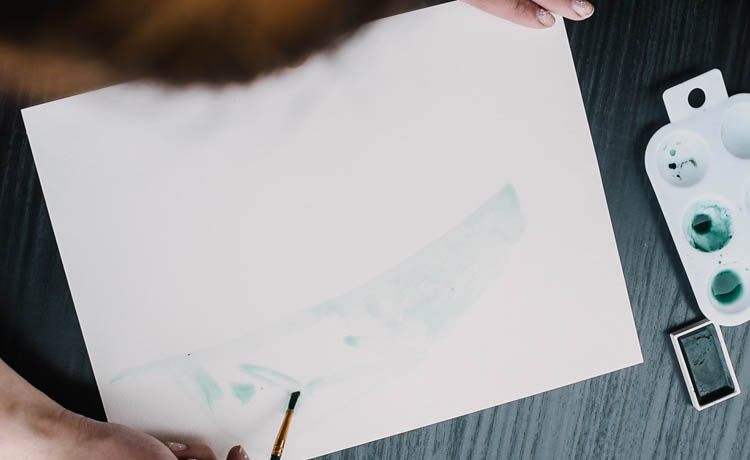
But the banana leaf (my fave) was a larger surface and trickier. The first thing I did was switch to a larger brush. Then, like when I painted this rabbit, I painted the shape in just water first. I did half of the leaf at a time just so it wouldn’t dry. Once you’ve painted it with water, you can go over that with your pigment. Just pick it up from the pot you’d mixed and start brushing it in.
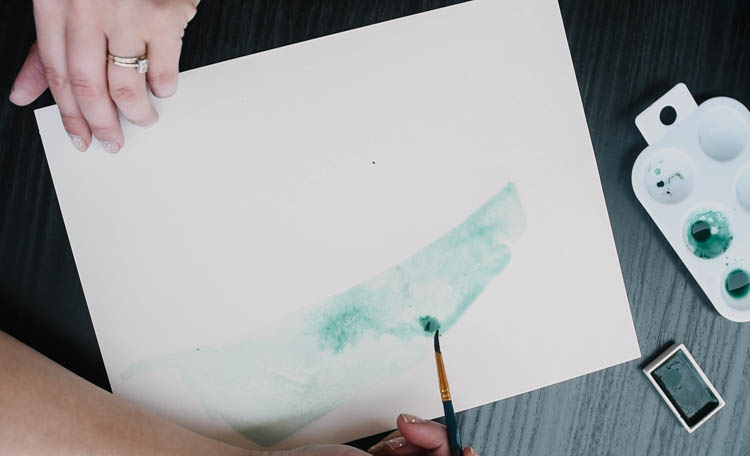
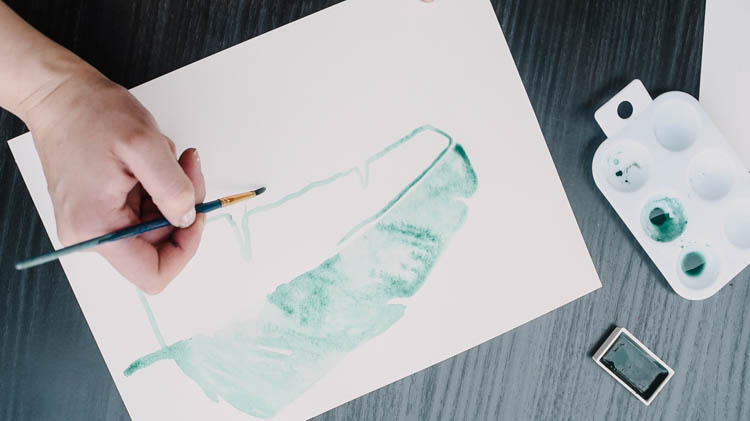
I brushed in the whole shape as a wash, then added darkness in some corners and went over again with brush strokes to mimic the look of leaf veins. Then you can add in the other side!
To darken sections, just pick up more paint and keep adding it to that area. Watercolor paper can hold SO much water, so keep going without worrying about it wearing through your paper or wrinkling the paper. Keep in mind that it will dry lighter/faded to what it looks like wet so don’t be shy!
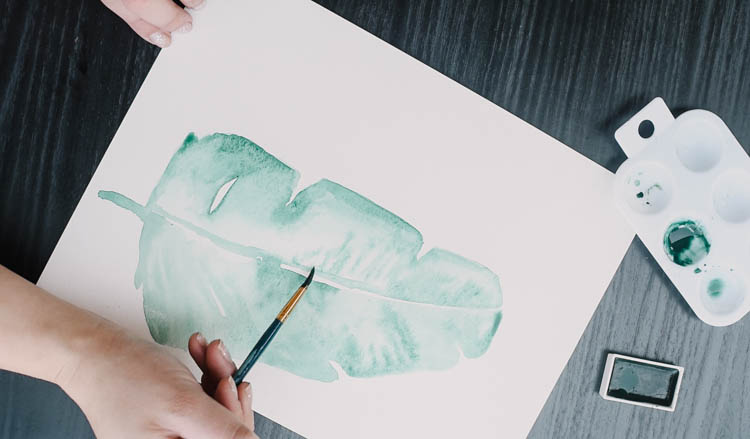
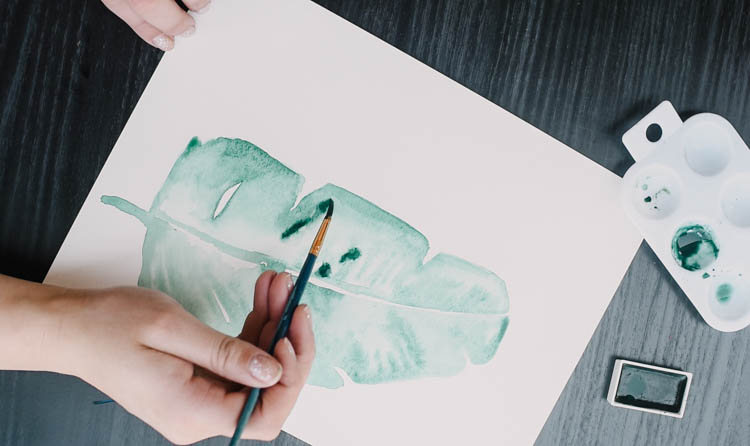
Once the shape was set, I just kept adding in darker spots and details of the veining. I love the look of voids in watercolour so left a few of those as well. You can see how crazy pigmented some sections look in these progress photos but then how smooth it dried. Watercolor paper is honestly magic. It holds all that water so as you lay down more colour, it bleeds and blends so beautifully!
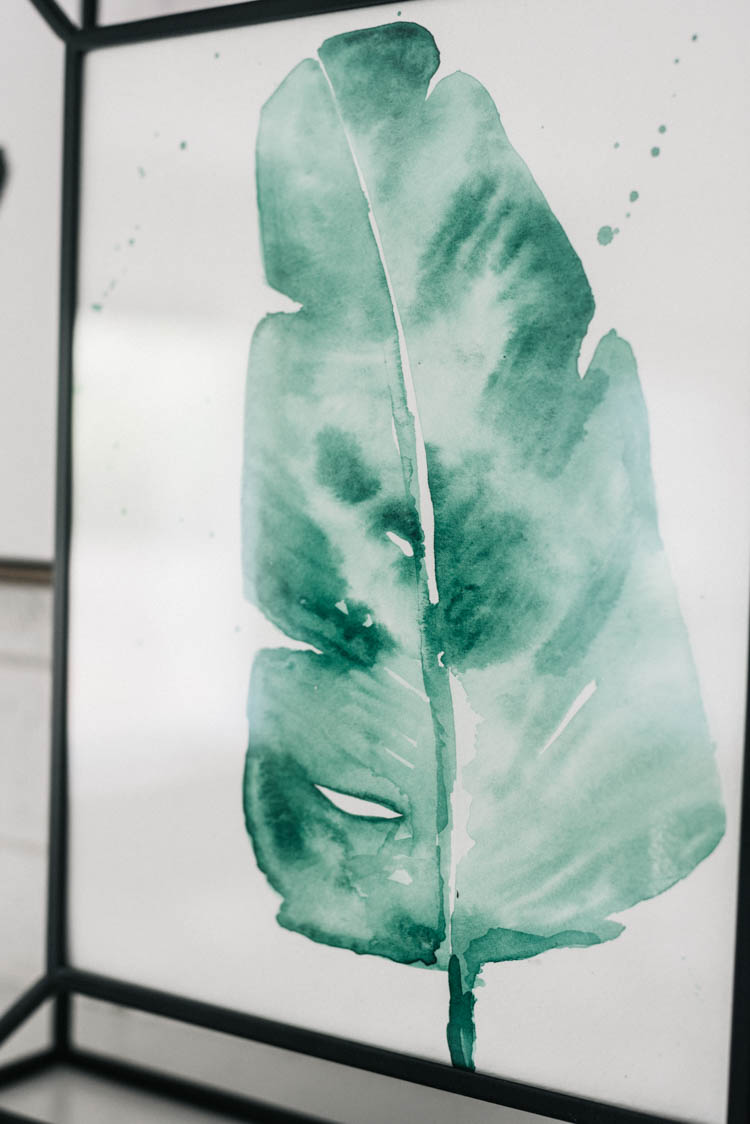
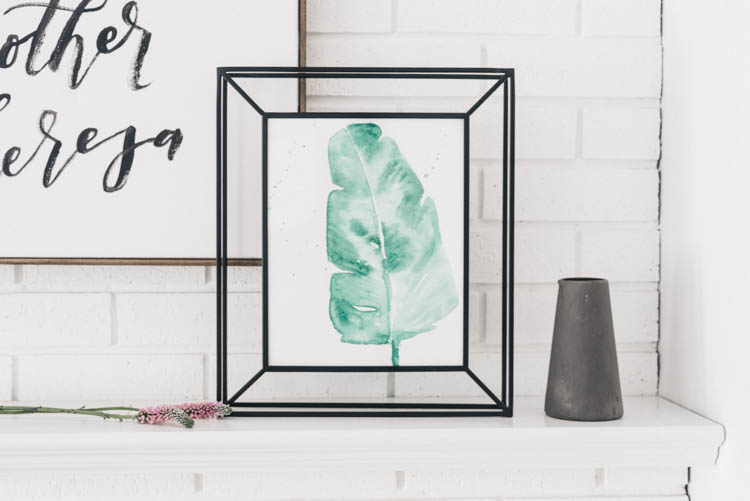
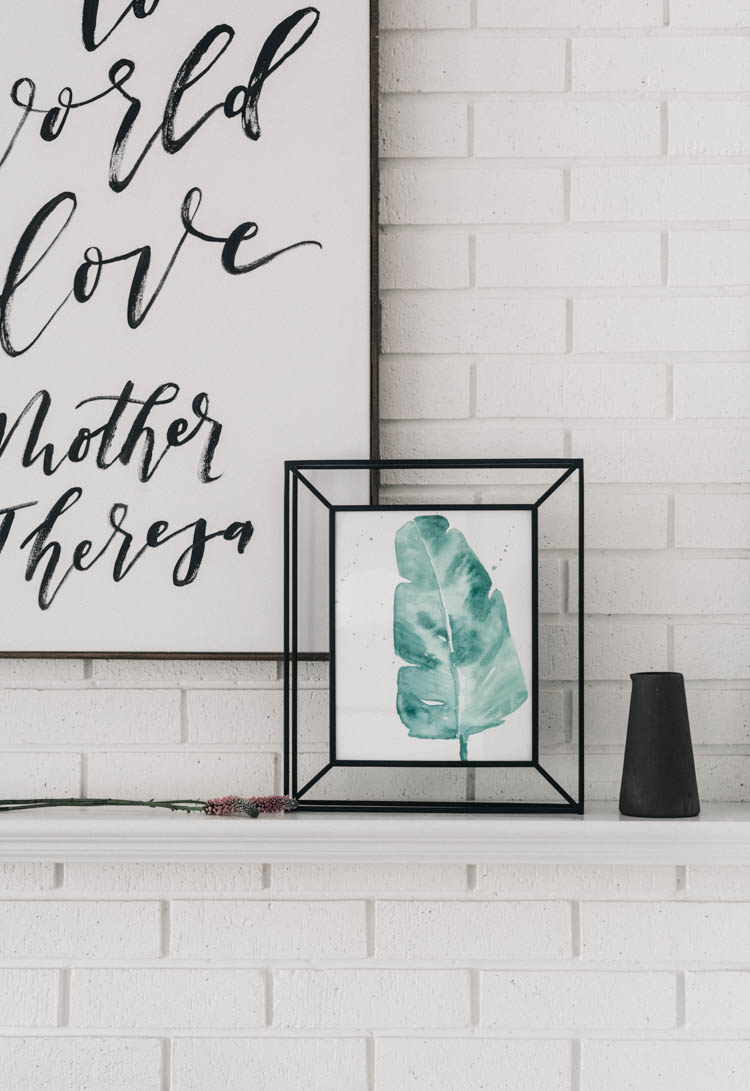
Alright… that’s it! I hope that enjoyed this tutorial and that it might inspire you to play with some watercolor this spring! And now for ALL the rad DIYs!

Today I’m joined by a fabulous group of blogging friends who are also sharing their Summer DIY Ideas as part of the Seasonal Simplicity Summer Series…

Just click on the links below the images to be taken to their posts and see what they’re sharing today. I’m blown away by all the awesome summer DIY ideas!

5 Minute Dollar Store DIY Hit Wall at The Happy Housie
Anthro Octopus Knockoff at Craftberry Bush
Summer Activities Tree at The Handmade Home
Easy Ways to Bring Colour Into Your Home for Summer at Tatertots and Jello
Rustic Birdhouse Garden DIY Decor from the Dollar Store at The DIY Mommy

DIY Shell Planter Tutorial at Zevy Joy
Painted Wood Jewelry Dish at Paint Me Pink
DIY Beach Art on a Canvas at Shabbyfufu
DIY Concrete Vase at Place of My Taste
How to Dress Up Your Walls For Summer at My Sweet Savannah

DIY Pottery Barn Inspired Liberty Burlap Party Banner at She Gave it A Go
Campfire S’Mores Gift Basket Idea at Modern Glam
How to Paint a Concrete Patio at The Turquoise Home
DIY Hanging Garden Trellis at A Pretty Life
DIY Coastal Window Box at Finding Silver Pennies

DIY Rainbow Book Art at Life is a Party
DIY Tabletop Marshmallow Roaster at Sincerely, Marie Designs
How to Make a Sign the Easy Way at Confessions of a Serial DIYer
DIY Bird House at Seeking Lavender Lane
Simple Botanical Watercolour at Lemon Thistle
DIY S’mores Bar at Clean & Scentsible

 DIY Garden Fresh Wreath for Summer
You are so talented Colleen and thanks for the non-technical terms! I might just be inspired to give it a try. Thanks for sharing and being a part of the blog hop.
Ahhh girl, thanks so much :) And thank you for another fun hop!
What a beautiful project! I love watercolor art.
Thanks so much Ashley!
Oh this is so pretty Colleen! I’m not sure I could ever get the same result as you though…you are so talented!
Thank you Jo-Anna! Now if I could only bake like you ;)