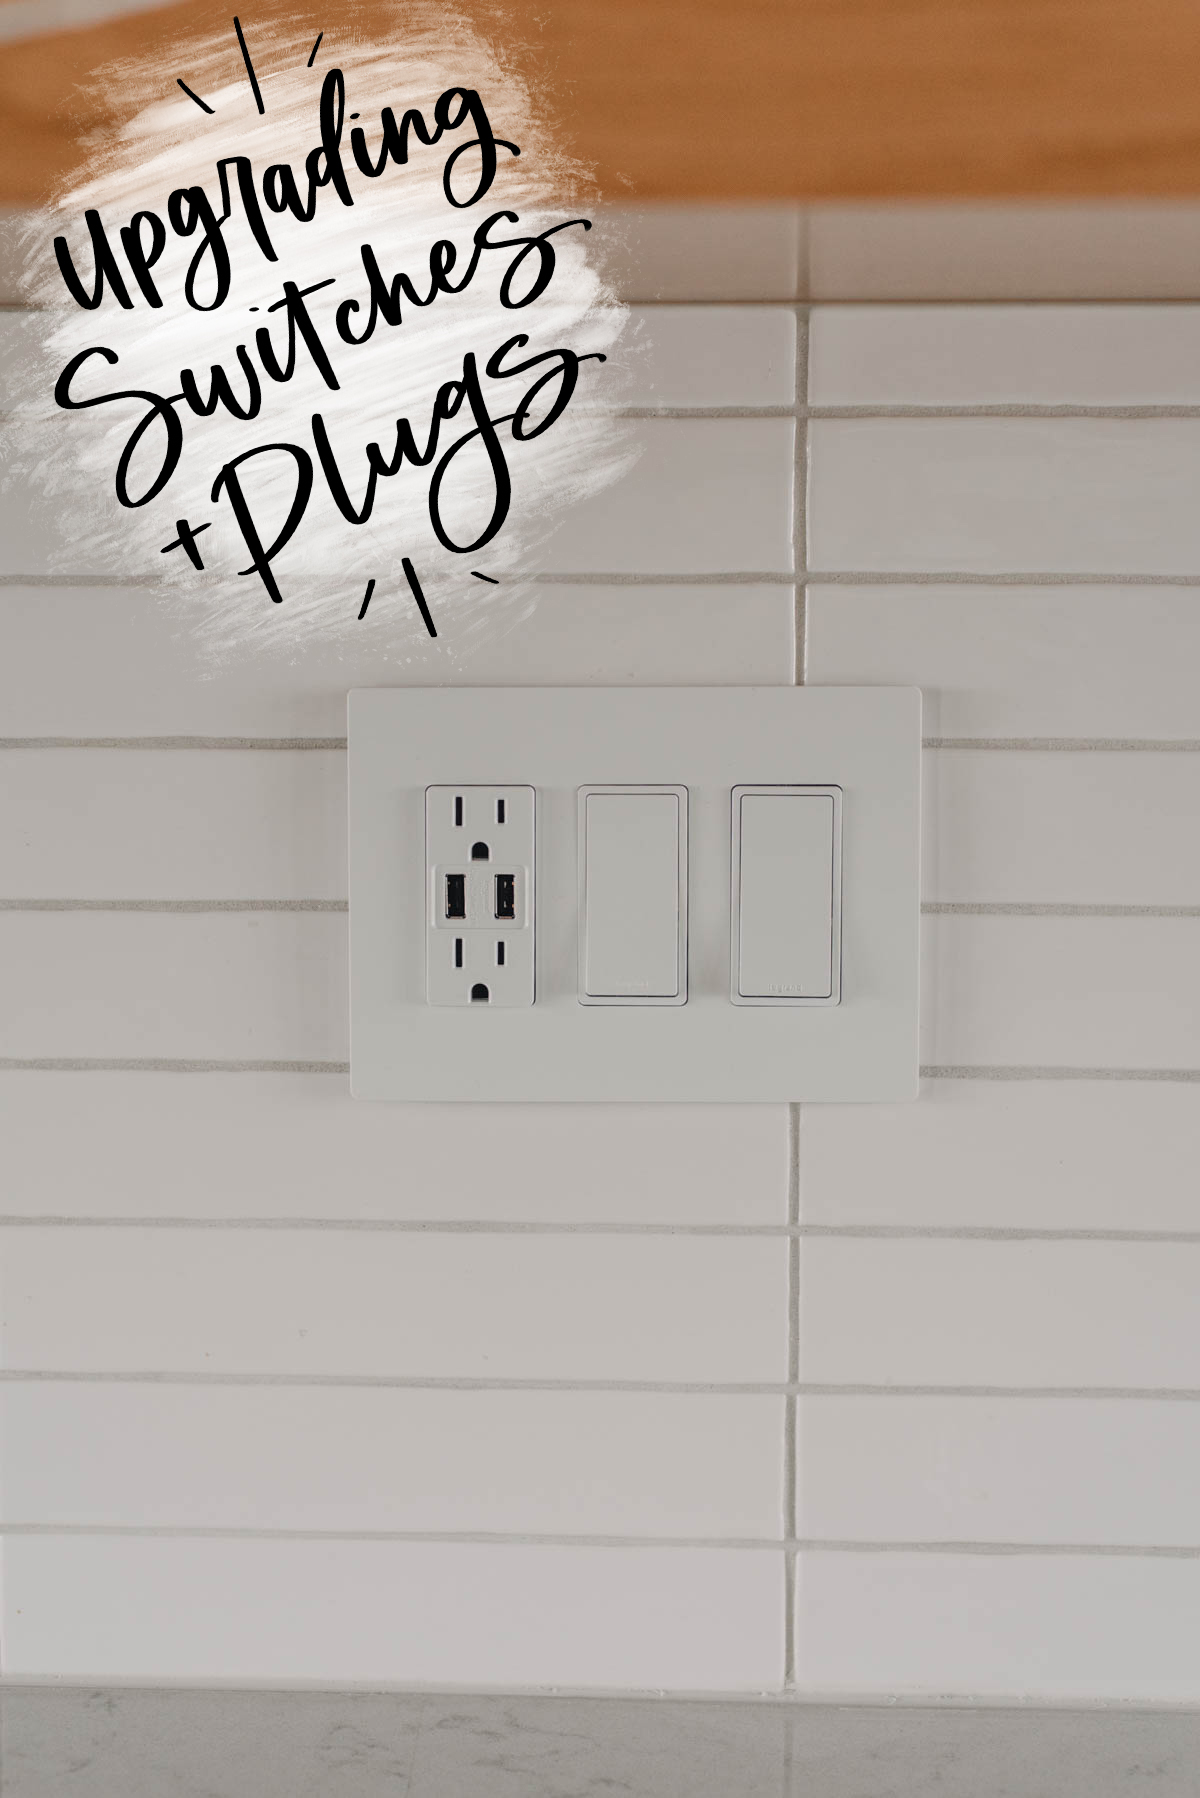
Why and how to upgrade plugs and light switches, here’s 5 changes we made from tamper resistant to USB to screwless faceplates to nightlights and more.
This is our second major remodel that we’ve lived through and while the big stuff is exciting, small things like plug and light switch replacement can be pretty rad too. In this post, I’m sharing 5 swaps we made for plugs and switches in our home- these are easy updates that make a big impact to our daily living, peace of mind, and the style of our home.
I’m also sharing WHY and how to replace plugs and light switches for safety, function and did I mention they’re pretty?
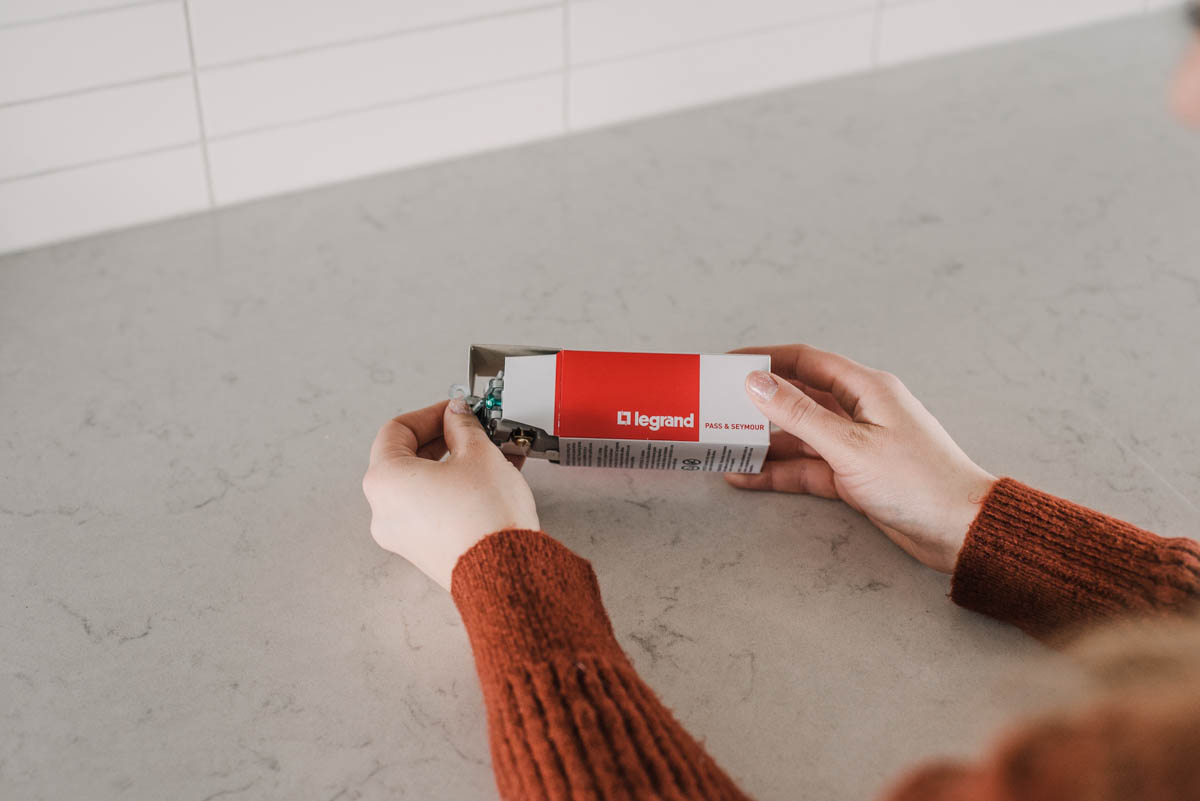
The disclosures: This post is created in partnership with Legrand. You can find all my policies here. And as for this tutorial? We are not electricians, If you aren’t comfortable changing plugs and switches in your home, please consult an electrician. As always, make sure to turn off the power to any plugs or switches you are working with.

I know video isn’t for everyone, so I’ve written up all the points I hit on in the video below! If you are a YouTube fan, though… I’d so love if you subscribed to my channel!
WHAT ARE TAMPER RESISTANT PLUGS
Okay, so this is the big change we made at our last house. We upgraded every piece of electrical because it needed it cosmetically and practically (there wasn’t enough to run a dryer even!). While we were at it, we chose tamper resistant plugs. This means that instead of having to put those plastic things in each of the plugs to keep little people from pushing things into them… they have a built in cover inside of the plug that prevents one side of a plug from being pushed in on it’s own (likely with a foreign object. If you find that they’re difficult to use at first, you’ll get used to them once you realize you need to push the plug in evenly so both prongs contact that cover inside to release it.
INSTALL USB PLUGS
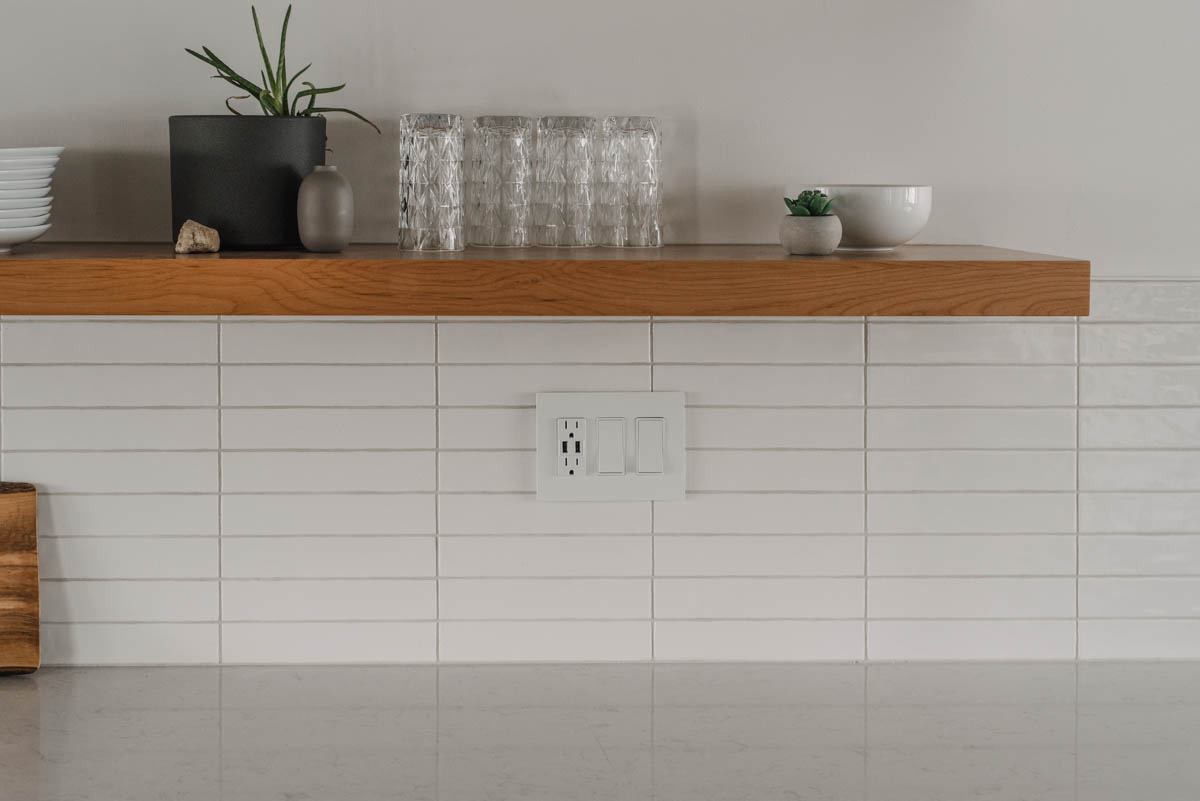
USB plugs don’t require any extra power but allow you to plug four devices in at a time thanks to adding two USB ports on the plug face. I used one of these on my island at my last house as a kind of makeshift charging station and we loved having our devices out of reach of kids (for the most part) and handy. So, we’ve added a USB plug on our kitchen counters again!
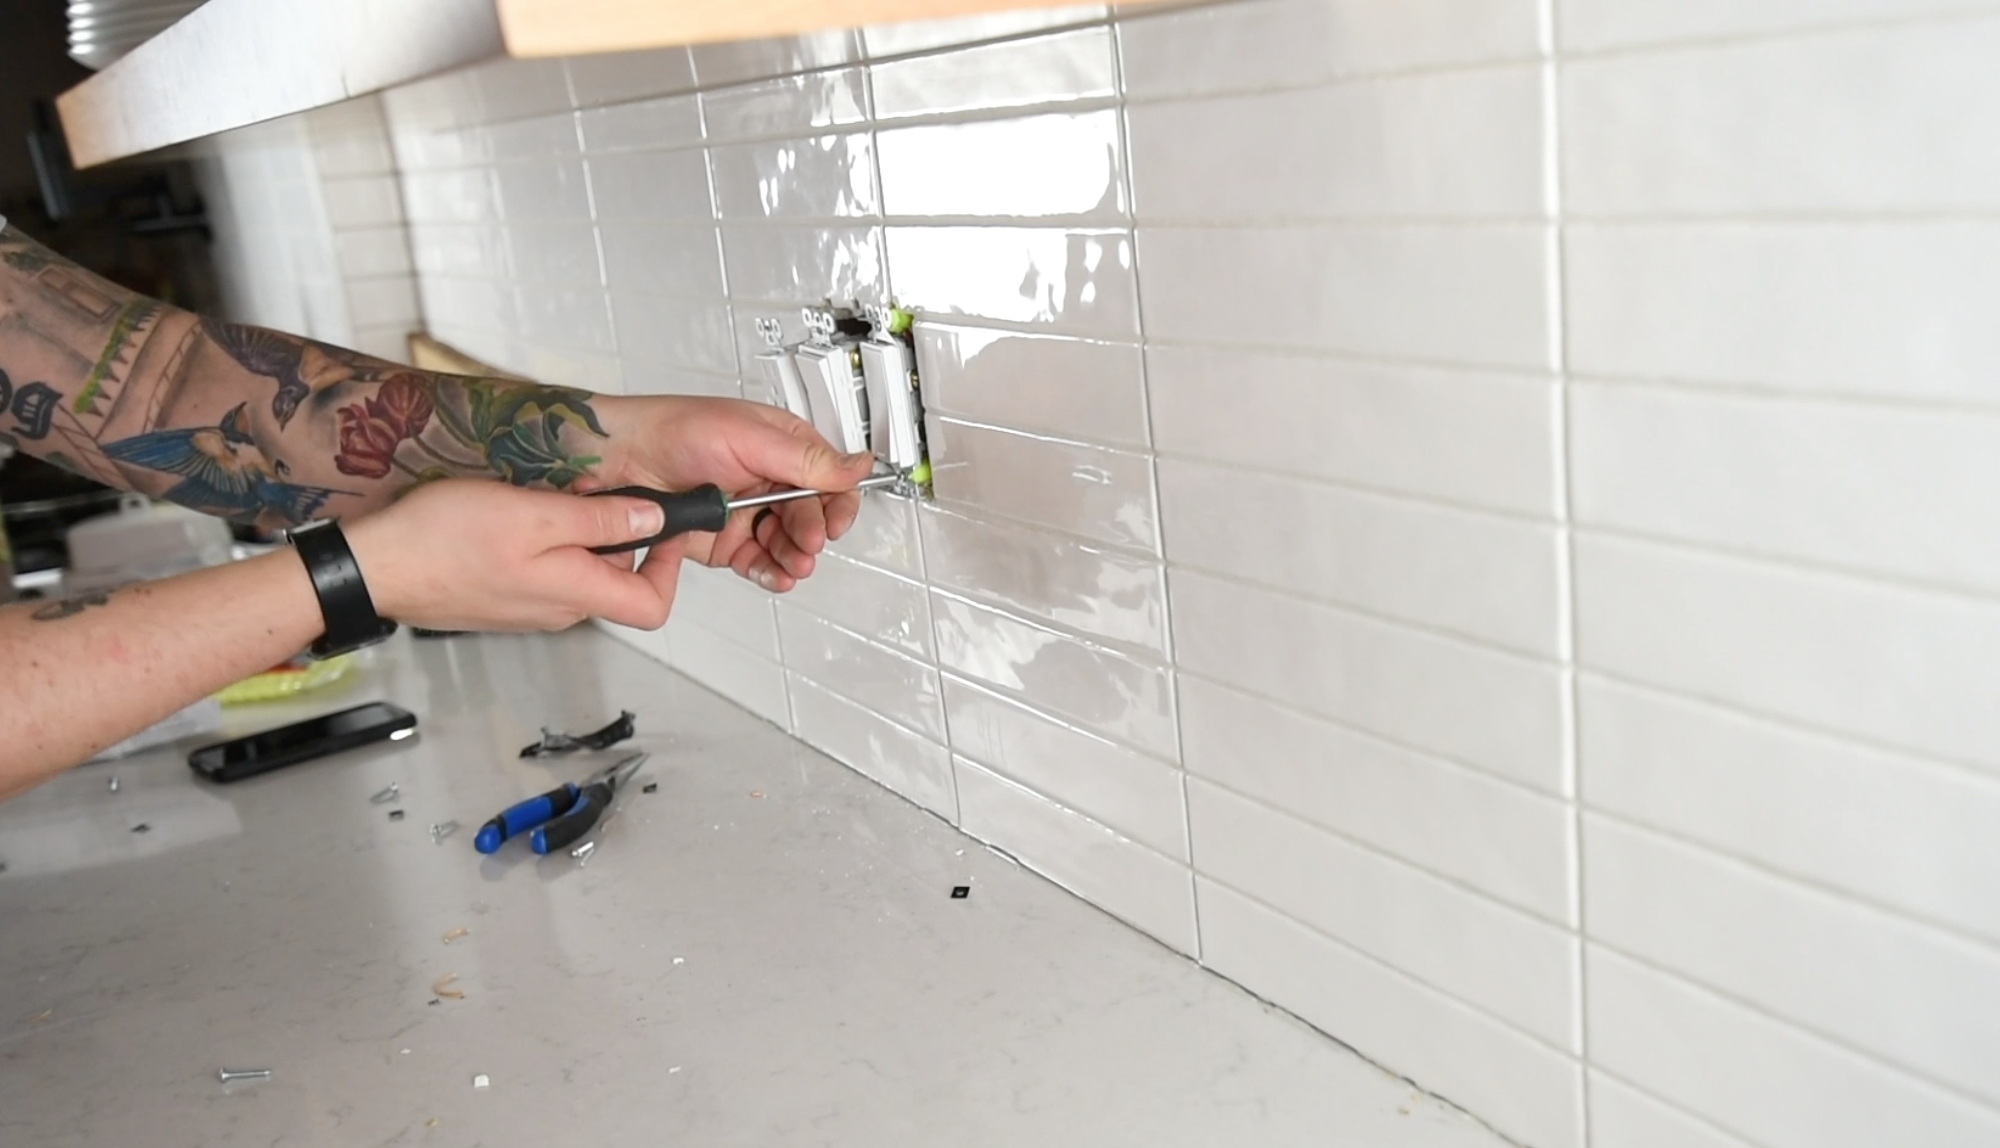
Since they don’t require any extra power, you can just swap them out directly. Before you do, though… turn off the power to your plug! Flip the breaker, then make sure to test the wires with a wire tester before you get started (better safe than shocked!). The Legrand Radiant collection identifies the screws on the back of the plugs and switches to help make it easy to see which wire goes where.
SCREWLESS FACEPLATES
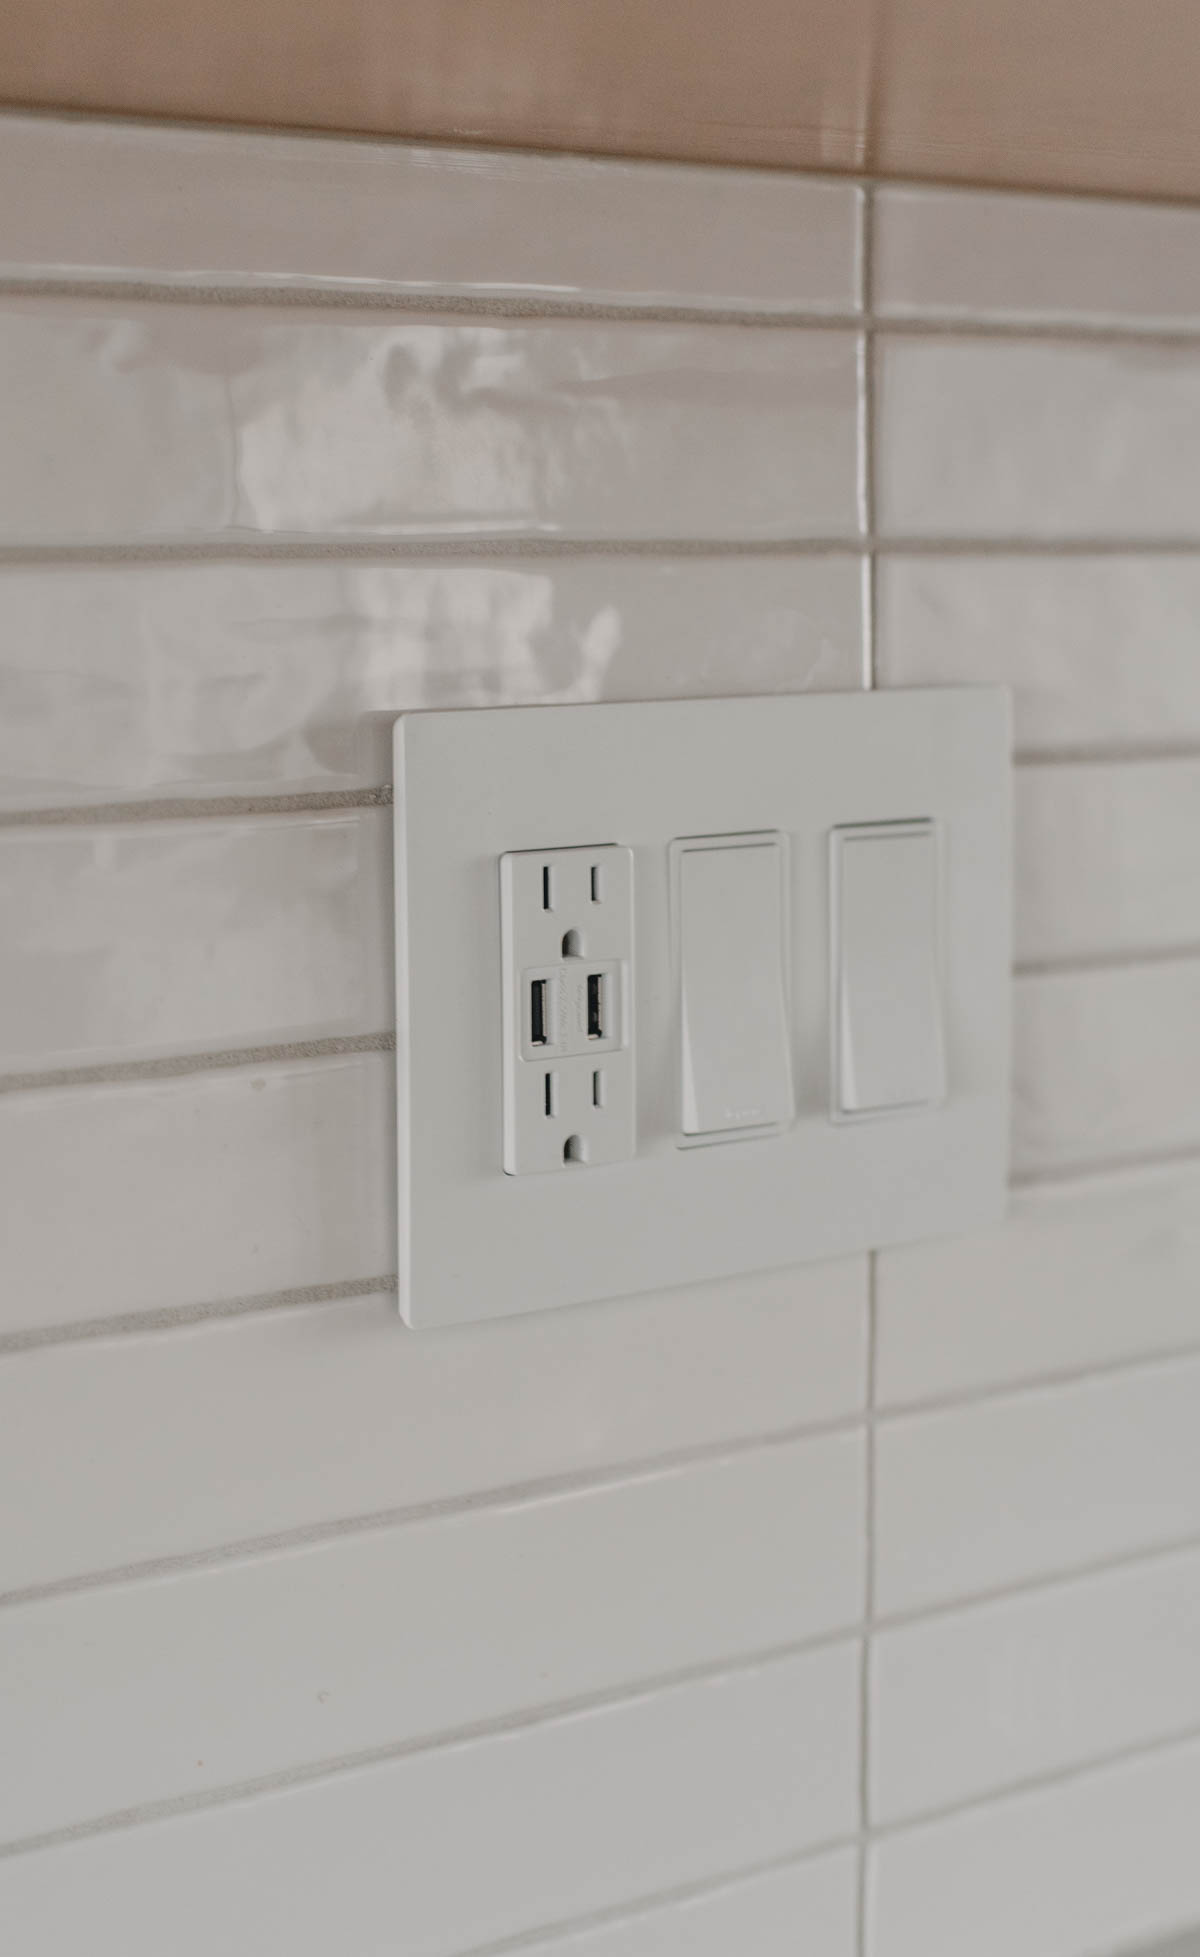
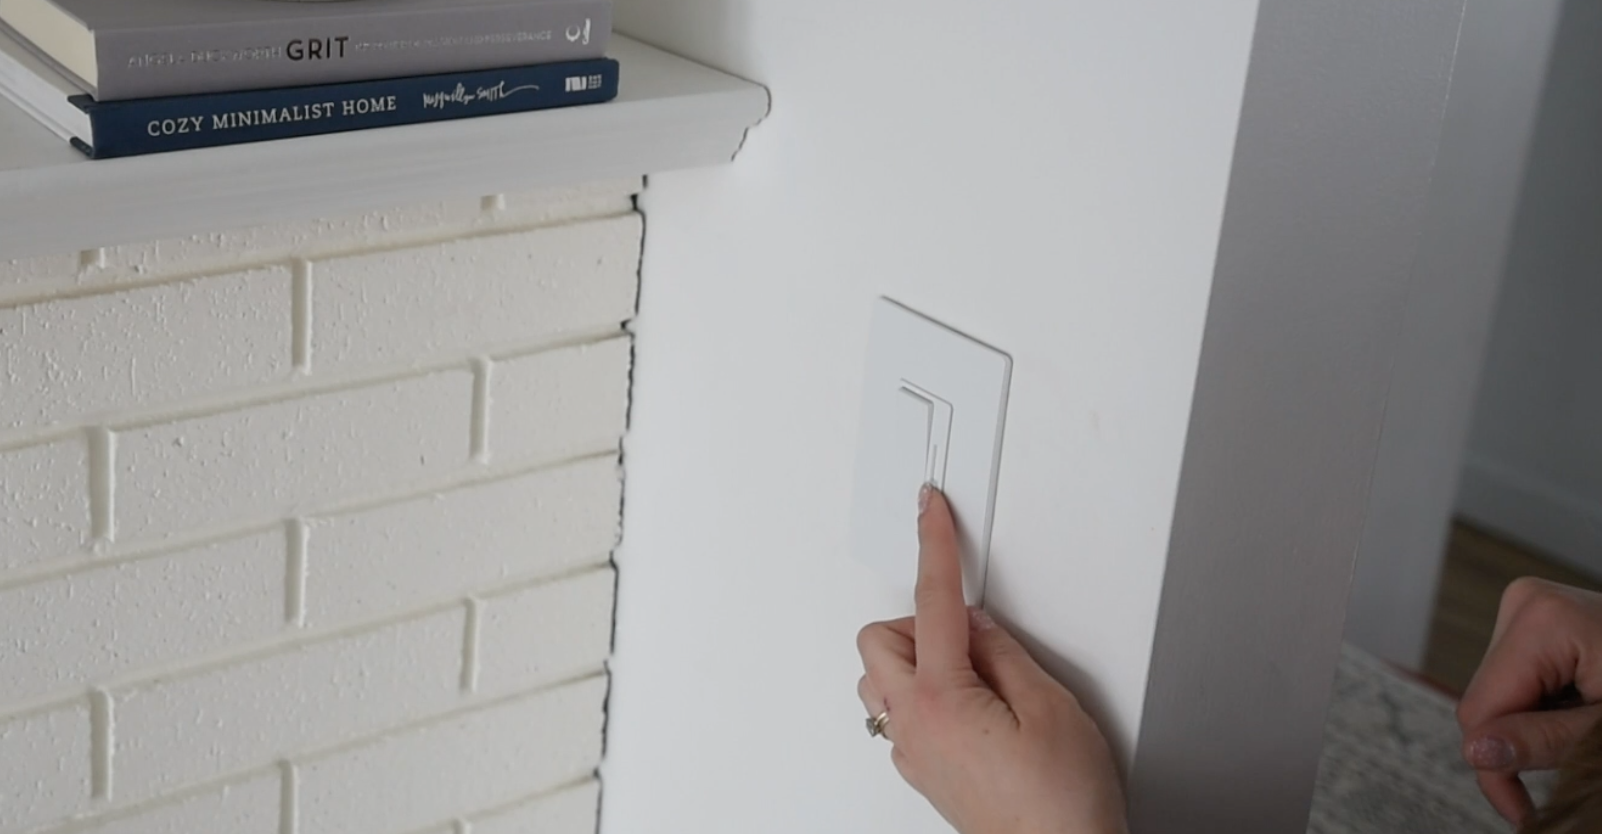
Ahhh the look of screwless face plates is so so good! We swapped out the face plates in the main floor of our home in our last house as well since the screwless faceplates upgrade the look so much. Even better? They’re simple to install. I actually shared a tutorial for this last year on my Instagram stories and was so surprised with the amount of replies I had which said they’d thought this was a difficult or expensive task so had shied away from it. Guys! It’s easy.
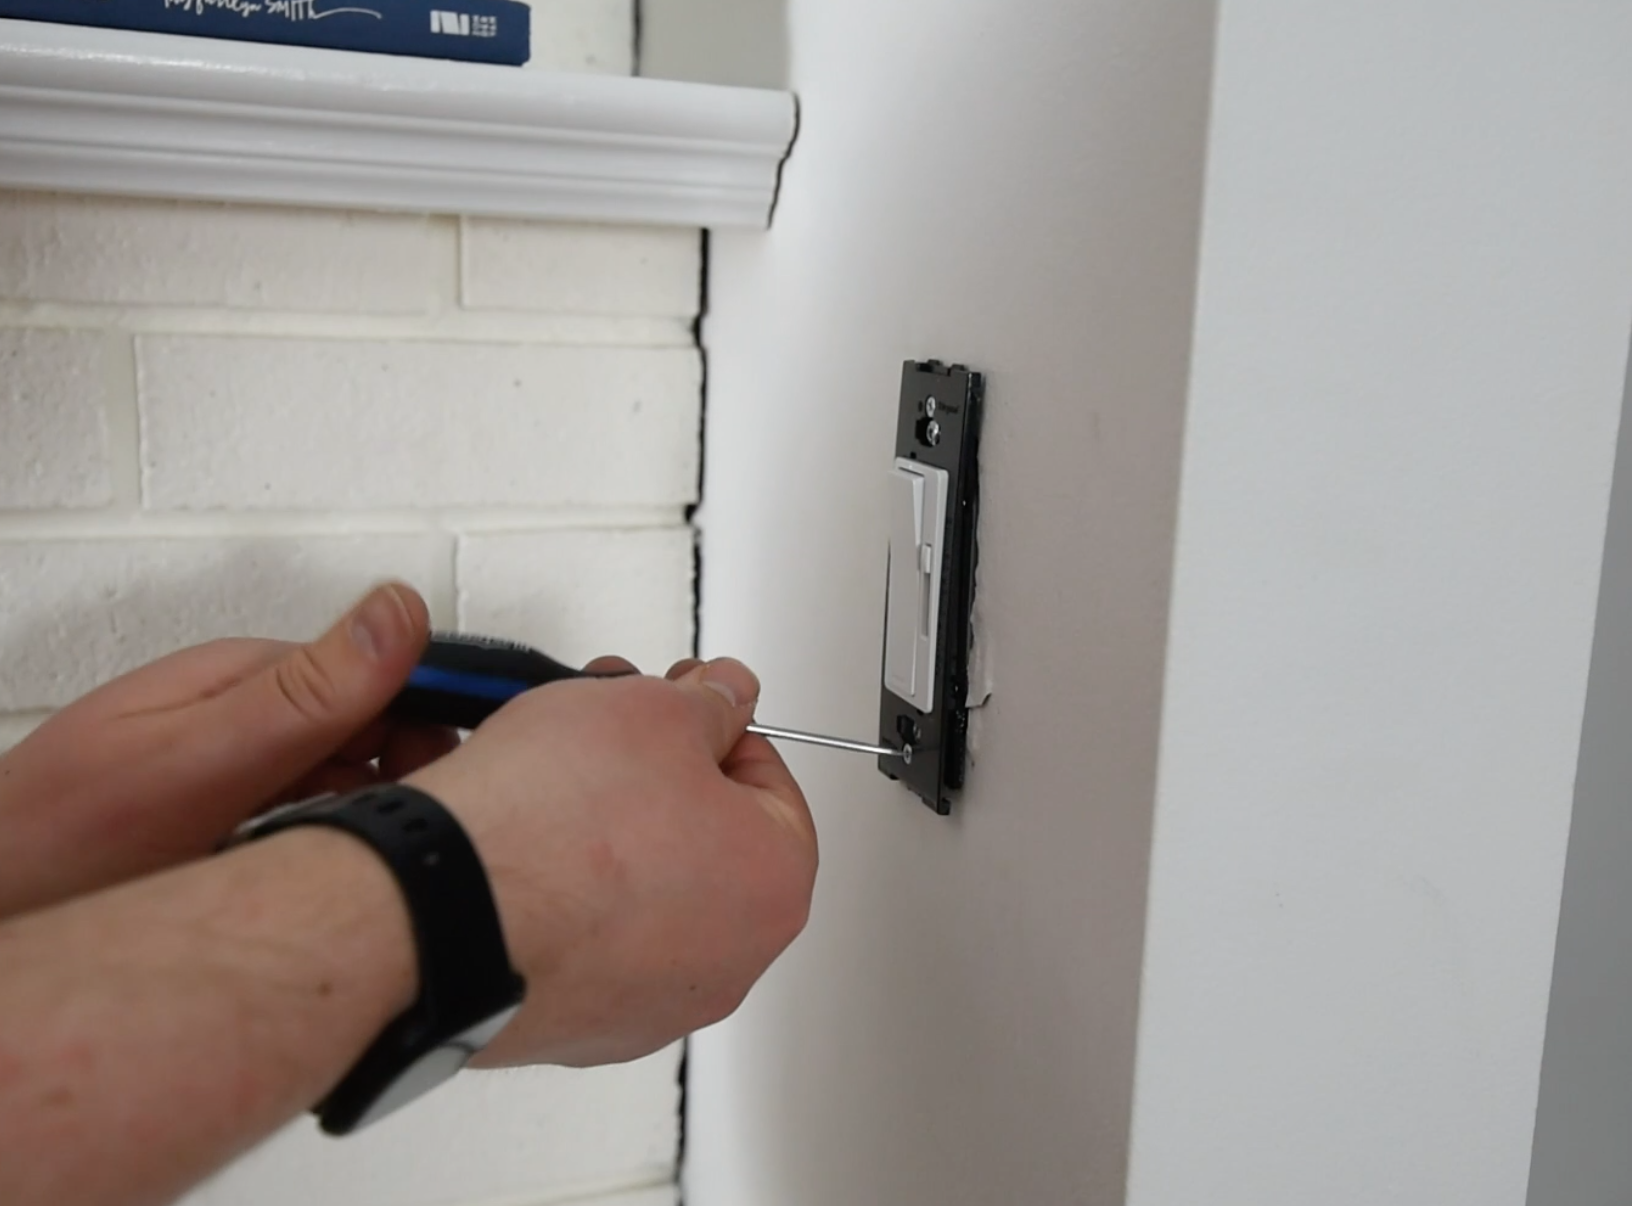
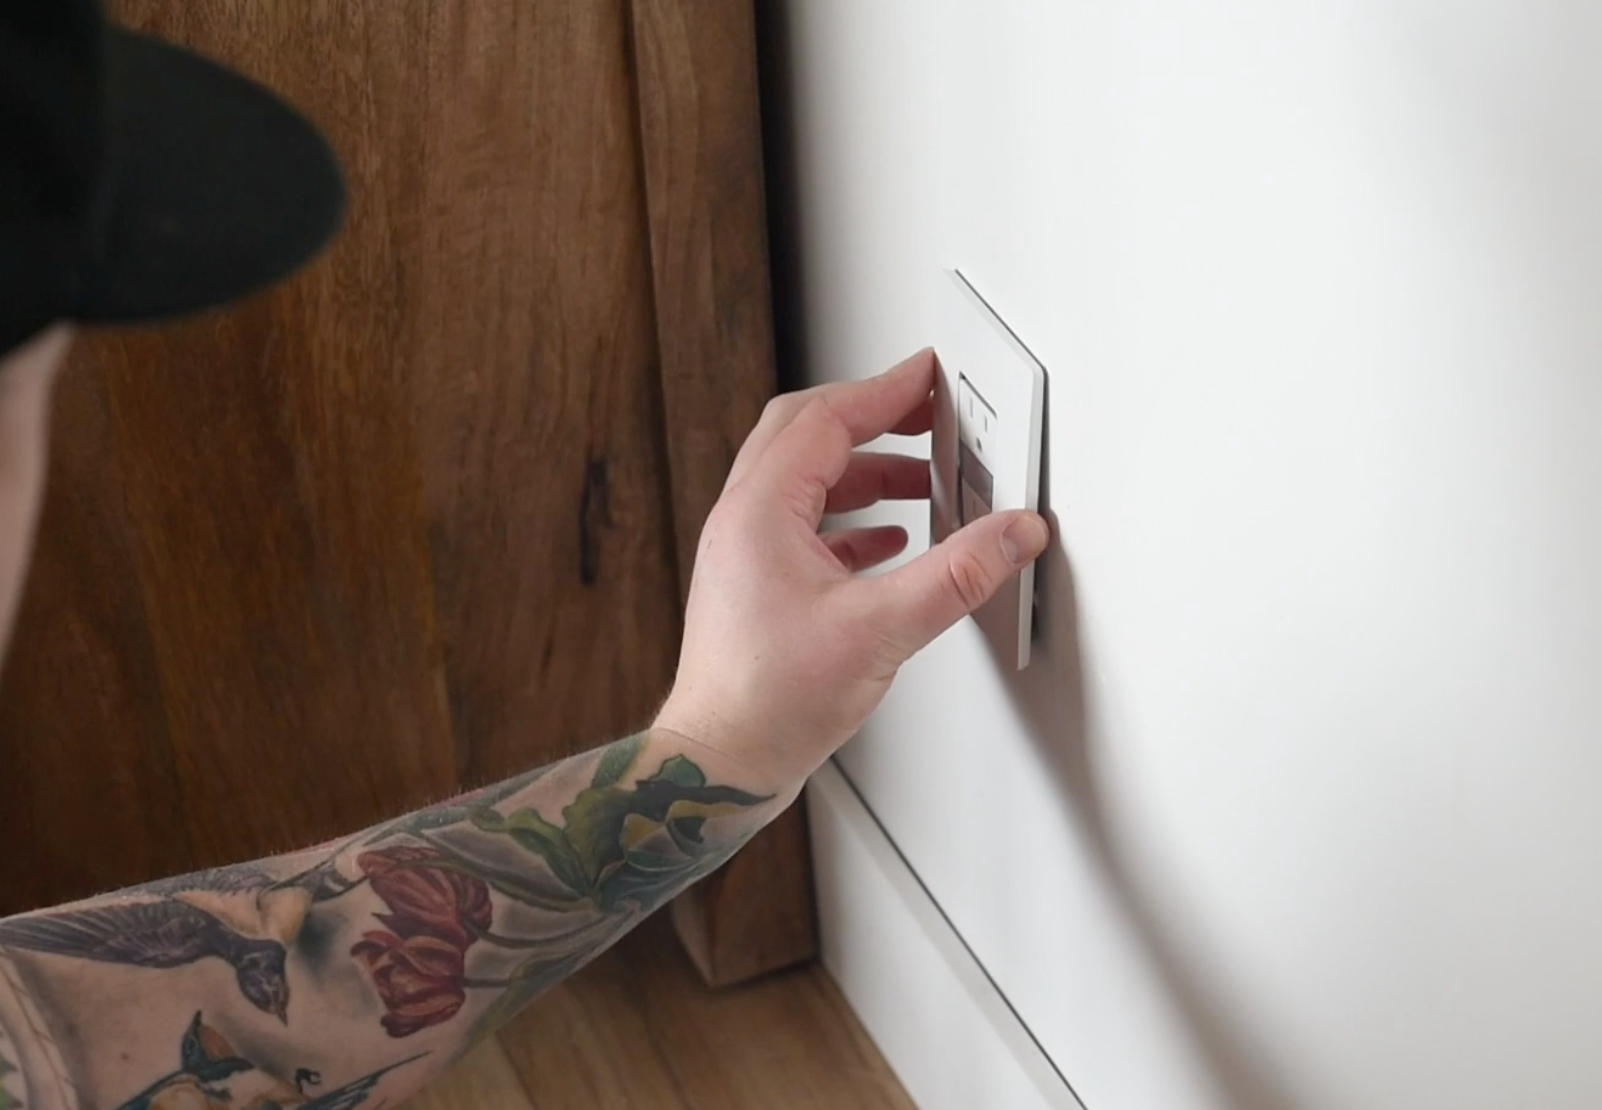
The screwless face plates come in two pieces. You screw the one that’s not so pretty on to the plug as you would a normal face plate. Then, you just clip that beautiful screwless faceplate right on top… TA-DA! Isn’t that so easy? To pop it off, you just use a flat head screwdriver in the notch at the bottom.
INSTALLING A LEGRAND RADIANT DIMMER SWITCH
Okay so the dimmer was a bit more of a trick than the USB plugs. We took off our current switch and had a hot wire and a common wire. We needed those plus a ground wire and neutral wire. Our neutral wires were bundled in a wire connecter, so we pigtailed a new neutral wire from that to the switch and added a ground wire. Again, if you’re not confident in this- please ask for help from an electrician. Or if you’re like me… your dad.
Once the power is back on to the switch, the Legrand Radiant dimmer switch will calibrate. This essentially means it will test and adjust the brightness (load) to suit what your lighting can handle without flickering.
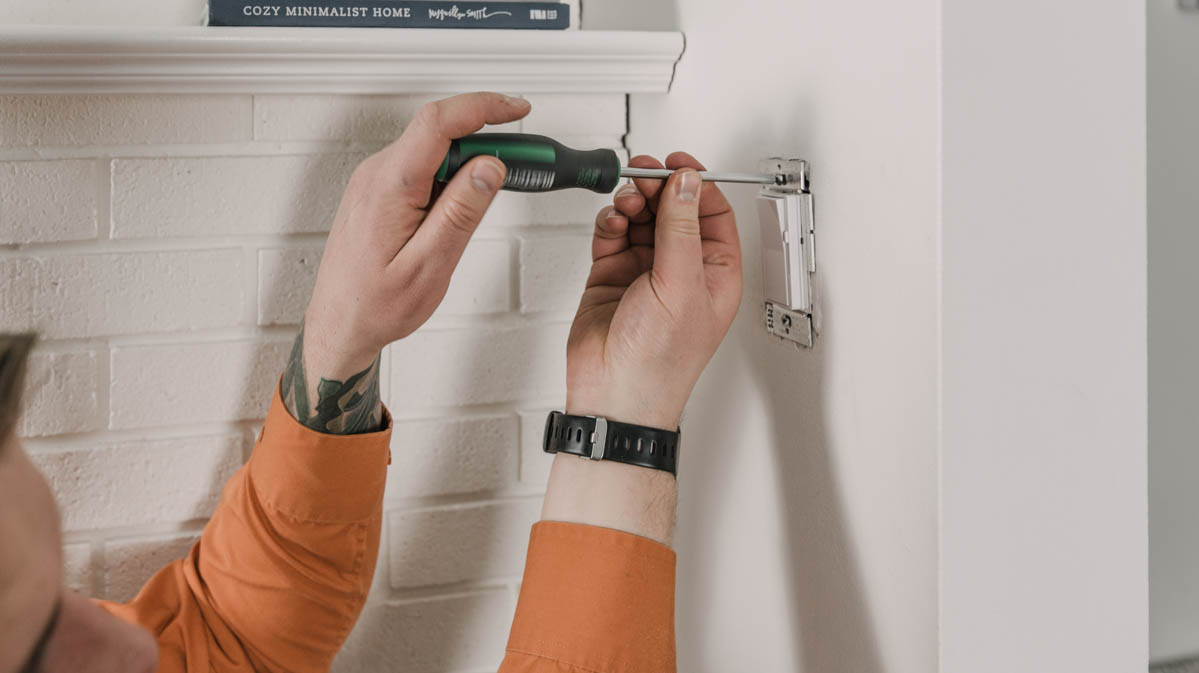
What I really like about these switches is that you can adjust the dimmer to the side of the switch, then just hit the on off switch as you. would any other paddle. It’s not like those old school dimmers where the dimming knob is large and in charge and everyone wants to play with it. This is really great for spaces that you have a big beautiful light fixture with lots of light bulbs… but is blinding. Like my dining room light, for example. Or my old dining room light. Both of those lights NEEDED a dimmer. And I didn’t want guests to slide it to full brightness without thinking so this style switch is perfect for that!
INSTALLING NIGHTLIGHT PLUGS
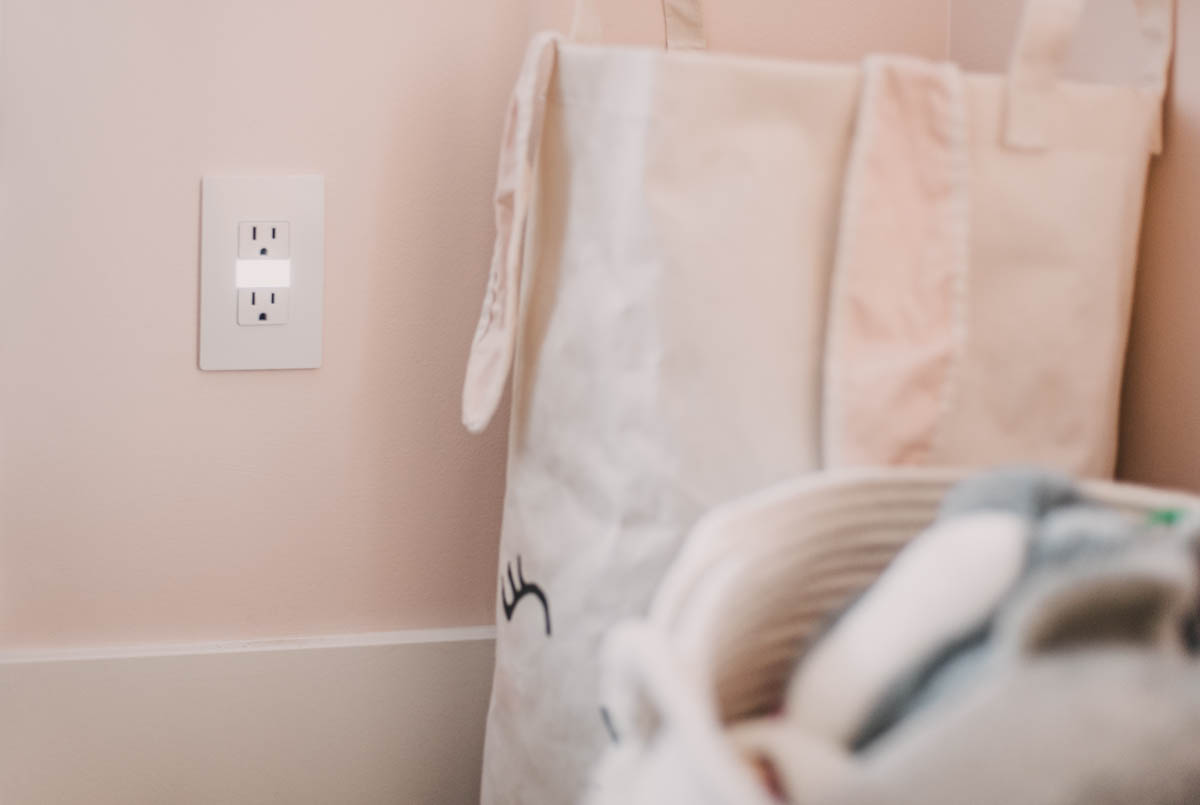
Okay, so this one has been such a great improvement for us! And our sleeping! Our kids prefer to sleep with a nightlight. Which you think would be a simple request. But our toddler sure loves to take the nightlights out and walk away with them in the daytime. So come bedtime? We’re searching high and low for those things. Not anymore… and I’m so happy about it.
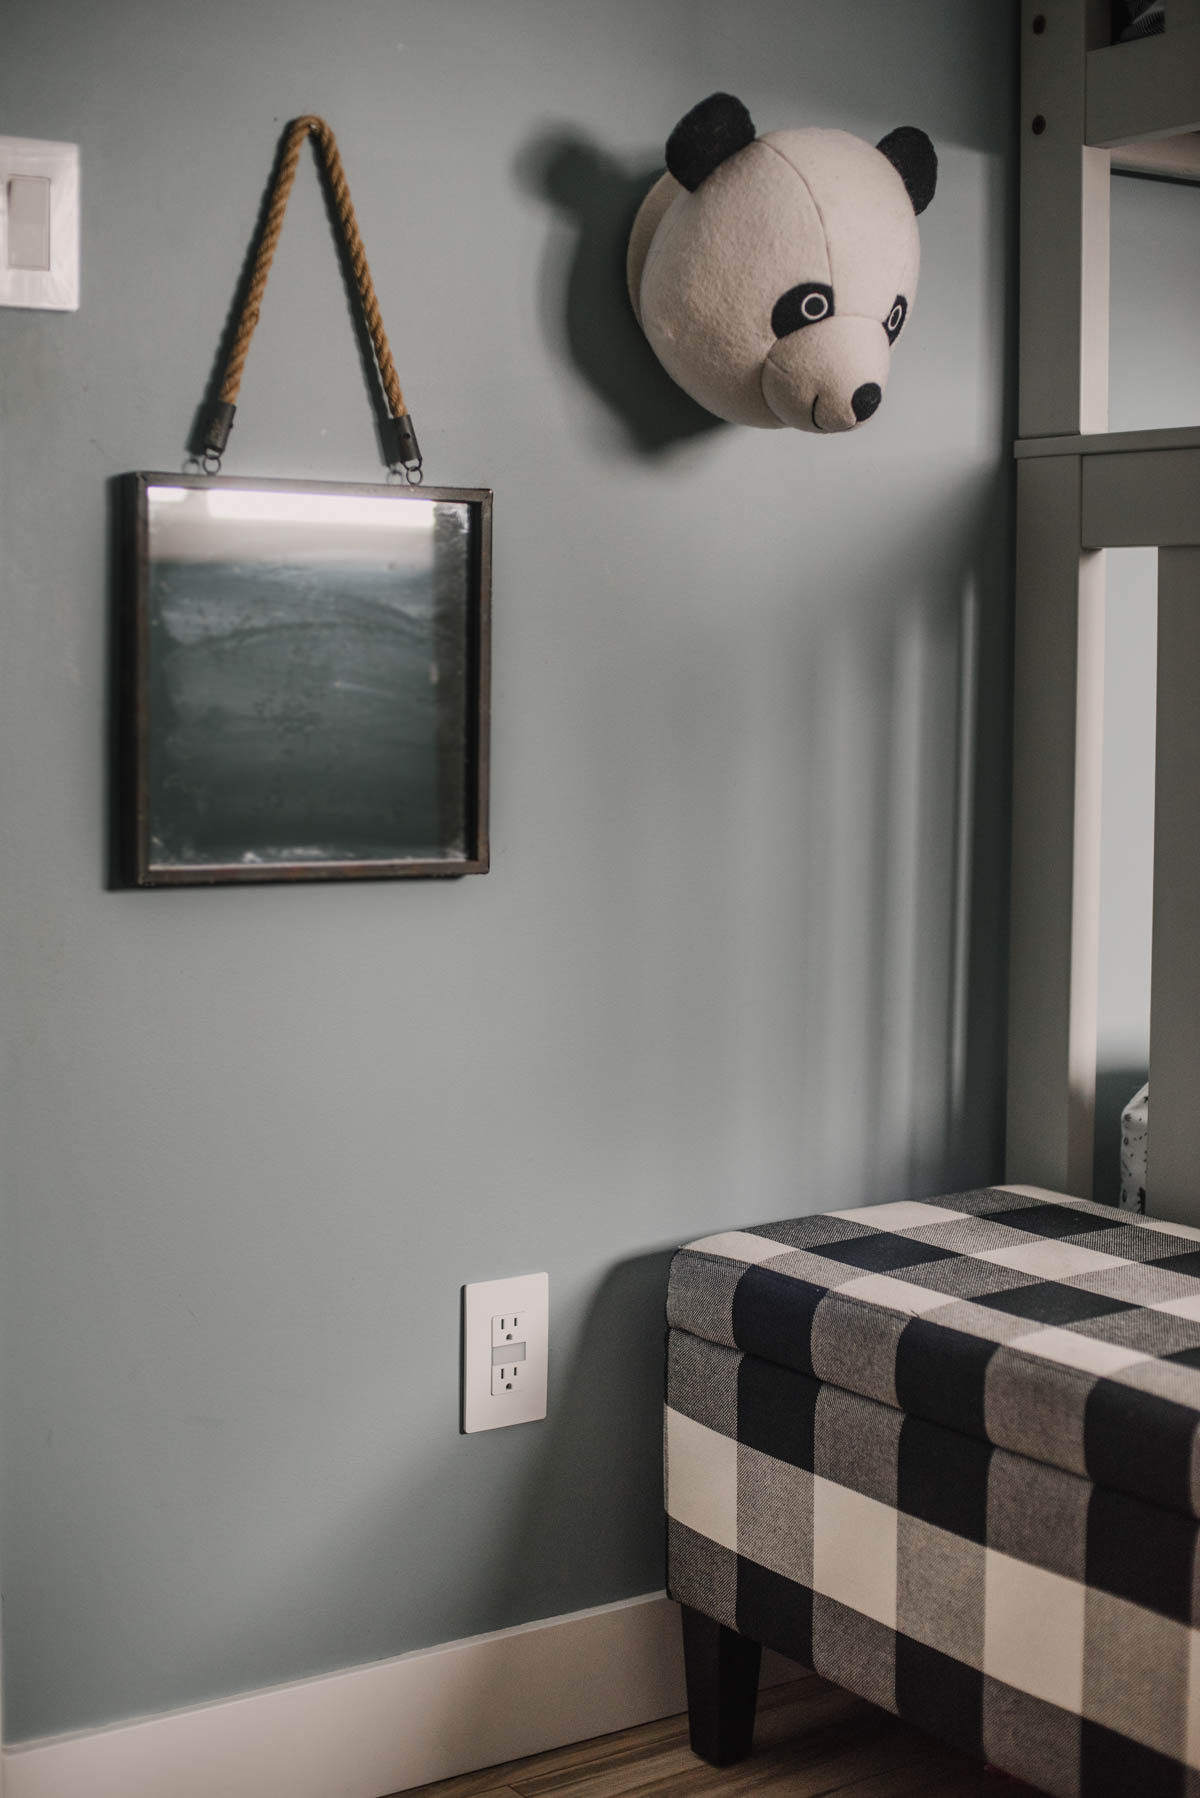
These swap out exactly like the USB plugs… which is exactly like any other plug. They’re a straight switch from your old plug, just hook them up and you’re good to go! These ones I chose come with the option of a louvered style cover for the nightlight to direct the light at the floor, or the clear plastic as I chose. They will not slide in and out once the faceplate is on.
These Legrand Radiant nightlight plugs detect when it’s dark to turn on, or you can manually press the nightlight to turn it on. If you have a guest that the light bothers while sleeping, they can also turn it off or dim it by pressing the nightlight button to cycle through the brightness settings.

BLACK SWITCHES + PLUGS FOR BLACK WALLS
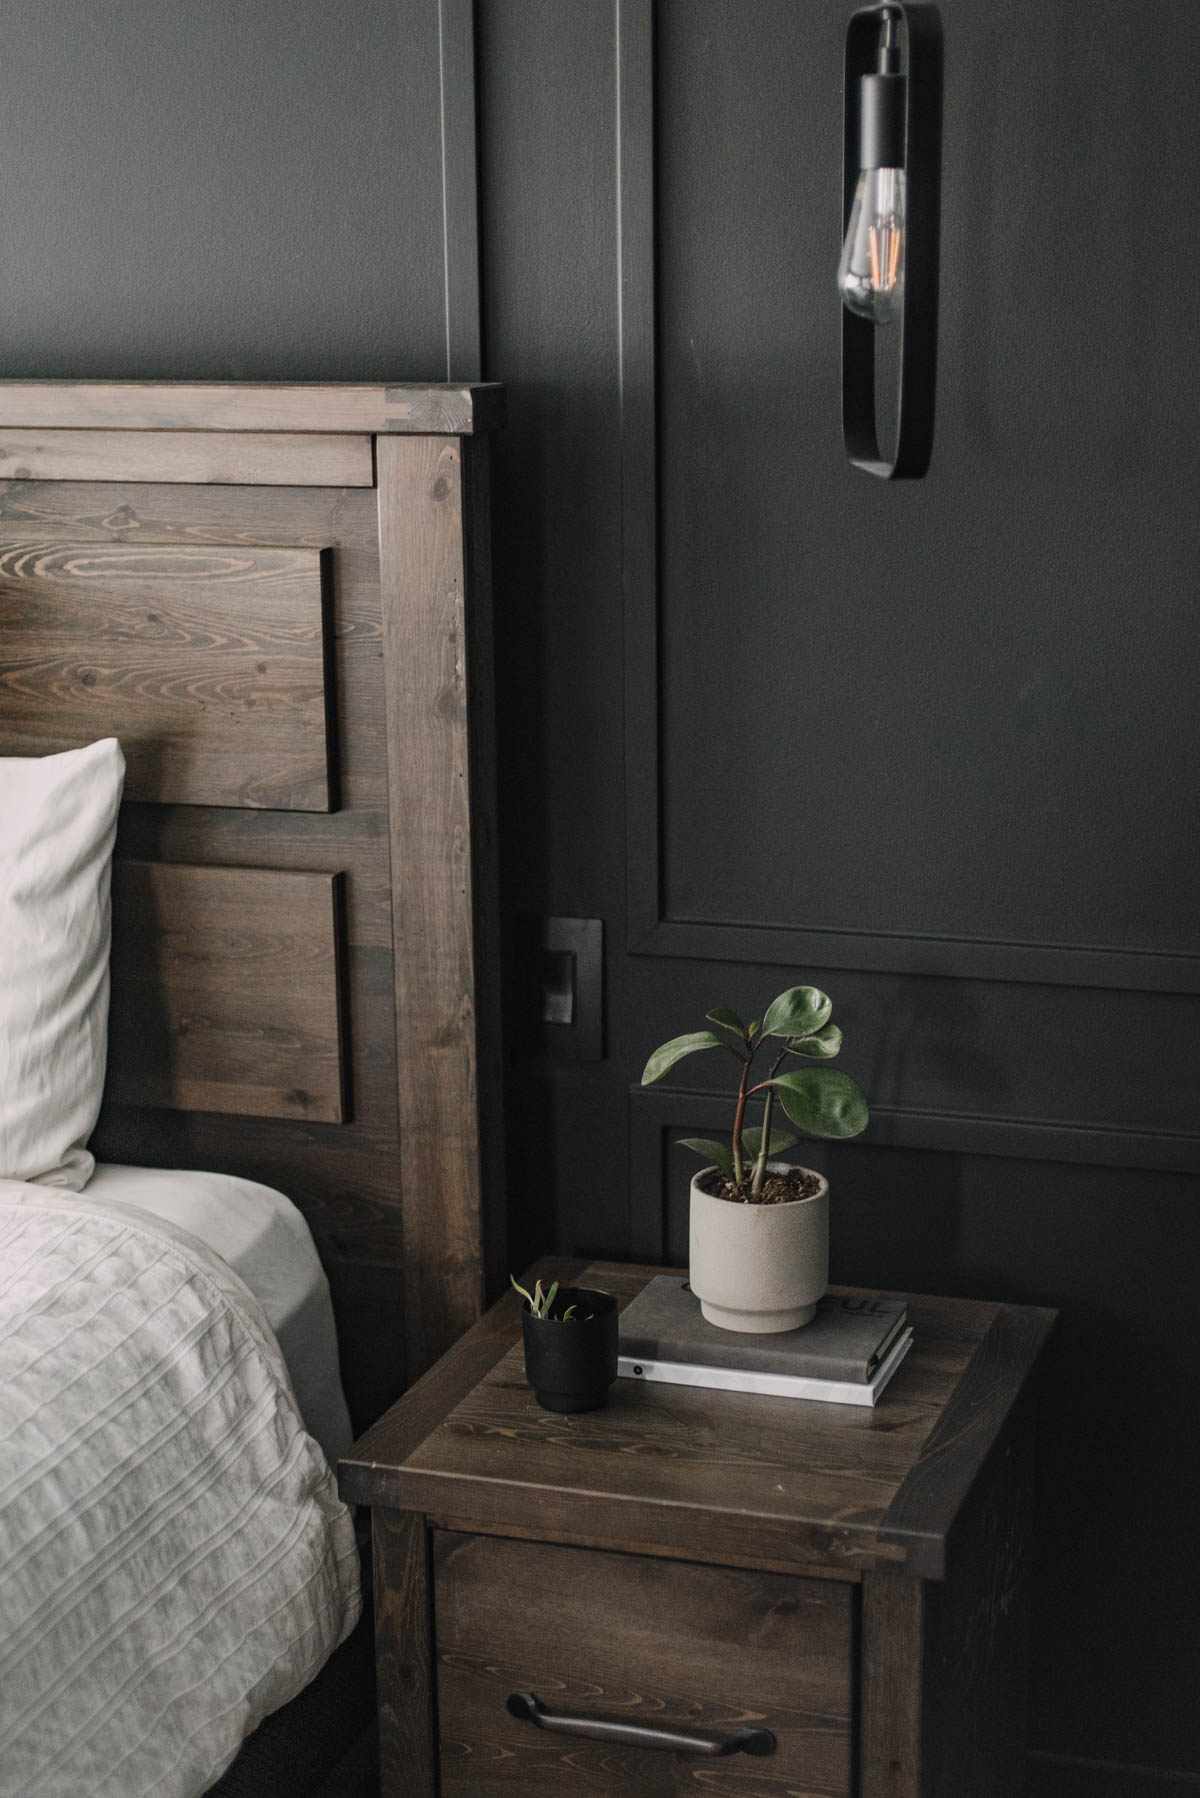
When we shared our master bedroom DIY moulding wall last year we had quite a few people comment or message us that we should have chosen black switches. Honestly… I didn’t know there were beautiful black switches! I’d only seen the old super shiny ones with the screws on the faceplates and I rather white screwless over that thank-you-very-much. But when I started chatting with Legrand about featuring their Radiant collection, I spotted these black beauties and knew I had to upgrade our bedroom plugs and switches!
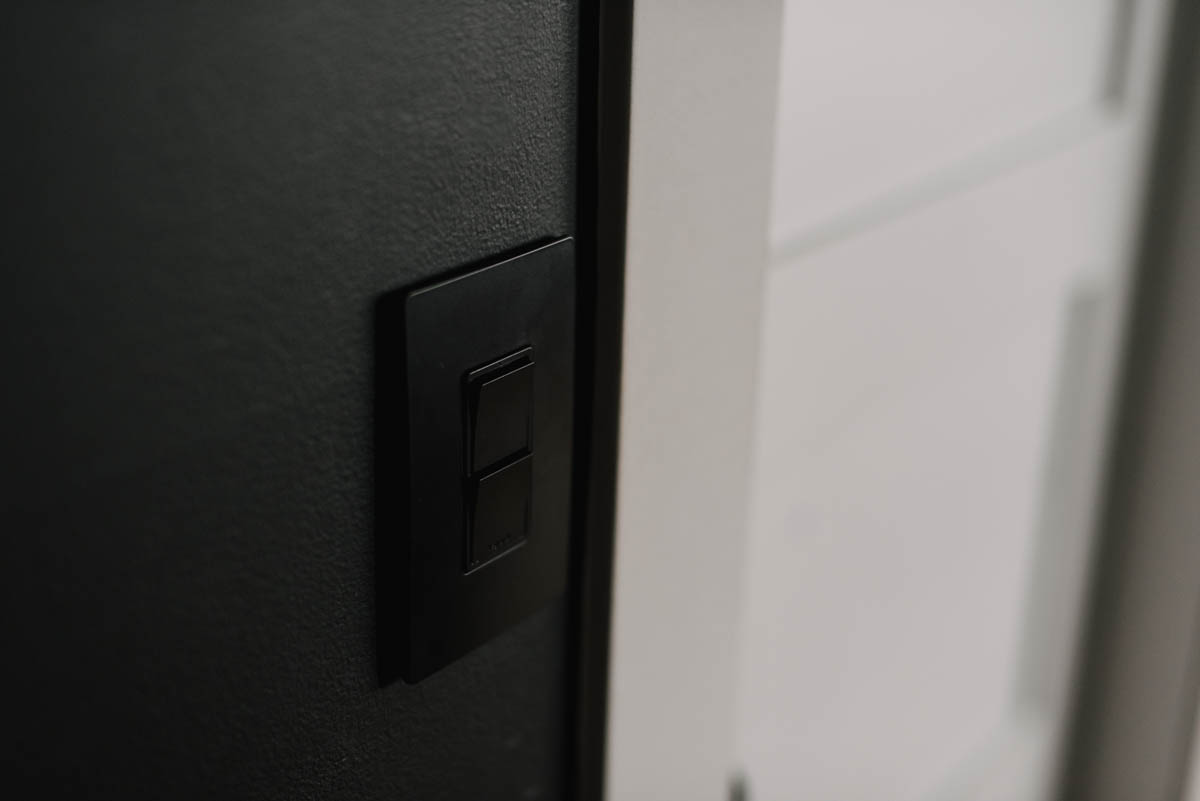
The instructions here are the exact same as the other plugs for lightswitch replacement, but I did want to show you this cool switch we put in for our bathroom- it has two switches in place of the one paddle switch. It looks amazing and I don’t have to cut drywall and get a new electrical box- I can just add the new wires when we add a fan in our bathroom this spring. Bonus!
I love, love how the black switches and plugs blend right into the black painted walls. Some of them you barely notice! This allows the feature wall to be the feature, without a lightswitch taking away from that.
DESKTOP PLUGINS
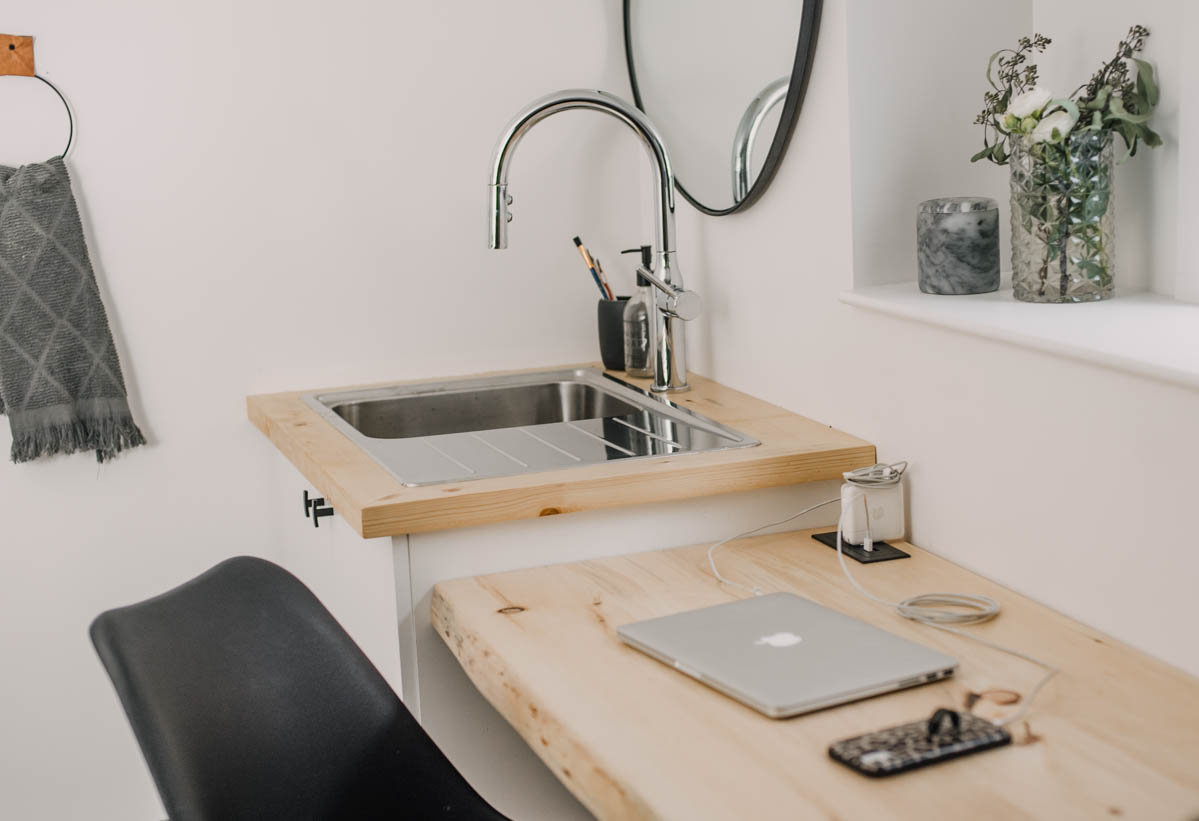
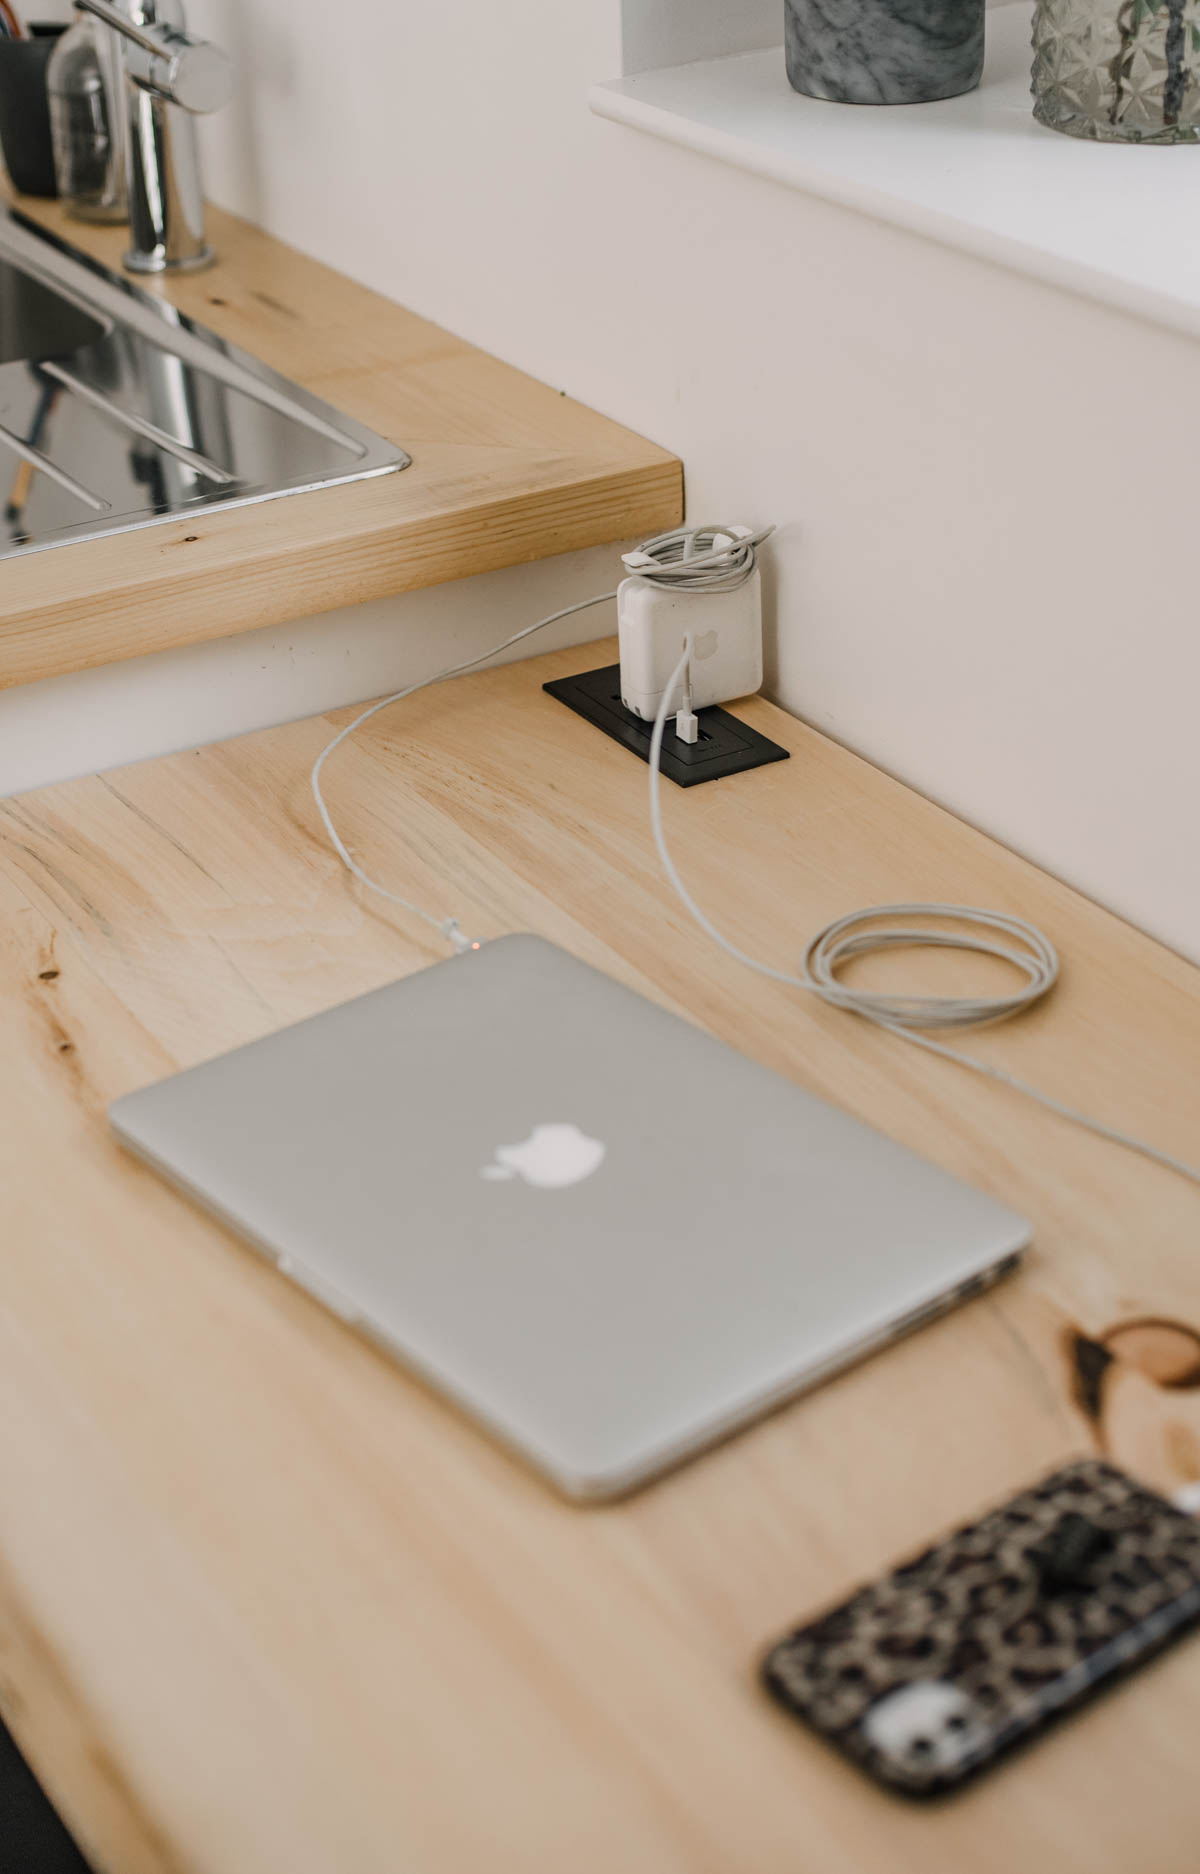
Okay, now this is so cool I’m giddy a little bit. When we built my wall to wall desk in the fall, we drilled holes in the desktop to run cords through. This is fine if everything is stationary, but if you’re plugging and unplugging often… it’s a pain to feed your cord down through the whole then crawl on your knees under the desk and push the vinyl storage shelf out of the way to plug in. Then do it all over again to unplug. Which is exactly what my friends were doing when they were coming over to work with me (why I added a second spot to my office desk!).
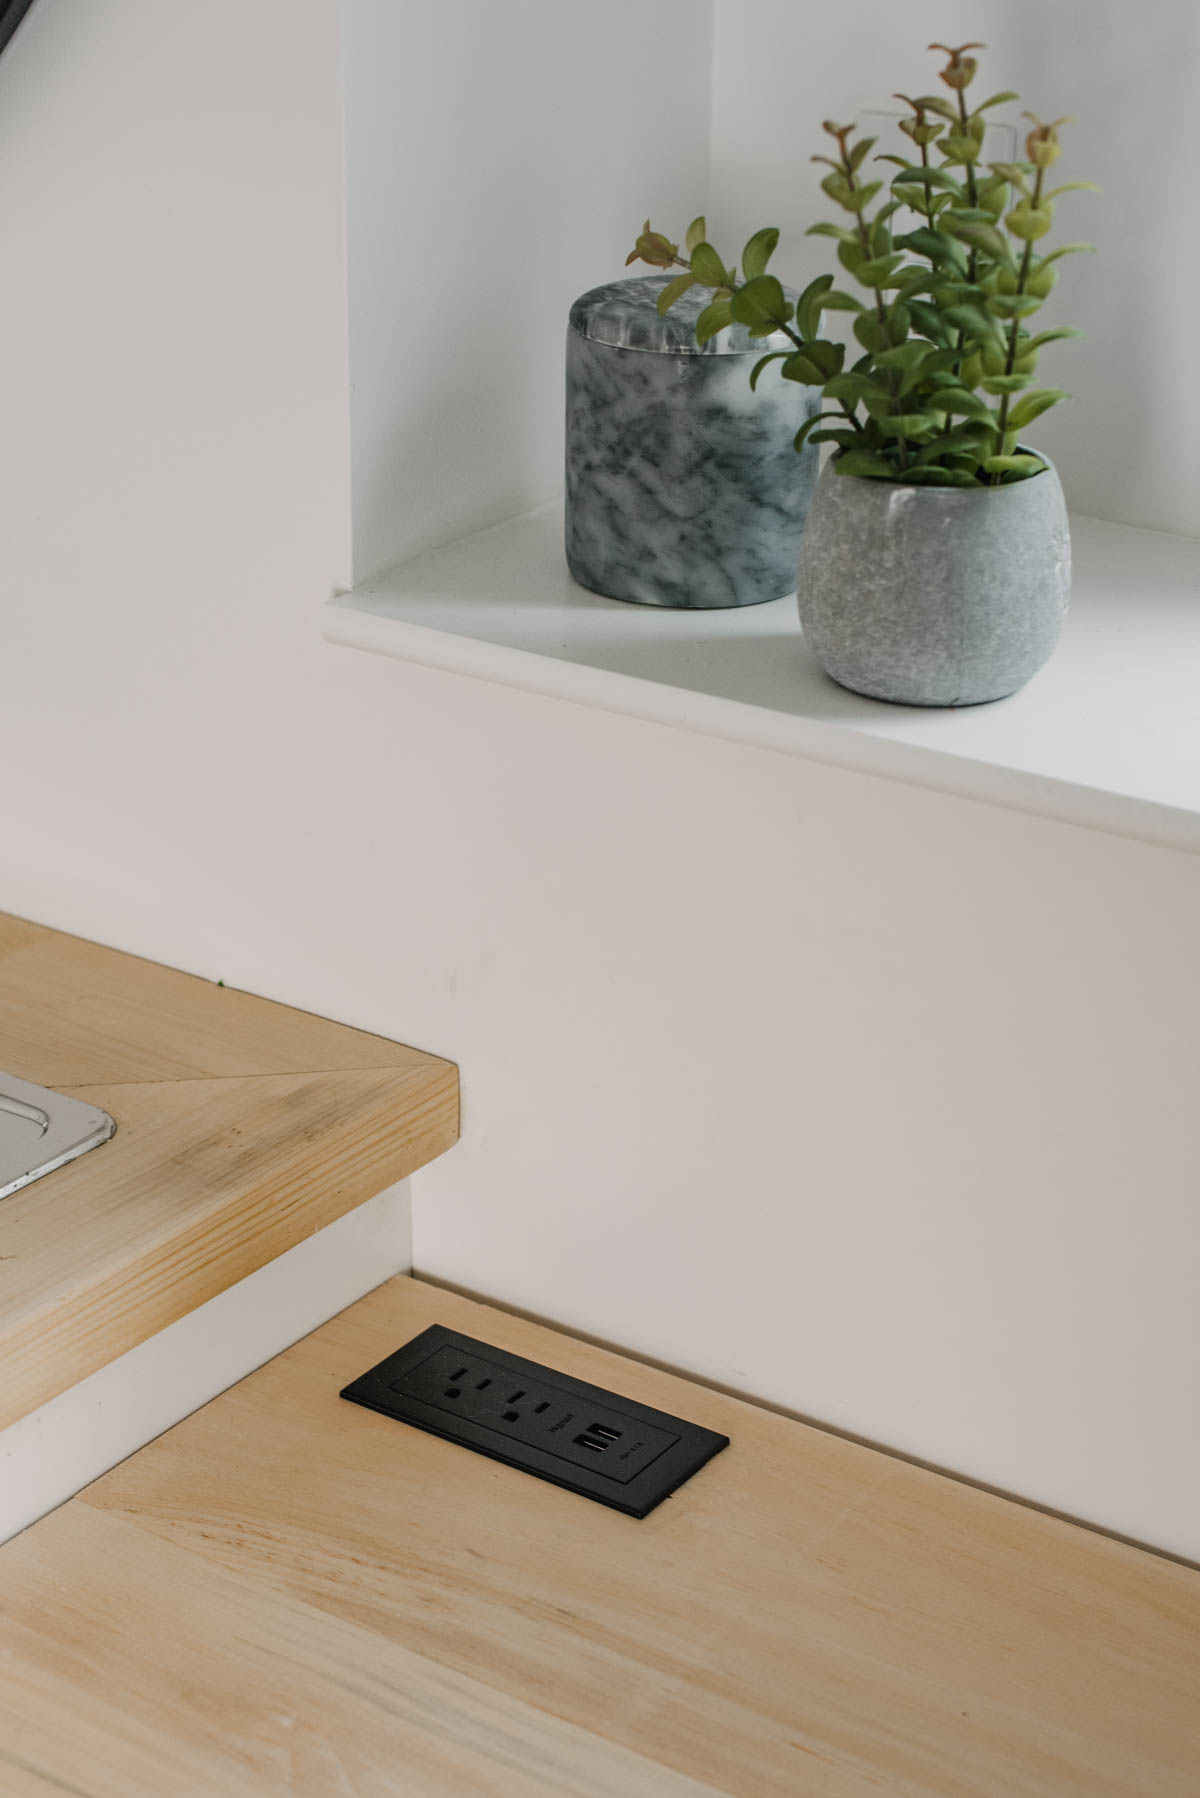
This desktop plugin requires NO wiring. So if electrical intimidates you, this is something you can totally take on still. It’s basically the most beautiful extension cord you’ve ever seen. They call it the furniture power center.
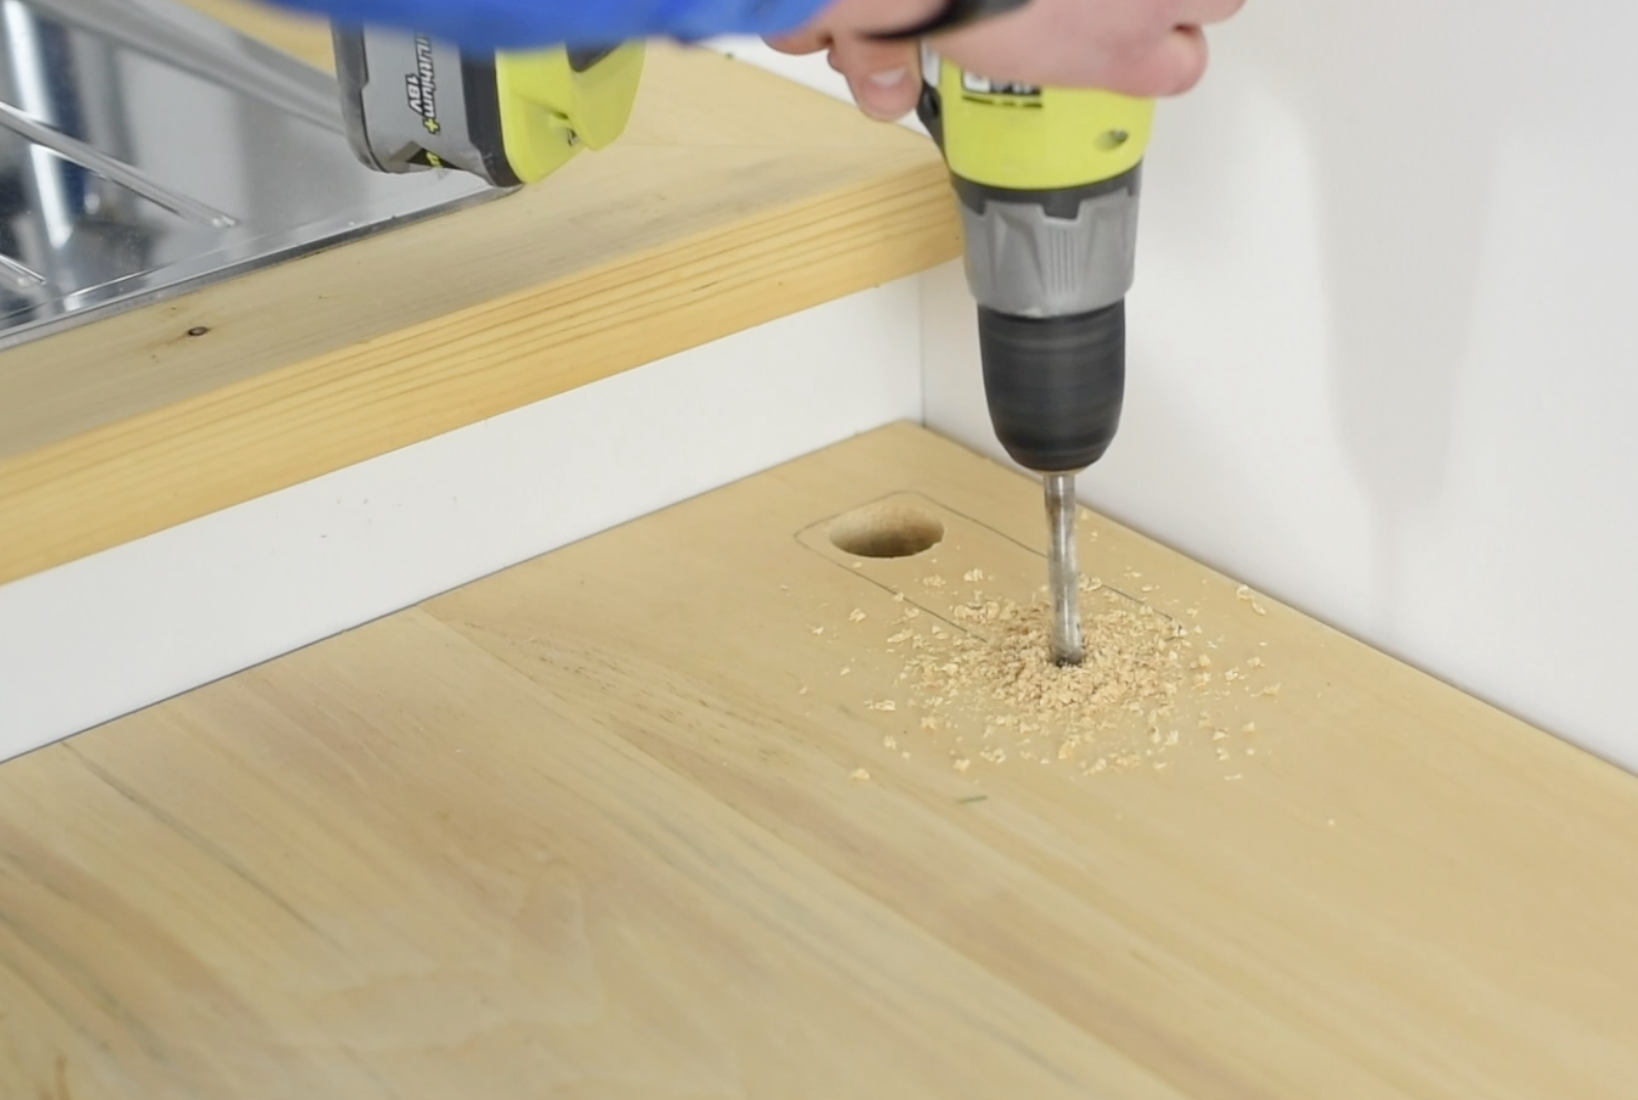
To install it, you cut a hole in your surface (desktop in my case) according to the template included with the plug. Use a drill in one of the corners to make a hole that you can start cutting with a jigsaw from. When it’s cut, you can fit your plug right in there or if it’s snug, you can sand down the edges of your cut.
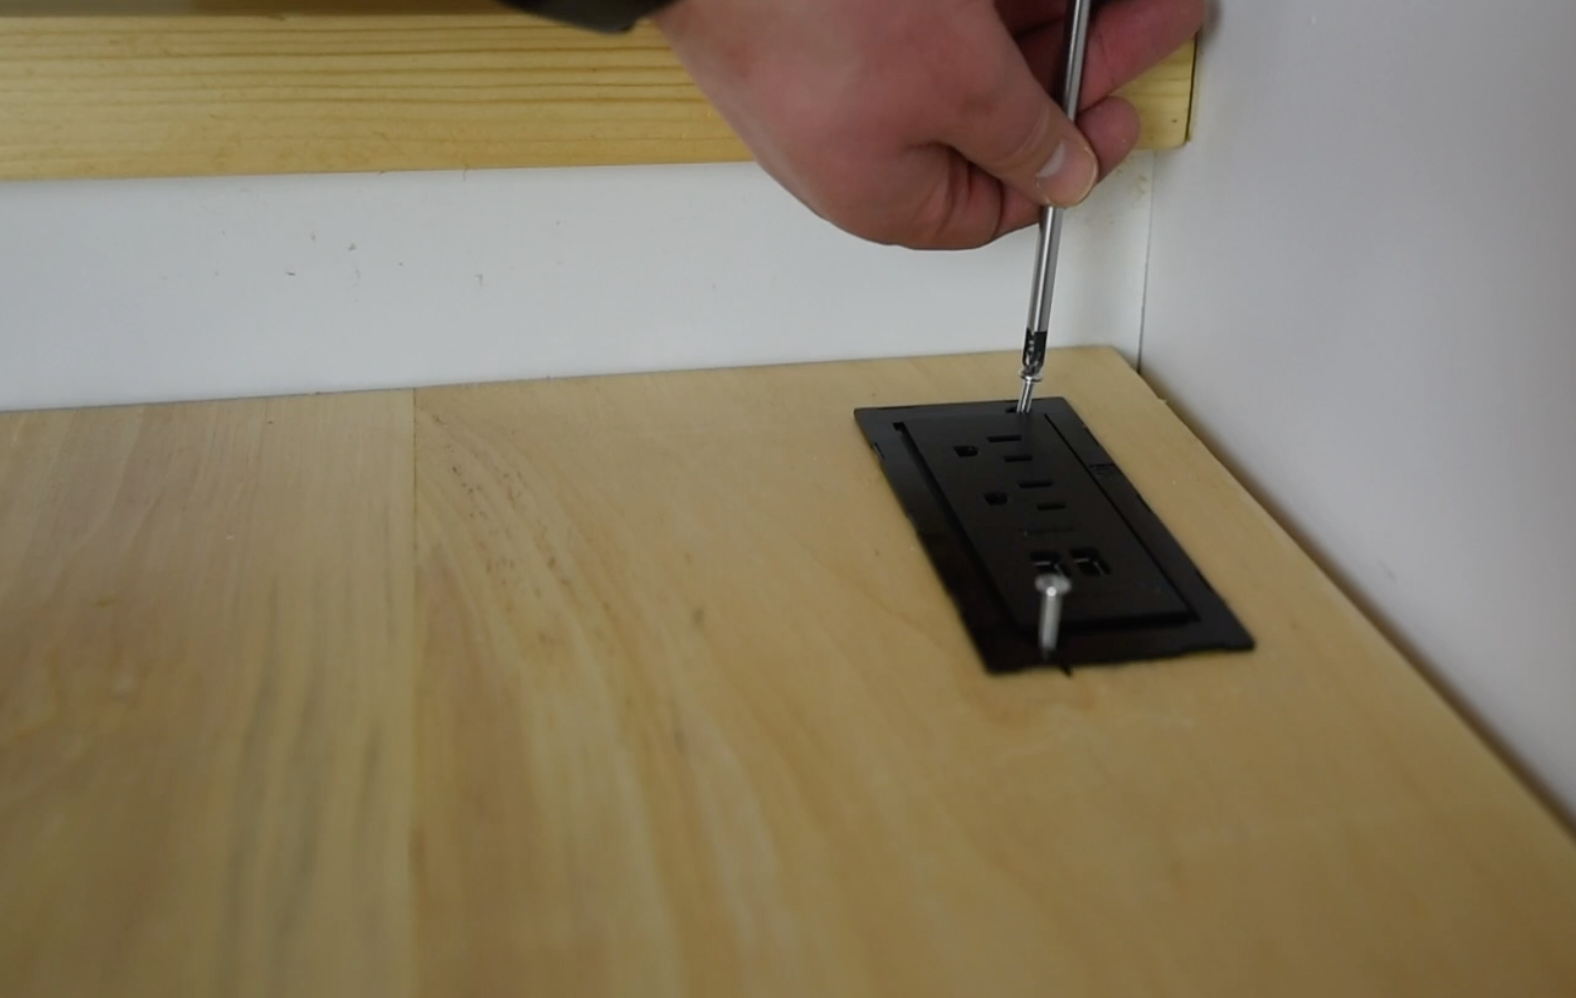
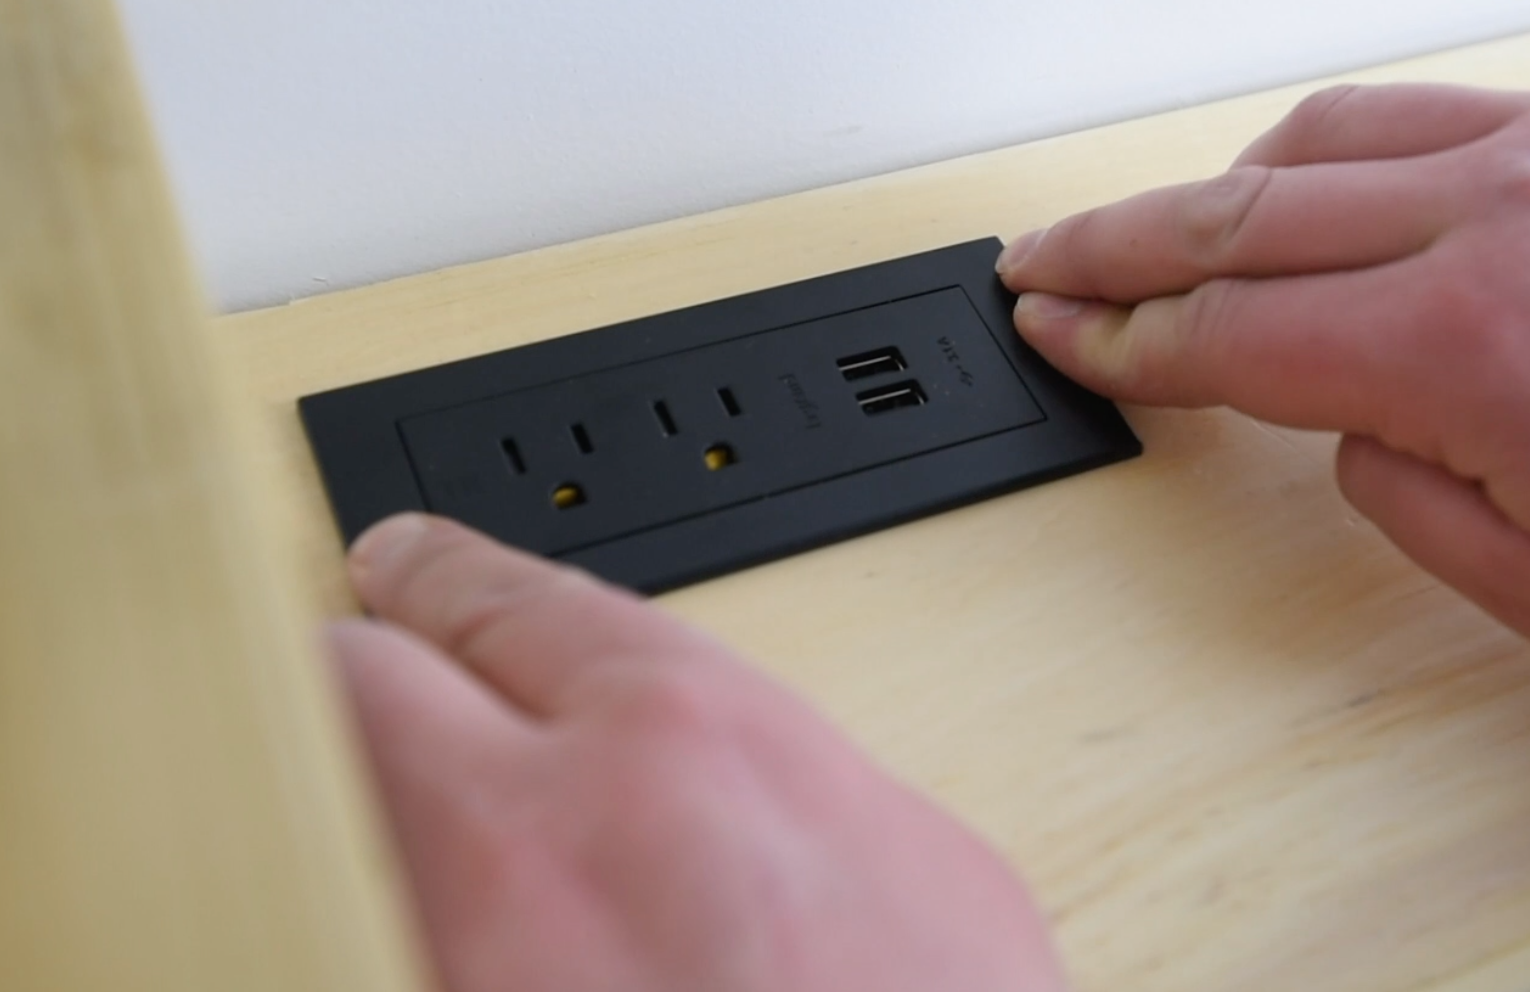
Pop that plug in there, use the screws to secure it and keep it from coming out when unplugging, then add the screwless faceplate. Plug it in below your desk and you’re GOOD TO GO. So easy but such an upgrade.
Phew! I’m going to leave it at that… this post has become a beast! I hope that these tips for plug and lightswitch replacement and summaries help you as you decide what upgrades to make in your own home! You can check out the whole Legrand Radiant collection right here if you like! And if you have requests for other simple home upgrade posts from Lemon Thistle- let me know! Chances are we’ve done them in one of these renovations and I could brainstorm how to best share that with you :)

 DIY Tree Ring Art
love this post hope to install new plugs with USB Plugs
Thank you! They really are my favourite :)