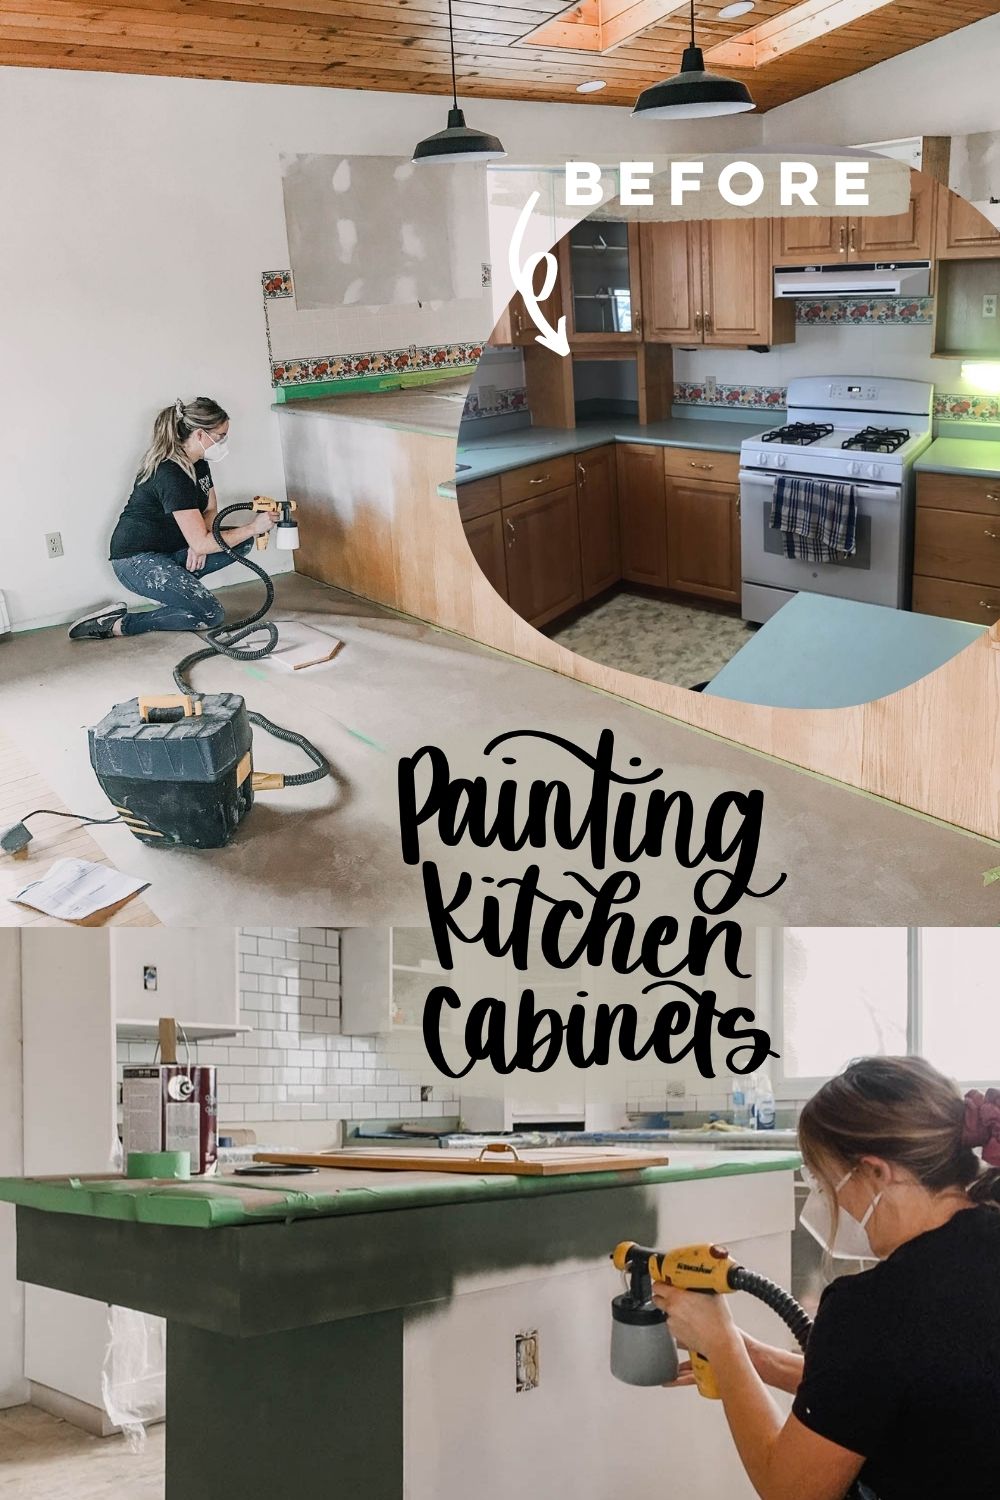
Sharing all the tips and ‘how to’ for Painting Kitchen Cabinets With a Sprayer. We’re updating these dated oak kitchen cabinets with fresh paint for a modern farmhouse kitchen makeover!

Every time I’ve shared a paint sprayer project over the past couple years, I inevitably get a few questions about painting kitchen cabinets. It’s on so many of your renovation lists and I’ve always answered, ‘I haven’t tried it!’. I’ve painted my bathroom vanity, laundry room cabinets… but never a kitchen. So when a friend called for some advice on painting hers, I asked if I could help out and write a blog post about it. I wanted to be able to give you all the tips from experience, so that’s what this is!
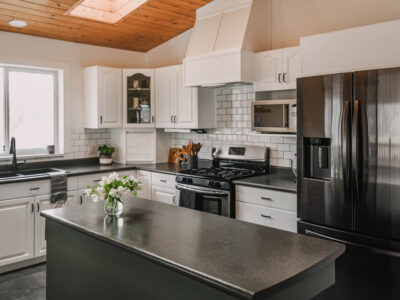
And because I can’t help myself, yes I’m going back once the renovation is done and am going to help with hardware install and some design so you will definitely see a full before/after post coming soon too! But while we’re here, let’s take a peek at the before, shall we? It already looks SO MUCH BETTER!
If you’re brand new to using a paint sprayer, I put together a really great beginners guide RIGHT HERE!

Isn’t that wild?! I can’t wait to see it all come together and show you how it turns out!
*Update* Want to skip ahead and see the finished space? Check that out RIGHT HERE!
But today, today is all about painting cabinets with a sprayer. From prep to paint to settings… let’s talk about it!
*This post is in partnership with Wagner Spray Tech. I’ve been working with them for over a year, but if you follow me on social media, you’ve probably seen me use my sprayers more than our partner projects… I truly love using it! You can see all my policies here.
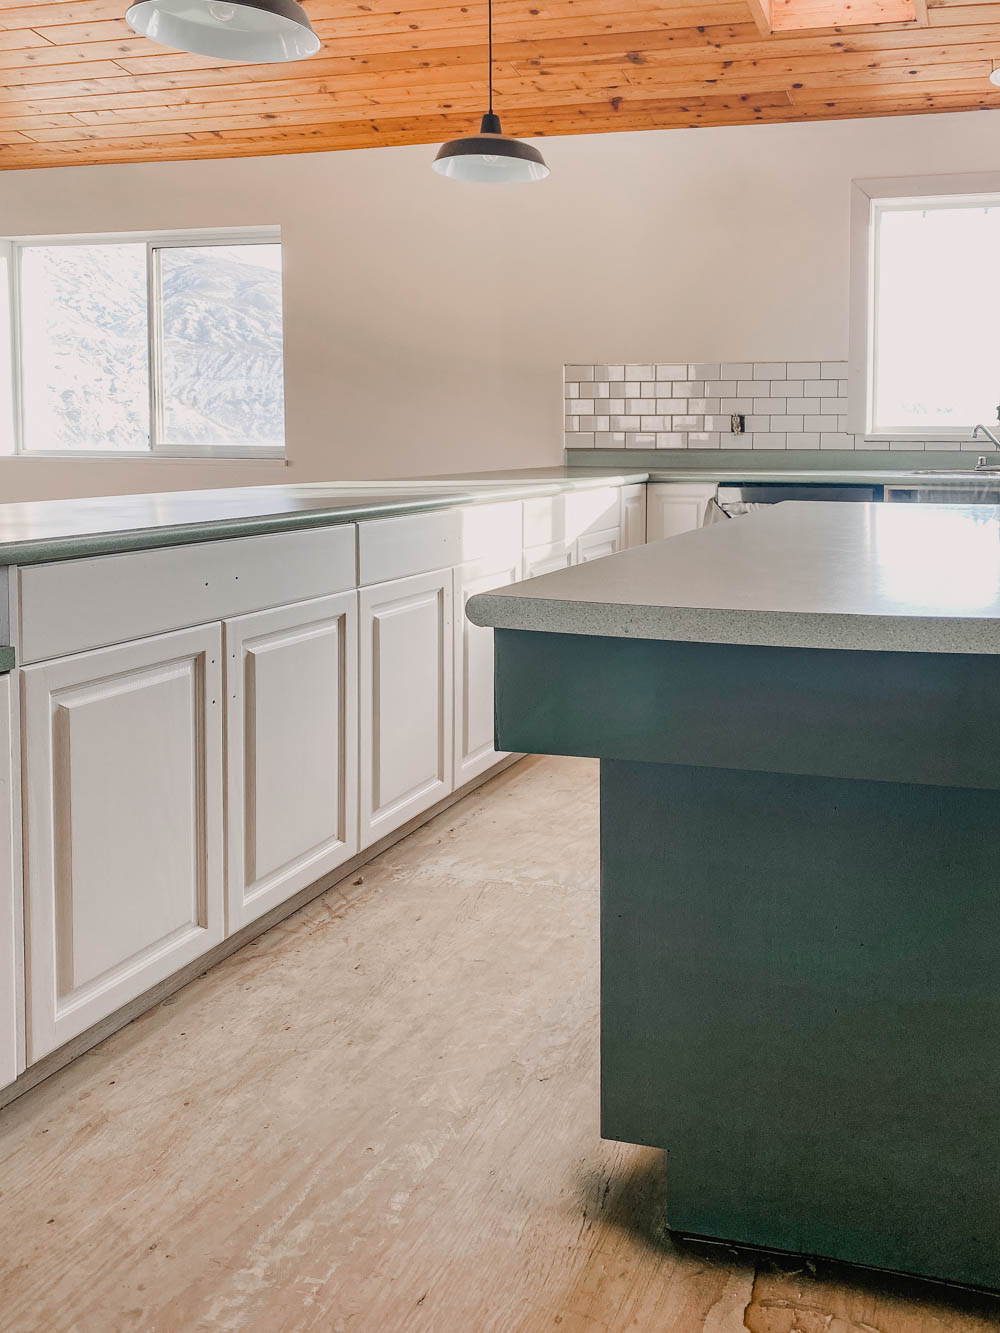
Okay, before we get into this, there’s a couple things I want to share about this kitchen! The first is that these are oak cabinets. They were likely installed in the 90s and definitely have a texture. It’s wood grain texture and I don’t think that’s a bad thing, but I did get asked over on Instagram a handful of times if the paint hid the texture and no, you can still see it through. Many of the cabinets you’ll see new lately will not have wood texture, so just keep this in mind when you’re envisioning what your cabinets might look like painted. Here’s a close up of the island where you can see the skirting (top) made out of MDF with the smooth texture compared to the wood panel texture on the bottom half.
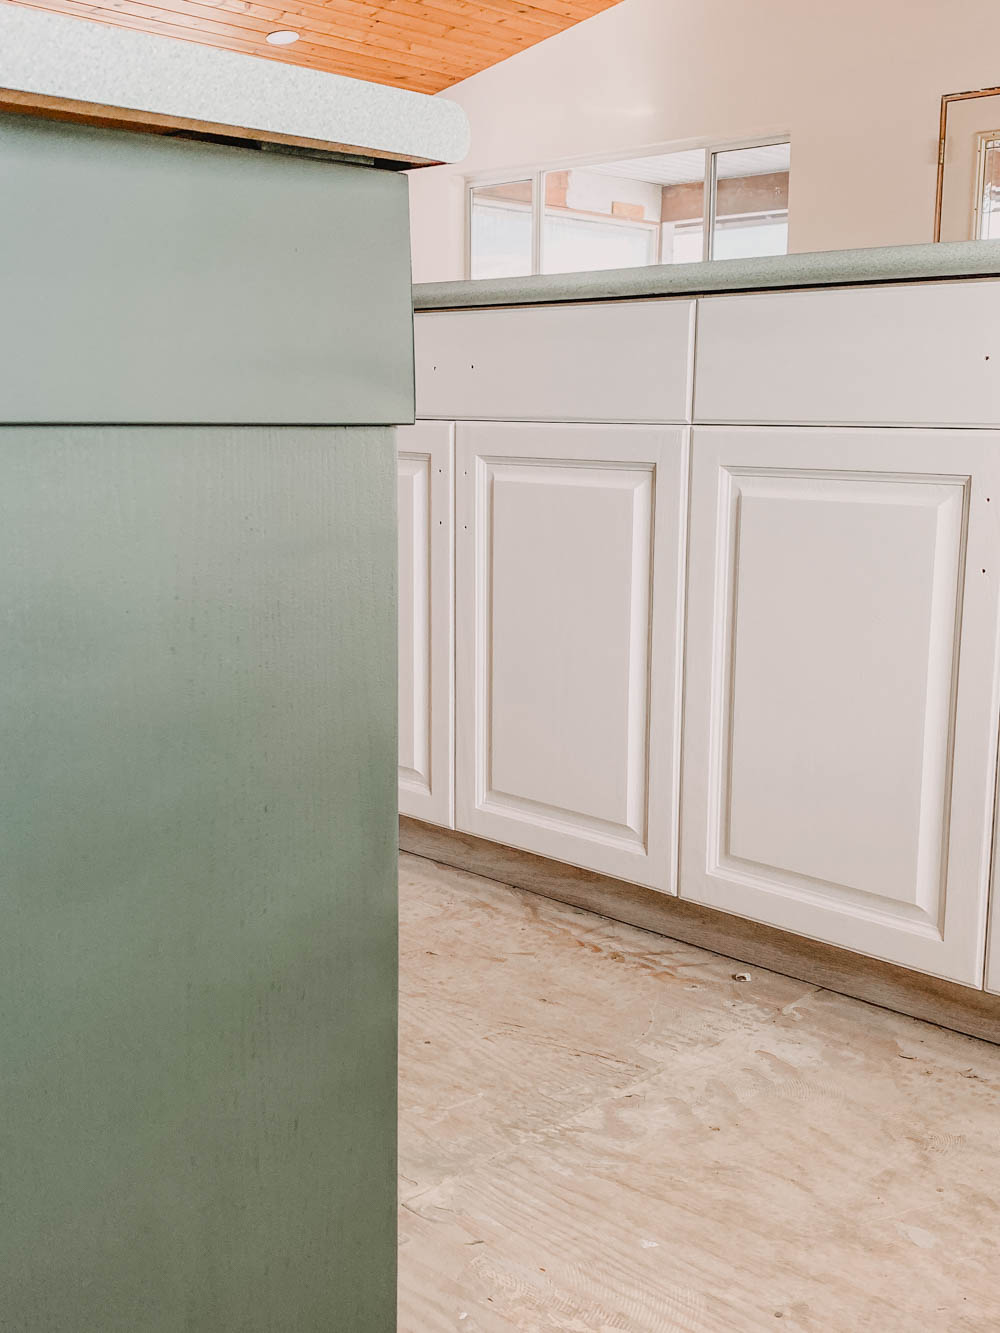
prepping cabinets for painting
So I actually jumped in on this project after they’d started. They’d torn out the floors and gotten to work on prep. We discussed what prep would look like over the phone and they took it on themselves which is awesome! Here’s what I told them.
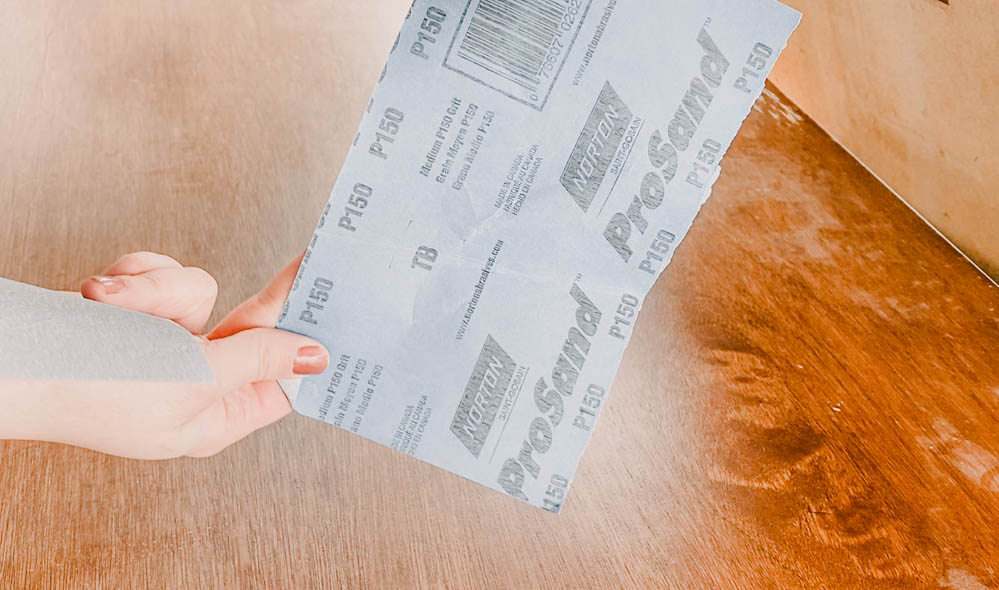
I know there are so many articles saying you can paint cabinets without sanding. But I’m just not brave(?) enough to try it. I’d rather do it properly and not have to touch up or redo it entirely down the road. So I’ve never tested that. Especially not on a full kitchen. I’d rather be safe, not sorry. SO I suggested they lightly sand the doors with a high grit sand paper, then wipe down to remove any sawdust. I like to wipe down with a diluted TSP mixture.
I have so much more confidence in paint sticking with proper prep. We sanded the brand new vanity we painted for our bathroom remodel and haven’t had a single chip and our kids are very hard on that thing (stool hits it daily!).
Also- yes, I definitely recommend removing your cabinet doors from your kitchen cabinets to paint them! You need to be able to get all angles on them and that’s near impossible if they’re still on your cabinets!

masking kitchen for painting cabinets
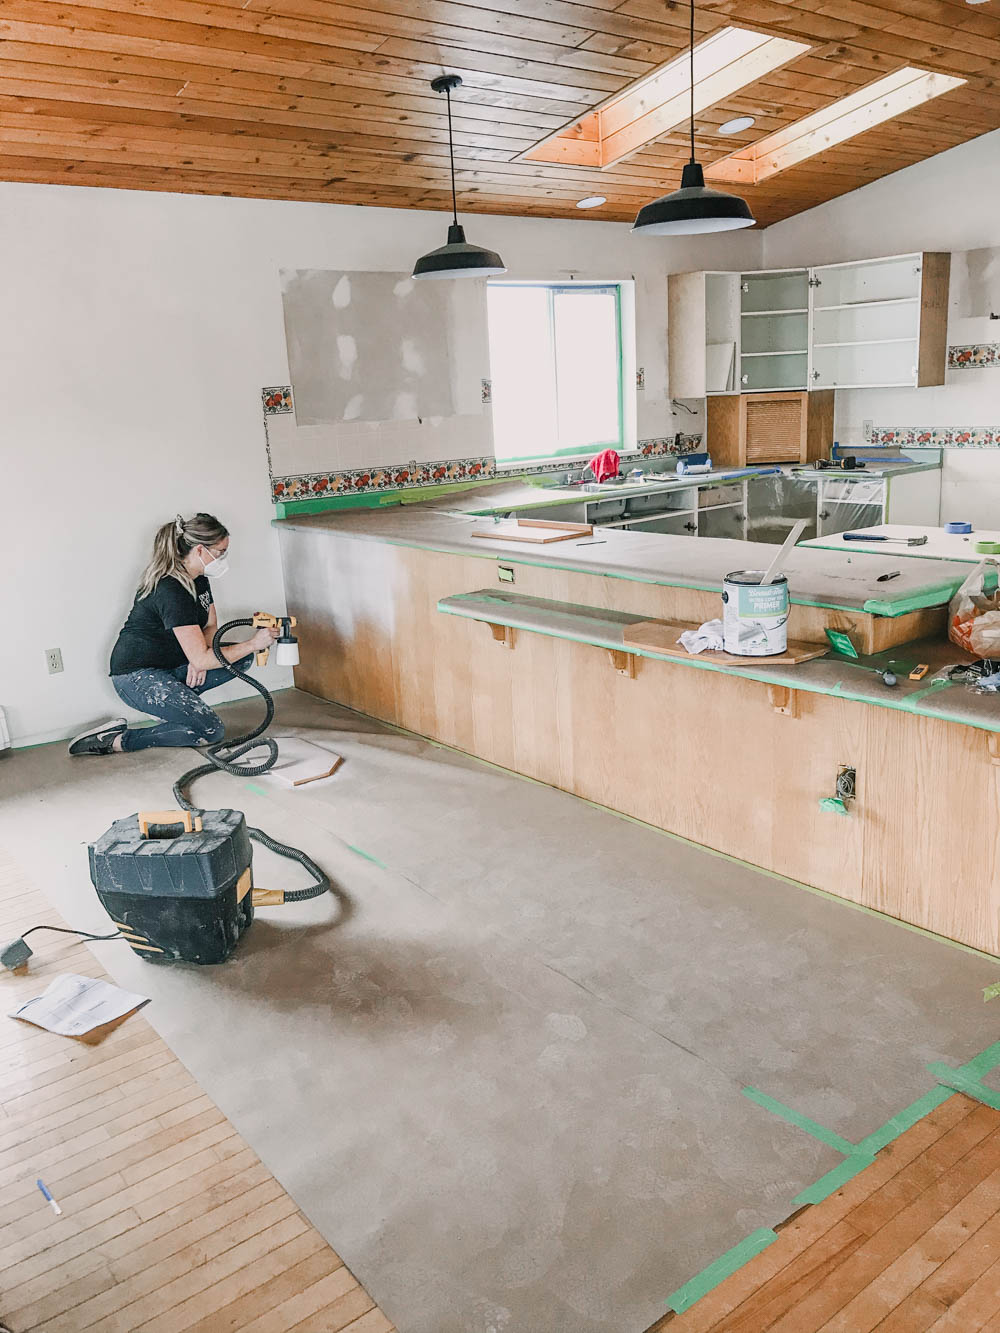
Masking is time consuming, yes, but also what makes painting so fast with a sprayer! In this kitchen we didn’t have to mask much as the flooring was out and the drywall was patched and needed to be painted. We really only masked the insides of the cabinets and the countertops. We also masked the flooring in the dining room.
My favourite way to mask the insides of cabinets and windows is the 3m Plastic with Tape. this plastic is pre-taped, so you can tape it on, then unfold the plastic over the area you want to cover. I tape the other edges down so it doesn’t blow around when the paint sprayer is on.
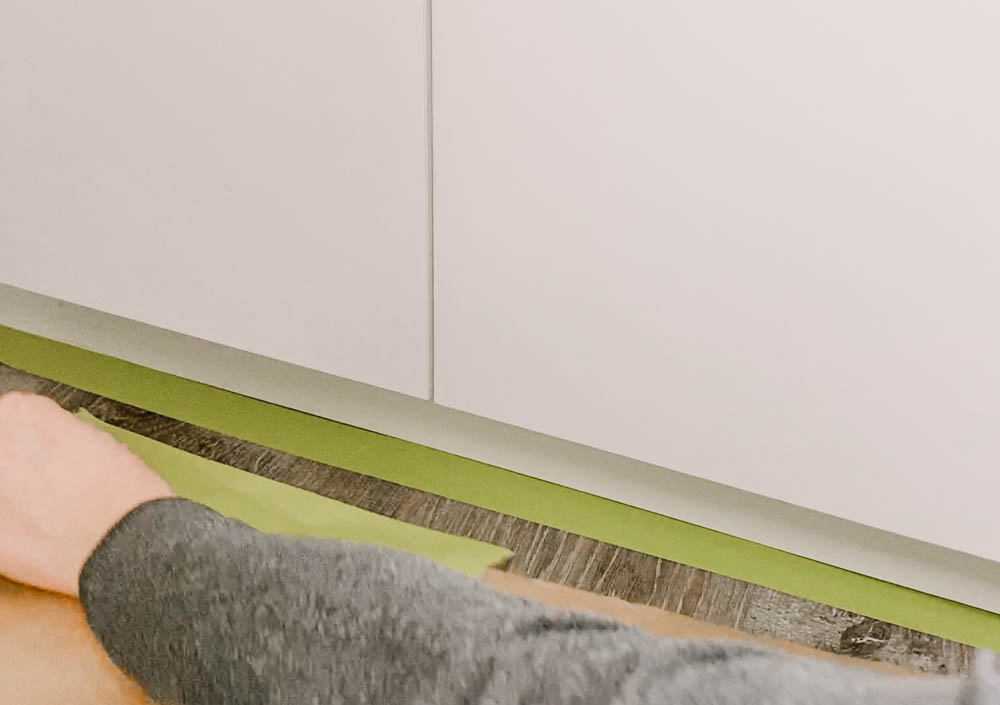
On the floors, I like to use paper. You can find flooring paper in the painting section at the hardware store by plastic. I like to run a strip of tape right against the line I’m masking, then lay the paper over the tape and tape to the tape line you’ve already run. I don’t do this because of it sticking better but because I find I can run a straighter tape line, right up close and perfect when I don’t have to worry about keeping the paper in place at the same time. I demonstrated this in the video.
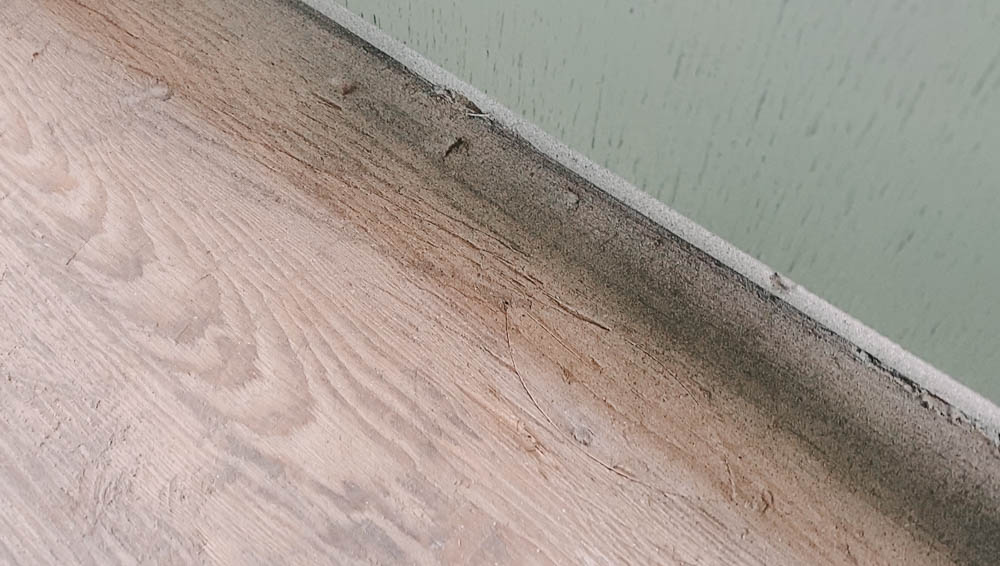
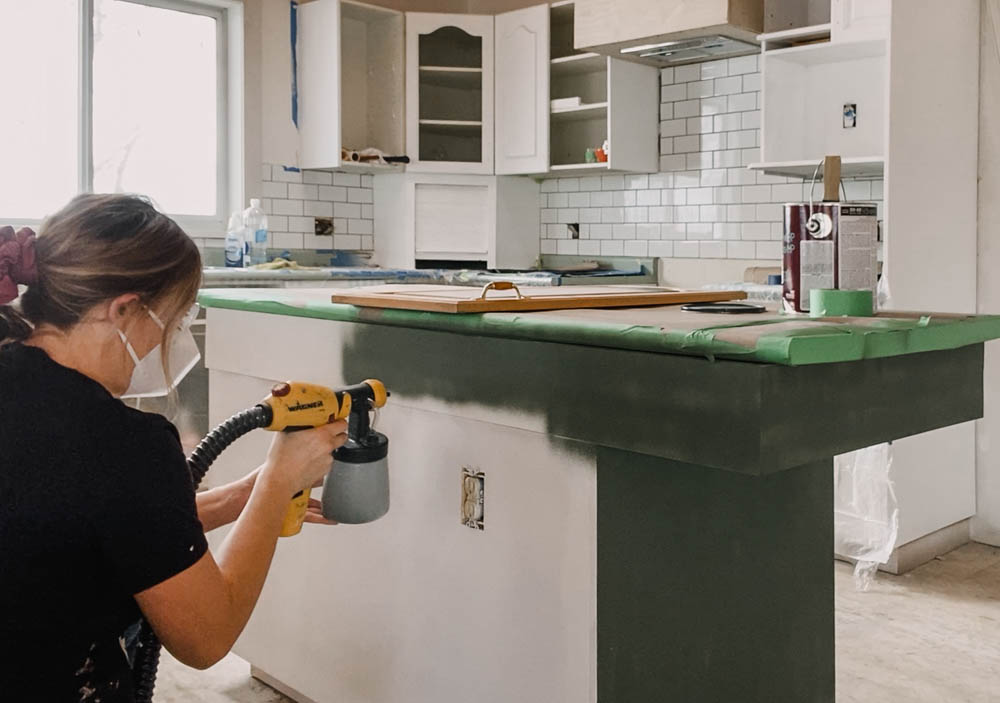
I wanted to show you the over spray for reference. We didn’t mask the floors in the kitchen as they were plywood. You can see exactly how much paint is on the floor around the island here after painting was complete. Not much, right?! The sprayers are very accurate. That said, it is still worth masking.
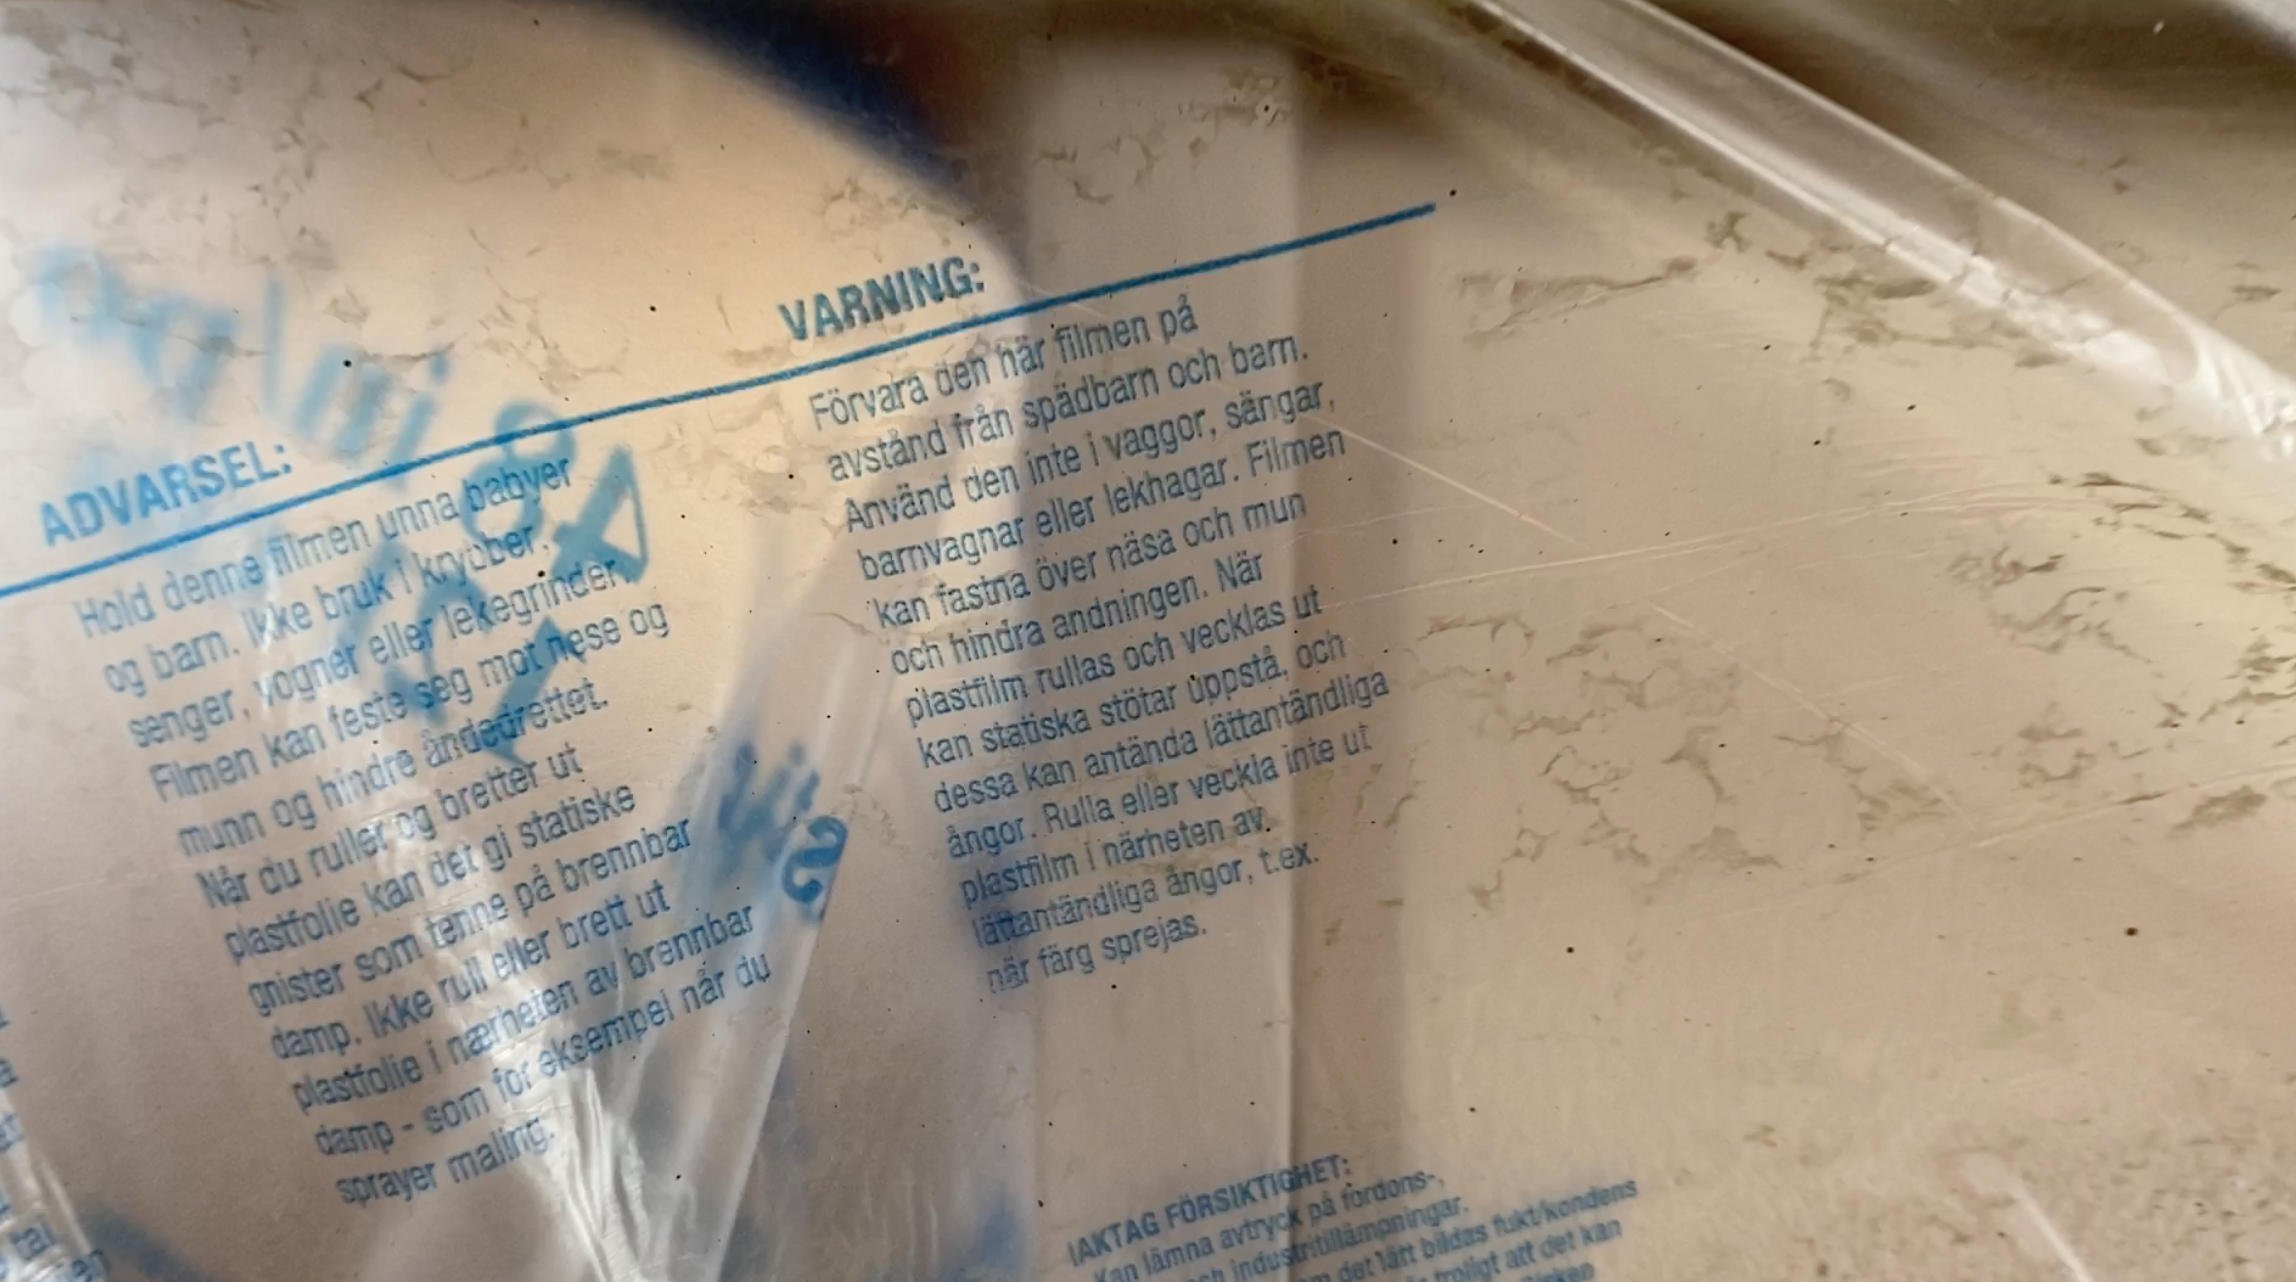
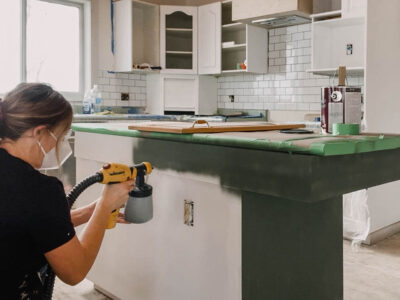
Much like spray paint, there’s almost a dust that ends up in the air that will settle. You can see that on the plastic here I put over the white cabinets after they’d dried while painting the green. If you have furniture you care about, I usually just throw plastic over them or make a spray ‘room’ by tacking plastic to the ceiling to make walls around the area I’m painting. This is an extra step, but I feel like it’s worth it!
What Kind of paint sprayer Should I use for Kitchen Cabinets?
Okay let’s talk about the actual paint sprayer and get into the painting part of this project! For this project I used the Wagner FLEXiO 5000 with the Detail Finish Nozzle. I am a partner with Wagner Spray Tech, but I can confidently say this is the sprayer I’d choose to use regardless. It does such a beautiful job. It’s the same sprayer I chose when painting my bathroom vanity last summer as well.
So what should you look for in a paint sprayer?
A detail or fine finish nozzle. The Wagner FLEXiO 5000 comes with a regular spray nozzle that covers larger areas quicker, but it also comes with the option of the Detail Finish Nozzle which covers a smaller area with one spray, but with a much finer finish. This means the droplets are much smaller and it gives an almost factory finish smoothness. The paint droplets come out in almost a mist instead of in droplets. It also allows you to do thinner coats.
Paint Sprayer SETTINGS FOR PAINTING CABINETS
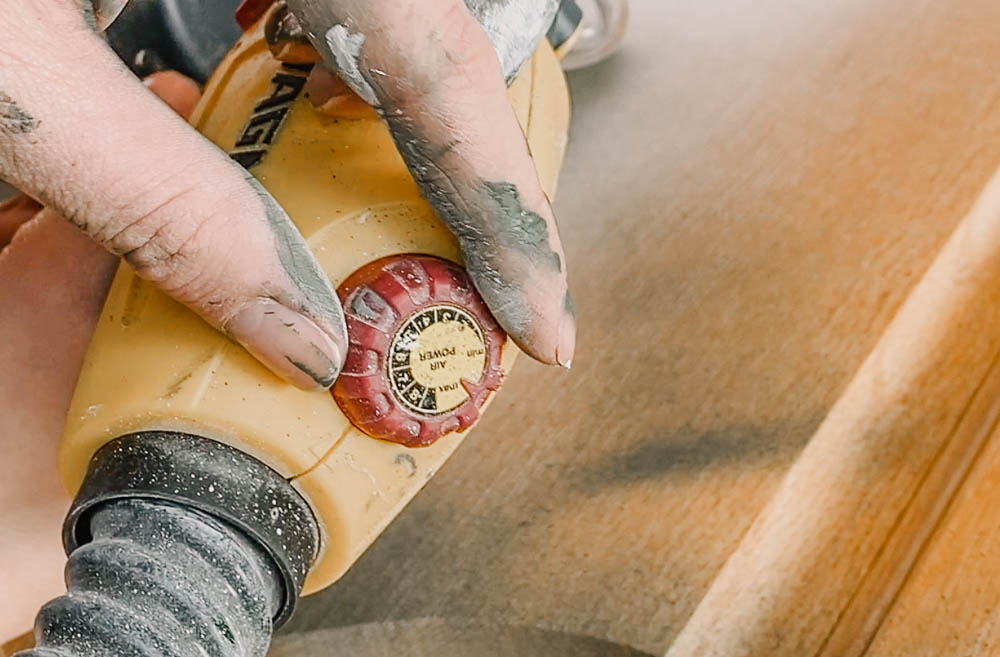
There’s two main adjustments on this (and most!) paint sprayer. The air power and the paint flow. For the fine finish, I like to put the air power to max. I show trouble shooting in the video so you can see the difference between a low air pressure and a high air pressure, but I find the higher air pressure results in smaller droplets, which we want!
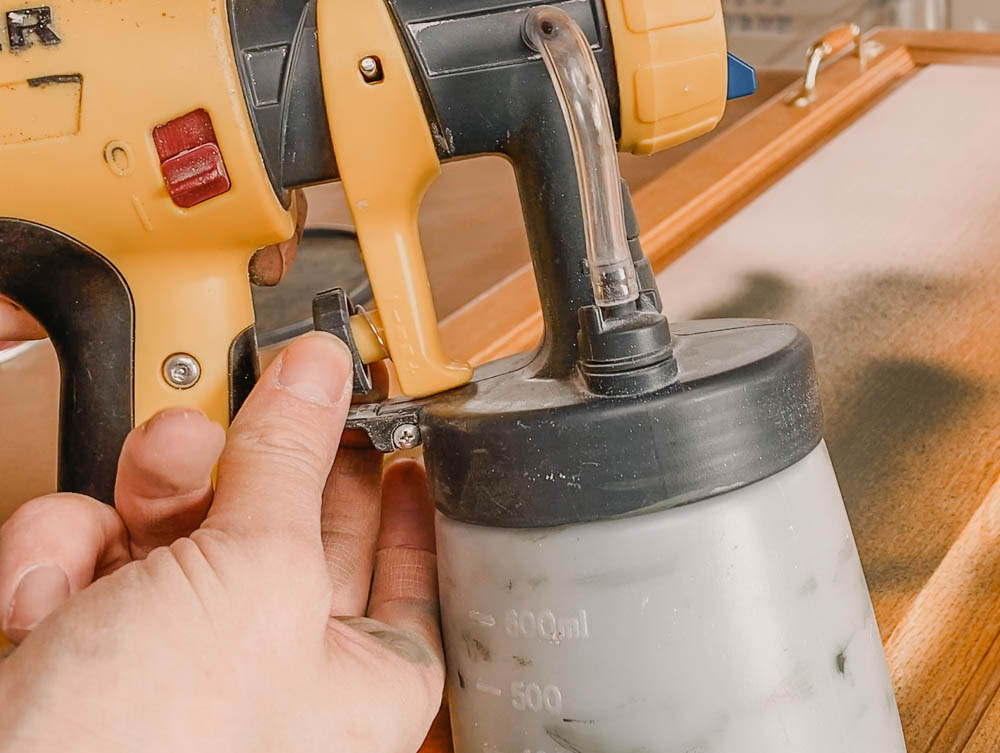
The other setting you can adjust is the paint flow. On this sprayer, you can twist the stopper on the trigger to adjust paint flow. You’ll want to play with this one as it’s different for each kind of paint. I prefer to choose less paint flow when I’m painting a piece that needs a fine finish. It is so satisfying to have a high paint flow and see the project be painted almost completely in one coat, but that wont give you the best fine finish and if it’s too thick (overlap between sprays), you could have issues with the paint curing. On that note, I like to allow a few hours per thin coat for it to dry completely before a second coat. I also demonstrate this in the video.
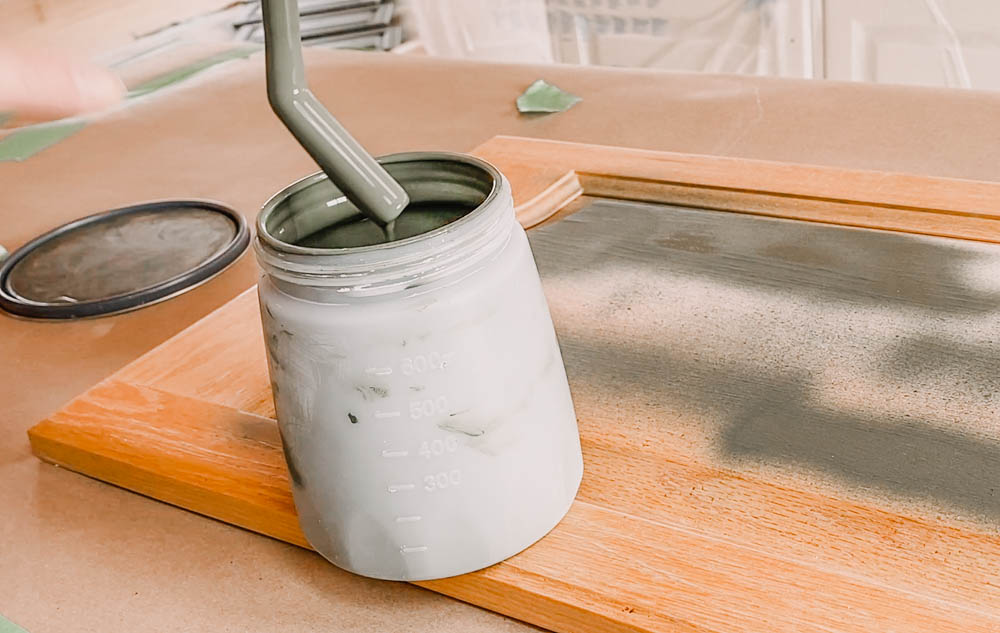
Lastly, this isn’t a setting, but the paint sprayer has a directional pickup straw. If you’re going to be painting things below chest level, point that straw forward. If you’re painting above chest level, point it back. This way when the sprayer is slightly tipped, the paint will flow to where the straw is, not where it’s empty.
What Kind of Paint and Primer for Oak Cabinets?
Let’s talk about primer first. For our bathroom cabinets which are MDF, we used a strong adhesion cabinet primer. It worked amazing. We opted for the same here but… the oak colouring bled through. We went back over with a stain blocking primer. If you have oak cabinets like this, I’d definitely recommend a stain blocking primer.
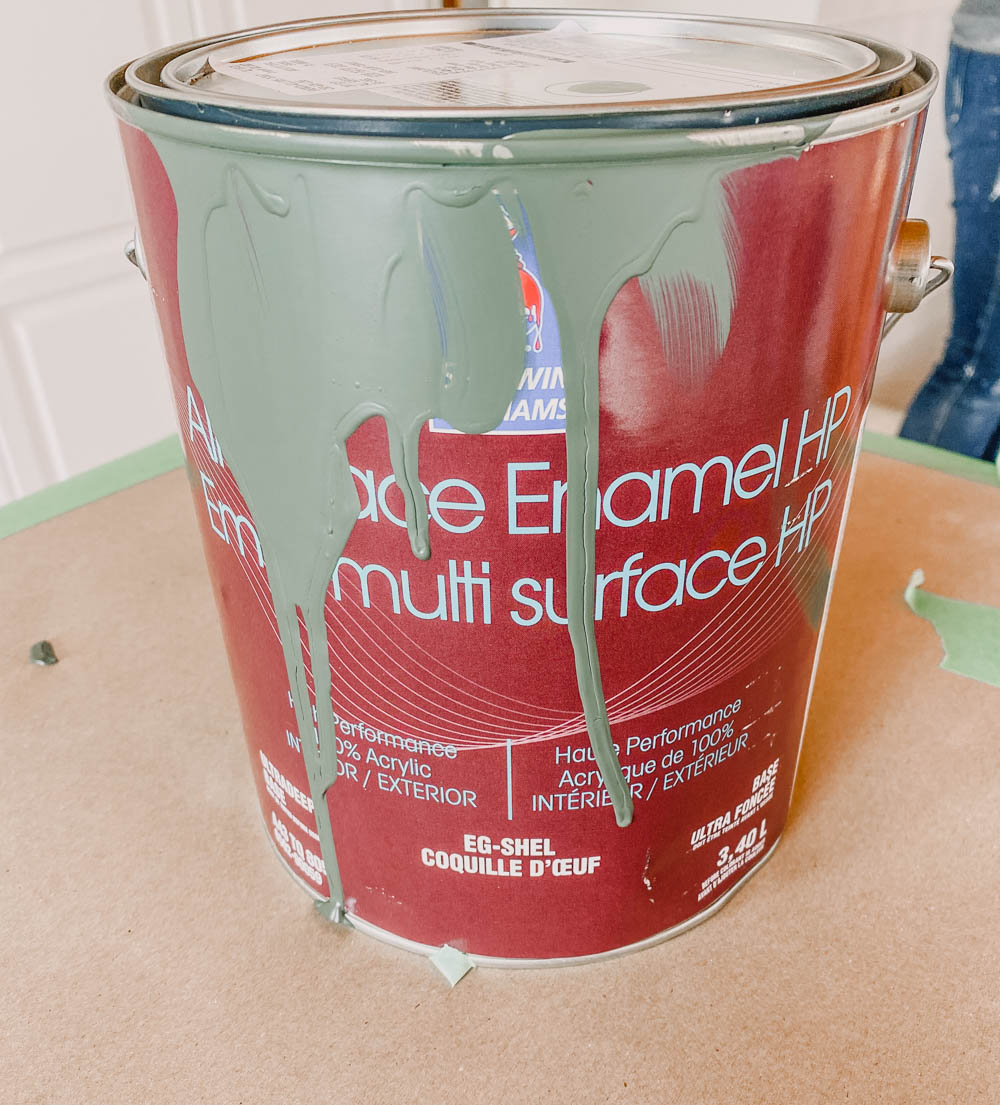
For the actual paint, I used an enamel in my bathroom for the vanity and we used an enamel for the green. I found it sprayed so much nicer than the regular cabinet paint we used for the white. I took a photo of it so you could find something similar! I generally choose a satin finish when painting cabinets, the higher the gloss, the easier to wipe down but the sheen is really up to your preference.
The paint colours we used in here are ‘Pewter Green’ from Sherwin Williams and ‘Here Comes the Bride’ from BeautiTone.

Why is My Sprayer Is Spattering?
There’s one question or comment that I get every time I post a paint sprayer project. It’s, ‘why is my paint sprayer spattering?’.
I have a whole section of the video showing how the settings can be used to address this, but there’s a couple other things I can suggest too. The first is to always, always use a piece of cardboard or a scrap piece of wood (in this case I used a door from a cabinet that was entirely removed). Test your settings with your particular paint on that scrap until you’re totally happy with the finish.
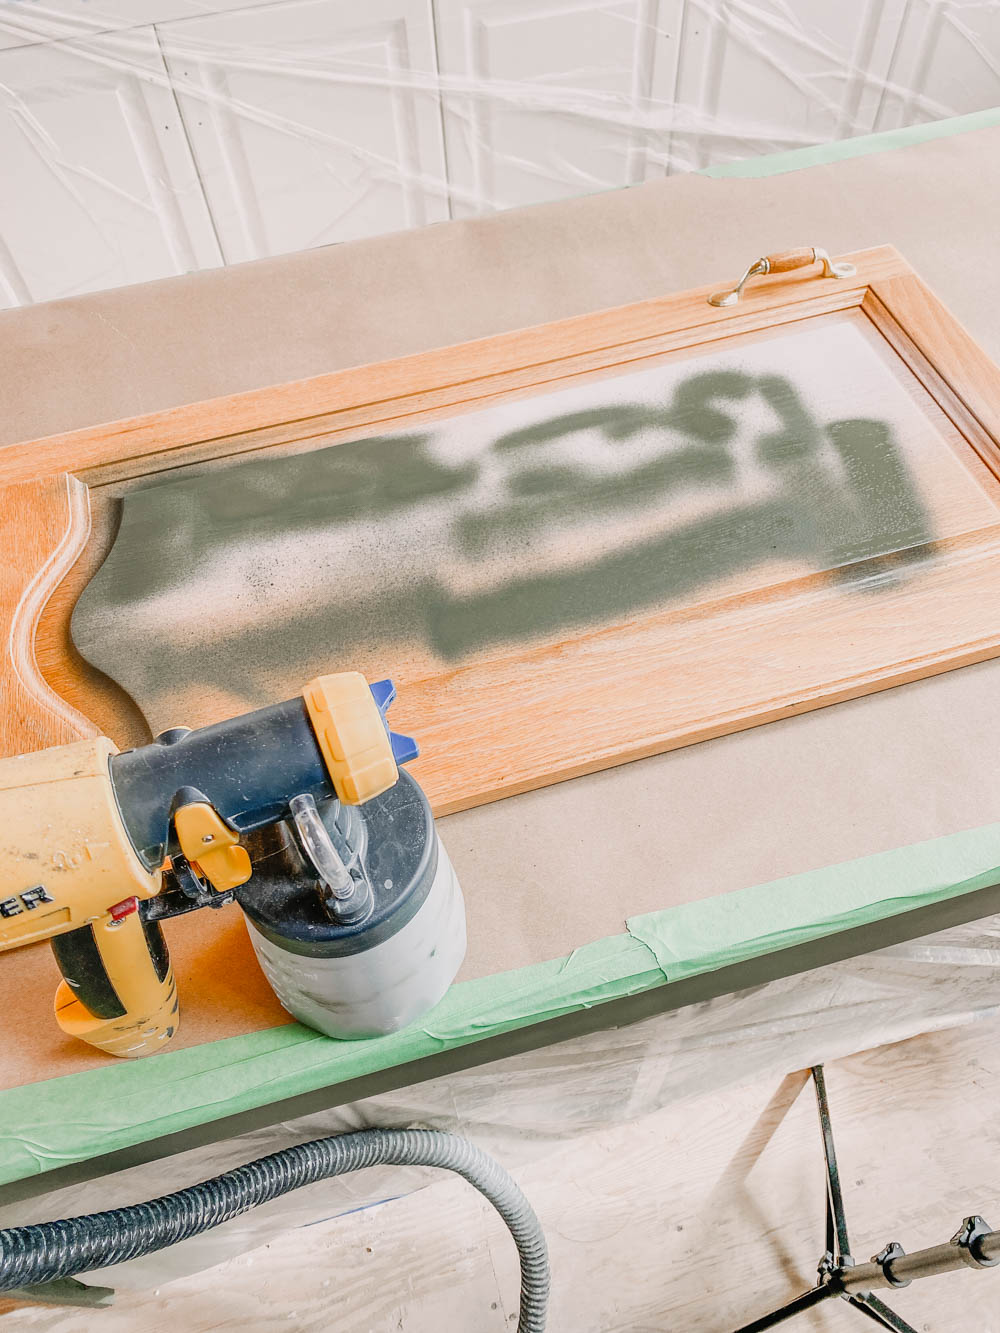
If you find your sprayer starts spattering mid spray, or if the paint spray gets lighter, there’s a couple things you could try. The first thing I do is turn the sprayer all the way off and clean the nozzle. Since the sprayer does get warm during use, sometimes paint dries on there. I also like to turn the direction of the sprayer from horizontal to vertical and back or vice versa. Sometimes that’s enough to get things moving again.
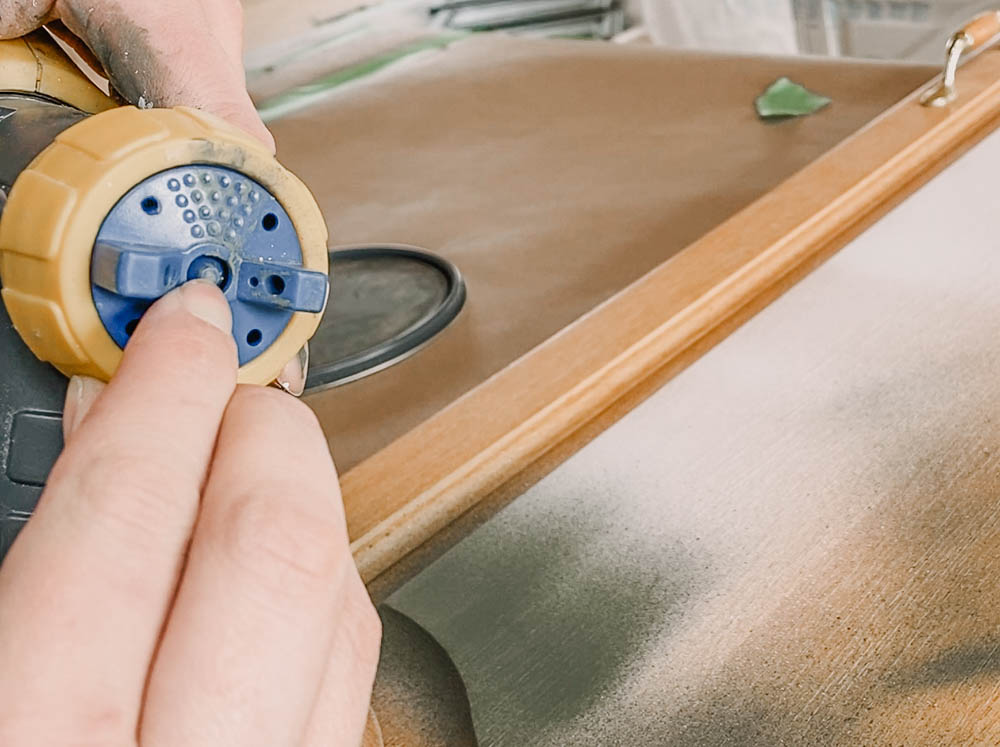
If it’s really spattering, it could be that paint has gotten where it shouldn’t be. This rarely happens, but it has happened to me a couple times early on when my kids have knocked the sprayer over while it’s full of paint. In that case, you would need to clean the nozzle (you can leave the paint in the cup, just clean from the pickup straw to the nozzle).
More Tips for Painting Cabinets with a Paint Srpayer
The other comment I get quite often is that the sprayer just can’t get all the angles. There are rare occasions where this is true, the sprayer isn’t small enough to get in some nooks right up against the wall, but most of the time? It really can.
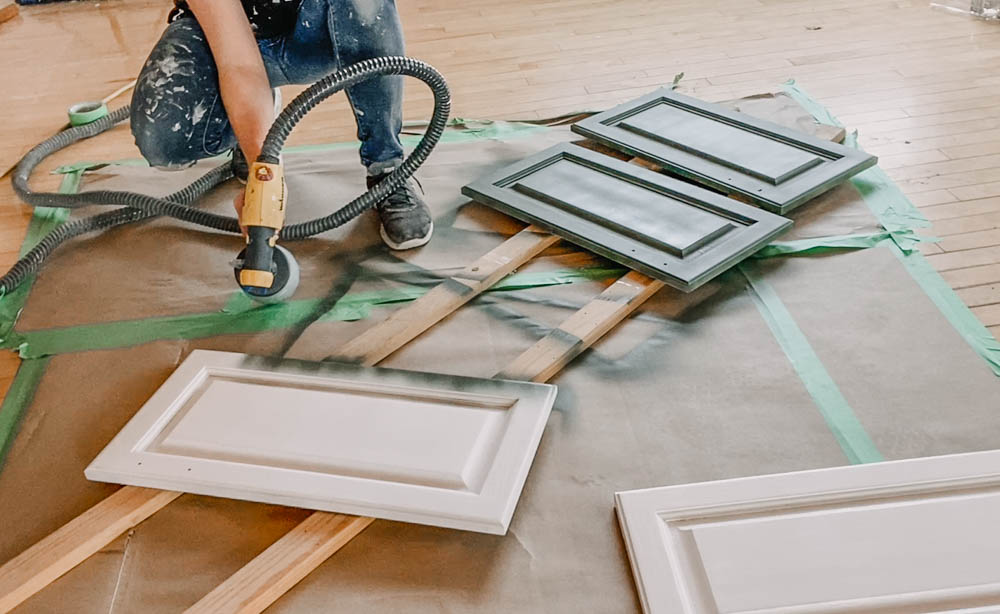
Here’s the thing, your paint sprayer is pretty darn accurate. They’ve improved them so much it will spray in just the direction you are aiming. So you need to physically move around whatever you’re painting to get each plane. So if your door has grooves and moulding like this one, you will have the best luck if you actually go to each side of the door and aim at that edge you are painting at.
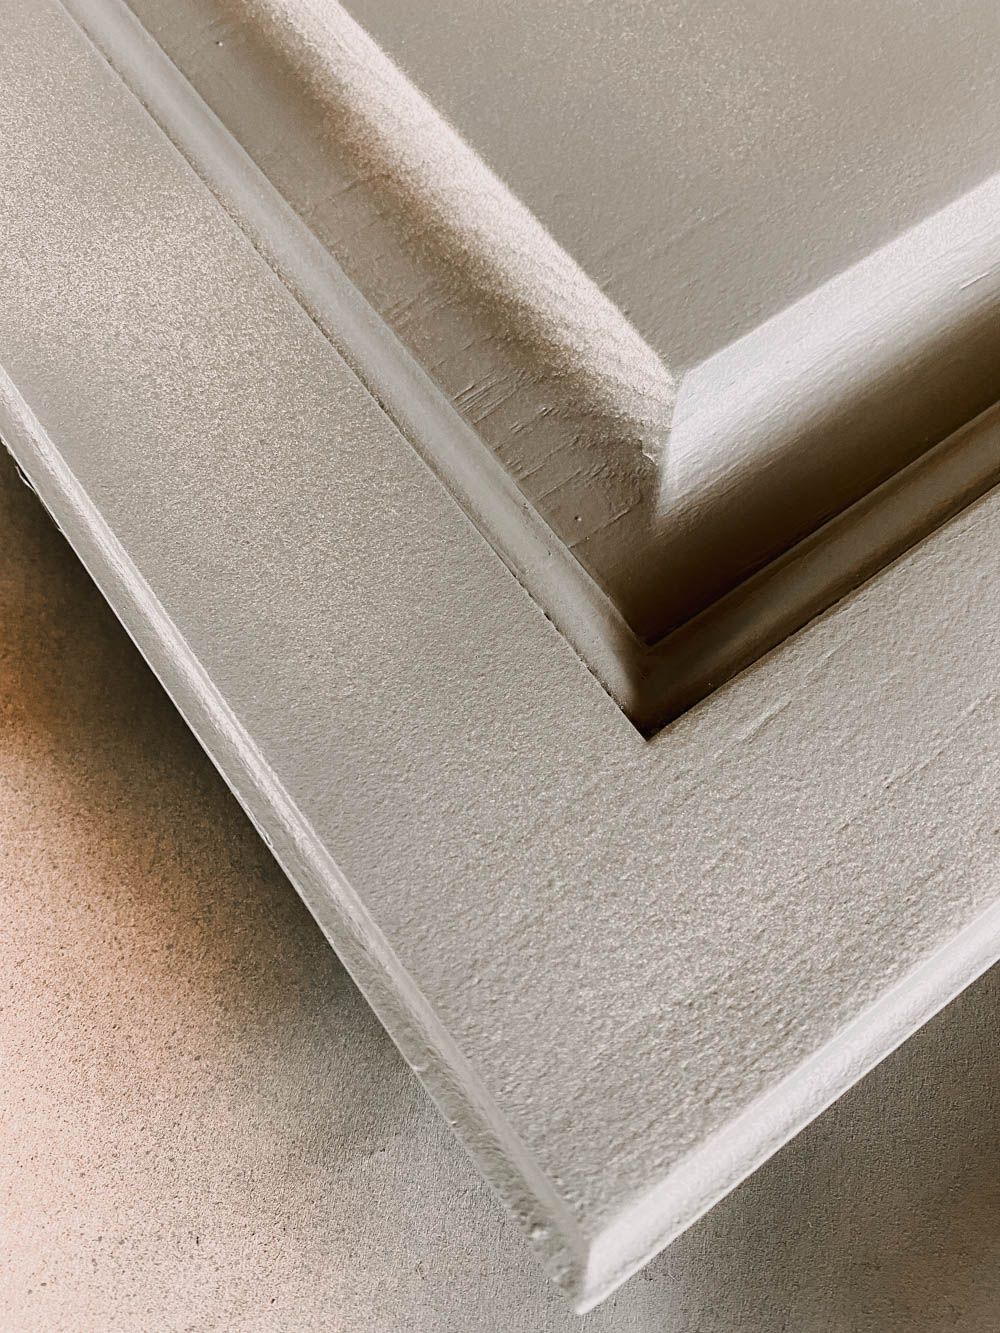
Before I’m done talking, I know I’ve said this already, I want to emphasize the thin coats. I really think you’ll be so much happier if you do a few thin coats than one or two thick ones. The finish will be so much more beautiful and the staying power will be much better as well. I took a close up so you can see how thin the first coat of green over top of the white was.
what’s next?
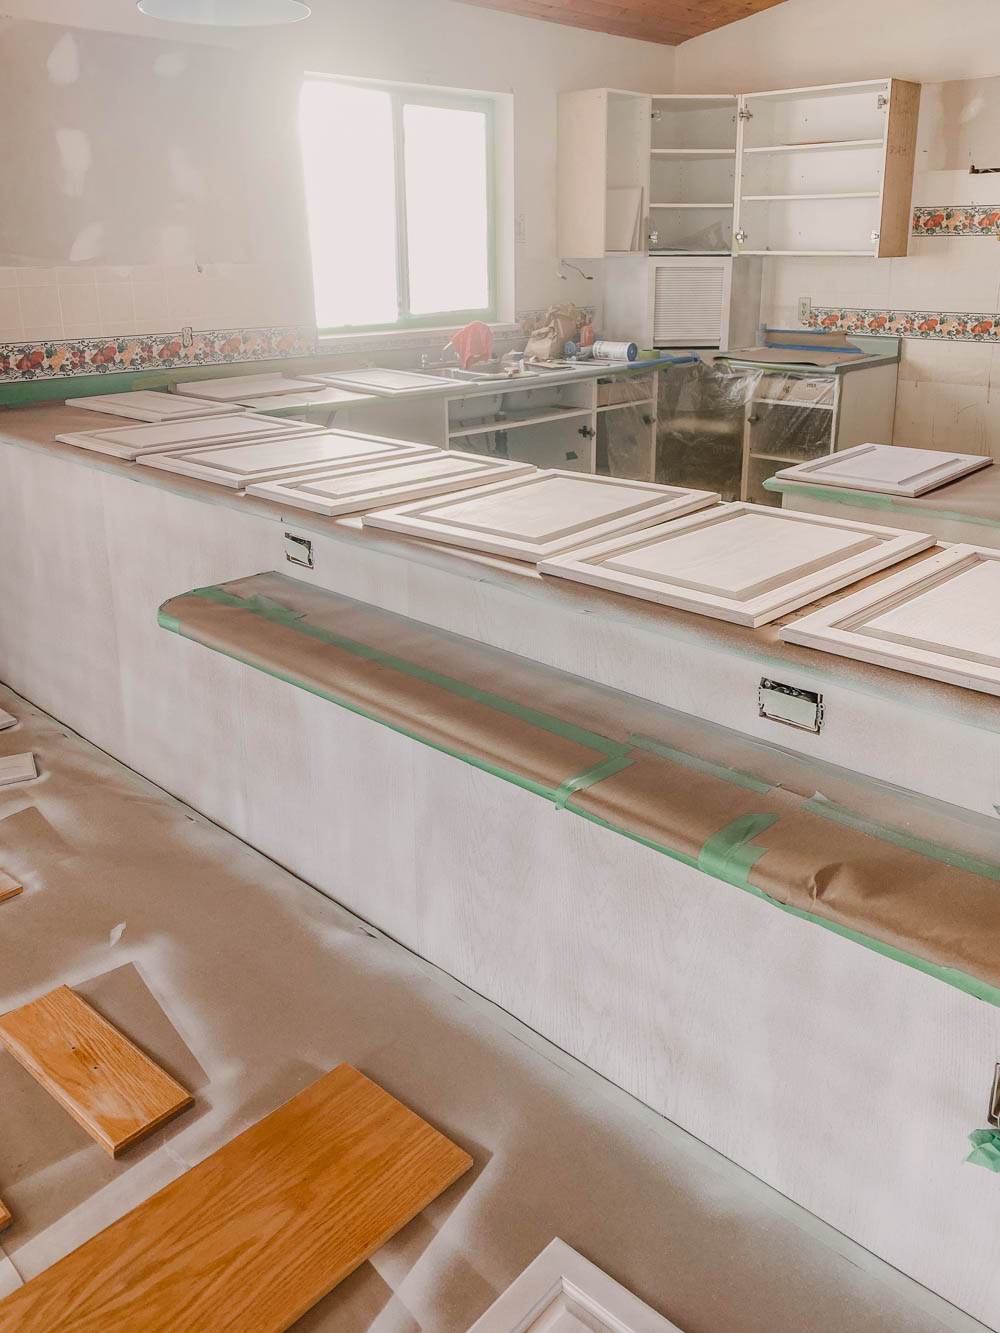
Alright, so the kitchen is looking so good already but there’s lots of work to go in here! Flooring, countertop refinishing, grout on the backsplash, appliances, new sink and tap, hardware on the cabinets! I’ll be back in a few weeks with a full before and after of the space!
*UPDATE* The space is complete! Click here to see the full before and after!
Big thank you again to Wagner Spray Tech for partnering on this project!
CHECK OUT MORE OF MY PAINT SPRAYER POSTS!
LIKE IT? PIN IT!





It’s going to be such a dramatic makeover! Great cabinet tips!
Hello! How many coats did you end up doing, esp in the green? How long did you wait between coats? Also, how did you mask the window? About to tackle my kitchen cabinets. Thanks for this timely post!
Hi Christina! She did 2 coats in the green (after the primer) but it really depends on the paint, so check the can of paint you’re using. Colleen masked using scotch tape and plastic.
How do you prevent bands? I can see each line where I sprayed on the insert/middle of my cabinet door?
I feel like I’ve tried so many different things to prevent it but can’t seem to get it.
Also, sometimes when I spray I can see small flat drops within the area I sprayed. Almost like if you painted then sprayed it with a spray bottle of water. Any ideas? Thanks!
Looks beautiful!
Using a sprayer to paint kitchen cabinets gives a smooth, professional finish that’s hard to achieve with a brush. It’s a faster and more efficient method, especially for large surfaces, ensuring a flawless, even coat!