Sharing all about painting a store and a mural in just a few days for a local shop! Tips on mural painting for beginners and for painting a large space quickly with a paint sprayer.
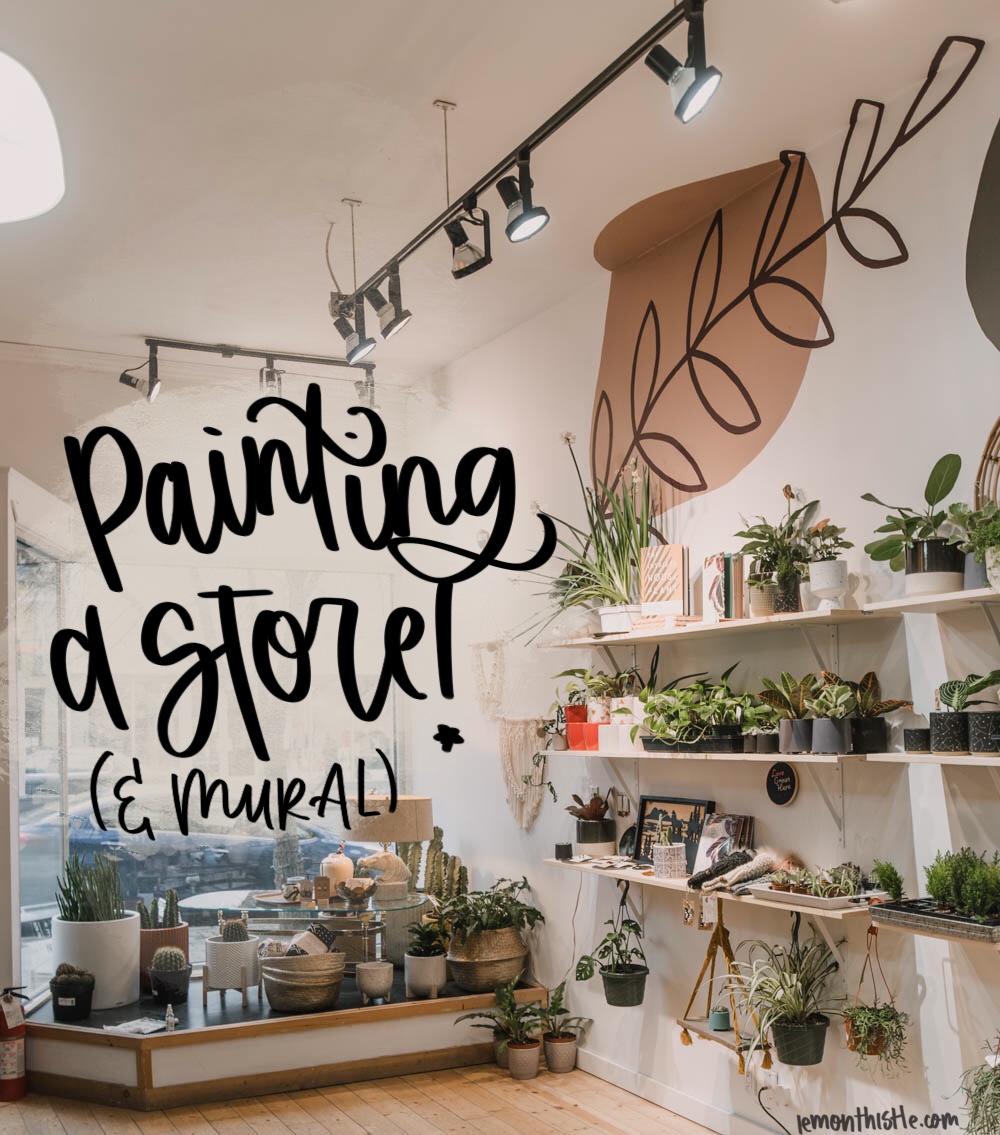
There’s two separate parts to this blog post, but I’m making it all one so you can see the awesome transformation of this space in just under a week! One of my very favourite stores in town (Far & Wide) took on a second space this holiday season and I am excited to share the mural I painted for their opening and tips on painting this large of a space really quickly.
First… let’s look at the before! This space was previously an art store and had plenty of holes in the wall from moving art around to prove it. After the holes were patched, this is what we were left with.
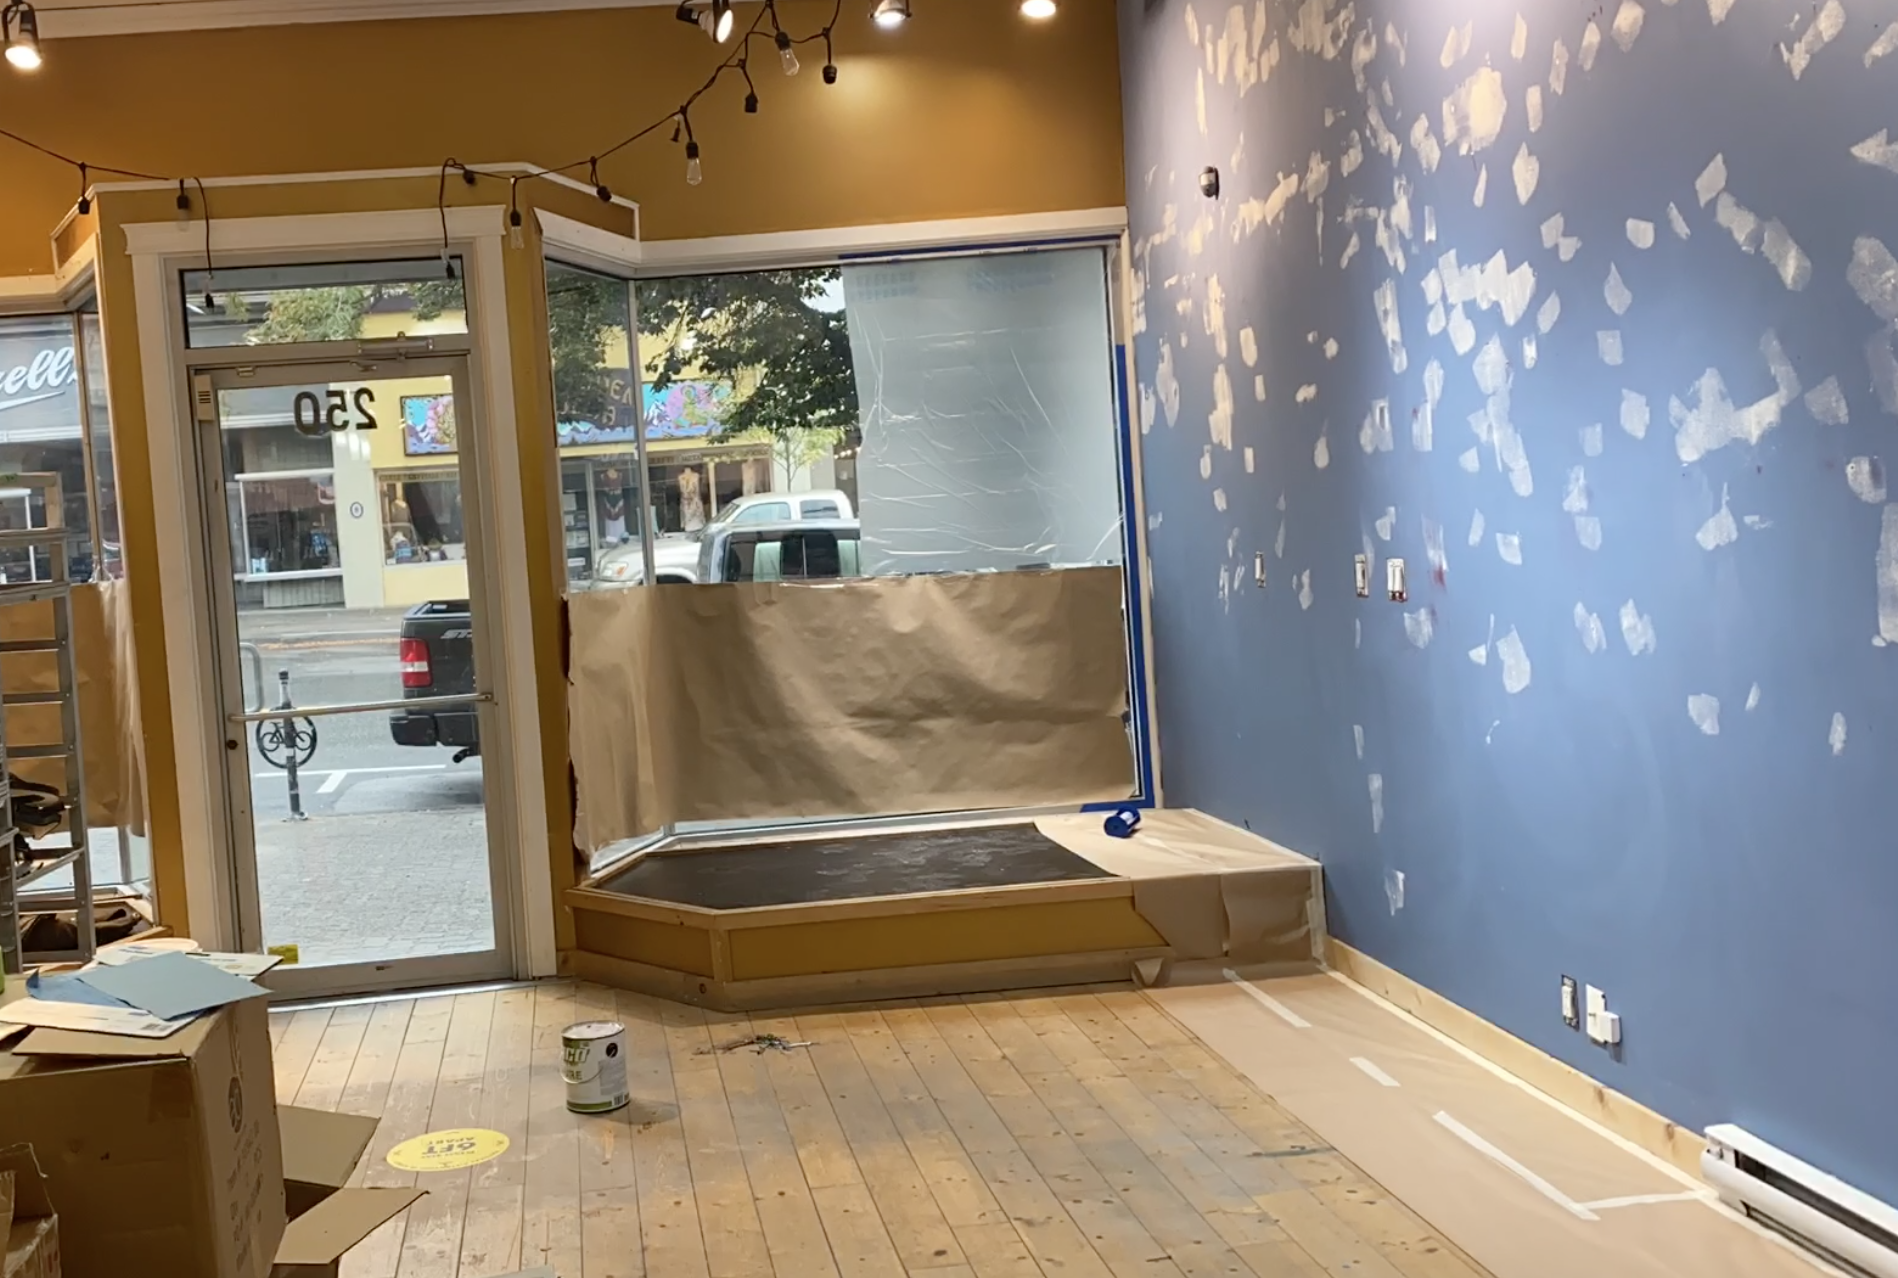
Before I could get to painting the mural (below), I had to get the space painted to a nice fresh white to give a blank canvas. Painting this with a roller would have taken… forEVER. We chose a plain white so we could avoid taping off the ceiling. The ceiling did have some paint spatter on it so we actually chose to paint onto the ceiling in some spots to cover that without painting the whole ceiling.
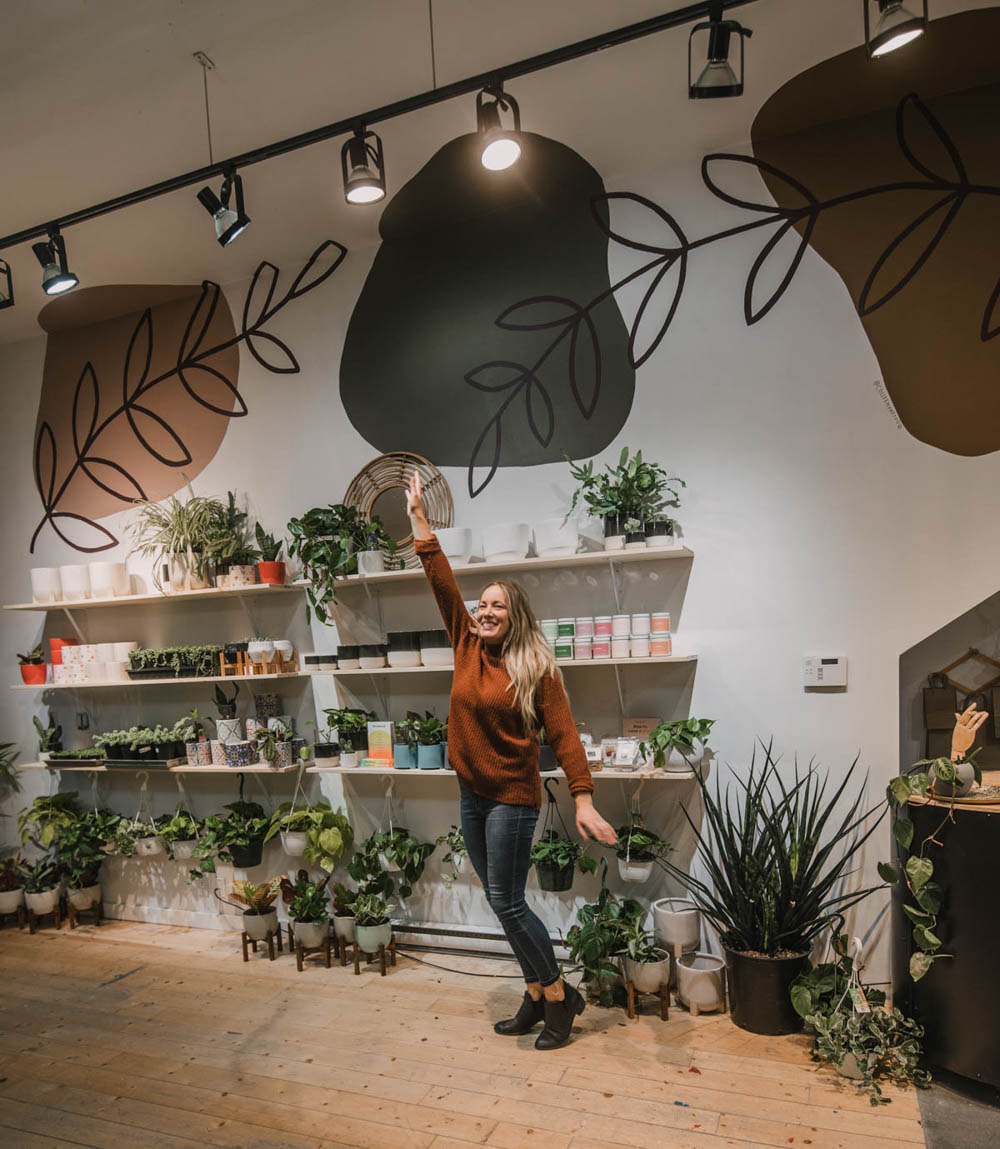
So in this post, I’m not only going to share the timelapse for painting the mural (my first one not in my home!) and tips I learned from that but also tips for painting a large space like this really quickly. This post is in partnership with Wagner Spray Tech who provided a Control Pro 130 paint sprayer for this project. This is the second project I’ve used this sprayer for- the first was for this house exterior in October. I’ll talk more about it down below but it really made the job go so fast.

As usual, you can either check out the whole process and tips in the video or keep scrolling for the written blog post version!
4 Tips to Help Painting a Large Space go FAST

- Clear out as many obstacles as you can. The less you have to work around and mask off, the better! Especially with a high ceiling like this, when you need to use a ladder, you don’t want to be worrying about knocking things over with the ladder when you move it around!
- Secondly… Put time into masking! Masking can be the most time consuming part of a project, but it’s also the one with the most payoff. If you take the time to mask windows, trim and features you don’t want to get paint on, you can spray confidently in an even pattern for less coats and even coverage, then just peel back your masking to reveal a perfect cut in job.
- The right tools make a difference. Our first renovation, we were working on such a budget that we would take the harder route to avoid buying a tool or a material. After renovating two full houses plus other projects outside our own home, we’re lucky enough to be working with a little more budget and have seen the value of the right tools. If you’re in a position where time is your commodity, investing in the right tools will save you so much time. Here’s what that meant for this project.
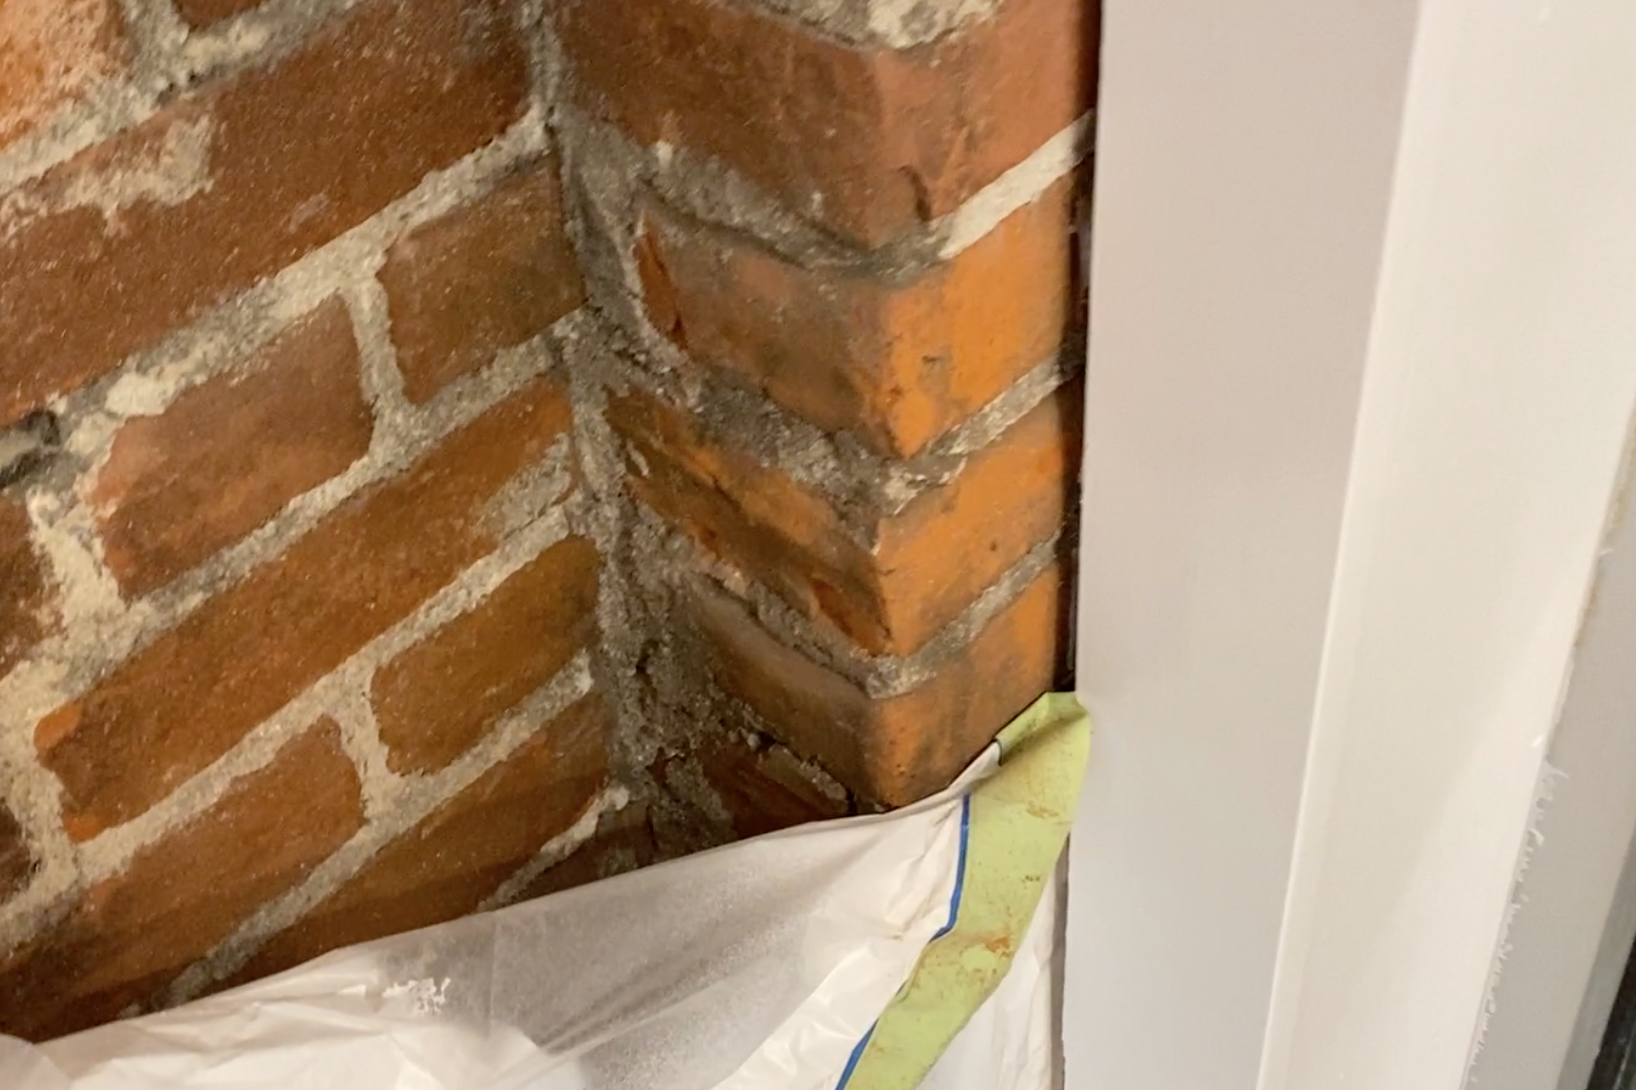
This meant masking with pre-taped plastic (Scotch Blue Tape + Plastic) and using rough surface painters tape for the brick. These are high quality so I didn’t worry about extra layers and got the job down quickly. In the past, I would have taped layers of newspaper on to a surface to mask it. This cut the time down incredibly.
This also meant using the Wagner Control Pro 130 for spraying the space. This sprayer is a beast when it comes to large projects, making the painting the quickest part of your job. The price is also crazy reasonable for the style of sprayer. I’d recommend this for anyone taking on a large project like a store or a house exterior.
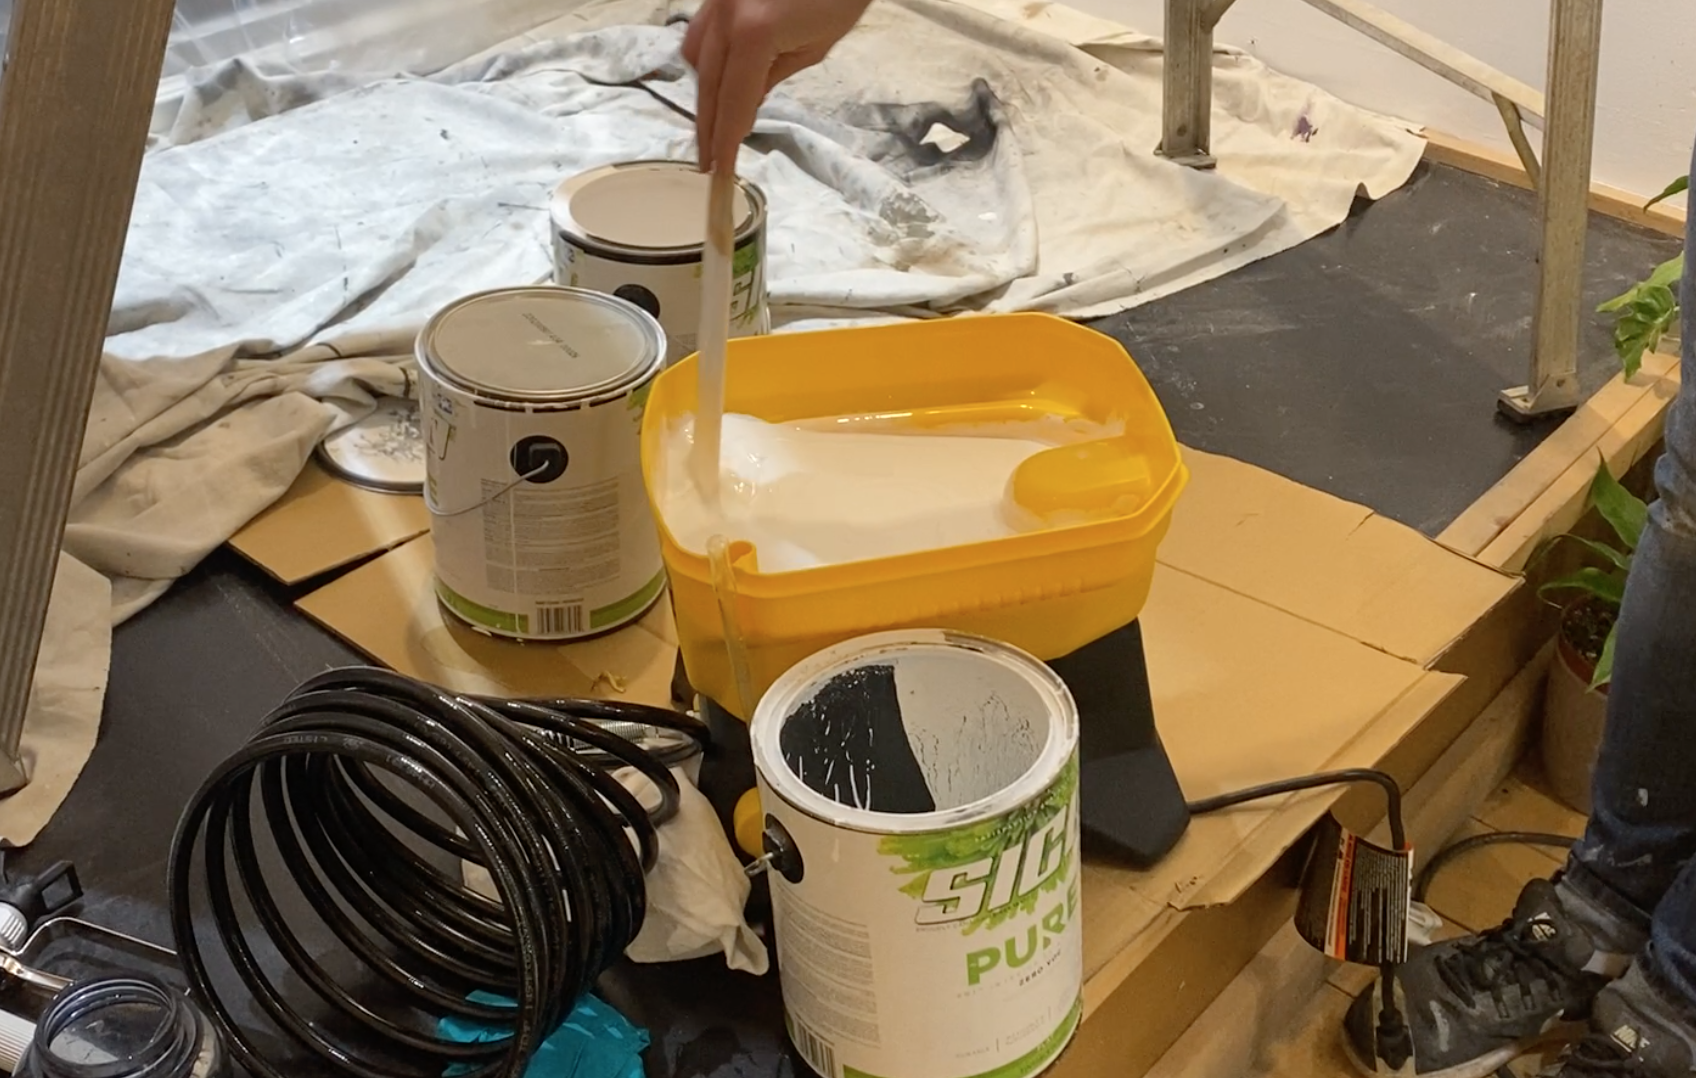
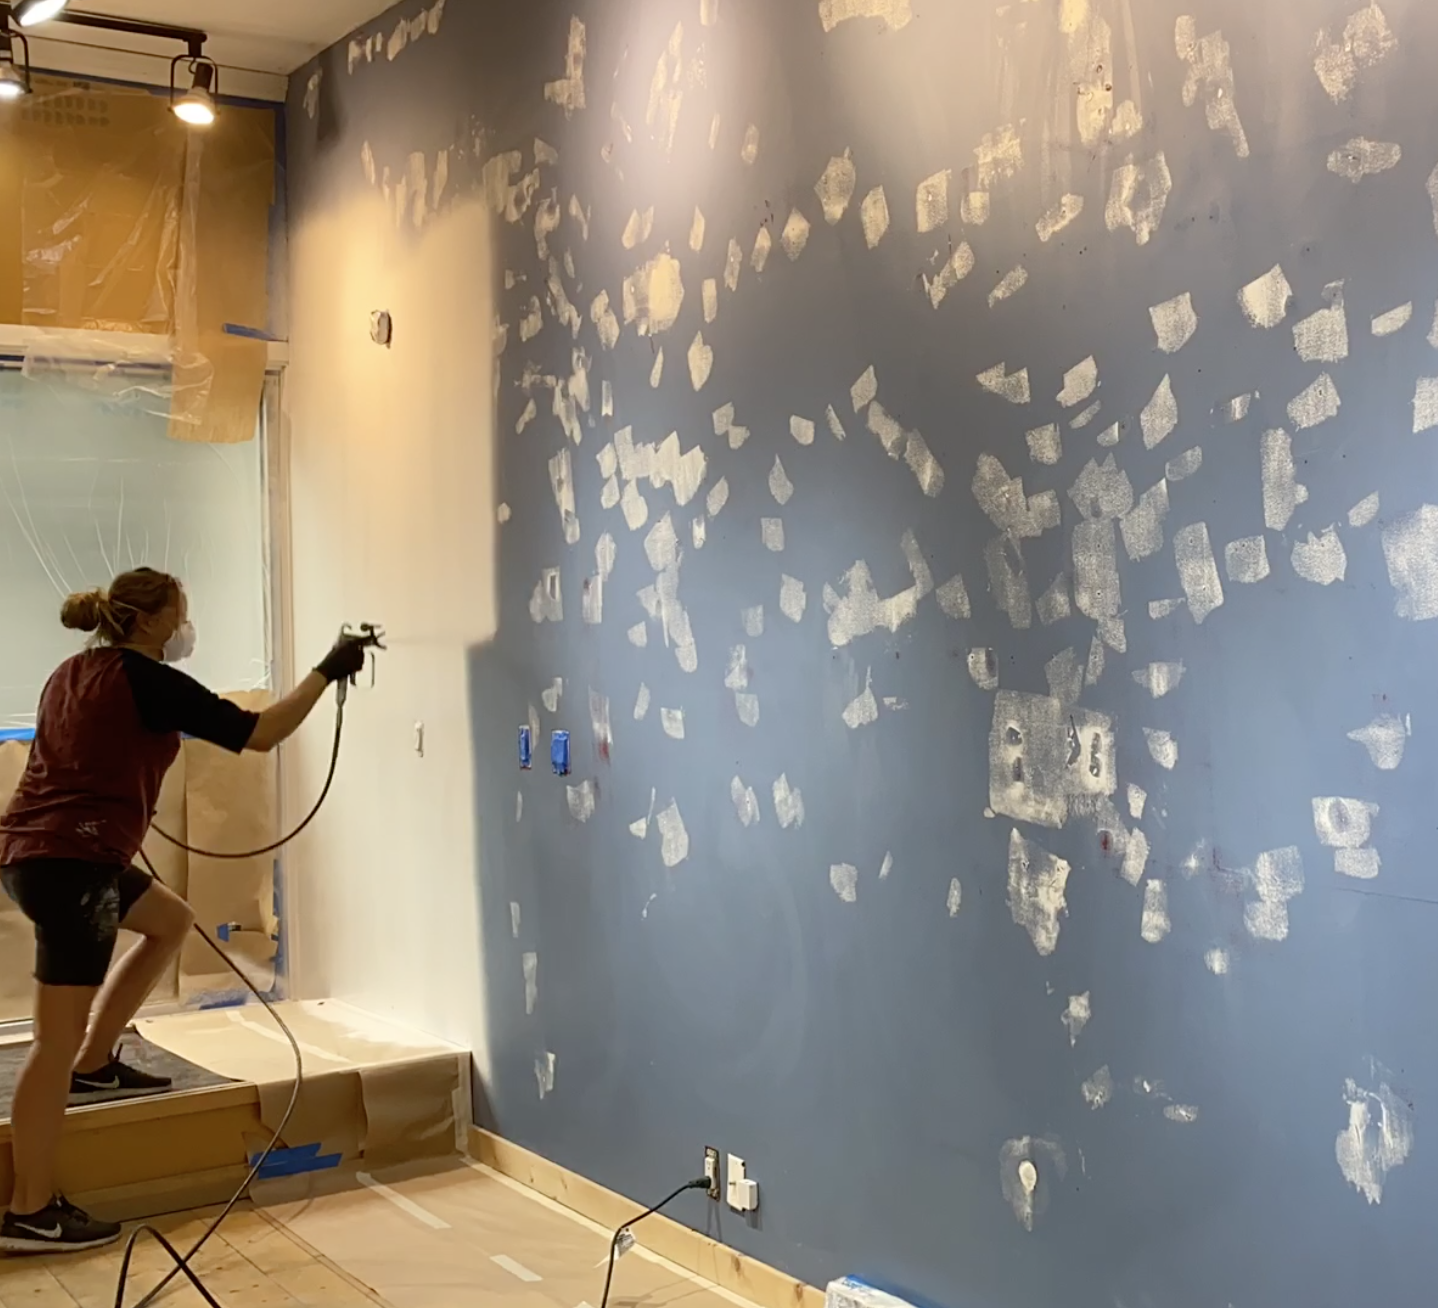
- Spray one coat horizontally, the next vertically. This made such a difference in coverage for us in the projects we’ve been taking on lately. It allows us to get away with two coats instead of three.
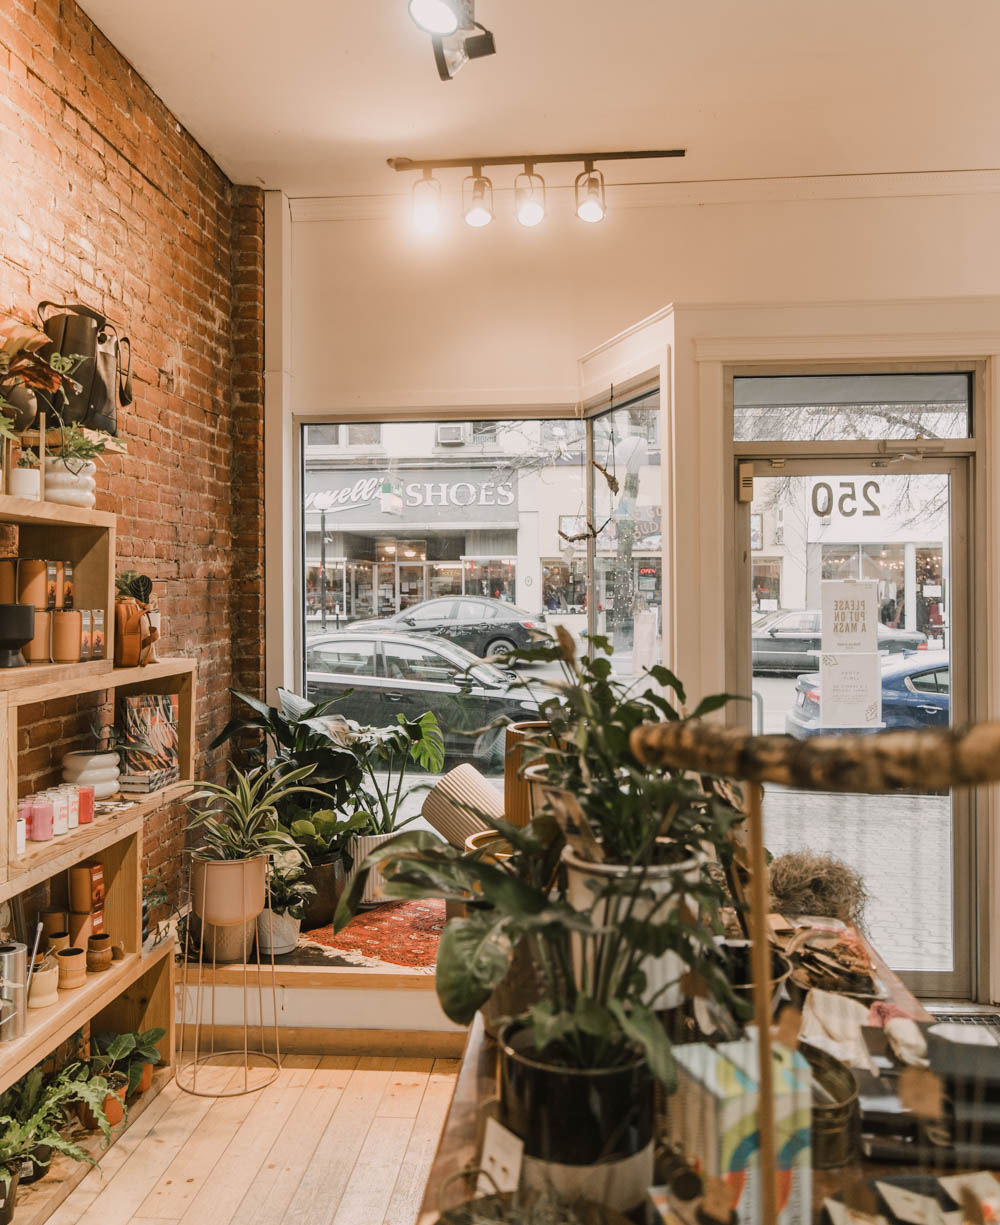
These tips helped me paint this space so quickly, which gave me plenty of time to take on the mural. Alright… now that the space is all painted… let’s get to that mural!
This was my first mural I painted in a public space. I was anxious since it was such a tight turnaround that even if it didn’t turn out as amazing as I’d pictured, there wouldn’t be time to change it. But! I’m so proud of how it turned out, the nerves were just the normal trying new things feeling.
In painting the mural, there’s a few things I picked up from the smaller murals I’d created (like this one) and even more I learned in this process. If you’re wanting to take on a mural, here’s some things to consider!

Tips for Mural Painting
- Cut edges with a brush, fill large spaces in with a small roller. I think this is pretty obvious that large spaces would take forever to fill in with a brush, but also these were too small to use a large roller for. The small roller helped me fill the spaces in nice and even without brush strokes. It took two coats for these larger colours.
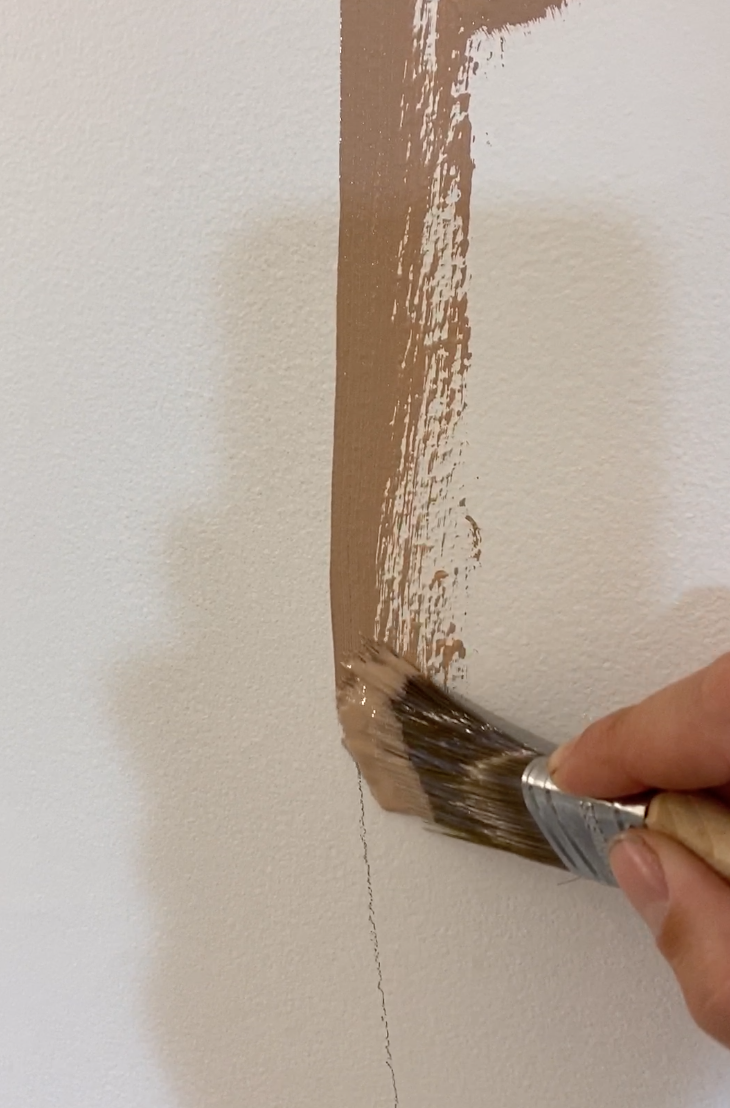
- Use a matte paint if it’s under spotlights. We chose a matte finish paint for this mural for a few reasons. First off… I love the look of it, but it also hides imperfections. Since this space had been painted many times, there was bound to be imperfections in the wall and we didn’t want the mural to highlight these with the bright lights bouncing light off those. Speaking of light bouncing off of things… we didn’t want a colour cast from the mural.
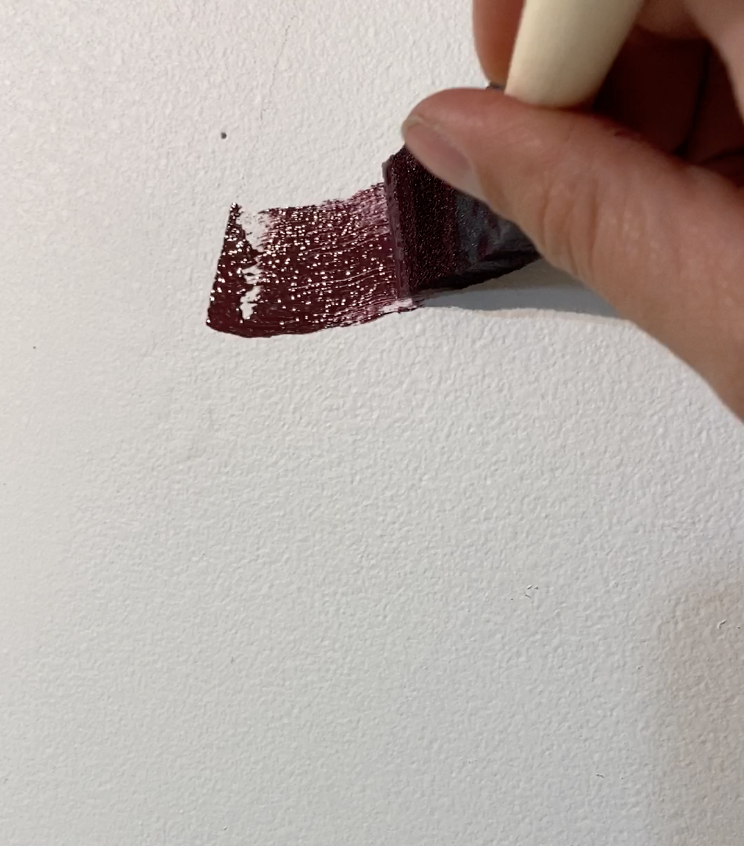

- Aim for evenly sized lines. This mural used a line art style, which means the leaves weren’t filled in. To keep the lines consistently sized as much as possible, I outlined the lines with a foam paintbrush first, then filled them in with a regular paint brush which offers better coverage.
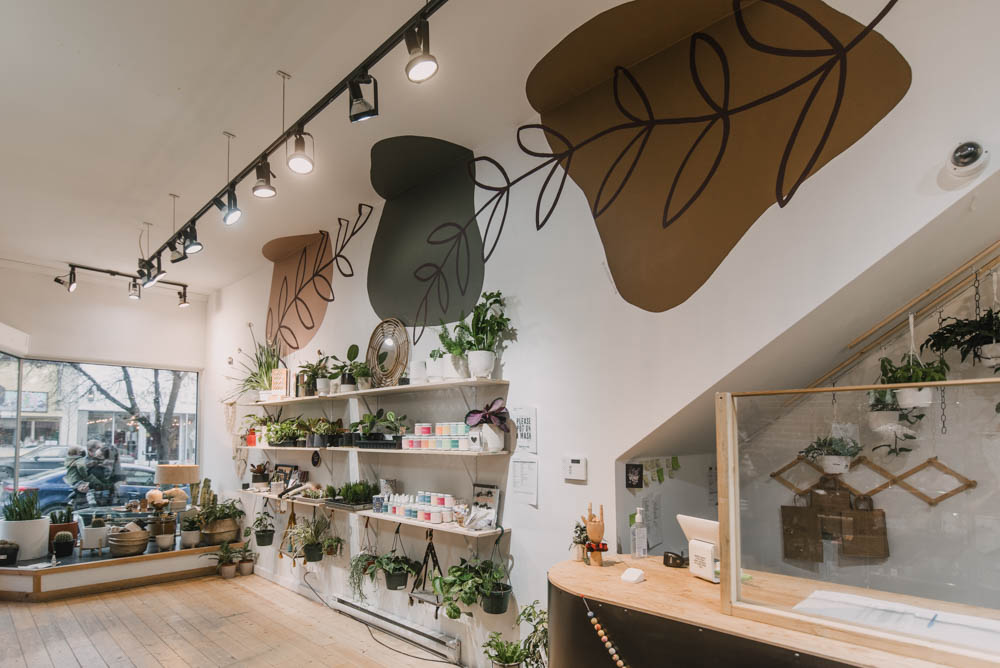
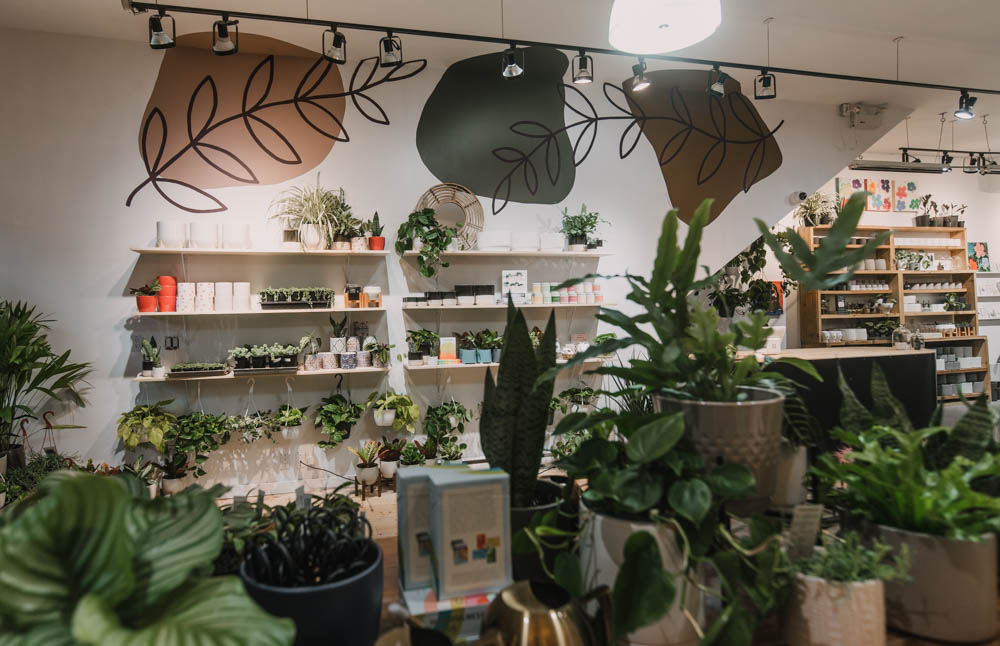
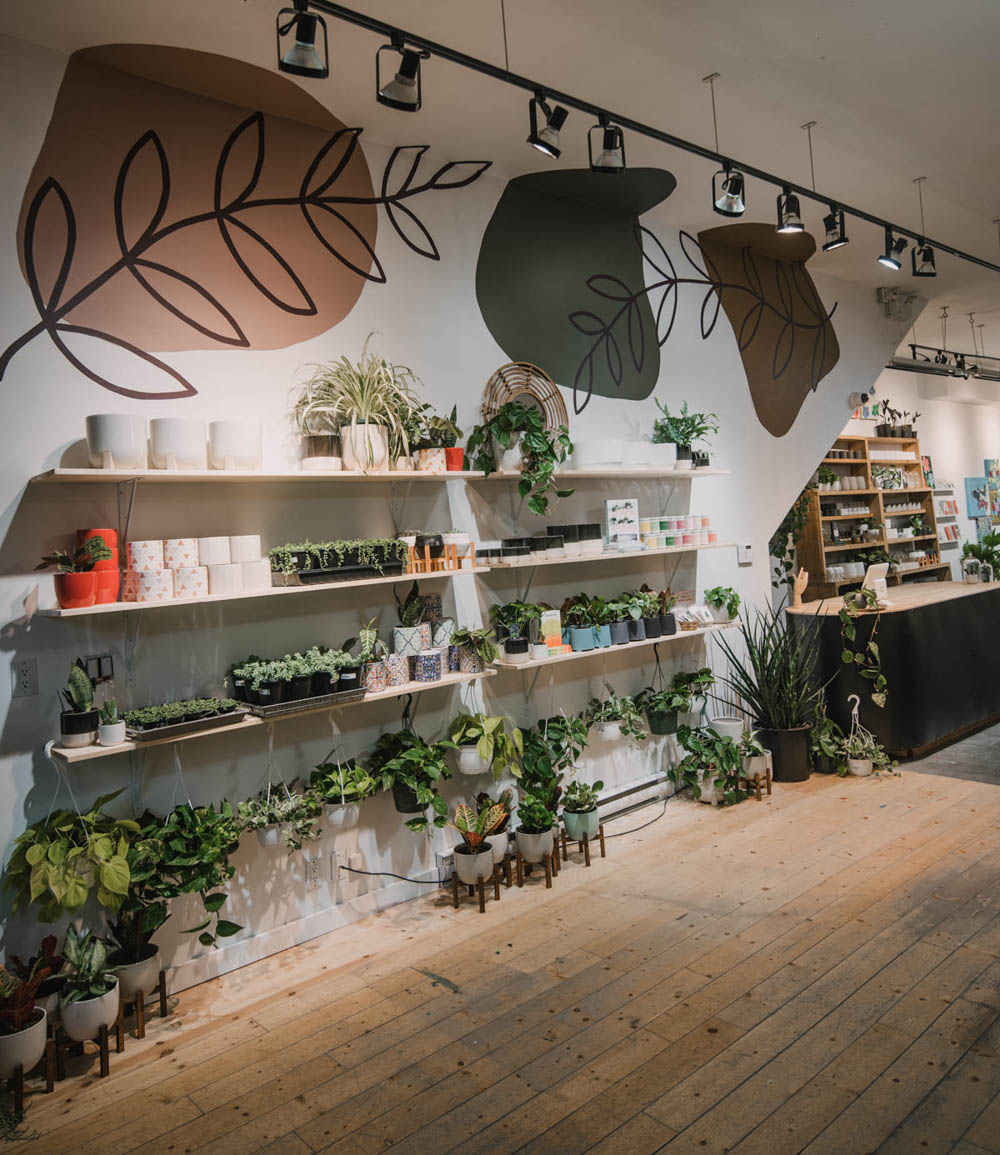
And I mean… that transformation just makes me swoon! Its so pretty now! I am so happy with how this painting project turned out and grateful to Wagner Spray Tech for sponsoring this project so I could get through painting the walls white crazy quickly to spend time on the mural.
If you have any questions at all, let me know and I’ll try to answer them for you!

 Cozy Modern Holiday Home Tour
You’re an amazing painter and you have a creative mind. Can you tell me where you got your ideas and inspiration? I truly appreciate it!
Thanks so much! I think the more you create the more ideas you have, it’s a cycle :)
Love this mural. Beautiful styling.