The DIY blogger in me always has such a hard time writing ‘updates’ or ‘progress’ reports with no real step by step takeaways for you. But the One Room Challenge is one of those things that almost requires it. There are so many steps to get the room ready for the fun stuff and that’s what a lot of those 6 weeks are spent doing… I was hoping to replace the window and write a tutorial about that, but we just didn’t get there… because I spent SO LONG painting.
If you missed our announcement, we’re joining in as guest participants to the One Room Challenge. The One Room Challenge is a 6 week makeover challenge to take any room and make it over top to bottom, sharing your progress along the way. We’re taking on the boys’ shared bedroom and it’s currently week 3/6! You can see our design plans for the space right here and then last week I shared everything we learned from removing valances.
So today I thought I’d share an update of where we’re at in the makeover and what is still to go. I know that so often on social media and on blogs we see these room makeovers come together in what feels like days and it can be discouraging. This totally doesn’t happen most of the time, so I thought I’d give you a realistic picture of everything that goes into a room makeover like this! And let’s be honest… this bedroom makeover is probably the least involved remodel in our whole house- we didn’t even have to move a window :)
Can I let you in on a secret?
When I post a design board, it’s usually as we’re starting or have already started on a space. I don’t want to post it before we touch anything because it would be SO LONG before I had anything pretty to show you. Sometimes it still takes forever (like our kitchen!) but sometimes it comes together in one really long hard weekend (like Aubrey’s bedroom when we finally got rolling). So don’t let social media tell you that all these beautiful rooms are done in one afternoon while the kids are at school ;)

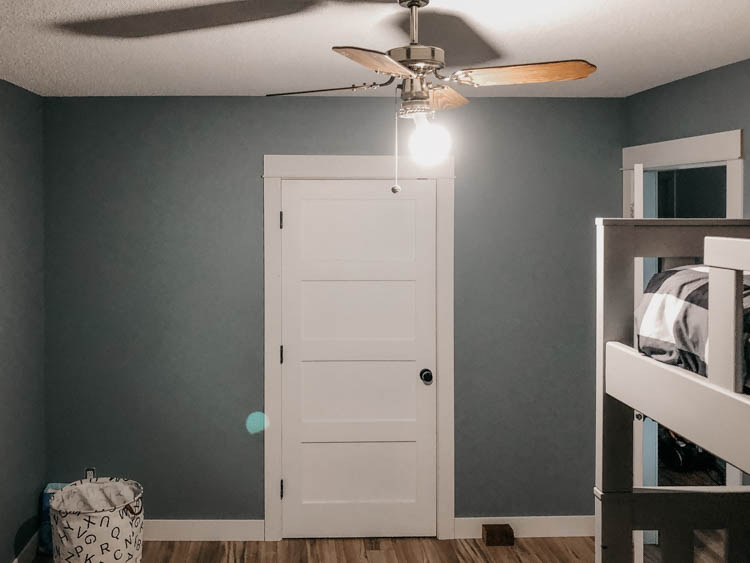
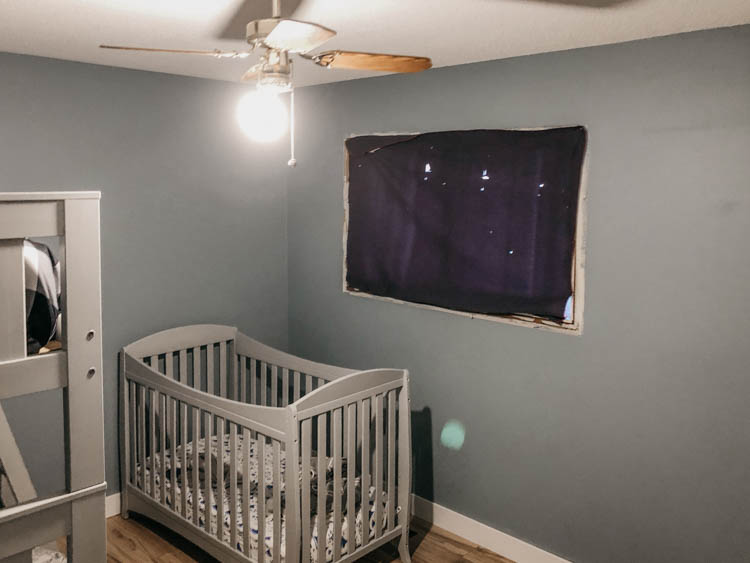
Here’s what we’ve done in the room makeover:
- Tore up old flooring and laid new laminate (everywhere in the house… and not in the past two weeks!)
- Replaced the bedroom door and knob
- Added a closet door (there was nothing!)
- Removed the window valance and had drywall + ceiling texture patched
- Installed trim everywhere but the window (which needs to be replaced)
- One coat of paint on the walls
- Bunk bed and crib FINISHED!
- Closet organizer installed (by Imagine the Room- I’ll share this next week once I have baskets in there!)
- Ordered pretty much everything
Here’s what we have to do to finish the room:
- Install feature wall (vertical skinnylap!)
- Finish Painting Walls
- Replace Window + Trim out
- Patch and paint all trim
- Replace light fixture
- Install night light sconces
- Replace plugs with tamper resistant ones + screwless plates
- Build DIY desk
- Order window covering
- Paint nightstand shelves + closet stool (the painting will never end ;P)
- Decorate!
We’re getting there! I know that we’re halfway and there’s a lot more to go- but I feel like it’s all the really time consuming stuff we’ve tackled already. Except building a desk… that’s going to be a fun challenge ;) I can’t wait to see it all come together! I have a little hoard of decor I want to put in there in our basement and the collection makes me even more impatient to get it done. I asked the boys today what they would like for decorations and if there was any words they’d like on a sign. I reminded them that Aubrey has a ‘kind is cool’ sign and they responded that they’d like one that says, ‘building lego is cool’, one that says ‘hold the hand railing’, and a sign with a picture of a rock. Mmmk. Let me get right on that ;P


 How To Organize an Entry Way Closet / Make the Most of an Awkward Closet Shape
Leave a Reply