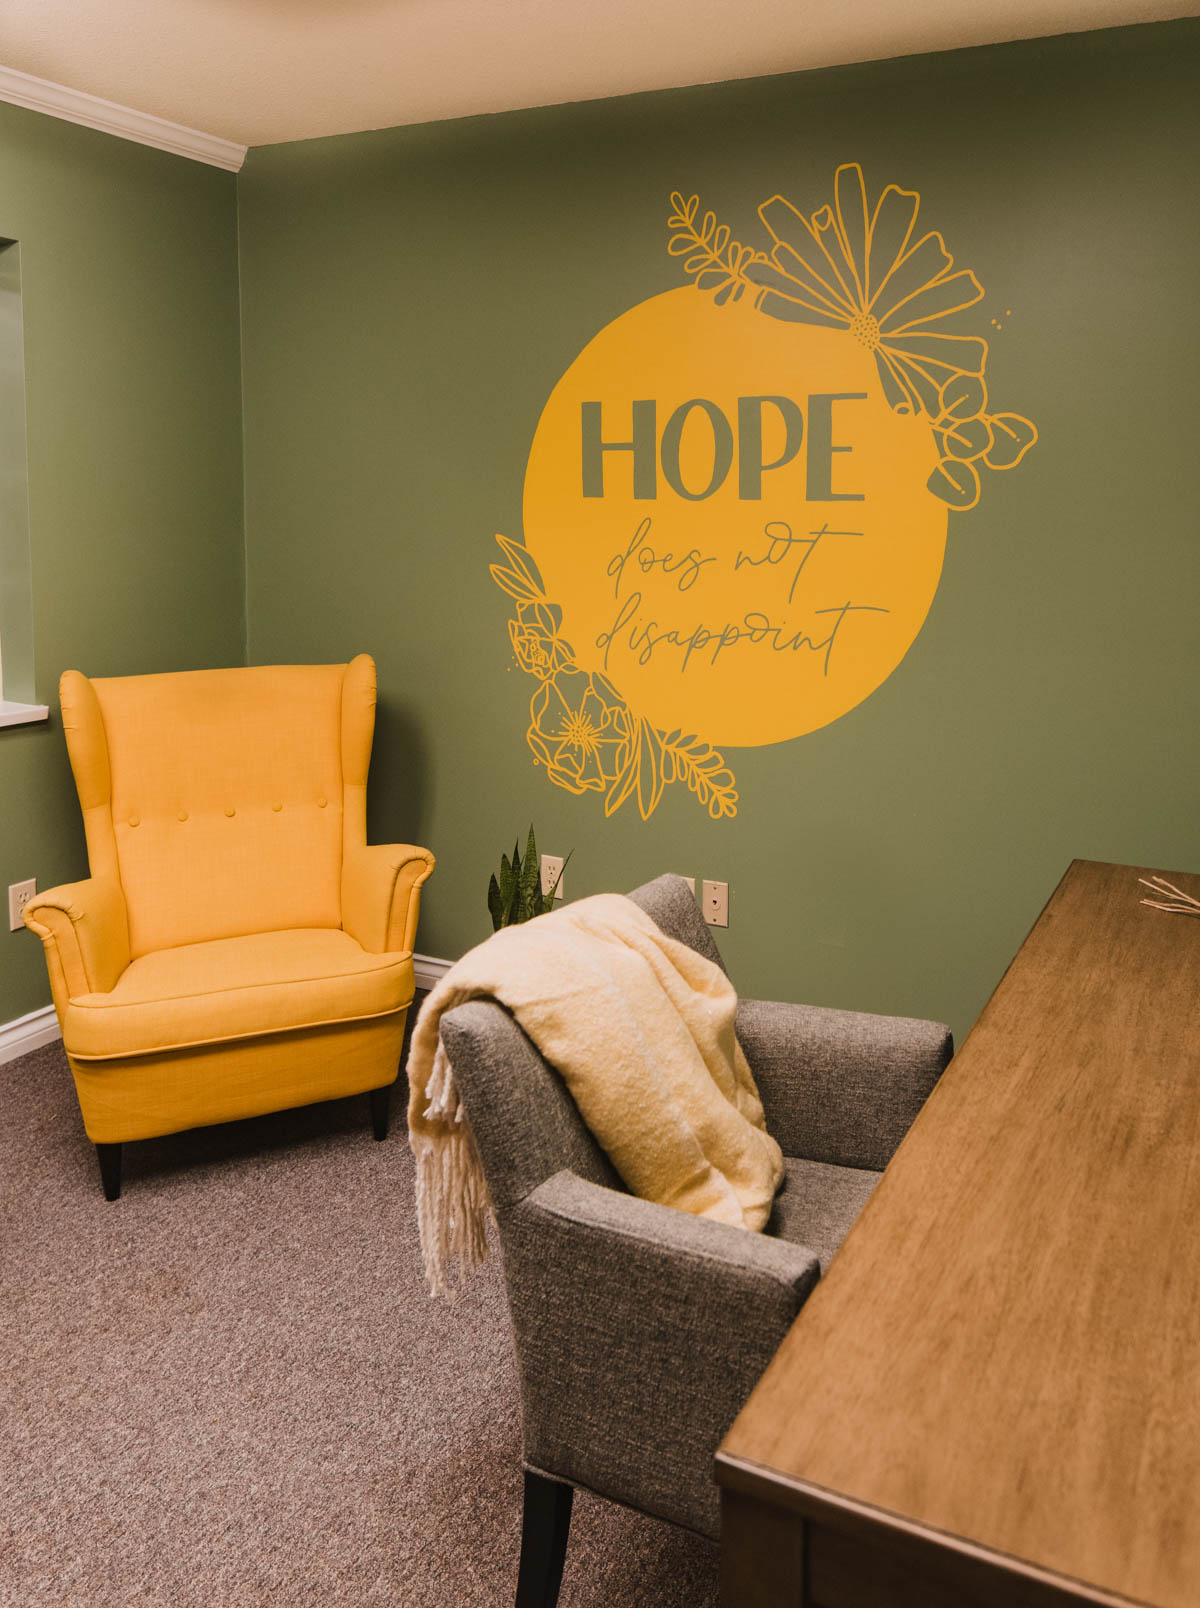
Sharing my newest floral quote mural painting- Hope Does Not Disappoint, plus some mural painting tips for beginners!

A couple of weeks ago we were visiting friends on vacation and I squeezed in painting a mural for a friend’s new office. Today I thought I would share that mural with you along with some tips if you’re looking to paint a mural as well! This is my third mural, so I feel like I have some tips that will help it go easier now.
A bit about this mural and the planning process. My friend works with youth, so she wanted something bright and fun and to be welcoming and encouraging. I sketched out a few ideas on the drive down (aint no minute like the last minute) and we worked and reworked those once we sat down in the space to get an idea of how we wanted furniture arranged.


She knew she wanted it to be yellow on green and we were playing with the idea of adding some white as well. Adding a second colour adds some dry time and given our tight timeline, we decided to stick with the one colour for the mural.
We decided on this layout and design to take advantage of the wall size and layout of furniture. The great thing about sketching on an iPad is you can cut pieces of a sketch and paste it into a new format to save time on reworking layouts. If you are wanting to use your iPad for this, my favourite app is Procreate. You can see all the layers and cuts in the image above.

Once we decided on the layout, we centred on the wall with a push pin and used a string with pencil to draw the circle.
From there, we hooked up to a projector and projected the design in pieces (we couldn’t make it big enough to do it all in one go!) to trace the major shapes. If you don’t have a projector, try drawing squiggles on your wall, then photographing your wall to overlay your design on. This will give you a pretty good grid to draw some of the major elements.
We also used a yard stick to level the word hope so it would be straight.
Sketching in pencil definitely saves you time, but it’s hard to sketch everything perfectly, I like to just outline the major shapes instead of spending time being super detailed.

Next up… paint! Here’s where things got… frustrating. In the murals I’ve done before, I’ve used a high quality one coat paint in a darker colour. This was a lighter colour on a dark wall and I’m not sure on the quality of paint (we walked to the hardware store next door for this one). After one coat, it was clear we would need several more coats than expected.
I would definitely do a primer coat if I were to do this colour combination again. We were told after going back to see if we could get a better covering paint that some yellow colours can’t be mixed with a white base- only a clear base. This means that it takes SO many coats to get an even coverage. Unless you LOVE yellow (like my friend), I’d avoid it!
Painting the mural itself is tedious, but not difficult once your lines are in place. I did the first coat on my own, but then my friend helped paint all the remaining coats. Like I said, since this was a yellow with a clear base it took a lot of coats (like…. 7).

Having cups for the paint so you’re not lugging around the paint can is helpful. That starbucks cup isn’t holding coffee any more, just paint ;)
So is different sizes of brushes. I like a larger brush for the main circle section, but a detail brush for the line art florals. I actually love the crayola kids brushes for work like this. I know this isn’t what they’re meant for but they hold up remarkably well, clean easily and since they’re stiffer, offer consistent line size.
If you put a fan on in the room you’re working in, you can likely go right from one coat to the next, just go left to right or top to bottom then start over. It took us over an hour to do a coat so it was completely dry by the time we came back to the other side of the mural. Or you can plan to reward yourself for each coat with a coffee or lunch break while the coat dries;)
It’s easy to be precious and take a LONG time making perfect lines, but the more coats you need to do, the sloppier it will look by default- you can’t be perfect each time… especially if you’re tired. Give yourself some grace and plan to do a touch up coat of the base colour (green in our case) once you’re done your mural painting. This instantly cleaned it up and gave it a finished look!


Alright… and here’s how it turned out! I’m so happy with it and I know it brings so much joy to my friend’s office which makes it more than worth it. I hope these tips help give you some confidence if you are planning on taking a mural on yourself!
And if you’re somewhat local to me (Kamloops) and looking for a muralist, I’d so love to hear from you! I’ve had fun working with murals and would love to do some more.
SEE MY OTHER MURALS HERE:
PIN IT FOR LATER!


 Adventure Printable Brush Lettering Practice Sheet
Leave a Reply