
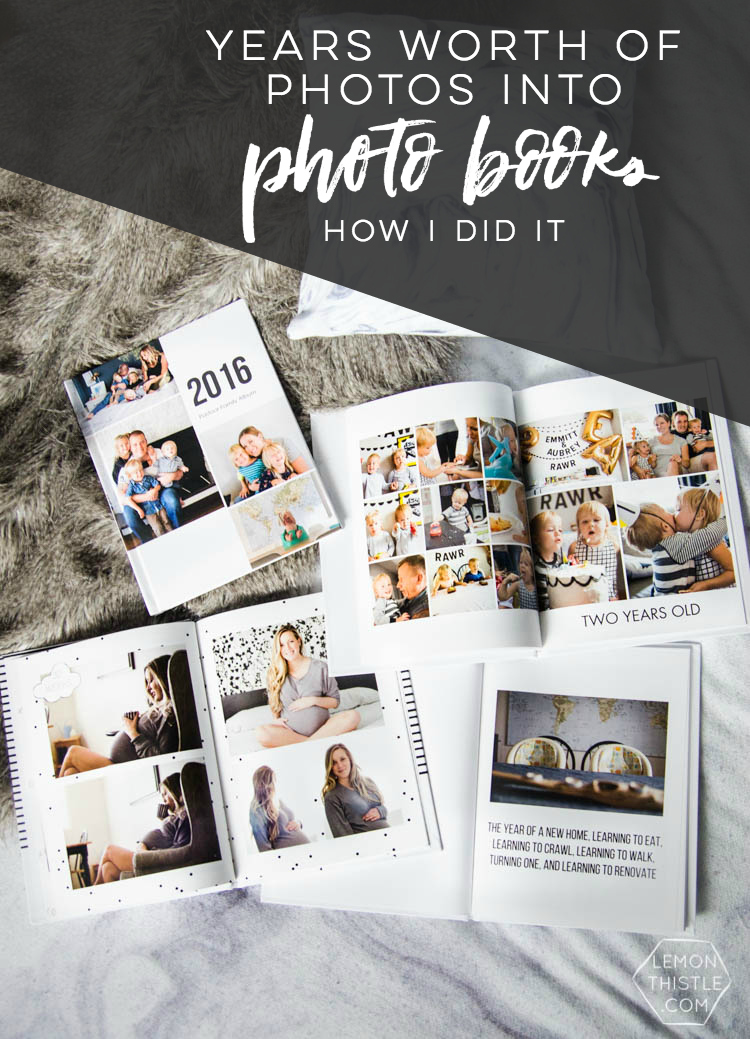
Sharing how I took years of photos and organized them into yearly photobooks for my family to enjoy. Tips on organizing your digital photos and printing a custom photo book with a modern aesthetic.
I am SO excited to be sharing this today. Not only because the photobooks are a great way to enjoy your favorite photos for years to come… but because this task has been in the back of my mind for YEARS!
If you’ve been feeling guilt over not having made baby books or travel photo books or printing some of your family’s special moments in any way… this post is for you. Let’s make it easy to create a custom photo album and get YEARS of photos into your very own photo book.
I’m sure I’m not the only one that has way more photos on their hard drive than they’ll ever enjoy. And as soon as I became a mom I knew I wanted to document those kids the best I could so they could have something to look back on the same way that I have something to look back on- I mean, who doesn’t love looking through own baby photos and photo albums from childhood. My dad is a photo lover so I think I have WAY more than most people my age, but I am so grateful for that.
But even though I had these great intentions… I have never managed to get it together enough to make a scrapbook or album or anything. I made an engagement photo book… and a wedding photobook… and then I never did another thing again.
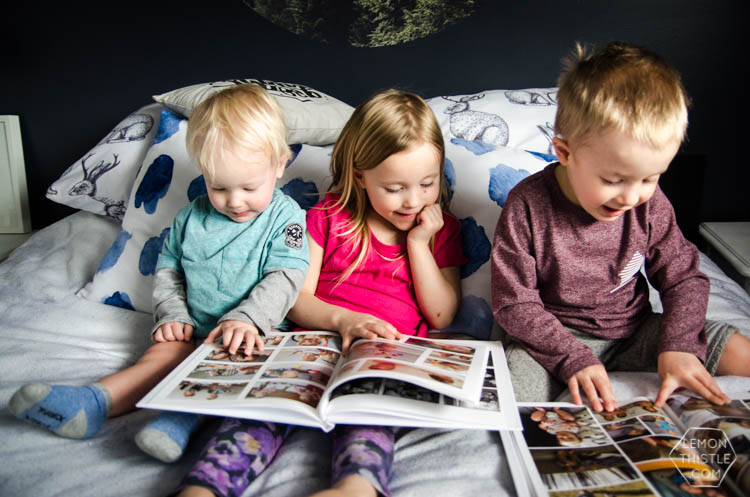
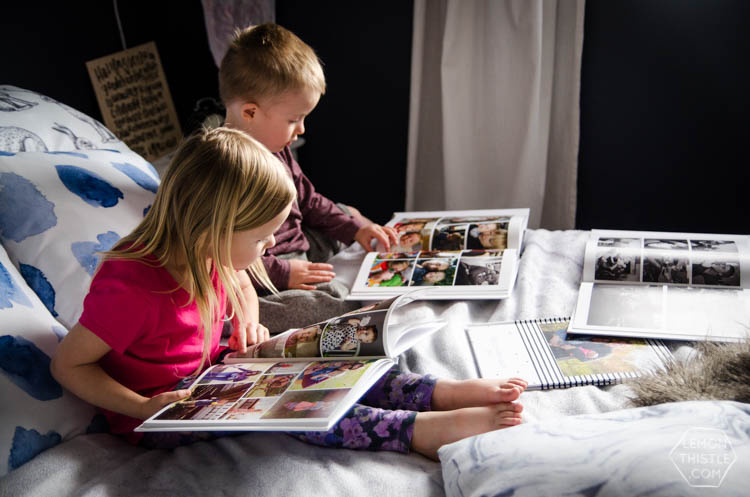
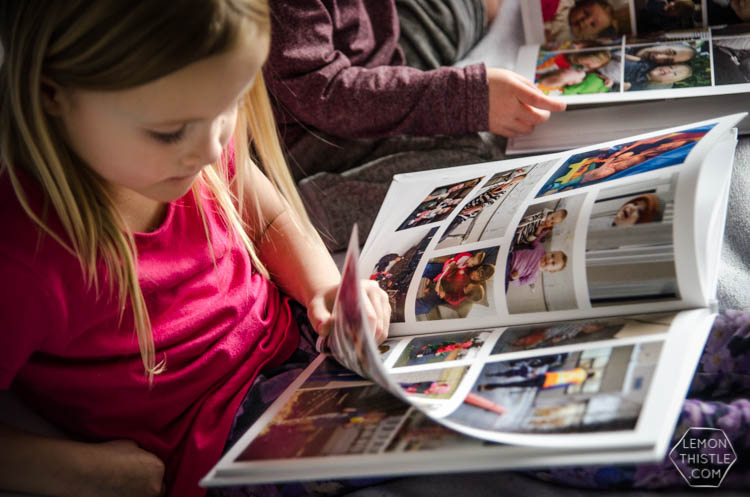
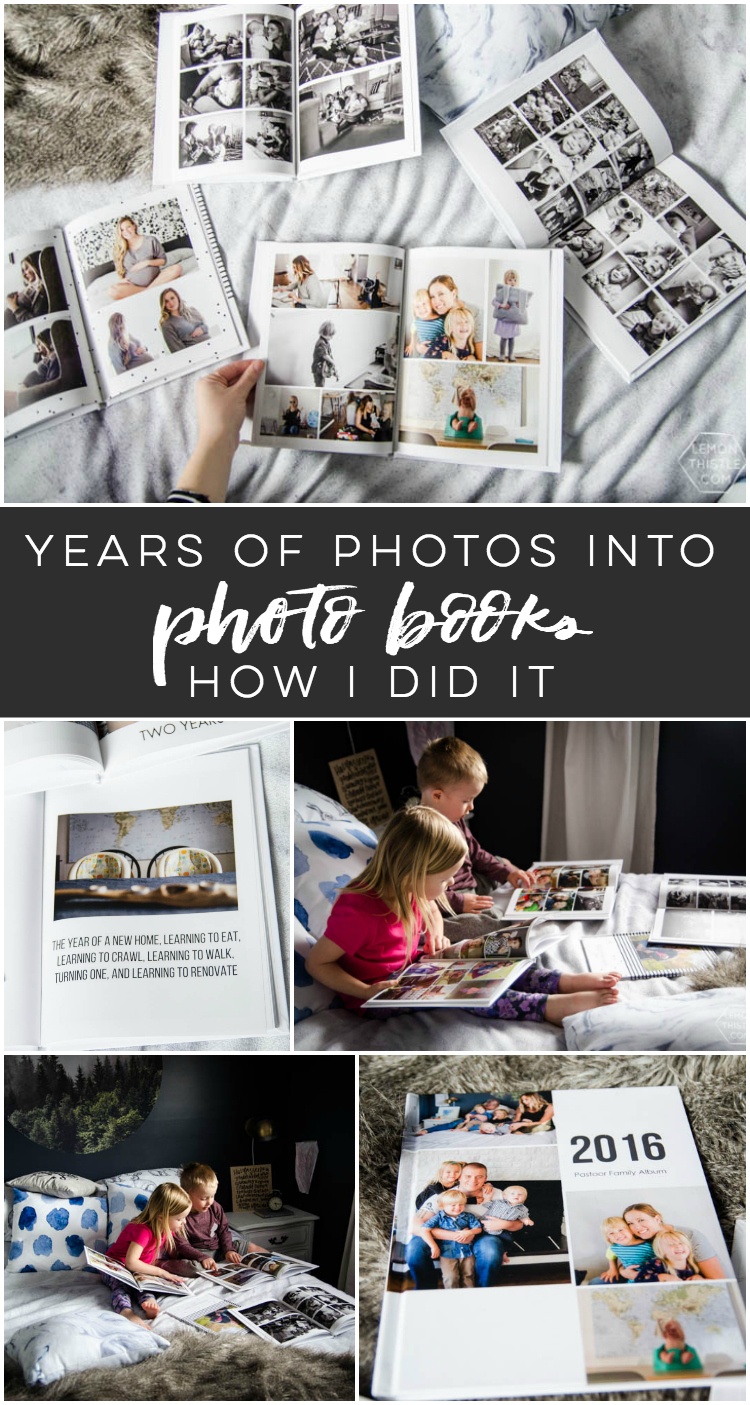
And every time we got photos printed, my kids would pick them up and carry them around and love on them and kiss them and spend so much time looking at them… I was reminded that I NEEDED to get my digital photo collection under control so my family could actually enjoy all those memories that I’d documented. I totally take after my dad in loving photos so between that click happy attitude and blogging I have two external hard drives and over 2 million files.
2 million, you guys. That’s crazy pants.
I partnered with Mixbook for this post back in 2017- and I’m still loving their products. You can read all my policies right here. Since originally writing this post in 2018, I’ve had SO many questions about this process. I’ve even taught live workshops on this process. I’ve updated this post to answer a lot of the questions I’ve received to make this a useful resource for you to come back to. Enjoy!
So today I’m not only going to talk about how I printed up my photo books with Mixbook, but I’m also going to talk about how I sorted through the mass amount of photos from the past four years (I just went back to babies being born) and organized them to easily make them into yearly photo books. I promise you- if I can do it, you can too.
I did this in two weeks just a bit of time in the evenings- from collecting all my photos to hitting order on the photo books. I’m SO proud of getting this done for my family- I’ve been letting it stay in the back of my mind for years and now that’s GONE. This is a bit of a beast of a post, it has all my tips so I’ve broken it down into headlines to make it easy for you to find the tips you need.
This post got long quick, my friends. I’ve added to it over the years as more questions have come in to help clarify and make it easier for you to follow this process to get your favorite moments into physical photo books as painlessly as possible ;) To make it easier to navigate… I’ve added a table of contents so you can jump right to a section!
Why Choose Yearly Photo Books
When you’re dealing with SO many photos- it’s good to have a strategy. The one I chose and would recommend to pretty much anyone is yearly family photo books. Keep it simple and put together just one for each year.
I remember reading about yearly photo books a few years back and thinking it was the perfect way to limit how much time and how many photos you poured into a book. It’s honestly one of the easiest ways to streamline your process and get that backlog of photos into a finished album.
I remember when I was younger and started scrapbooking (that was a short lived time), I would make a few pages for each special event but didn’t know what to do with those every day photos.
My mom always gets a travel books printed from her vacations. I love these ways of documenting life but the thought of all those scrapbooks and photobooks stacking up over the years made me think they would never get opened- how could you ever look through them all?
Plus it gives me a definite timeline to work with. I know that once a year now, I can look back through my photos, make a book with these simple steps and move on to making new memories.
And because I have printed wedding and engagement books in the past, I knew exactly what I didn’t want to have on my bookshelves. I really wanted standard sized books so they could hang out on my bookshelves and look classy and not stick out too far or be bright flashy colors (my engagement one is a weird long skinny size and the cover is a suede orange- I’m not even kidding). Is that picky of me? Probably, but I just spent hours of my life styling a giant bookshelf ;)
So let’s start with how I organized these MASS amounts of photos.
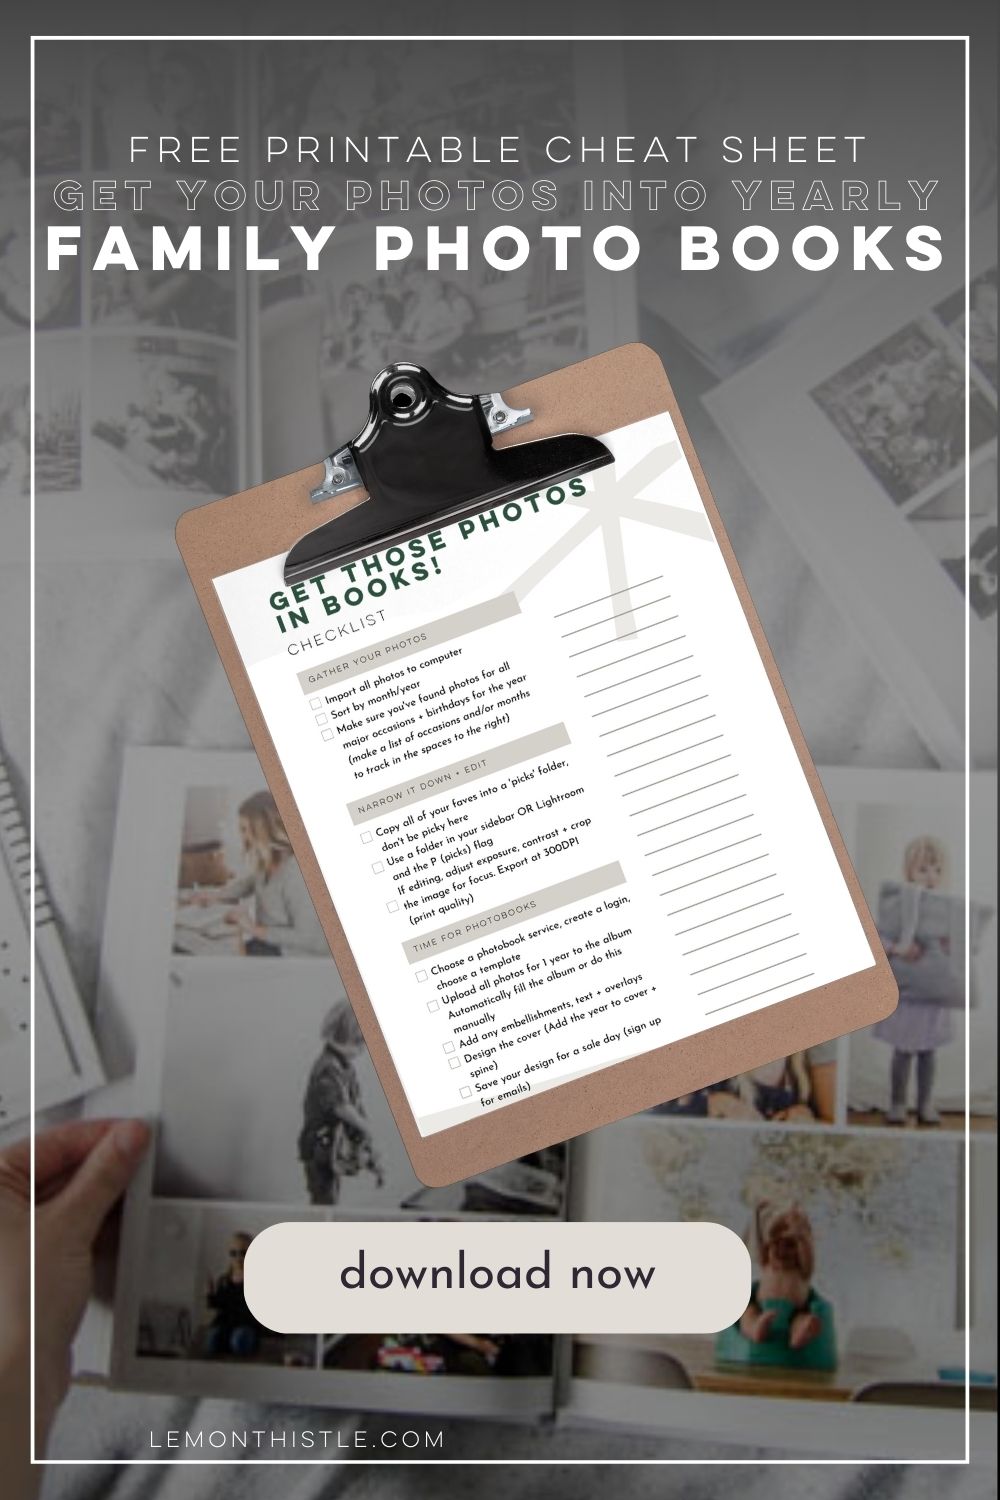
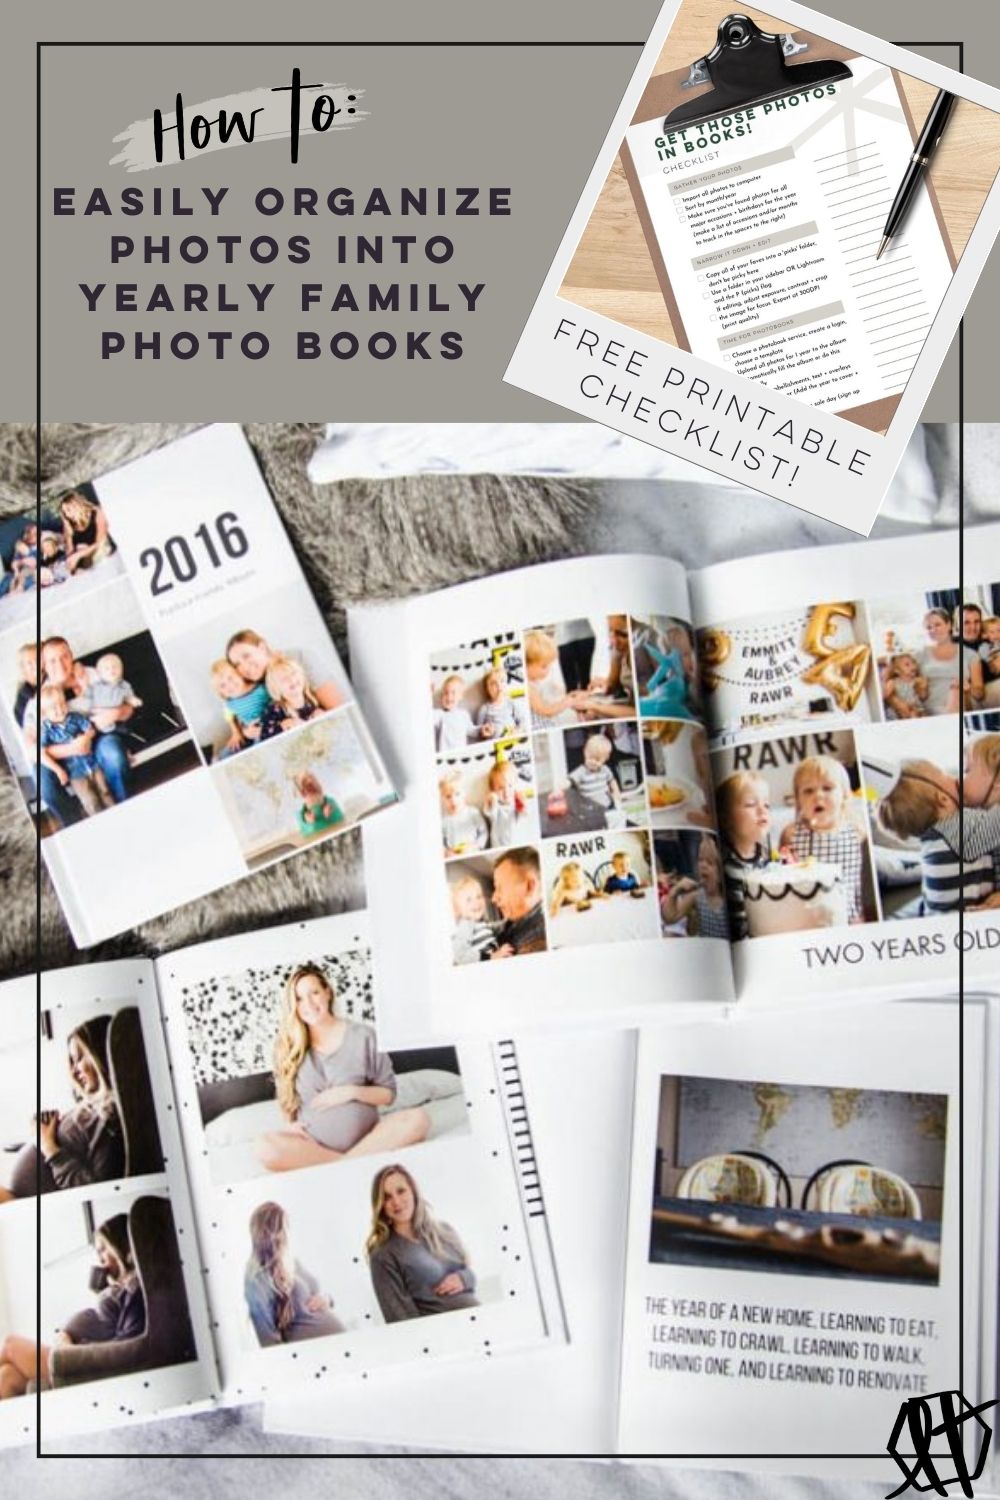
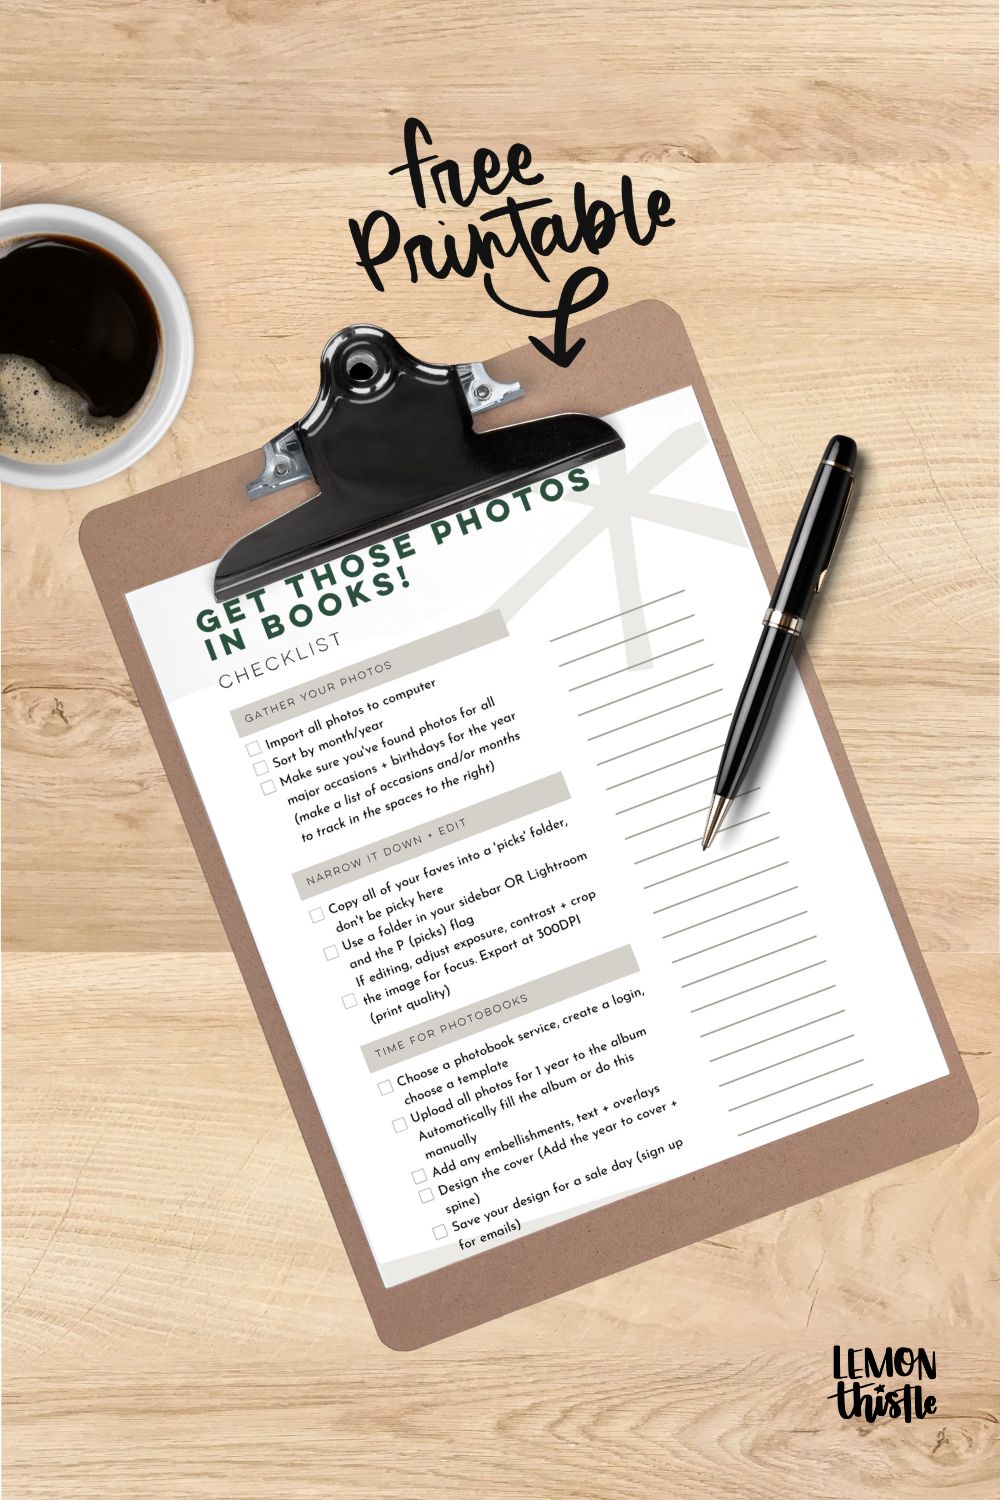
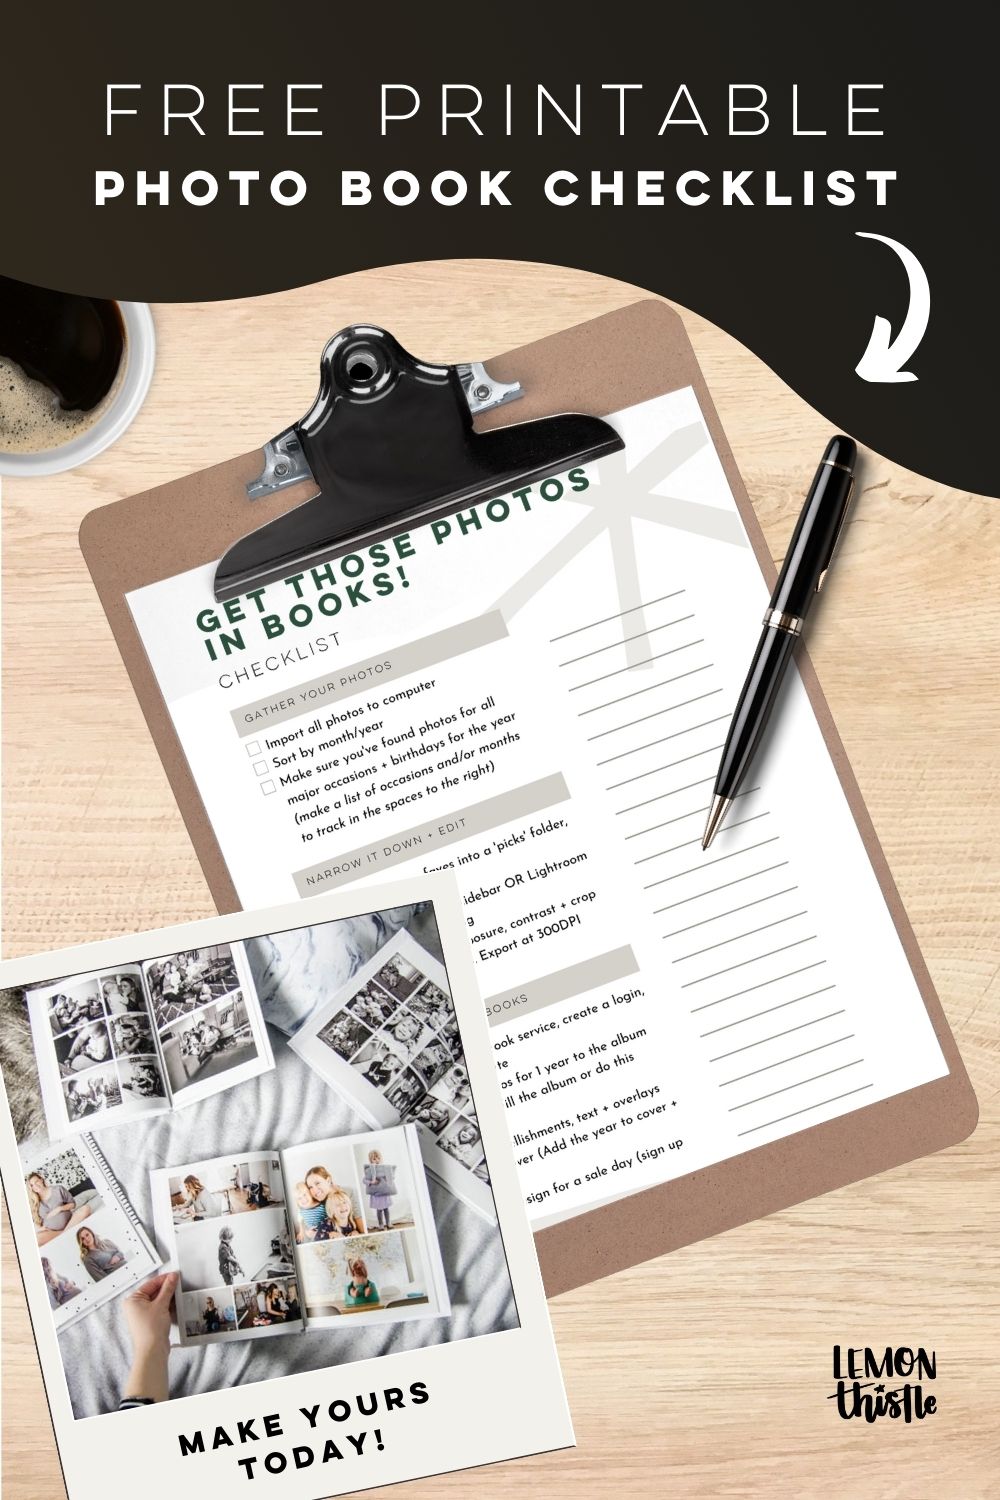
Download my Photo Book Checklist to Keep Organized
I’ve created this handy checklist to help you keep track of where you’re at in the process as you go through these steps. It’s just one page- I print it off for each year I’m doing, it’s just a great visual reminder when I’m sitting back down after taking a break!
How I gathered my digital photos to organize for printing
I’m not sure I’ve accurately explained what a disaster my photo keeping situation had been. I’ve gone through 3 computers since getting married. Well, I had one when we got married and when it died, I bought my dad’s off him and that one died a year and a half ago. So everything lives on external hard drives in back ups. So if you’re in a similar situation where things feel messy, I understand.
What I did have going for me is that a few years ago, I started dumping all my camera photos into monthly folders instead of individual event named folders.
Then as I edit them (blog), I make a folder for my ‘picks’ and put the ones I want to keep (family wise) in there. So I had those for 2/ 4 years. If you’re looking for a way to organize your photos from here on out… I’d totally suggest this practice if you’re looking for a way to organize your digital photos from your computer, mobile device, and social media.
The first thing I did was make folders for each year’s photo album. Then, I added those to my finder sidebar so they would be easy to copy photos into.
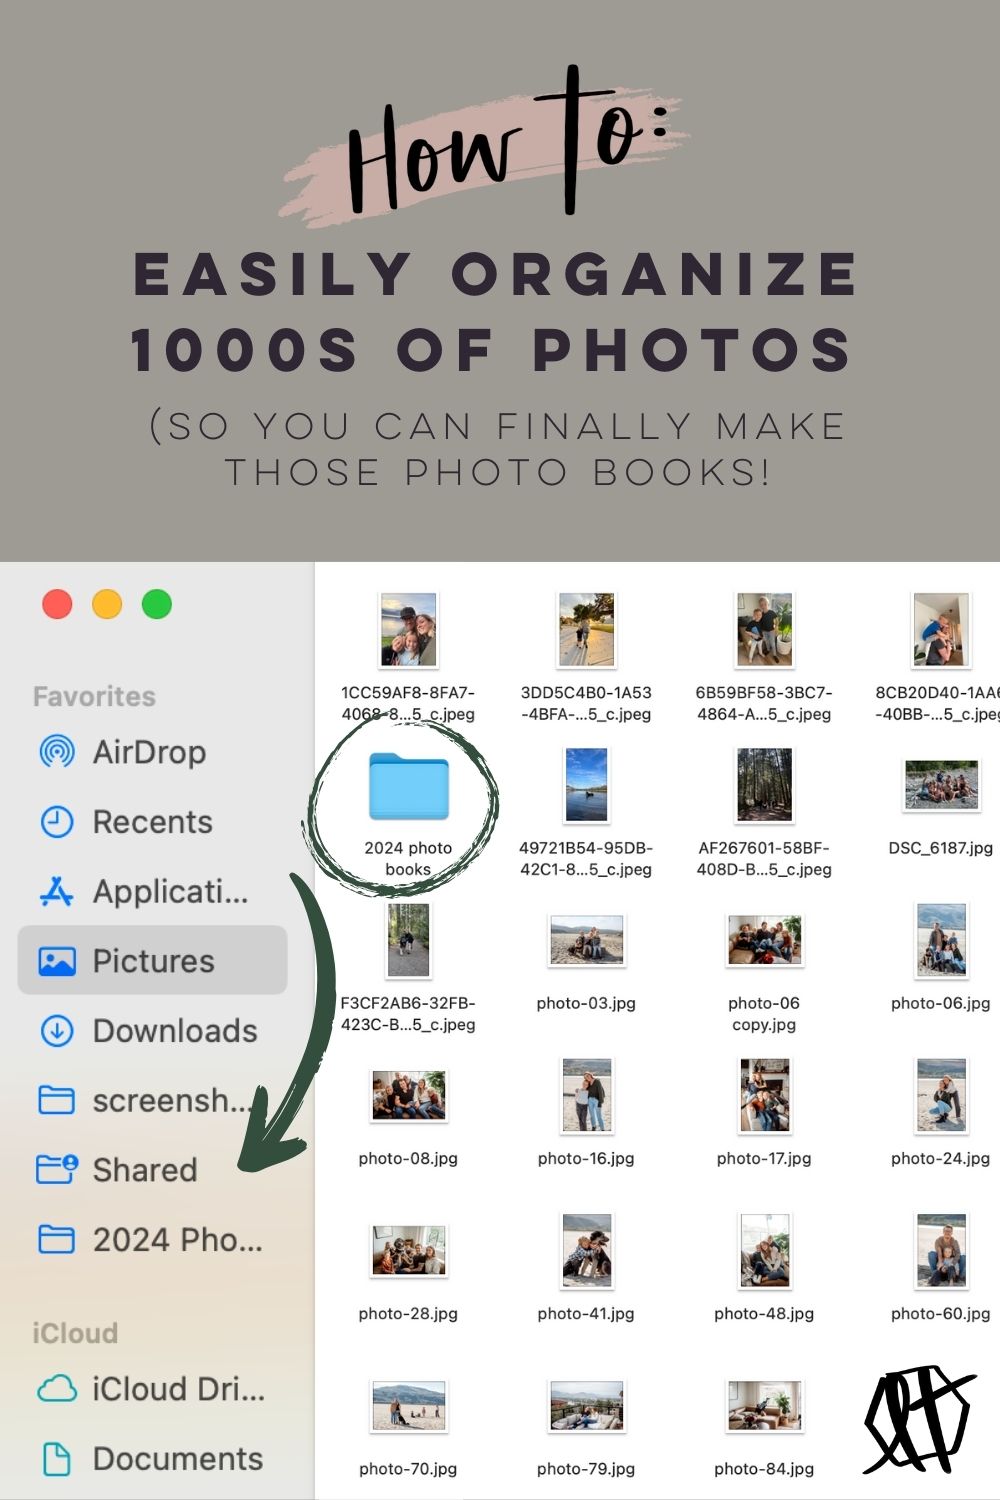
Next, I started working my way through each folder on my computer and external drives one by one and copying photos I loved and pasting them into the appropriate year. That’s easy to do when photos are organized by year to start with.
But if you’re anything like me- so many of the photos you treasure are on mobile. And they don’t get neatly organized into yearly folders. Take your mobile photos and create a folder for those on your computer. Most phones can do this by connecting with a cable, but iPhone has an apple photos app that can be used to drag and drop as well.
This is maybe my favorite tip… and it’s not even something I did- it’s just that computers are so smart. Once your photos from mobile are on your computer (my mobile photos folder had 1000s of photos from the past 6 years) you can ask your device to sort by date. I’m not sure about PC, but I’m sure it’s similar… just right click on the finder screen and select sort by > date. This is AMAZING. It sorted all my photos by year date taken into little subheadings. With one click.
Then I just went through and copied the photos that I wanted to keep into the folders in my sidebar. This is the part that had intimidated me SO MUCH and it couldn’t have been easier. Why did I let it stress me out so much? I know I said that casually, but I really want to underline that I copied the files instead of moved them. I wanted them to still be available in their original folders if I was looking for them that way as well.
If you’re not planning on keeping all of your photos whether or not you put them into your keeps folder, you can just move them. For me this was important though.
At this point… I’m not being all that selective. If a photo made me laugh or smile or reminded me of a special time… I copied it into that folder. I’m such an advocate for documenting the every day, those in between moments are some of our most priceless memories, it’s not just the big events that get professional photographers, but those everyday moments that mean the most to me.
These yearly folders are going to be the ones I really protect and back up, they’re EVERYTHING I love about that year.
Let’s be honest… having them all in one place will be amazing in 20 years. I’m never going to say, what was that photo from the November the twins were born? And search through all the folders to find it. I’d say… oh there was a cute photo from the year the twins were born. Now they’re ALL IN ONE PLACE. I feel so good just having this done, let alone the actual physical photo books!
I also made notes of key holidays/events that I wanted to make sure I tracked down photos for. Easter, Christmas, and every birthday celebration etc… then I went through each year that I’d collected photos for to make sure I hadn’t missed anything. There were a few missing that I really had to dig through archives and back ups for. I’m so glad I made these notes to double check. I’ve added space for this in the free printable checklist!
Once I had all my photos in those folders, I went through each year and put my favourites that I thought I might want in my photo books in a ‘for the album’ sub-folder. You don’t have to use every single photo here. You could call these folders your digital photo books. I love lots of photos so did use every single one of these in my actual photo books when I created them. It was way easier to pick from all the photos I’d already liked instead of every. single. photo. on. my. machine. I’m not going to lie- I selected a LOT of photos.
I made some custom layouts that held a ton of photos on a single page to make it easier to accommodate all of them without having 1000 pages in each book.
Editing my everyday photos for printing!
(edited to add)
Alright, one of the questions I got most often after publishing this post… If you don’t have professional photos for your book, how do you make them look awesome? And honestly… we get family photos done once a year and that’s IT. The rest are photos we’ve snapped, and more than 95% of them are from our phones.
If you’re looking to up your photo game a little bit, I have a couple recommended reads for you! My friend Troi, an amazing photographer wrote this post for us- how to take better photos of your kids every day. Then, I wrote how to take better photos of your kids specifically looking at those moments we want to document to send to Grandma without hiring a photographer- like back to school photos!
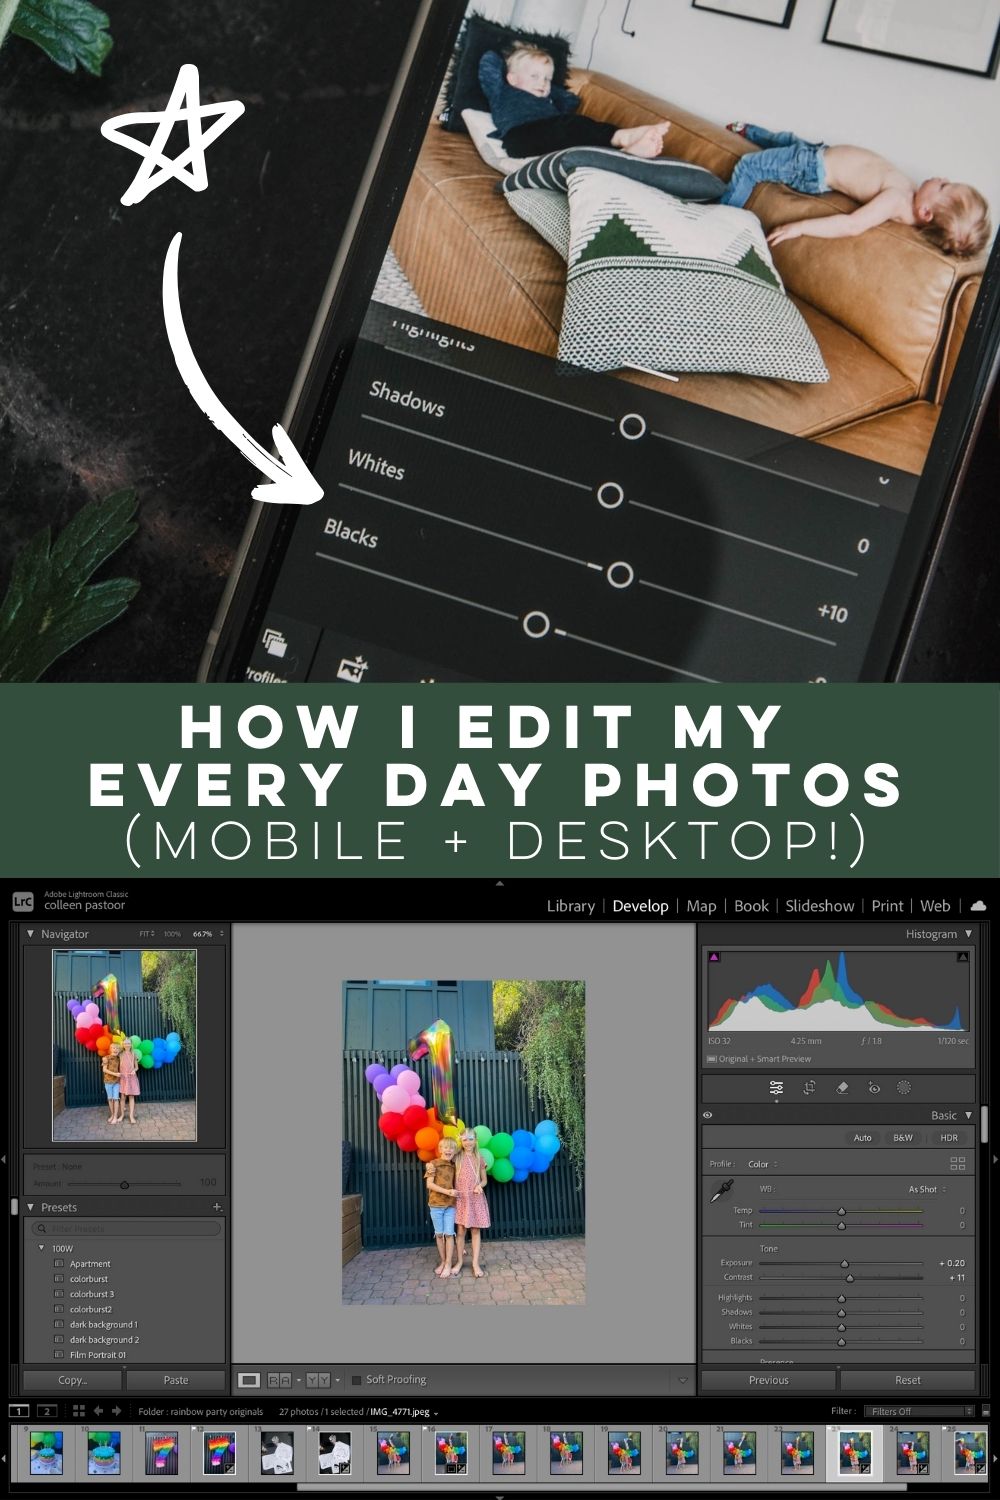
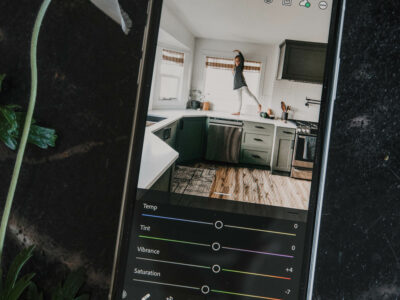
I use Adobe Lightroom to edit even my phone photos before throwing them in here because it’s how I edit all of my photos. And it’s the BEST for mass editing large batches of photos in a hurry.
You can get a free 30 day trial of it to get all your photobooks done if you don’t have a need for it long term.
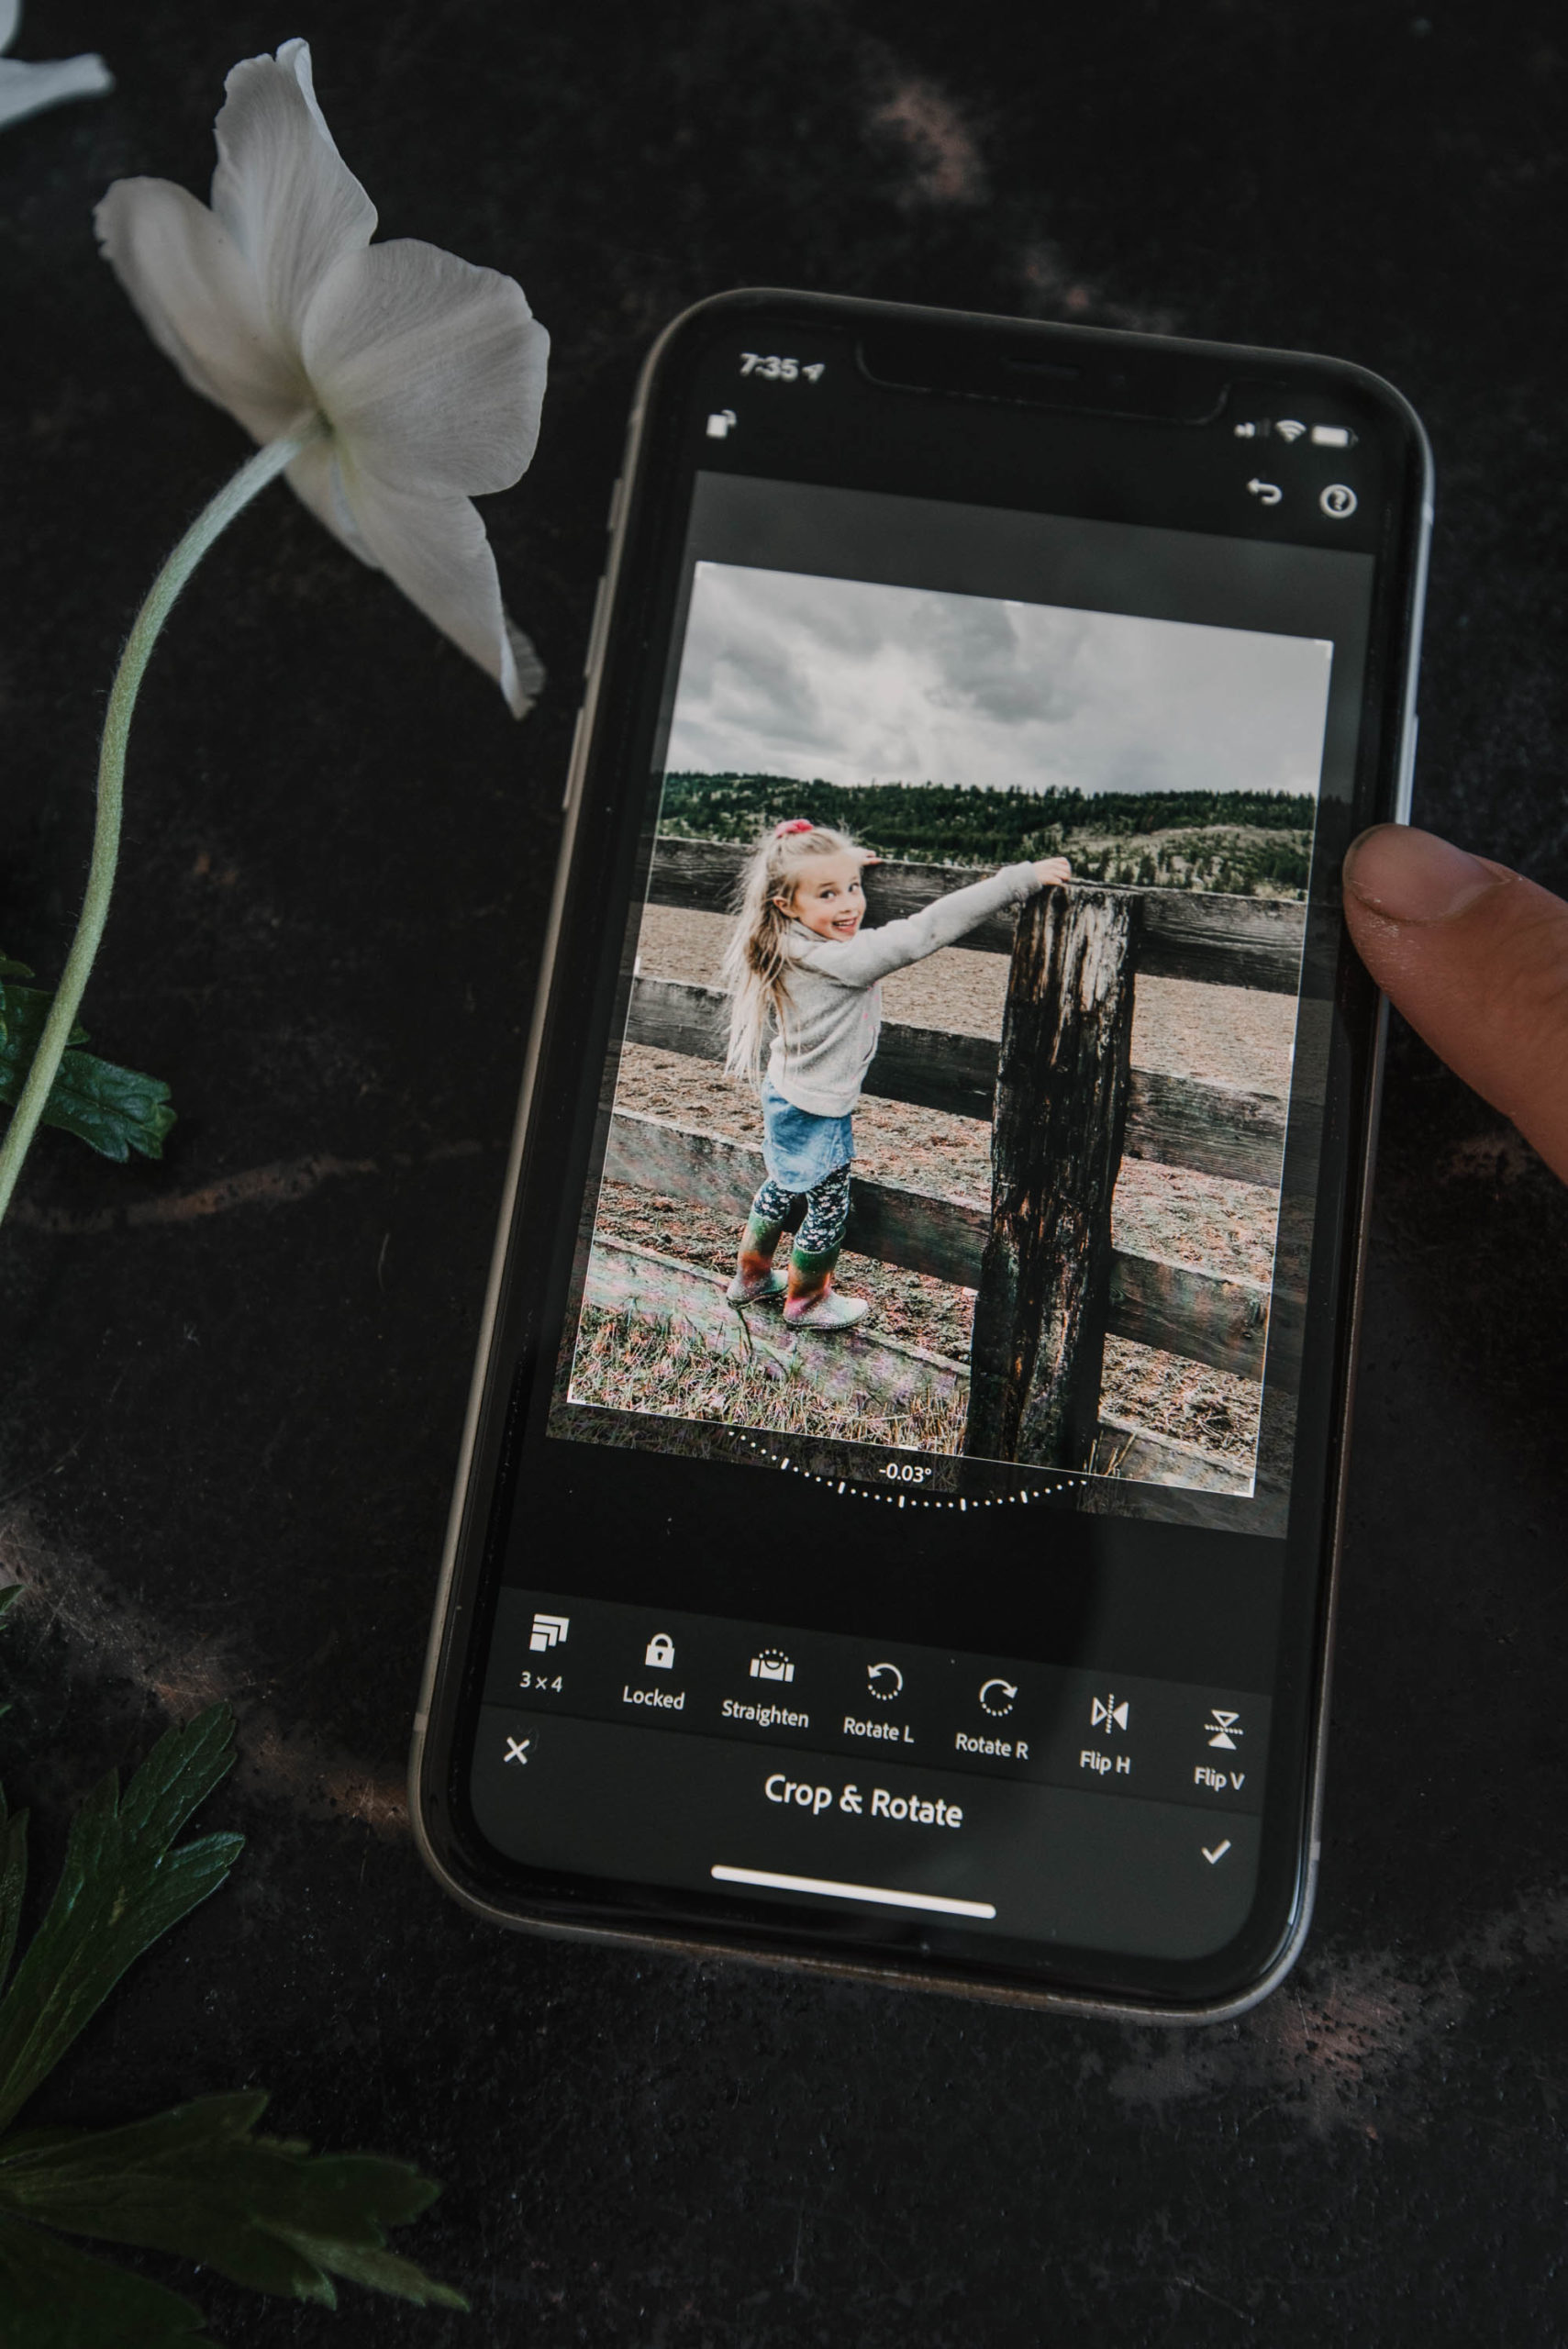
For reference, the edits you’ll probably want to make are Exposure (brightness! You can specifically brighten just shadows or just lights as well), Crop/Straighten, and Contrast (make it pop!). You can probably ignore the rest!
I wrote a whole post with detailed instructions on how I edit all my phone photos using the Lightroom Mobile App. On the desktop version of Lightroom it’s *much* faster because you can bounce between photos using your arrow keys, but I choose the same settings.
Getting Started With a Photo Book Design Tool
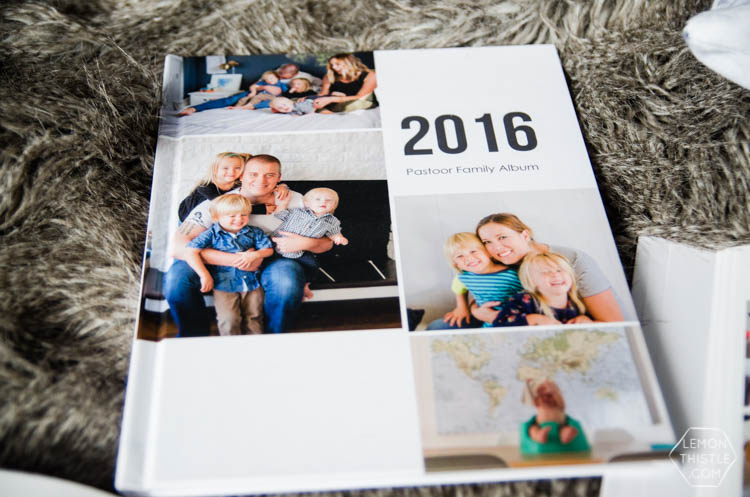
Next is the fun part- making the actual photo books for printing! I partnered with Mixbook for this post (in 2017) and after using the Mixbook app, I have to say that I’m so impressed! I’ve used other photo book companies in the past for gifts and photo books for special occasions, I found the Mixbook studio easy to use, the printing to be high quality, and the frequent sales make for affordable prices for the size and type of books I’m ordering. I’ll share more tips about that down below!
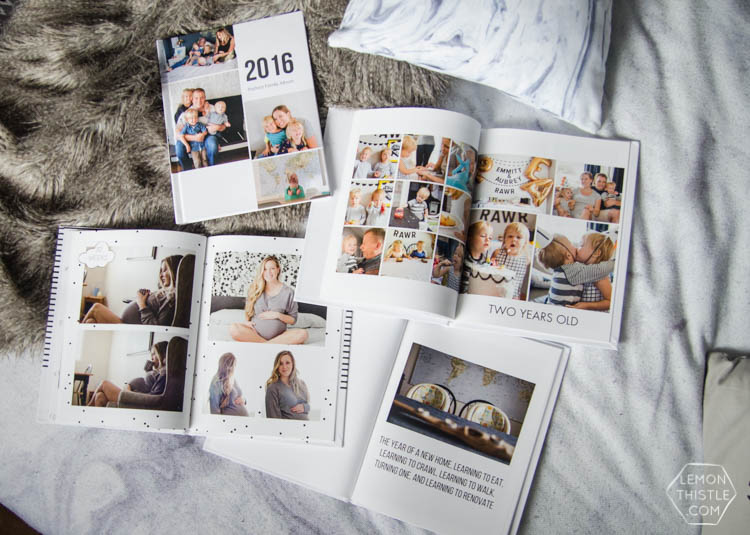
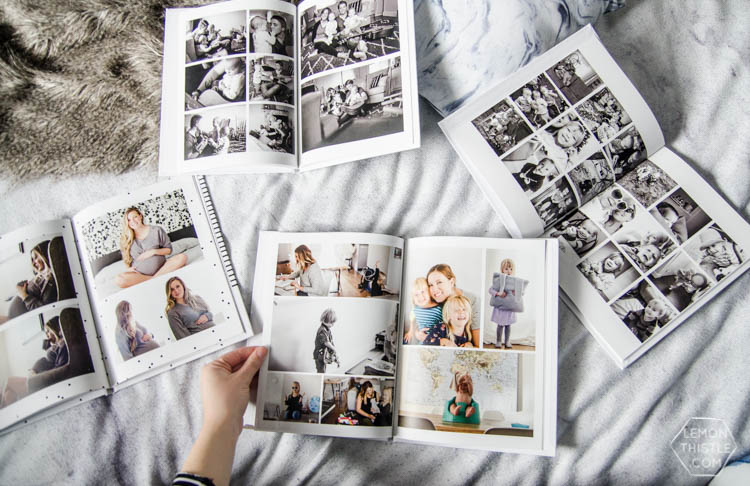
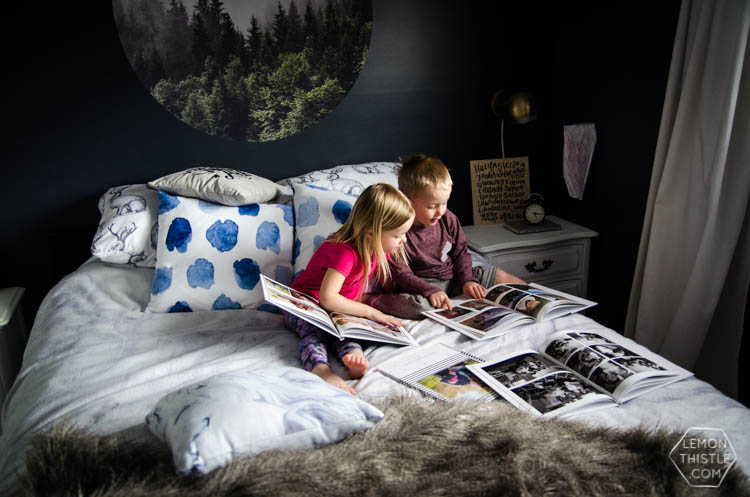
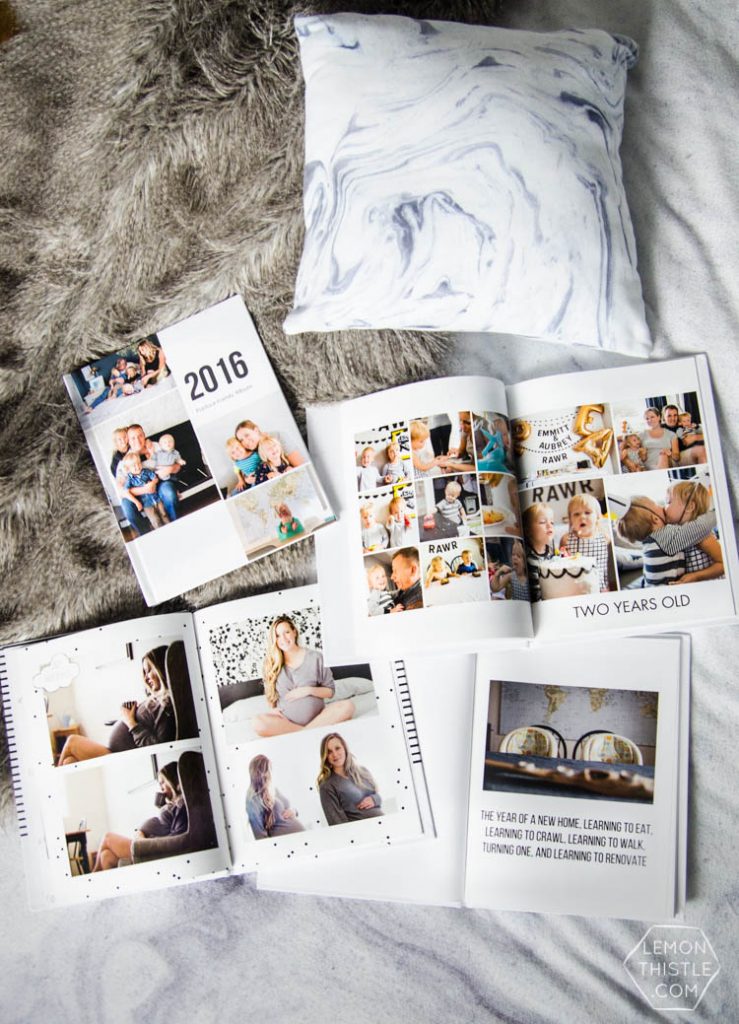
While there’s lots of different formats, cover types and different sizes… I chose to make all of my yearly photo books in the 8.5″x11″ format hardcover book. I like that this photo book format can fit beautifully on a book shelf, where many of the larger 12×12 photo books or scrap books hang off of the edge and I find difficult to store unless I’m using them as coffee table books.
If you’ve been reading Lemon Thistle for a while now, you’ll know that I love black and white and minimal and that’s about it. No scrapbook paper backgrounds and very little writing and illustrations. I just love to let the photos shine. Mixbook had options like this for me to choose from, or customization options so that I could design my own.
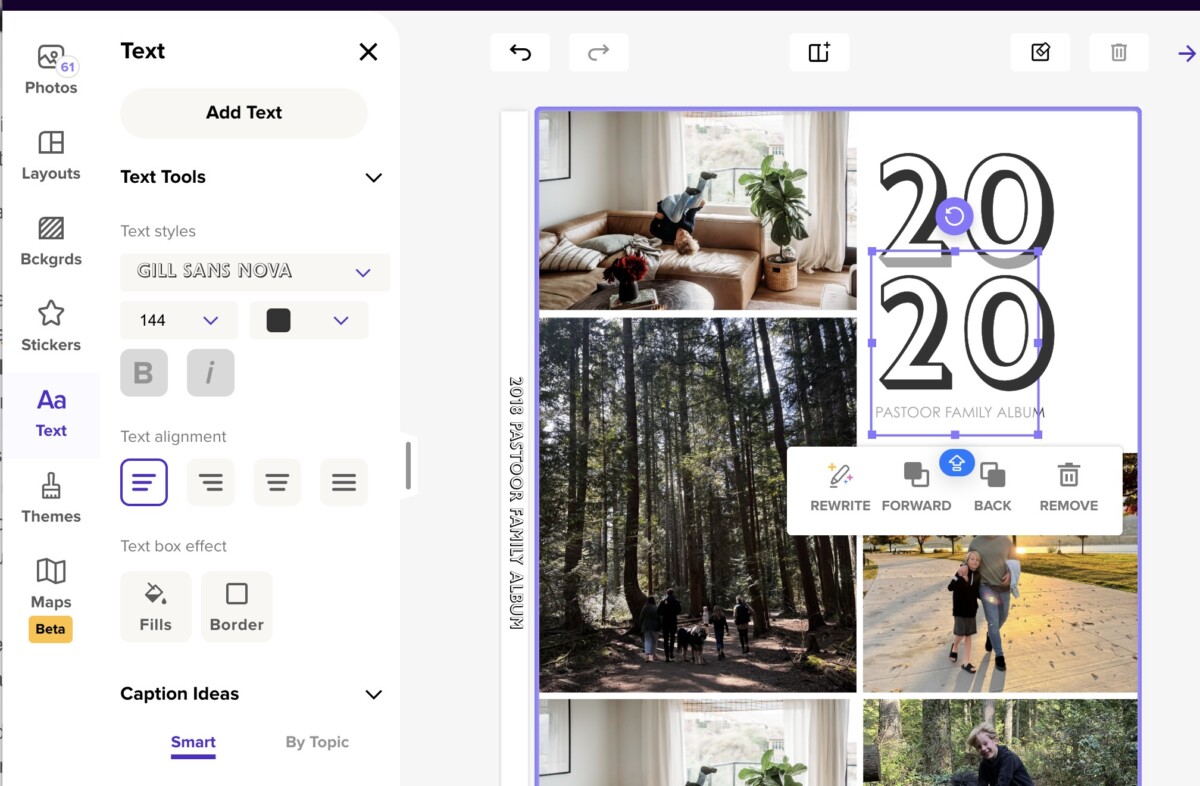
The first thing I did was pick a theme to start.
I actually picked four different themes to showcase them for you guys but all four of them are white background loving BEAUTIFULLY minimal themes.
The one (2013, Hand Painted Baby) has some black on white background design options that are super fun- perfect for the year the twins were born… but that’s it for fancy pants backgrounds for me. I should say- if your style features more bright and vibrant colors they do have so many options for themes you would love.
The four themes I used were: Bold White Photo Album (shown above, my fave!), Everyday Modern Family, Hand Painted Baby, and White Grid. Since I’ve made these, there’s SO many new themes though. You could spend hours picking, but again- I’m all about getting this done quickly so you can start enjoying them!
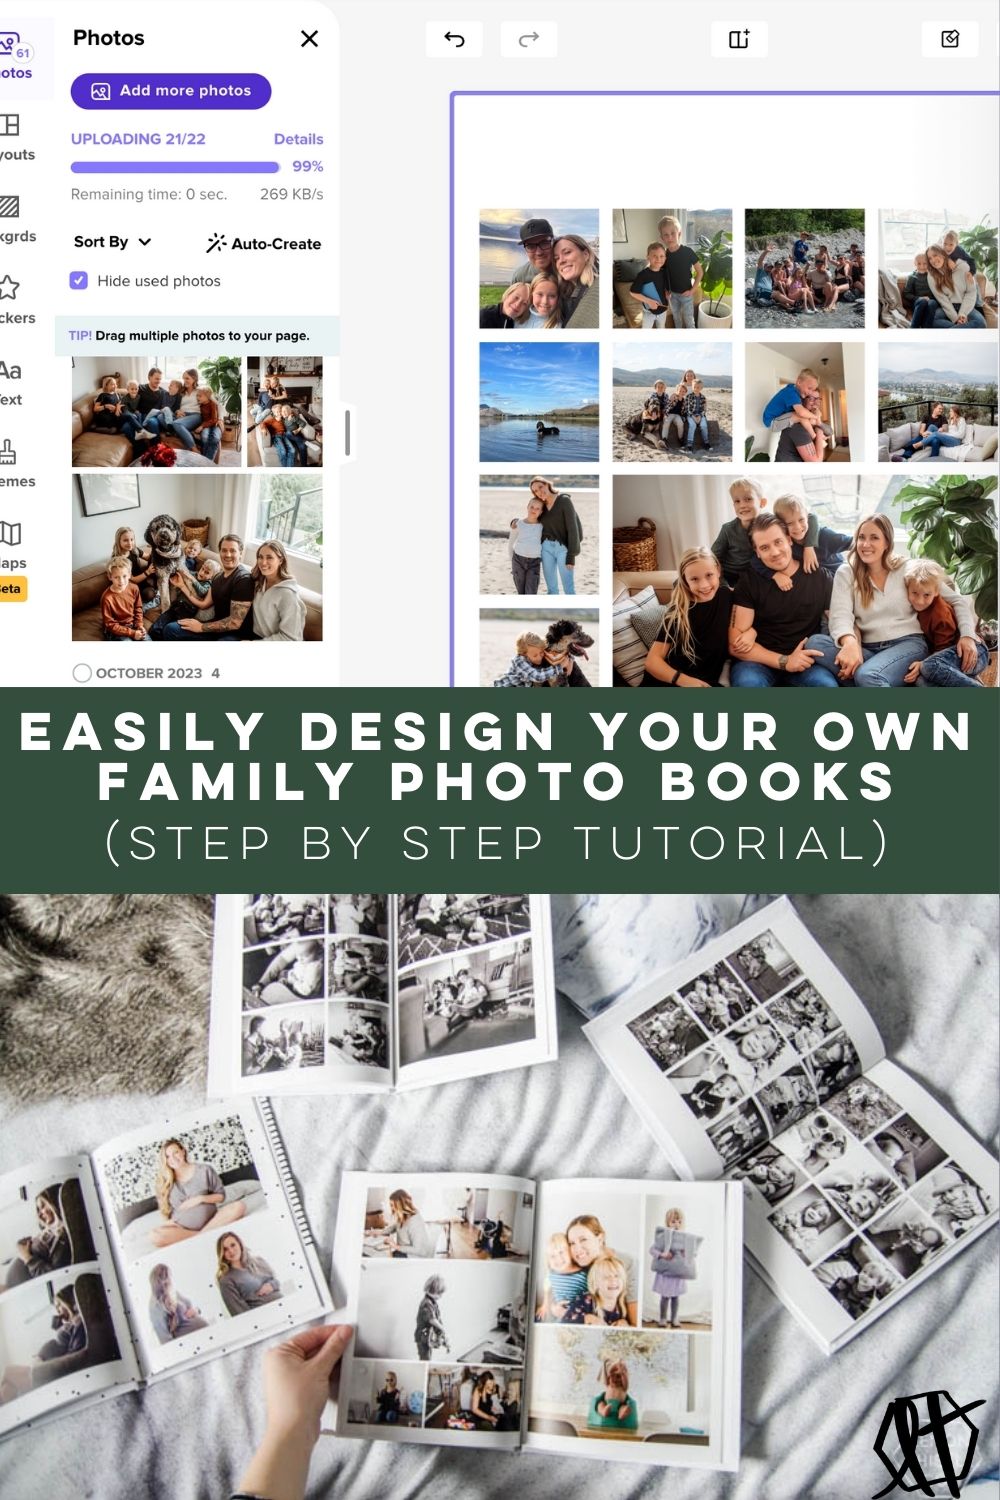
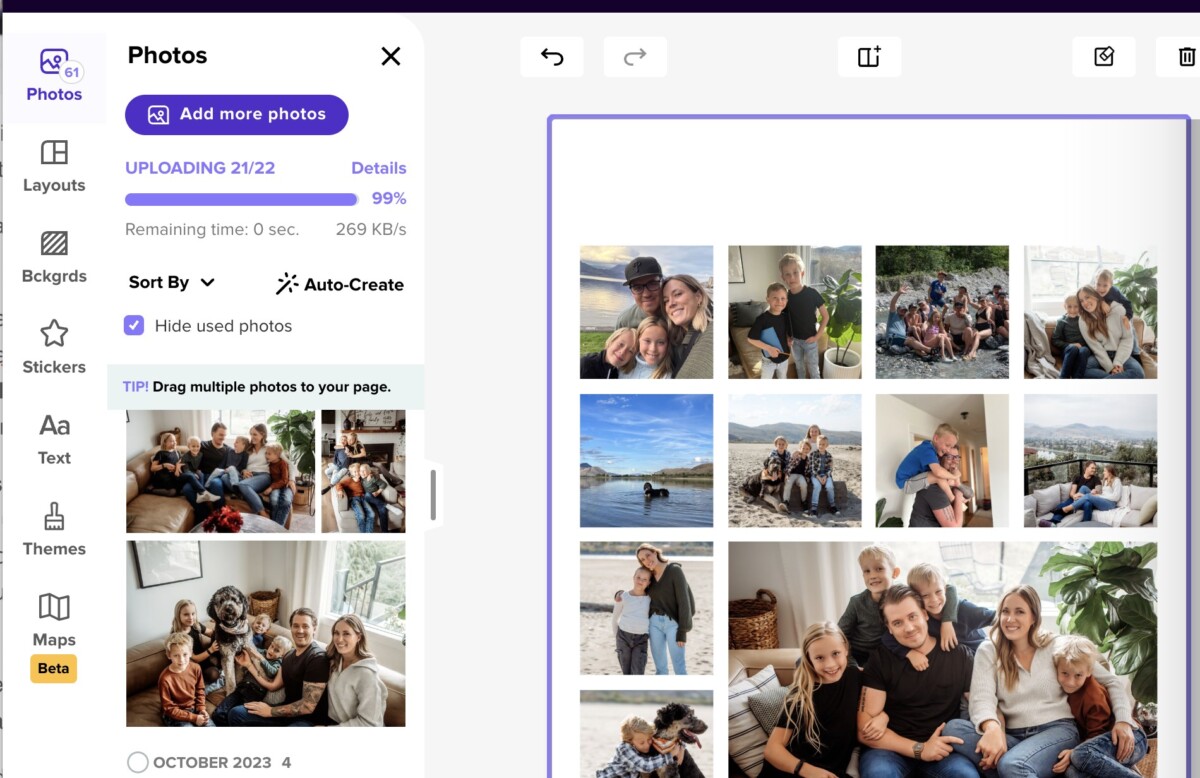
Once the editor opened up I added all the photos from my ‘for the album’ sub-folders for the year. I checked the box to hide photos that have been used already so I could see just the photos I still needed to add.
Design a Photo Book Cover and Spine
I started by picking a fave photo or two for the cover and back. You can choose from all of their cover designs or again- you can make your own. I tried a few different designs, mixing it up year to year instead of sticking to one type of cover design but again- this is all to personal preference. I like to add the year and our family name on the cover using text or PNG embellishments (more about that below!)
One thing I WISH I did but totally didn’t figure out until I received the books… is write the years on the spine of the book. Since they’re a nice clean white, I’ll probably just write the years on with a black marker but next year I’m definitely typing it in ahead of time! It was a total face palm moment when I realized I missed that step. When you’re in the editor, there’s a skinny strip beside the cover page and that’s the spine. When you click into it you can type- I totally missed this when I was creating my books.
How to create your own photo books
Next, I set out to creating all of the pages for my yearly photobooks.
You could use the autofill function to fill all the template designed pages with your photos. This would be ideal for someone who is more than 5 years behind or doesn’t feel strongly about having all those photos in a specific order. You could finish your photobook design SO darn fast with this tool, just make sure to proof read it to make sure that they cropped things the way you would like them ;)
Since I wanted to jam in as many photos as possible, and wanted them to follow a logical progression for the year (christmas at the end of the book), I did this manually.
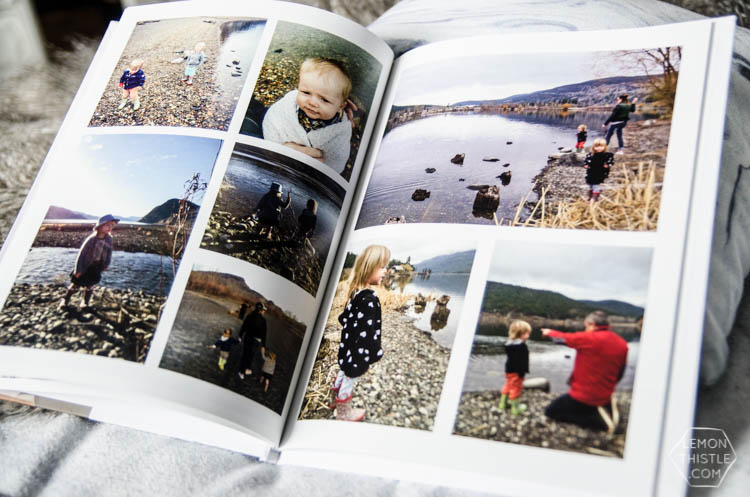
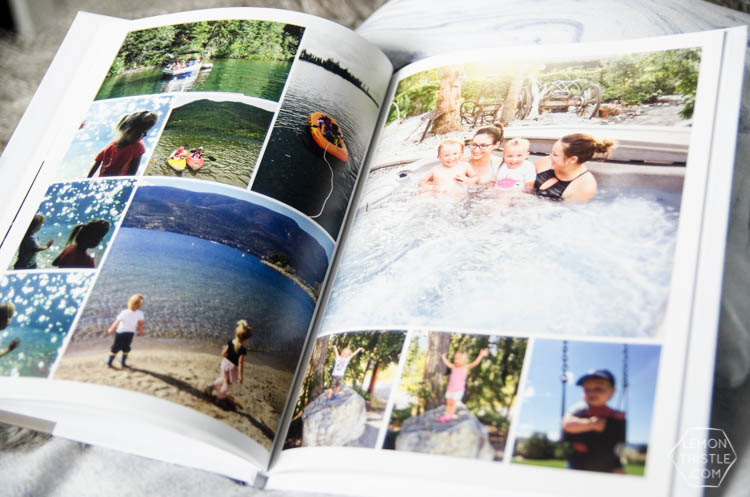
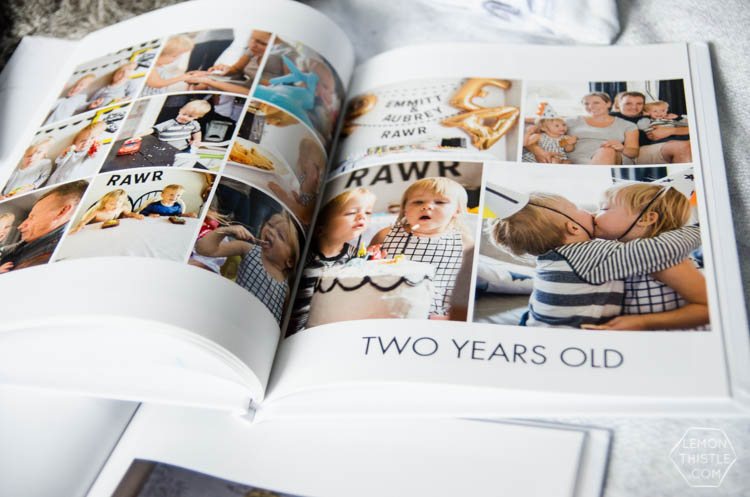
I just made two page spreads that I thought told a story together, then dragged those around to get them in the right order.
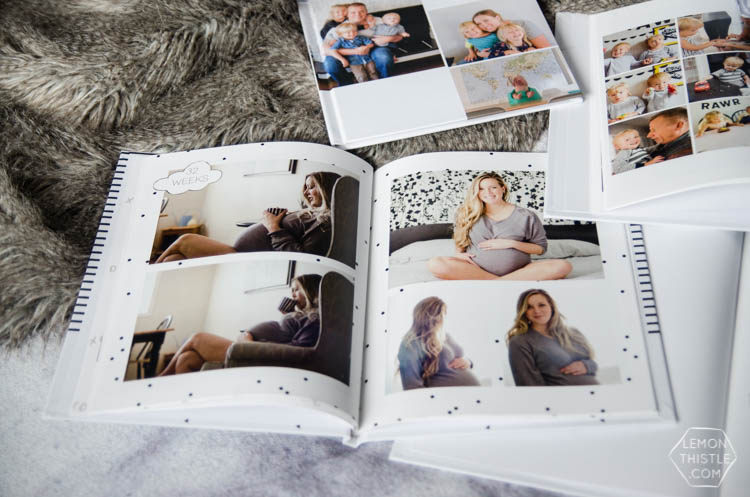
So all our family session photos (we do once a year in the fall) I’d put in a two page spread, our fall adventuring got a two page spread, and all the beachy summer photos would get a two page spread (above). Then I would re-organize them once the spreads were complete to follow the seasons of the year (or the length of kids hair if I couldn’t remember! #truth).
I used some of the premade templates for photos (you can look under the layouts tab). But I customized a bunch of different page layouts to suit my taste and the amount of photos I wanted to pack in there. While there’s a maximum number of pages included in the photo book price, you can add more pages for a small fee. Even when I’ve used other photo book editors, this is something I’ve done.
I really appreciate being able to include allll of the photos I’m wanting in my perfect photo book… not having to cut precious memories for the sake of a page limit!
You can copy and paste parts of the layout to add more photos and just line it up- there’s guidelines that pop up which help. You could also just drag images over and resize them to add more. The first book, this took me a while… but by number four, even though there were way more photos from that year, I got it done in NO time, I was on a roll.The design experience is really user friendly once you play around a bit and get the hang of it.
The Mixbook platform is pretty similar to most editors which makes it easy to catch on to. You can use your keyboard shortcuts for copy/paste/delete and arrows to move things around.
The one thing I’d point out is that some of the templates have white borders on photos (which you can’t see on white backgrounds) which makes the resizing look funny if you add new photos to the layout that don’t have a border. You can just turn off the border in the little options box that pops up and you’ll find it a lot easier to line everything up.
Giving yourself permission to create your own templates and edit the ones they provide you will make your photo books SO MUCH BETTER.
Not because their templates aren’t rad, but because you have photos sized how you’ve sized them. Square from Instagram, or maybe you take a lot of horizontal shots or from one event you have a ton of vertical photos… things like that. You don’t want to try squeeze a horizontal photo into a tall skinny space just because that’s what’s provided. Resize it and you’ll be a lot happier with how your photos look- promise ;)
I didn’t add as much text and notes as I know some people do when they’re creating photo books. I like to let the photos speak for themselves, but did take time to craft a few sentences about the year.
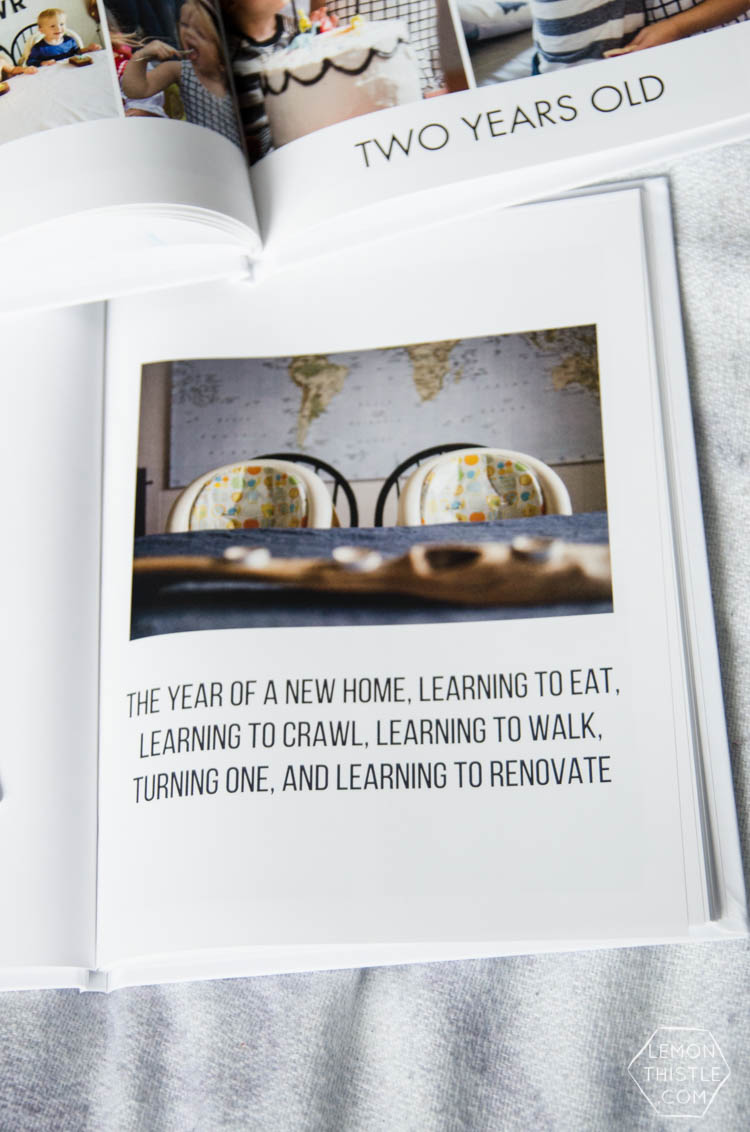
For the first page of each book I picked a photo that represented the year and wrote a few notes about the year. I really wanted to keep it simple so I didn’t spend hours stressing over what to say for each photo or event- I just wrote the basics, the memories that would sum up our year and bring back memories.
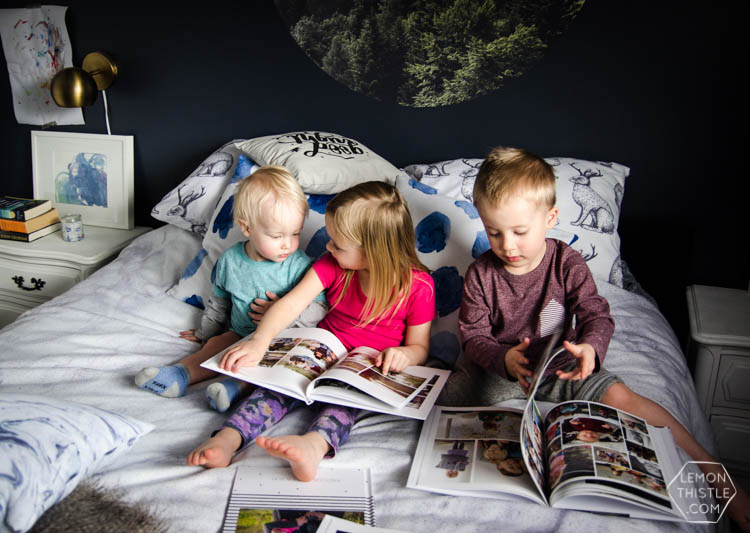
You can see our 2014 above, but last years (for example) was, “The year of so much laughter, more personalities, even more renovations, & so many snuggles” with a photo of my three kids laughing on my bed.
These captions are so simple and they’re the only real thoughtful captions in the book. I’m of the camp, ‘A photo is worth 1000 words’. If you wanted to add more, you totally could- this just made it simple for me. Of course, you can add your own text and layout of your photo book… the range of options makes it easy to make your own personalized photo book that’s specific to you.
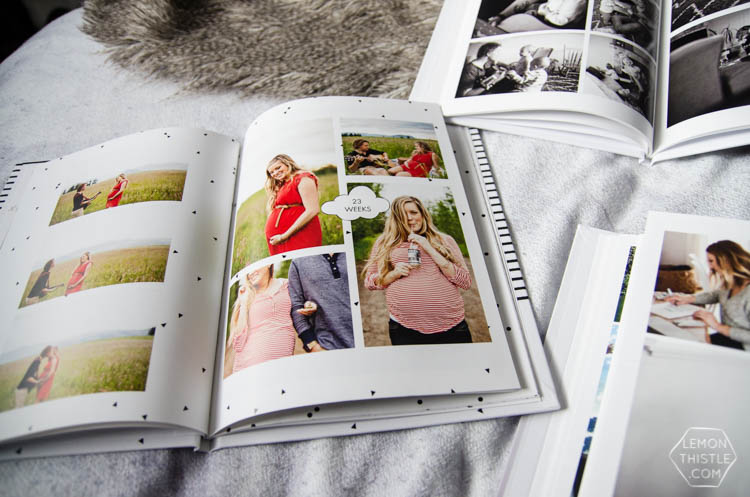
I did add in some text for dates and such– like ’32 weeks’ for my maternity photos, or ‘1 year’ for birthdays, and I did put in the date/time/weight for all the kids’ births on those pages. And yes, you’re reading that photo above right. My maternity photos for the twins were done at 23 weeks pregnant. Haha I was huge!
How to Scan and Add Printed Photos to Your Digital Photo Books
(edited to add)
If you’re wanting to add physical printed photographs to your digitally made photo books- that’s totally do-able! While most of our photos are digital at this point, if I were going back and making a photobook for my own childhood, I would be faced with stacks of photos. Even now, we occasionally end up with some fun printed photos we’d like to include whether from a disposable camera, or sent by out of town friends after a visit, or one of our Instax Photos we cherish!
I invested in an affordable scanner quite a few years ago. It’s slim, portable, and really easy to use. It does a wonderful job scanning in photos- you can scan in many at one time and the resolution is great! I’ve used it to scan in hundreds of photos not just for my own photo books but also for wedding and funeral slide shows. I’ve lent it out to friends and family to use and it’s still working perfectly.
You can also use your mobile phone to scan your photos in. Your phone camera does a really great job, just make sure to keep the phone level on your surface, paying attention to those crosses lining up (if you’re iPhone!).
Add Embellishments To Your Photo Books (or not!)
Other than adding text to your photo books, you can also add stickers and backgrounds and other embellishments! So let’s talk them- there’s tons of options to customize your books. The first one I did was 2013 and I chose the ‘Hand Painted Baby’ template.
I do love the black and white but I spent SO MUCH TIME picking the best backgrounds for each page and any stickers I wanted on there. And in the end… I don’t even like it that much more than the ones with NO backgrounds.
I’m simple like that but if you’re stressed about how much time goes into making a photo book… maybe consider NO backgrounds like I did on my other three. It’s clean and simple and the focus is on your precious photos.
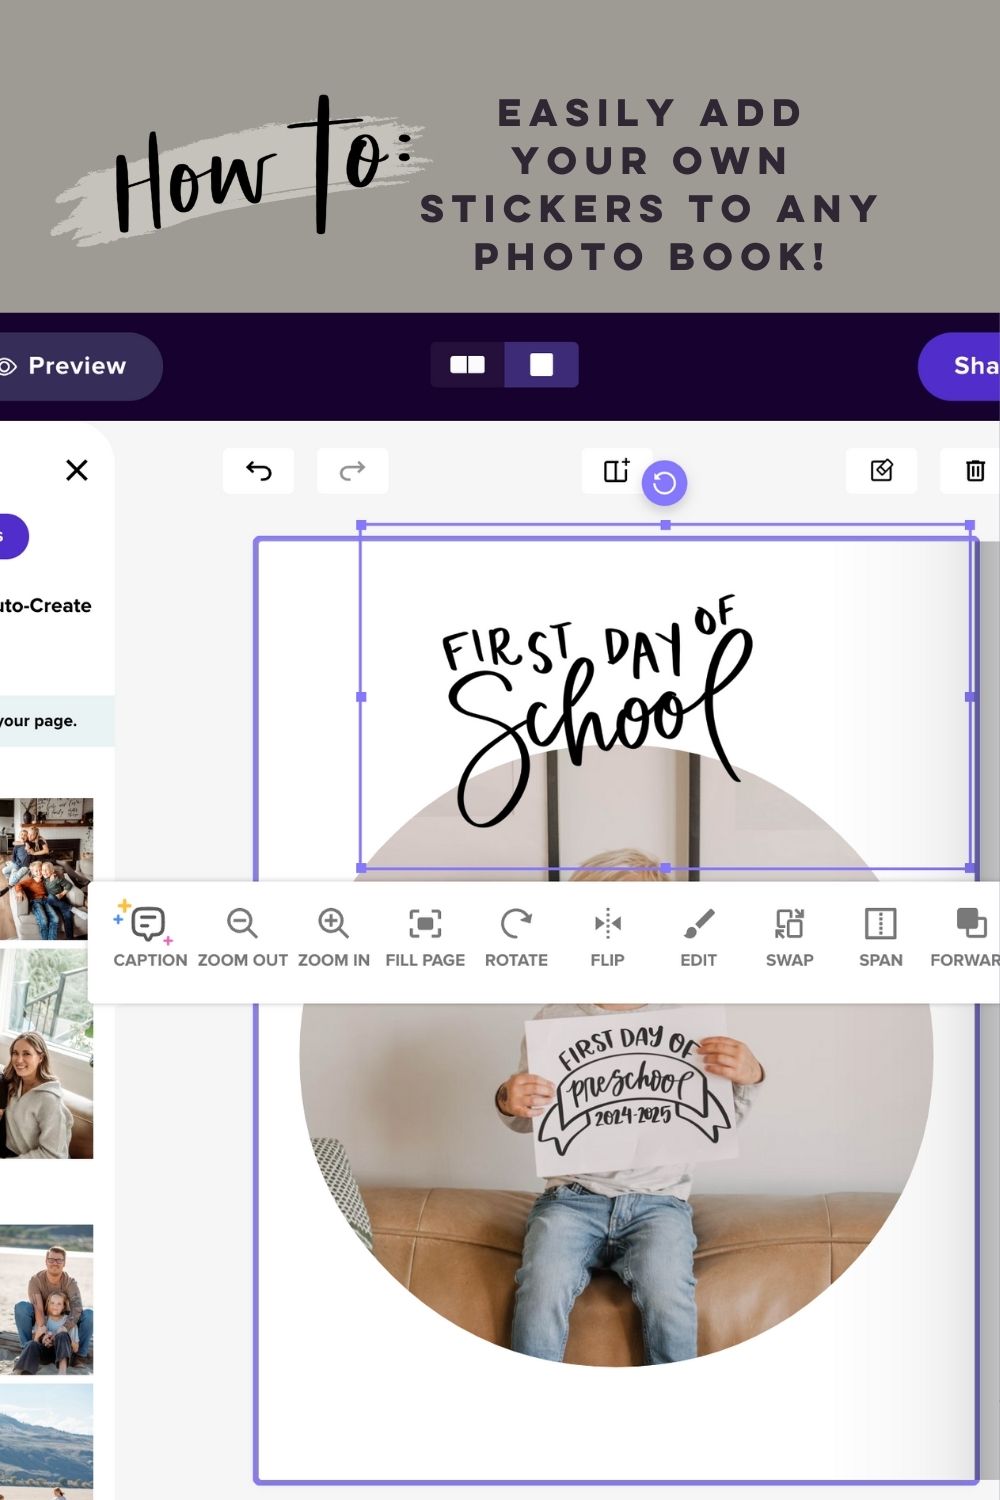
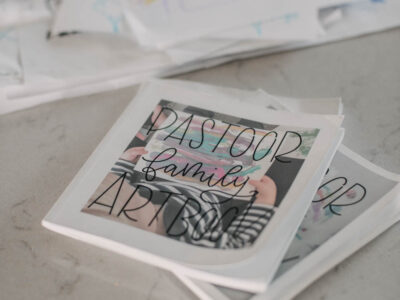
That said, I did enjoy adding some of my own photo overlays. When I taught this process in a class for digital scrapbookers, I spent more time on this- but you can actually upload your own designs for embellishment and overlays! For me, you know that means hand lettering- just like you see on the front of my 2018 album.
You can upload PNG files with a transparent background just like you would a photo and then drag it onto your design, and boom! That’s all it takes to create your own sticker for photo book design!
If you love the look of mine, I shared 6 free hand lettered overlays that would be perfect to use in a family photo book. Or if you want to have *all the embellishments- I have this bundle of hand lettered embellishments in my shop!
Just get started!
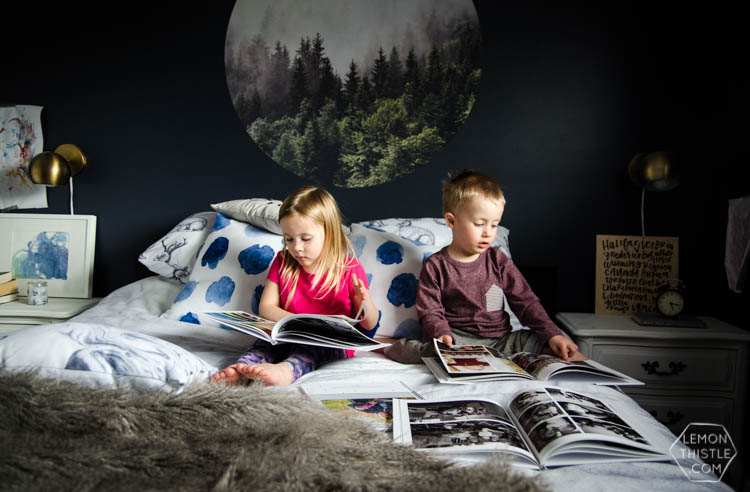
The biggest tip I can give you is to just get started. I’ve been letting this take up space in my brain for years without doing it, you guys. Now that I’ve done it, I’m kicking myself for not doing it sooner.
It didn’t take too long at all once I got into a groove and my family has already gotten so much enjoyment out of these books. I know it feels overwhelming, but even doing 20 minutes a day will get you there eventually.
Done is better than perfect, release the pressure to make the most perfect dream photo book today and give yourself the permission to get started making a beautiful book at your own pace… in your own way. Really, you’ll be so glad you did!
Future Proof Your Process
(edited to add)
I followed this process for a couple of years and then we moved and took on a bit renovation and had a fourth kiddo and I let myself fall behind again on actually making the photo books. But by having my photos organized in the right folders, I was able to catch up again more quickly.
Even if you can only do that first step of dumping your photos into folders each month or year… that’s half the battle!
Do yourself a favour… Set your future self up for success by setting an actual monthly reminders to shuffle your mobile photos into folders and choose your faves. Then set a yearly reminder to get on those photo books! I do this in Google Calendar but there are lots of ways to set these so they will automatically go off for you!
Tips to Save Money on Photo Books!
Okay, so originally I had a coupon code in this blog post. But years later, this post is still so popular and that coupon code has expired. I know that the photo book pricing from so many retailers is cost prohibitive for many. This is my very favourite tip to save money on photo books and for almost any kind of specialty photo printing I do. Whether for holiday photo cards or photo books or calendars…
I make my book and I save it. I don’t print it right away. If there’s no great sale on (you should be able to save 40%), then I sign up for their email list and I wait. You should see a great sale in the next month or two and unless you’re in a big rush (I never am!), you’ll be able to snag a sweet deal when it comes because you’re book is ready to hit ‘purchase’ while that sale is valid!
I’ve realized that these big sales are great loss leaders for companies. You get them in there, making their photo books and when it takes 2 weeks to make a photo book instead of one day and the sale is over… you’ve already put in the hard work so you still order. Make it whether or not there’s a sale and then be patient :) They’ll save your designs so you can be ready to print when that next deal comes up!
And if you are inspired by this and do get photo books done… you know I want you to share your books with me! Tag me on social @colleenpastoor or email me colleen@lemonthistle.com and I’ll give you major e-high fives for getting it done!
LIKE IT? PIN IT!
Not ready to take this project on right now? Want to remember where to find this post when you sit down to organize your photos again next year? Pin this so you can come back to it! Plus, pinning or sharing on FB helps this post reach more people which helps me be able to keep sharing with you. Thank you!


 Free Printable Calendars 2025
I love doing my yearly albums in Mixbook, but I am YEARS behind because I agonize over each page so much. I just need to GET IT DONE. Thanks for the nudge!
Isn’t Mixbook great!? I had to give myself a time limit because I could totally do the same.
Hi Colleen,
I have a quick question. I did a “one year” book for my daughter in-law. She loved having the baby book som doing a 2-5 book? After 2 I don’t know how to label the pages I do 1 page for each month? Any suggestions. 25 months seems silly ?
What a fabulous idea! I can see that your children love the books too!!
Yes! They’re totally in love with them :)
So beautiful! This is definitely on my to do list too. Thanks for the reminder!
It’s so easy to let it get pushed back on the list, isn’t it?!
Oh my goodness thank you for this post! I have a disaster on my hands and I also wanted to do a book for our family vacation but had no idea where to start. You just save me 1000000 brain cells.
It’s totally overwhelming when you don’t know where to start! I’m so glad I finally tackled it :) Good luck Heather!
Gorgeous! You’ve inspired me to add “everday photos” to my scrapbook project list. I have been agonizing over what to do with those pictures that aren’t special events and your books turned out so beautiful that I would be just as likely to look back at those as my wedding.
Thank you for the sweet comment! Those every day moments are totally my favourites- it’s definitely worth including them :)
Love this idea! But what if every photo you have isn’t of professional quality such as snap shots and such? Every single photo of yours looks so bright and professional. I don’t always have the best lighting in my quick snapshots I take with my iphone. Any suggestions?
Hi Tiffany… great question! And thank you for the compliment ;) MOST of the photos in this book (other than the family photos pages) are done by my husband and I with our home camera or iPhones. I run everything through Lightroom to brighten and add contrast. This is relatively quick and makes a BIG difference in how they look printed.
Do you use Lightroom on your computer or phone? I’ve just started playing with t on my phone but seems like it would take forever to edit each photo. Maybe I’m missing something! Also…how do you store/backup all your photos? On computer, external hard drive, Amazon photos, google photos?
I use it on desktop! MUCH quicker than on mobile! I have a pretty good backup system since I *almost* lost everything a couple years ago. I have a few external drives and then also back up to backblaze.com :)
Love the idea of printing your photos. However, the old fashioned photographic prints in albums will look far better and last forever vs something that is digitally press printed. Probably would end up cheaper too. Press printing is not archival. I know because I am a photographer and I worked in the printing industry. Photographic prints will last well over 100 years. I would ask mix book how long their paper and their ink is rated for.
There’s definitely positives to both! I love how compact and simple this option is :)
Hey Colleen! It’s been WAAAAYYY too long since I’ve been over to your blog and I can’t believe I fell so far down your blog rabbit hole but I’m BEYOND grateful that I did. *so much eye candy*
Thank you from the bottom of my heart for inspiring me to tackle this project that’s been on my mommy heart for 3 years. You’re right the biggest release is knowing that the PC can “auto sort by date”!! <3
Hopefully it won't take me 2 years to tag you in my completed phonebooks post ;)
Ahhh thanks so much Annie! You can DO IT! It is such a relief to have it done.
Sorry if this is a dumb question- but what is light book? Is that an app or software? Would love to do that for my photos. I tried to google it by nothing came up.
Thanks!
Ooops! Light Room! It’s an Adobe product- kind of like a streamlined Photoshop that makes editing MASS amounts of photos a breeze.
Love the work, just bummed that I just saw this post, no way to get it done in a few days.
Ahh the discount! I would sign up for their email list while you’re working on it- there have been a few rad deals come through lately!
I SO need to do this! I love the books you created
It’s crazy how it gets away from you, isn’t it? I hope you get started while R is so young!
Great post, until ending with *HEADDESK* the discount expired week before last! Still, thanks for the recommendation and suggestions about work processes!
*soclose* I’d sign up for their email list while you’re working on your books! They’ve had some amazing discounts coming through lately! I’m glad you found it helpful :)
How many pages is each book? I’m like you a picture taker/hoarder and have so many for each year 6-10 pages would be super hard to cut down to for a whole year of photos.
I had 40-55 in each book depending. It was definitely hard to cut down but I found by doing it in rounds I didn’t feel like I was losing all the photos at once if that makes sense!
I am looking for a better way to store my printed photos they take up a lot of room. I have made a few books similar to Mixbooks and scrapbooks. I love both ways but the digital albums do make it easy to include a ton of pictures.
Do you still keep printed photos? Do you only get one book printed or multiples to pass down to your kids?
I don’t keep printed photos anymore! I do have the ones I’d had printed in the past, but nothing since. I only have ordered one book as of right now (we will have 4 kids and that gets pricy) but the books are stored in the mixbook software (presumably forever) so I have the option to print more :)
Hi love your tips I do photobook every couple years. I also take photos of kids school work and include. It works well. At front book I do page with summary of the year. Nothing much just what it includes similar to place scrolls. This also helps when including more than one year.
A front page is a great idea! I have yet to include any text but this would be the perfect way to do it.
Ok went through this post a little fast, would really like to know more details since I don’t have a computer, just a tablet and phone. I need to get started since I have 2 kids and they are 18 yrs apart, so my problem is not having all of them on file just print. Thank you for any and all help.
Hi Carol- I haven’t tried the software from mobile! You could email Mixbook support and see if they have some tips :)
What dimensions are these albums??
These ones are 8.5×11!
Great post! I’m working on my first yearbook in Mixbook and I wanted to ask you a question about the layouts. They have templates with wide spaces between the photos and ones with skinny spaces between the photo’s Would you use both in the same book or stick to one to keep it consistent? Also, do you use another photo on the back of the book or just keep it plain? Thanks!
Great post. This is exactly what we are doing. I had triplets in 2015. I started making a book for each of them, but TIME. SO MUCH TIME. Annual family books are so much more reasonable. I hope I don’t regret not giving each of them something. Looks like you decided not to “lay flat” pages. Have you used this option in Mixbook yet? Do you recommend it now?
I haven’t tried those! there are a limit to how many pages and I wanted a whole year worth in one book instead of weeding down to flat lay amount of photos :)
My thought is to make each kid a book every few years. I made my daughter a preschool book, but as she is in middle school, I have a ways to go (thinking primary, intermediate, middle & high school, so 5 books per kid). I figure I owe my son his pre-k book before I do anymore for my girl. ;-)
That’s a great idea!
If you’re editing in Lightroom, why aren’t you organizing in Lightroom, too? Why are you copying out photos into folders on your computer as opposed to just creating Collections in Lightroom?
I store them on external drives and want them to be organized that way in 10 years when I’m looking for a photo from 2014 :) I don’t know that I’ll always use lightroom so it’s a way of setting myself up for success in the future!
This is kind of a technical question. It sounds like you are using Mac. I use my iPhone for most pictures now and have iCloud turned on so that all pictures from my phone are viewable in Apple Photos on my laptop or iPad. But what I don’t like is that these are NOT the original high-res photos. You have to “export” the original photo to get a full resolution photo suitable for printing. It’s not as easy as just dragging a photo to a sidebar folder. I love being able to see my photos from any device, but I hate that I never understand exactly where the “real” original-size photo is…except that it’s not really on any of my devices. Long question…but I’m wondering what you do to manage this.
I import them like I do with my camera, just plugging it in :) phone photos are tricky for sure though!
Do you print a book for each child, or do they just share? I’m wondering if I should have one for each child so they don’t have to divide and conquer when they grow up and want pictures to take with them.
They’re for me! When they grow up, I’m told by the owner of Mixbook that we could log in and print more of each book- they save them for virtually forever ;)
What company/website do you recommend to digitalize photo negatives? I’ve read the Life Changing Magic of Tidying Up by Marie Kondo and finally on the last category of sentimental items which includes photos. My developed photos are from high school (‘93-‘97) and college (‘97-‘02’) so I’m having a hard time deciding if I need the negatives? If I do keep them, I could make yearly albums like yours.
I haven’t tried that myself! I would ask google ;) Best of luck!
I recently just finished baby albums for my kids (ahem, ages 5 and 2 1/2… no judging), finally! It felt great. I’m wondering what to do moving forward and leaning toward this annual family album approach. I love your method, and the books look amazing! One thing I get hung up on though– and I know this is crazy town– is thinking about who gets the albums some day. Have you thought about that at all? I know, I know, it’s a buzzkill, but it is the only thing stopping me from the single annual album!
Hey girl! Sorry this is such a late reply BUT the websites save them forever (at least Mixbook does, I’m told by the owner!) so I could reprint later if I wanted to :) but I get the books. Me, mom. haha!
Hi! I came across this right in the nick of time! I ‘inherited’ my mom’s thousands of family photos…you know…the ones of the 28 grandchildren and …15ish great grandchildren. Ah yes, and all the photos she collected from the two generations or more behind HERS.
I have around 50 photo albums to go through…they are sooo bulky and I am planning on creating thin books for them.
My husband and I even set up a Genealogy and Photo room in our house to help me deal with it. lol That’s pretty bad. chuckle.
Luckily, it is in an apartment at the back of our home, and comes with a bathroom, kitchenette and living/bedroom. I should be good for awhile. ;)
Anyway, I bought 20 shoe-box sized plastic boxes with black lids. I labeled them in DECADES, beginning with 1880. I am sorting all the photos in that manner, then I will scan from there and create.
I will save the important originals, especially the black and whites, and Mom’s genealogy books she completed, in a tall, fire-proof safe I bought for the purpose.
I can’t wait to make beautiful books with the old-fashioned photos!
Thanks for the tips!
P.S. I keep the lids nearby just in case it rains again….my roof leaked. !!!!!
Wow! Such an undertaking- great job! I hope this helped you ;)
I’m glad I found you on pinterest! I want to follow your advice on organizing photos and creating yearly books. Today I am beginning the journey to organizing! First thing I did was to open Finder to create the yearly folders you suggested and right away I got lost… Could you post a photo of what your Finder sidebar looks like? Mine has Favorites, iCloud and Devices and I’m not sure exactly where to create this yearly folder. Do I click Finder and then Create New Smart Folder? Help!
Hey Michelle, i’ve since removed them from my sidebar! You can just drag the icon of the folder over to the sidebar and it will give you a temporary shortcut- you can remove it any time by right clicking and selecting remove from sidebar :)
Colleen, Thank you for this incredible post. As a photographer, I value doing something with your pictures! While I think a previous comment has a point with archiving the images, it is most important that you actually get these images in your family’s hands to enjoy. There have been studies that show the more our children see the affection and love of your family, the more self aware and secure they are as people. I would rather my children “feel the love”now than worry about having a perfectly perfect album for years to come. That’s why digital is so great! When properly organized and archived, we can always reproduce and enjoy forever. I’m sending this to my clients, everyone needs help in this area. Thanks a million!
I love that perspective! Thank you so much for the comment Whitney!
I love your book! I chose the same cover layout than yours! I was hesitant for the Portrait format because I can’t choose the Lay Flat paper option. I would like to know 2 things;
– Do you still like the result when using one photo on 2 pages to make it one full spread, even if it’s not lay flat?
– Which type of paper did you chose? The Semi-Gloss one? I’m trying to find a paper that doesn’t feel like the ‘magazine’ (really really thin paper). I want a paper that feels like it’s a photo book!
Thank you very much and great job for your photo book!!
I didn’t use the flat lay either because of so many pages! I did not have any pages I tried to spread a photo across the two though. I used the semi-gloss- they have great quality paper so I wouldn’t worry about magazine like paper :)
Hi I came across your great blog from Pinterest I was wondering with 40-55 pages approx how much is the cost without a discount.? I am so excited to get started.
Thank you so much!
Hi Holli, I’m not sure, honestly! I’ve never made one without the discounts applied! You can create your book and save it, then when there’s a discount, order since you won’t have to spend the time making it!
Really good article on photo organizing. I’ve been struggling with how to start this project for MANY years. I like the practical, straight forward advice.
I hope this helps you make it a bit faster! I need to tackle mine for last year- it’s amazing how quickly it piles up! :)
Love this post! It has inspired me and here I am on the 5th of January doing my 2020 album (and dreading the many years before that which are outstanding!). Just out of interest, roughly how many photos did you end up with per year for your books? I think you said 40-55 pages, but I am curious to know how many photos that is on average!? I’ve just done a first cull of 2020 and I’m at 600+ photos, arghhhhh.
Ohhh yeah I definitely have a lot of photos! I have some pages that have 16 on each page in a grid format to pack some of those candids in. I personally would rather pay for an extra page or two than to cut photos I want to remember, but I’m a sucker for photos!
Hi Colleen. Would love to do a story photo book for my mom. I have 2 boxes of 40 yrs worth of family photos. Any tips welcome. I have started sorting them into different categories but don’t know where to start. Don’t want numerous books just one with all the Pic telling our family story.
What Lightroom adjustments do you make and do you use a preset?
Also, what external hard drives are you using? Are you backing up from your phone to computer and then to hard drive??
Thank you for your help and encouragement to get my pictures organized and printed! Its a very big undertaking.
Hi! You can find Colleen’s Lightroom tutorial post right here: https://www.lemonthistle.com/how-edit-phone-photos/
This is perfect! Is there a limit on photos/ pages per book?
I have yearly folders all the way back from 2006. I have 2006-2016 in traditional folder albums but I’m not a fan, I’ve been looking for an actual photo book. I’m going to be redoing all my photos now!
I’m not sure! Colleen made these a few years ago, so I suspect things have changed – you’ll have to contact Mixbook directly!
1. Any tips/ ideas for doing videos from the year? I love watching my old home movies, and would love to put all the video clips into some form of “movie” to watch.
2. How would you save it to view later?
How do you store all your books? I probably have well over 100 books printed!!!!
Wow, that’s so many! If I had 100, I would display them on a book shelf. We only have one per year since our kids were born (9) so I have them in a basket on the mantel for our kids to access easily :)
Your photo books are beautiful!
Thank you so much!