This modern DIY wall art is full of texture thanks to the addition of drywall compound to the paint. Sharing how we did it and some tips to try it yourself.
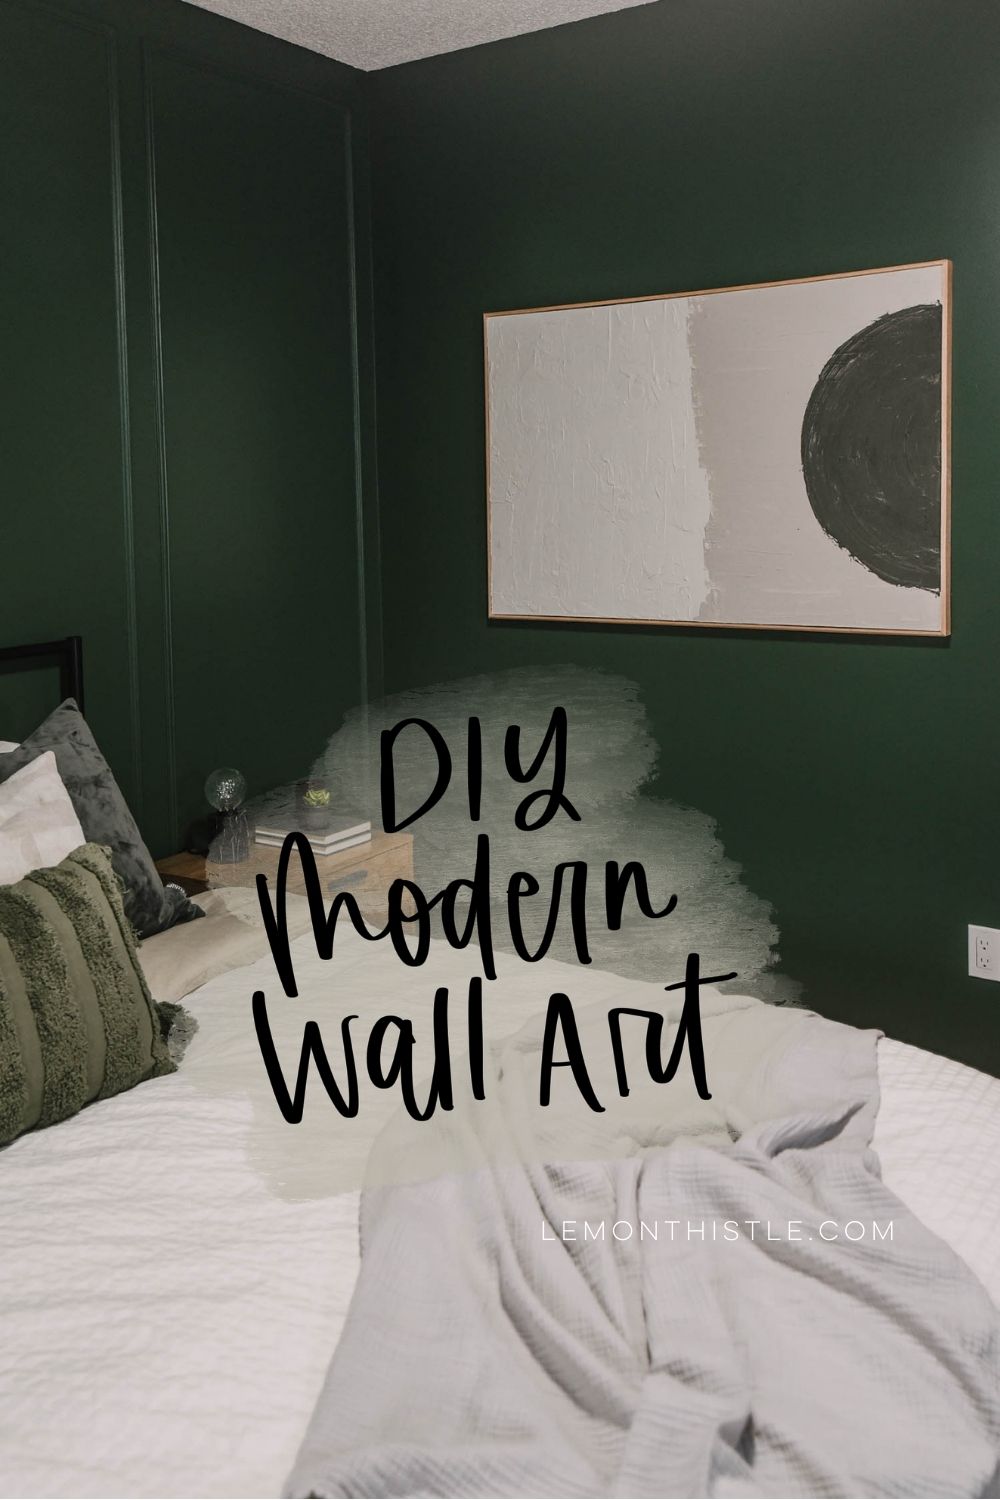
In my sister’s primary bedroom makeover we did a few things that have proven to be pretty controversial. We painted the room a dark colour without a lot of natural light (I think it’s perfectly cozy!), we painted her mirrored closet doors (obsessed with how these turned out!) AND we made this big piece of wall art using… drywall mud.
It’s a total trend and I know half of tiktok is obsessed with it, but the other half is very vocal about NOT liking it. If you’re here… I’m guessing your’e on the ‘I like it!’ side, so welcome!
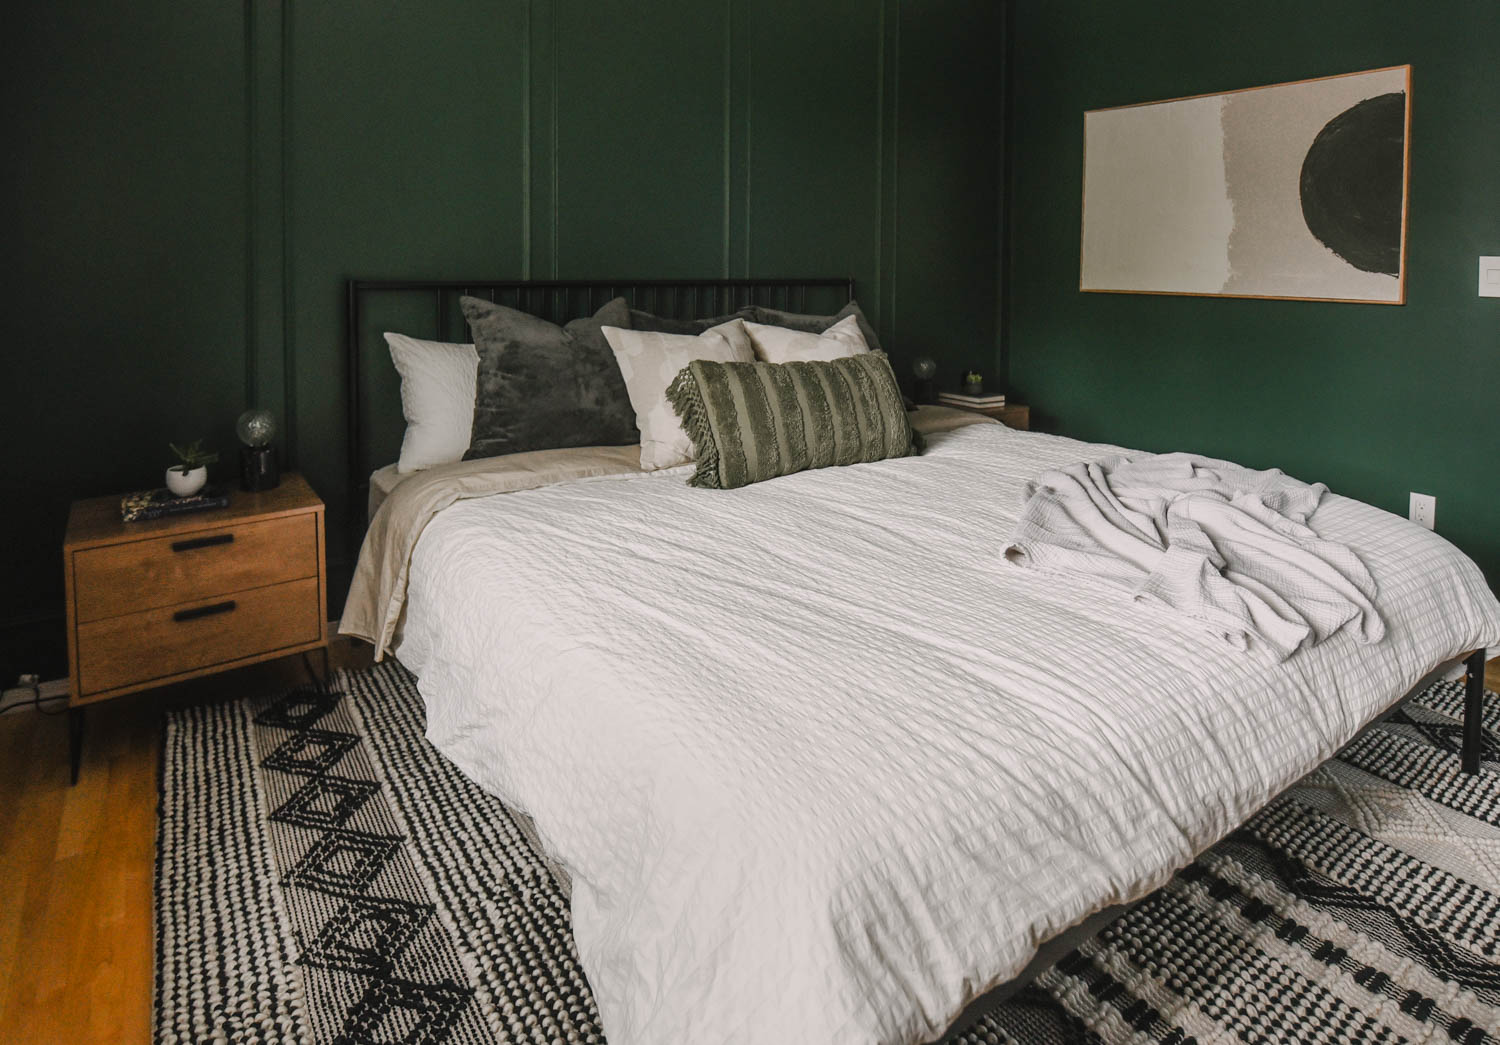
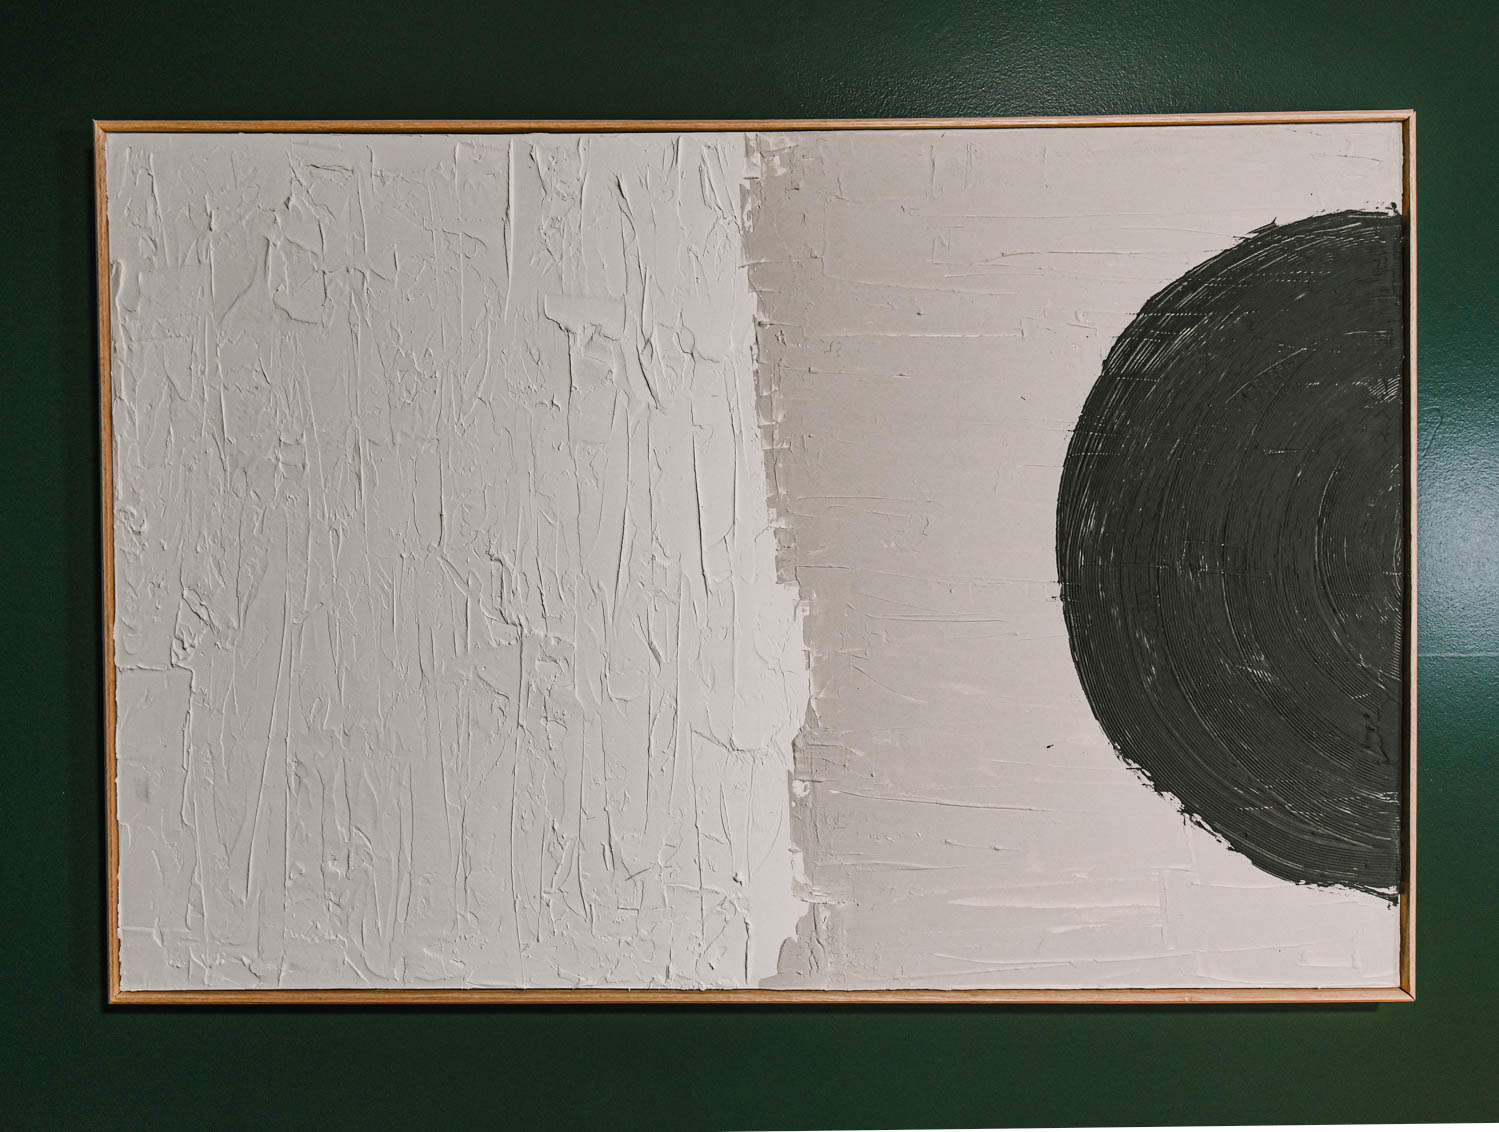
We were looking for something large to fill the space and provide a bit of a statement in this room makeover, but also wanted to keep the budget in check. The best way I know to do that is to DIY. I love making DIY art for a room and have been wanting to try the drywall mud art trend for some time. For over a year, actually… I remember the first time I saw it done from This Minimal House (see hers here!). But I wanted to add some contrast with some dark paint and I’m so happy with how that turned out!
Let’s get into the HOW we made it, shall we?
*affiliate links used where possible, see my policies here
What do I need to make this DIY Art?
The first thing you’ll need is a large canvas. We picked ours up from Jysk (Canadian store) because for this size of canvas, it’s the best deal I’ve found. It’s only available in store for that price and the price does vary. This time it was $25, but I’ve caught them on sale for $15 which is a steal! It’s the same canvas I’ve used in my living room art and my dining room art.
Other than the canvas, you’ll need drywall compound, paint, and a drywall spatula. We also used a comb and then framed the canvas with trim (using a miter saw and brad nailer). We used premixed drywall compound which made this a pretty painless process. We had all the paints, drywall compound, and spatula on hand from my sister’s ongoing renovation, but if you had to purchase these, the costs would add up… although it’d still cost much less than purchasing art!
Drwall compound, drywall mud, spackling, wall joint compound, drywall compound, sheetrock joint compound… depending where you live in the world, these might be what I’m talking about to you ;)
The paint colours we used for this art are Ashen Tan from Behr (my sister’s trim colour, it’s a beautifully smoky colour) and Broadway by Behr (my sister’s deck railing colour, but also just my favourite black paint around, I painted my whole bedroom this colour!).
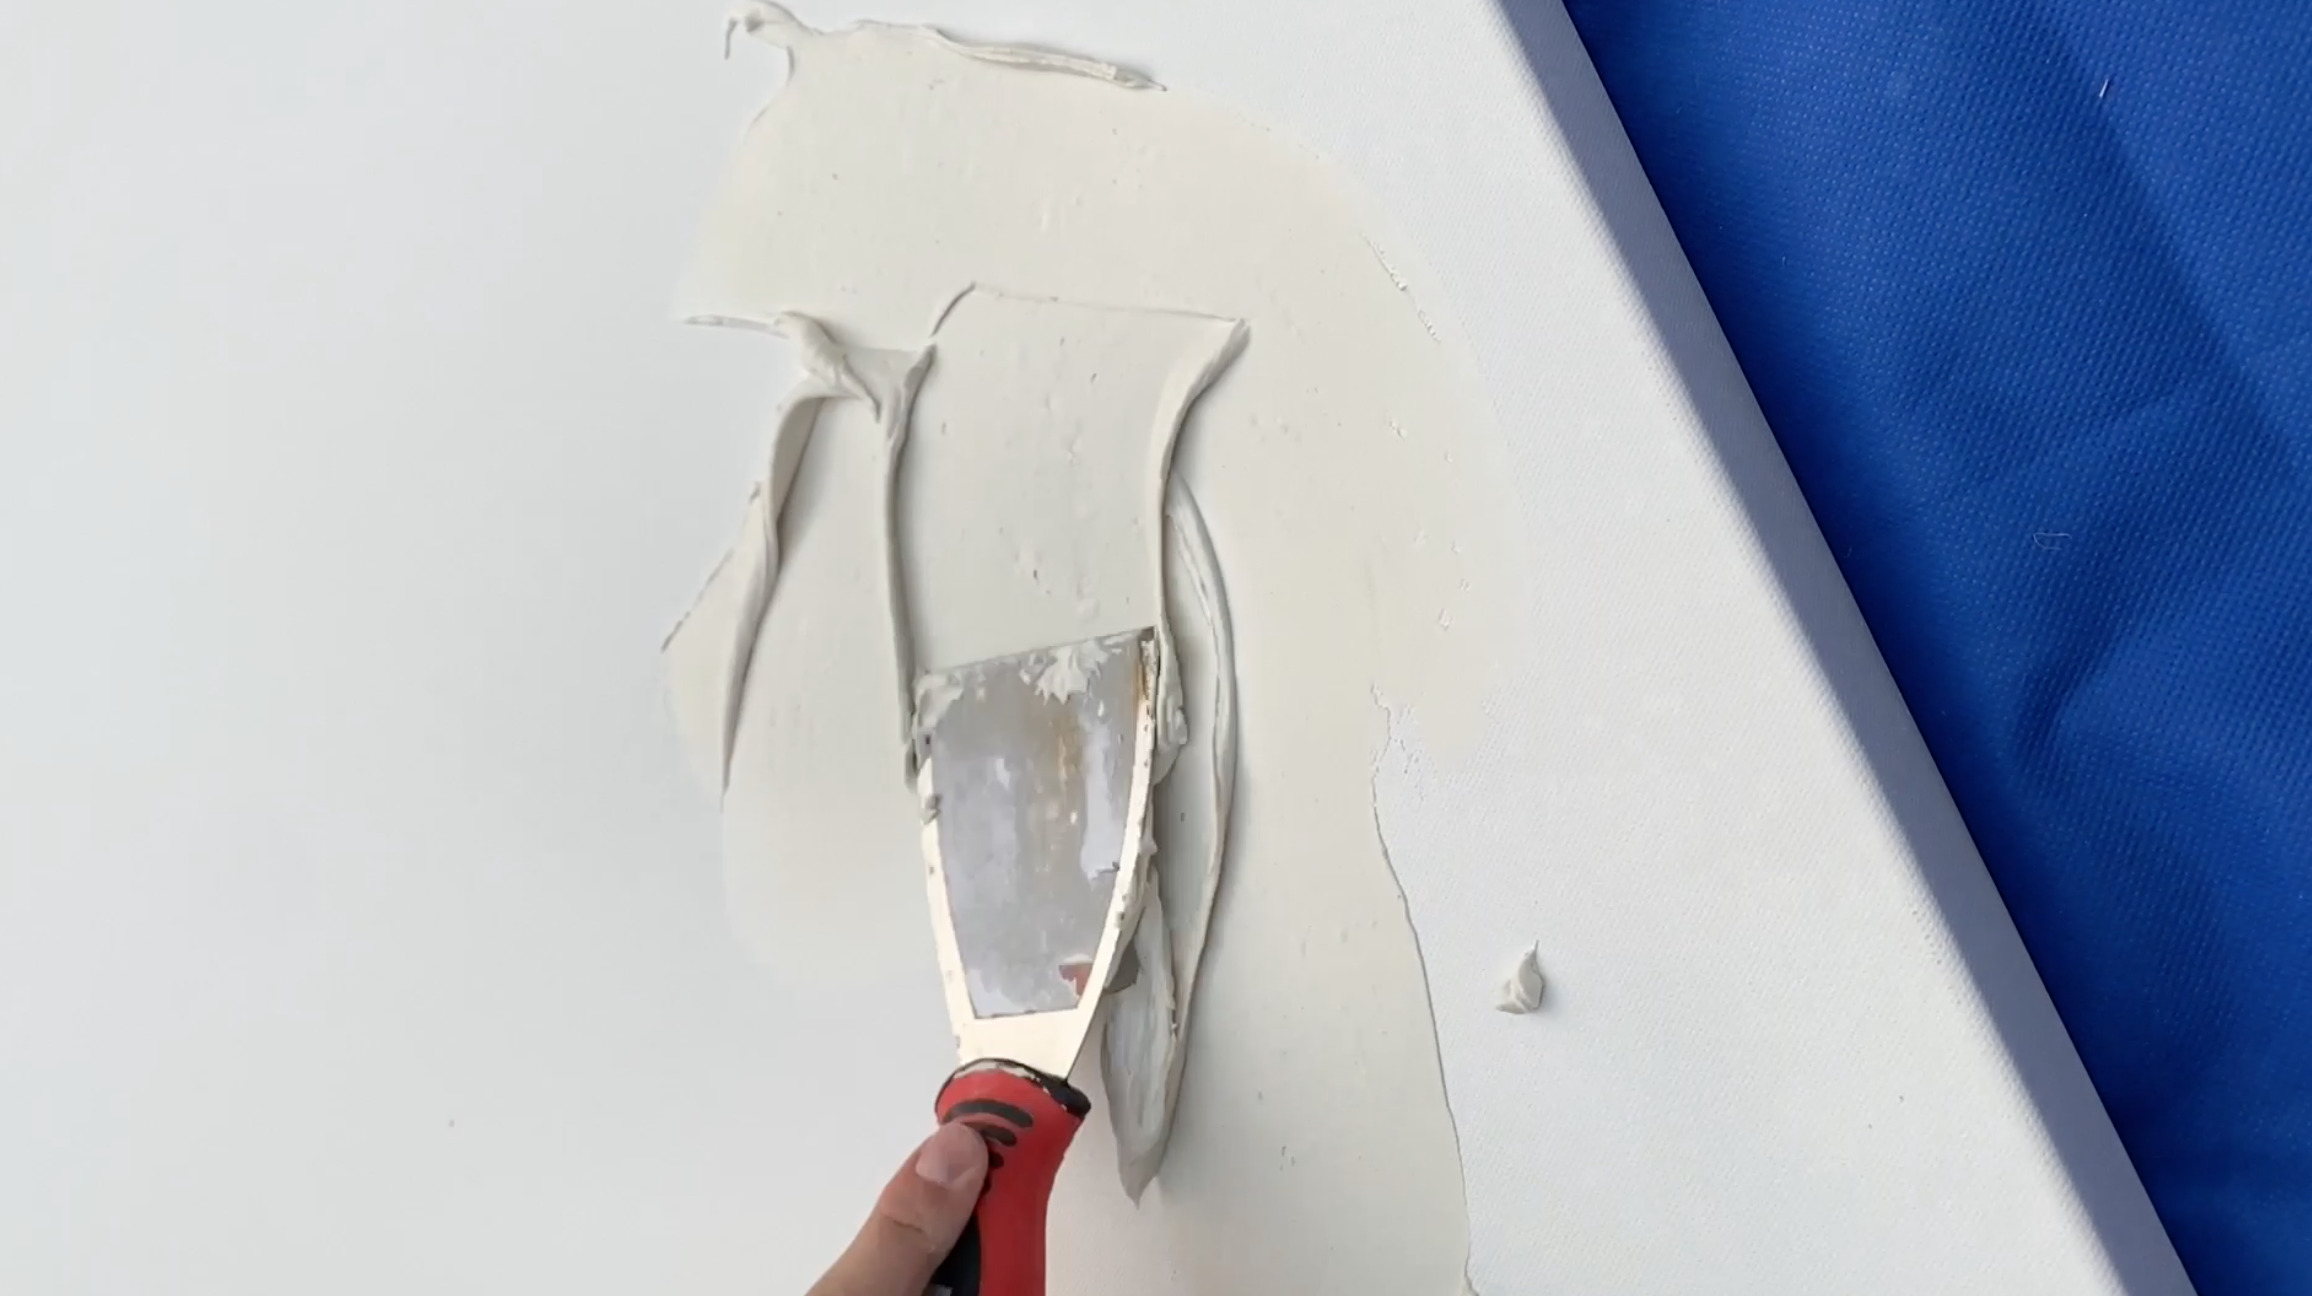
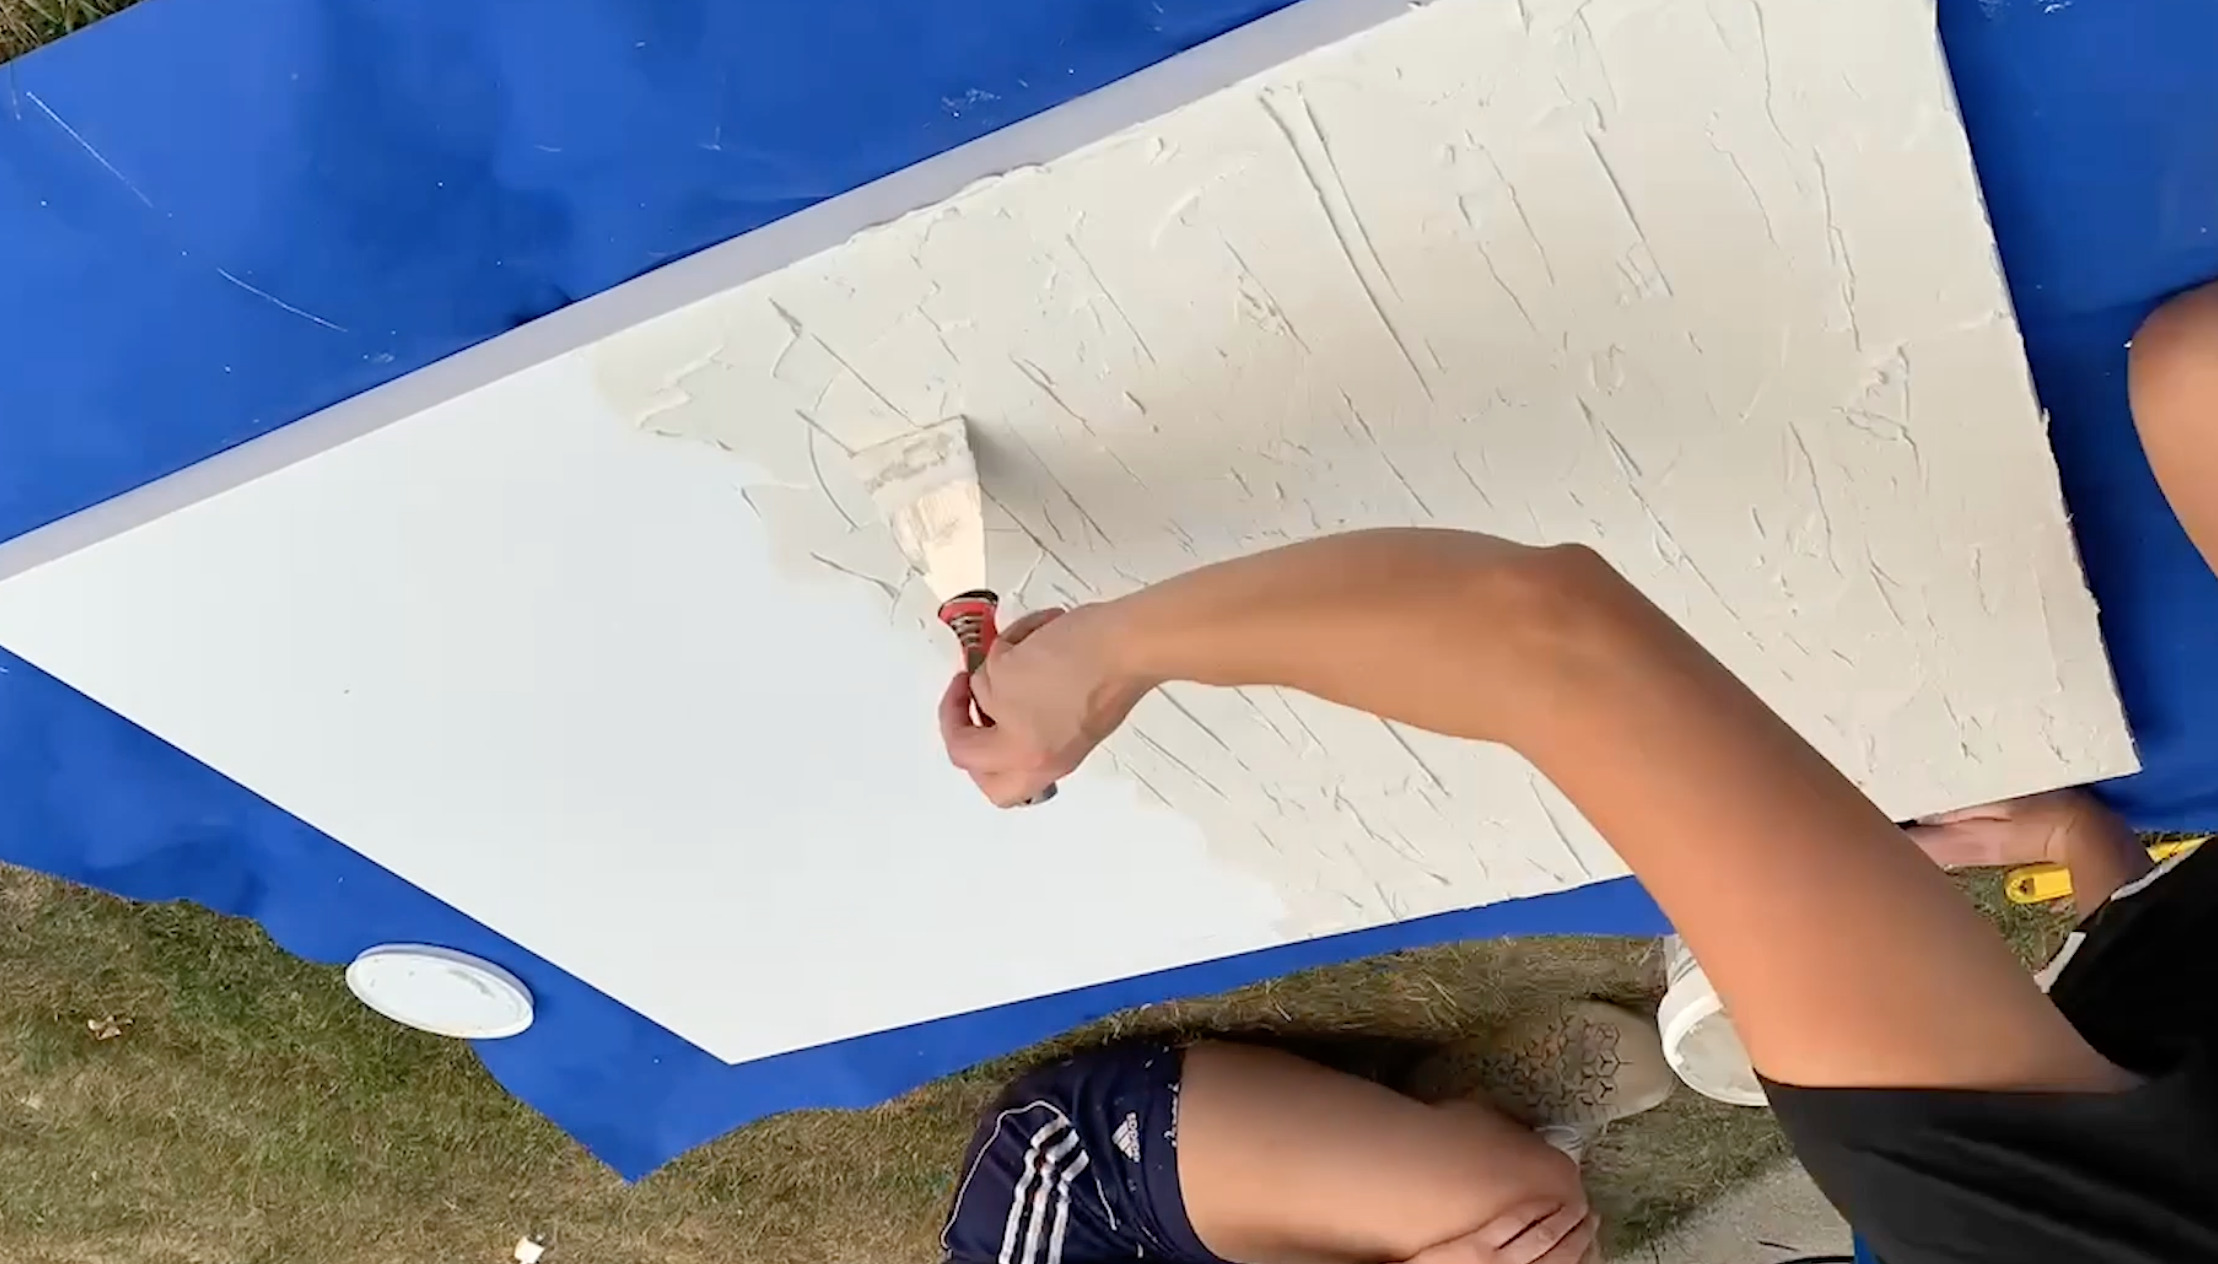
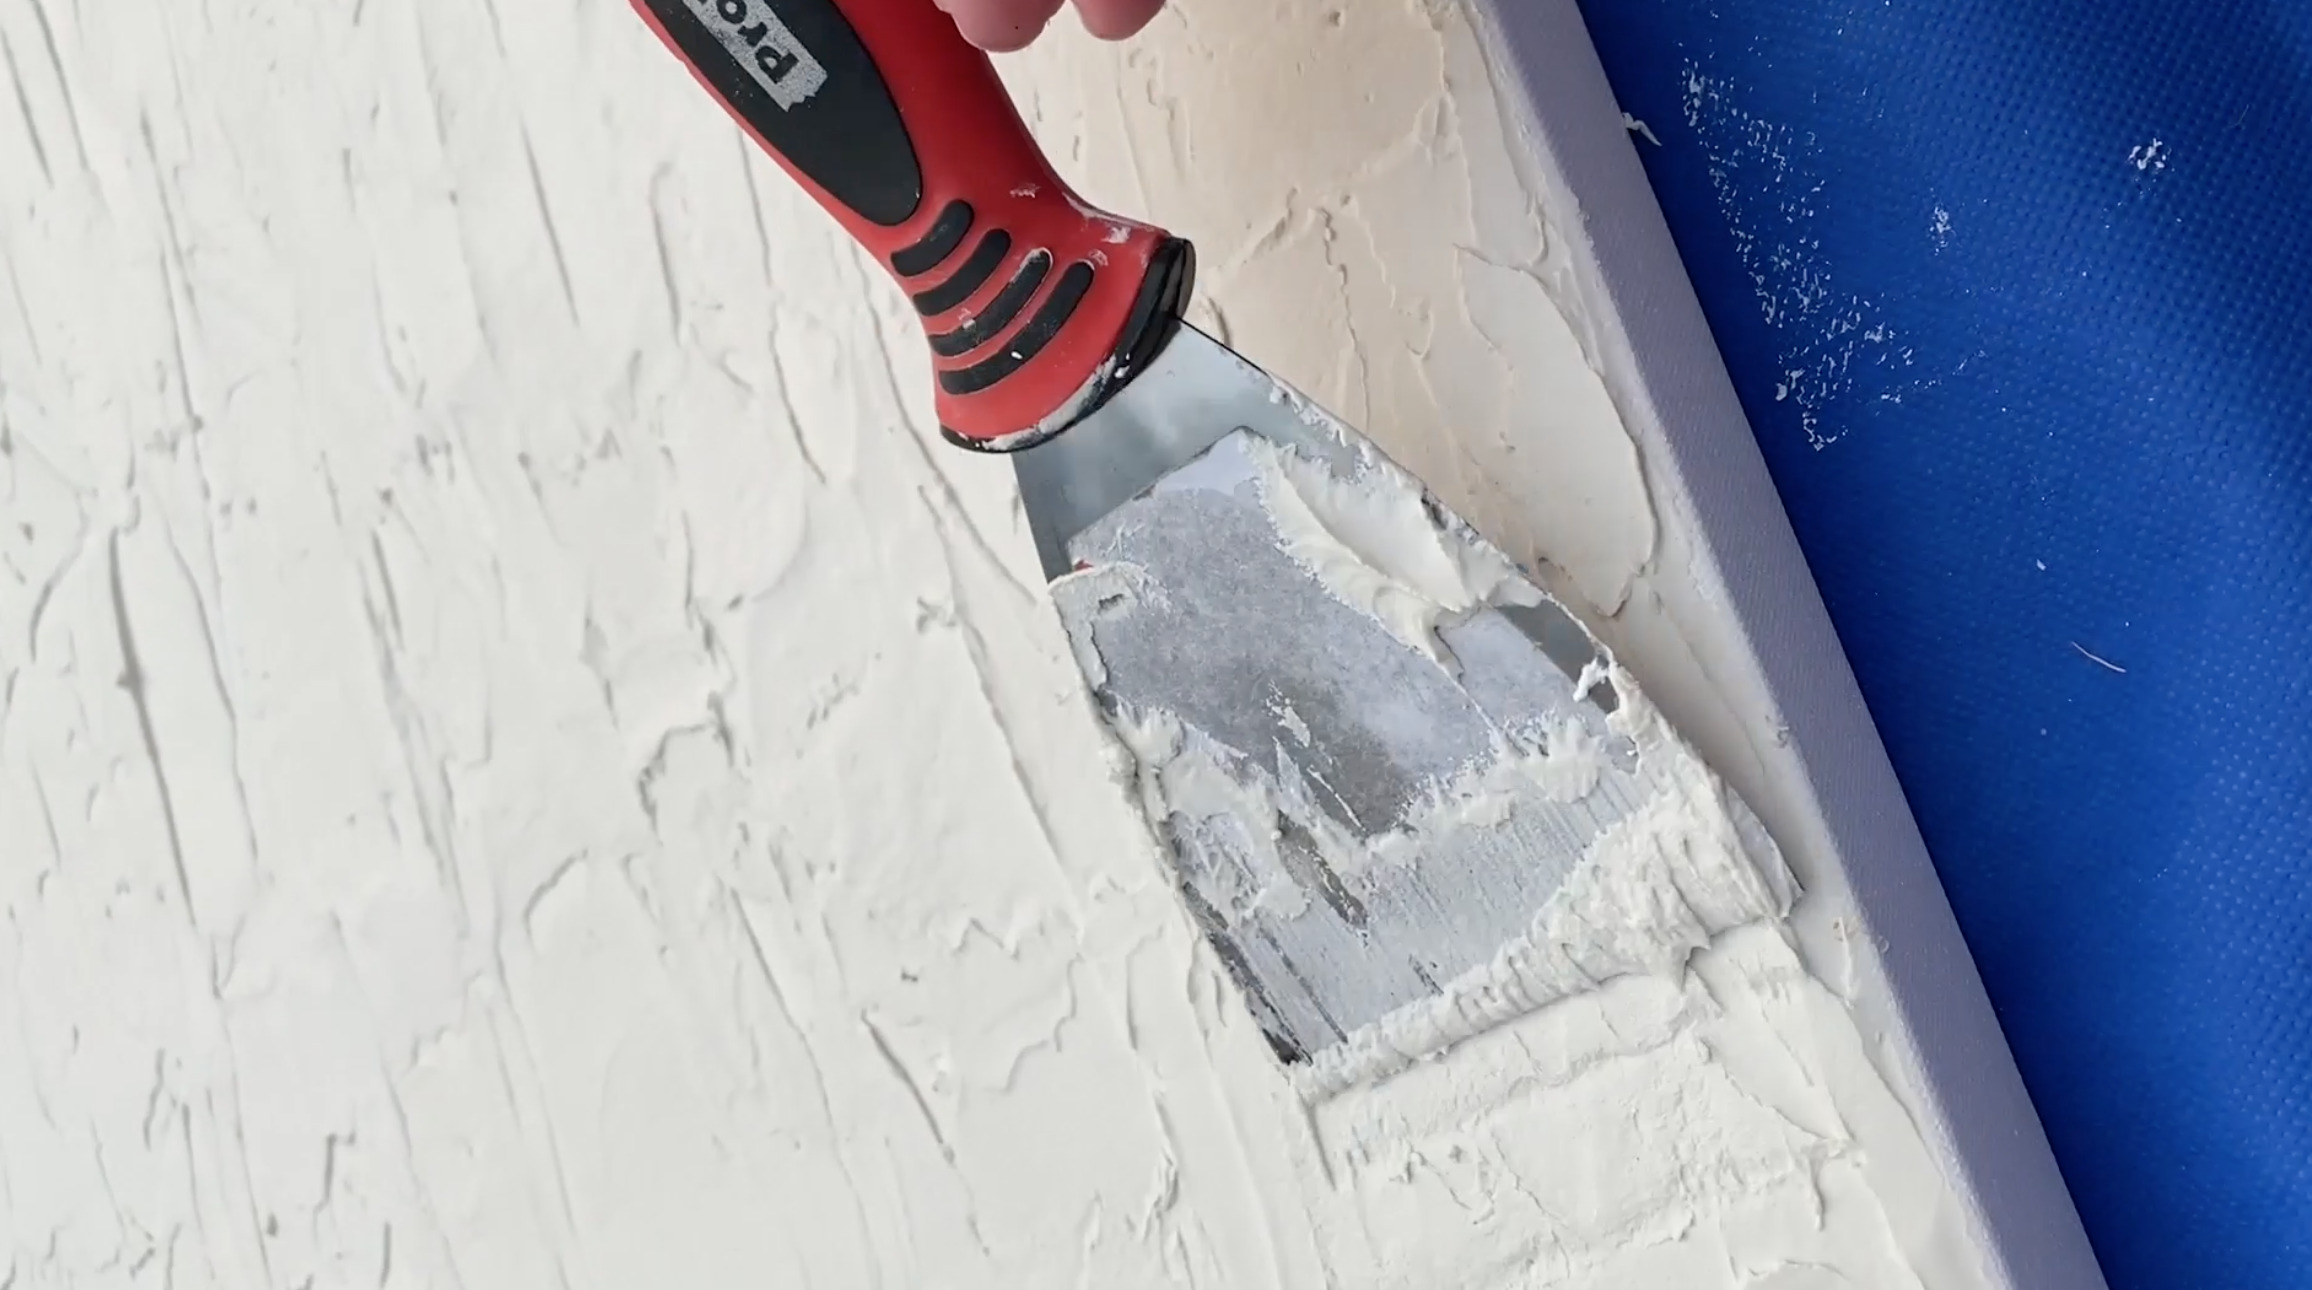
How to Paint with Drywall Compound
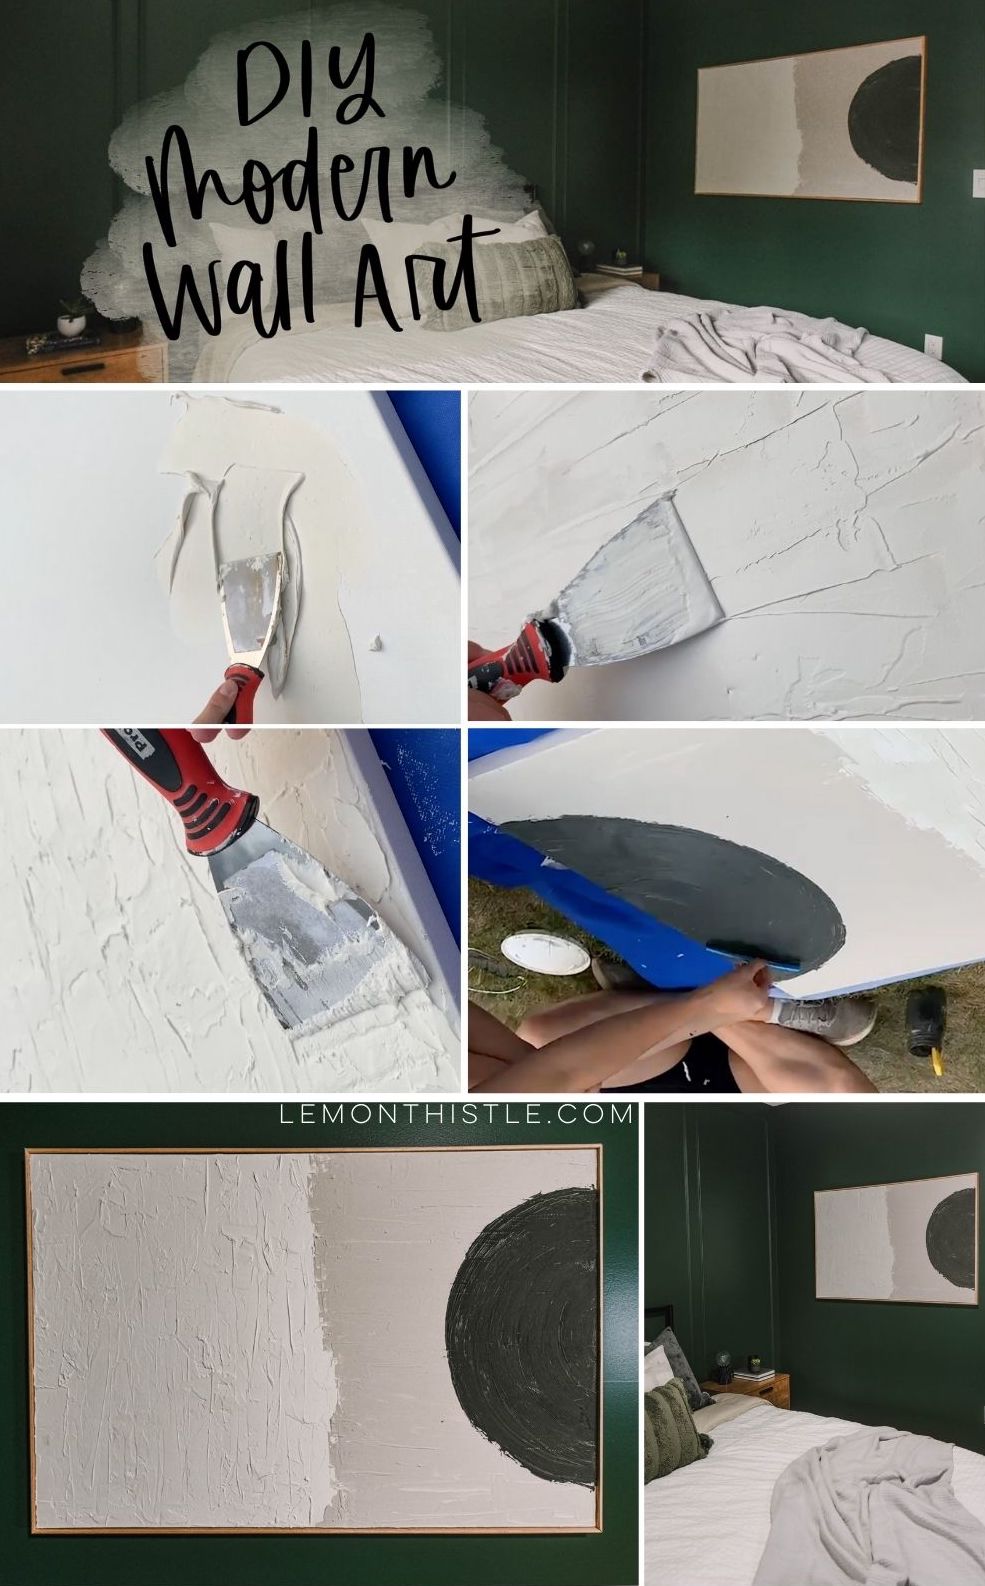
This is honestly so fun to play with. The drywall mud is thick so it’s almost like spreading icing. There’s not much of a trick to this, we took some premixed drywall compound and some of the paint colour we wanted to use and mixed it in a container. Then we used a drywall spatula to spread it over the canvas. We took time to make the texture exactly how we wanted with curved strokes then roughing them up for a bit of added texture.
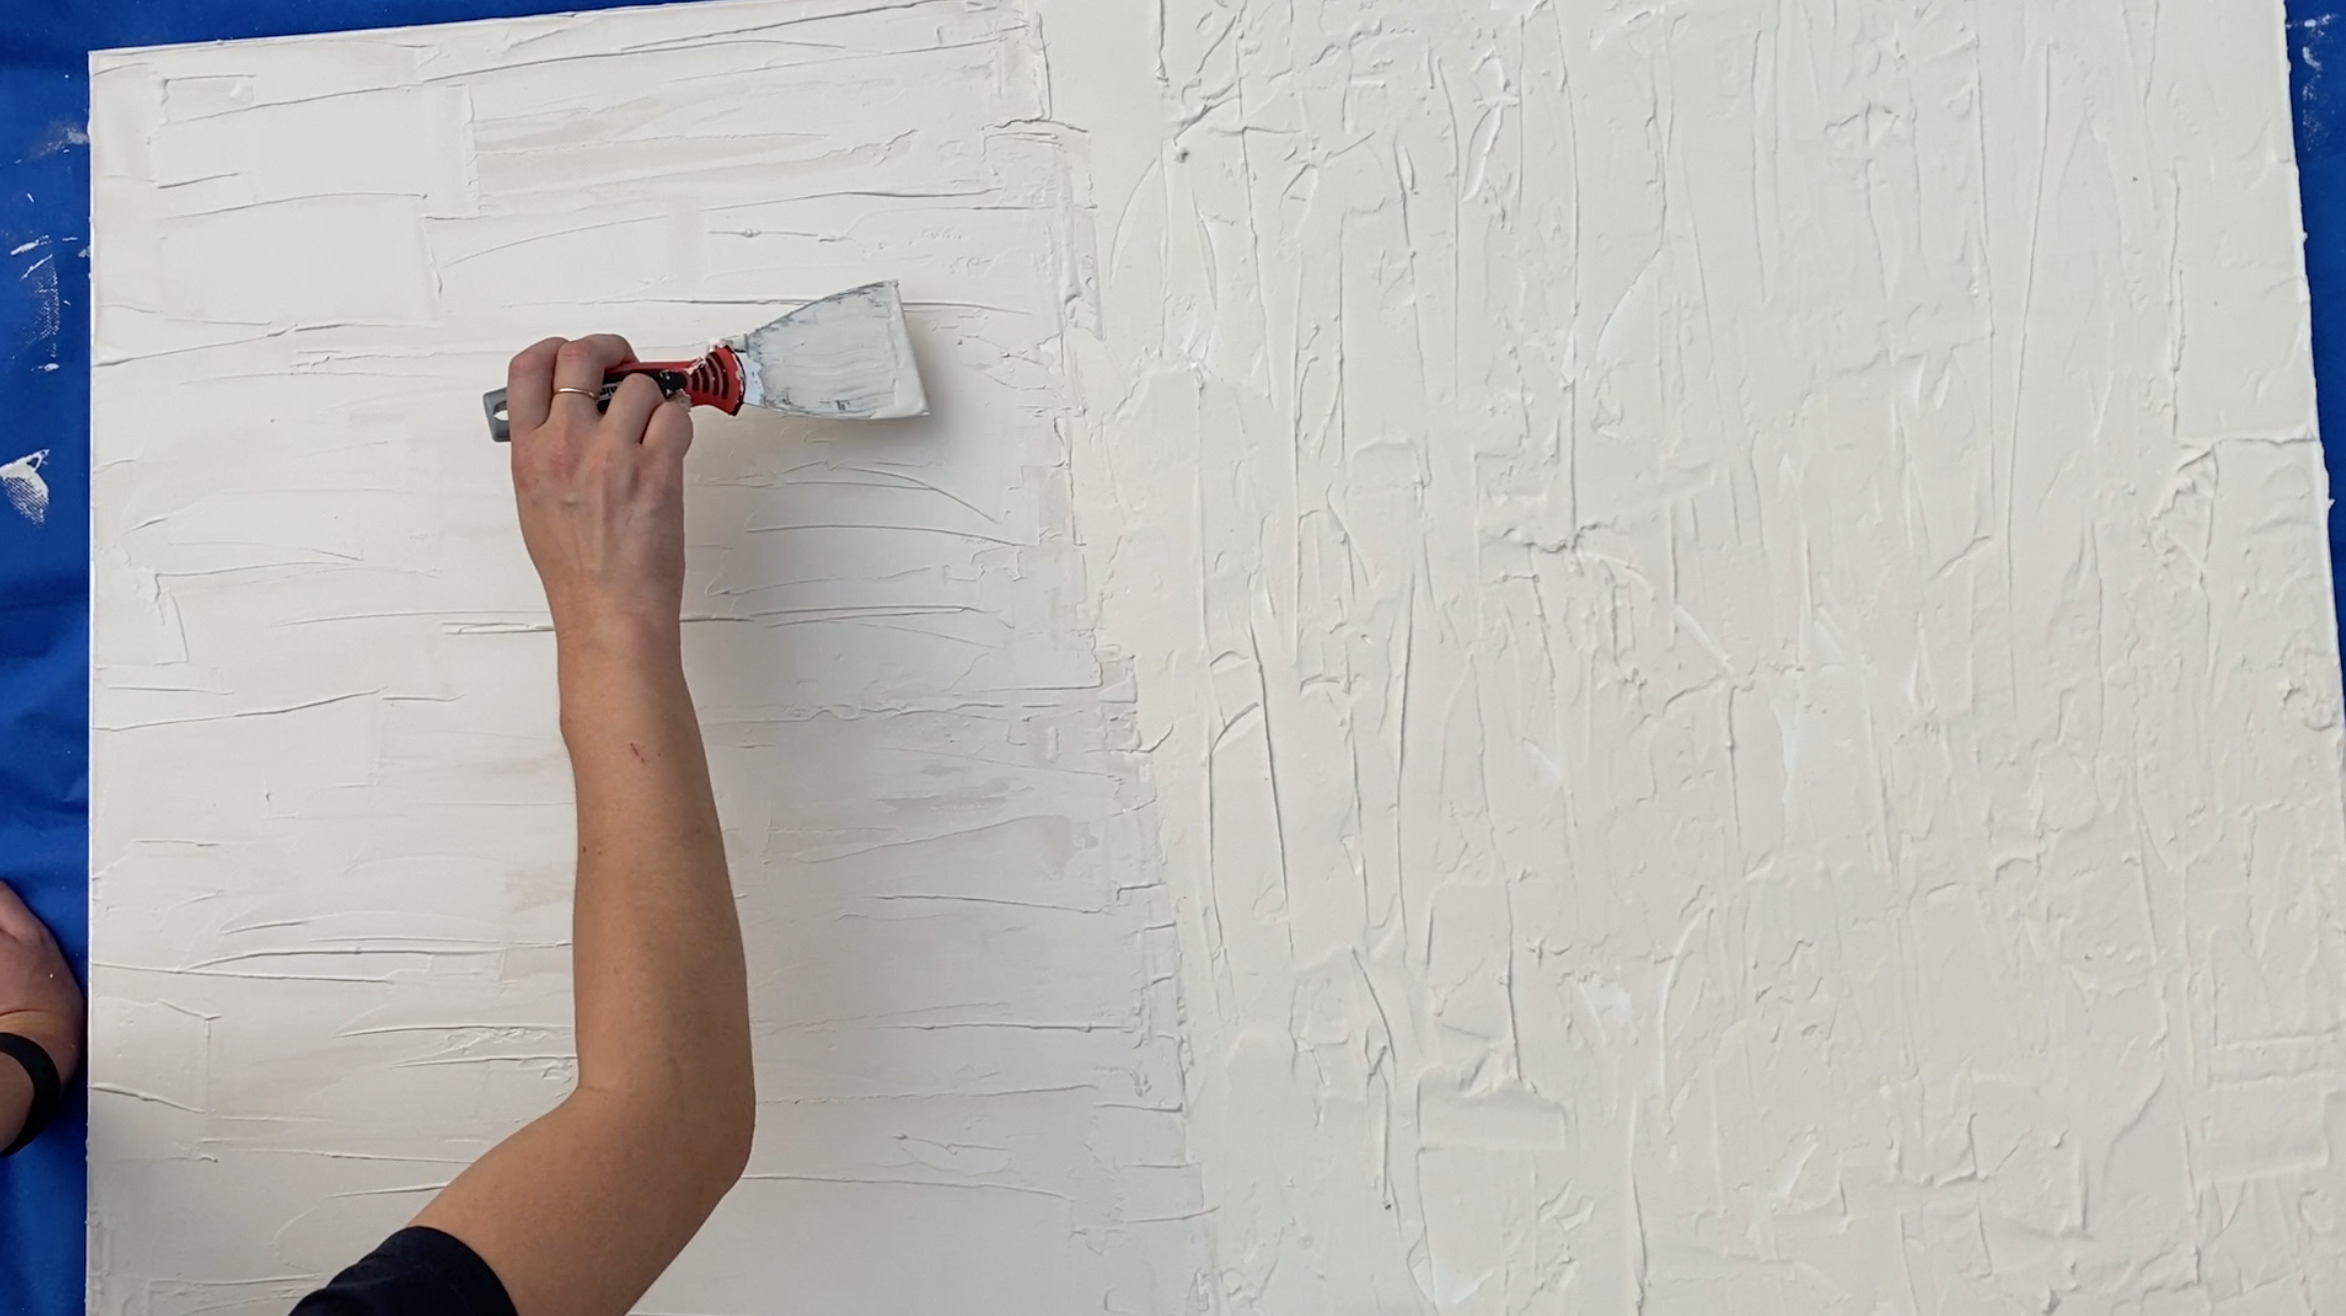
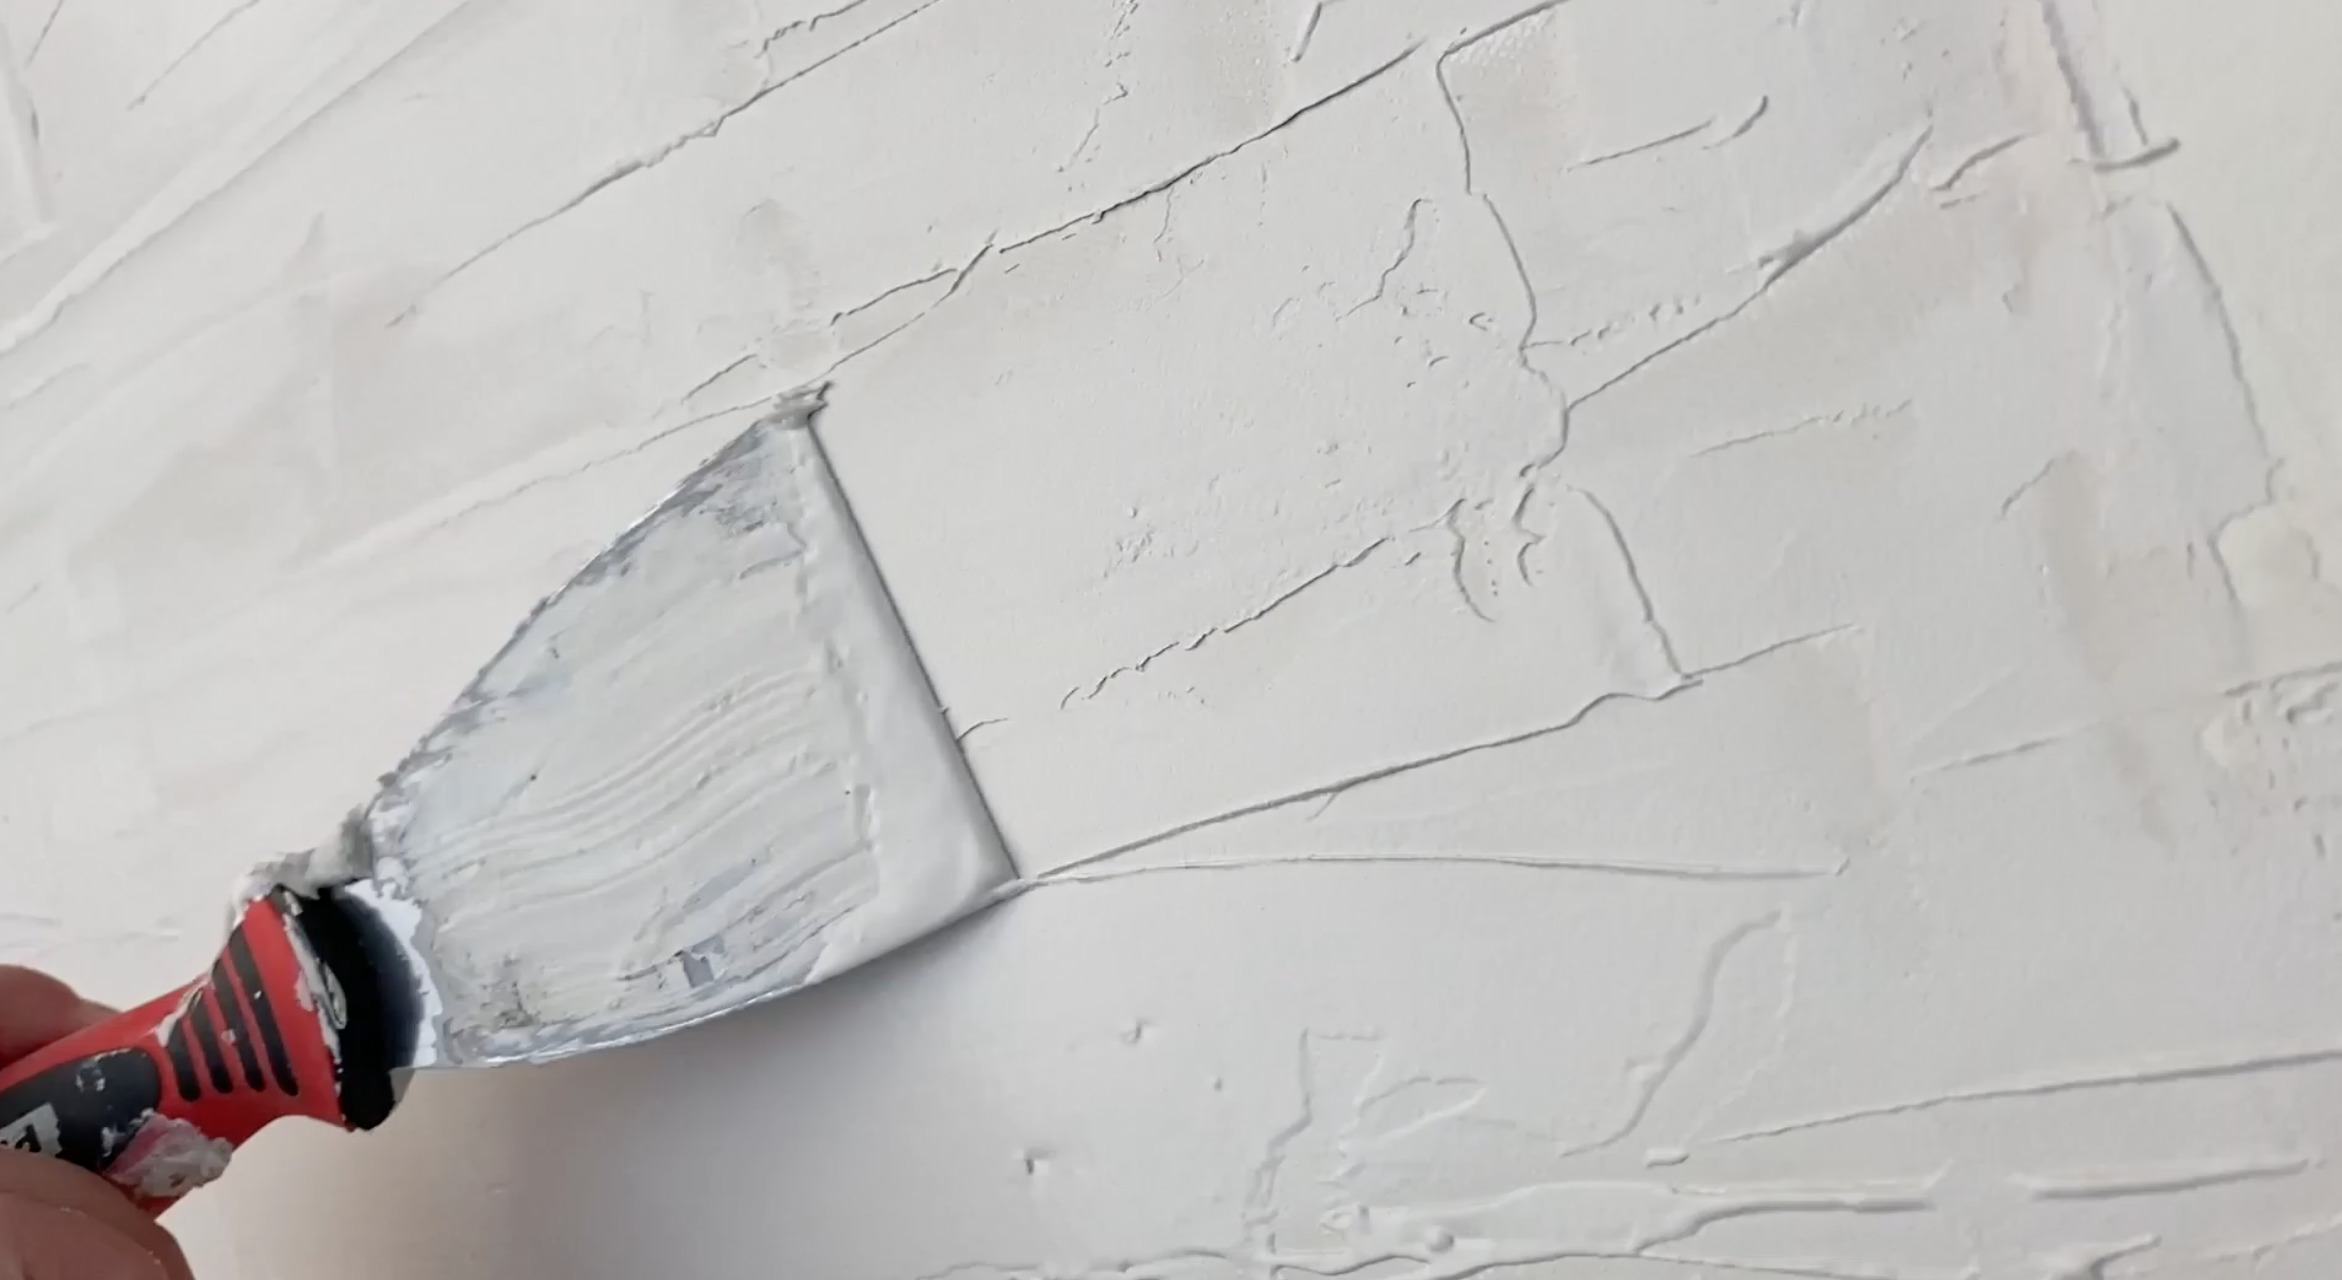
We did not let each layer dry completely before adding on top, but you definitely could!
For our second layer, we added even more paint in to get a sightly darker shade. For this we used the same tool but spread it on with a smoother texture horizontally. It looked pretty similar in colour while the drywall mud was wet, but as it dried, the shades became more clearly different which was great.
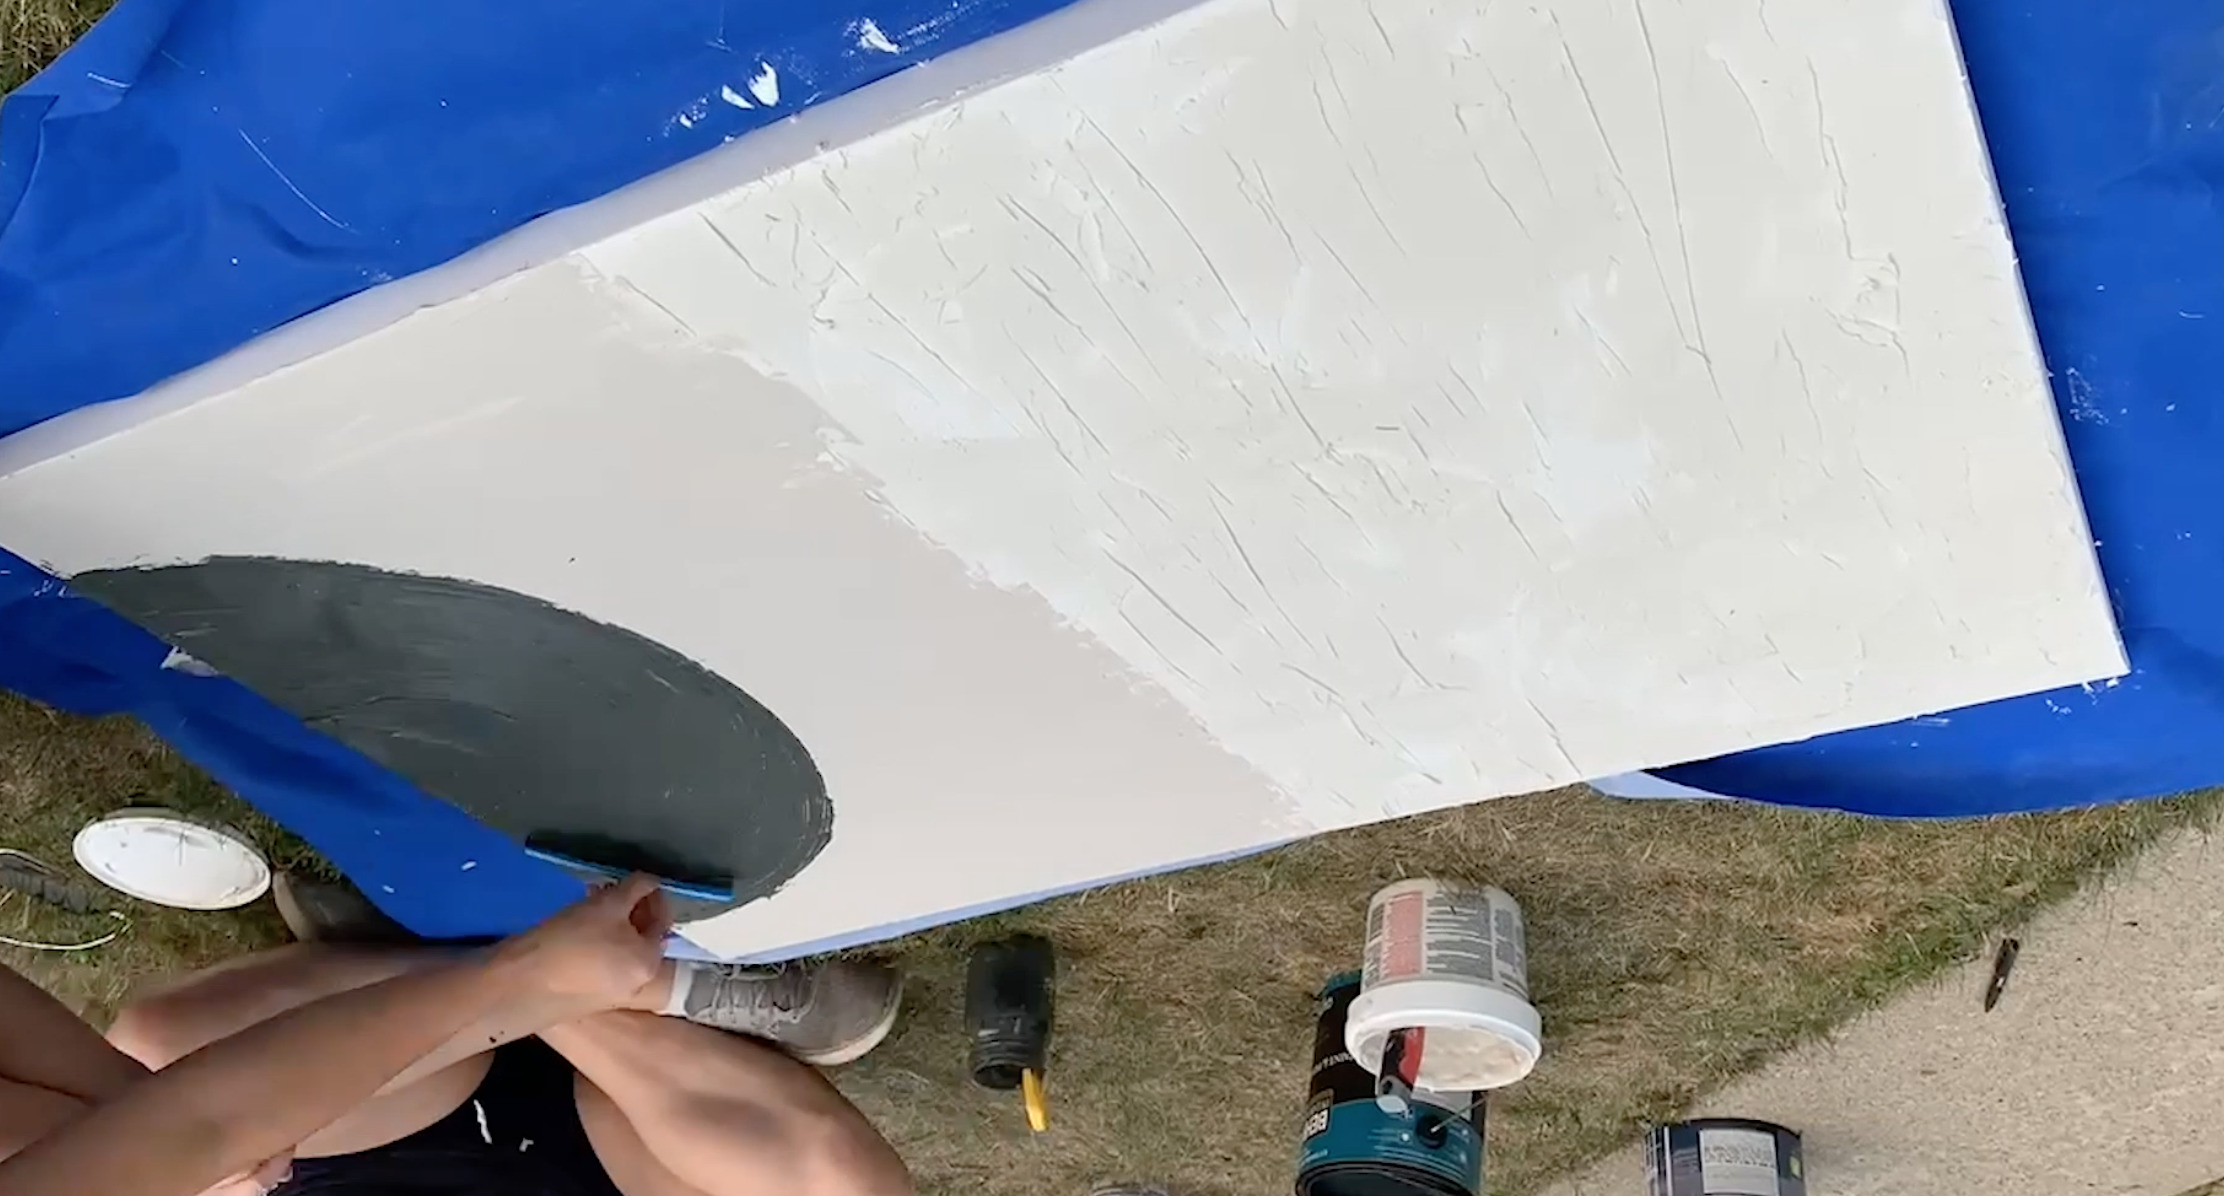
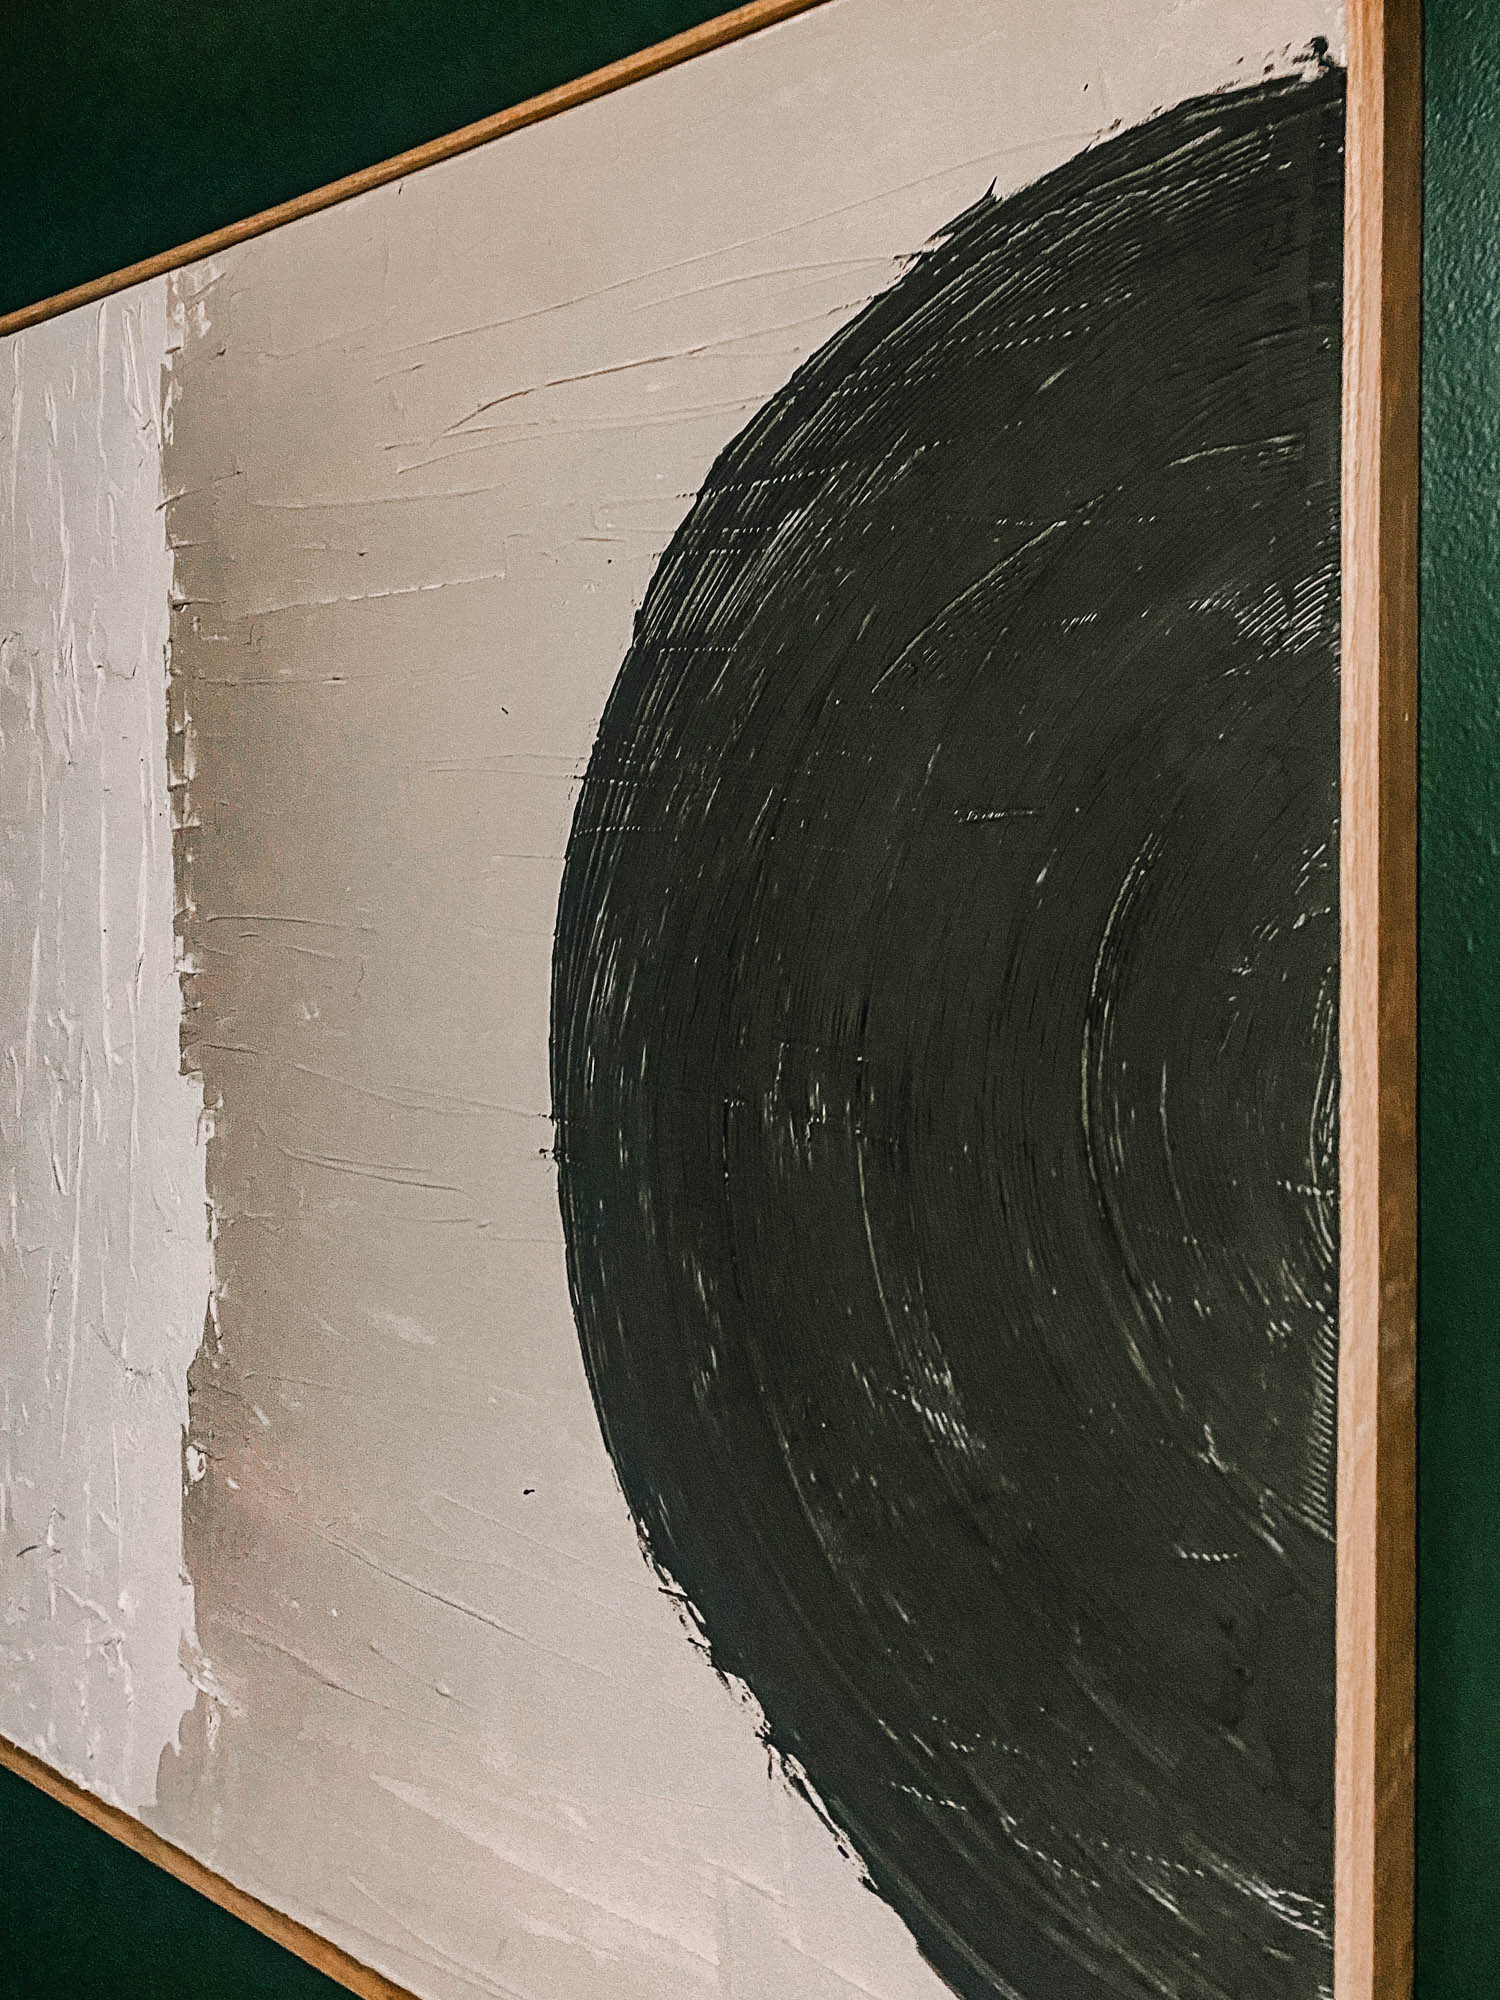
The last layer we mixed with black paint. We wanted this to be a nice contrast but it definitely thinned down the drywall compound quite a bit This was okay for how we used it on this dark accent, but if you were wanting to do a full textured piece with dark paint and drywall mud you might have a more difficult time getting the peaks and texture you want. We used a comb on this to create a half circle.

Does the drywall compound crack?
Since sharing this project on social media, I’ve had so many questions about the drywall compound cracking on the canvas once it’s dry. We did this art the first week of last August, it’s now the end of February and it hasn’t cracked. My sister doesn’t have kids and it’s not a hallway where it would get bumped into a lot. Could it crack? Sure. But that hasn’t been our experience.
How do you frame the canvas?
I truly wish I’d taken photos of this, but I do have a similar frame tutorial here. What we did differently on this one is choose a trim piece instead of craft wood. This trim has detail on one of the edges and we had that facing the front of the frame. Since the trim was detailed, we cut it on a miter instead of flat. We still used a brad nailer to attach it to the frame. The framing took less than 10 minutes!
I hope this has given you some inspiration for your own DIY wall art project! It was such a fun one to take on- my sister doesn’t often do crafty DIY projects like this and she had such a great time working on this, so it’s definitely beginner friendly!
If you’d like to see this full room makeover our DIY wall art is featured in, you can see the green bedroom reveal in all her glory right here!
LIKE IT? PIN IT!


Leave a Reply