These modern DIY photo ornaments are simple to make with any photo for your scandi Christmas tree decorating or gifting to grandparents or even as tags!

Do you have photo ornaments on your Christmas tree? They are SO important to my mom and grandma to have each year of the kids, but they’re not something I’ve been drawn to in the past. These ones? These ones, I’m so excited about though! They’re totally informal and fun, a little memory with a modern minimal twist to bring out and hang on your tree each year.
We typically keep these types of ornaments on our basement tree- it’s where we watch all of our TV and movies and I love looking over at all the sentimental reminders. I love that we add to them each year- that tree is PACKED now. For this post though, these were photographed on my office tree which is a little less overrun with kids crafts ;)
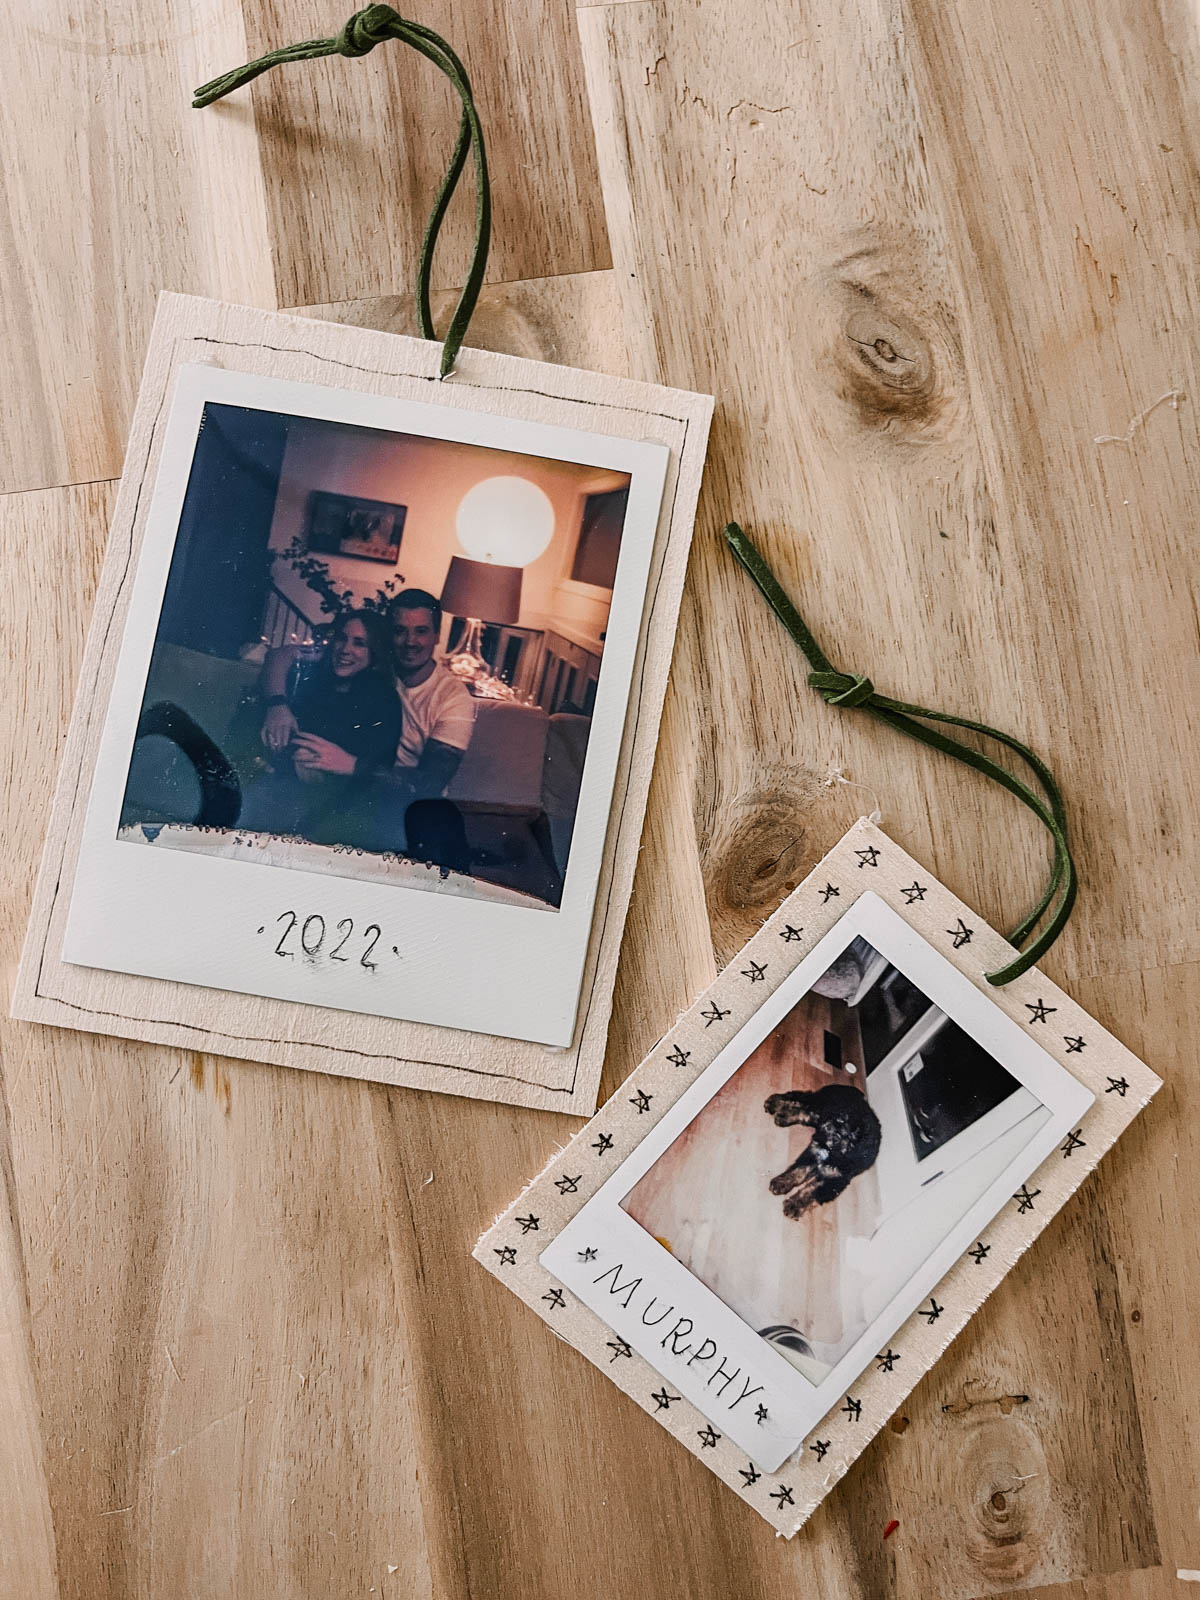
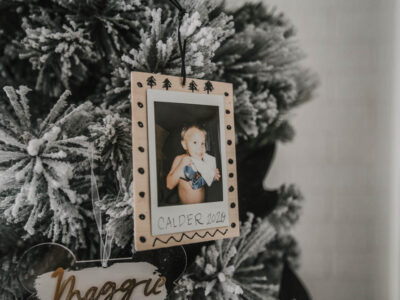
These are made with any kind of polaroid picture or Instax. You could also imitate the look by printing your photo and layering it with white paper cutout like an Instax frame.
Please note… I totally smudged the ink. Don’t do that. Be better than me ;)
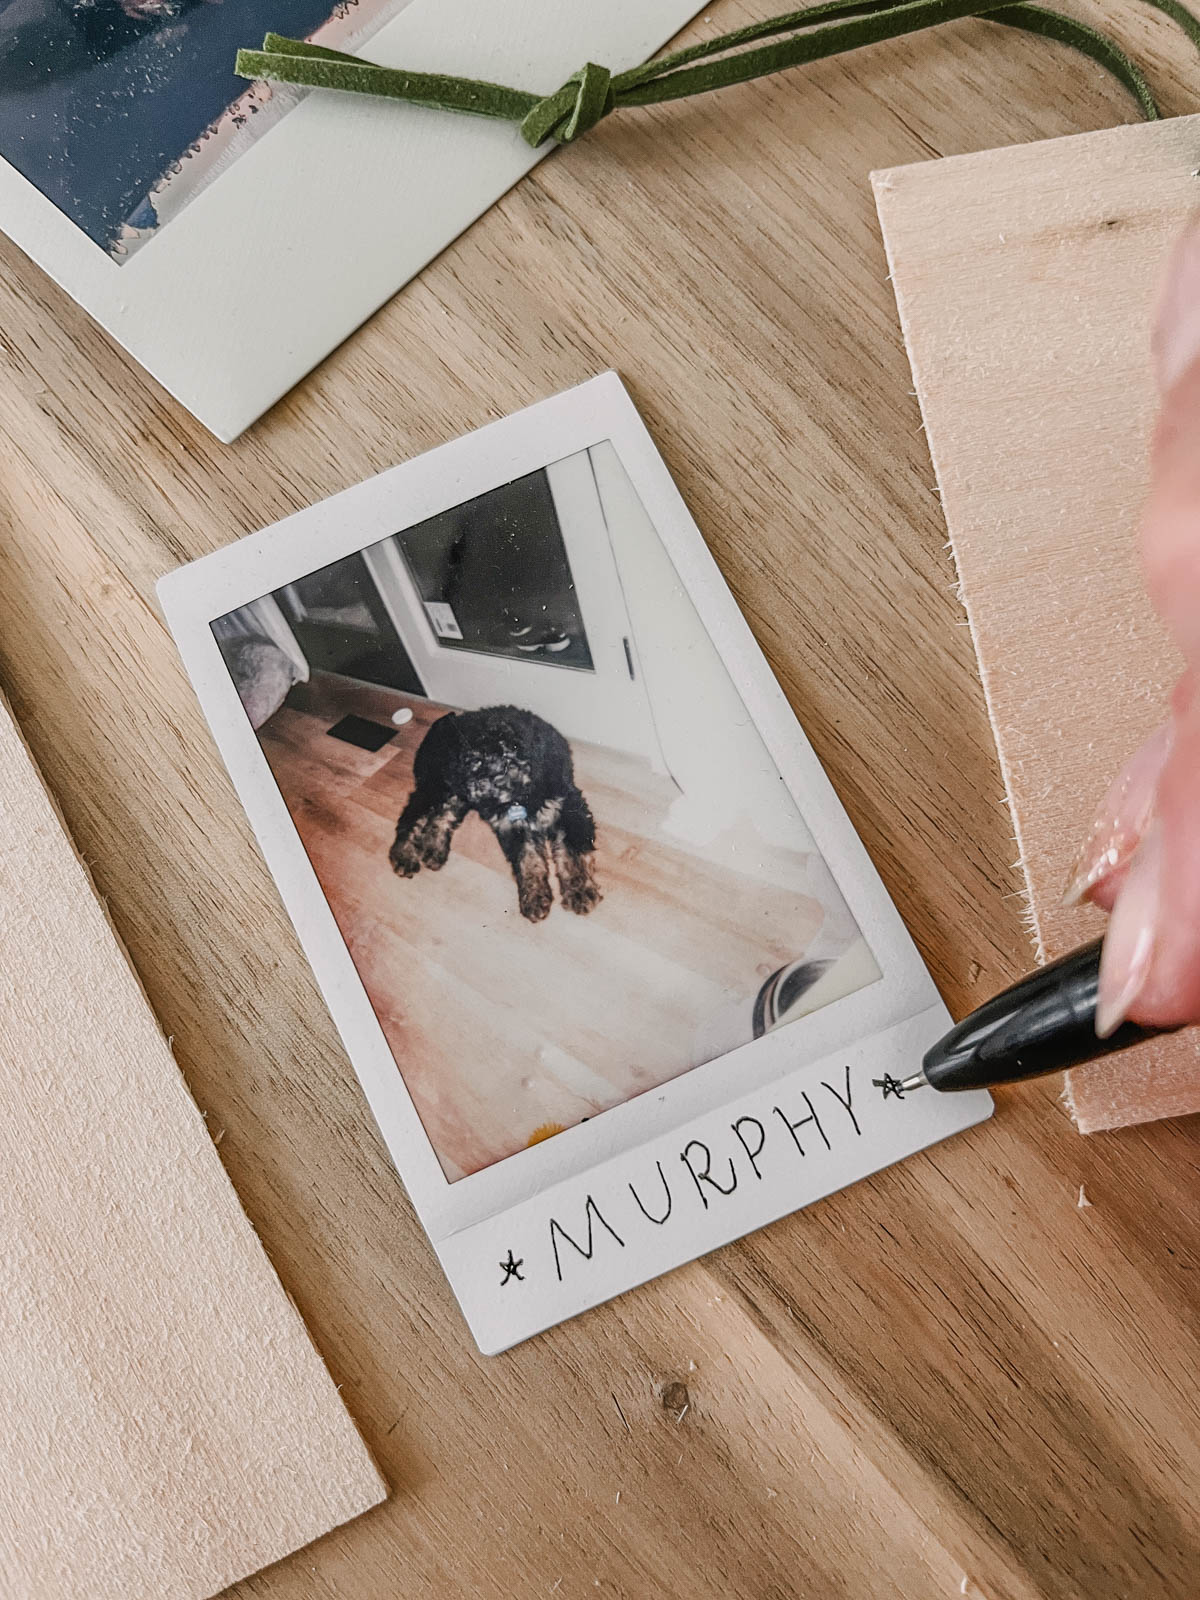
My Instax has been on the shelf mostly since the kids burned through all of my film last year. But I found an extra box of film and snapped some photos of my toddler who was playing in my office while I crafted also used one of our puppy from last christmas.
All of my kids now want me to make one of them for our main tree, so I’m ordering some more film to do that.
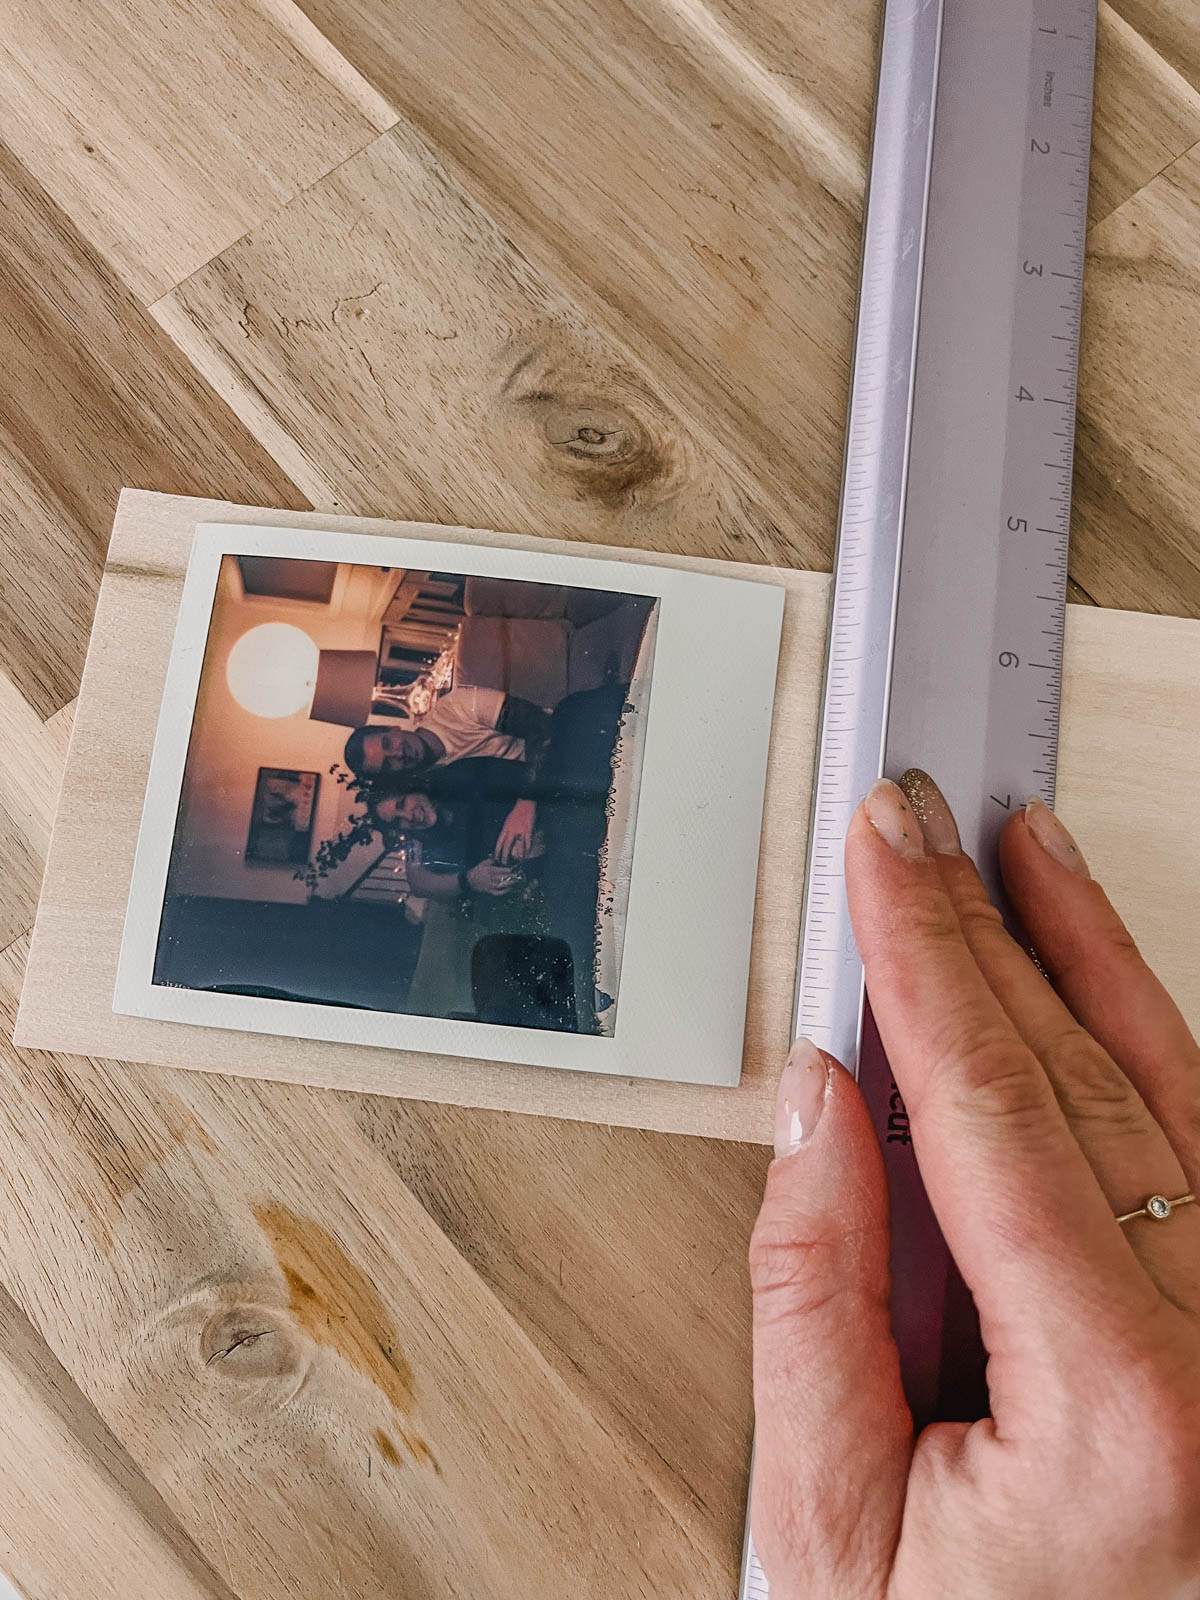
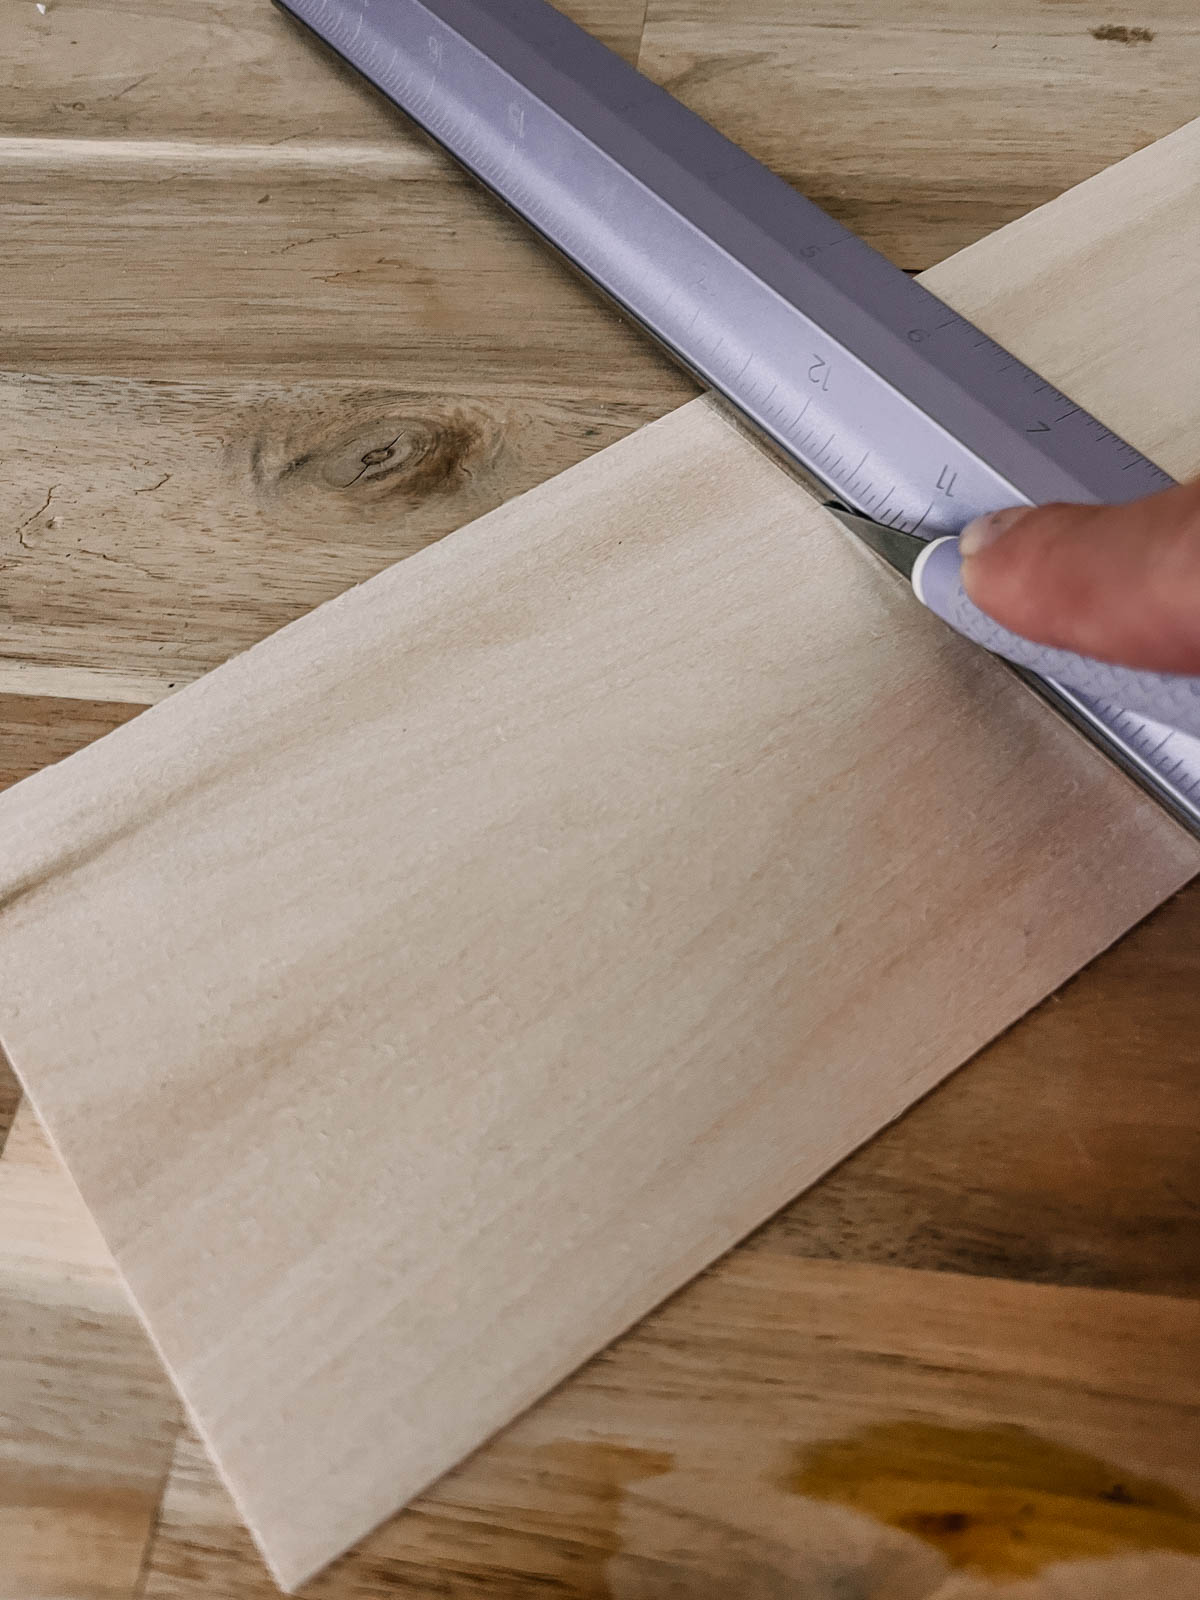
This DIY photo ornament is so simple, truly. You just need a piece of craft basswood or balsa. These are sold at Michaels Near the woodburning supplies and are super affordable to get in strips. I love these wood pieces for crafting. You can see them in several of my DIYs like this simple wooden banner, these scandi ornaments, and this mobile.
Just lay your photo on your craft wood to eyeball how big you’d like to cut it then cut to size with a craft knife and straight edge. I really like this ruler since it protects my fingers when I cut. It takes a few passes with the knife before they cut through.
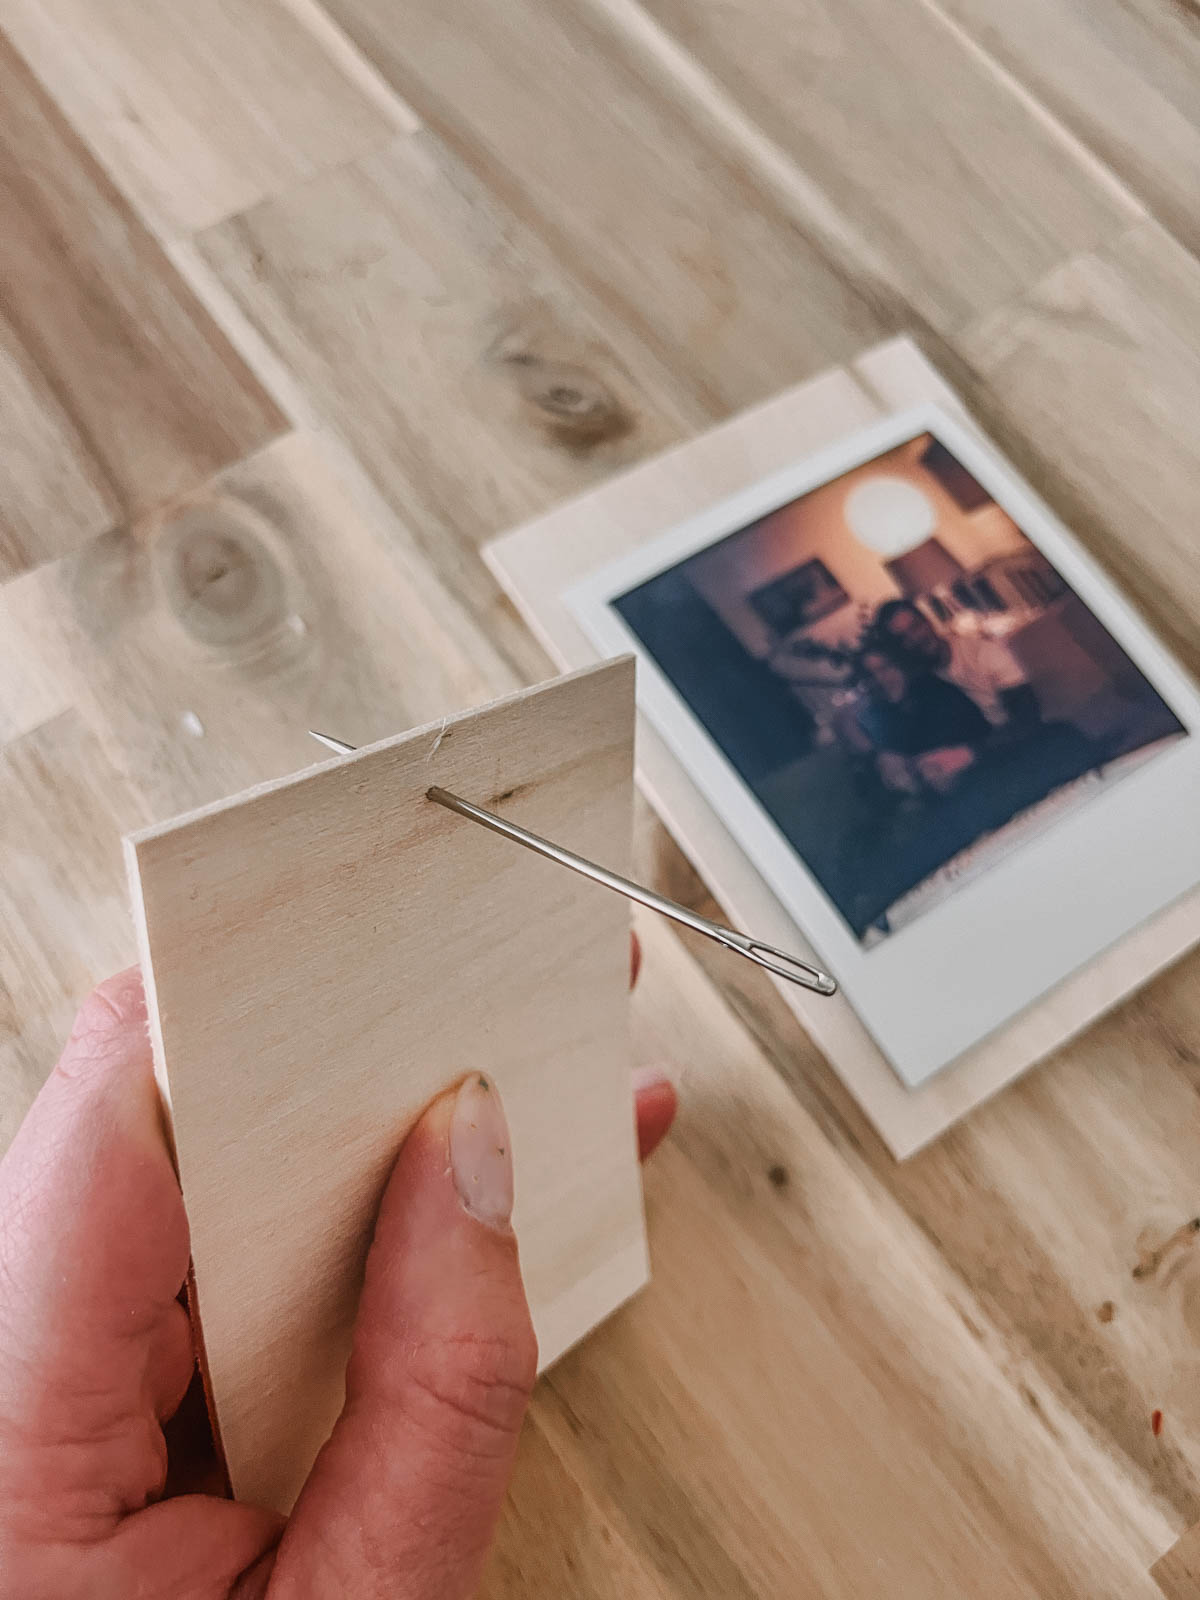
Then, I punched a hole for the leather cord at the top to assemble these using a darning needle. You could use a wooden skewer or straight weeding tool if you prefer. I used a couple types of leather cord for these, but you could also use ribbon or yarn, this is how they will hang so make sure you add some length here.
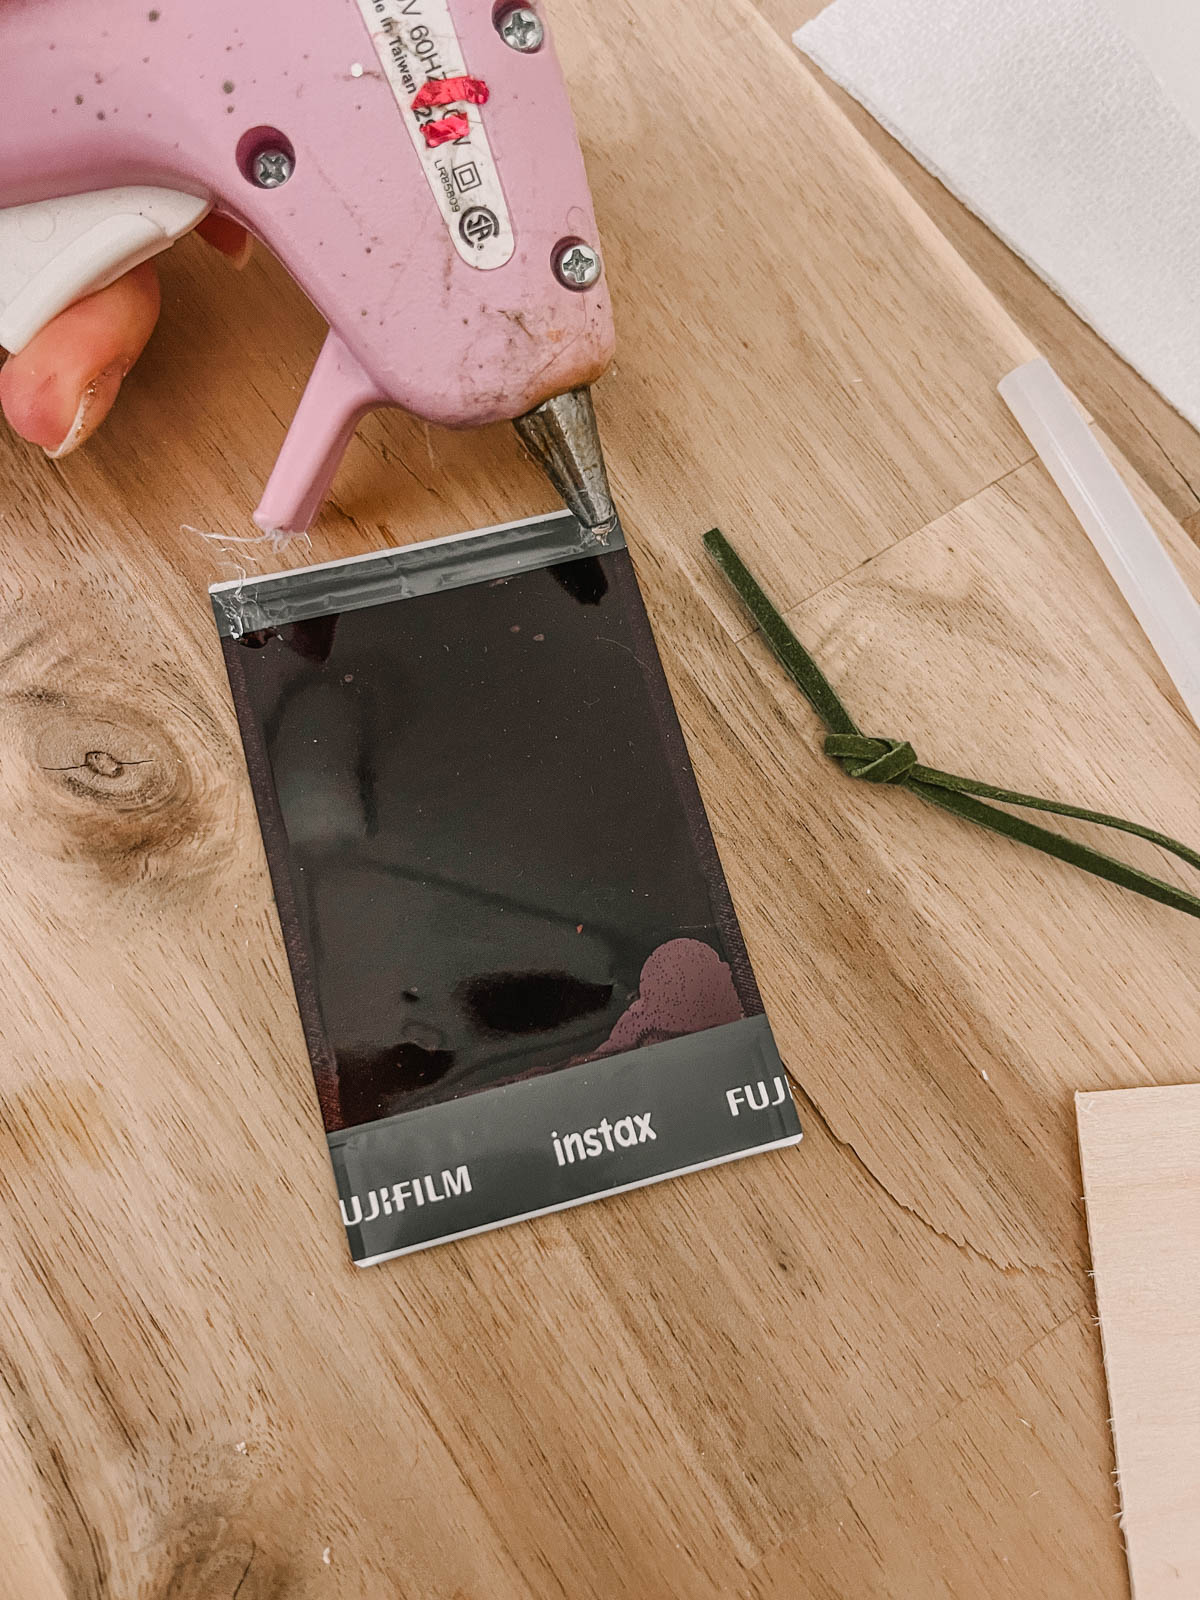
Then I glued the photo in place using a hot glue gun and dots in all four corners of the photo- I wanted to make sure the heat didn’t compromise the photos.
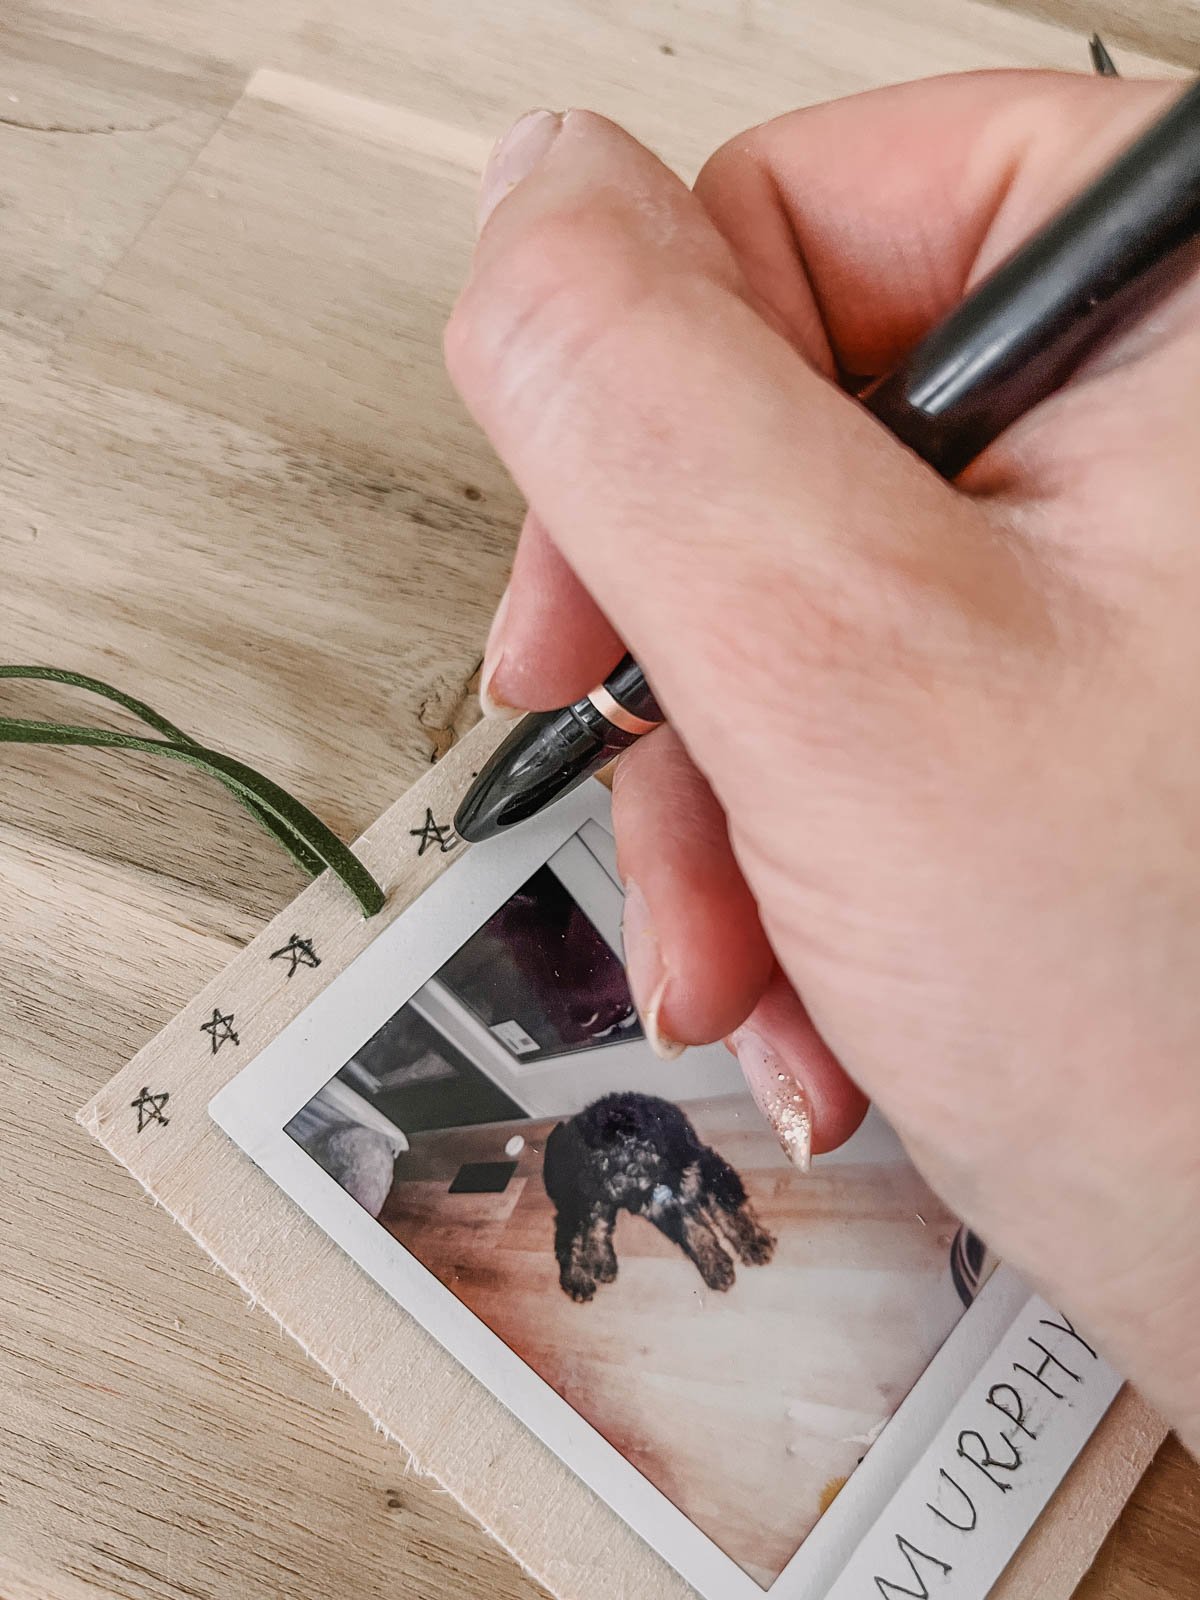
I decorated around the photos with a fine tip marker. You could go super simple like the vintage polaroid one (my neighbour snapped this of us- how fun!) or more kitschy like I did on the kids ones.

Then they’re ready to hang!
These would make amazing gift tags too- don’t you think?! Just write your note on the back of the Photo Ornament and tie it onto your gift!
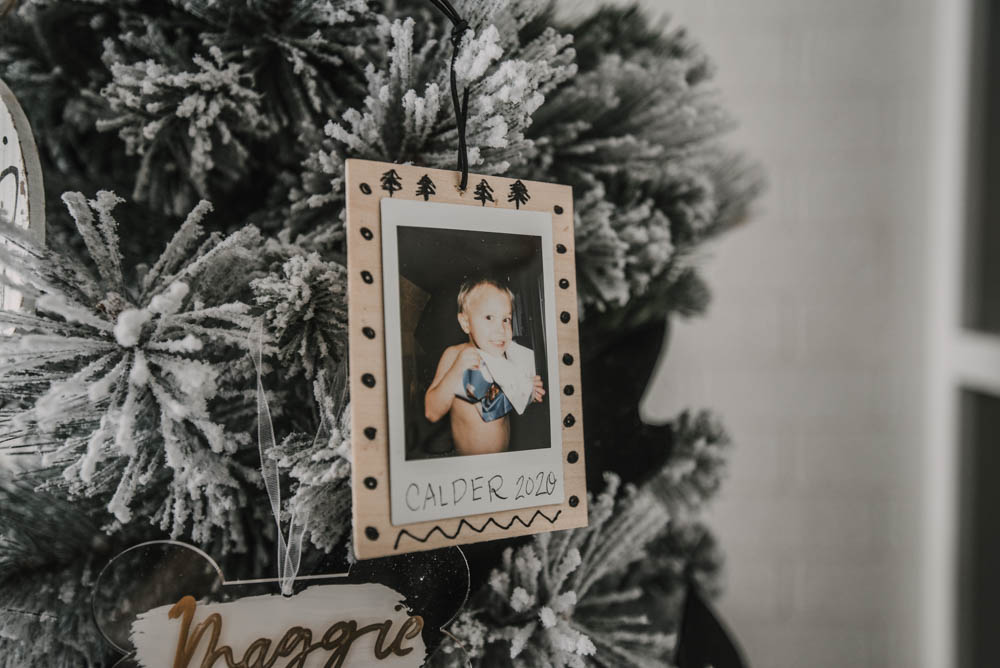
As always, if you take on these DIY photo ornaments… you know I would love to see them in action! Tag me on social @colleenpastoor or email me colleen(at)lemonthistle.com!
This is one of several ornaments I made for my office black and white tree… You can see all of the ornaments right here!
LIKE IT? PIN IT!


HERE’S SOME MORE DIY ORNAMENTS TO CRAFT!





 Hygge Free Printable Handlettering Practice Page
Leave a Reply