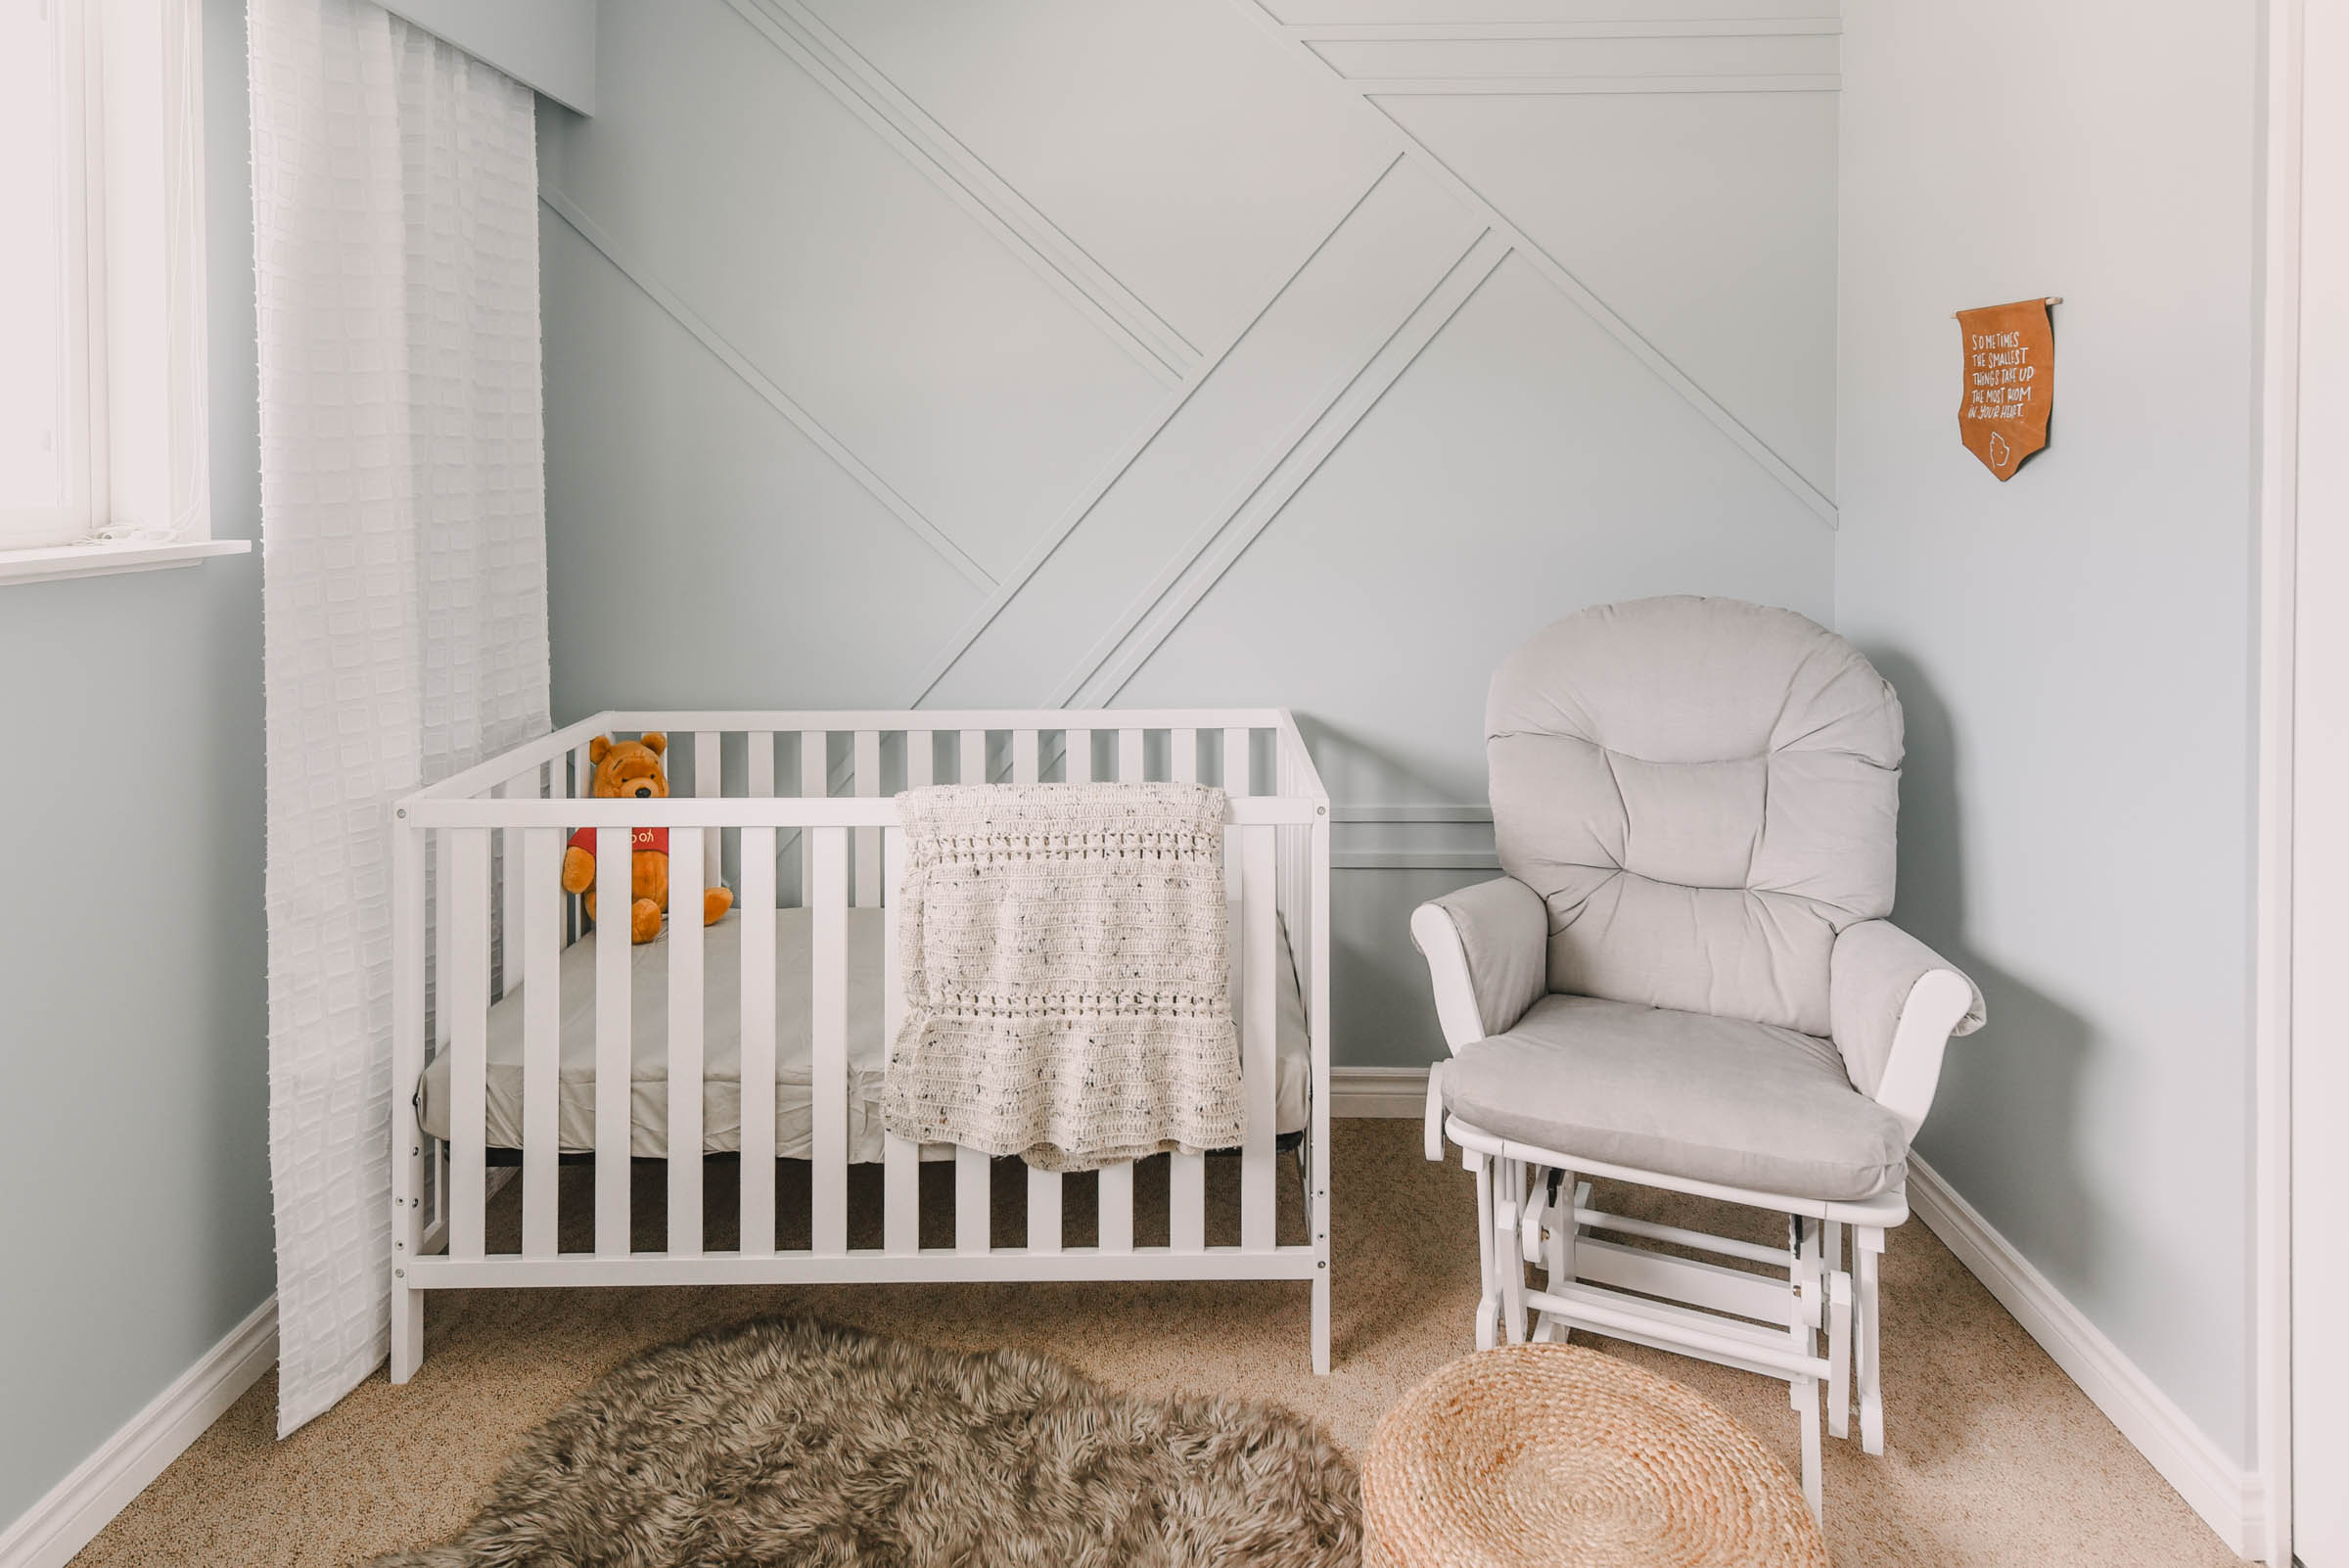
Sharing this modern blue gender neutral nursery with a Winnie the Pooh Theme, geometric moulding wall and lots of DIY Decor.
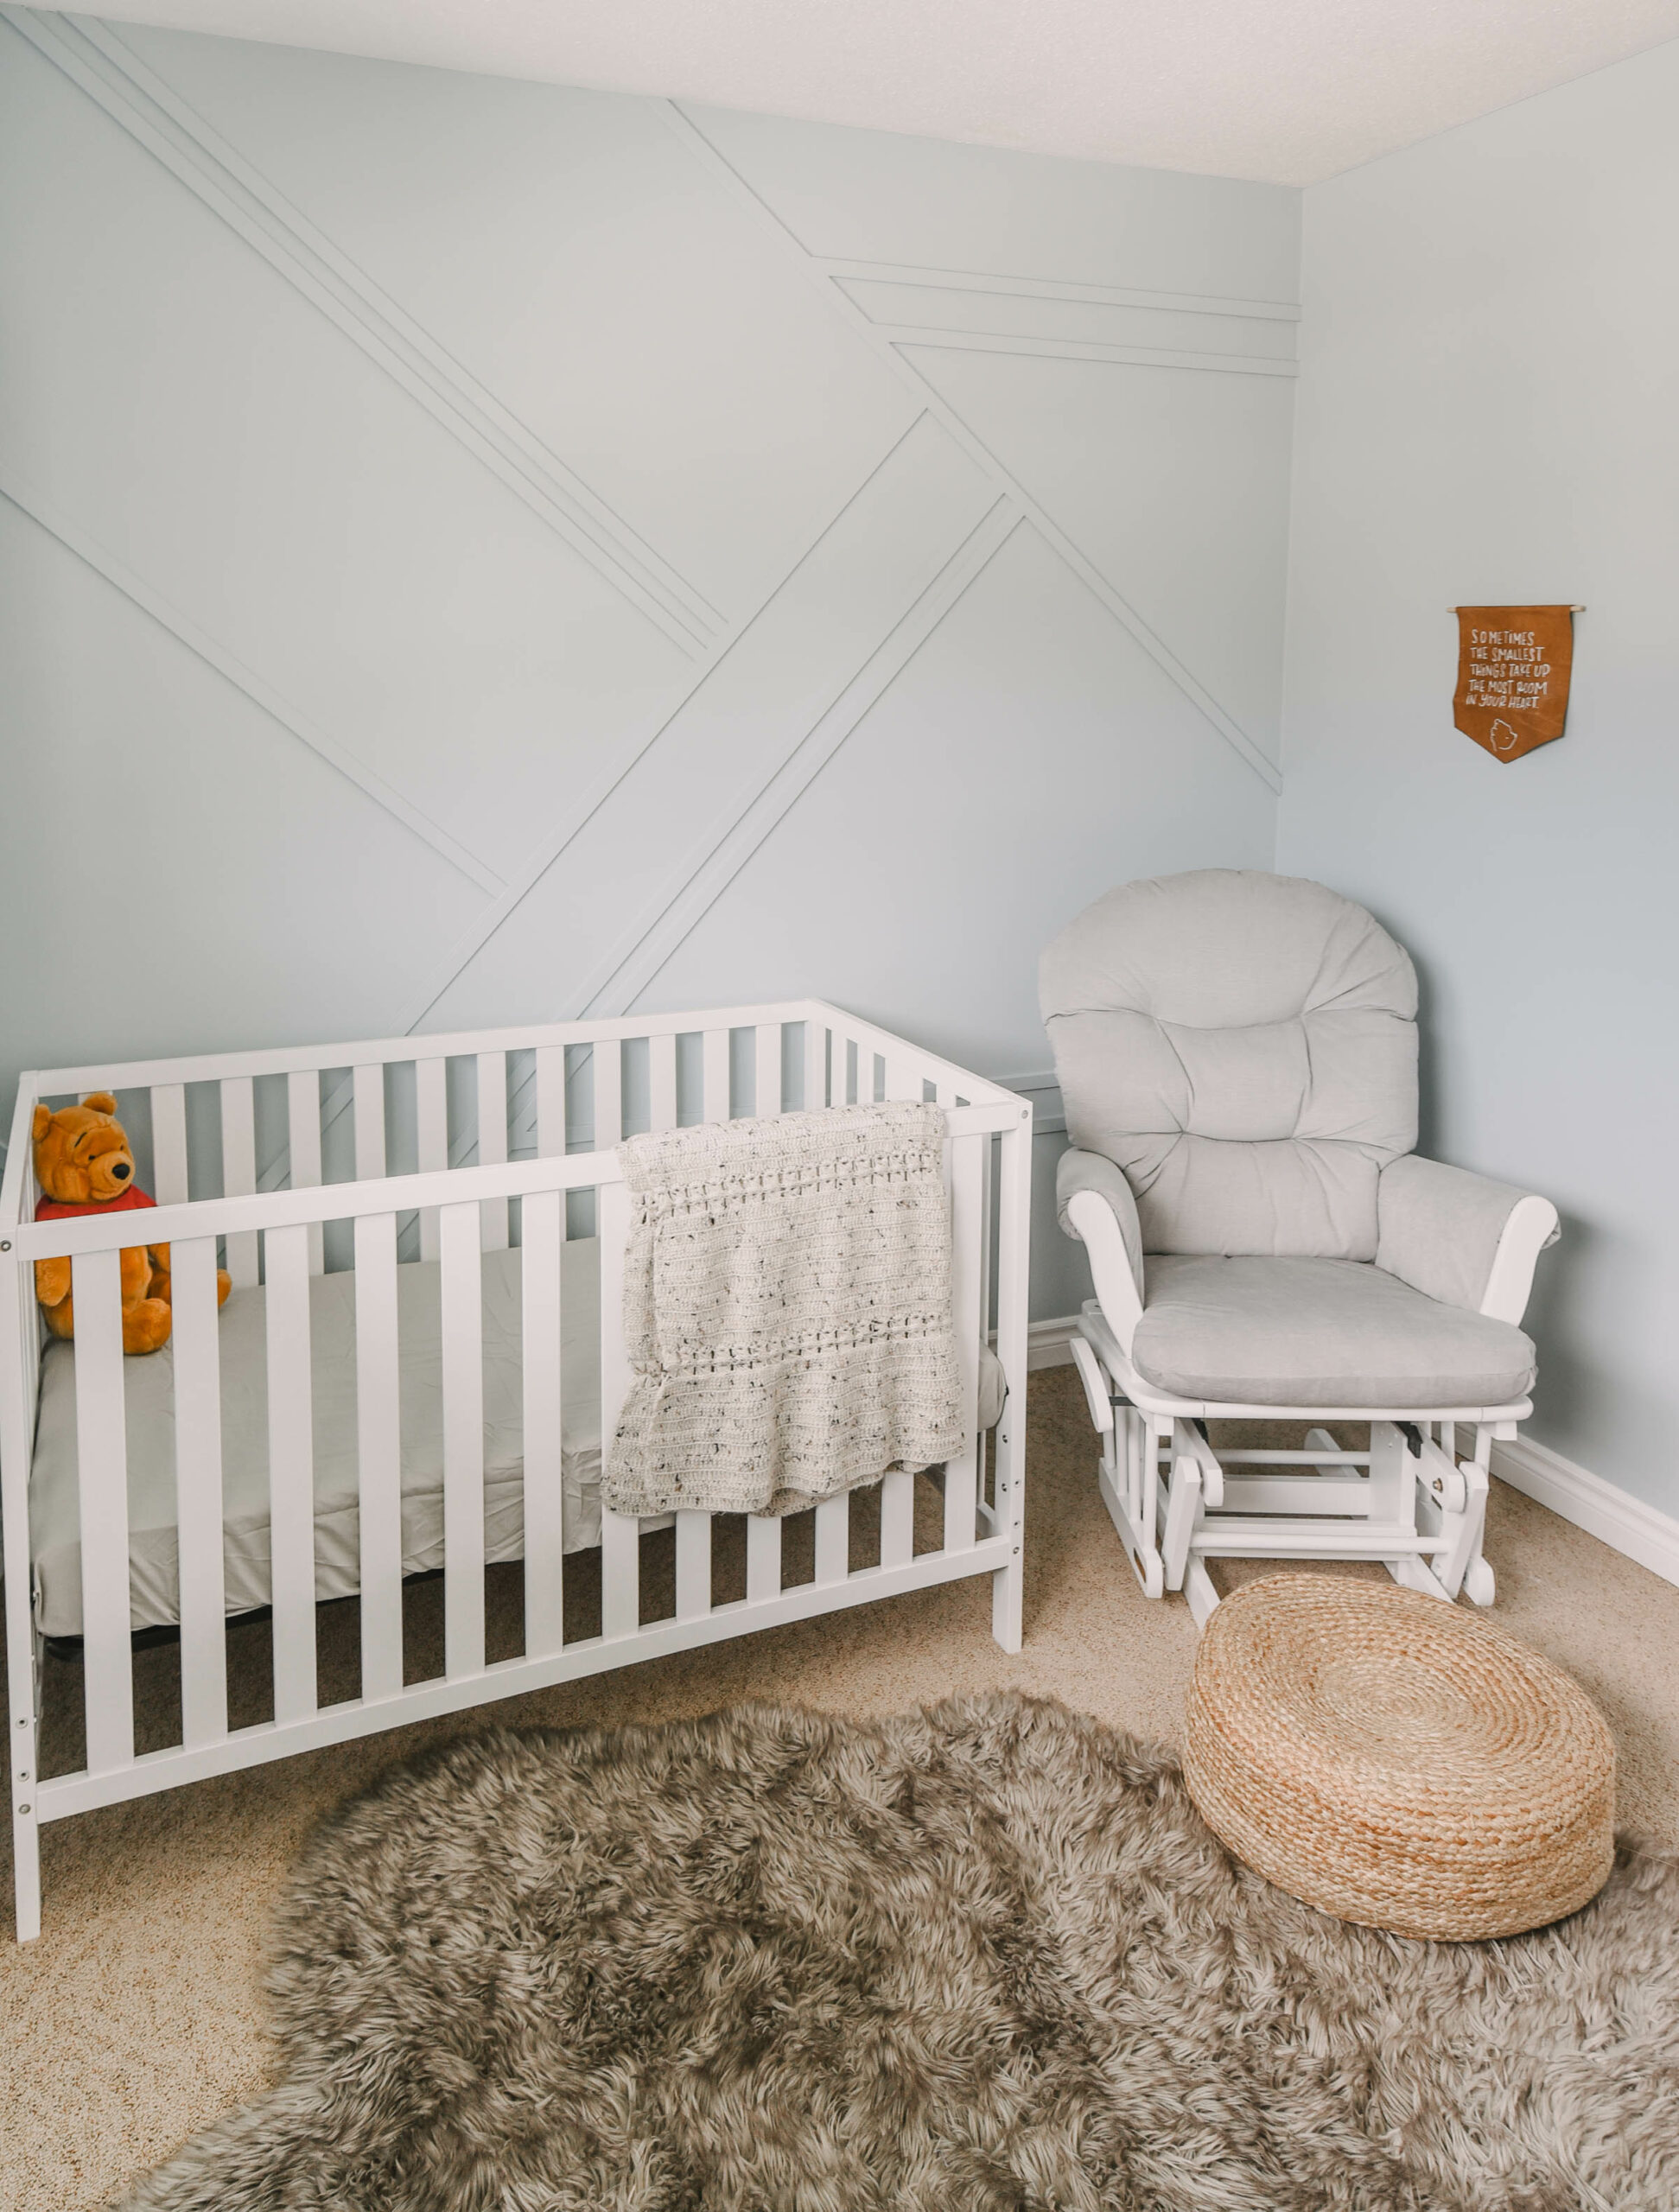
Today I’m so excited to be sharing this modern gender neutral nursery with you… with a fun Winnie the Pooh Theme! And no… it’s not our nursery! 4 kids is enough for us, but it seems like all of my friends are growing families right now (hurray for baby holding without the sleepless nights!).
This nursery belongs to one of my friends who’s pregnant with their first babe and who’s also in the middle of a larger renovation. As someone who has lived through many renovations during my pregnancies- I know that painting and decorating a baby room is often one of the easiest things to push down the list. After all, baby won’t know the difference ;)
I’m grateful to Wagner Spray Tech for partnering with me on this room makeover to bring this nursery to life with a fresh coat of paint and fun moulding wall. Did I mention a theme too?!
In this video I’ll be sharing the before and after of the modern nursery makeover, the time lapse of painting of this nursery, and a couple DIY wall decor tutorials to fit with that Winnie the Pooh theme!
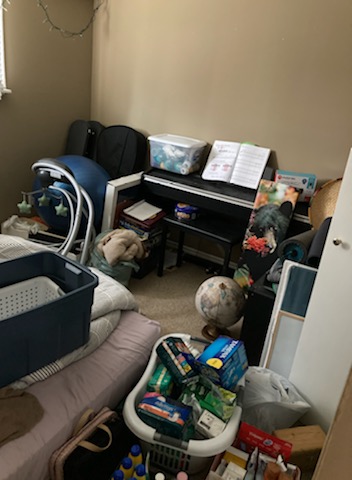
Let’s take a look at the ‘before’ of the space. Like most spare rooms in the middle of a renovation, it had become a bit of a storage room and anything but calm and relaxing to bring babe home to. Even after it was cleared out, it’s very tan… and far from baby-ish.
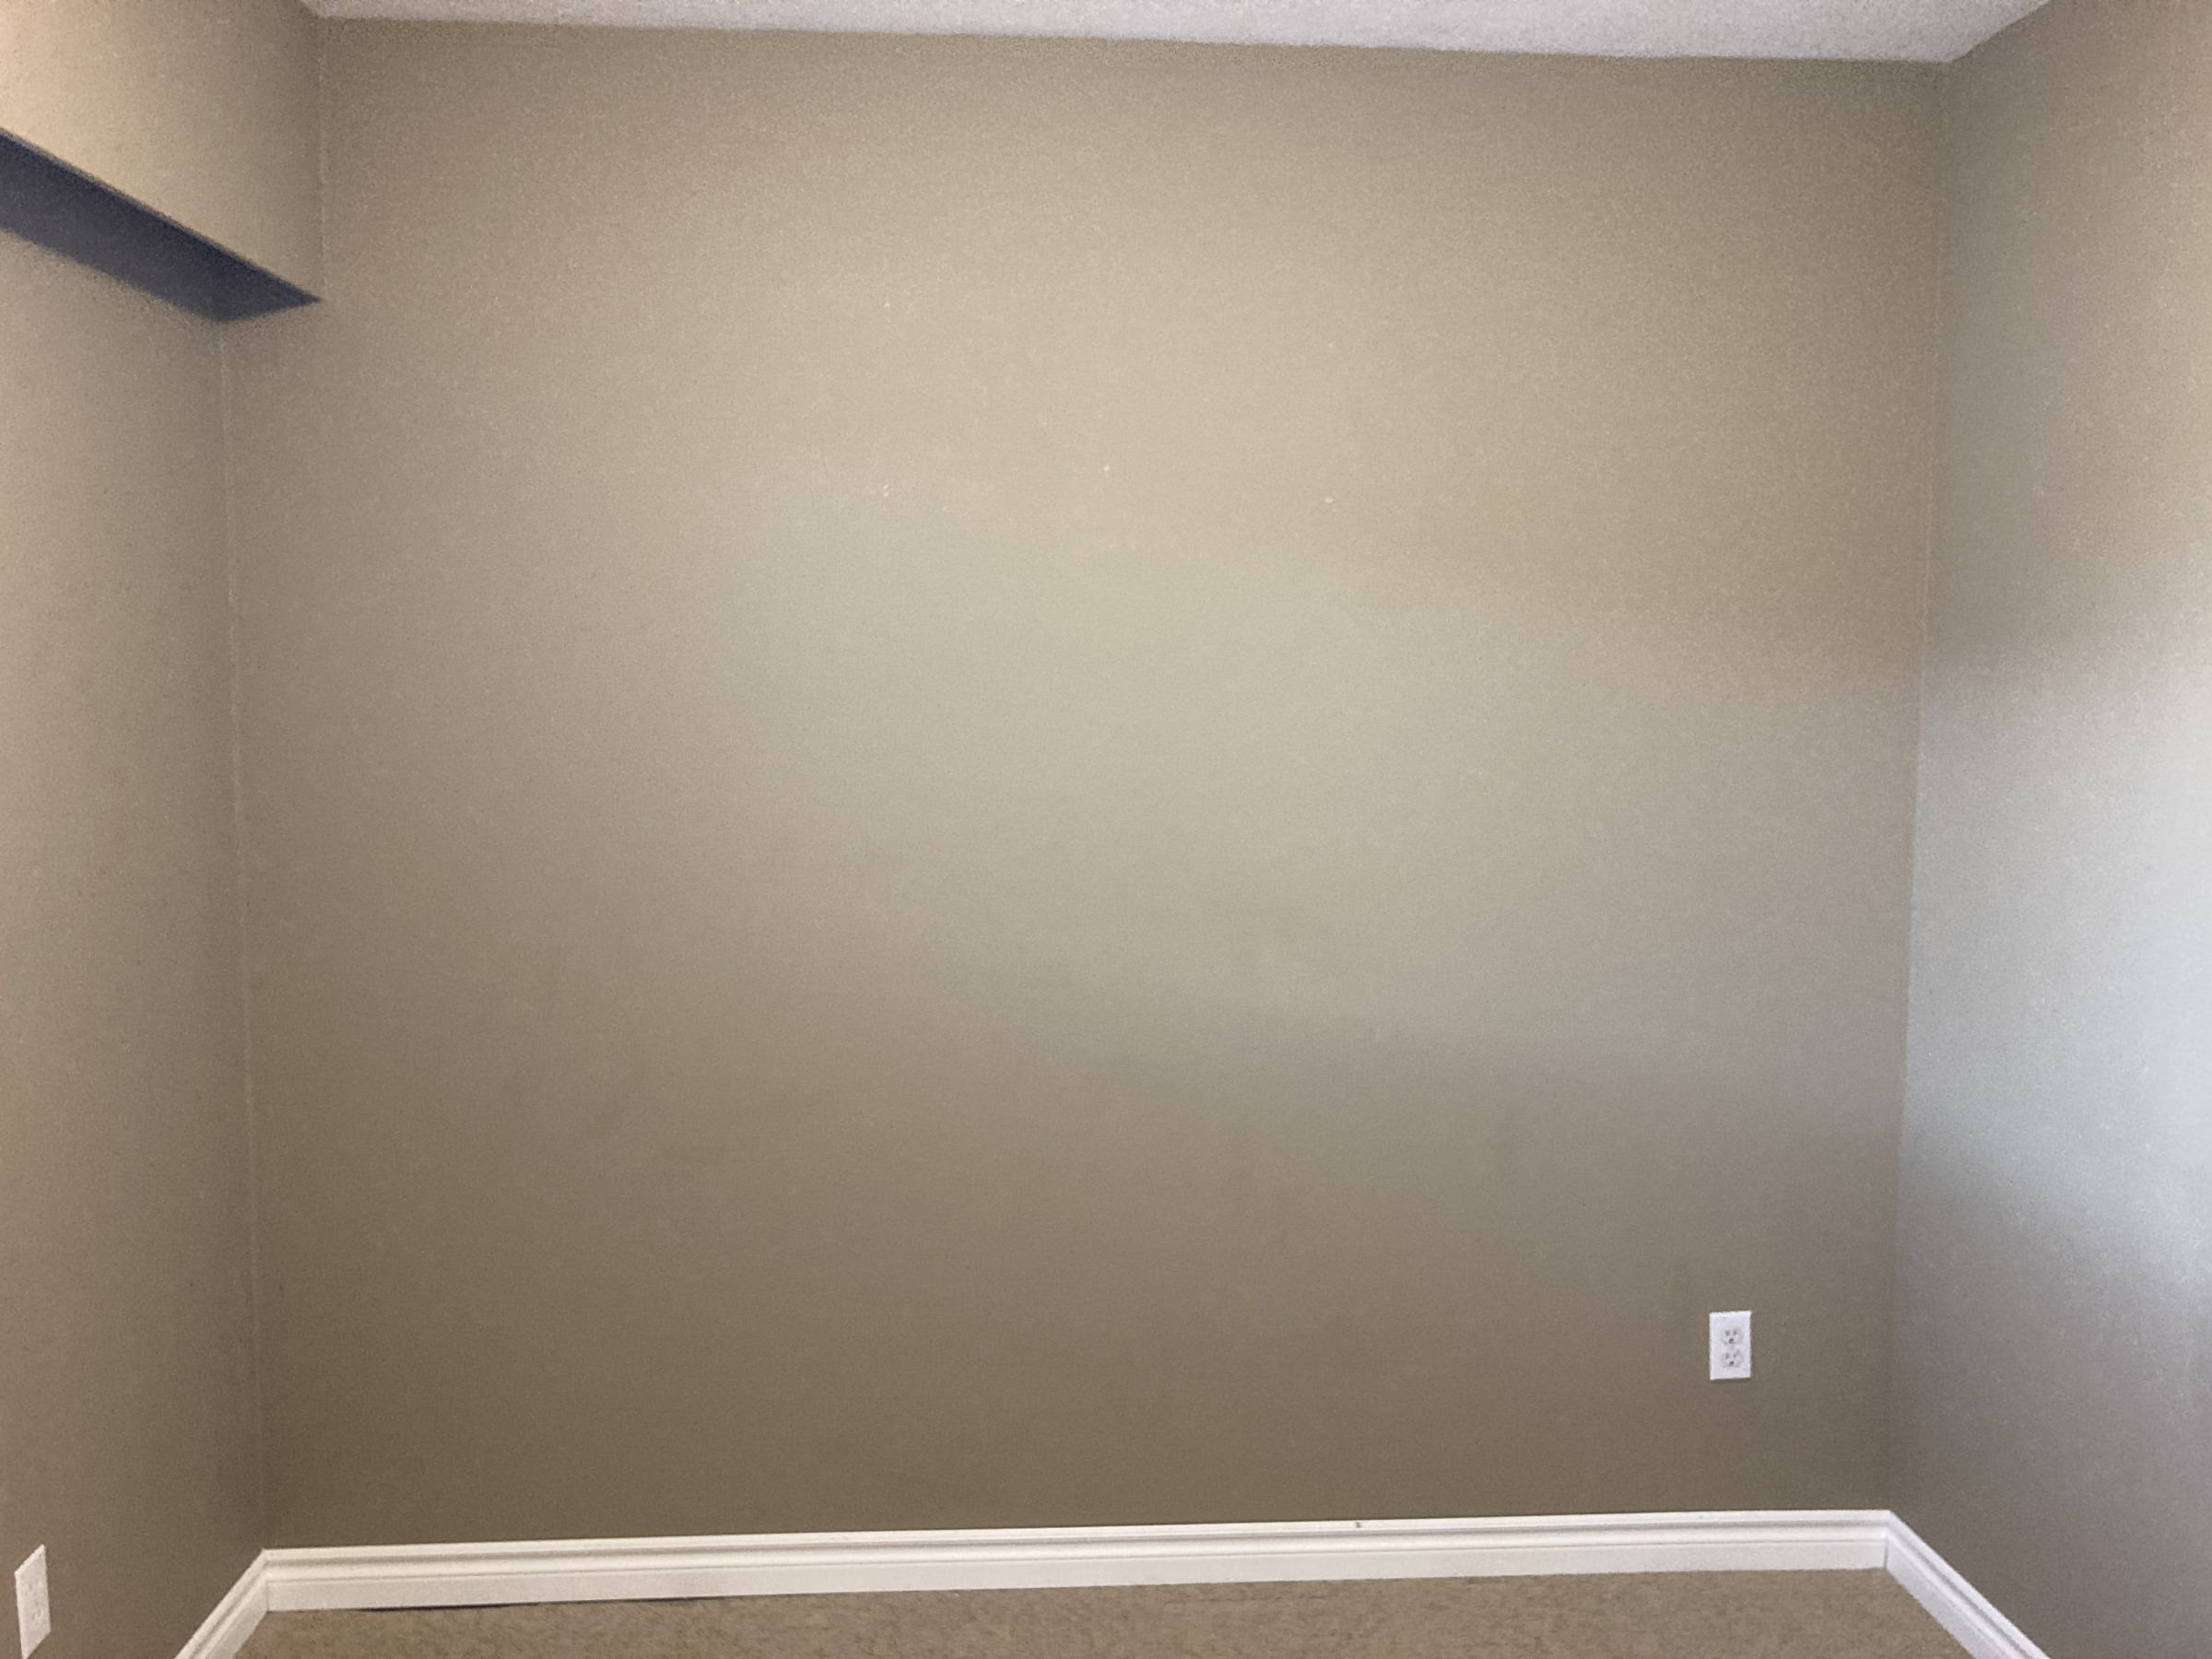
When we started chatting about this project, we were really only looking to paint this room. But… while we were discussing different colours to paint the room, we agreed a moulding wall would make the space even more fun. We loosely followed this tutorial from my friend Lindi and I was so impressed with how quickly it came together! Here’s what it looked like after we installed the moulding wall.
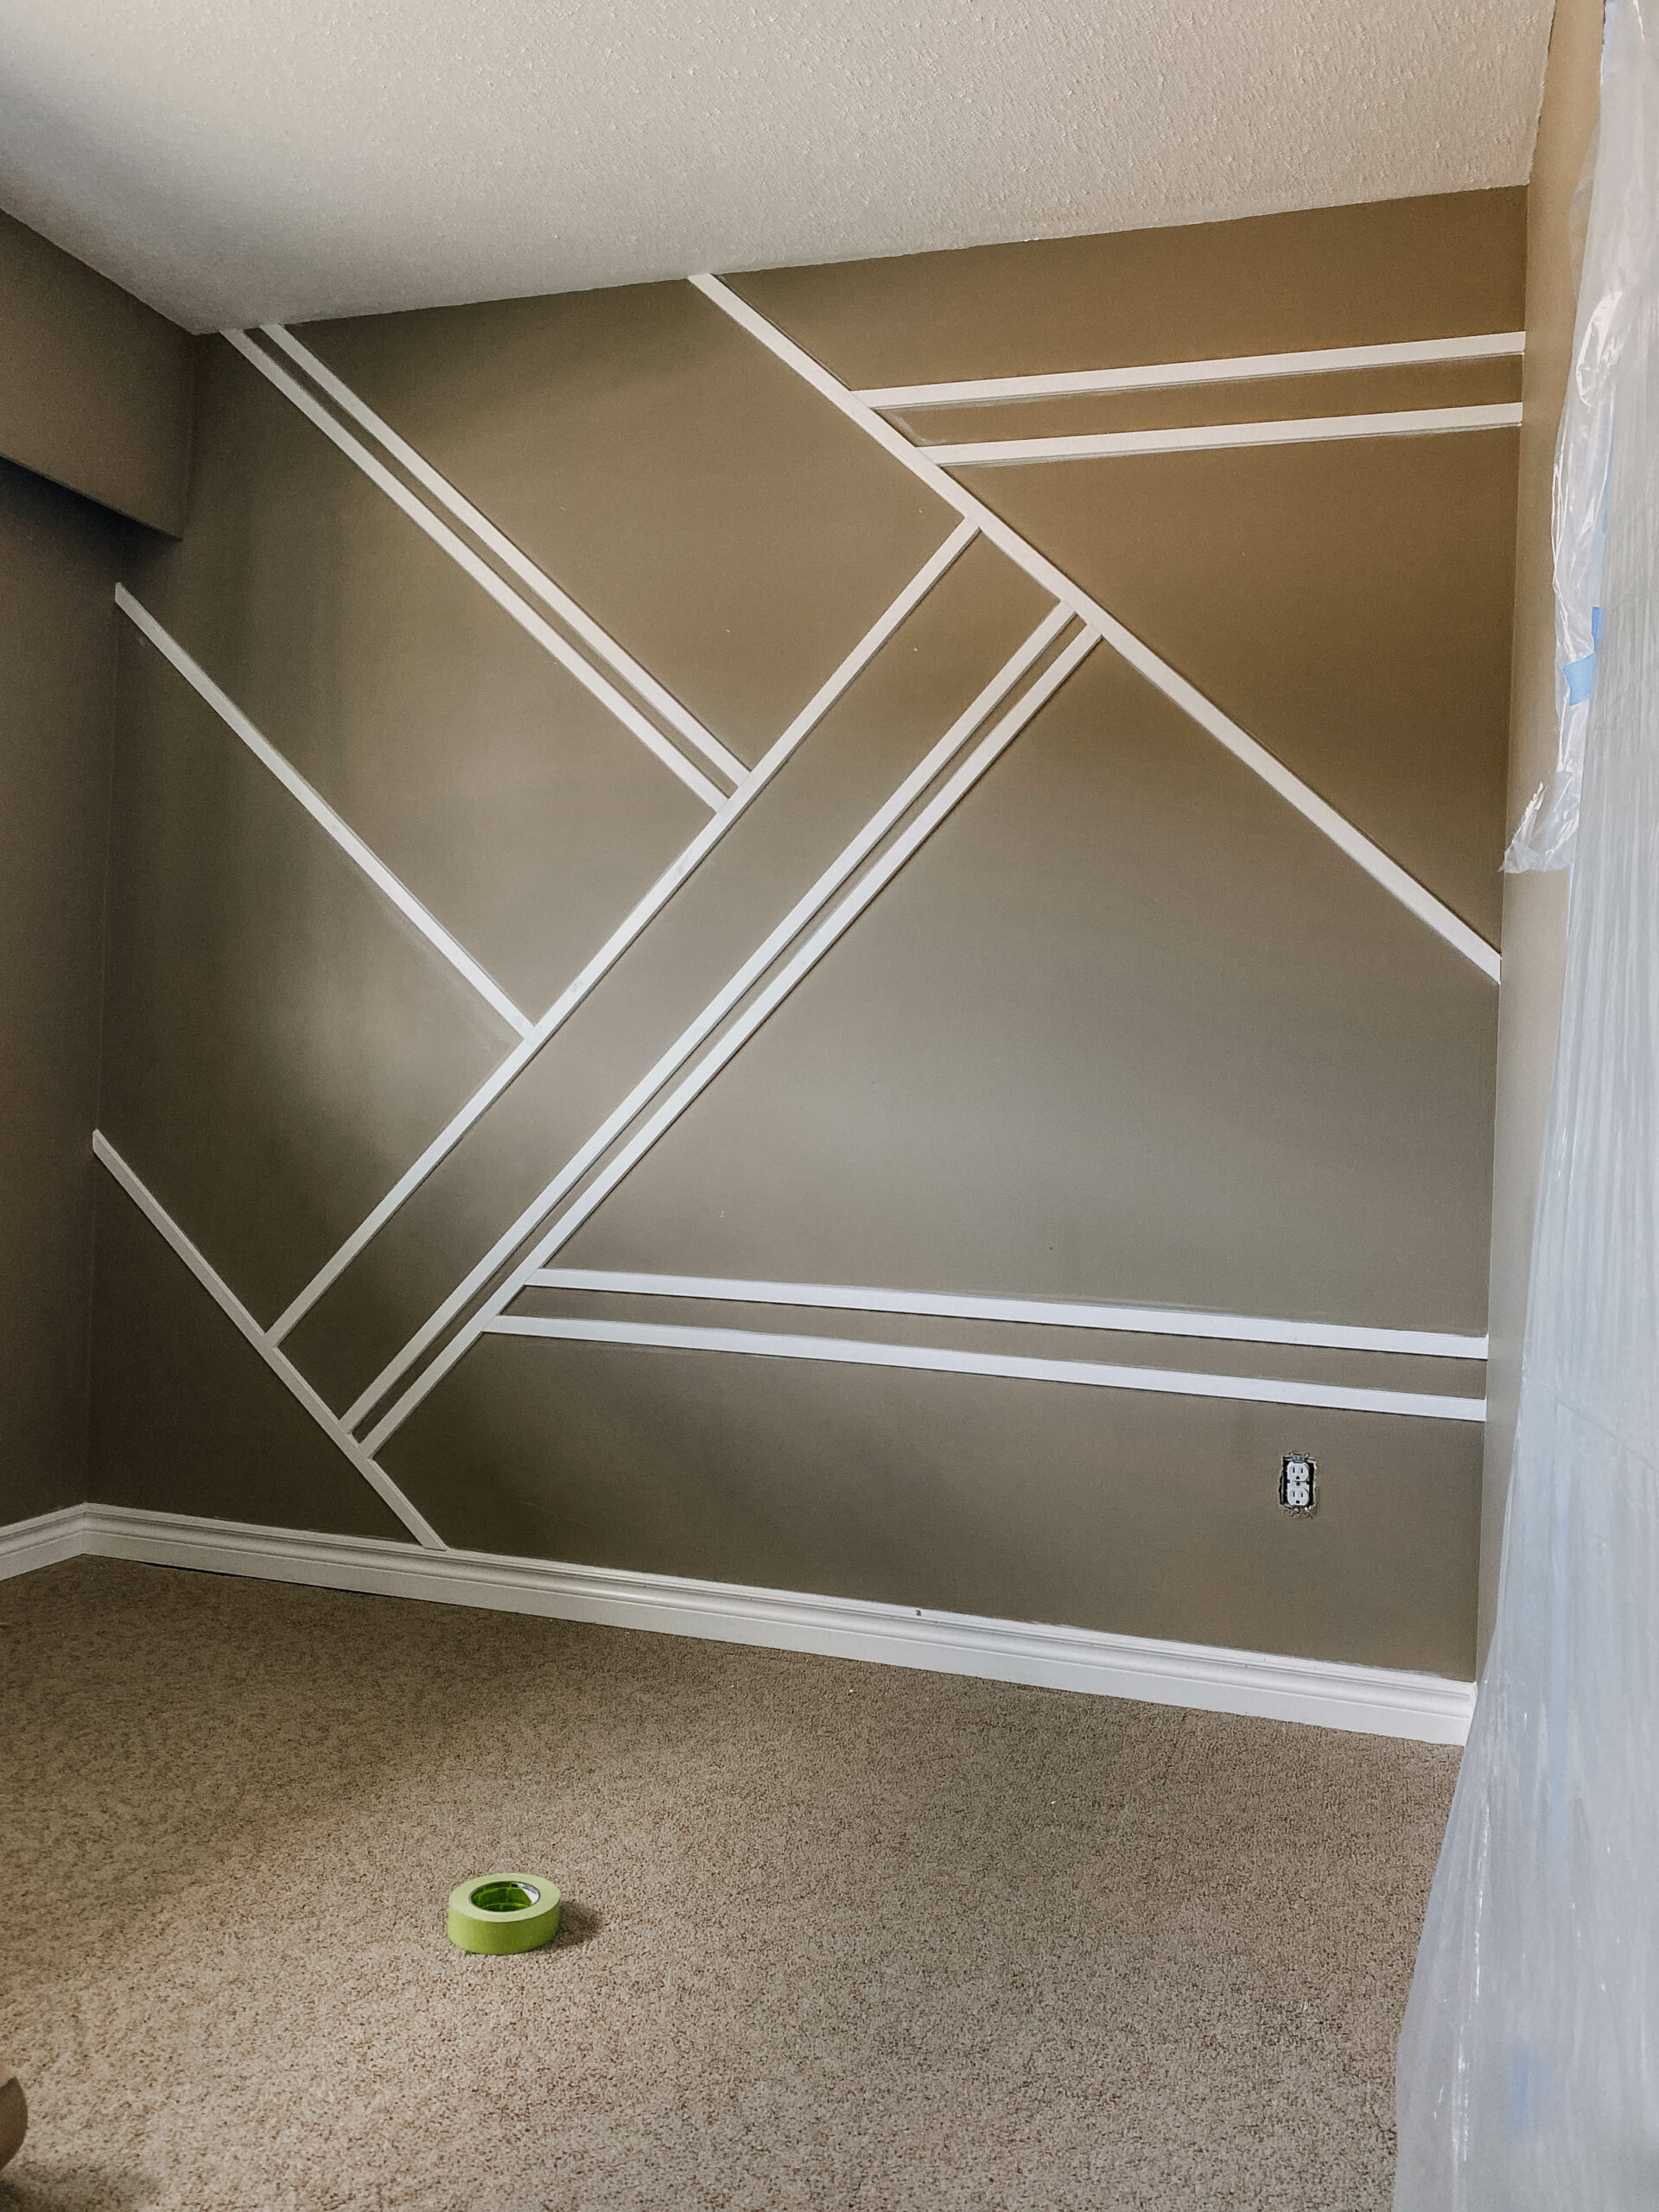
After we installed the wall, we filled all the nail holes and caulked all the edges of the moulding. This helps it paint up so smooth and beautifully. We started mid morning and managed to get the moulding wall designed, installed, filled, the room masked and one coat painted all in one day.
I mentioned that Wagner Spray Tech is sponsoring this post, but after having painted moulding walls with a brush and roller and with a sprayer… I don’t think I’ll ever paint a moulding wall with a brush and roller again. It was honestly so much faster, easier and the coverage was awesome for just two coats. The painting went SO fast without having to switch back and forth between a brush and roller to get all the nooks in that wall. Plus- we only used 1 can of paint for the whole room.
While you don’t need to mask the entire floor/ ceiling, I find it easier to just do the whole thing so I don’t need to think about the risk of over spray. And I definitely did tip my can of paint in the middle of the room and the flooring paper kept the carpet perfectly clean! For masking, I like to use flooring paper for the floors and painters tape with plastic sheeting for the windows, doorways and ceiling. This is all found in the painting section at your hardware store.
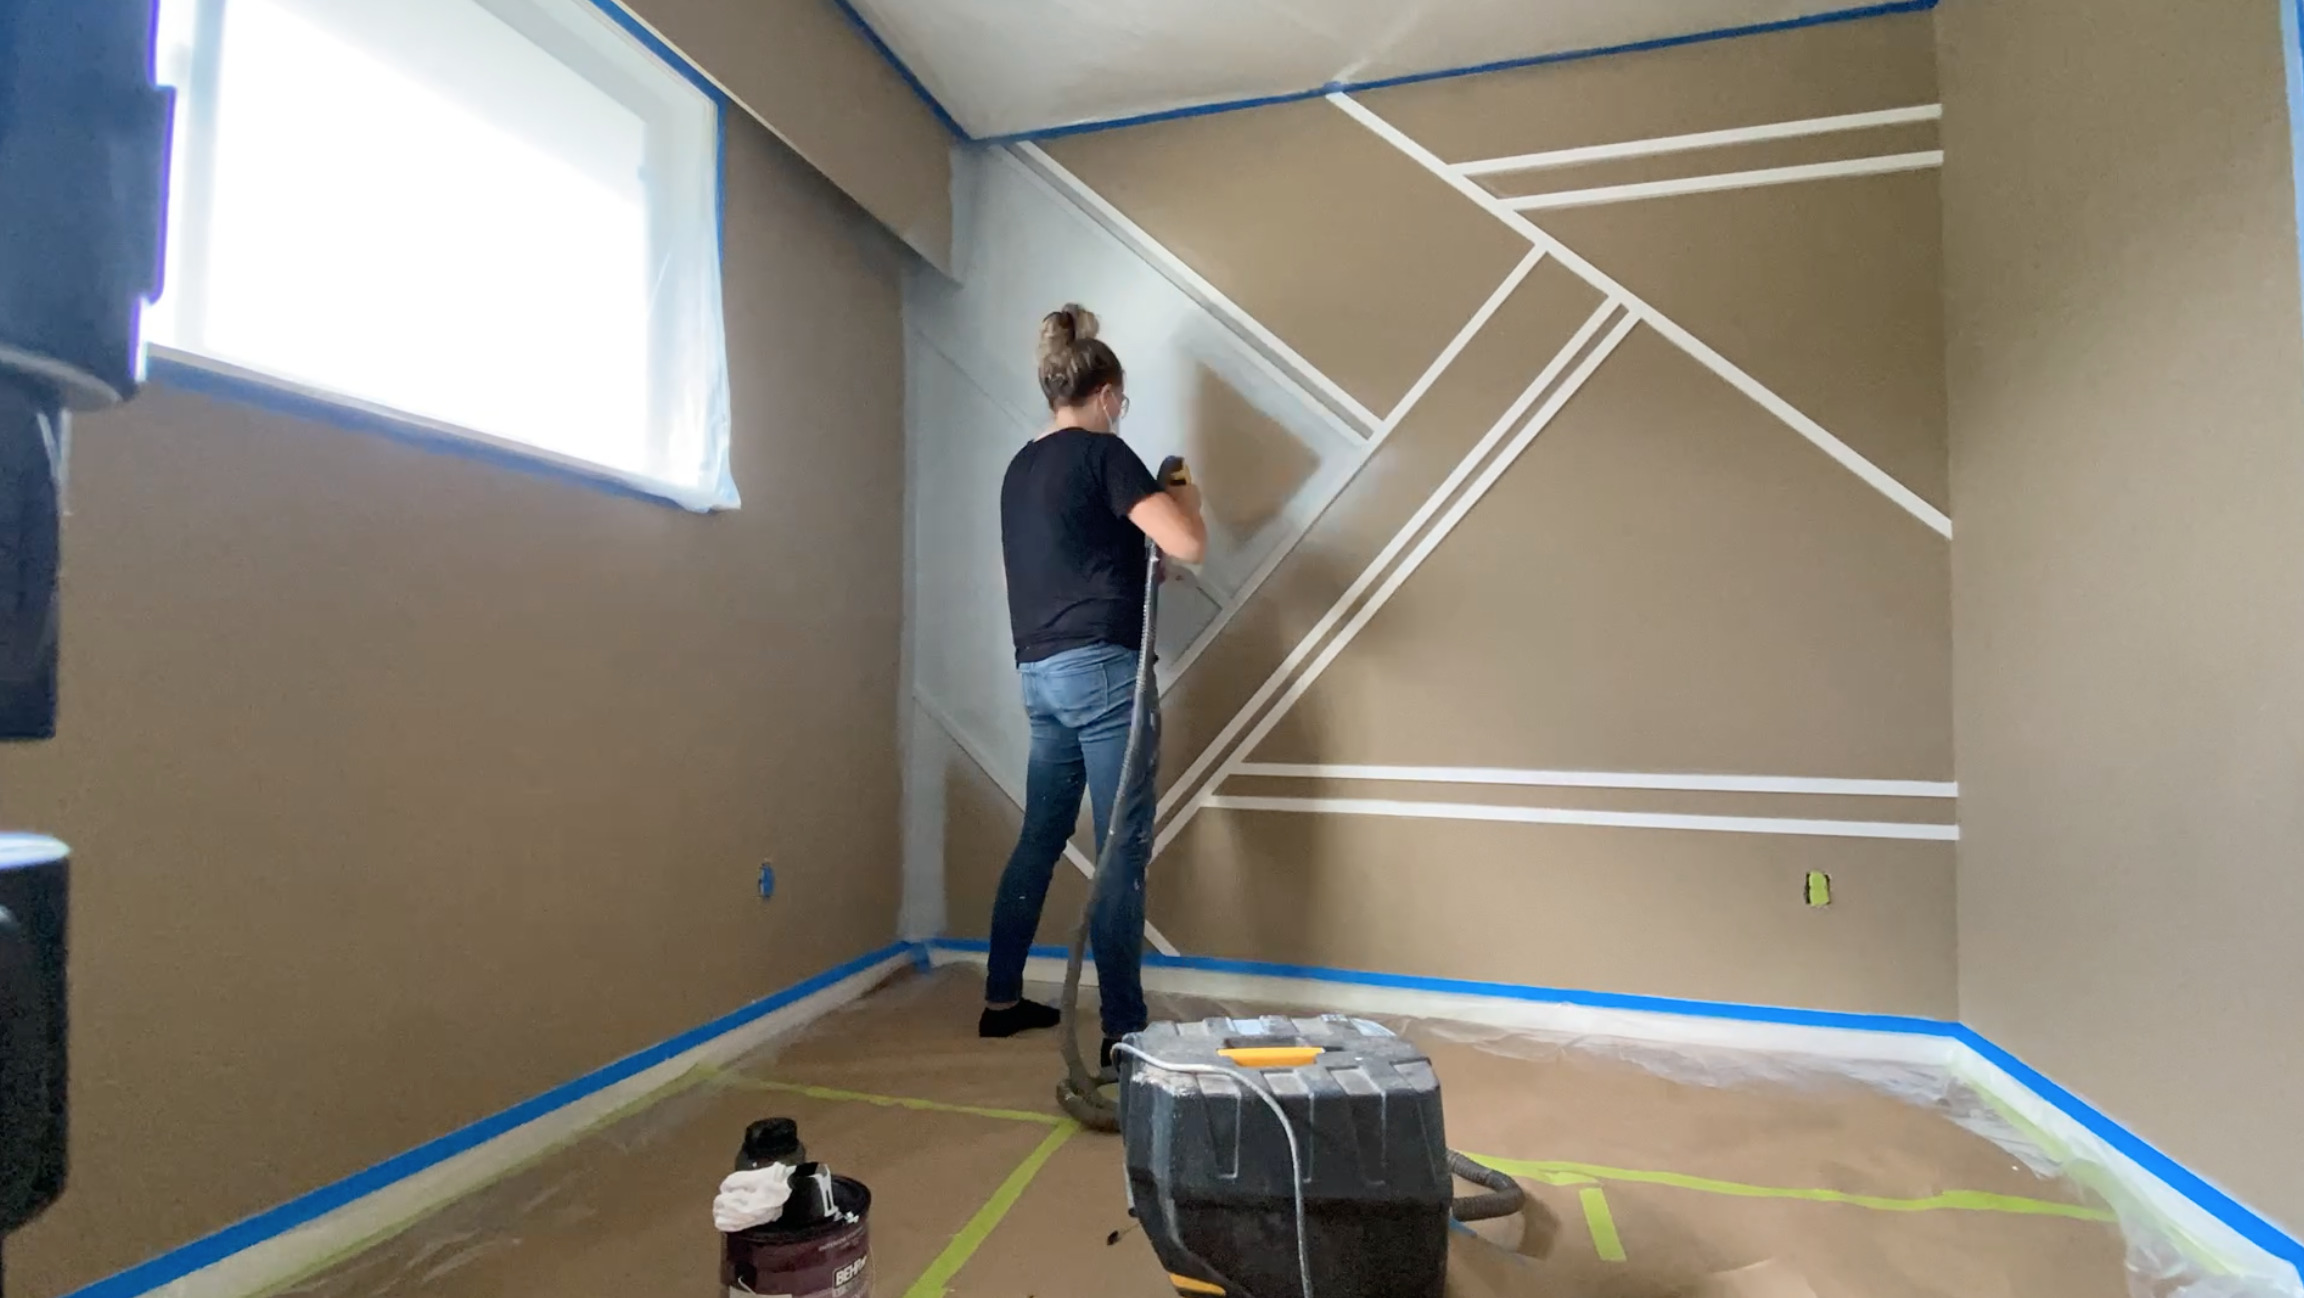
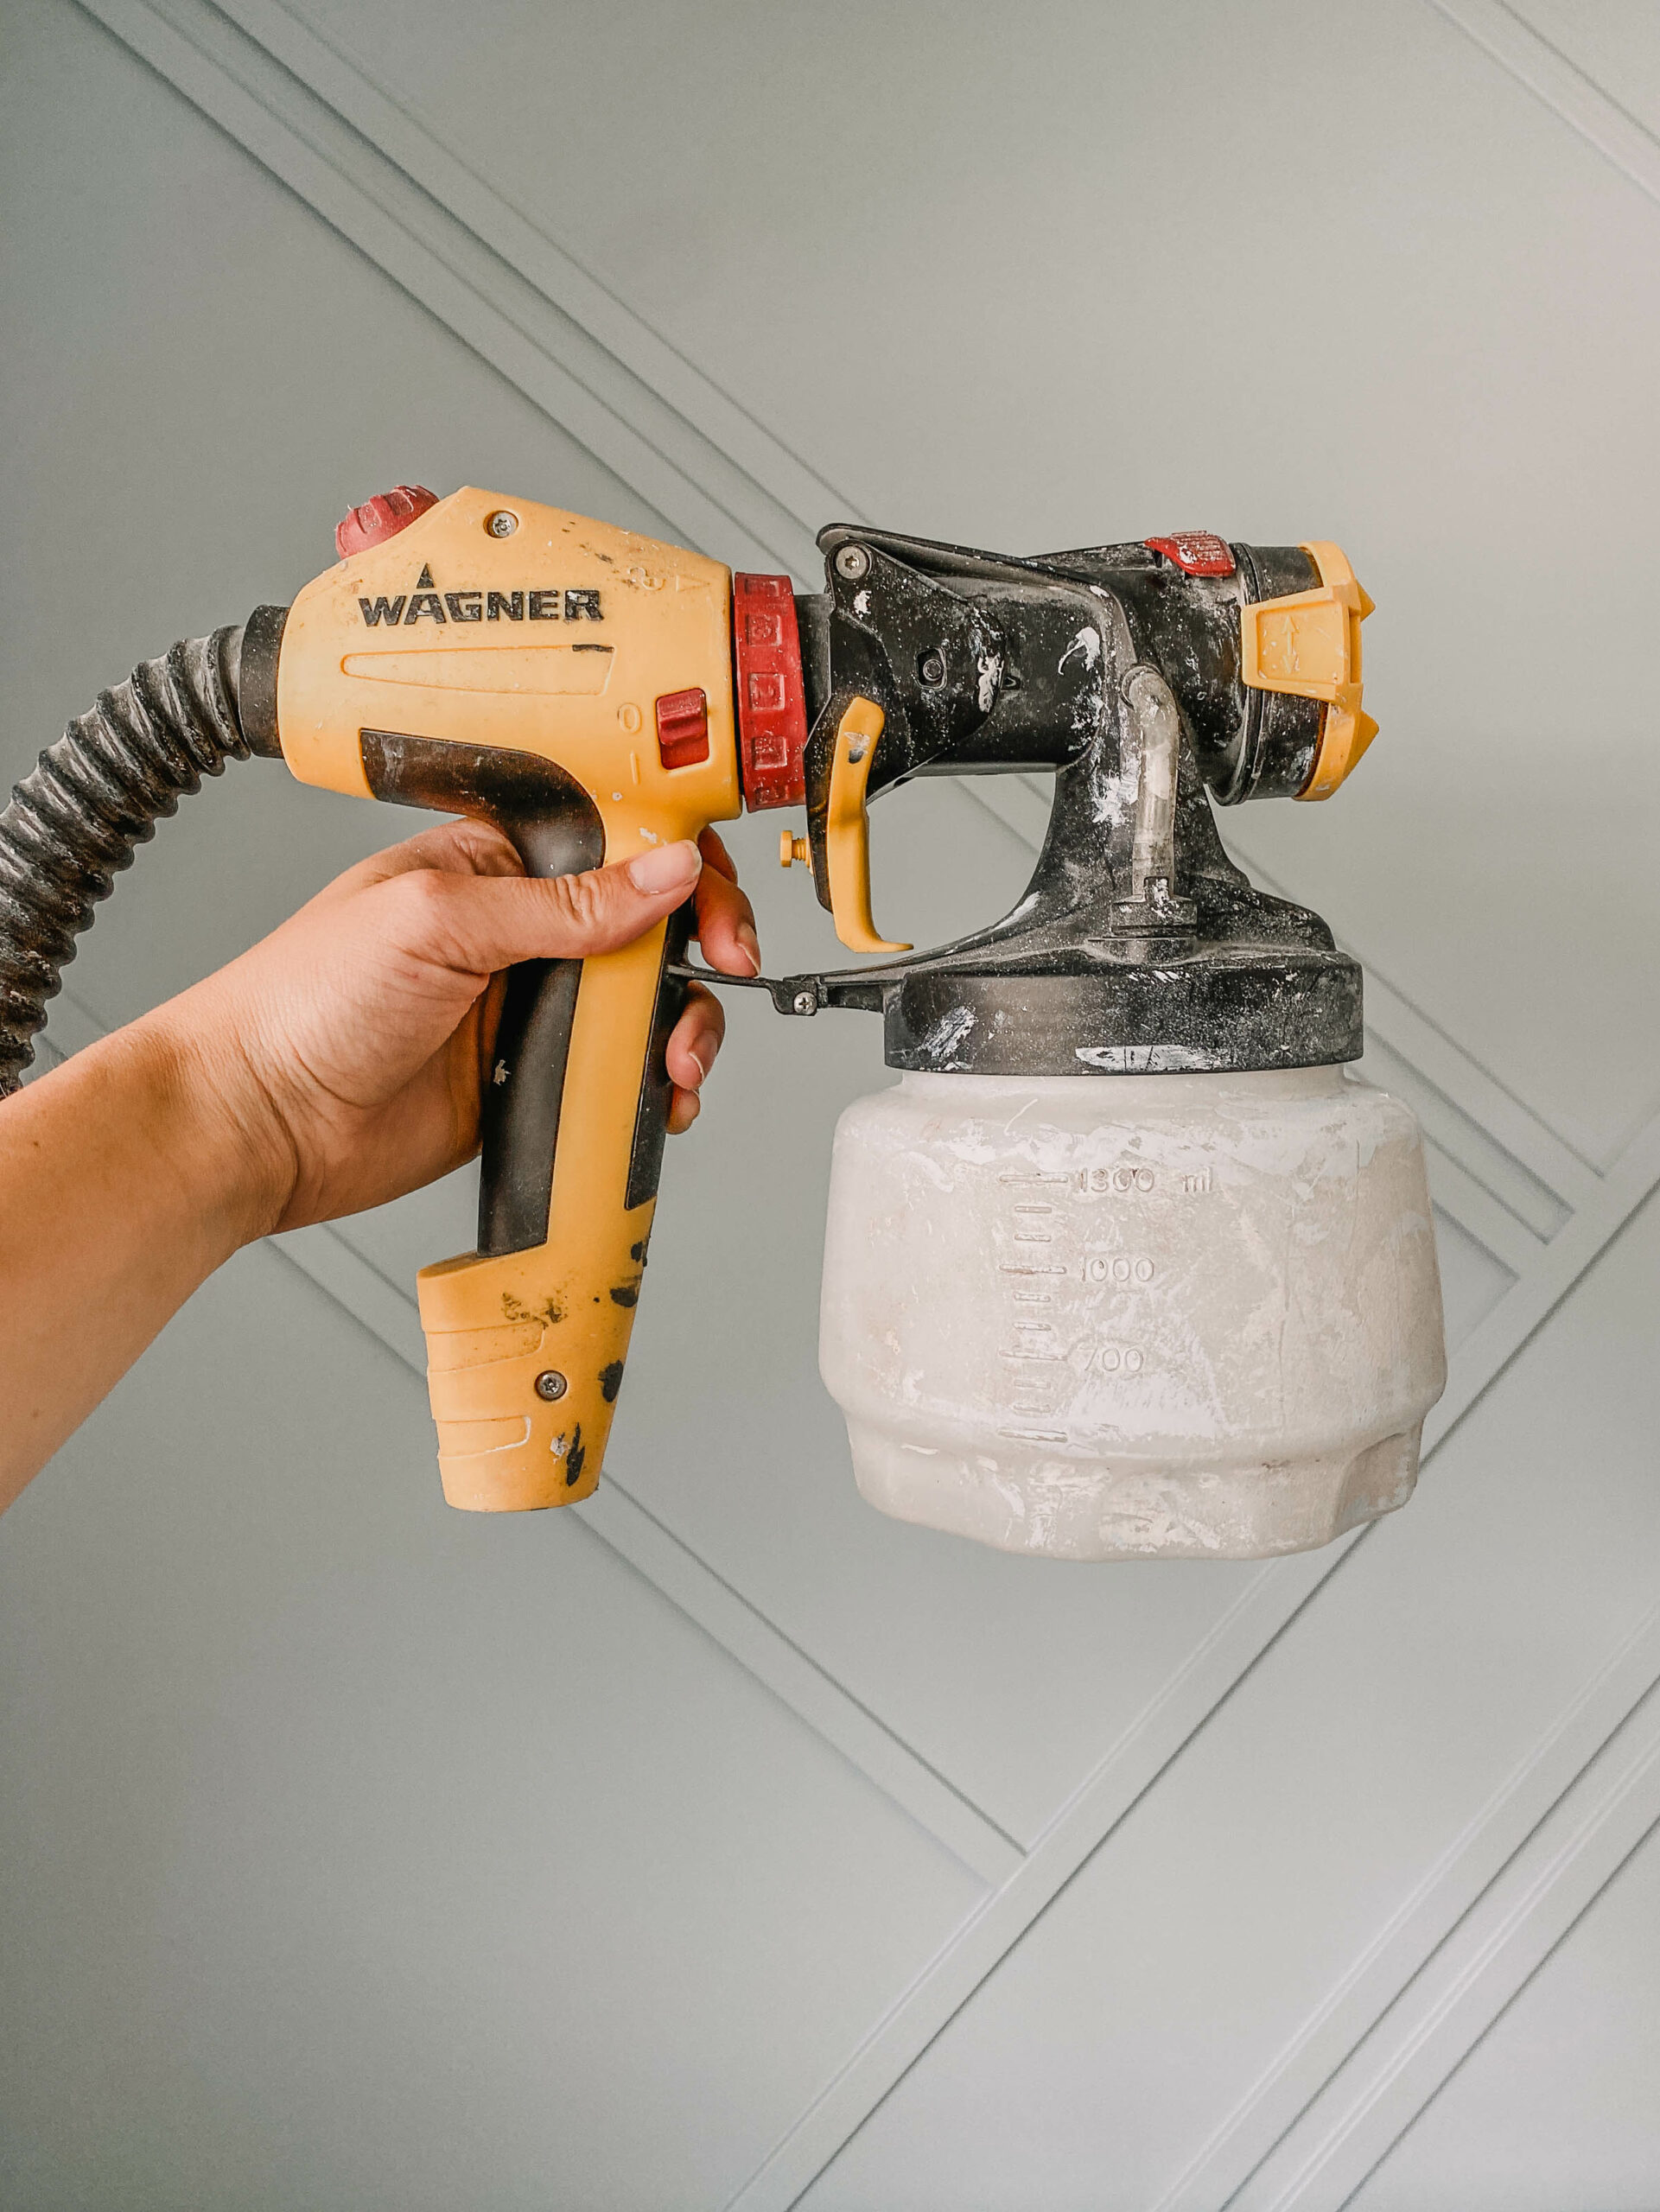
You can see this is the coverage after just one coat, it really is incredible. Here’s a few tips for using a paint sprayer and painting a moulding wall. First off- the paint sprayer you use does matter. I have used 6 different paint sprayers since I started DIY blogging 8 years ago and I really didn’t enjoy using a paint sprayer all that much for the longest time. I spent more time troubleshooting than I did painting but the Wagner FLEXiO series is so simple to use and clean- I get to actually spend my time painting and it’s a lot of fun to do.
My favourite sprayer is hands down the one I’m using here. It’s the Wagner FLEXiO 5000 and I use it for so many projects- even ones I don’t share here on the blog! It’s a hand held sprayer but unlike most- it has the motor in a separate unit with a long hose. This means the hand held part is a little lighter to carry around which for me is a big difference! I have a neck and back injury from years ago that flares up when I’m working on projects and this little bit lighter weight really helps me paint without so much pain.
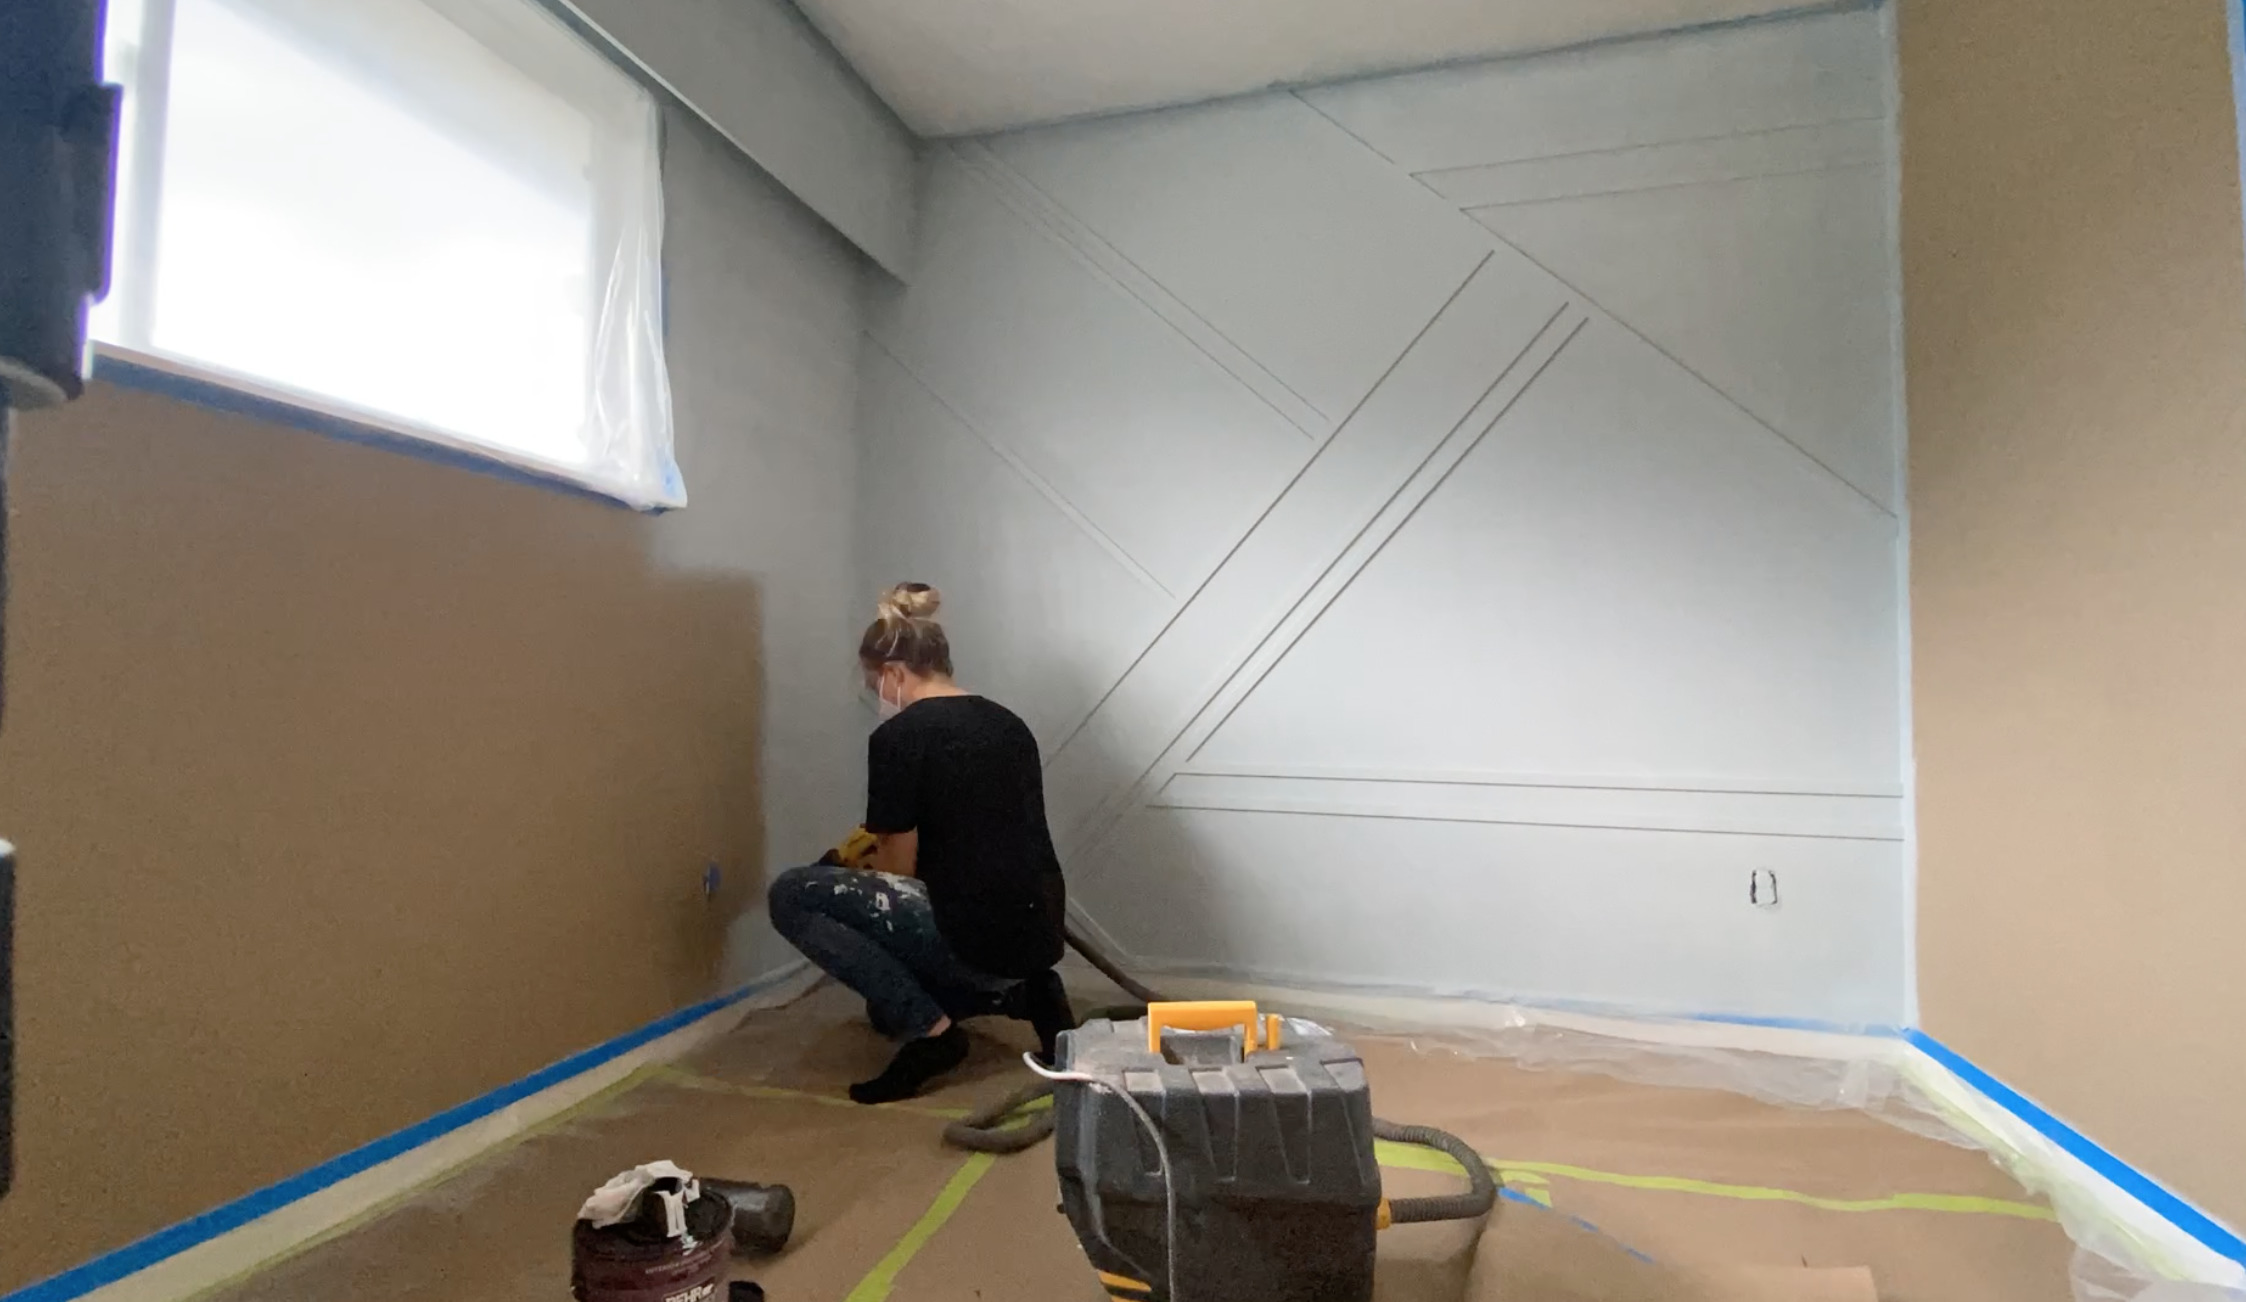
My most important tip is to test your spray pattern before you spray your walls. I know this seems like common sense but I get DIYers reaching out with paint sprayer issues so often and I always suggest this- and 90% of the time, they hadn’t done this before spraying their project. Testing your spray pattern on cardboard, scrap wood or on flooring paper, like I did in the video will help you get a smooth even coverage by the time you get to your actual project. And really, it takes only 3 minutes more. It’s worth it!
I like to start with my settings at the highest air pressure and a pretty low material flow (paint). I increase the paint flow little by little until I get the coverage I want with a beautifully smooth spray pattern.
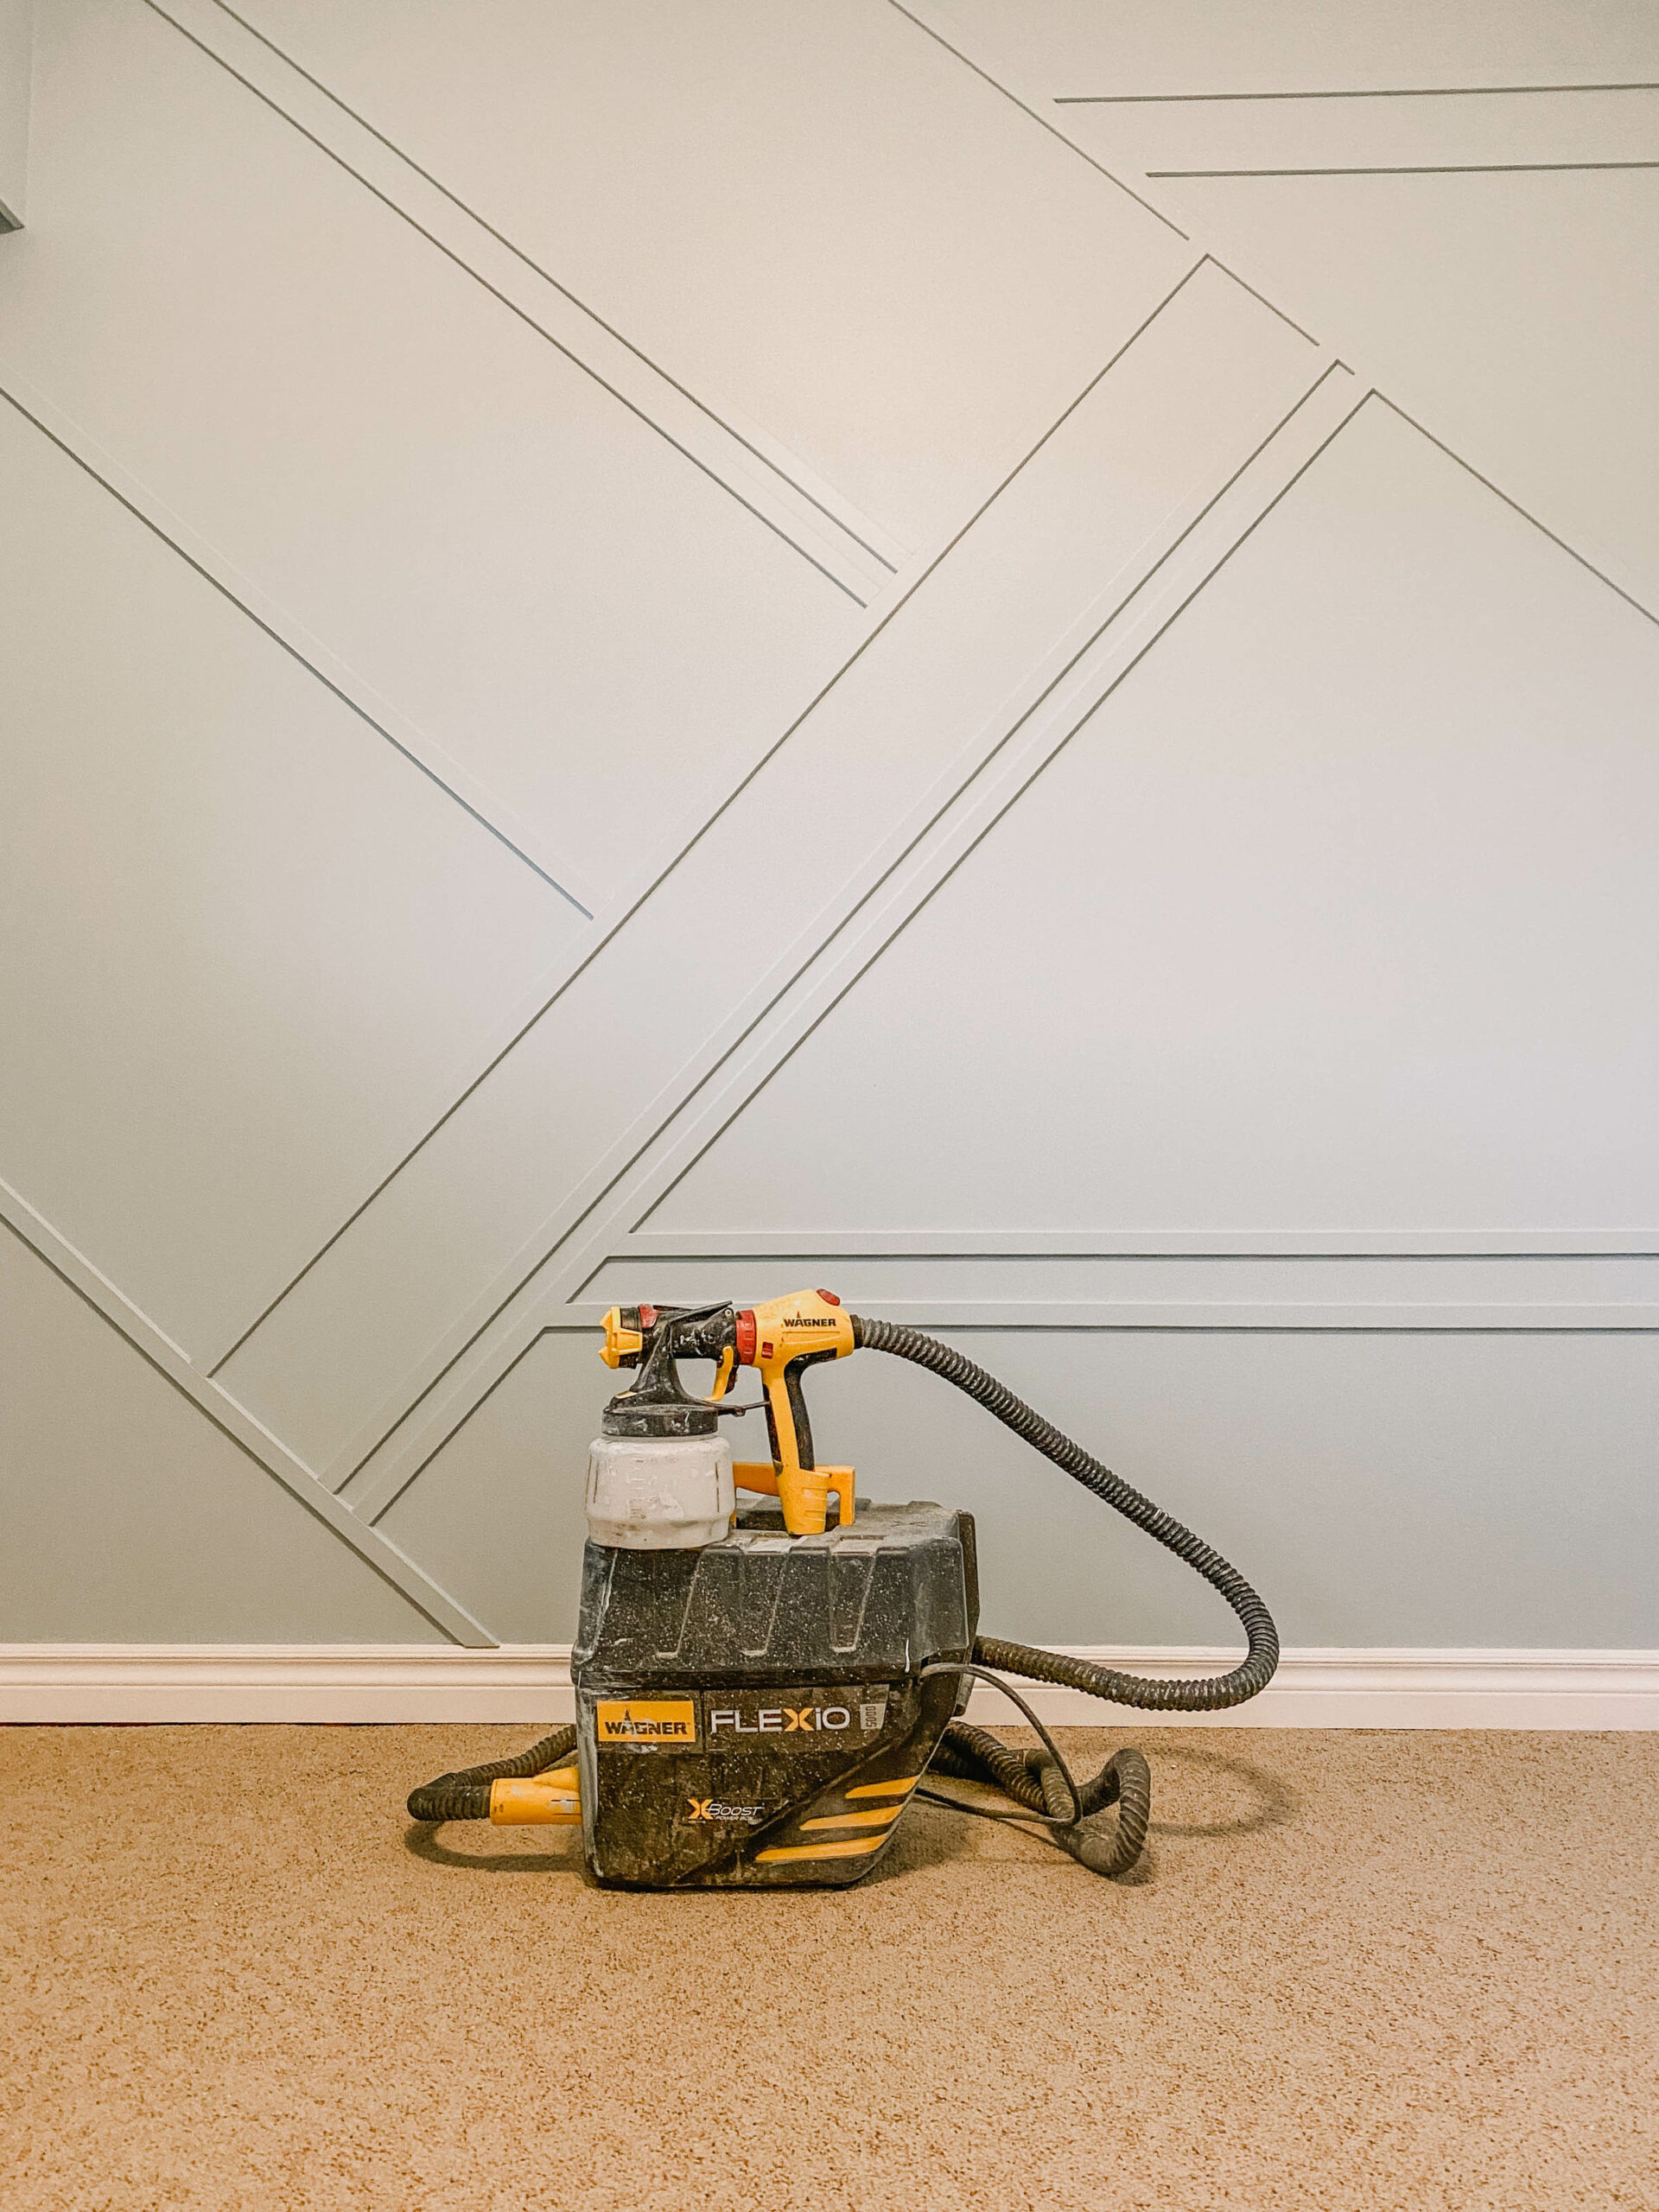
The other kind of common sense tip that I have that really is so important? Spray each face that you would like painted. You do need to aim, just like with spray paint. I have had so many messages with photos asking how to get the paint in the nooks (like on this moulding wall) and it’s really that simple. I like to spray the edges of each moulding piece first (angle your sprayer to aim at the edges!), then to fill in the middle of that section of the moulding wall spraying straight on.
Last tip! Keep that paint sprayer clean! This is SO important if you want to have more than one good project out of your sprayer. Take the extra time to clean it well and use a little straw brush to get into all the little parts and get your sprayer nice and clean. And if when you’re painting, you find it starts to get a little patchy- stop the sprayer and wipe the nozzle clean- sometimes paint droplets dry on there and can slow down your flow or cause spattering.
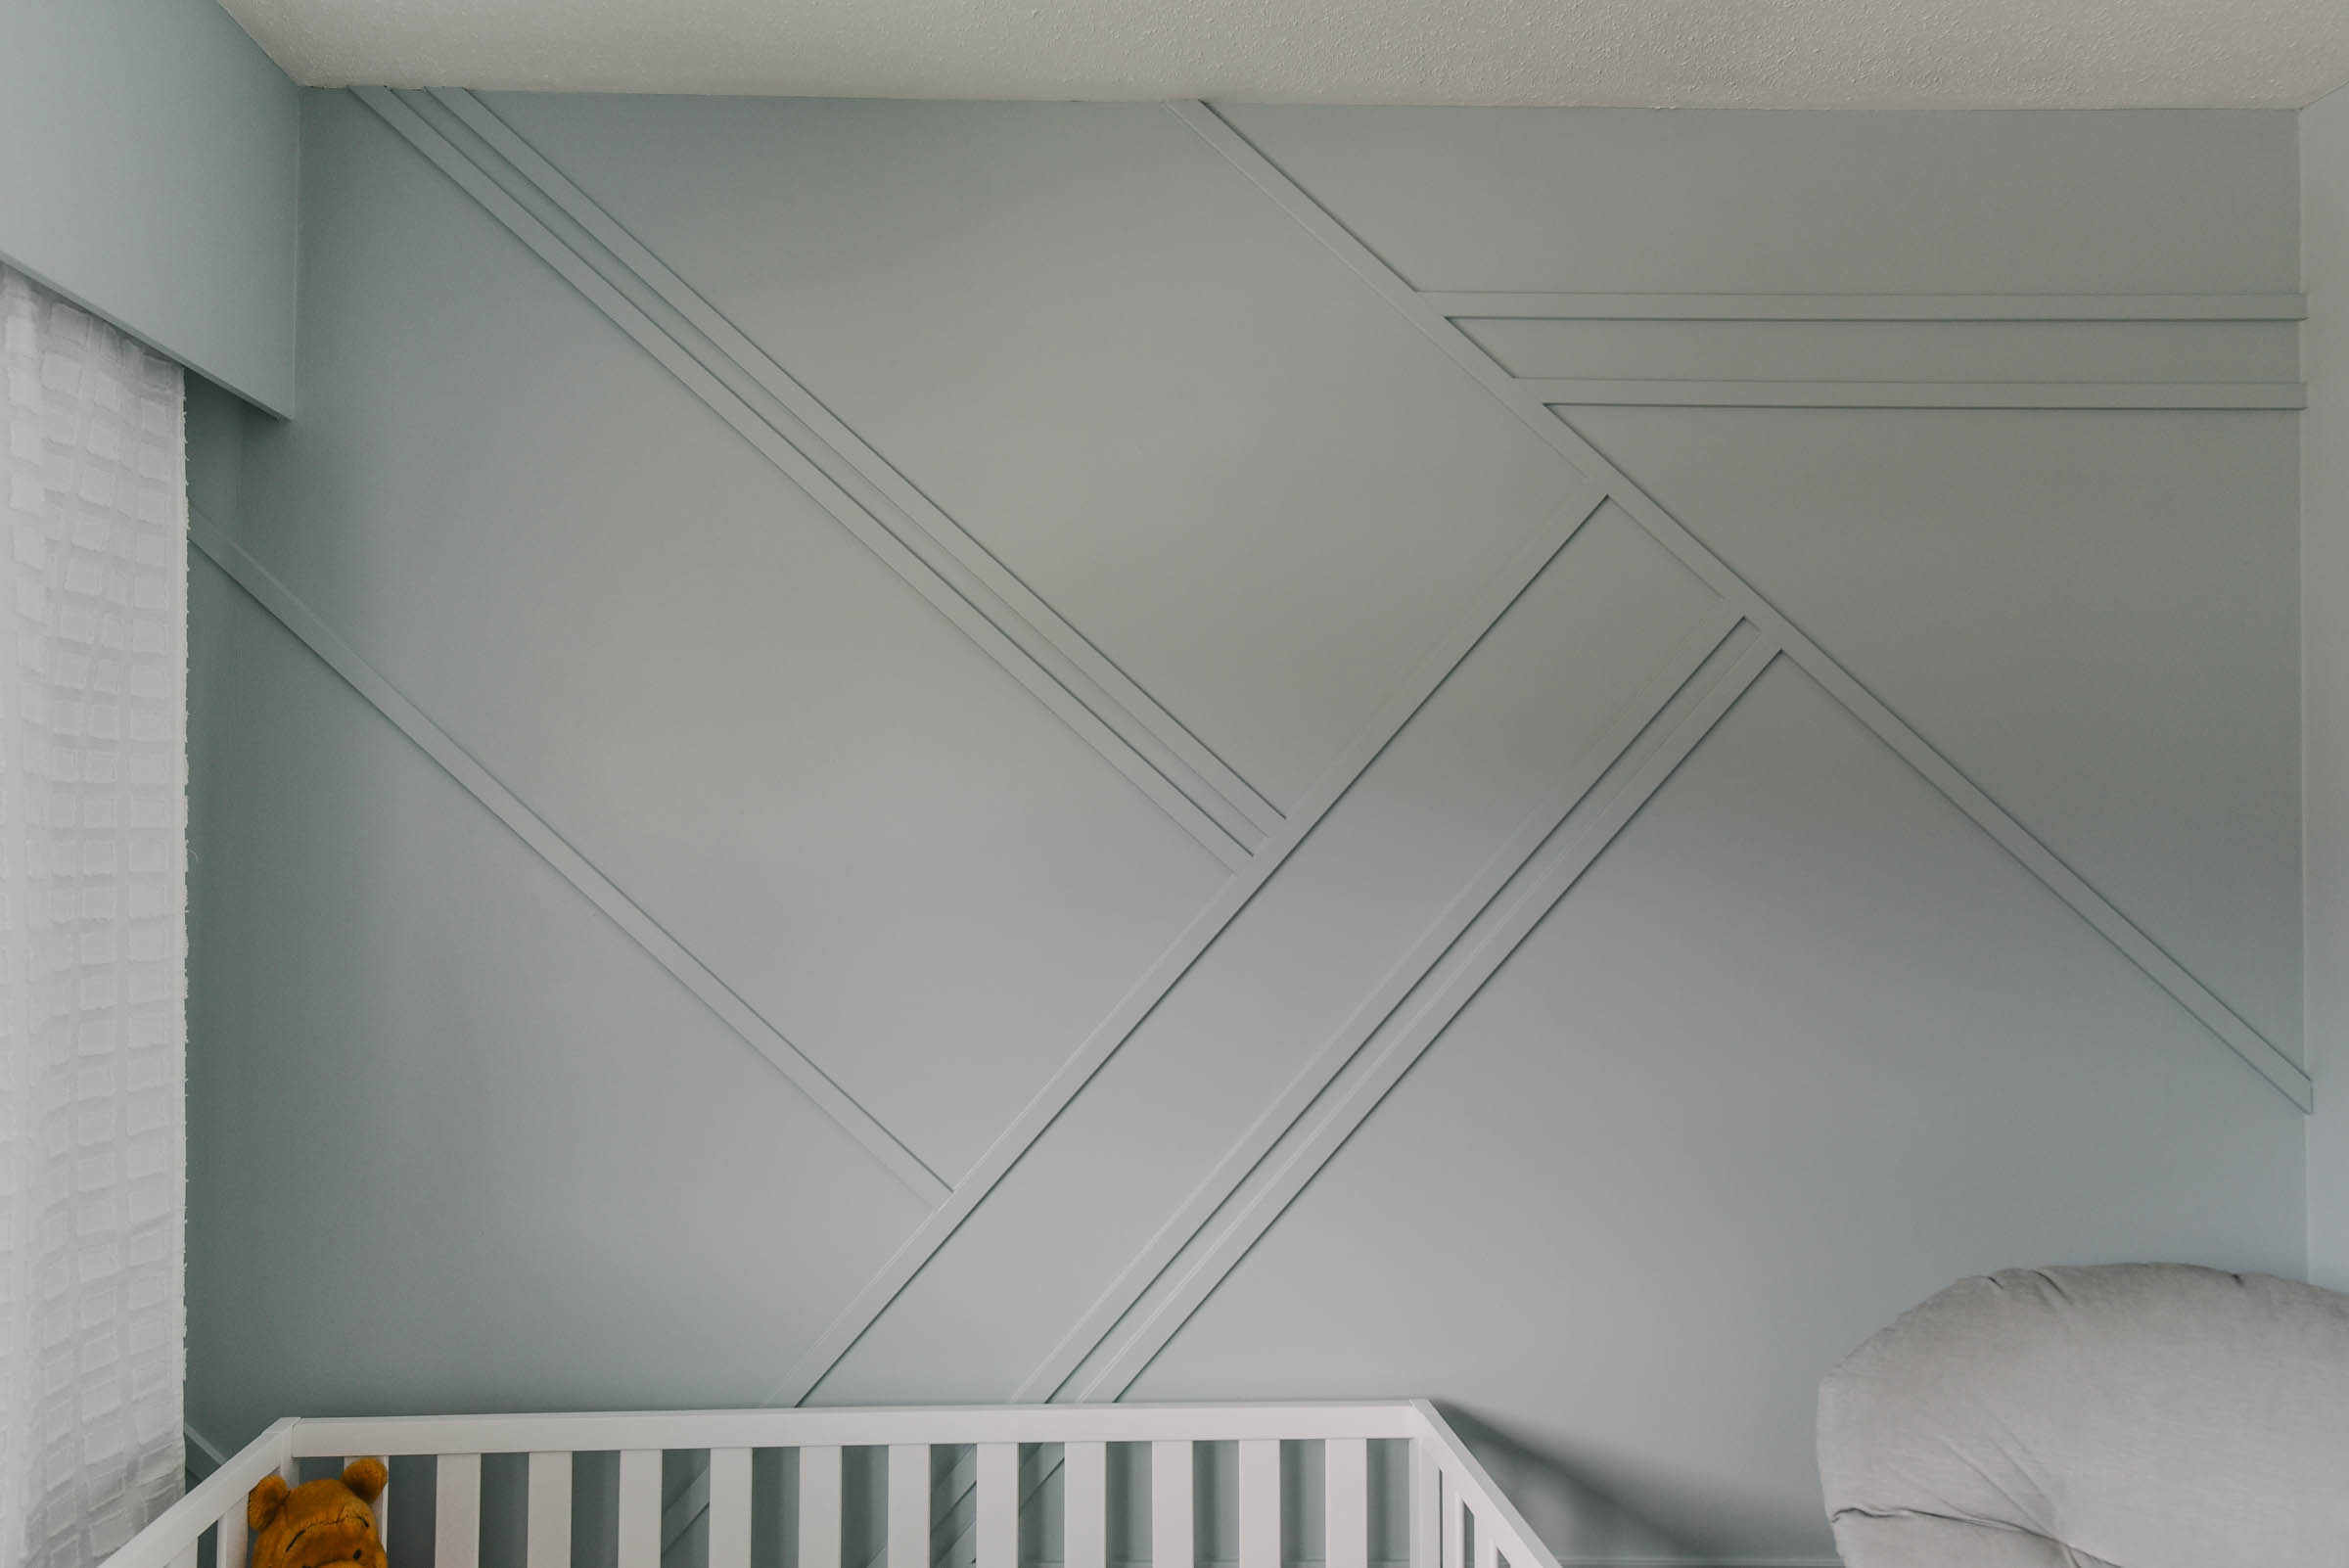
I mean… look at how smooth that is! I’m just so happy with how it turned out. This blue is honestly the perfect soft colour without being too baby blue. It’s called Urban Raincoat from Behr and it has grey undertones to keep it modern but still light and cheerful. And it’s truly a gender neutral blue. I know paint colours don’t need to have gender attached to them, but I also know so many of us associate blue with boyish. In the video I showed how easy it is to give a feminine twist with this floral wreath (less the bunny ears!) and it’s gorgeous in here!
Now… want to see the rest of the space and the DIY decor I crafted?! I thought you might ;)
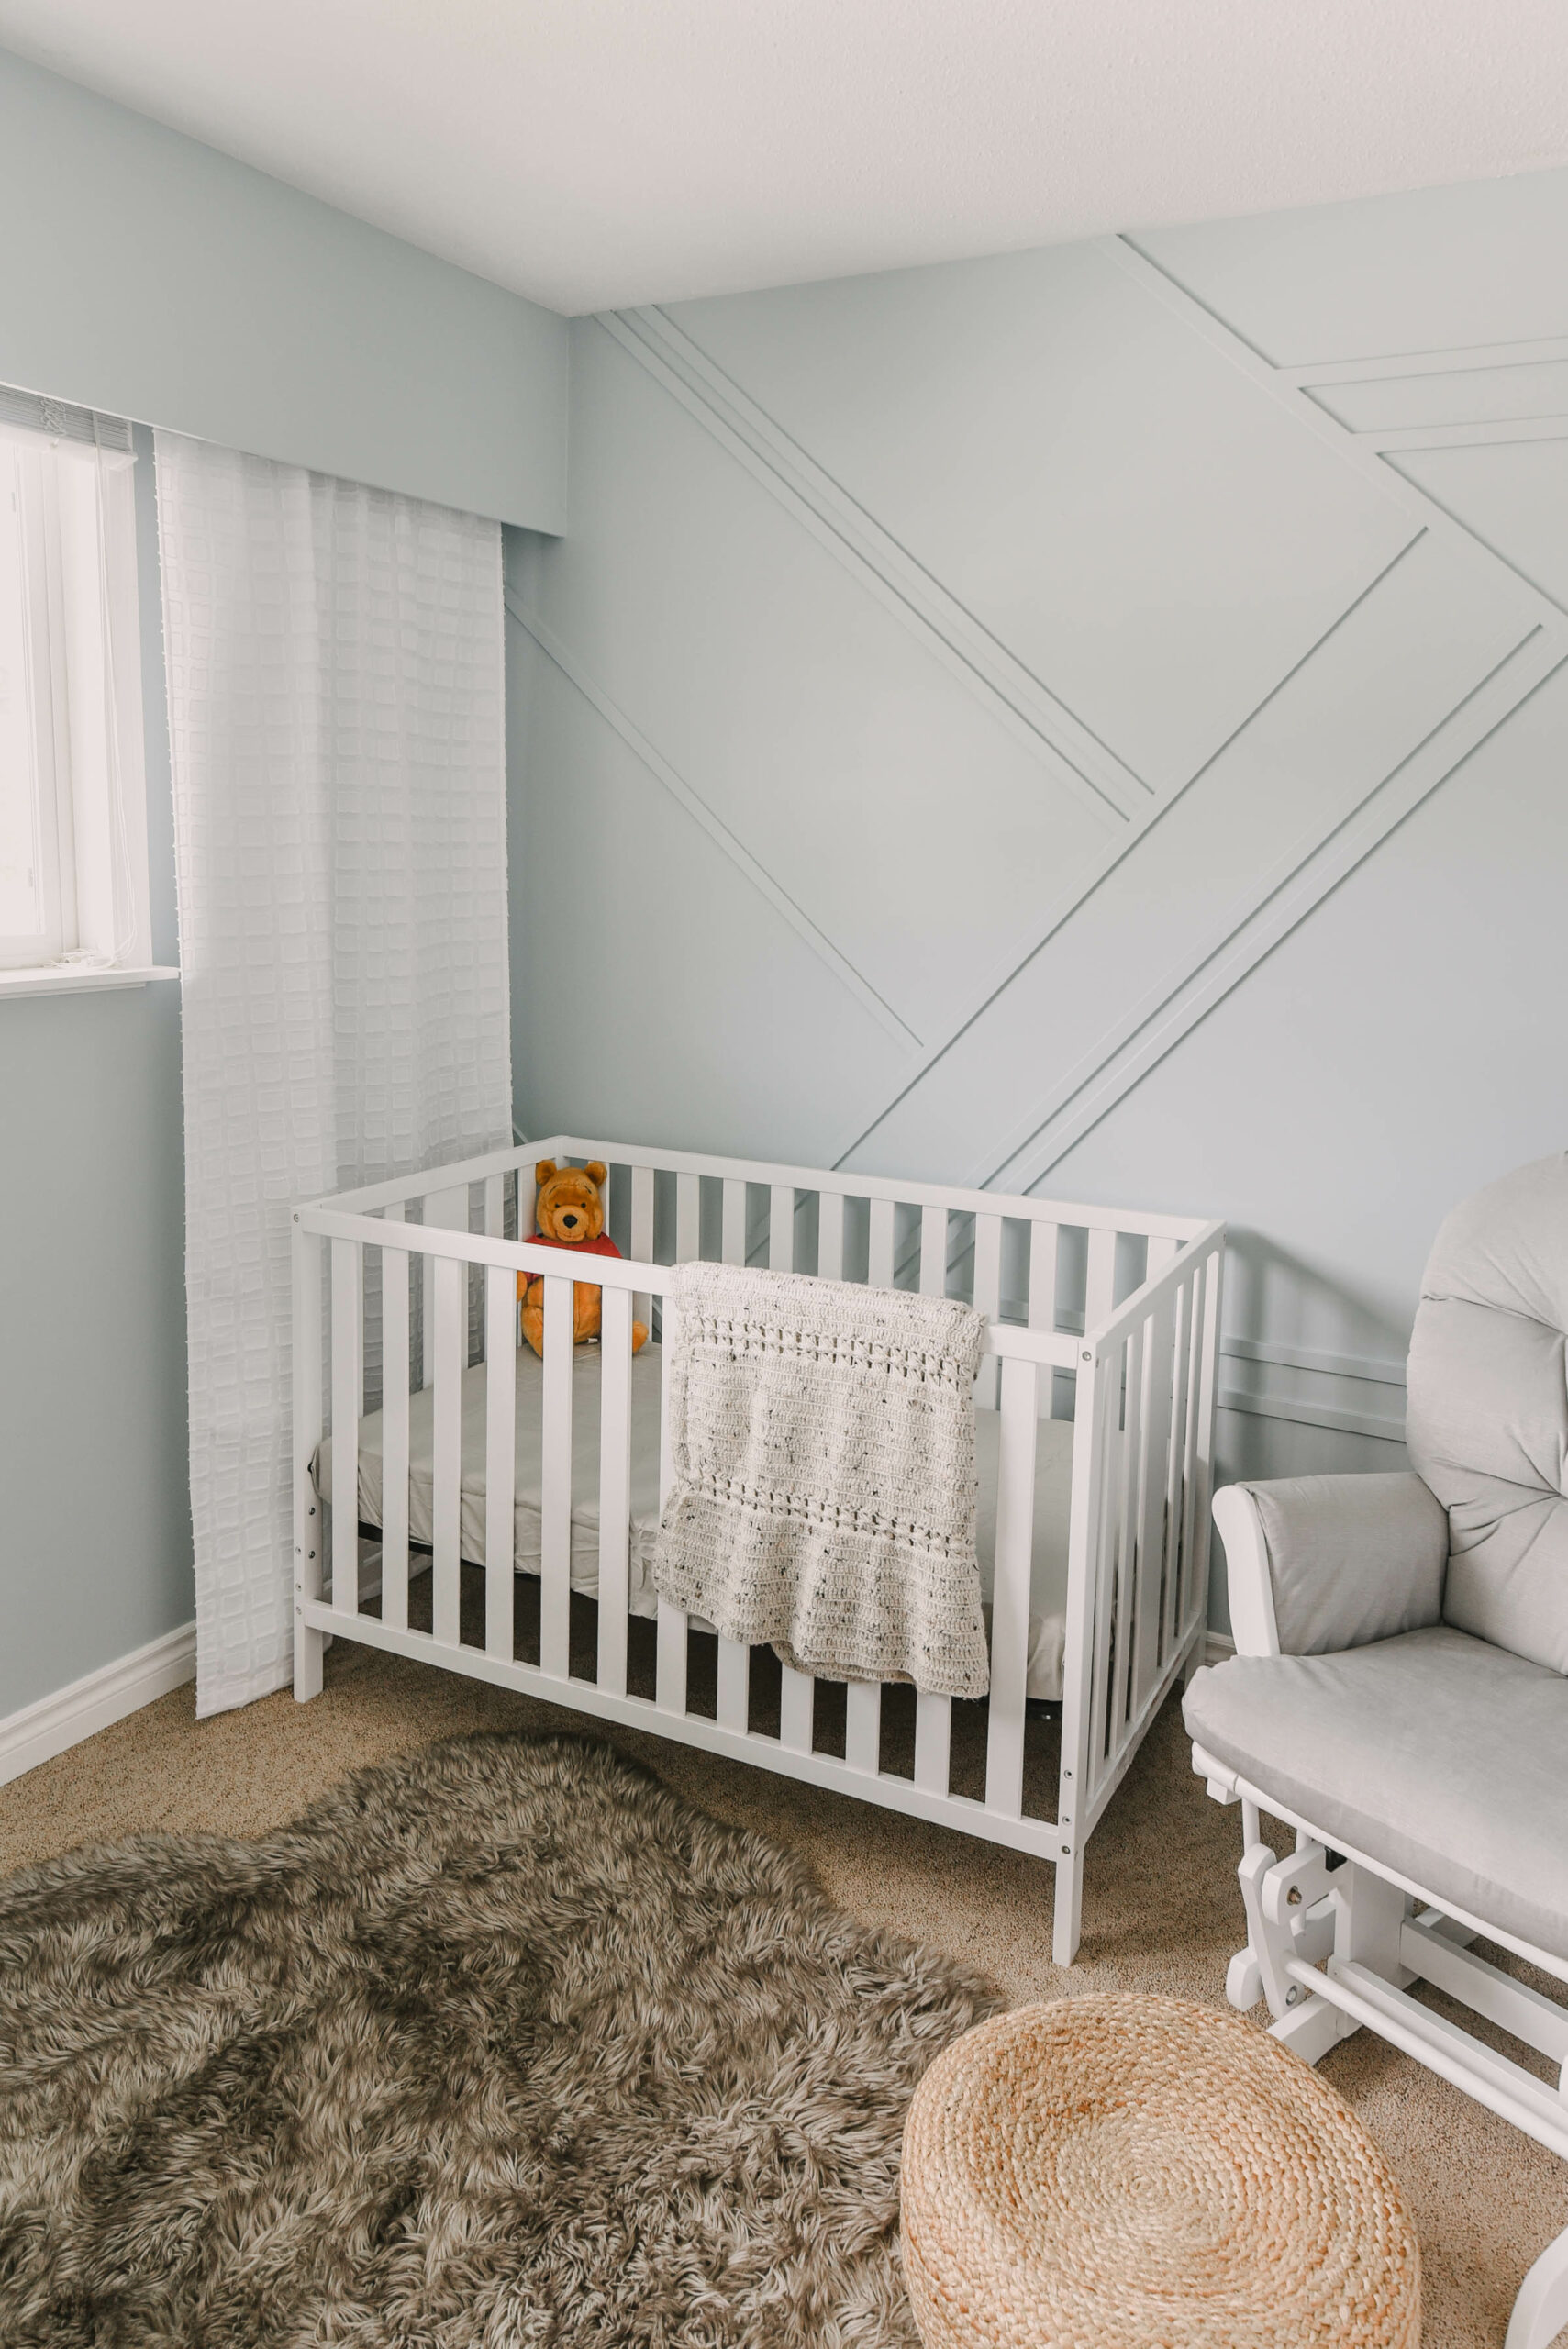
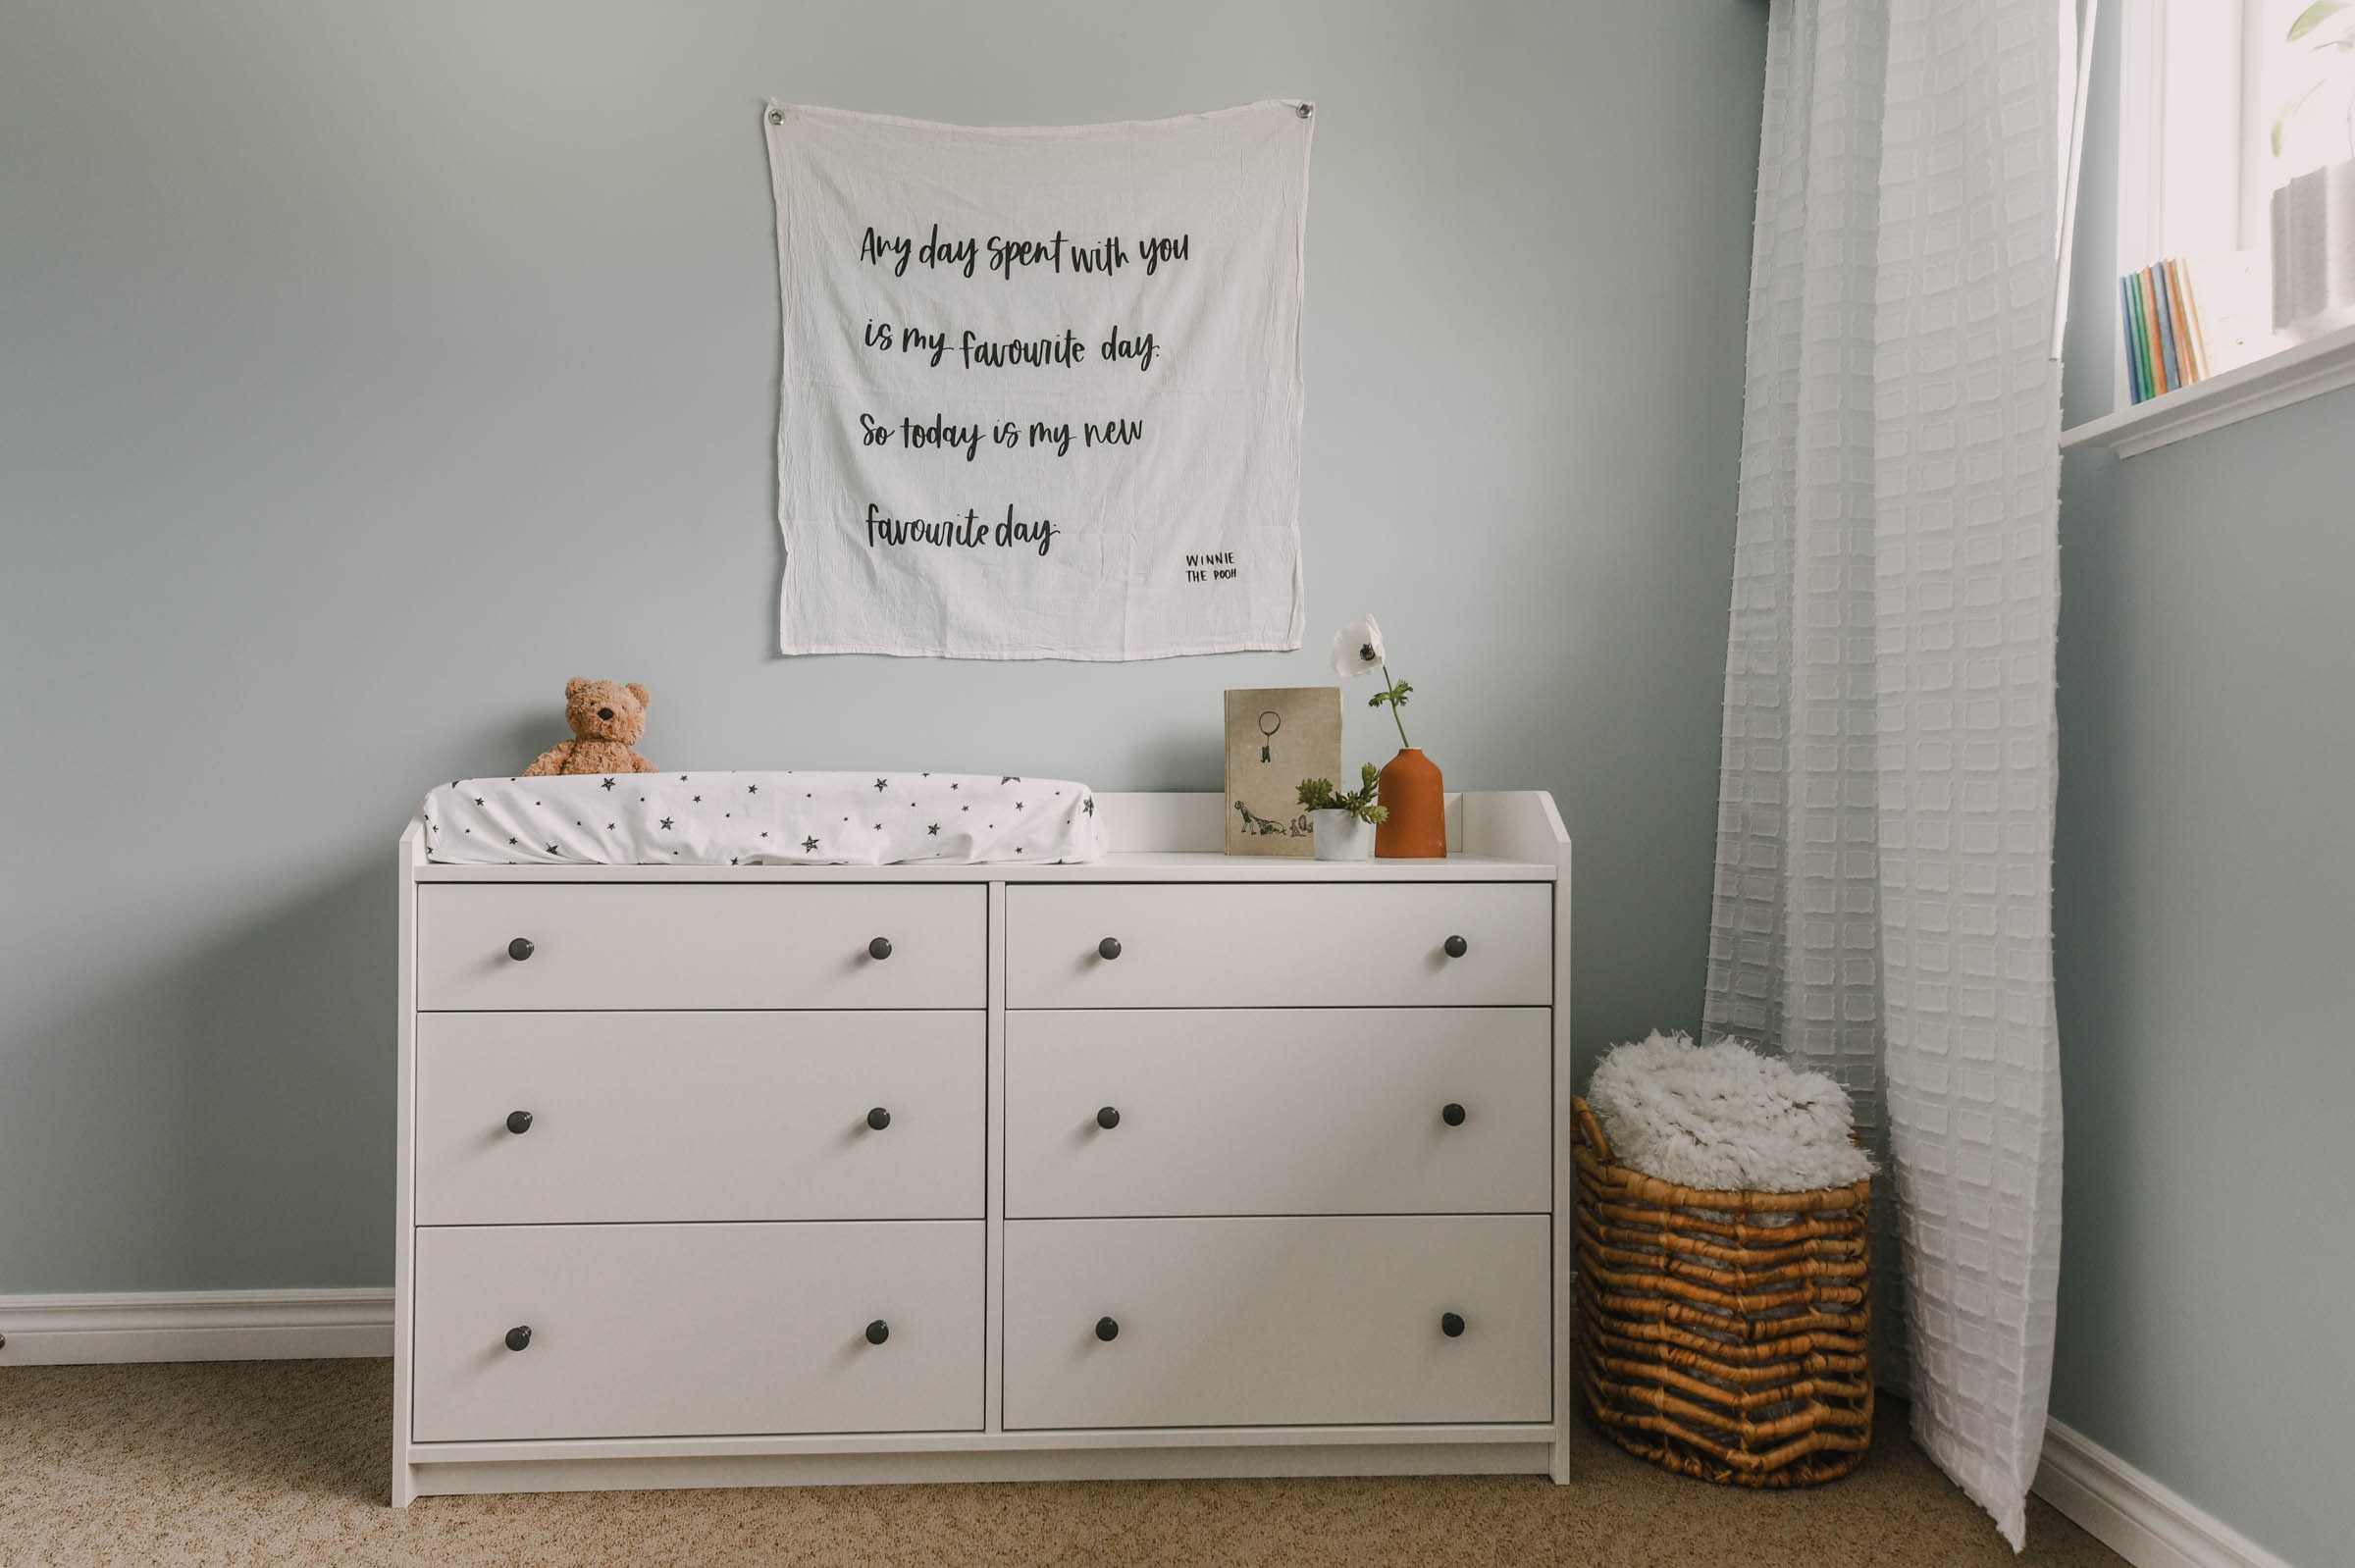
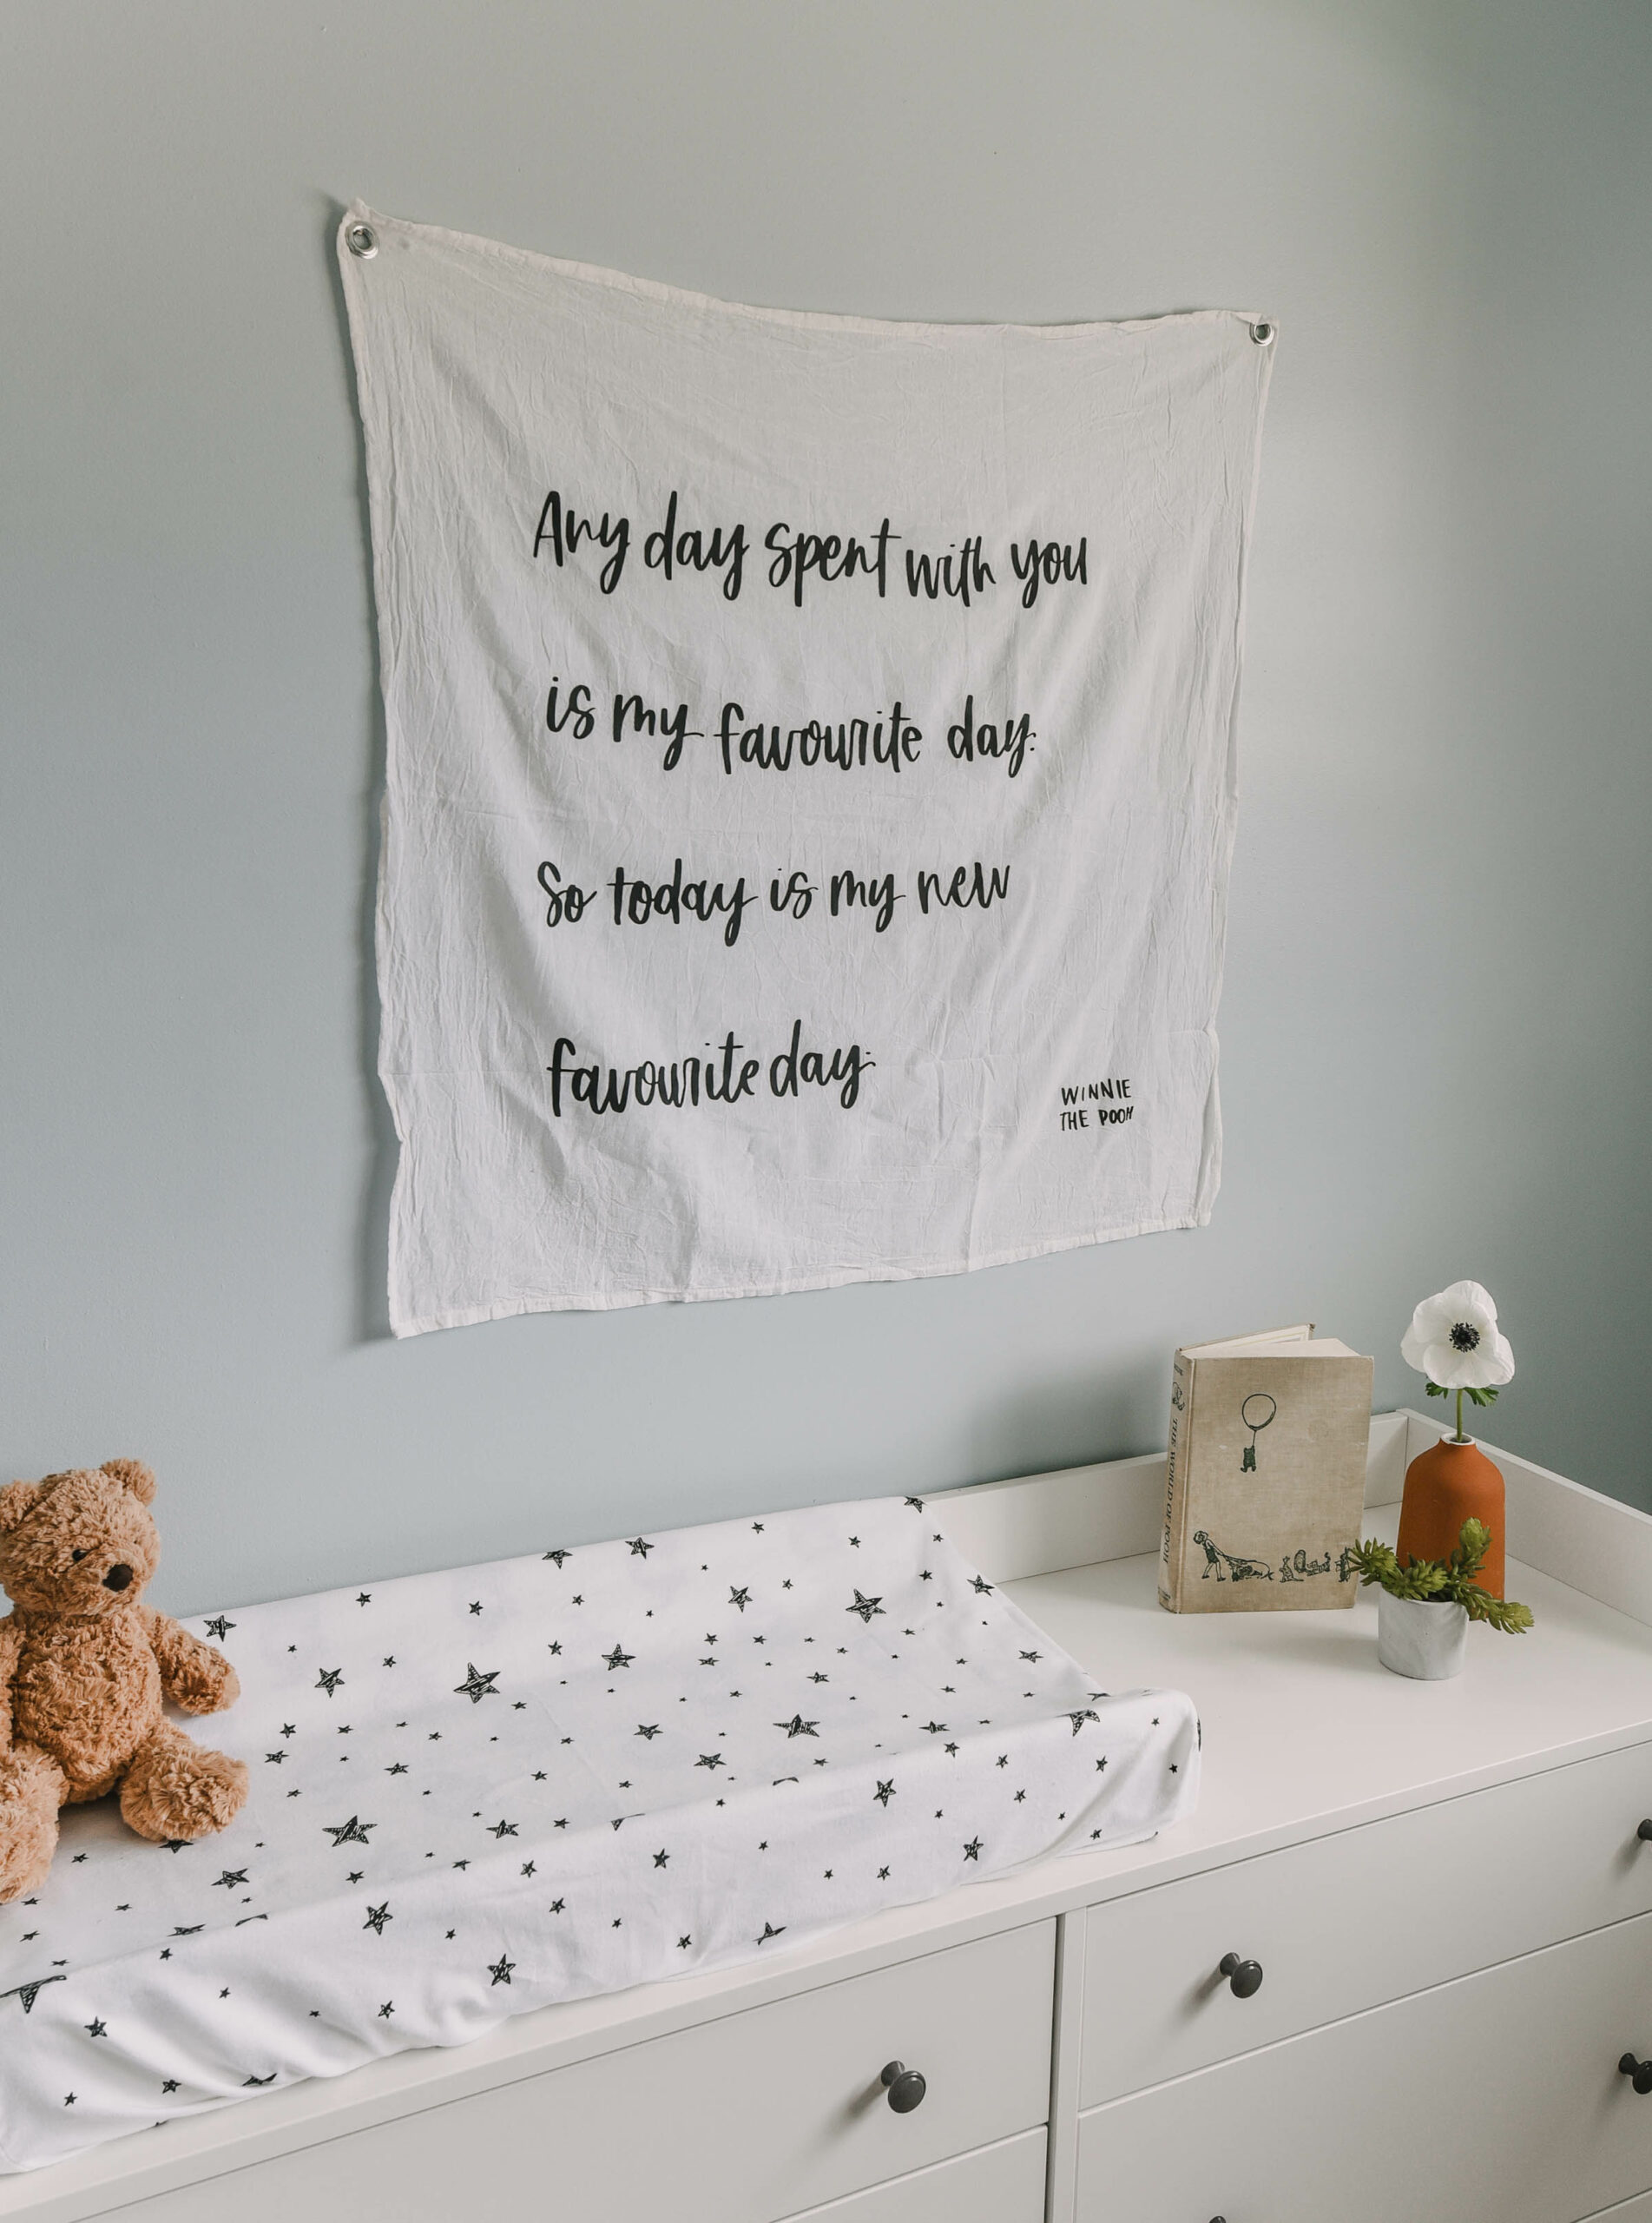
My friend loves Winnie The Pooh and decided to give the nursery a bit of a theme. She’d ordered a map of the Hundred Acre Woods for above the dresser, but it hadn’t arrived in time. She asked if I’d be open to running with the theme. If you follow along here, you might have spotted some of our kids parties (I have more to share, I should really sit down and write those posts soon!), I LOVE taking a theme and making it modern.
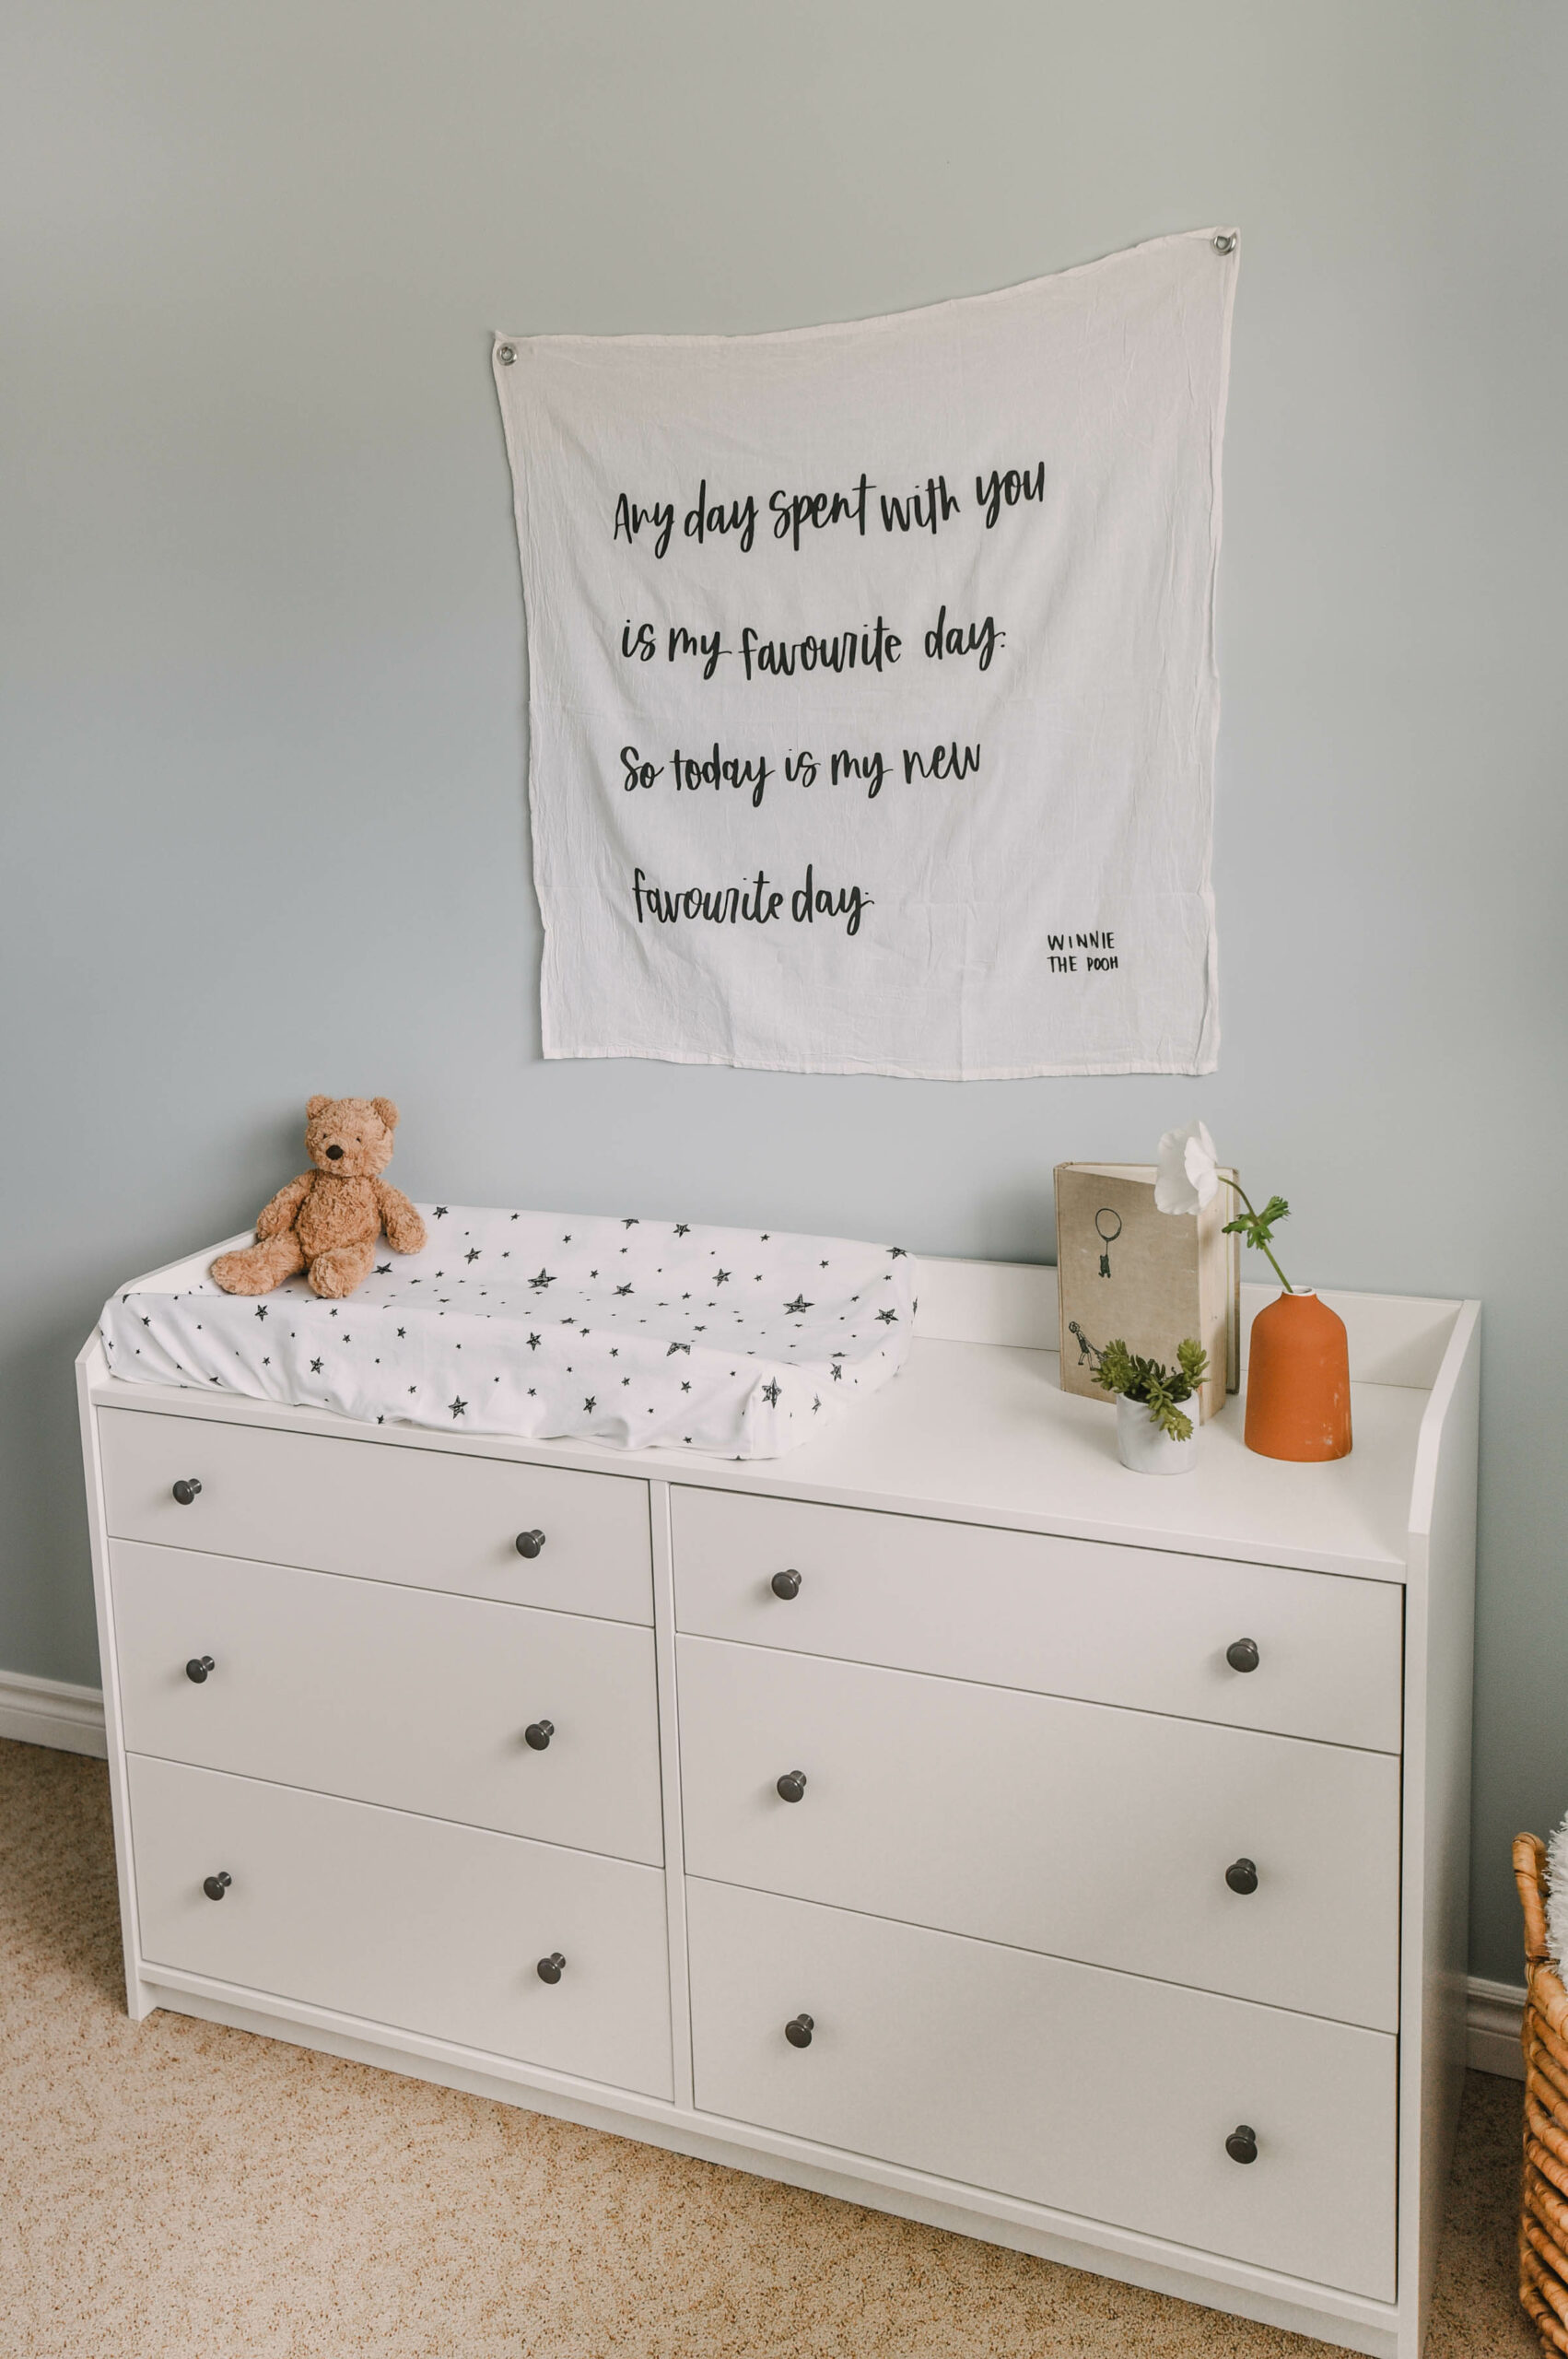
First, I made this flag with a hand lettered Winnie The Pooh quote – it’s such a simple project and so affordable but packs a big impact for wall decor above the dresser. I have a blog post showing how to make this DIY Wall Hanging right here!
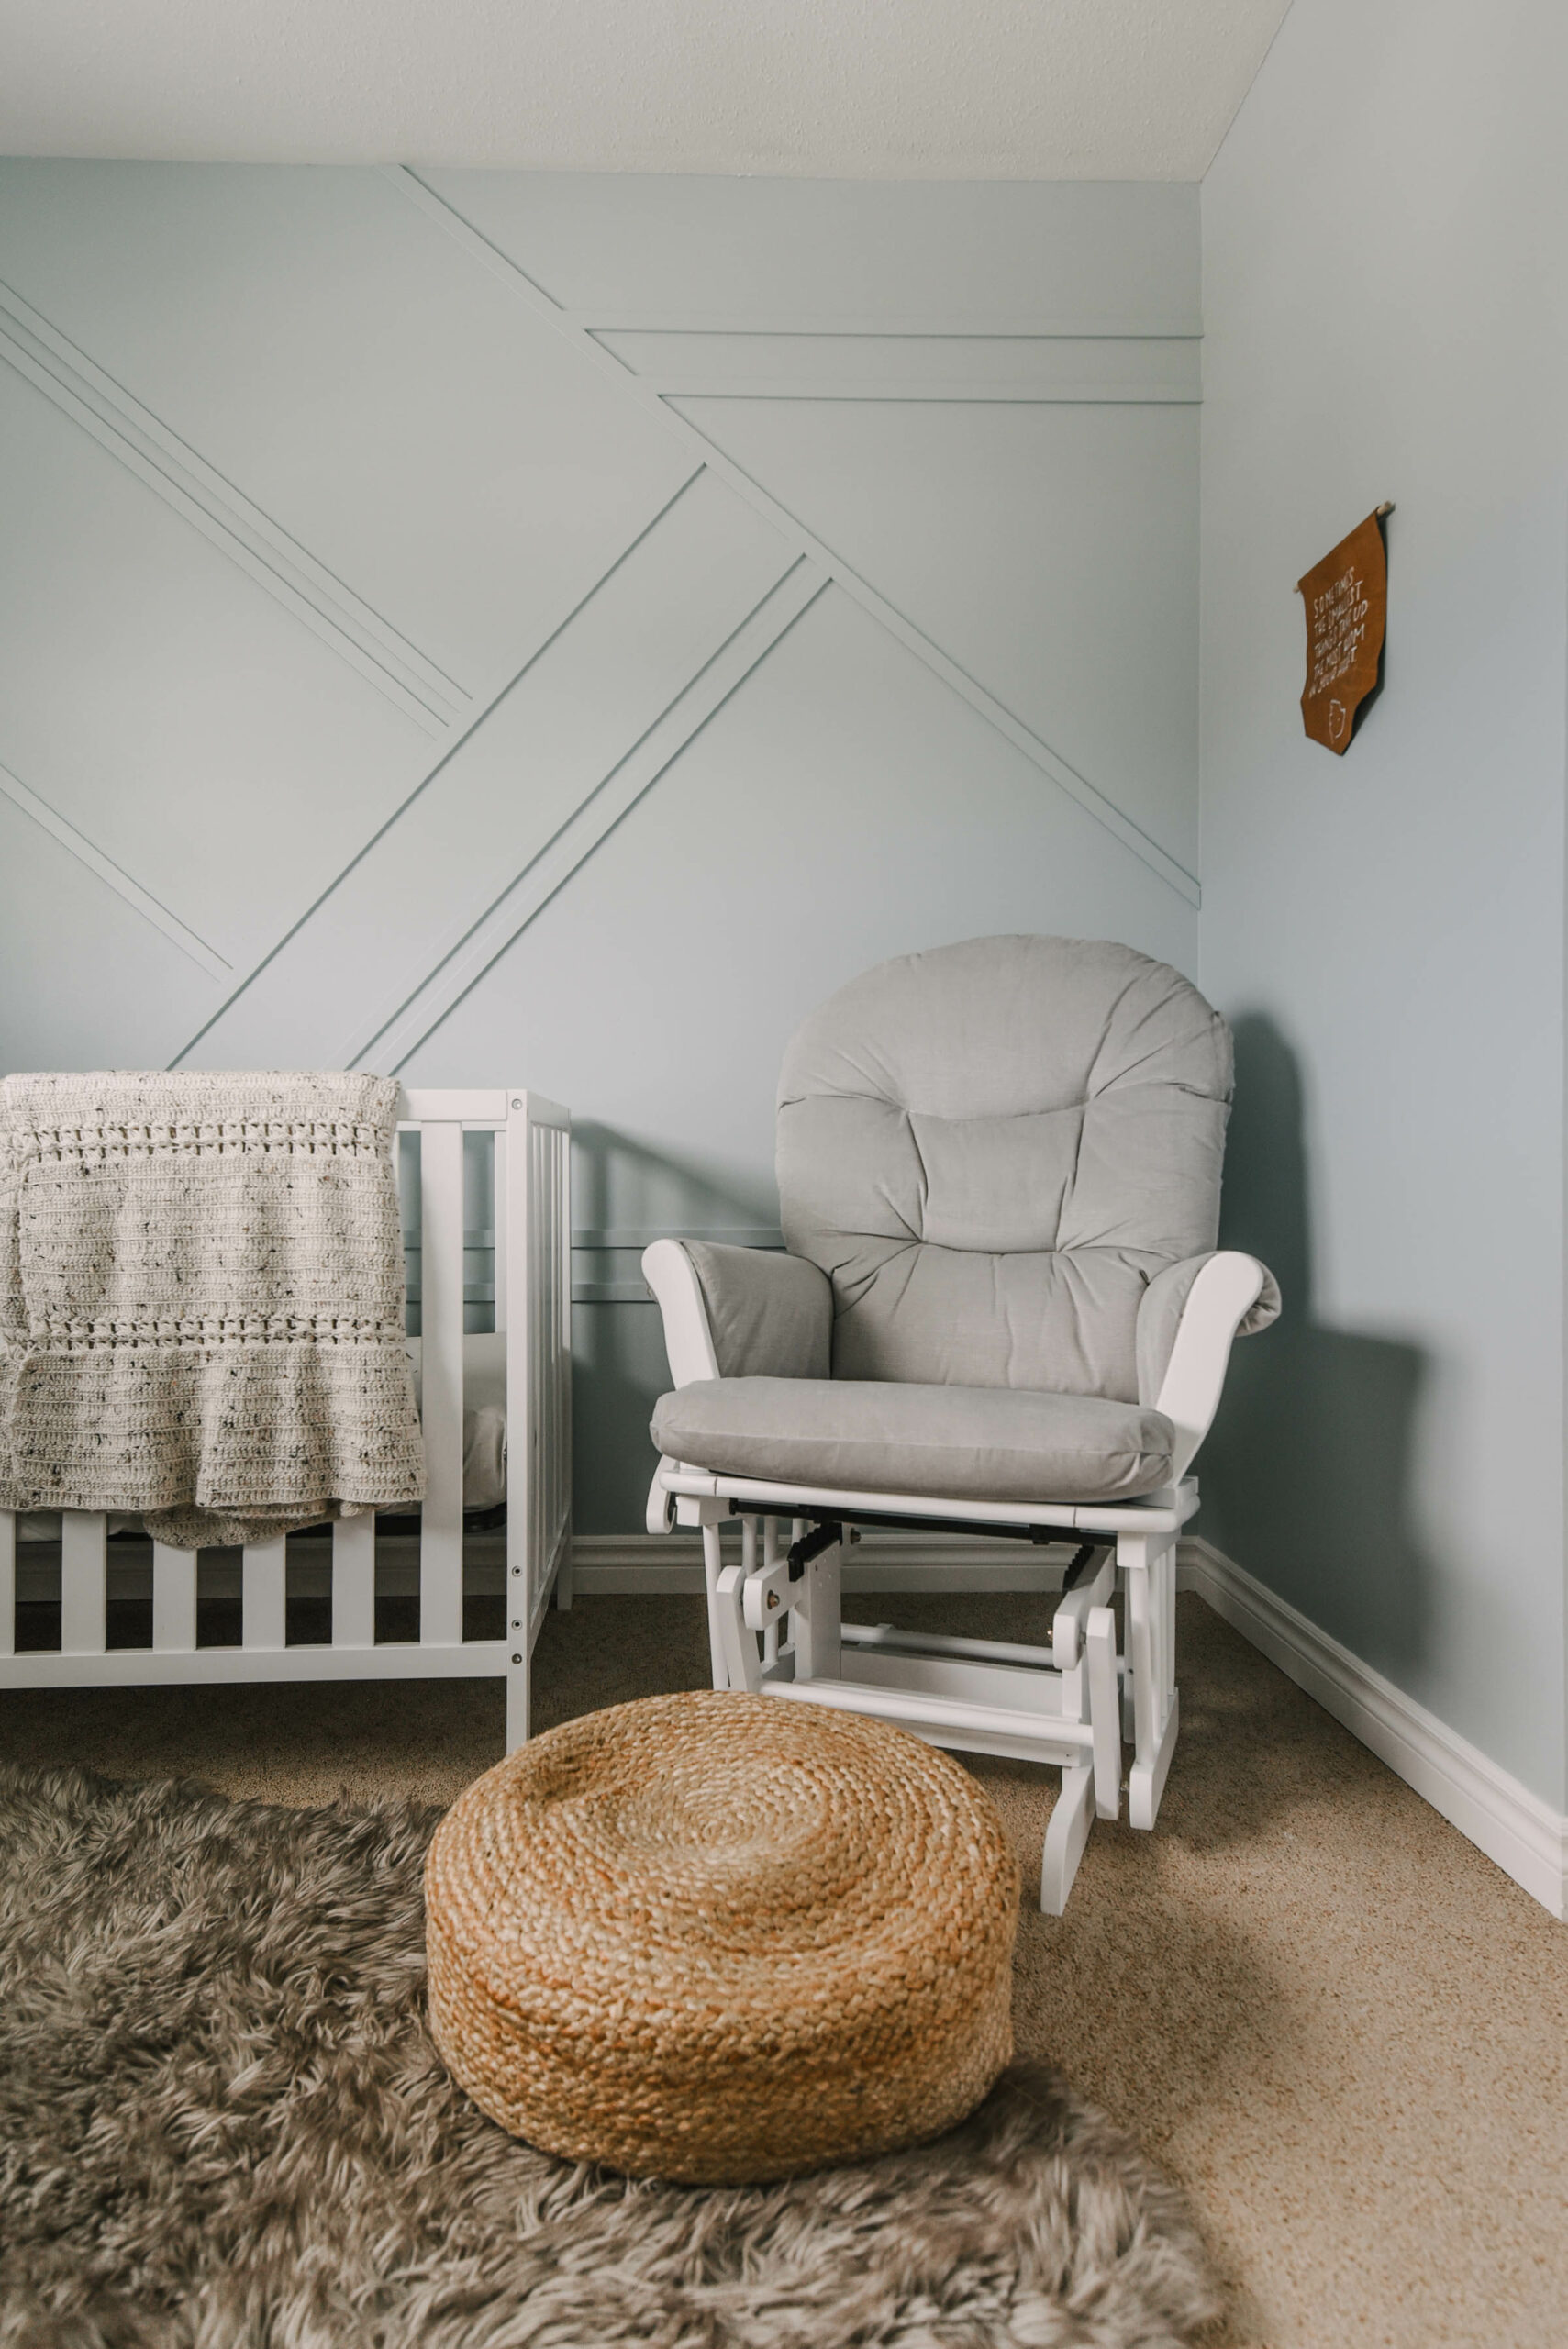
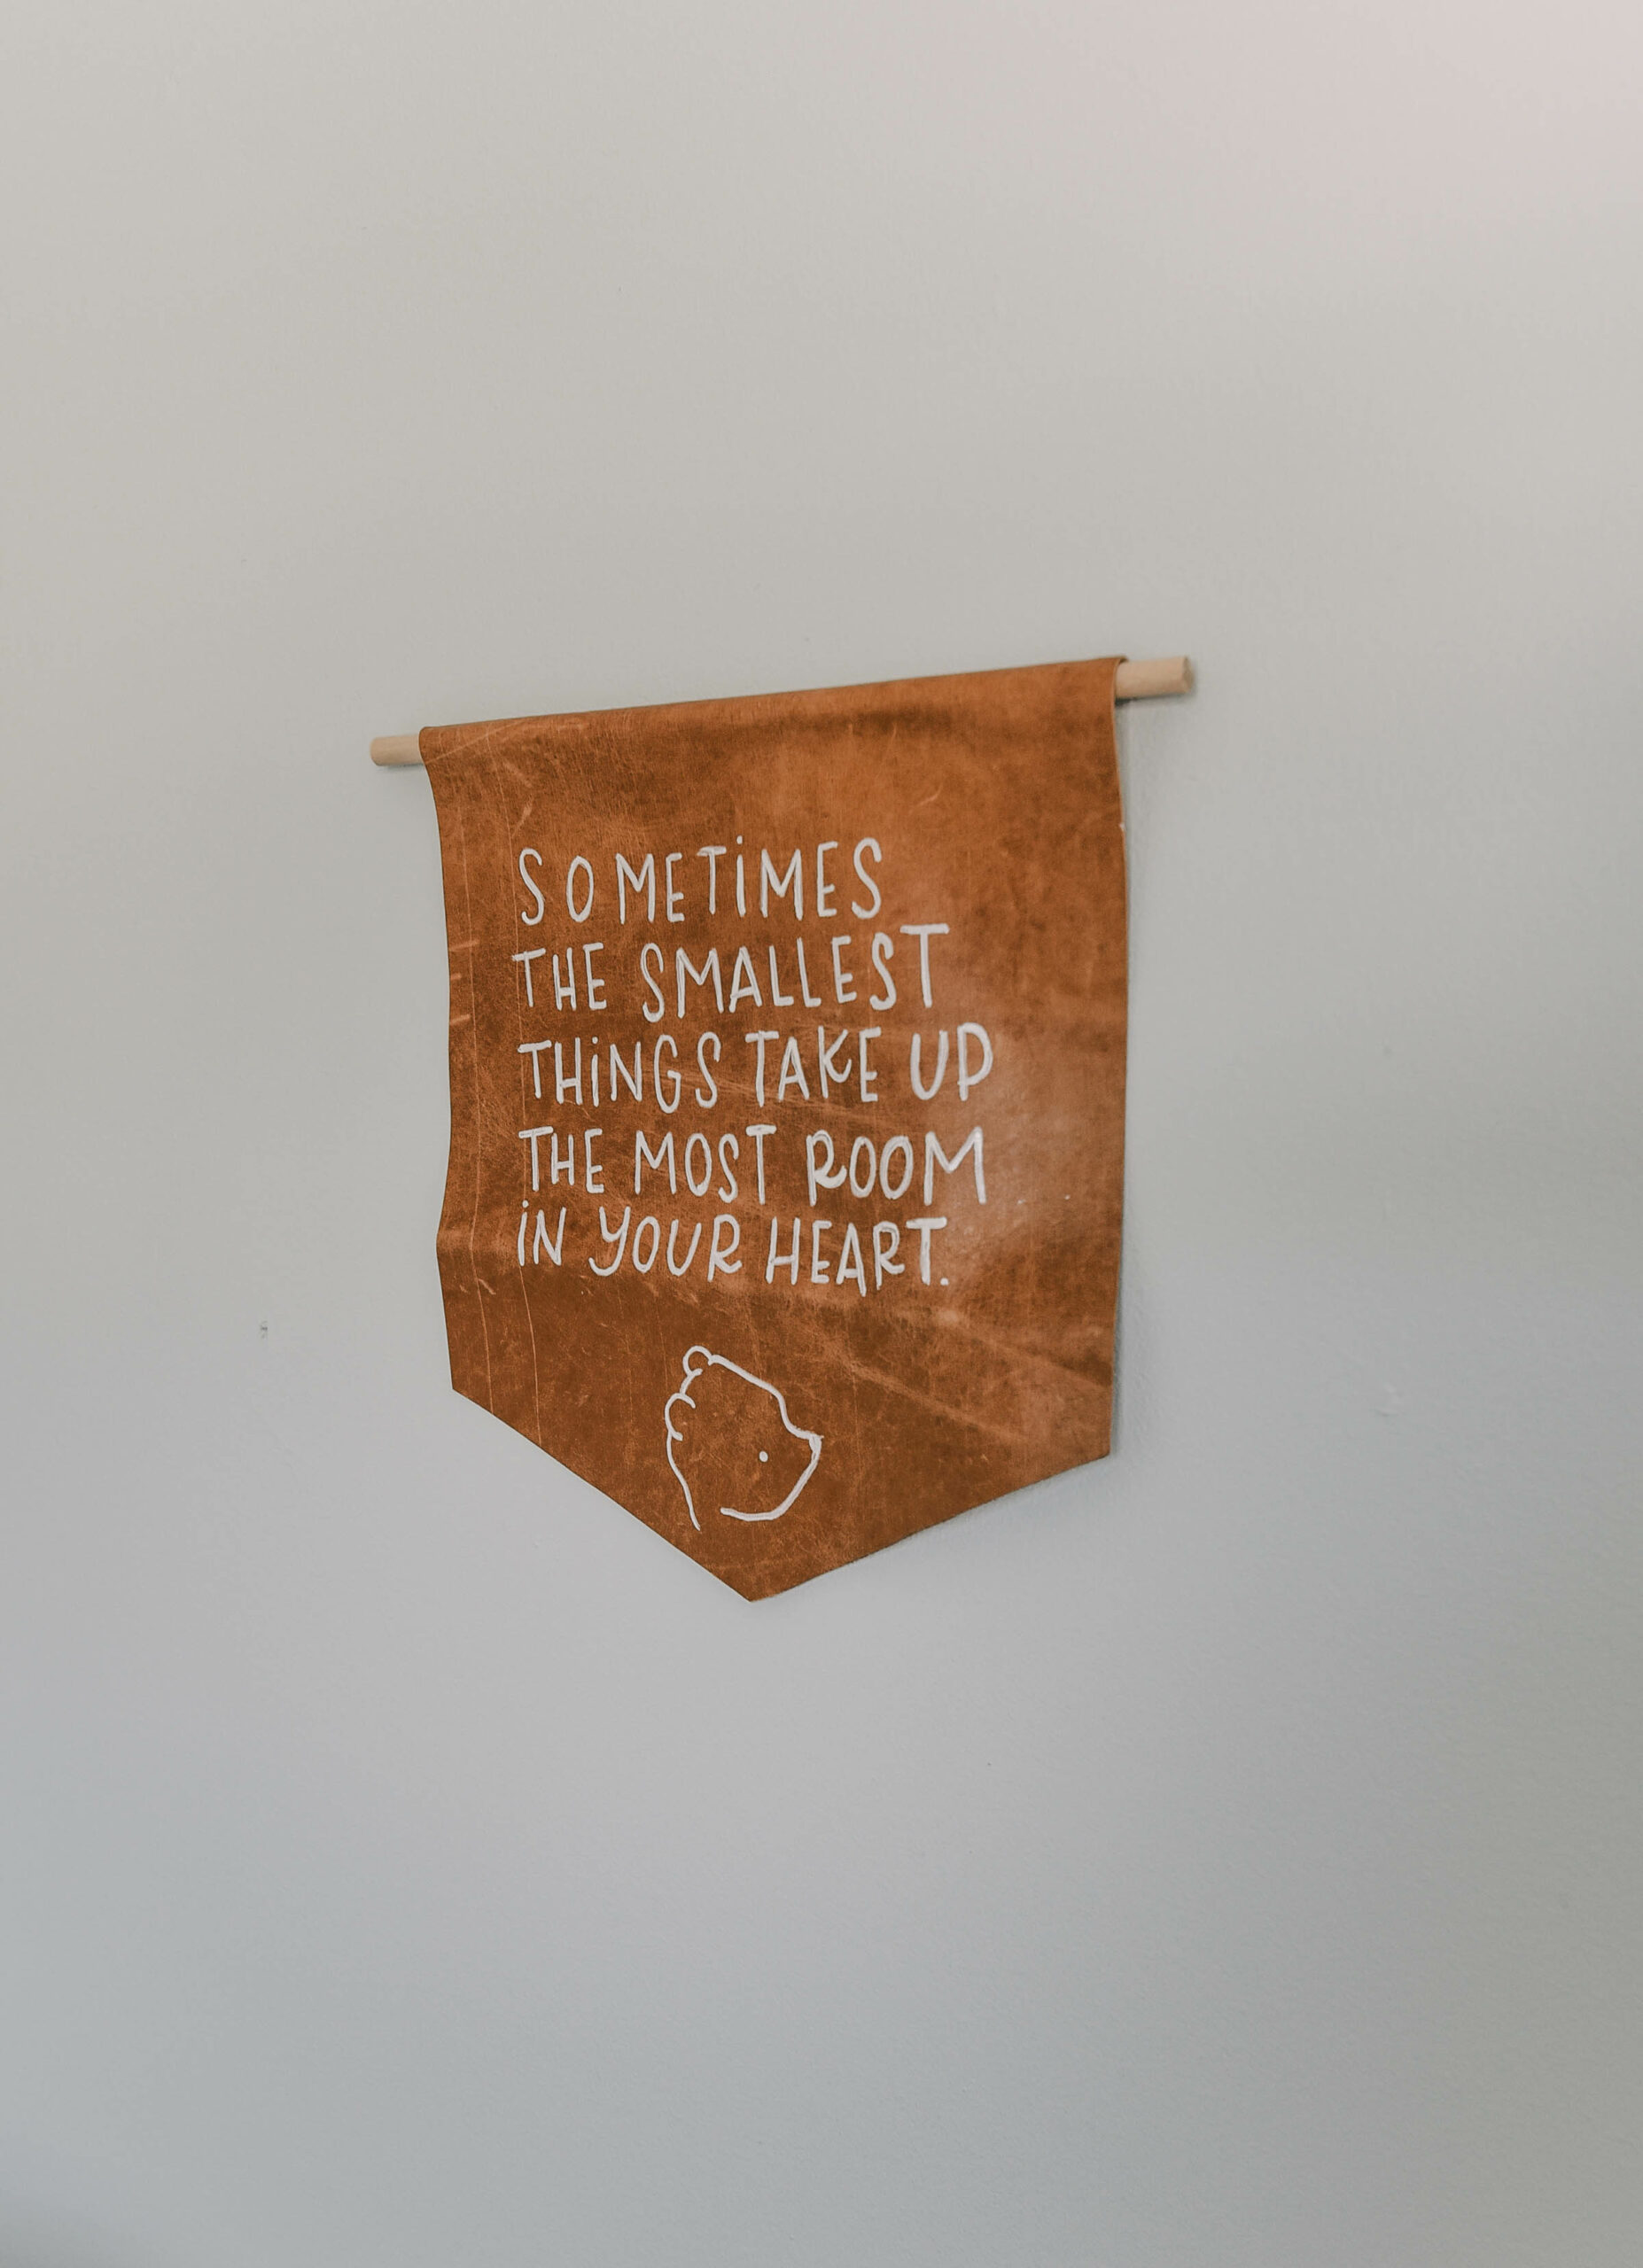
The other piece of Winnie The Pooh decor is this cute leather pennant. I made a leather pennant like this for Thanksgiving years ago and still pull it out each year. I had salvaged leather from a free couch and still have quite a bit left- this was the perfect use of some! I love the cognac leather colour against this soft blue. I traced a Pooh Bear face at the bottom of the pennant and I think that gives it such a playful touch!
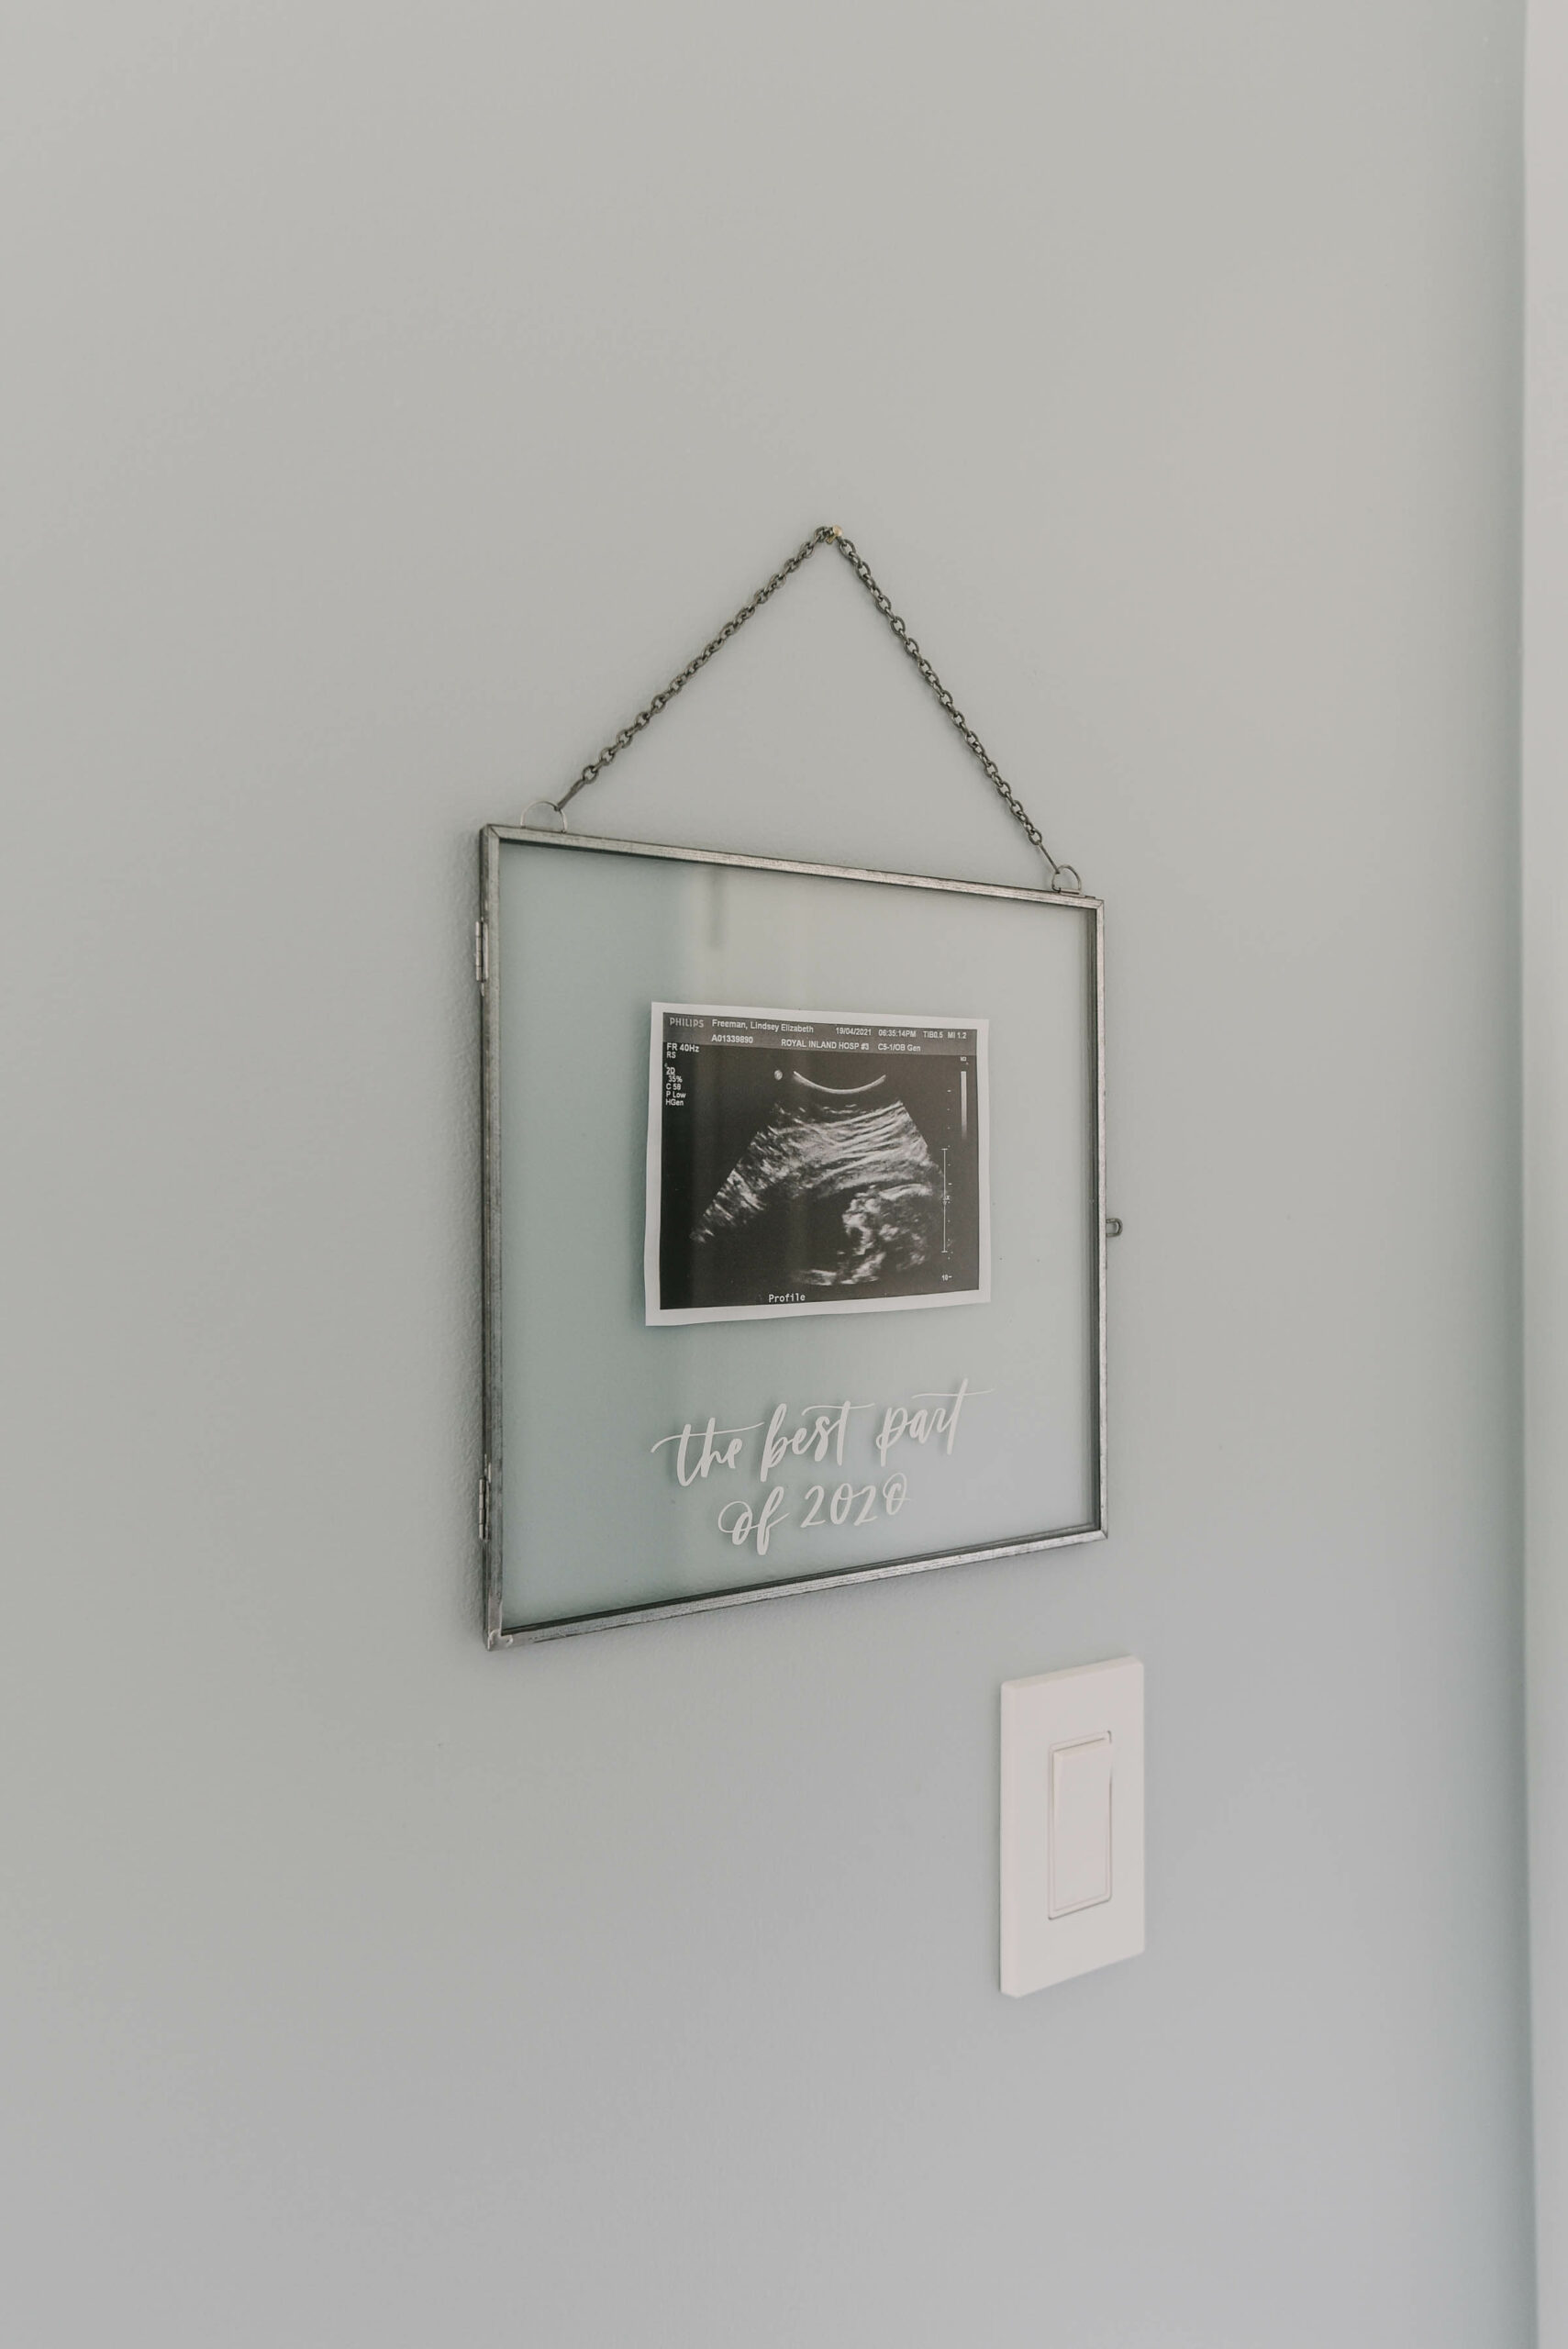
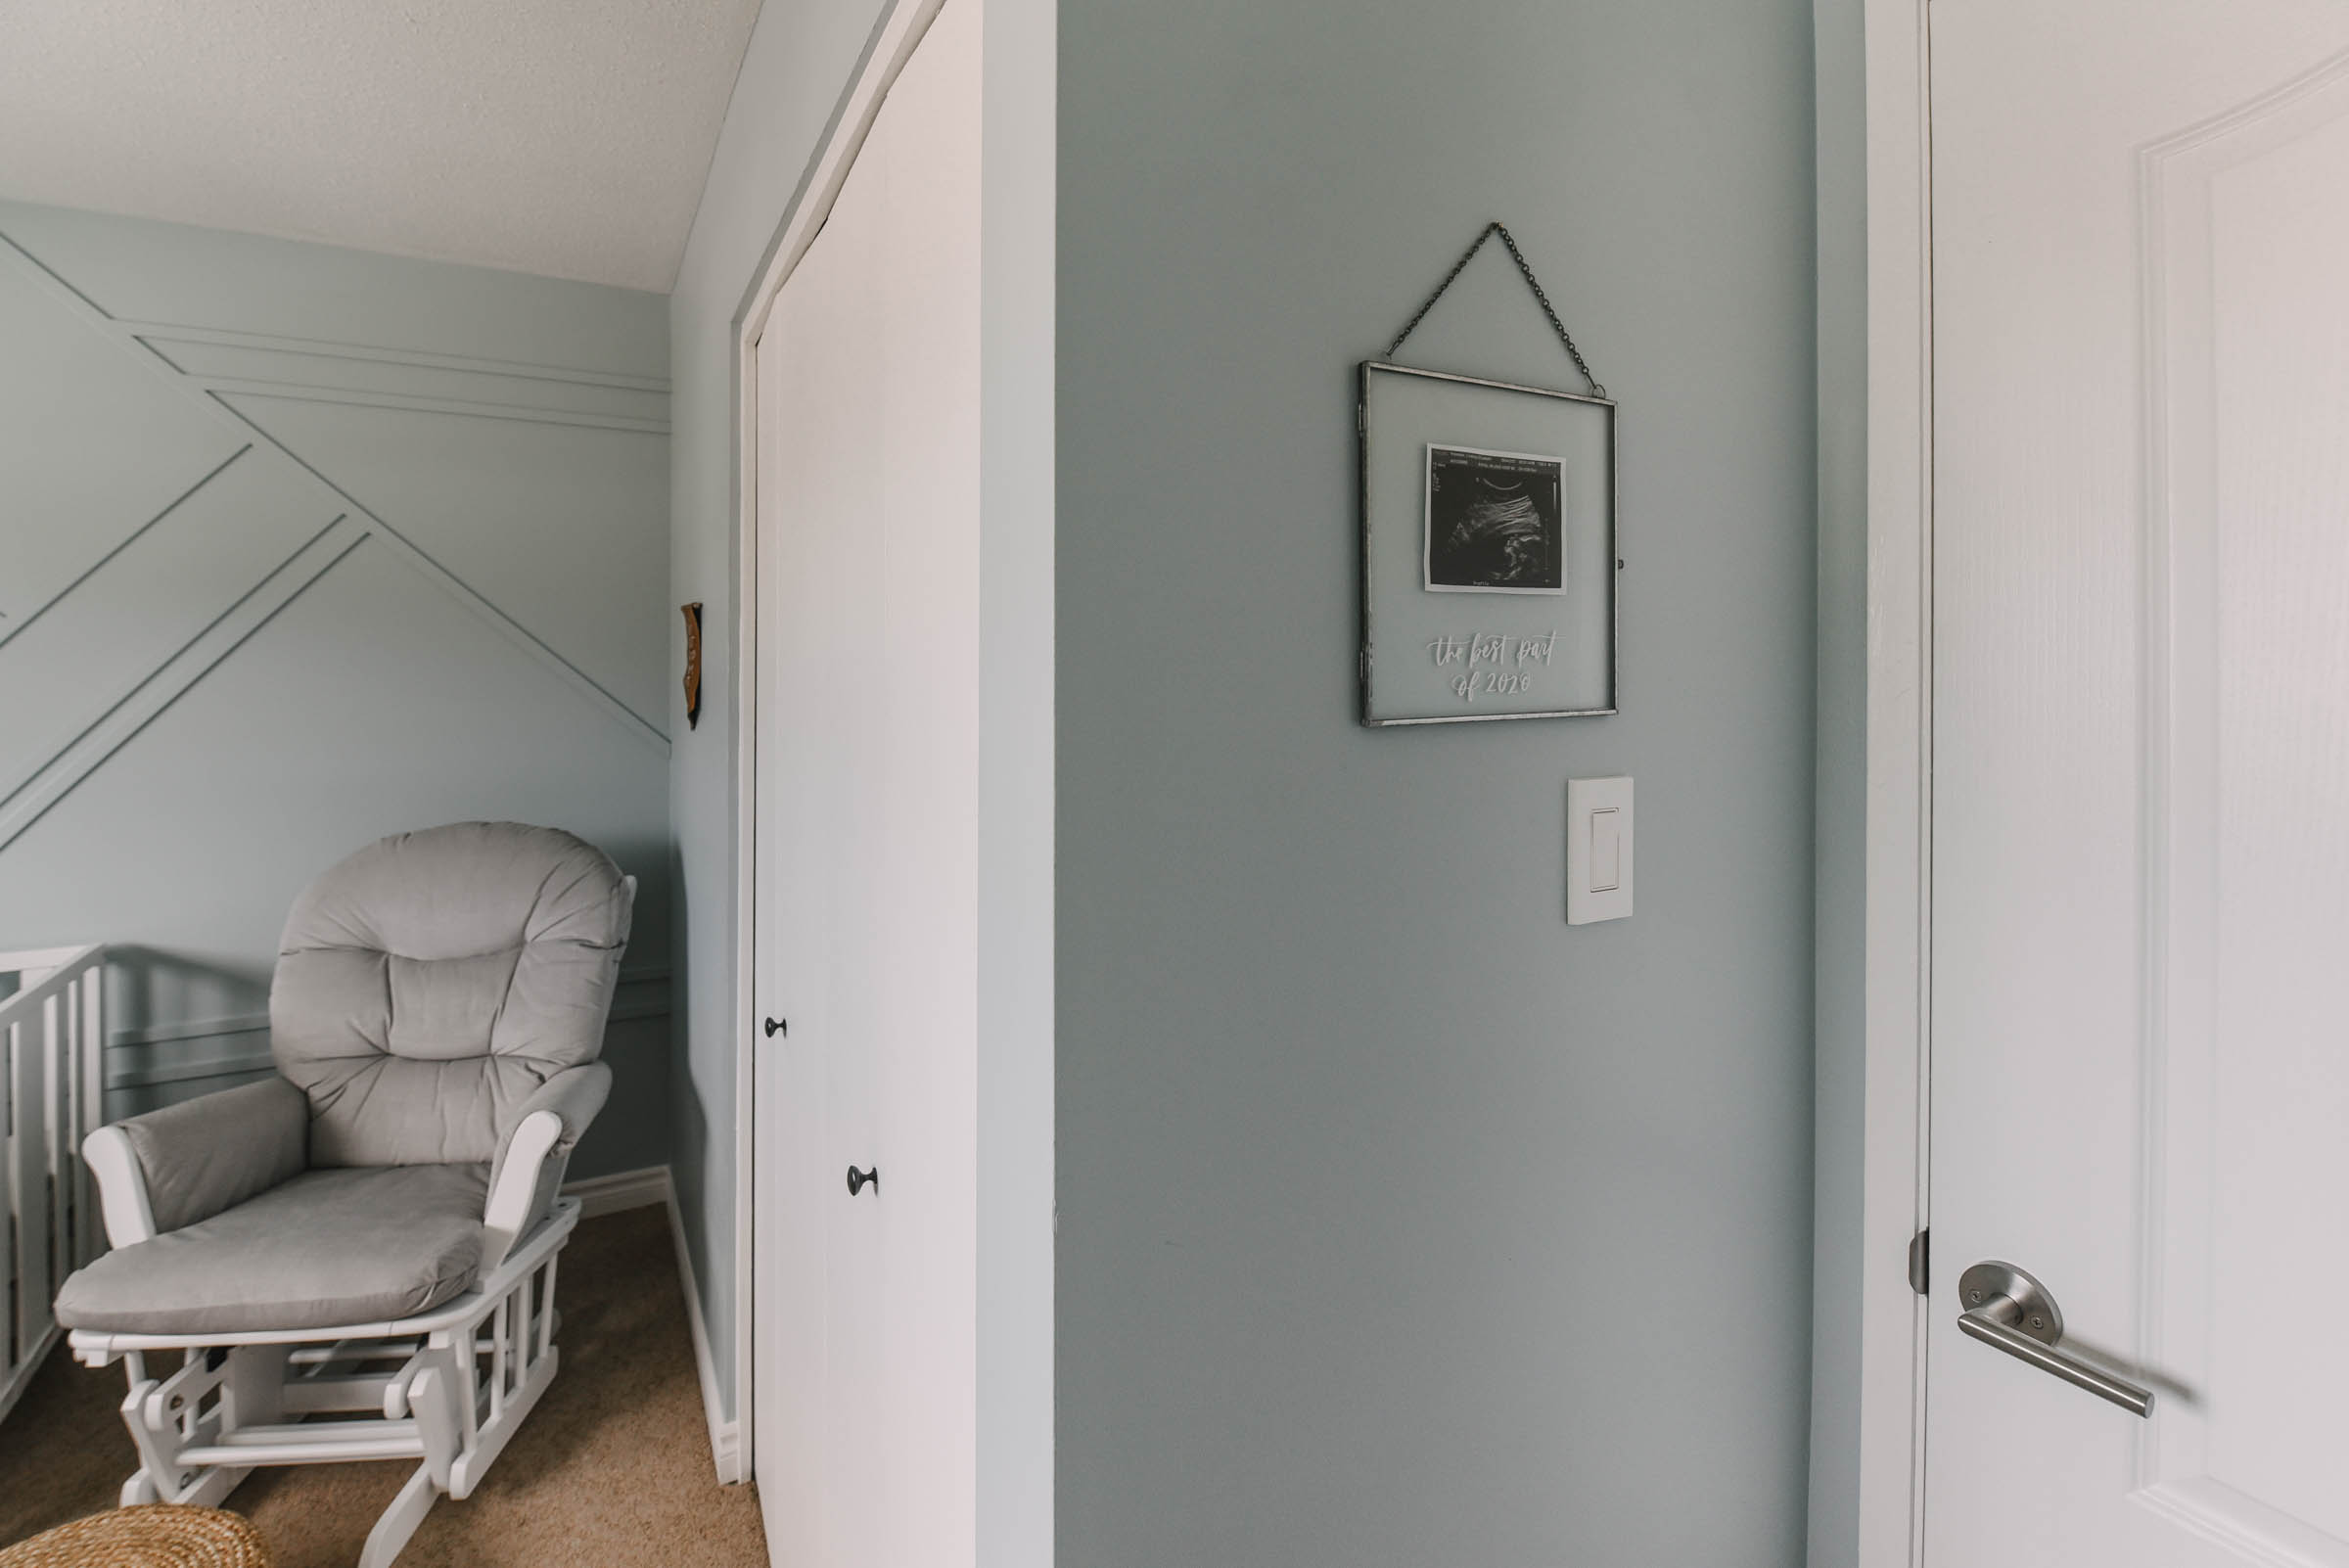
Other than that, this photo frame is one that I’d made for my holiday pop up shop. I don’t have a tutorial for it, but it’s just my hand lettering cut out of vinyl applied to the photo frame.
That’s really it for decor- a bonus of a moulding wall! It adds so much texture and interest to a space without adding any visual clutter. It cuts down on the amount of decor you need and helps a space feel finished and decorated without much effort. This is also nice because a nursery… or any family space, will inevitably have necessary clutter. Baskets of diapers and wipes, little baby toys… and by having less decor, these things won’t feel overwhelming and cluttered.
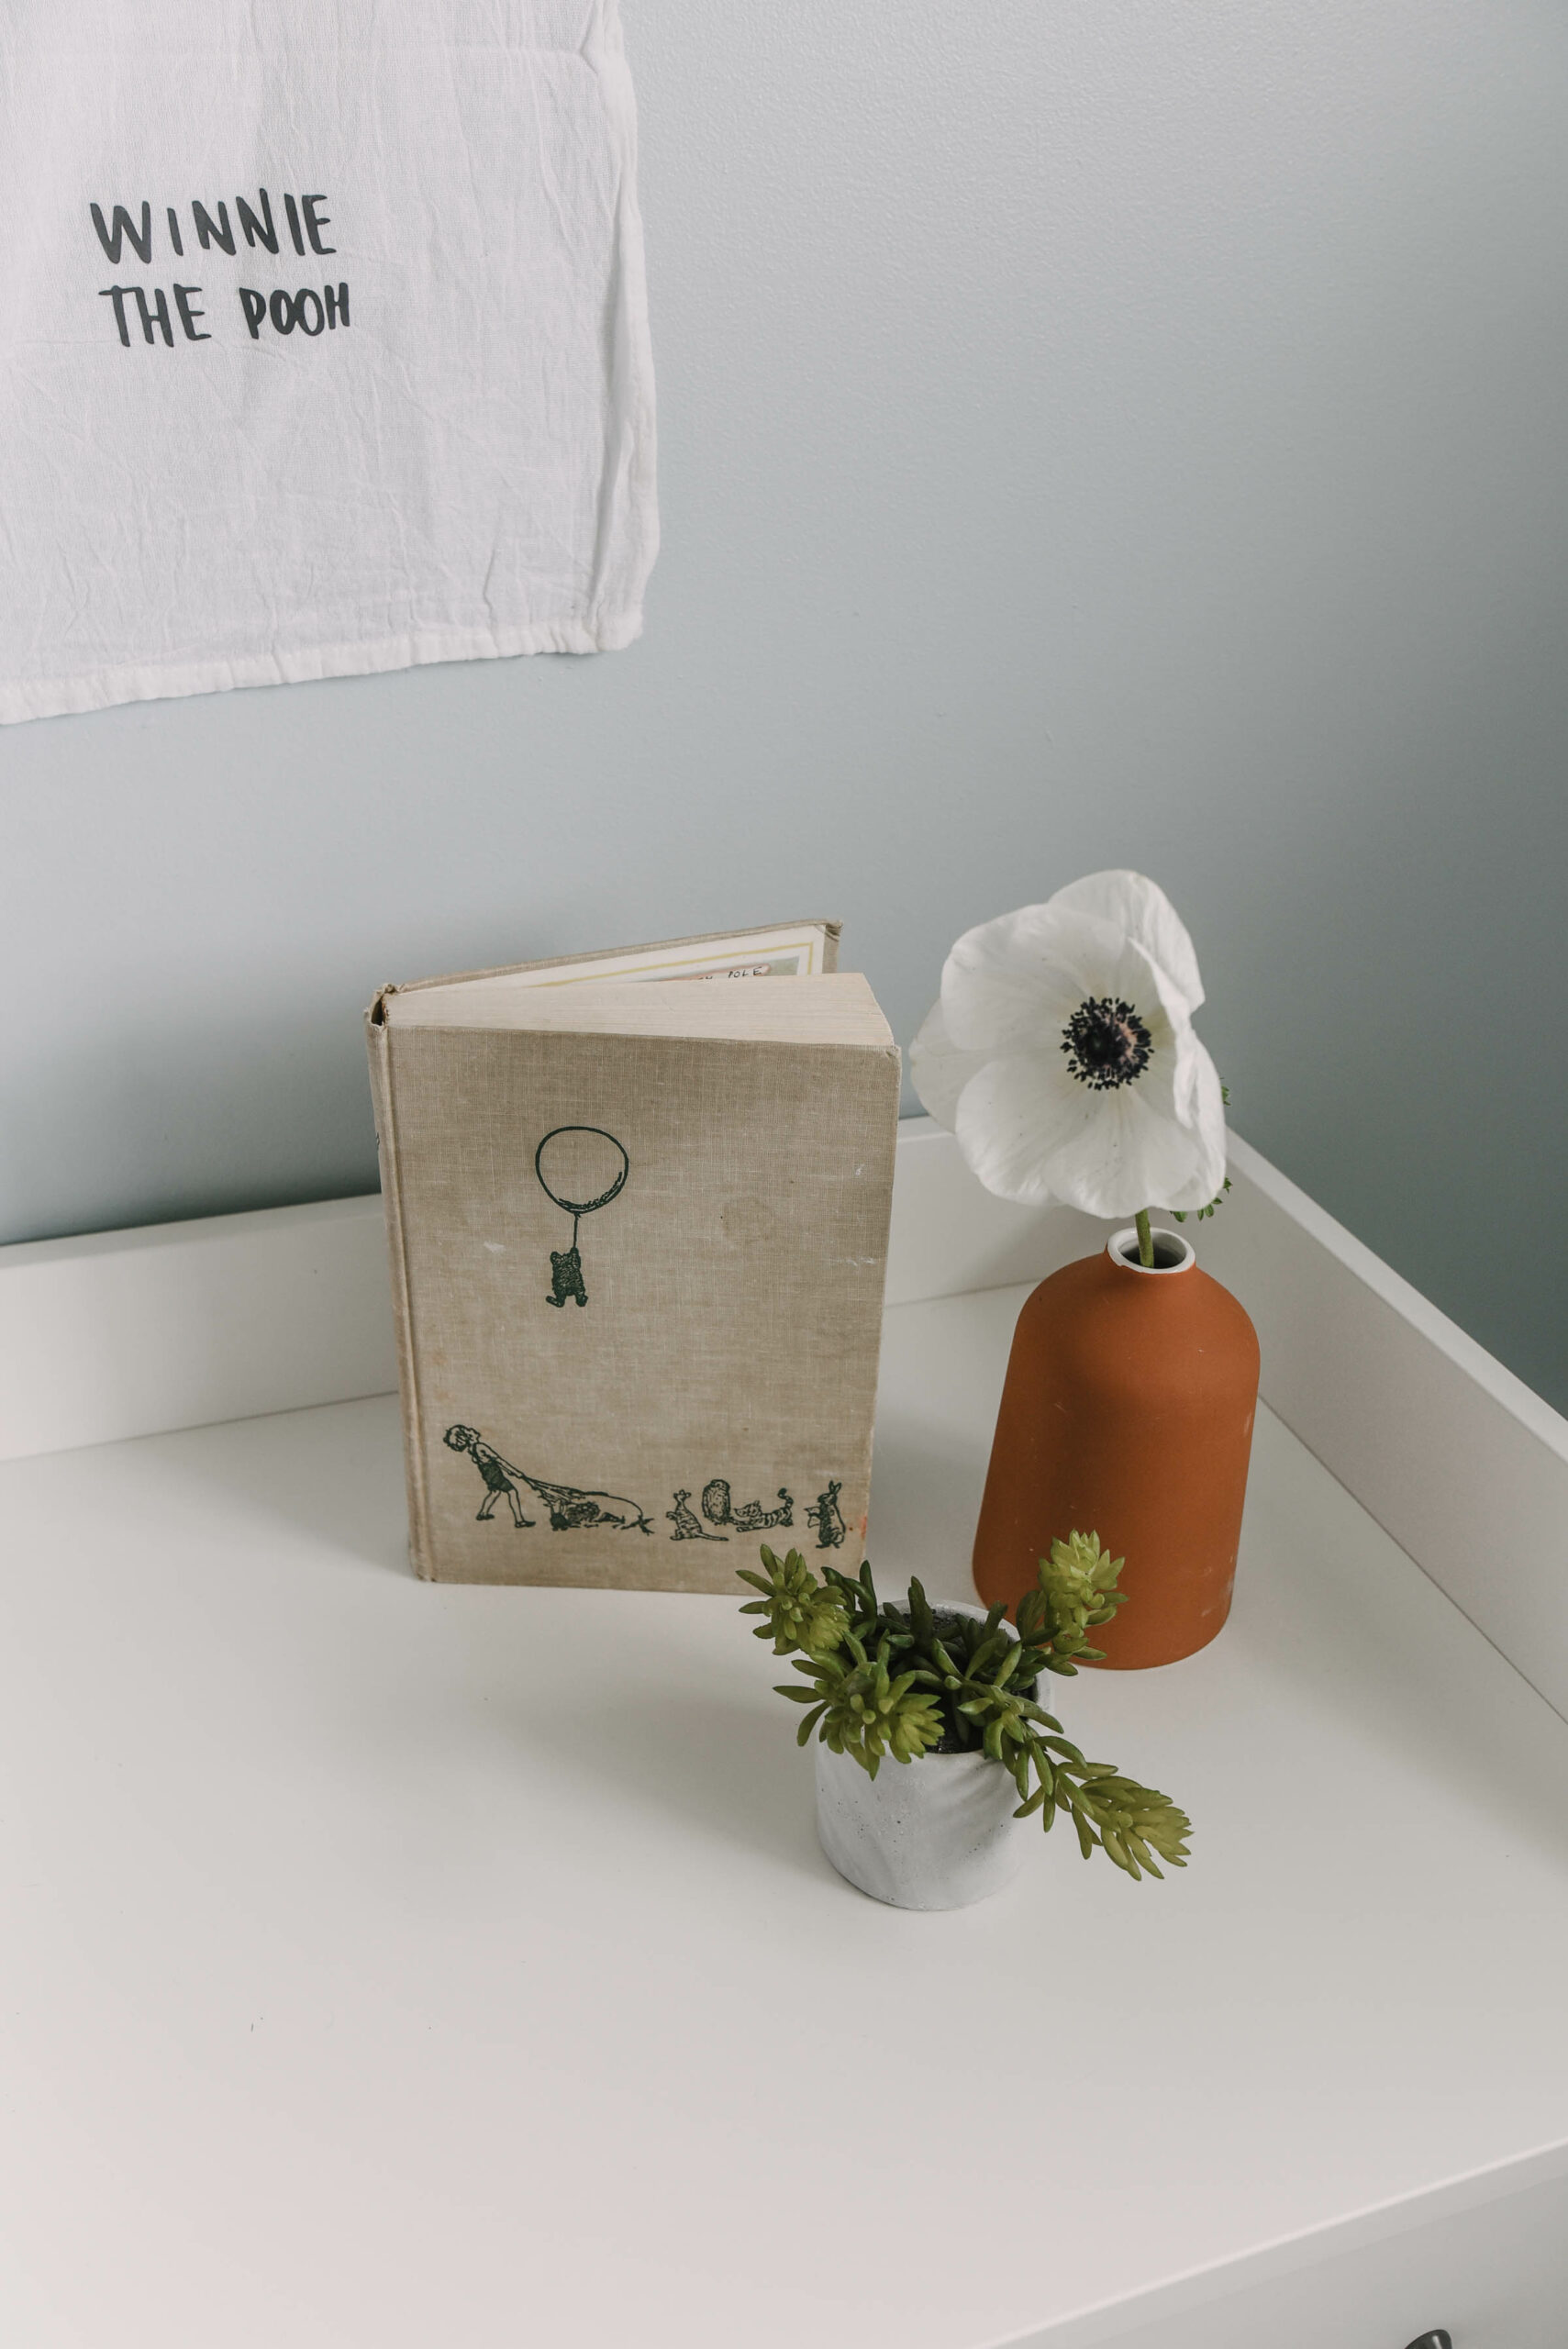
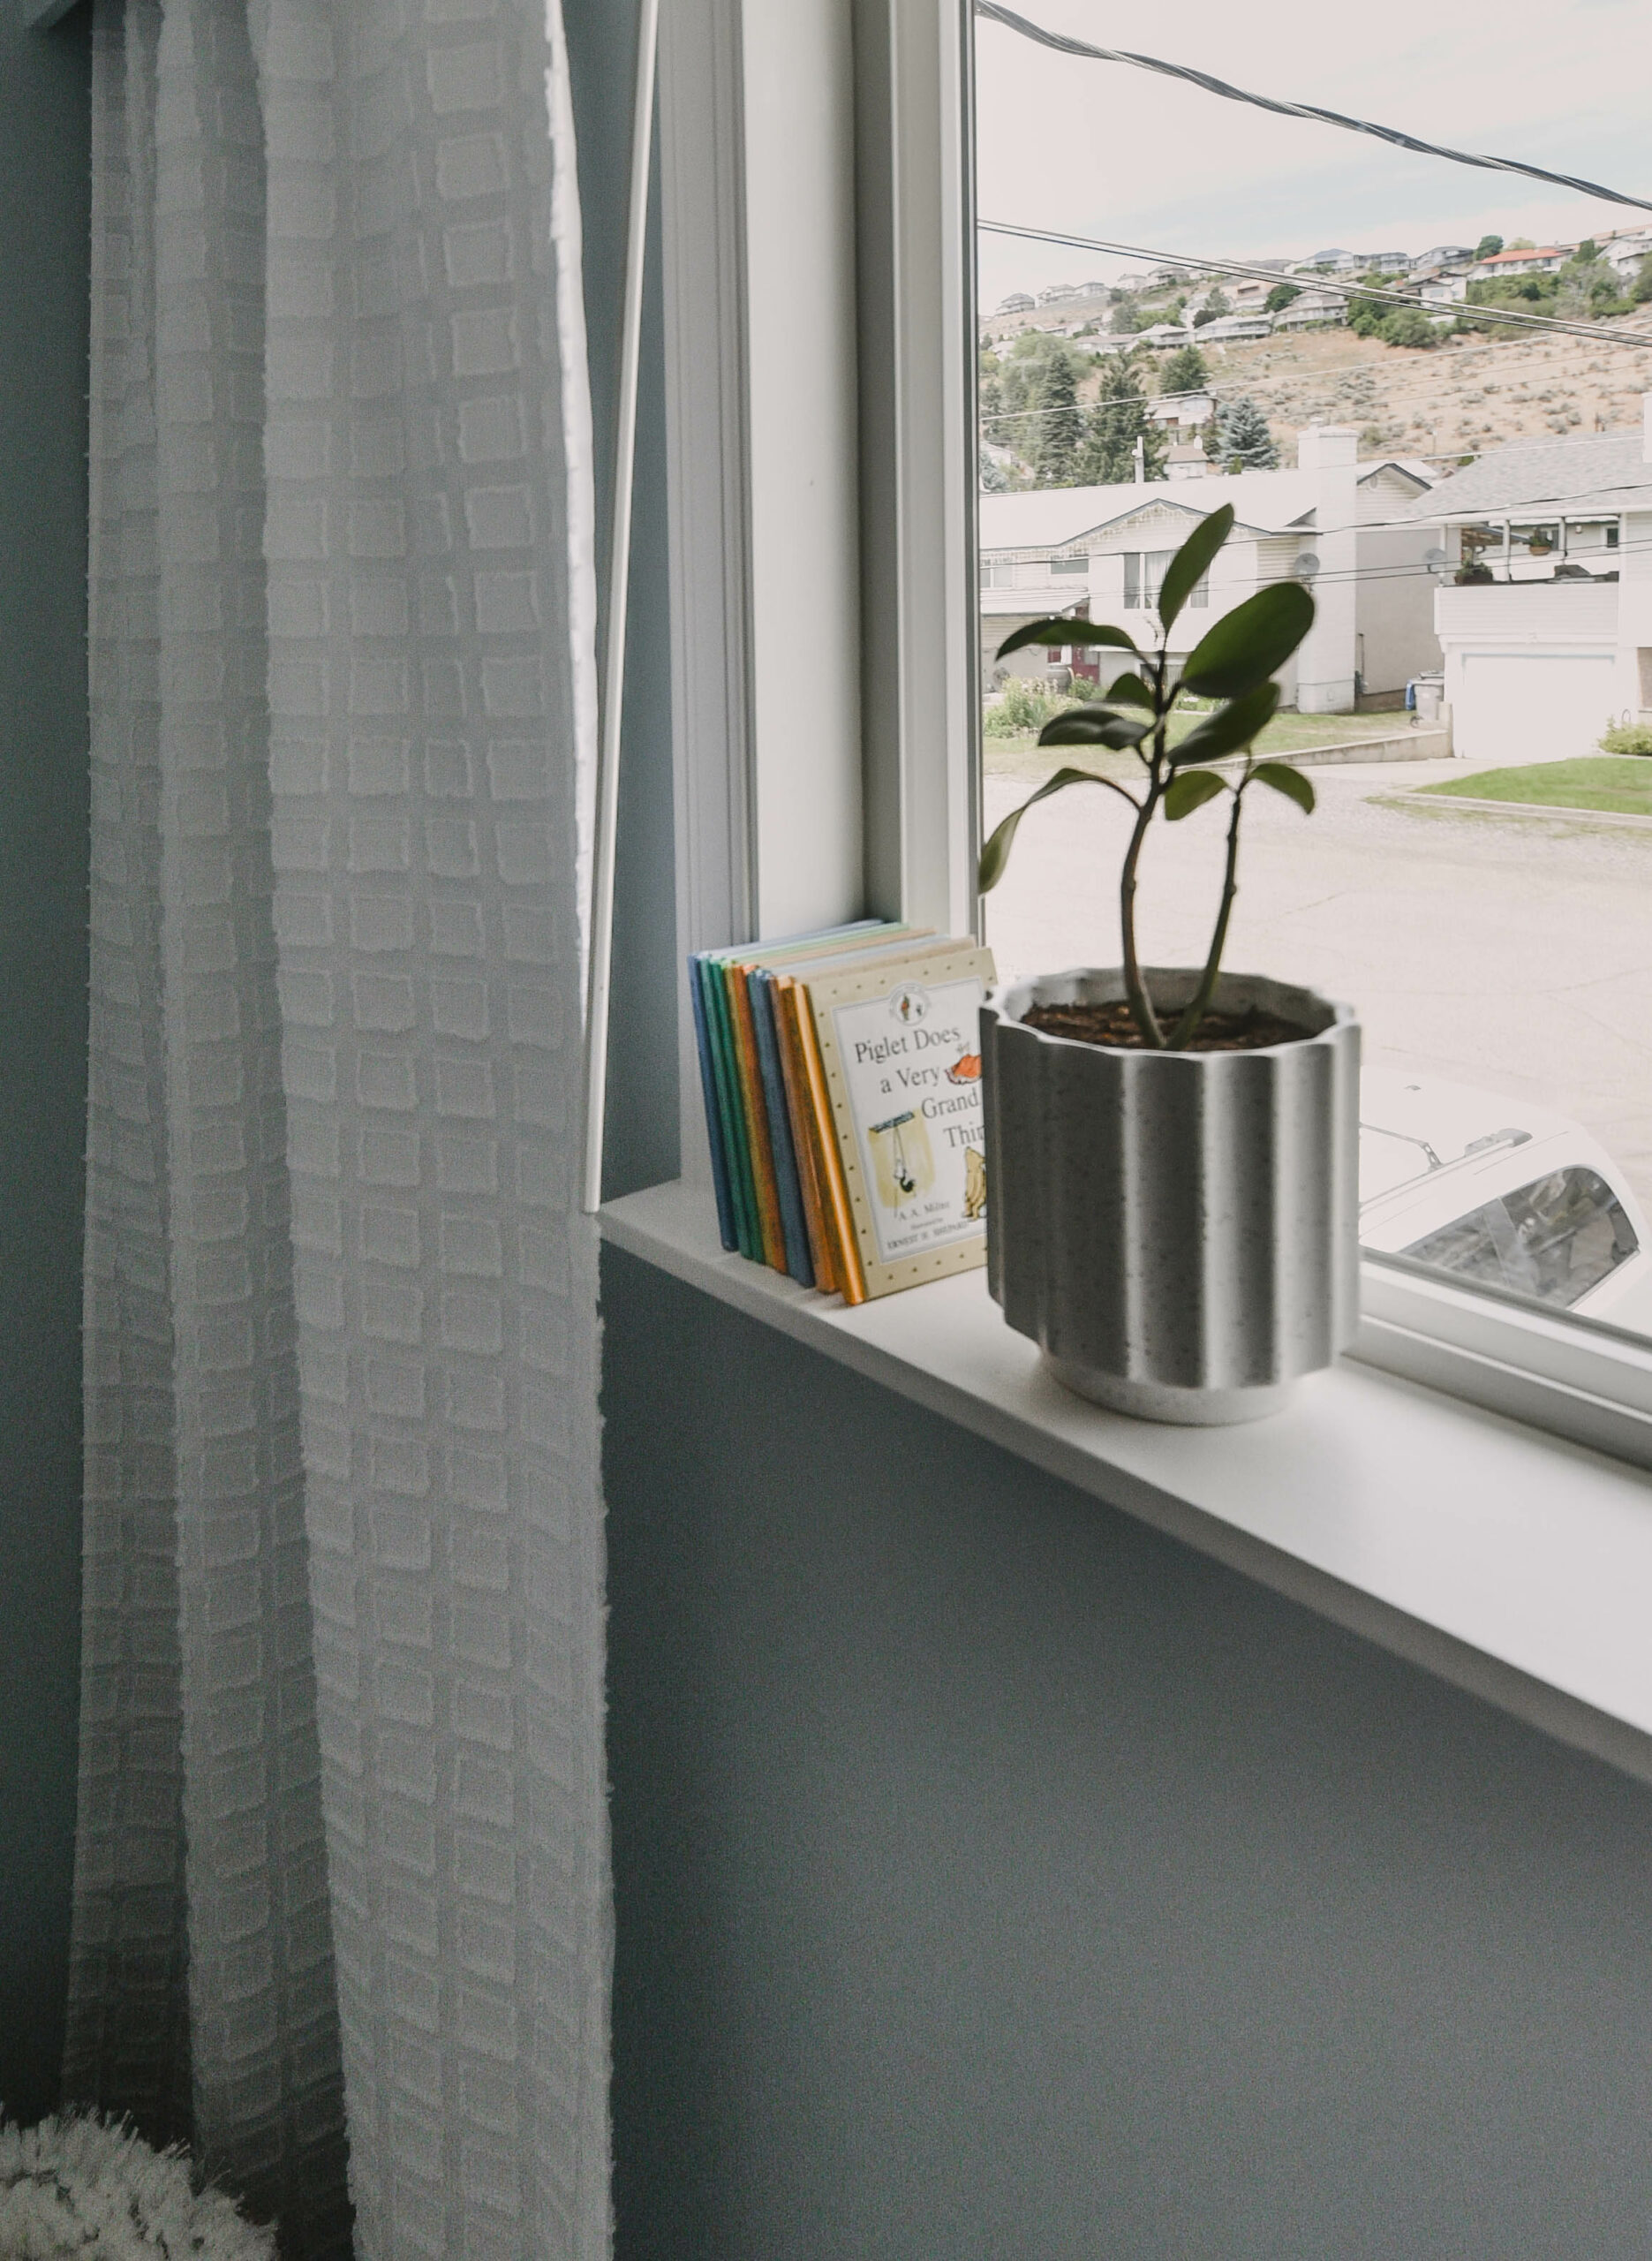
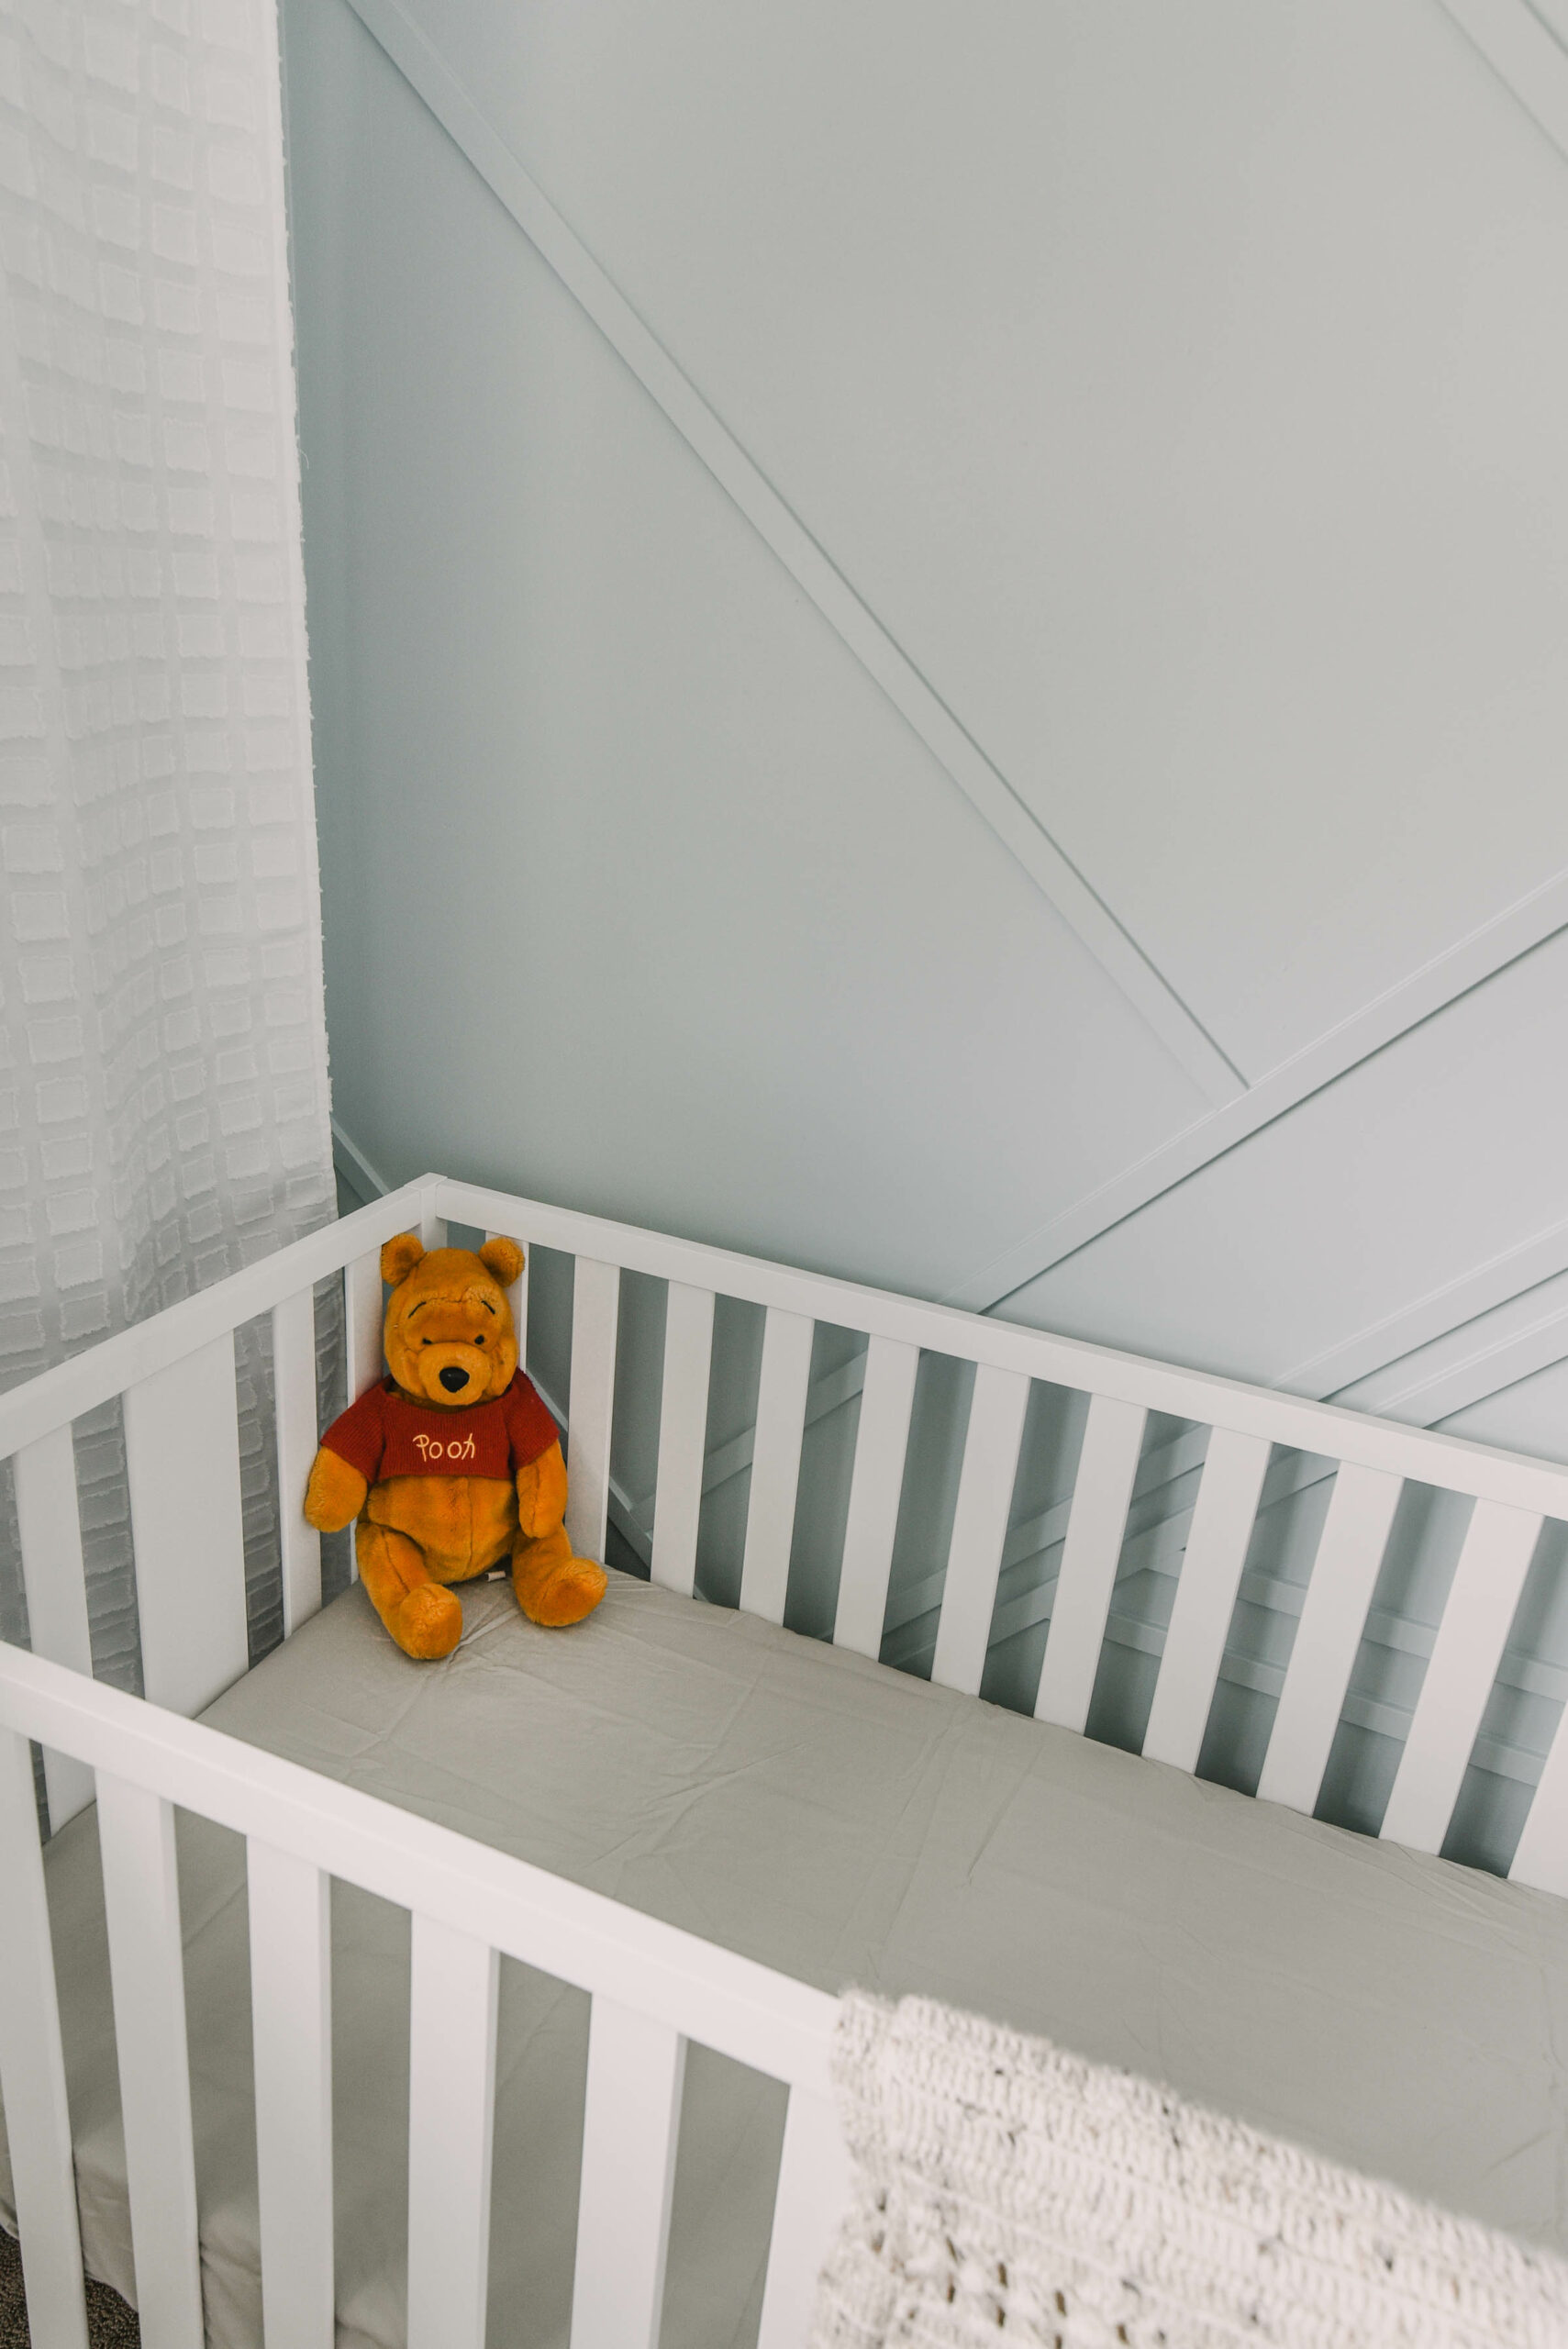
Light blue is often a cool colour, but by adding natural textures and warm details (like that terracotta vase) this space is so cozy and welcoming- not at all cold. The space turned out so sweet, I can’t wait to meet the little babe that gets to grow here!
Big thank you to Wagner Spray Tech again for partnering on this post. You can find more information on the Wagner FLEXiO 5000 right here.
LIKE IT? PIN IT!


 Modern Summer Deck Decor
Leave a Reply