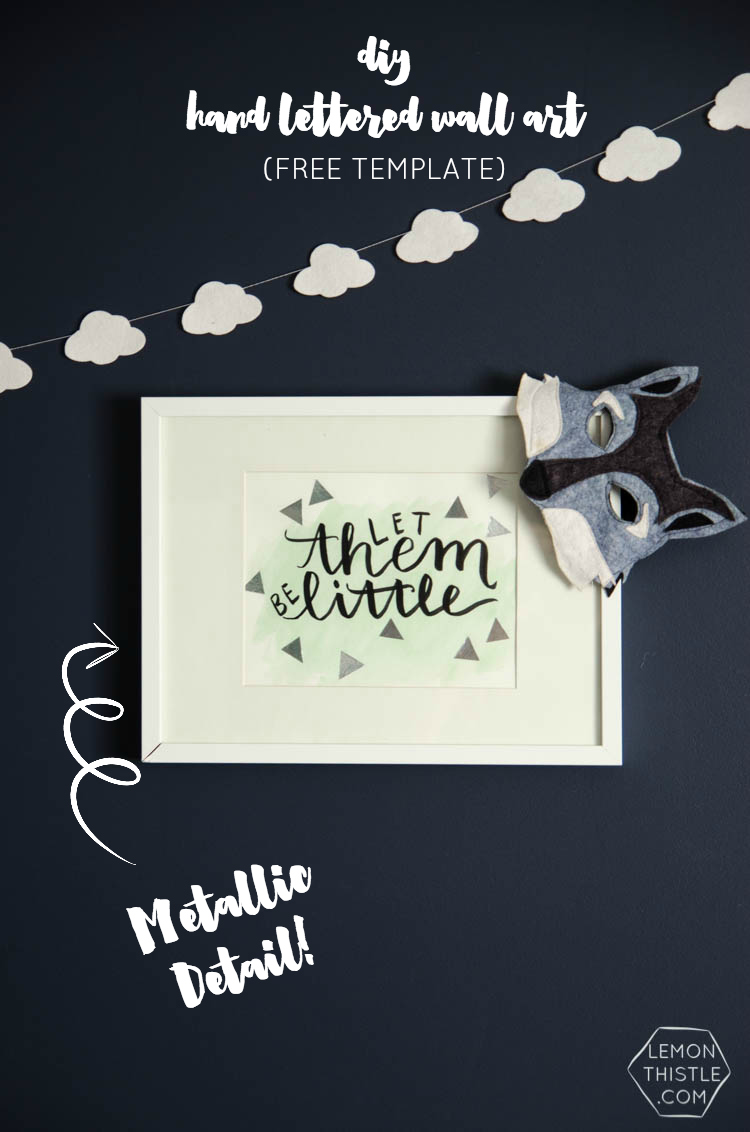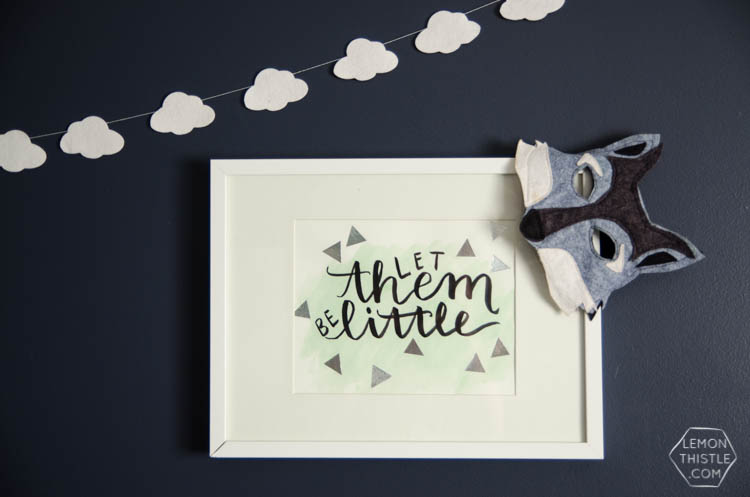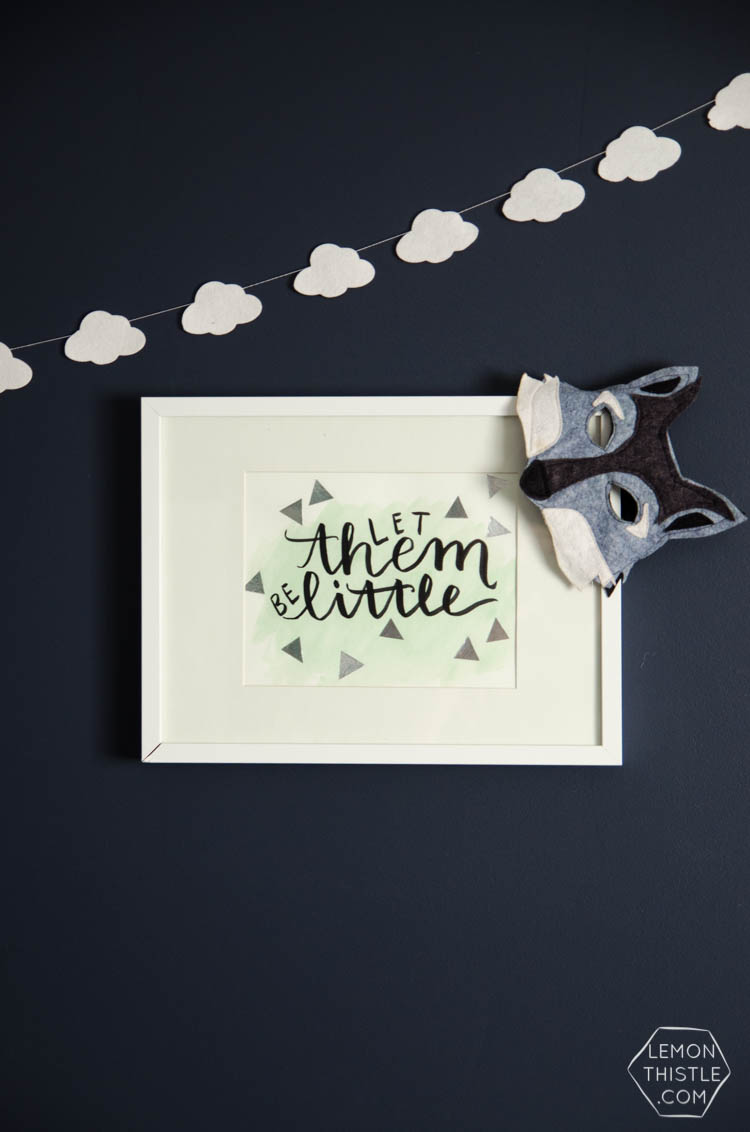
You guys… I am so excited. I spent the weekend finishing up the kids’ new ‘big kids’ room and it feels awesome to have that off our plate. I can’t wait to show it to you, but that won’t be today. Although, this fun hand lettered sign certainly makes an appearance in there! This hand lettered sign has all of my favourite things: hand lettering, watercolour, and even a bit of metallics. I even have a printable template for you if you don’t feel like free handing your own.
This DIY is part of the video DIY series I’m working on with Shaw, so if you live around me- you might have spotted it airing since Thursday. Ready to see the how-to? Let’s do it!

Did you guys catch my self depreciating remarks in there? Haha! Usually they cut that out.
Here’s what you’ll need to make your own:
- Hand lettered design (snag my template if you like)
- High quality paper
- Watercolour, water and brush (if you want to do a wash)
- Lettering pen (I use a Tombow dual brush pen
)
- Ducting tape
- Scissors or craft knife and cutting mat
- Frame
Before lettering anything, decide if you’d like to do a watercolour wash. This will be done first. To create a wash, you just need a tiny bit of paint and some water. Test out the opacity on a scrap piece of paper if you like. Set it aside and let it dry while you work on your design. For the hand lettering, I’d practice a few times until you’re happy with how you’re lettering the phrase you’ve chosen. If you’d like to use my template, go ahead and download it here. To use a template, use a pencil to shade the reverse of the template before laying it over your paper and tracing firmly over the design to transfer a light copy.
When you’re happy with your design and your watercolour wash is dry, go ahead and letter your piece. I’ve said it before and I’ll say it again- I’m totally in love with the Tombow dual brush pen for lettering. Then you’re ready for the fun part- adding some shine! I used ducting tape (the real foil stuff) for this. Just cut it into little confetti shapes, I chose triangles, and stick it on like a sticker. SO simple. Man, it makes me wish they had tape like this in gold… and copper. But I probably wouldn’t splurge on it. This stuff is so great because we have to have it in our house for ducting anyways… so why not use a little bit to make things pretty? It totally shines like hot foil too.


There you go! That’s all there is to it. What do you think of the use of ducting tape? I’m calling it a win and dreaming up other ways to use this stuff (any suggestions!?). Oh, and yes- I totally dropped the frame and broke it. I’ve gotten it back together but it looks a bit worse for wear. I’m ashamed to admit how many frames I’ve broken in the past few months… I’m going to go ahead and blame that on pregnancy clumsiness.
You can see this as part of the gallery wall in our twins ‘big kids’ bedroom I revealed right here!

 Navy and Neutrals Dinner Party
Love this print Colleen and a great tutorial on how to make it. I’ve got some hand lettered prints in mind for my two year old’s big boy room but will wait until after Christmas to make it I think. I’m not a host over at The Creative Corner Link Up and if you ever wish to do so, would love you to share your gorgeous work with us :) Hope all is going well for you and your pregnancy is coming along nicely :) Maria. x
Thanks so much Maria! I can’t wait to see the prints you create. This is such a sweet comment, the pregnancy is going wonderfully :)
This is super adorable, Colleen! I’m definitely printing out your template for my future baby’s room.
That makes me so happy to hear Kerry! I’d love to see it in action when you have the room done :)
great project, thanks for sharing on craft schooling Sunday!
Very clever and classy! Thanks so much for sharing this on Throwback Thursday and have a great Holiday Season!
Thanks so much, I appreciate you stopping by :)