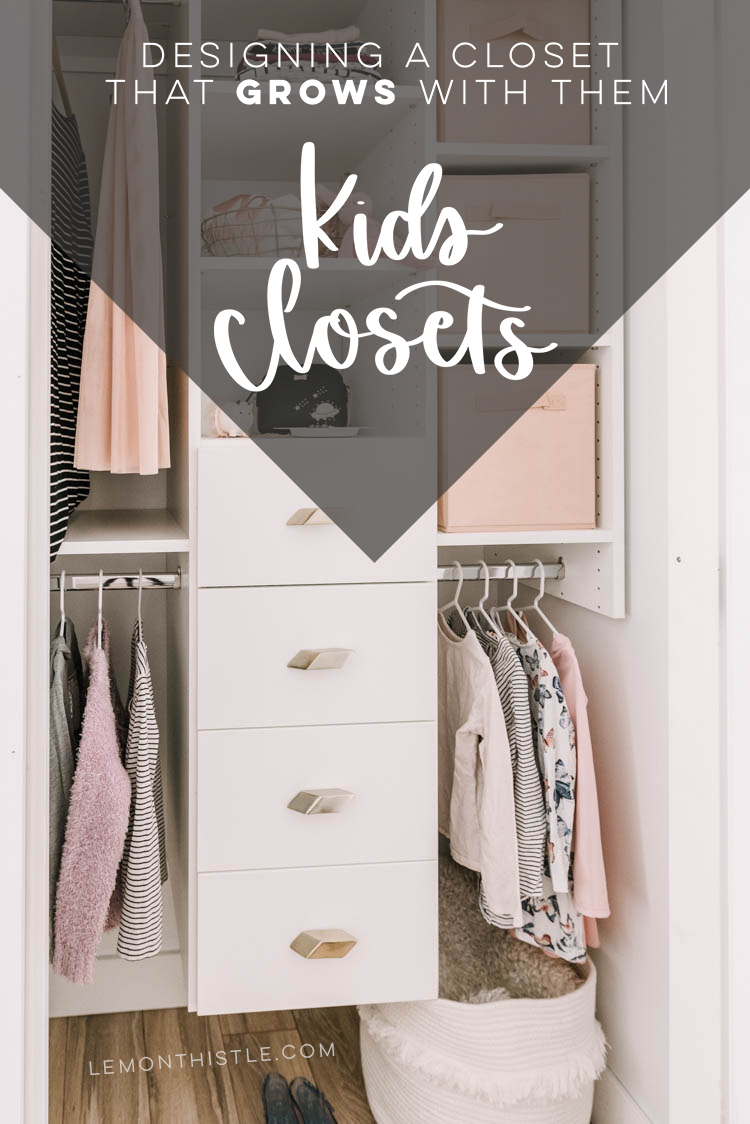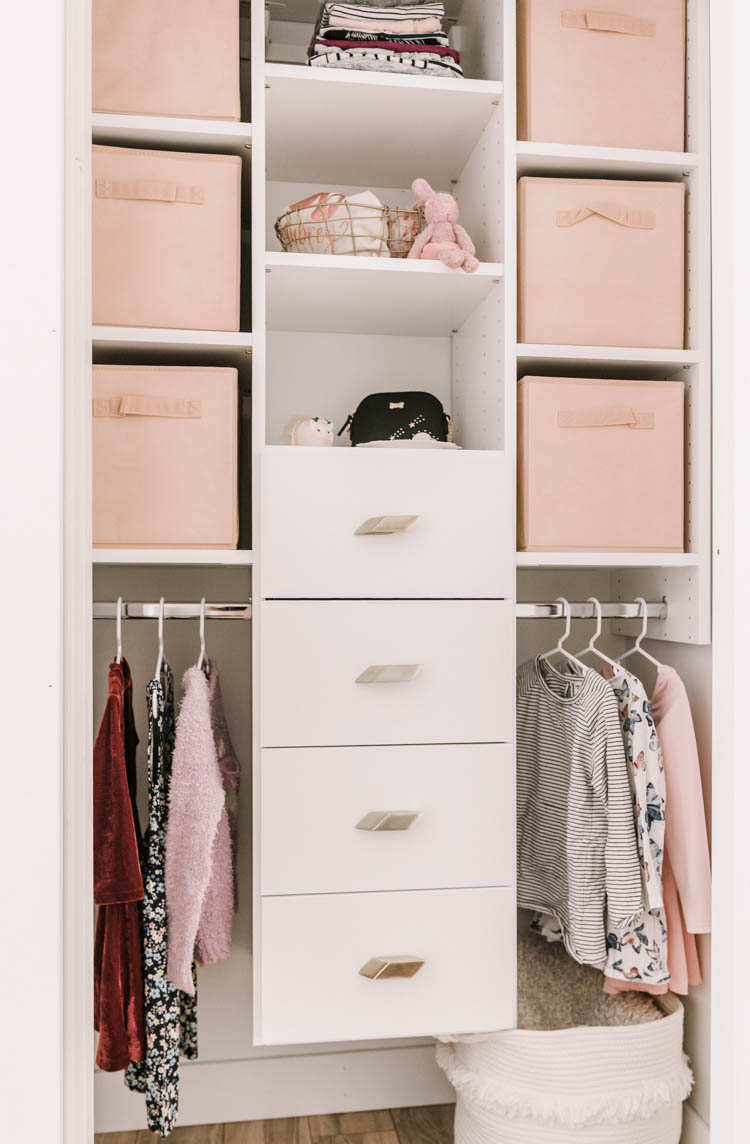
I am so excited to share the closet that we designed for Aubrey’s bedroom makeover! I’m totally thrilled with how functional this itty bitty closet is and thought I’d take this week’s One Room Challenge update to share some tips that I learned from partnering with the pros at Imagine The Room Kamloops on this closet with you.
This is a really small closet, you guys and it packs such a big punch for storage now. Just by adding this system in, we’ve eliminated the need for a dresser in her room which makes me so happy because that makes room for a desk. When I told her this news in the book store the other day, she got the biggest grin and asked to spend her birthday money on a special pen. My heart can’t handle how sweet this girl is, you guys.

If you missed the announcement, we are making over Aubrey’s bedroom in 6 weeks as guest participants on the One Room Challenge. And this tiny closet is the ONLY part of that room that is totally complete. This might be a first for us but… I’m not sure that we’re going to get this one done in time. We’ve had some family things pop up and family comes before renovations so we just have the drywall finisher working on the room right now and the window we ordered still hasn’t shown up. The drywaller’s timeline is 1-2 weeks. Which puts our reveal after next Wednesday. *sigh* BUT when we do get it done… it’s going to be fabulous, I just know!


But this closet is done so let’s talk about that! I shared some designs that we mocked up when I went to visit Imagine The Room Kamloops’ showroom on my Instagram stories and you guys had some STRONG opinions about kids closets.
NO hanging space! Kids don’t need it! Put in full length hanging! She’ll appreciate it when she gets bigger and has dresses! Make the shelves adjustable! Measure your baskets! Don’t do drawers on the sides- they’ll get stuck!
And so much more.
Can I just say that I LOVE when you all have opinions for me! Even if they’re not the same as mine- they always give me something else to think about that I might have missed. Plus they help me to know what to talk about when I’m showing you the final product ;)
And second of all… what if I told you that we took all your advice and put it into ONE closet. That will grow with Aubrey from her teeny tiny shirts to her full length dresses to double hanging if she has lots to hang to all shelves with only bars on the bottom sides if she doesn’t (like now). Also… pretty drawers to hide the non-foldables with gorgeous hardware right down the centre.
I wanted to show you what I mean so styled it three ways. Watch for the changes:


SAME closet organizer. So rad, right?! It’s going to totally accommodate her as long as she grows and her needs change.
So here’s the tip- use as LITTLE full height hanging room as you can to maximize space. This is one of the tips I shared in my post about walk in closets. And if you can go smaller than double hanging… do it (like I have with the bin in between the two).
But hey… if you do teeny tiny hanging spaces… what happens when they grow? Well, usually that would be a pain to change it. What we designed instead is a system that has predrilled holes for ALL. THE. OPTIONS. We can move the shelves around (pretty standard, I think?) BUT we also had holes drilled for the hanging bars… and got two extra hanging bars and hardware so that we could add those in or take those out as we needed/wanted.

I’m not going to lie. As I was moving these shelves and bars around to test out the different configurations… I was totally impressed with the design. It was so easy to switch things up and I can’t get over how functional it makes this tiny closet for her NOW but also as she grows. You could take out the second hanging to make for a full height hanging if you want but I just threw in some of my dresses and skirts on this last option for reference (that dress would drag on the ground so badly on her now!).
So there you have it- my biggest tip for ya! Get a system that has OPTIONS to move things around to customize it as they grow. And if you want to make the most of every. single. inch. of space in that closet? A custom system is your best friend. What we were able to do for design and shifting drawers by the inch… the flexibility to make the most of those 42 inches is unbeatable. And then make it extra beautiful with some pretty knobs. These ones I’ve been saving (hoarding, really) for a few years now- I got them from my sister-in-law when they didn’t work for a vanity she’d ordered them for. I love the unique style to them and how shiny they are for her. They were from Anthropologie originally.

Alright, I’m going to leave it at that and madly prepare for the minute the drywall is done and I can get in there with a paintbrush! I am really excited to pull this space together not just to check a room off my list but also to share this space with Aubrey. I know she’s going to love it and she’s been waiting so patiently, telling me every day how excited she is.
Big thank you to Imagine the Room Kamloops on partnering on this project! This is the second project we’ve partnered on (you can see the first here!) and yet again, I’m blown away with how well this closet now works for our family AND with how amazing they were from design to install. Total dream.

 A Great Night Sleep for Guests
I love a good closet system, especially for children! We’re still at a point that we only have huge stuff in their closets (think diaper boxes, strollers, etc.), but I know I’ll be at this stage soon enough. Great ideas :)