This post contains affiliate links. Find my full disclosure here.
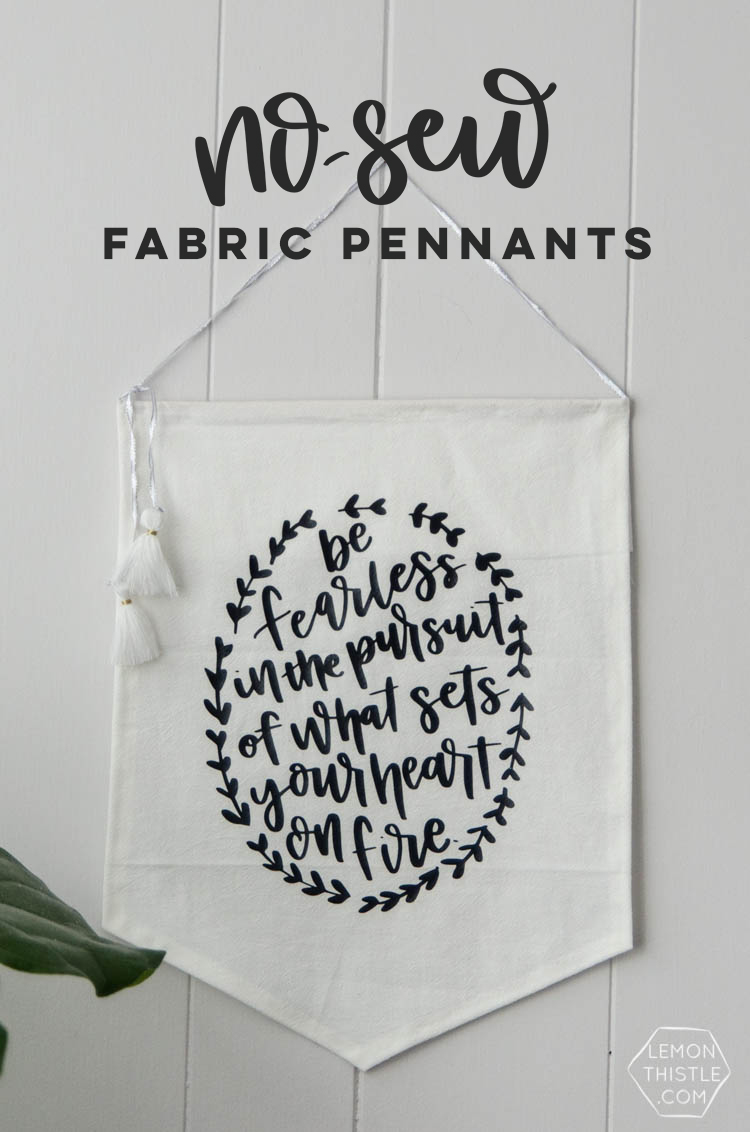
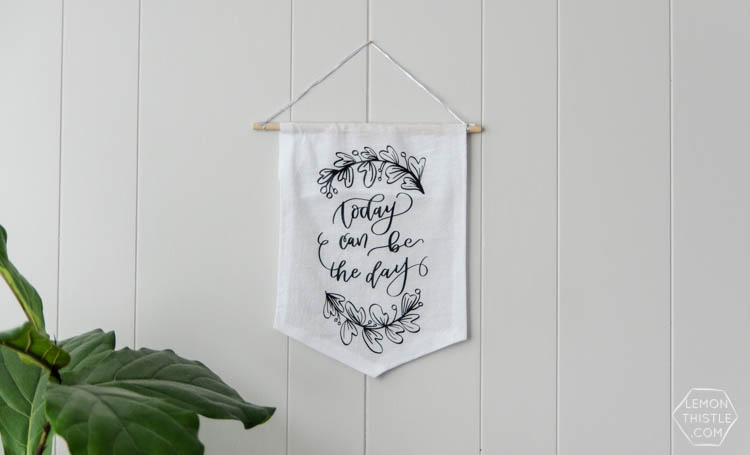
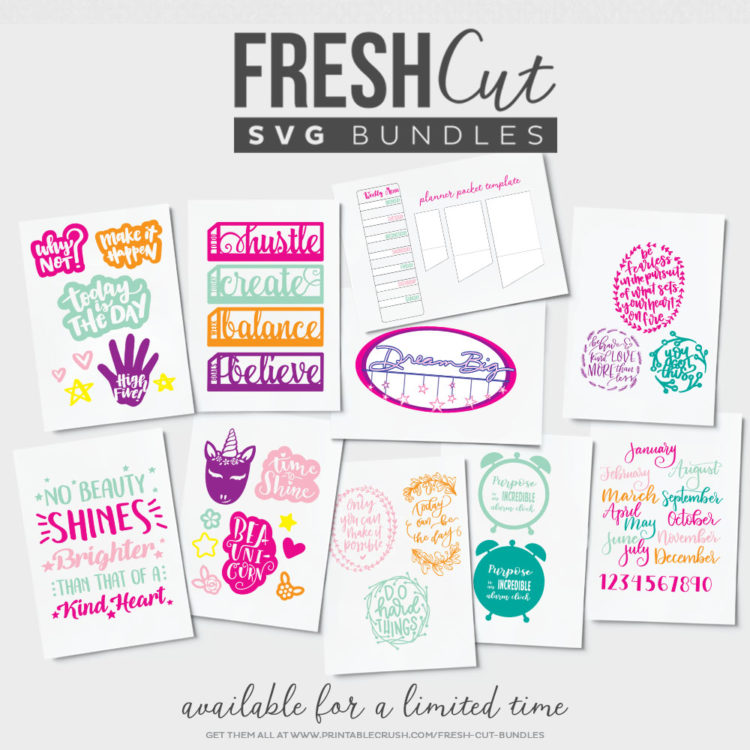
January is the time of resolutions and motivation and aaaall the inspiration. So these inspirational pennants are perfect to get you motivated and they’re cute to boot. Today I’m sharing how I made these DIY pennants using flour sack tea towels PLUS! these designs are all part of the new SVG Fresh Cut bundle! This month’s theme is totally inspirational to help you kick your year off right. Think inspirational quotes, planner stickers, bookmarks and calendars and so. much. more.
You can find the bundle right here!
There’s actually SIX of these lettered phrases with wreaths or details that I’ve put into the bundle. So I went ahead and made a pennant for each and am going to be using them for gifts. I actually already gave one away today (over on Instagram stories). But I have to keep one for myself, I’m just deciding which. But I’m leaning towards the ‘Do hard things’ one.
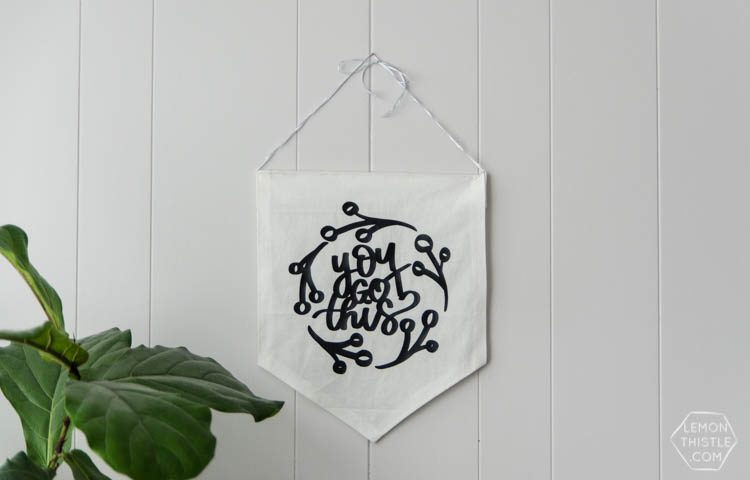
Now on to the DIY! These pennants are really simple to make and the best part? They’re NO SEW. I can sew… I really can. But pulling out the sewing machine is such a process- it’s totally not something I want to do often. And honestly, it’s not something I really enjoy. So these DIY pennants are totally no-sew. Want to know how to make them?
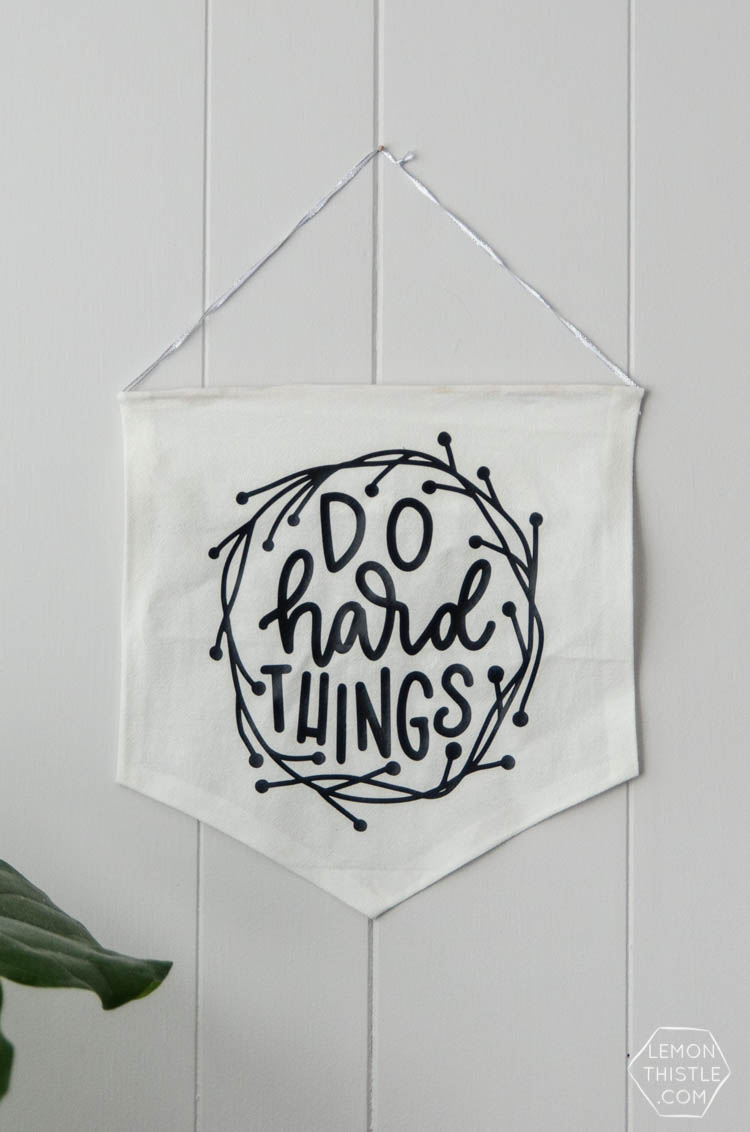
To make these DIY pennants, you’ll need:
- Flour sack tea towels
- Rotary cutter and cutting mat (or scissors)
- SVG Handlettered Designs
- Black Iron on Vinyl
- Cricut Explore to cut
- Bright Pad for weeding (not necessary, but super awesome)
- Cricut EasyPress or iron
- Hemming Tape (I totally love this stuff)
- Dowels
- Ribbon
- Hot Glue Gun or more hemming tape

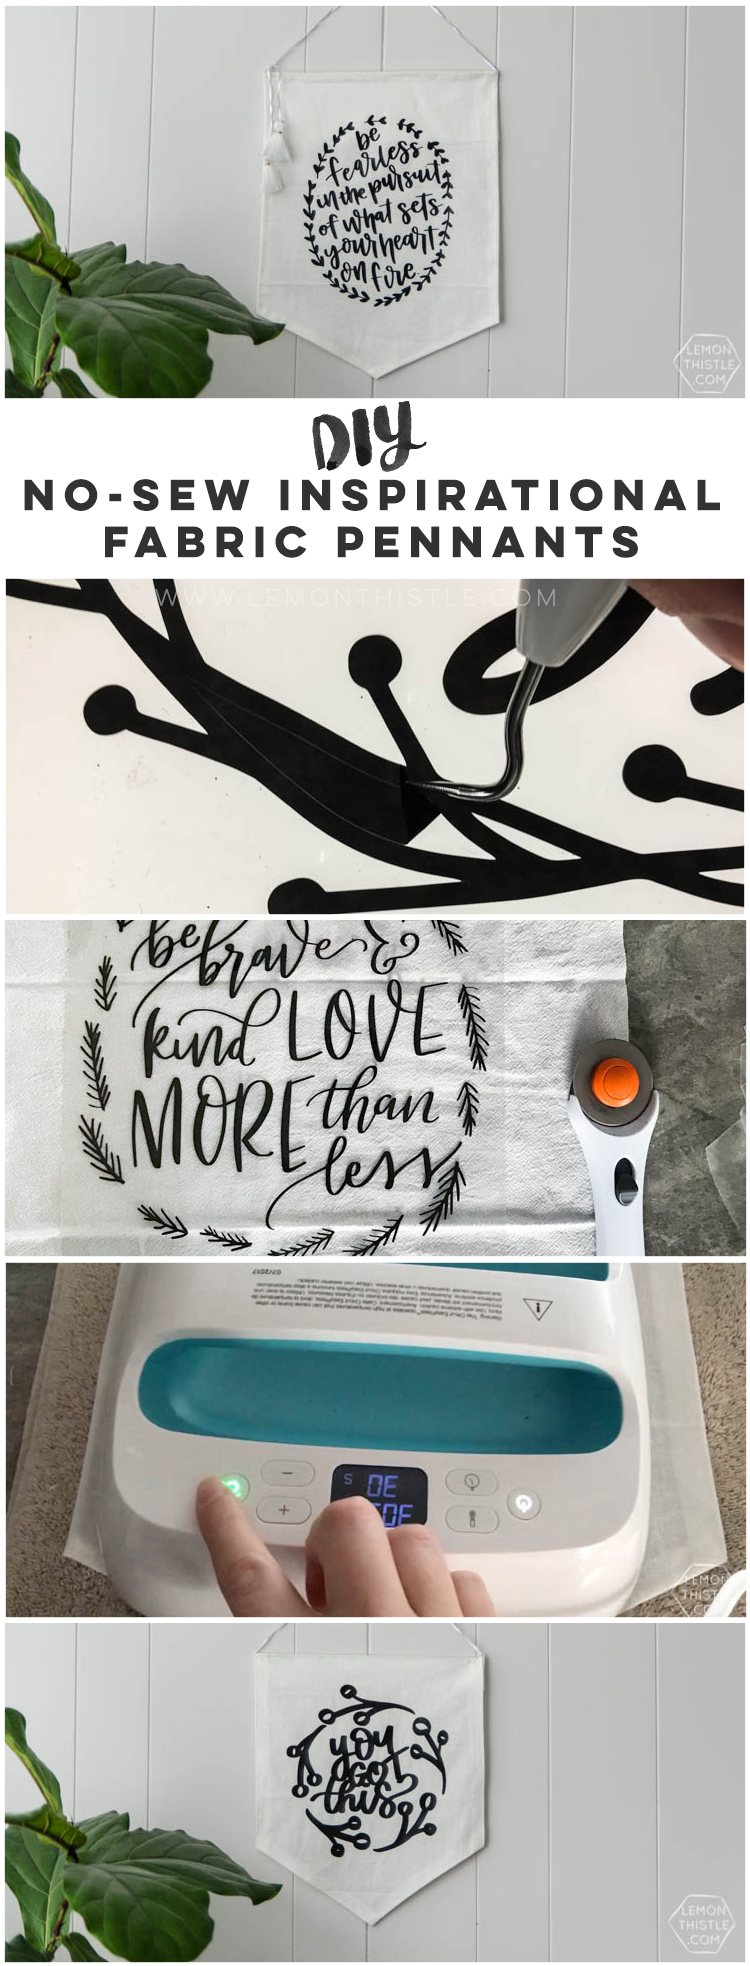
The first thing you’ll want to do is pick your design and get it cut! This tutorial is using iron on vinyl cut with a cutting machine (I use a Cricut) but you can totally letter directly on the fabric if you’d rather- the making of the pennant other than the design is still the same. All the designs I used are from this month’s SVG Fresh Cut bundle. If you’ve never used a downloaded SVG file before- it’s a little different than a PNG (usually what I share here on Lemon Thistle). When you load it into your Design Space (or whatever the silhouette software is) it will show each piece/cut individually. Which is great if you want to do them out of different colours. But it also means they won’t stay arranged when you hit ‘cut’. SO you need to select all those layers and weld them or attach them together. Easy peasy but such a headache if you have no idea.
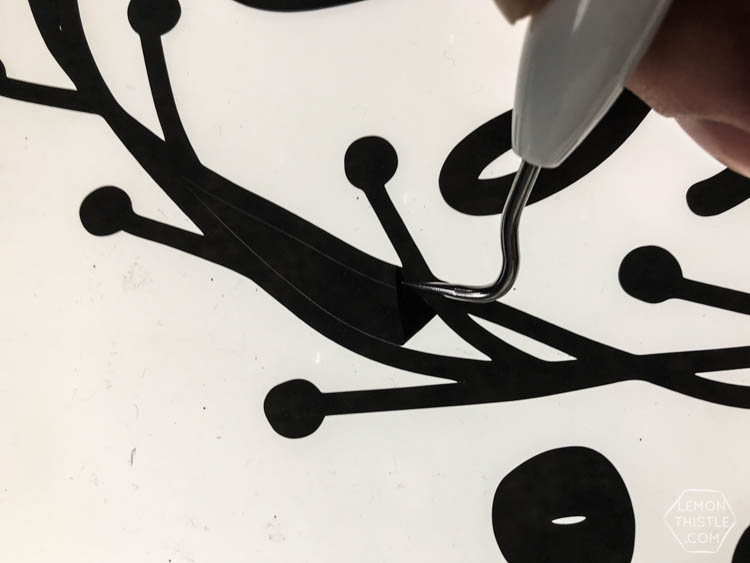
Quick reminder that for iron on vinyl you need to mirror your image and to put the shiny side down on the mat before cutting. Alright. Once it’s cut- go ahead and weed it. I used my Cricut BrightPad (it’s a lightbox) to help make weeding quicker- it just shines the light through the cuts so you don’t miss any. You don’t need one.
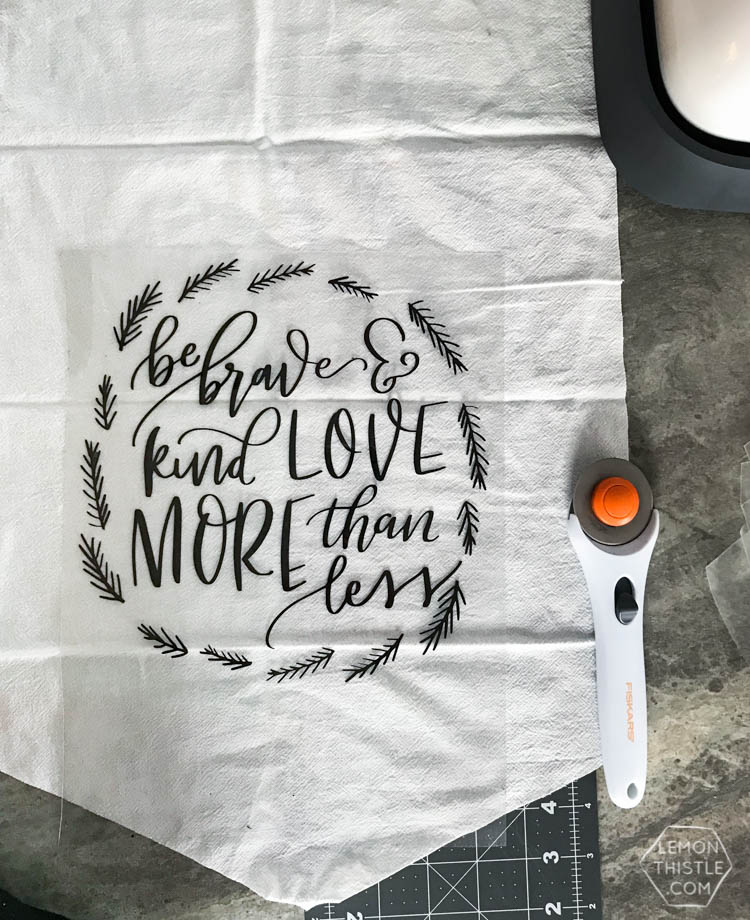
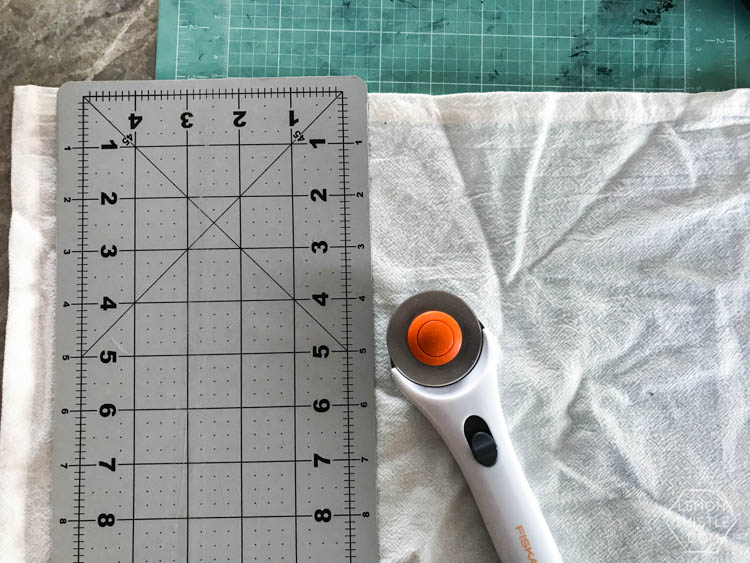
Once you have that all ready to go- you know how big you need your fabric for the pennant to be! I was able to get minimum two out of each tea towel. I had two different sized tea towels and some of them I got 4 out of- they were HUGE. I used a rotary cutter to make the cuts- this is by far the easiest way to cut fabric! If you have a Cricut Maker you could totally use that to cut your pennants too! This would be especially awesome if you were making mini ones. To make the point of the pennant, fold your rectangle in half and cut on an angle.
Once it’s all cut, give it a good iron to flatten it out and then get hemming! I used a few different types of hemming tape for these pennants- I might do a post on how they all work and what ones are best for what BUT until then. I found this one worked (Heat-n-Bond’s Ultra Hold) awesome on the pennants. I like that I didn’t have to pre press the hems and the sturdy tape backing meant that the edges didn’t get wonky as I was moving the iron/heat press over the edges.
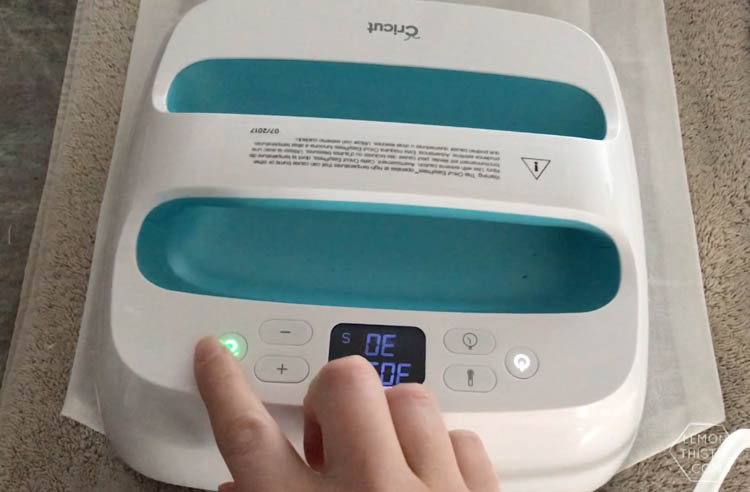
Once the edges are all hemmed, I applied the heat transfer design. I used the Cricut EasyPress for this but you could totally use an iron as well. Make sure to iron the reverse of the fabric/design as well before peeling back. This has made a huge different in how well the vinyl applies for me!
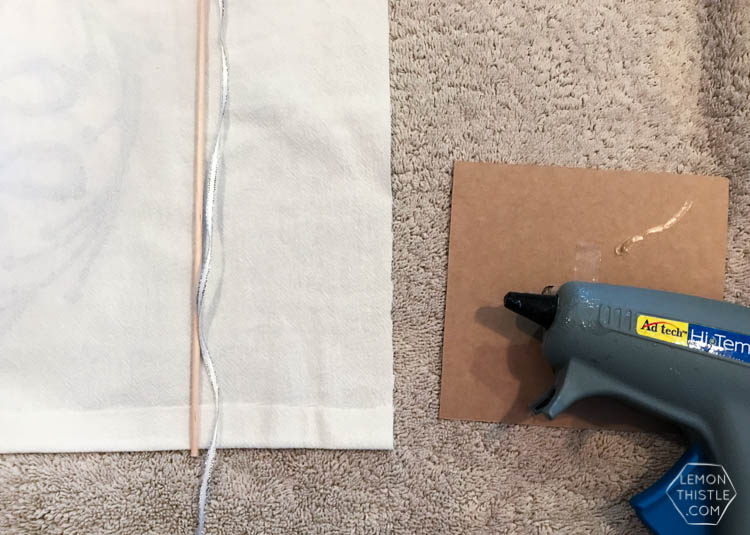
I had a couple pennants that were the perfect size for the standard 12″ craft dowels, so for those, I just did an extra hem and slid the dowel in. For the ones that were a bit bigger, I used a skinny dowel to help support the pennant and just ran the ribbon through with the dowel to tie and hang. For these ones I used a hot glue gun to adhere the dowel and ribbon to the pennant.
That’s it! I added tassels to one of them (love how this looks! And tied a bow in another. There’s so many things you could do with these. You could just use string, add some wooden beads, or even hang them with leather. I’m totally in love with how they turned out!

Alright, I’ll leave it at that- don’t forget to get the bundle before it’s gone! It’s only available for this price for ONE MONTH.
LIKE IT? PIN IT!


 Winter Wonderland Handlettering Practice Sheet
Hello, is the Muah Lip 💋 printable still available for purchase? Wanting for my front door!
Thank you!
Hello! You can see all the info on that one here: https://www.remodelaholic.com/diy-valentines-day-wall-hanging/
The lips are a free graphic from pic monkey (you could find a similar one in Canva I’m sure!) so I can’t share it as a free download. The muah is available for free download in that post!