I’ve used affiliate links in this post- you can read all about those in my policies!
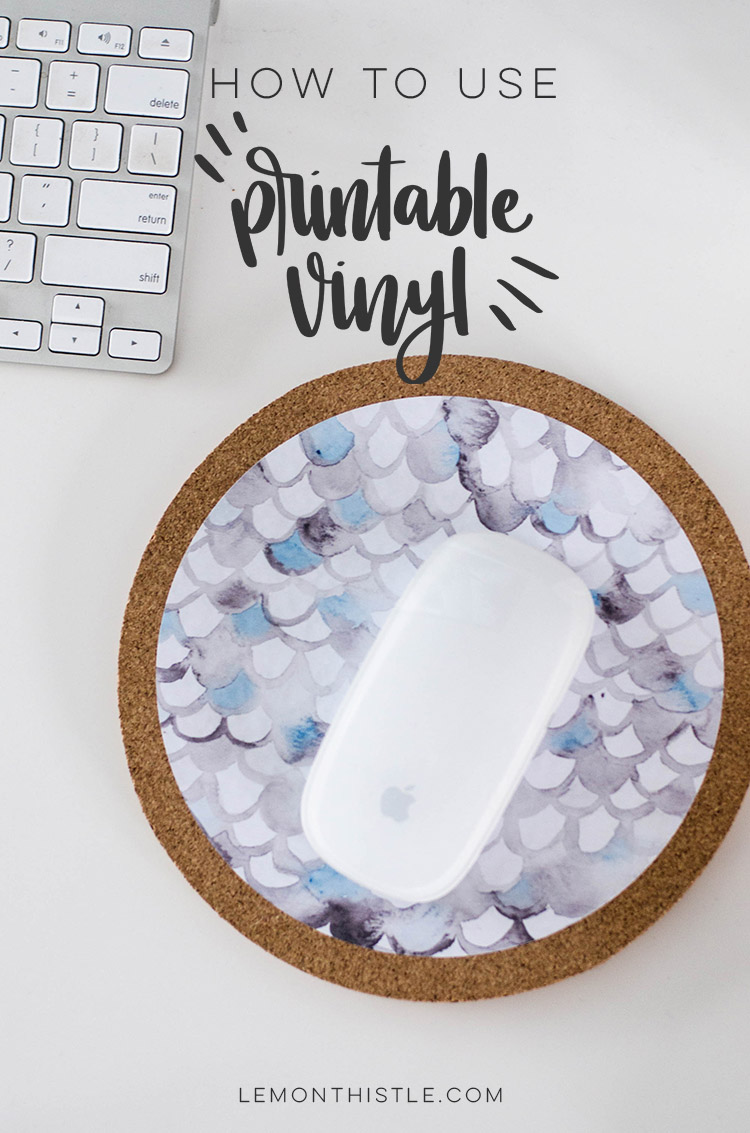
Everyone has craft fails… right? Sometimes I fail so hard that I just have to share it. This is one of those times.
Today I’m back with another video & post in the Silhouette VS Cricut series that I’m working on with my friend Alexis from Persia Lou (team Silhouette). I’m not going to lie. I’m so hard team Cricut that I don’t even want to try a Silhouette… because learning a new software seems like a waste of time when I already have something I love that can do it all just as good (if not better). BUT this weeks’ challenge is the first time that I thought the Cricut maybe kinda lost at something. And that thing? Is print then cut.
But here’s the thing… In the 4 years that I’ve had a Cricut, I’ve never once chosen to use the feature. The only reason I tested it out is for this challenge. And even then, it took a bit of brainstorming to think of something that I’d want to use it for. So it’s really not a consideration for me. But if you want to print lots of kids cartoon characters to cut out… then you might want to think about this. Even so… it still works. And if I wasn’t doing this collaboration and talking to Alexis about all of the processes… I’d probably be super impressed by how this all works. Because it really is cool!
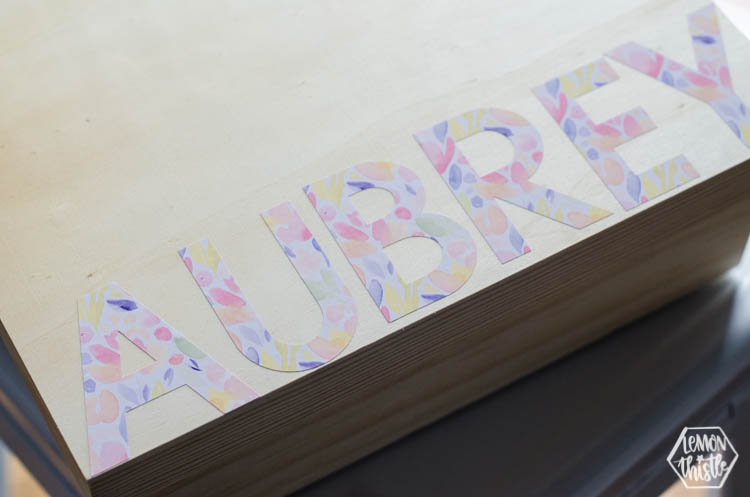
So let’s talk about print then cut. I made all four of my projects using this feature. I didn’t clue in that I could just print the WHOLE sheet of printable vinyl with a pattern and cut a shape out of that. So you can do that. And Alexis does that in her video if you’re interested in seeing it.
In this video, I cover:
- Print then cut basics
- Printable vinyl uses and downfalls
- Can you use transfer tape?
- Max print size on Cricut and a work around
- Flattening images for use with print then cut
- Adding your own watercolour images for print then cut
- What types of designs should use bleed turned on
Alright… ready to check out the video?!

There you have it! What did you think? Would you have made the same mistakes as me? Probably not, because you read directions… right?! Haha!
I am going to describe a few of the things I thought that were the highlights down below now! But first, here’s some links and details about the four projects I made.
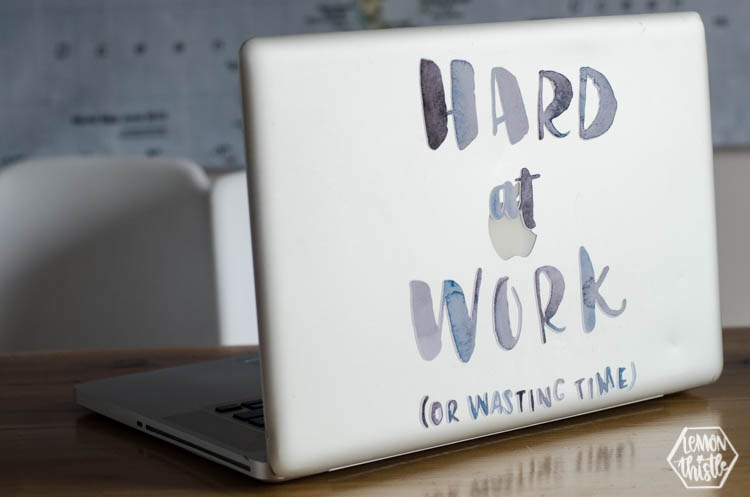
- The two blue/black watercolour designs are ones I made and scanned in. I used photoshop to select the designs and erase the background. I haven’t included that in the tutorial but chat a bit about it RIGHT HERE :)
- The floral watercolours are from this pack RIGHT HERE
- The font on the floral letters is called Nate’s ABCs and is included in Cricut Access
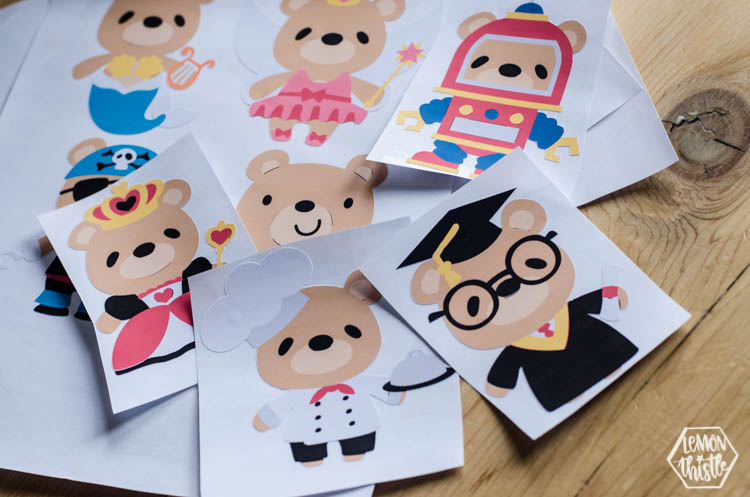
- The bears are included in Cricut Access as well; I flattened the images to make them print the cut- you can use the flattened images in this design RIGHT HERE
- For ALL of these projects I used the Cricut brand Printable Vinyl and my Cricut Maker
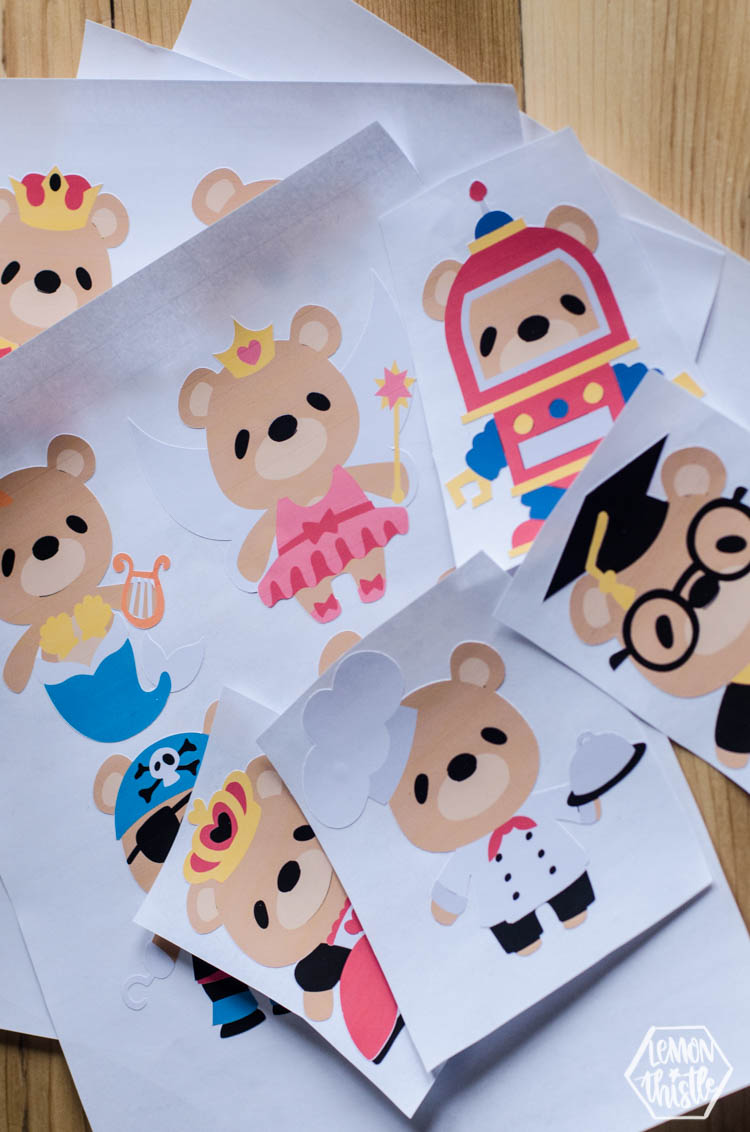
For all these projects I used print then cut. What is that even? I had never used it before, but it was pretty simple. Print then cut is exactly that. It’s a design that gets printed on your material (whether paper or printable vinyl like this) and THEN cut out of the material. So my initial thought is kids projects are what this feature is made for. You know… cartoon characters, cheesy colourful things, etc. So I made some of those. Some cute little bear decals to bring in to the hospital. But then I wanted to challenge myself to make something that fit with my style that I really did want in my home. Then it hit me… WATERCOLOUR! So I made 3 watercolor projects. Because I couldn’t get enough of the watercolour printed on vinyl!
To use the print then cut feature, you load your design onto your mat. Lots of projects are already made as print and cut images (anything with texture is- like this one which I’ll be making next!). If your design is several layers of solid colours (made for cut- like those bears were before I got my hands on them) you can flatten the image to create a print then cut design. You can also change any cut layer into a print instead of cut (by clicking the little cut icon next to the layer).
My favourite way to use this feature was to scan in watercolour designs that I’d painted and insert those (as complex images). I love that you can print the design out and cut around it. I did find it faster to remove the background in photoshop instead of in the Cricut Design Space.
However you get your image together, once it’s sized, you can click MAKE IT. The catch with Cricut Print then Cut? You can max print 6.75 inches to cut. Out of a standard size sheet of paper.
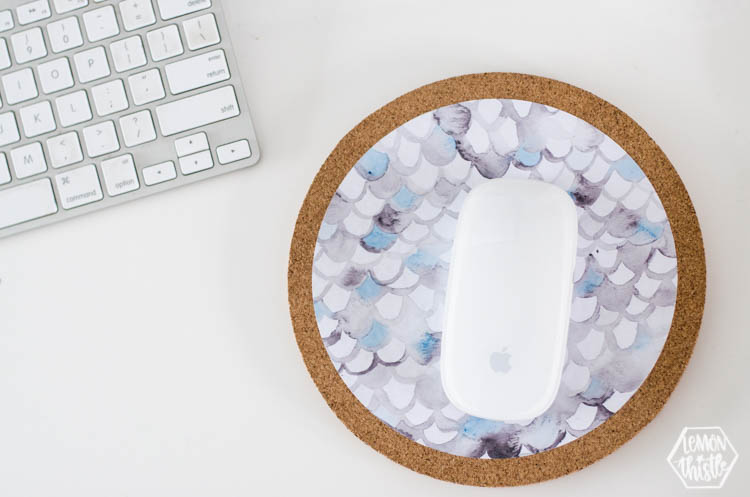
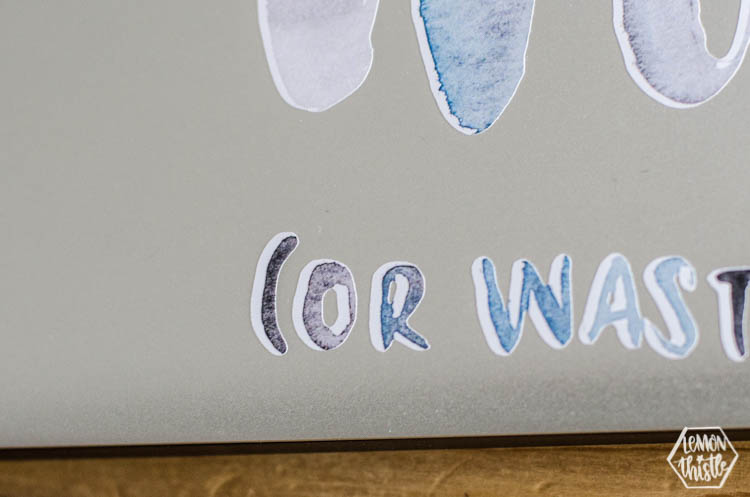
When you get here, you are prompted to print your design first. This just hooks up to whatever printer your computer is using. You print it, then you load it onto your mat and cut it. The sensor on the Cricut detects the black bounding box that prints around your design so it cuts on track. I had issues with one of my designs where it was a little off track. I’m honestly not sure why.
The other thing I would love to see Cricut come out with is a clear protector layer for their printable vinyl. Oracle has one (Alexis shows it in her video) and it’s SO cool for projects that will get a lot of use.
I wrecked every project. Here’s why:
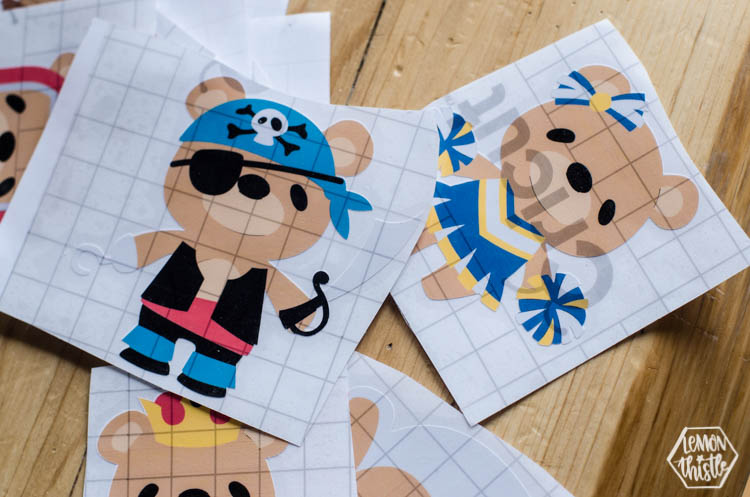
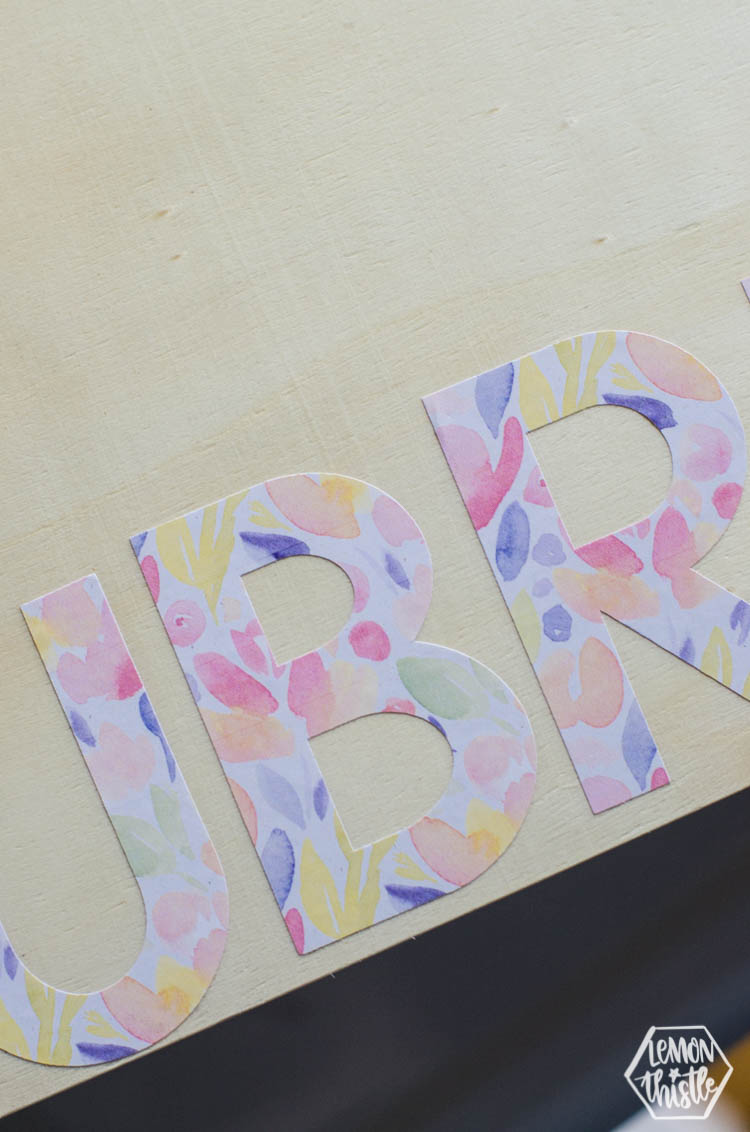
Printable vinyl cannot be used with transfer tape. It doesn’t explicitly say this in the directions. The last step on the directions says ‘apply by hand’ but doesn’t give you a big bold warning against using transfer tape. So you know I did. And put that stuff on every single design. And had to toss them all. Because you really CANNOT USE TRANSFER TAPE. So don’t be me. Don’t do that.
Alright! I’m going to leave this post at that. The video goes a lot more into depth showing all these points and even more. Plus then Alexis gives such great tutorials with the Silhouette on this feature. Let us know if you have any topics you’d like to see for next time!

 How To Make Money Blogging – Western Canada Blogger Q&A
I have Avery DIY Iron on paper. Will this work with heat transfer tape?
I haven’t tried, but if you try it, please let me know how it turns out.