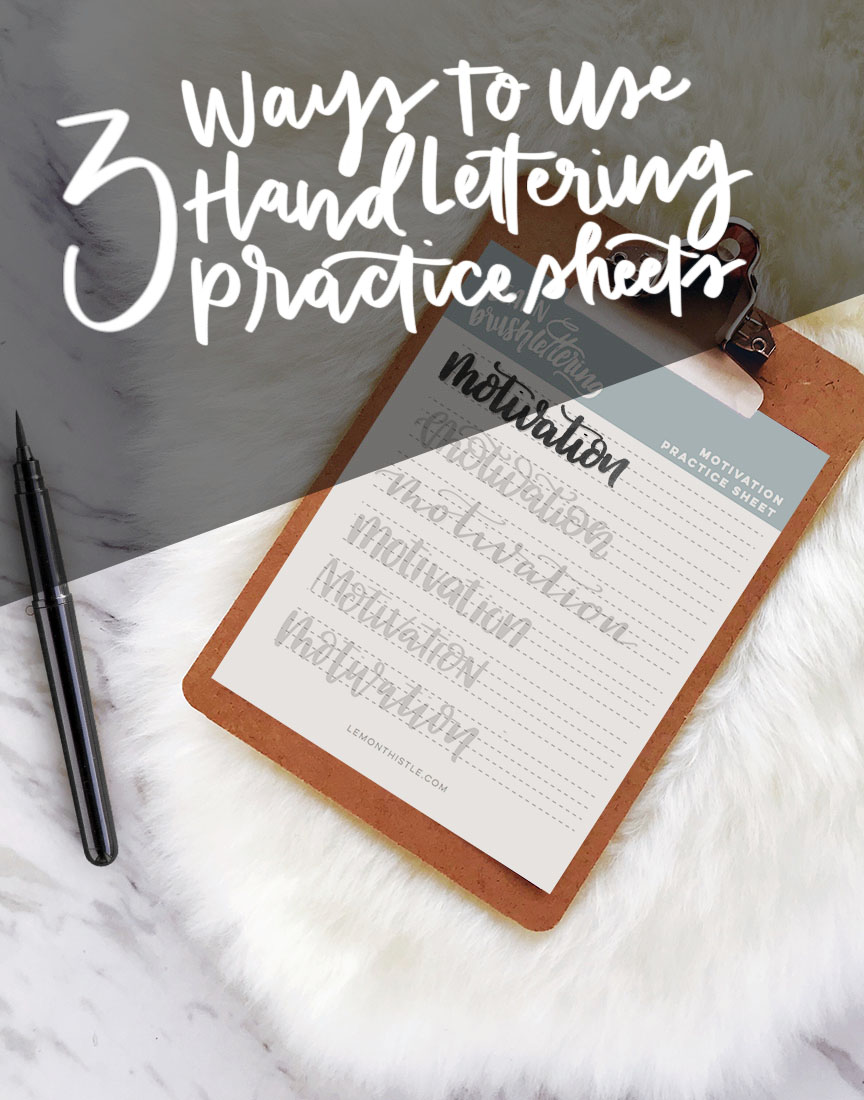
I’ve been meaning to write this post forever. Since I started making free printable practice sheets for brush lettering I’ve been getting the question- what’s the best way to use them? And there’s a few different ways that I love to use them so I put those all together into a little video for you today!
Before I get to that, though… what are practice sheets? And why bother using them? There are SO many different kinds of printable practice sheets that you can get BUT the ones that I tend to make are one word or phrase in five or six different styles. I love these because they give me an opportunity to play around with different styles that I might not naturally try. They’re great for finding your own style as you’re lettering through, picking out letter shapes that you love to recreate. They’re also great warm up before you get lettering. They’re essentially tracers and often times have extra space for you to imitate the word you traced.
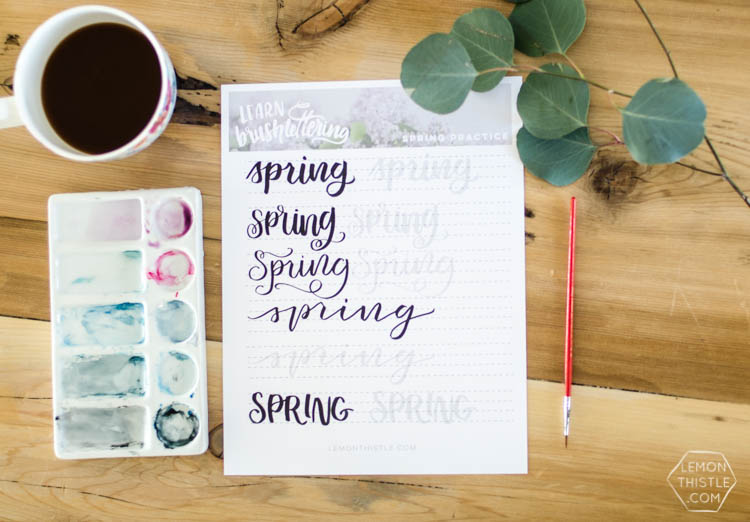
If you are just getting started with brush lettering, these are especially rad because they can help you learn the variance of pressure as you trace over the upstrokes and downstrokes of a particular phrase over and over and over. And if there’s one style you really love and want to make maybe a card or art piece from, you can totally use one of these methods for that. So… on to the video! I’ll summarize below with photos and text as well if you are not a video fan.
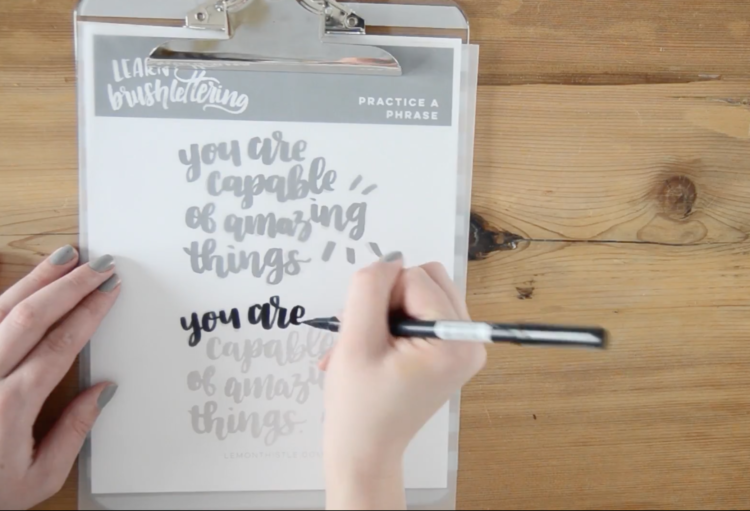
The example sheet I’m using in the video is actually a page from my brush lettering workbook which comes with my brush lettering e-course.

*if you’re loving the video content, I’d so love if you subscribed to my channel on YouTube!*
Simple, right? I always seem to forget that there is any other way to use these sheets until I’ve finished lettering overtop of the practice sheets. But that’s totally okay, because I can switch and start using it with tracing paper or the lightbox even after I’ve lettered directly on the practice sheet. Bonus ;)
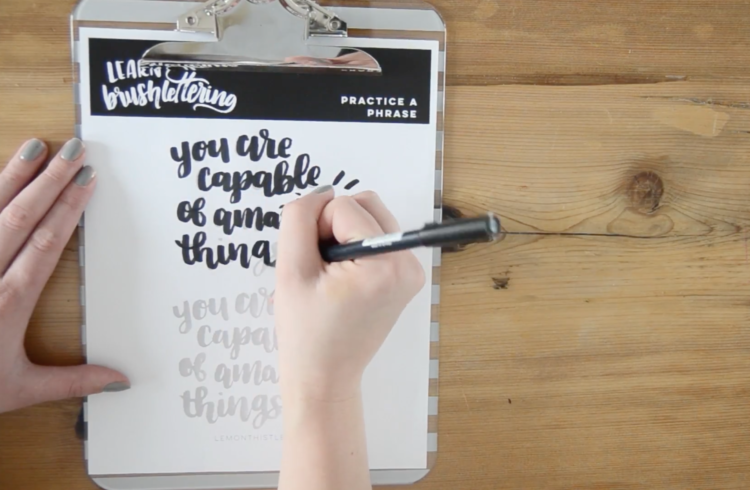
1. Letter Directly On the Practice Sheet
The first way to use printable practice sheets is to do just that. Print out the practice sheet and letter directly overtop of the words and directly on to the practice lines. This is super simple and gets the job done. It’s the easiest to see where you’re lettering and you don’t have to worry about the papers slipping around like the other methods. This is perfect if you’re really just starting out.
BUT if you want to do more than what’s on the sheet, or practice one of those words again? You need to print it off again. And again. And again. So it can get costly with printing costs (ink if you’re doing it yourself).
The pen I’m using for these examples is a Tombow Dual Brush Pen and they’re my fave. Most of my practice sheets are sized better for a Tombow Fude though.
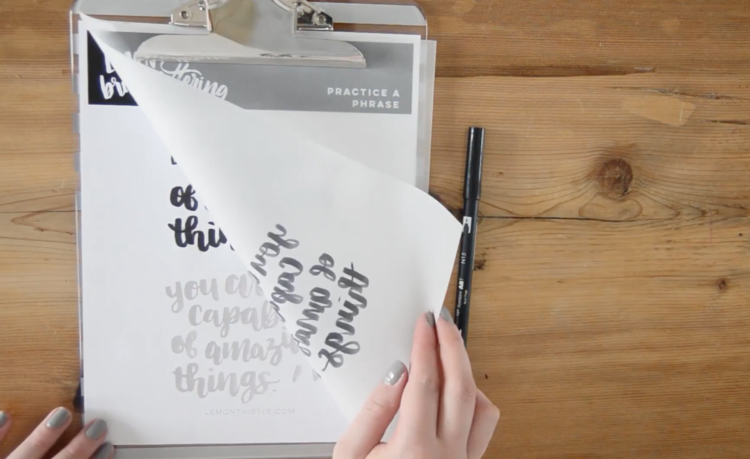
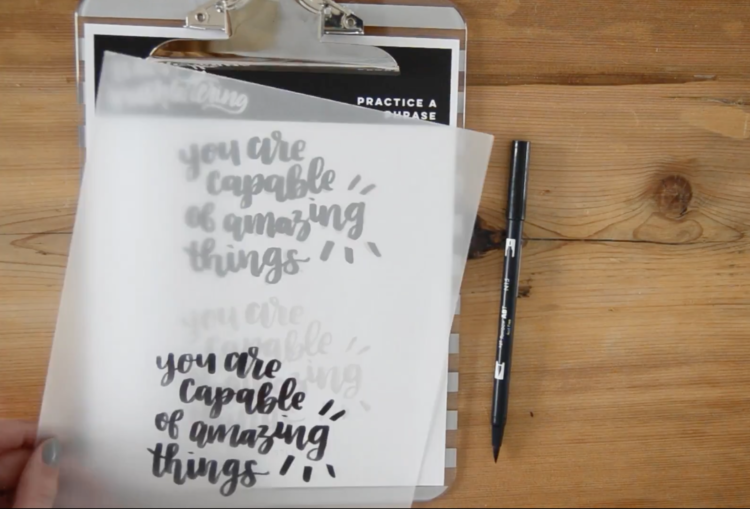
2. Use Tracing Paper
Tracing paper is kind of a cross between paper and vellum and since it’s a bit translucent, you can see the sheet underneath. So you can use this directly on top of your practice sheet and letter on that instead. Then, you’ll never have to print out another practice sheet to practice those phrases more. Plus, I’ve found tracing paper to be very smooth- perfect for brush pens that you don’t want fraying on rough paper!
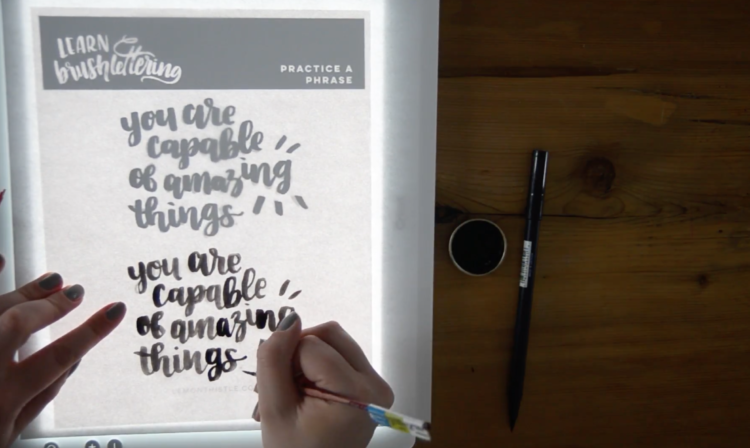
3. Use a Light Box
This method is totally my new favourite. I got a Cricut BrightPad (lightbox) last year and since then, it’s my favourite tool I use to improve my lettering. Basically, it’s a flat, bright light that you put under your worksheet and topsheet and the light shines through so you can see the bottom sheet very clearly. Remember tracing on a window when you were a kid? It’s like that, but on your desk and it’s rad.
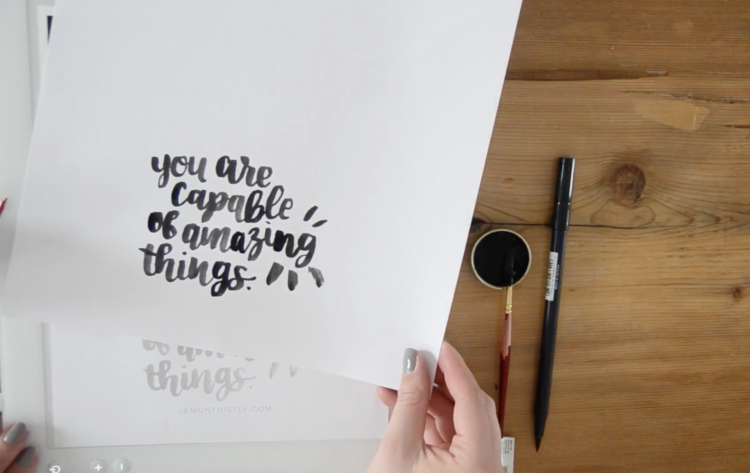
The downside of this is that it costs a bit more than a pack of tracing paper BUT the upside of this is that you can practice with not just markers but any medium because the bright light allows you to use a heavier paper. In this example, I’m using a mixed media paper which is pretty heavy with brush and ink. I’ve also used this method for watercolour with watercolour paper. The other bonus of this one is that since you can use any paper at all, you can create a final piece using this method. So if you really love one of the words or phrases on your practice sheet, you can use a beautiful paper, brush and ink and walk away with something complete!
In this example, I’m using a size 4 round brush and my Higgins Black Eternal Ink.
So now that you know the three ways I like to use practice sheets… you should probably go and print them all off to get practicing ;) What’s your favourite way to use practice sheets? Have I missed any that you love?
FIND ALL MY FREE PRINTABLE PRACTICE SHEETS HERE
Psst! If you want to learn and love brush lettering… You’re going to want to check out my e-course! It’s jam packed full of video tutorials to walk you through picking up a brush pen and how to hold it to using tracing paper for composition! CHECK IT OUT HERE.
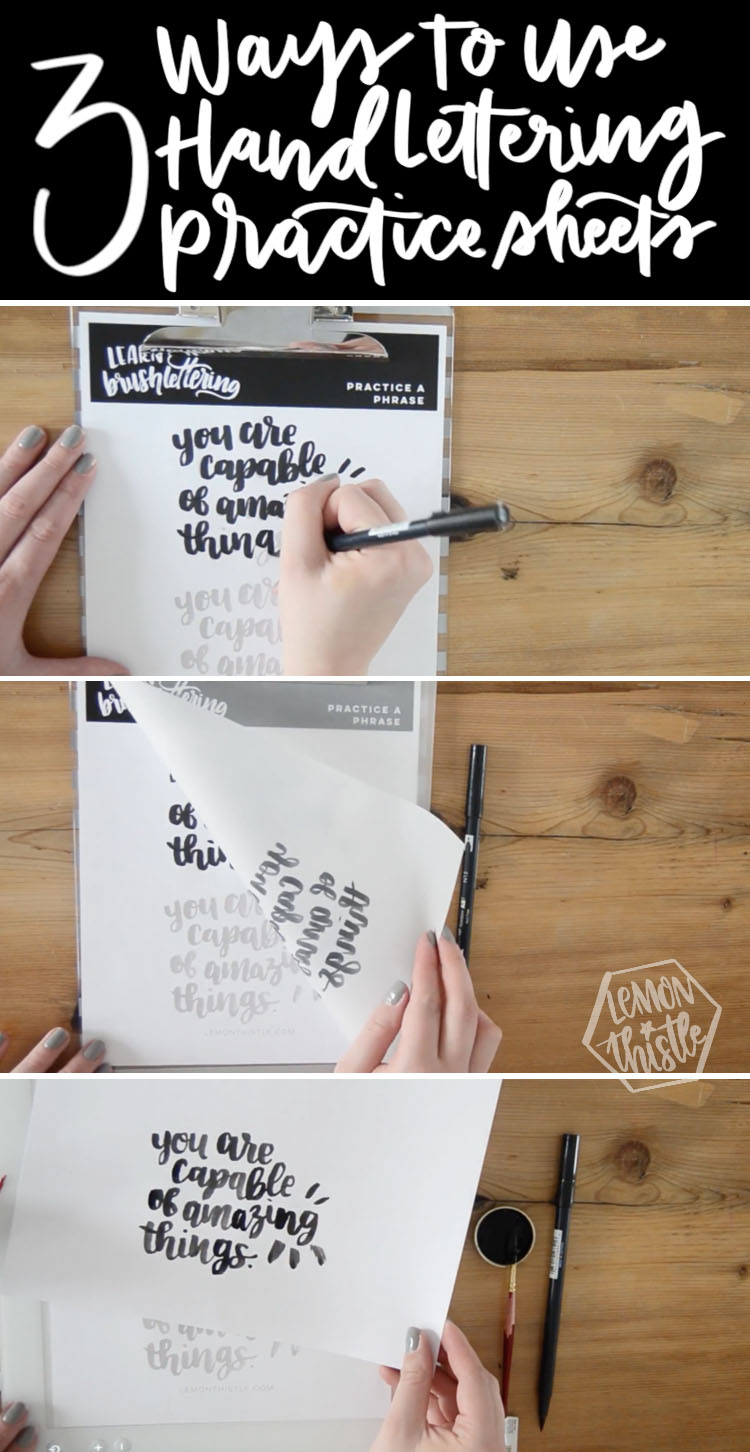
LIKE IT? PIN IT!

 No Mess Onesie Making Baby Shower Activity with Cricut Iron On Designs
Leave a Reply