Today I’m sharing two different ways to make your own coloring sheets from your handlettering or art – with just a paper, markers and your phone OR with an iPad and Procreate.
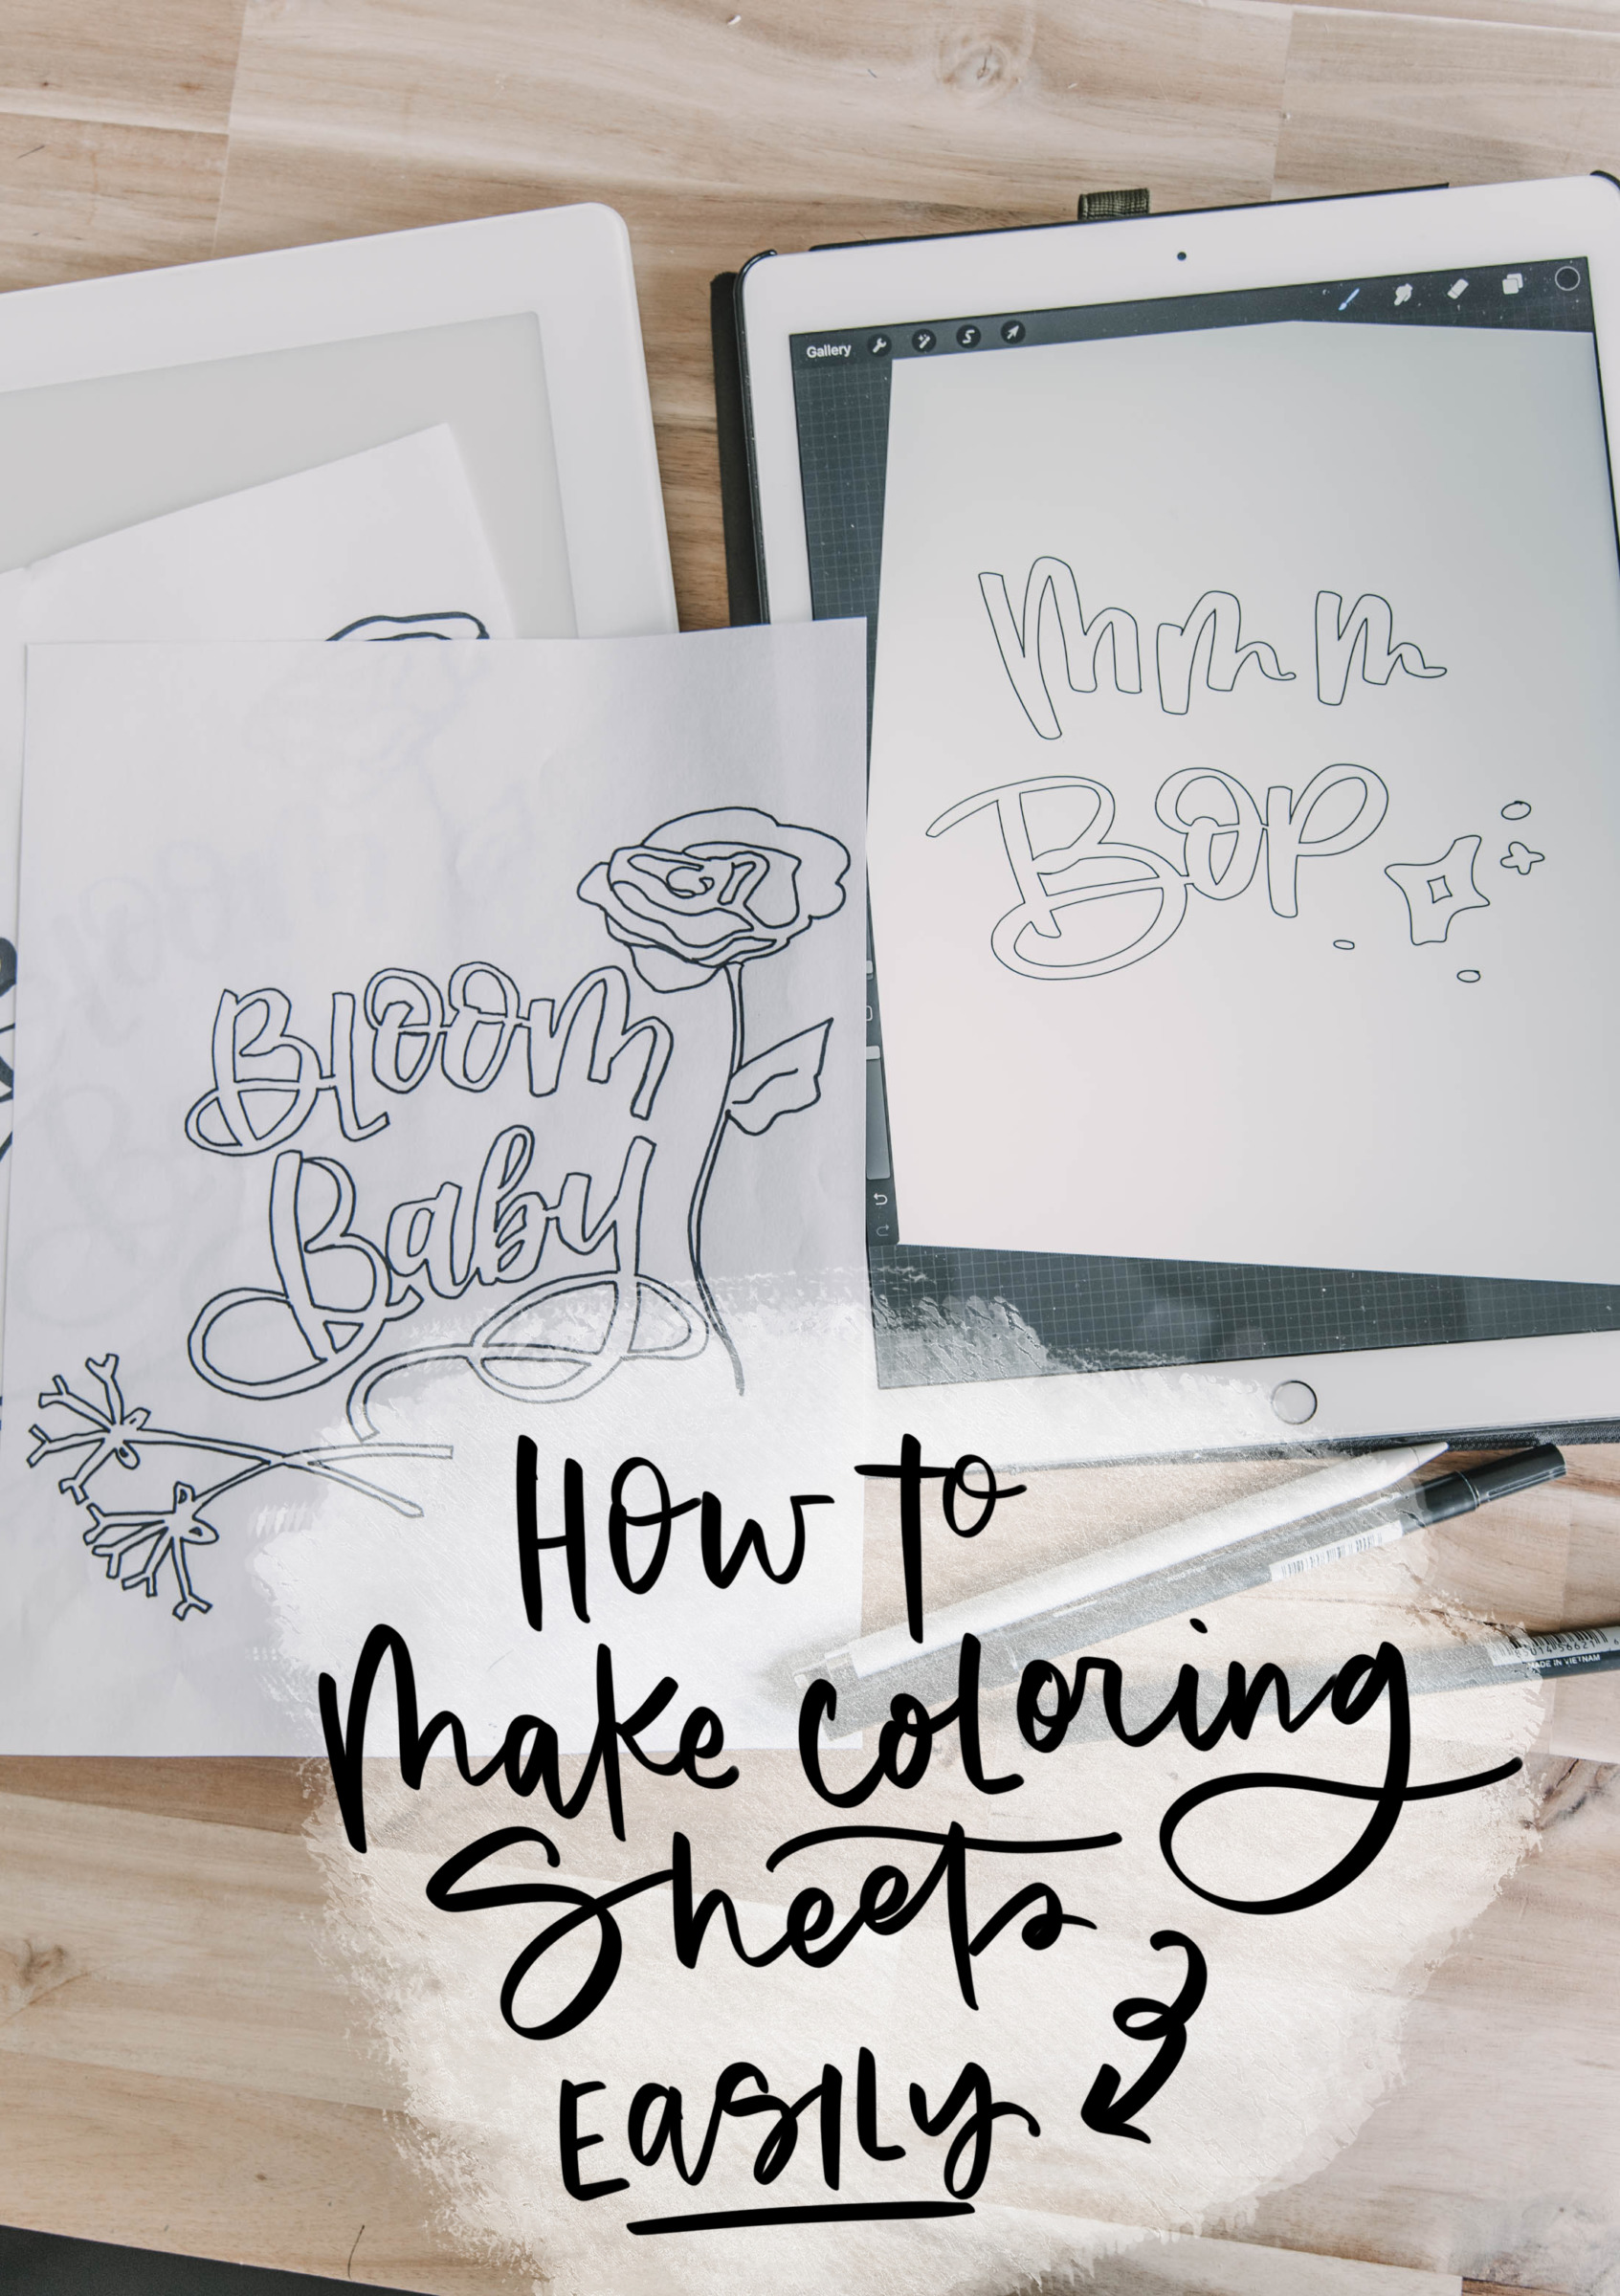
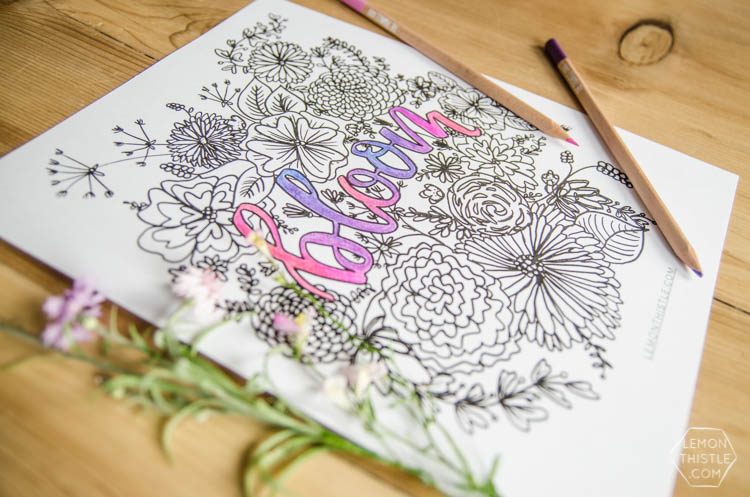
A few years ago I went through a phase where I was loving colouring sheets. It wasn’t long before I started playing around with making my own colouring sheets using my hand lettering and art. With everyone spending a little more time at home these days, I’ve been getting questions about them again. One of the ones I get often? HOW to make them! So today I thought I’d share two different ways to easily make your own coloring sheets from your hand lettering or other art. The way I use now (like these cards) and the way I did back when I made the bulk of my coloring sheets (like this one). Or… high tech and low tech ;)
And if you’re like me 5 years ago- you’ll be happy to learn that you don’t need photoshop for either!
I find this kind of tutorial is easier to show in videos, so made a little video tutorial for it, but I’ll also write out the instructions below! It’s super simple- promise.
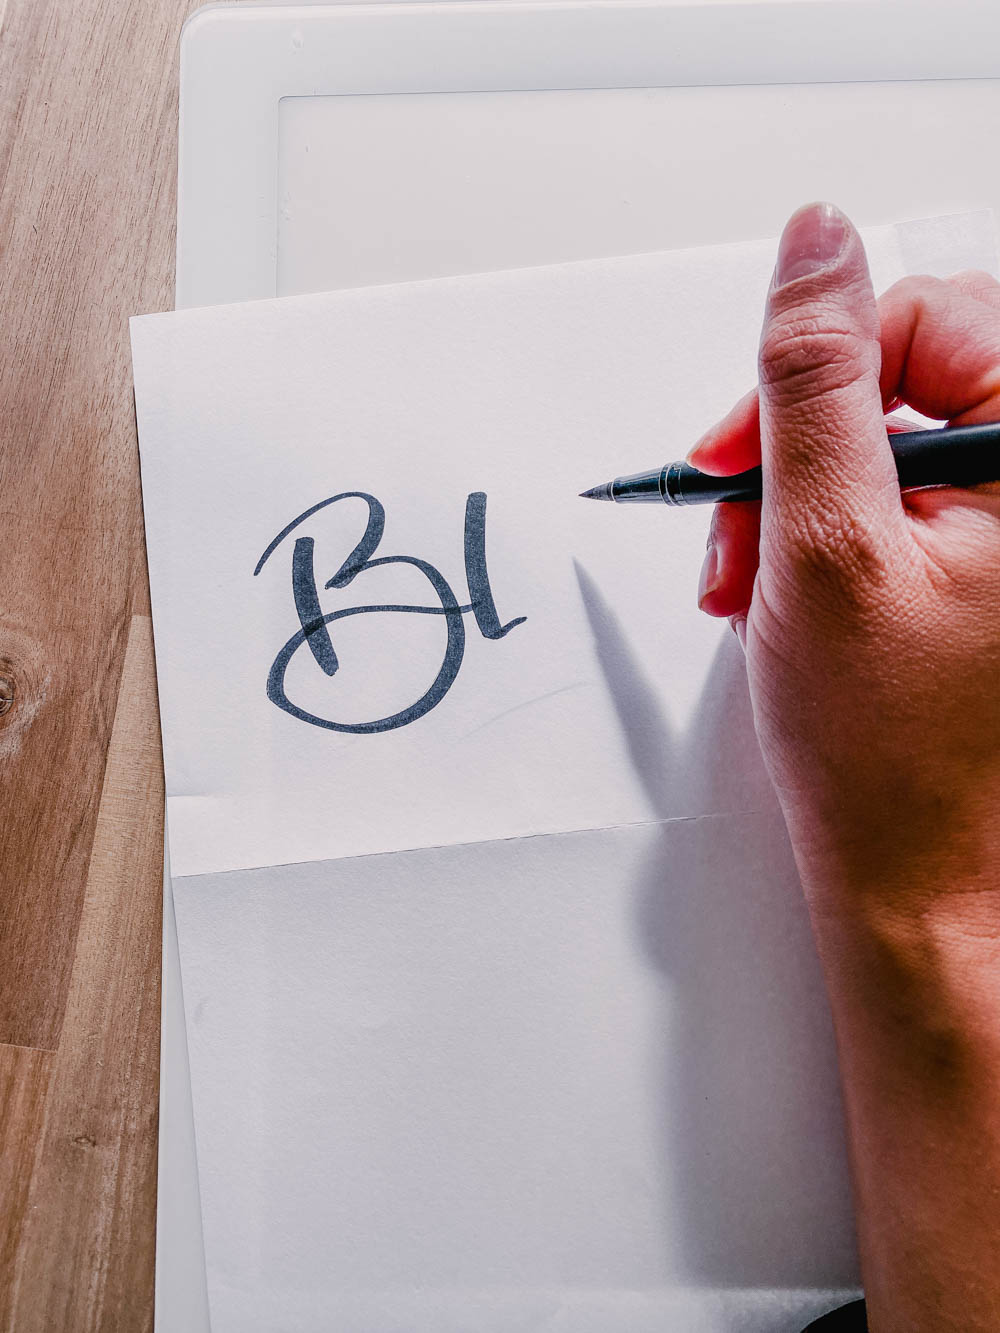
The first thing you’ll need to do is to create your art. If you’re using paper and markers, perfect! Go ahead and finish that up. I recommend making your lines and art a bit chunkier than usual just so that there will be lots of space to colour in. If you prefer to do your art digitally- cool! I use Procreate with an apple pencil for this.
When you’re happy with your art- now you’re ready to trace it! I don’t use any fancy photoshop tricks to outline my art- I do it by hand. It’s therapeutic like colouring sheets are too.
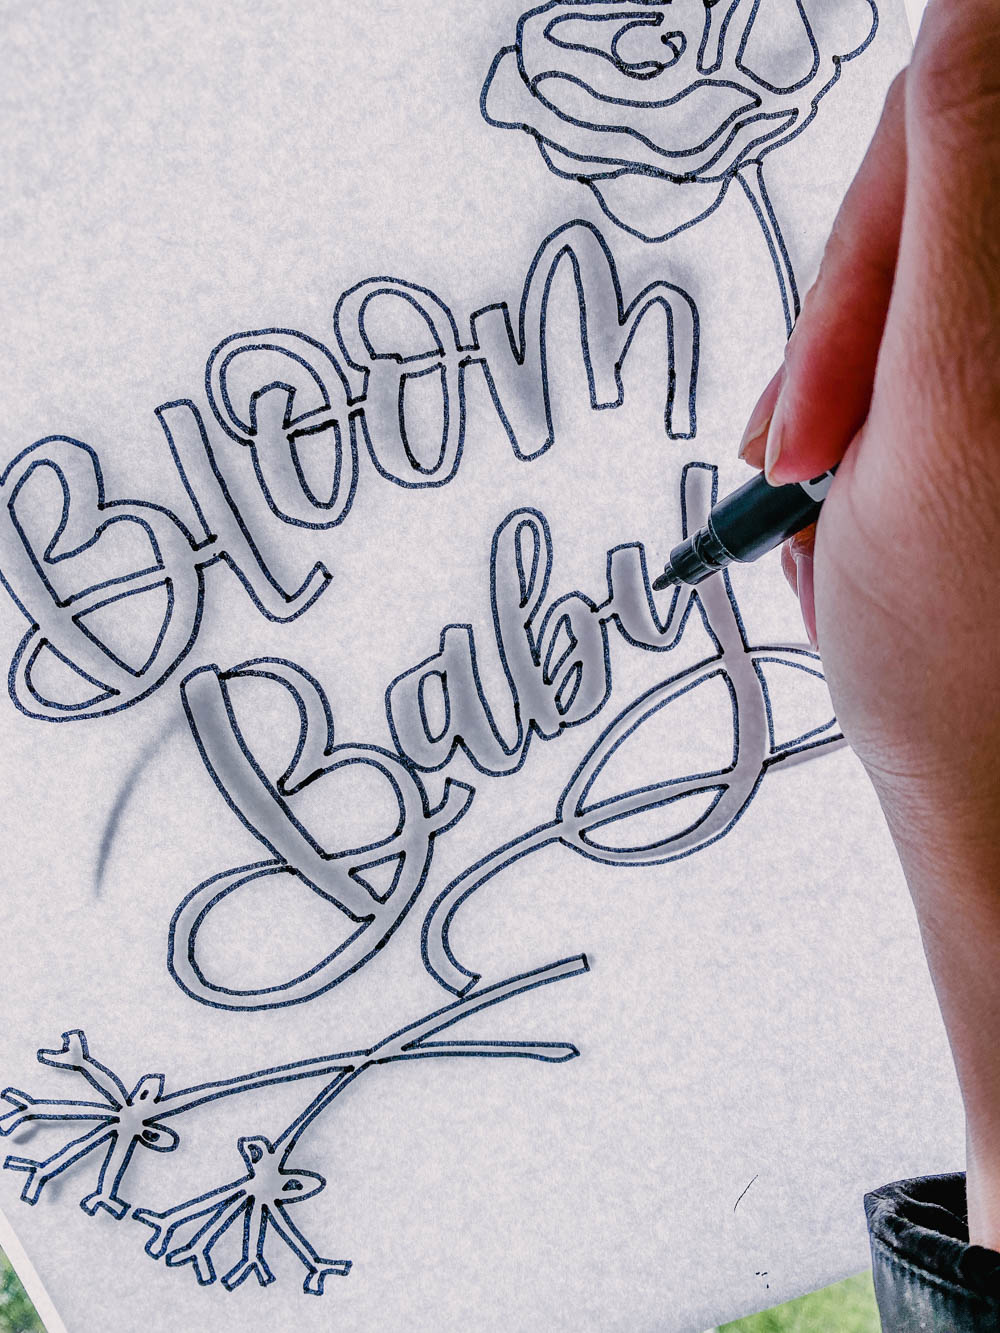
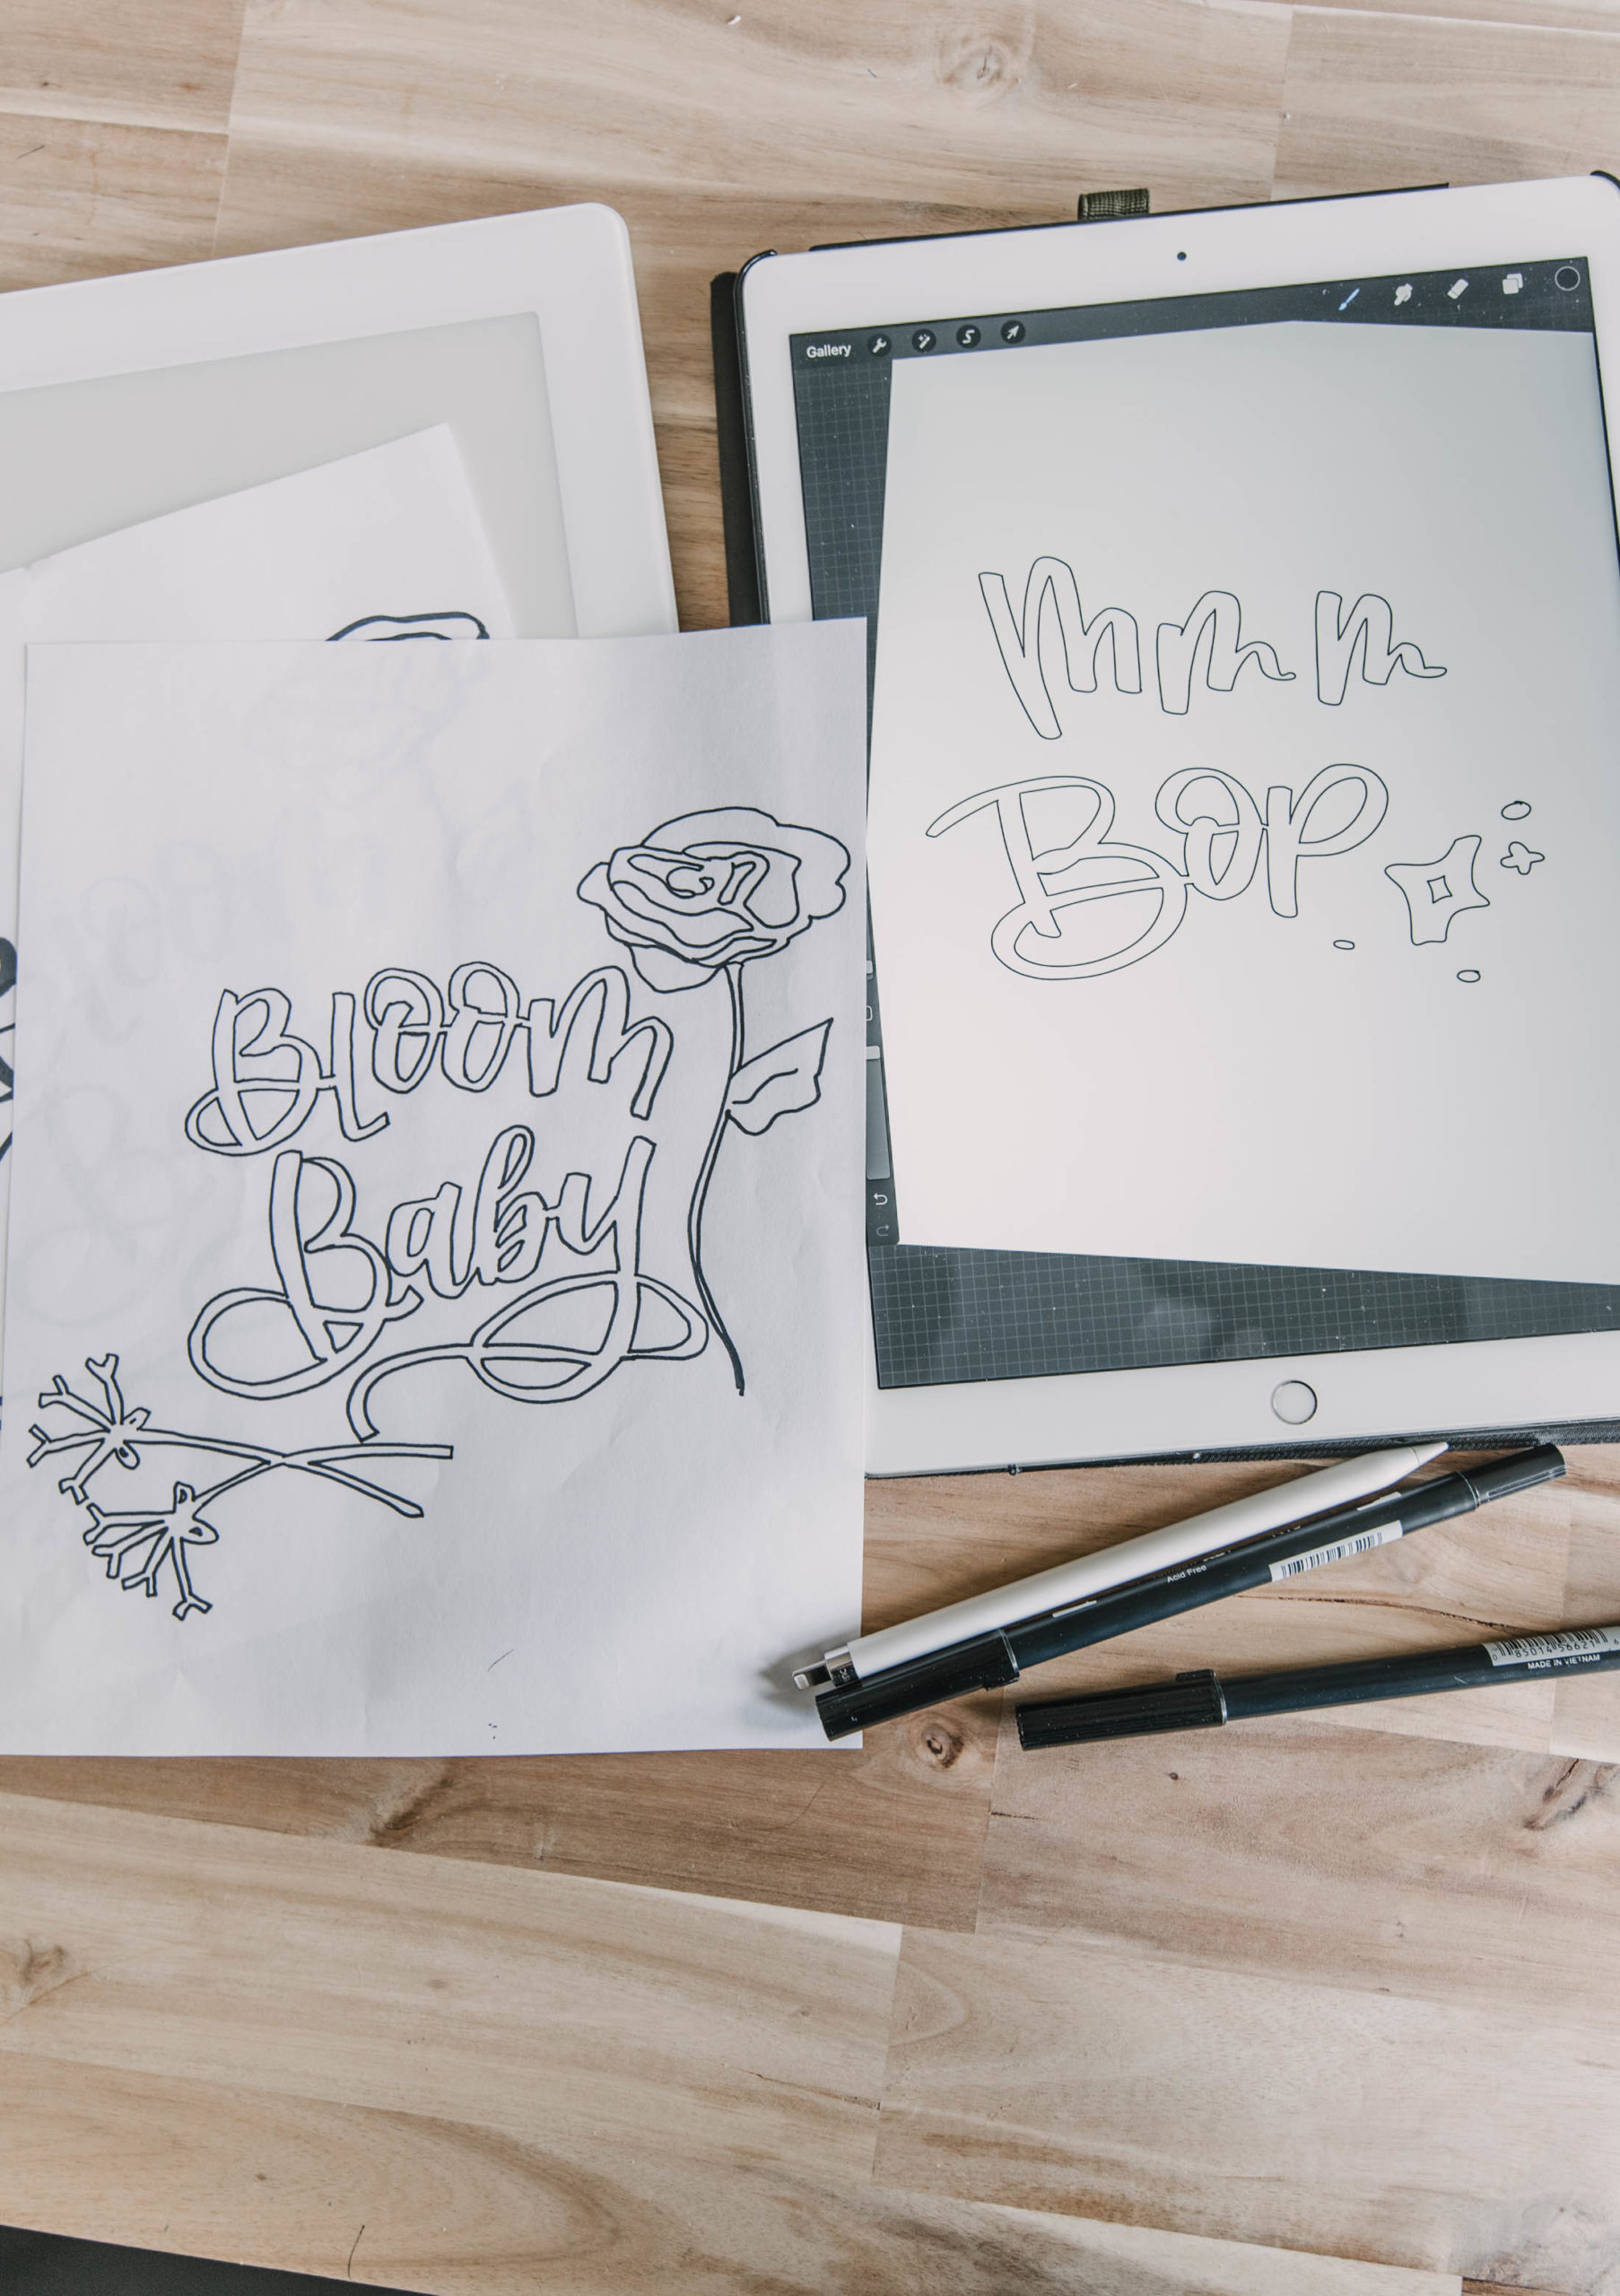
If you’re working on paper, I generally use a Tombow Dual Brush Pen for this. I use the brush for my art and then the bullet nib for tracing. You’ll be tracing onto a fresh sheet of paper. To make tracing easier, I love to use a lightbox. A lightbox shine’s light through the paper to make the image show up really well for you. I use a Cricut BrightPad for this but you could just use the elementary school trick and stand at a window, letting the light from outside act as your lightbox.
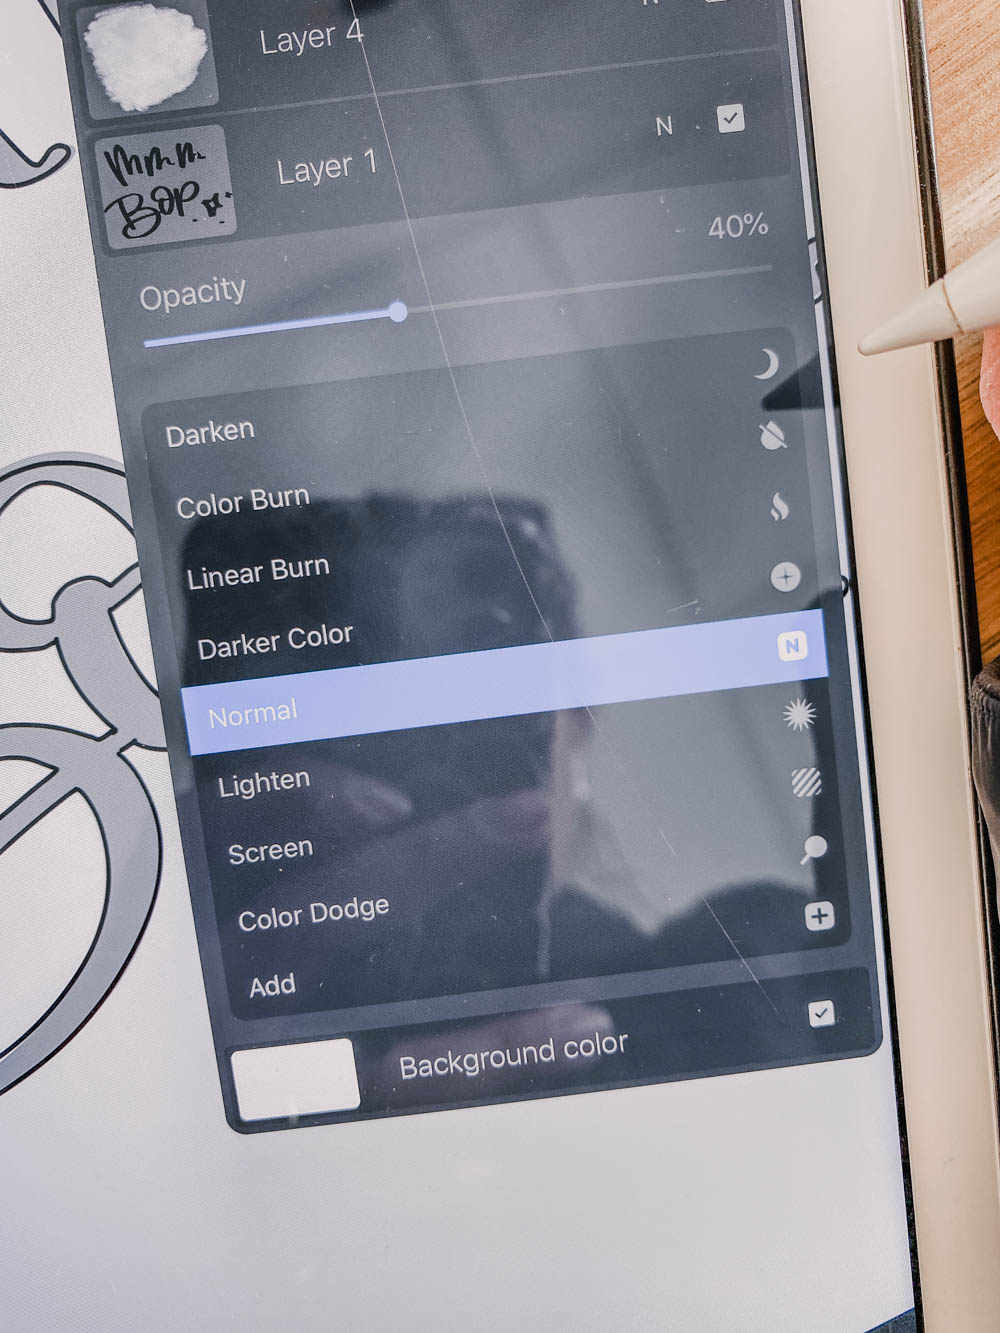
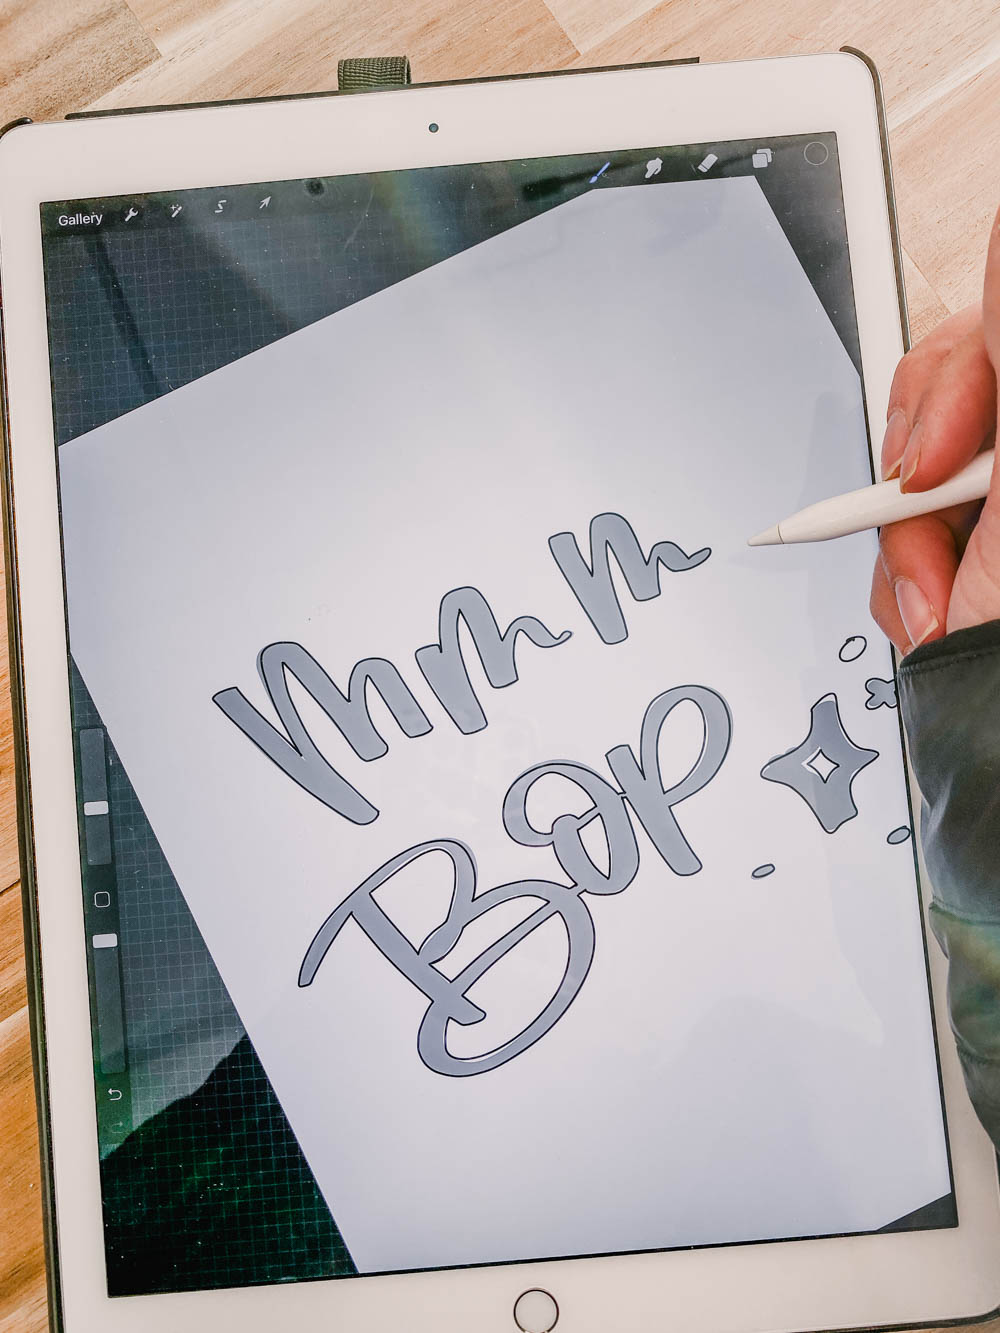
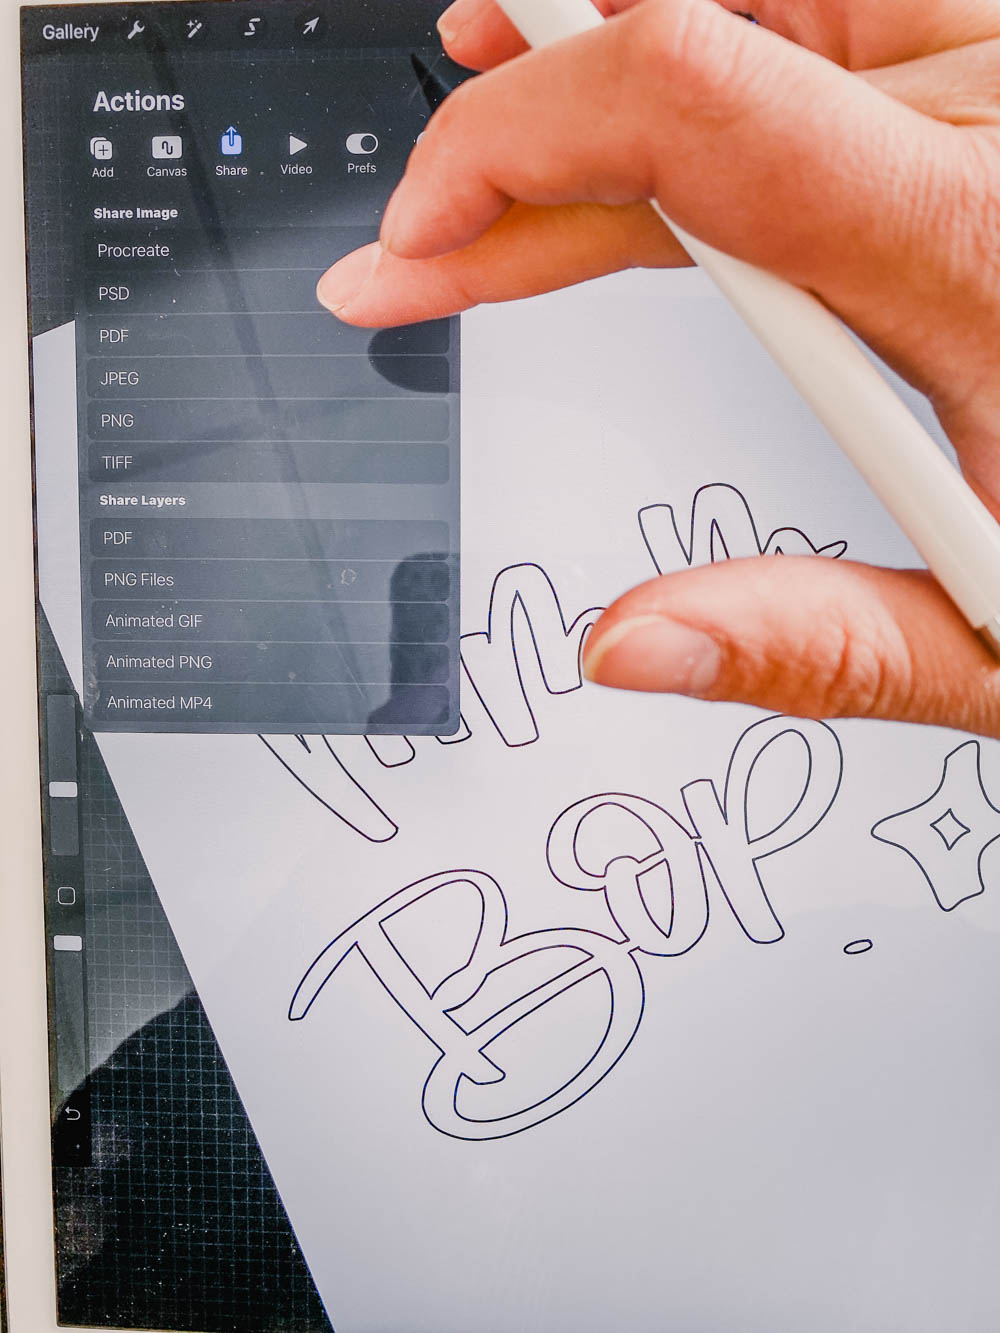
If you’re using an iPad- I suggest a program called Procreate and an apple pencil as it reads variable pressure. Do your art on one layer and then when you love it, create a new layer and switch to a monoline brush. Outline it all, just like you would if you were tracing over it. You can lower the opacity of the layer with the art on it as well to make it easier to trace. Just tap that little N and lower the %. When you’re done tracing, you can uncheck the layer with your original art and just keep the outline. Ta-da! Now export it as a PDF and it’s ready to print!
If you’ve outlined yours on paper- you still need to digitize it for print! I just do this with my iphone camera. Take a picture, taking care to be straight over your art to avoid skewing the image. Then, hit the edit button (you could do this on your computer too, but let’s keep it simple). Adjust the contrast +, whites/highlights +, blacks point -, and take the saturation to zero. This will give you as close to a black and white scan as possible! It’s ready to print!
I hope that this helped break it down in a really easy and do-able way for you to make your own coloring sheets! If you create a colouring sheet using this tutorial- you know I’d love to see!

 DIY Brush Lettering on Canvas with Acrylic
Leave a Reply