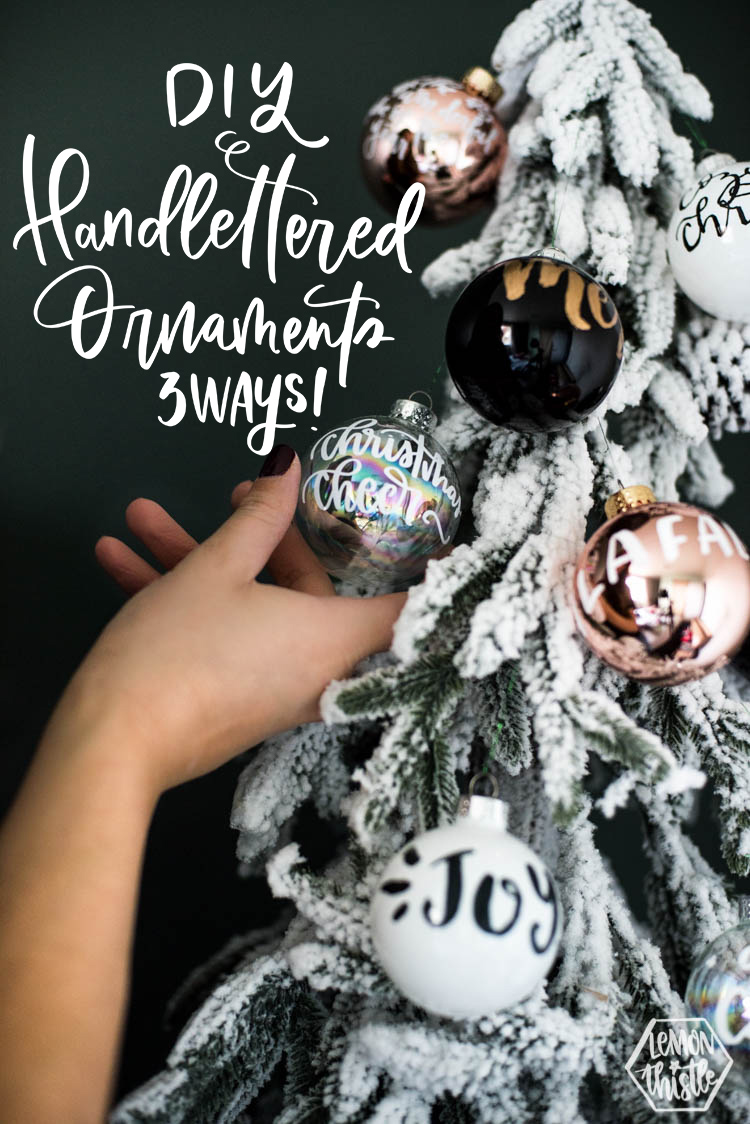
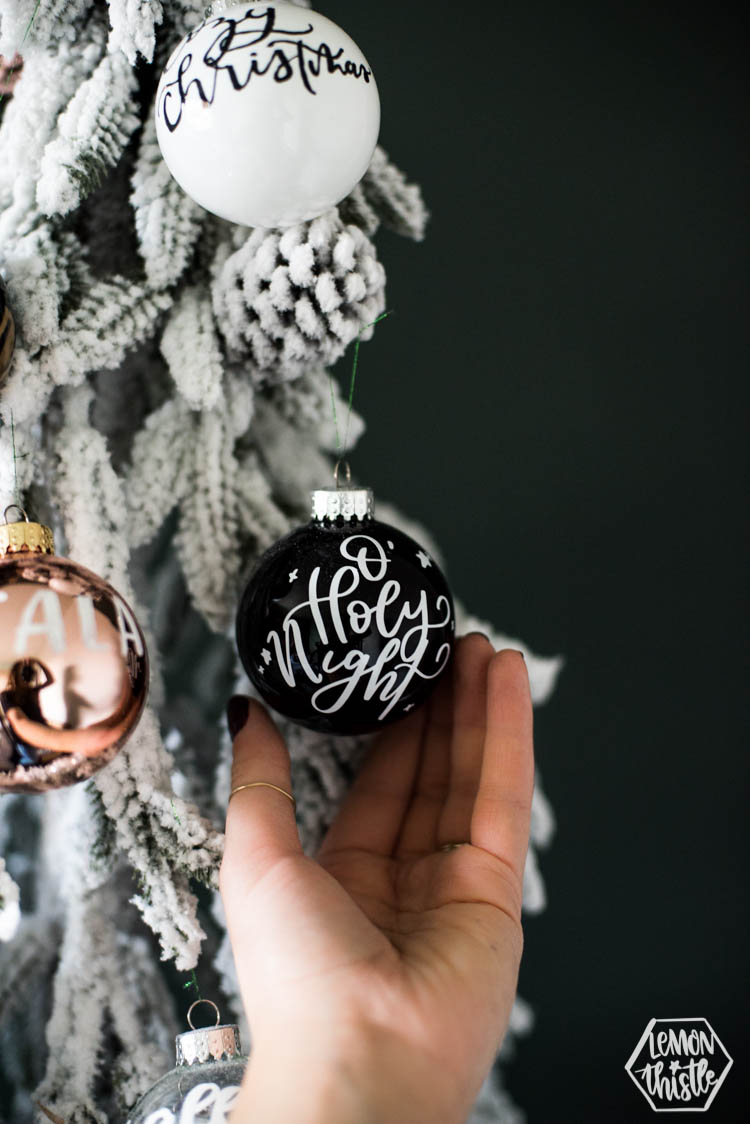
I’m all about sharing ALL THE WAYS to make the things lately if you haven’t noticed. Today I’m excited to be sharing 3 ways that I love to make hand lettered ornaments. A couple years back, I shared one of these ornaments (the hand painted ones) as a blog post only and while I added lots of detail in explaining how they were made, I got a lot of feedback that people didn’t think they could do it. So today I wanted to share that DIY again but with a video (woohoo!) AND two other ways that you can make it happen if a paint brush aint’ your thing but you still love lettering. And even if you CANT letter… you can use one of these methods to apply someone else’s lettering (like maybe mine from this Cozy Christmas SVG Bundle!). And a shameless plug… if you’re wanting to learn lettering… I have an e-course for that! I’d love if you joined me :)
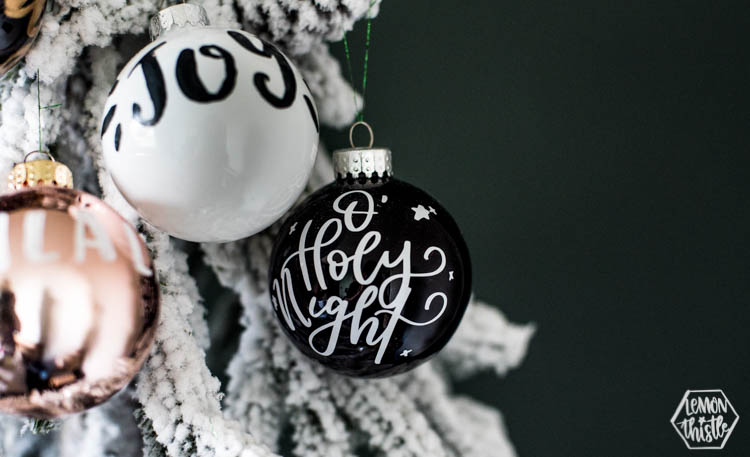
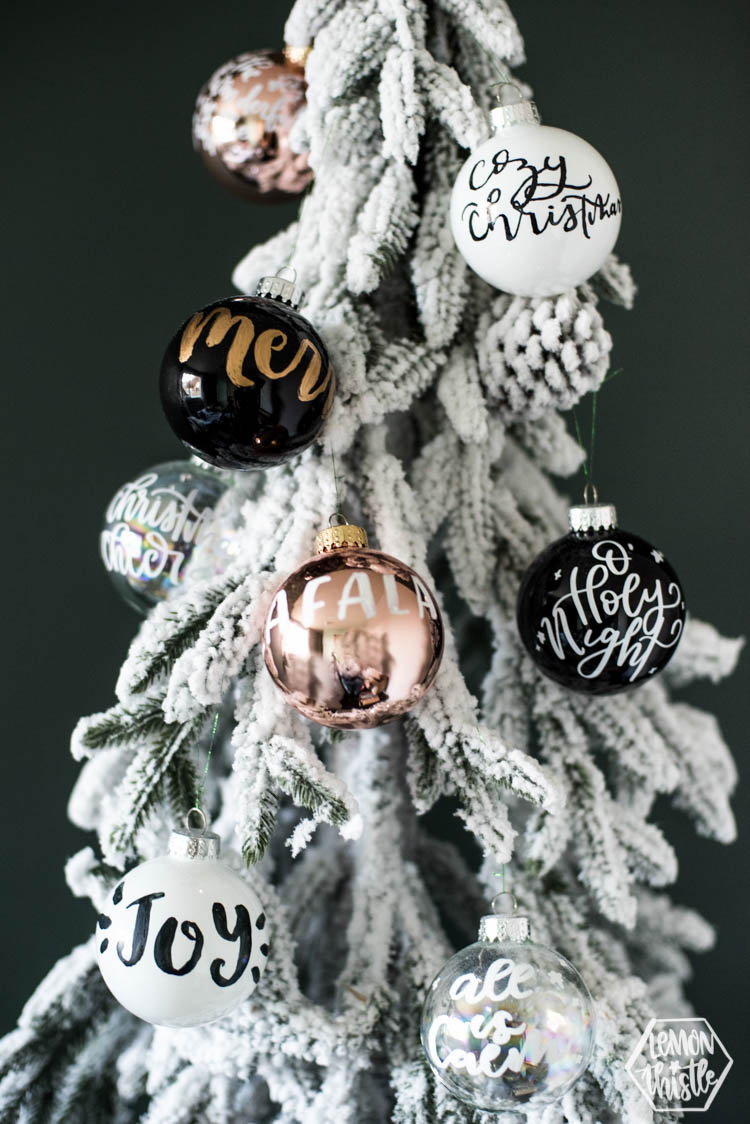
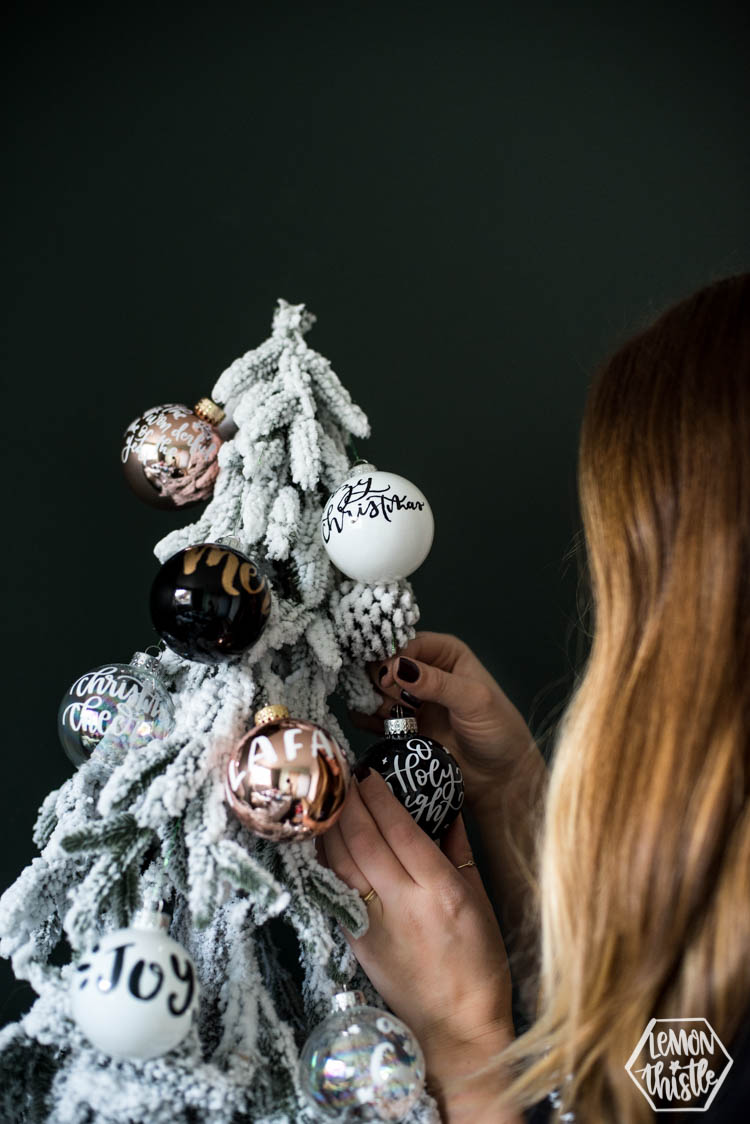
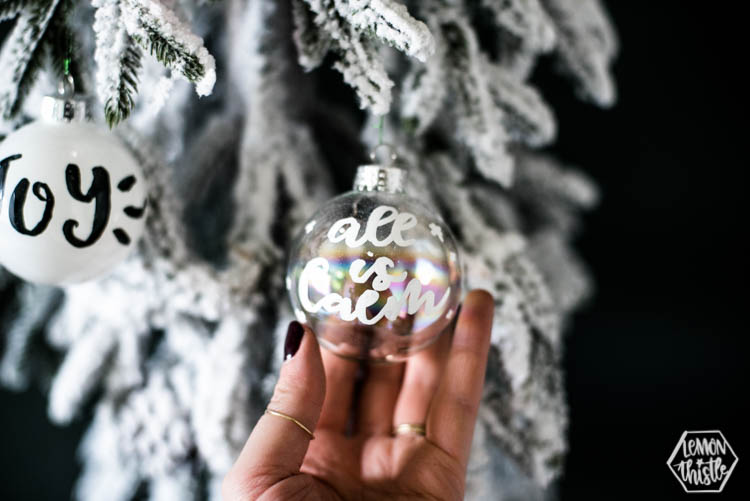
Before I get into any of this… can I just say how in love I am with this colour combo? Isn’t it dreamy!? It makes me want to incorporate some pink in our holiday decor this year. These babies were made to sell at a little pop up I’m doing but now I’m questioning all my holiday decor plans. I got these simple glass ball ornaments from Michaels (on sale of course!) and am wishing I’d bought so many more.
Anyways… I made this tutorial into a video, I figured it was easiest to SEE it in action instead of me just tell you. Lettering is funny like that- video is really the only thing that does it justice. This video and post are part of Remodelaholic’s 2018 Creative Christmas Collaboration… which, by the way has some AMAZING tutorials! You can find them all linked at the bottom of this post (just scroll down).

In this video, I shared three different methods. I’ve linked the supplies and videos I chatted about below for you!
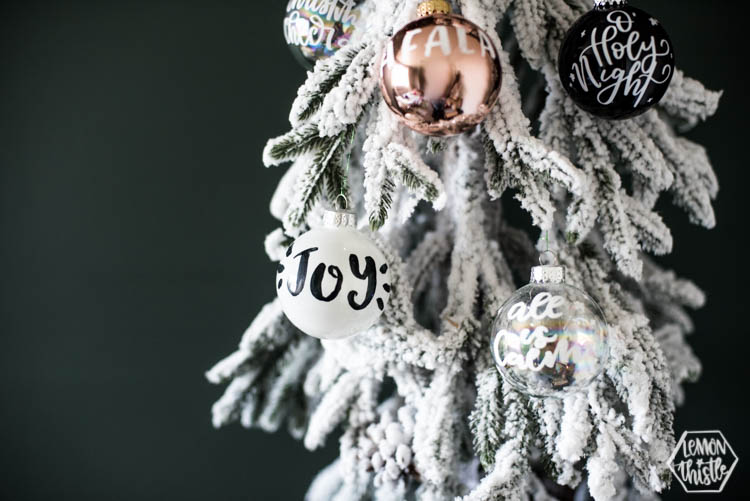

Hand Painted Brush Lettered Ornaments
These are the ones I’d originally written a whole blog post about. The key here is that you NEED to do at least two coats or you won’t like them. You can see what I mean in the video!
Supplies I used in this one:
- Round Size 2 Paint Brush
- Liquid Gold Leaf
- Enamel Craft Paint
Faux Calligraphy Ornaments with Paint Marker
I love crafting pretty much anything with my paint markers. They’re my comfort zone. I love that one coat gets me perfectly opaque and I love that I don’t have to worry about dripping paint. You can find a tutorial to create the faux calligraphy look in this video RIGHT HERE.
Supplies I used in this one:
- Montana Paint Markers (these are my total fave and the only ones I love to recommend)
Vinyl Transfer Lettered Ornaments
To me, this looks the most professional. If I were to start a business selling these babies, I’d probably choose this method just because of quality control. It’s hard to mess this method up since you can perfect your lettering digitally. If you want a tutorial on how to upload ANY DESIGN to Cricut Design Space, I share that in THIS VIDEO. My friend Alexis shares how to do that in Silhouette RIGHT HERE.
Supplies used in this method:
So there you have it! Three different ways to get your lettering on to those pretty glass ball ornaments this holiday season. I love all of them for different reasons and purposes. Which is your favourite? Have you tried any of them before? I’d love to hear!
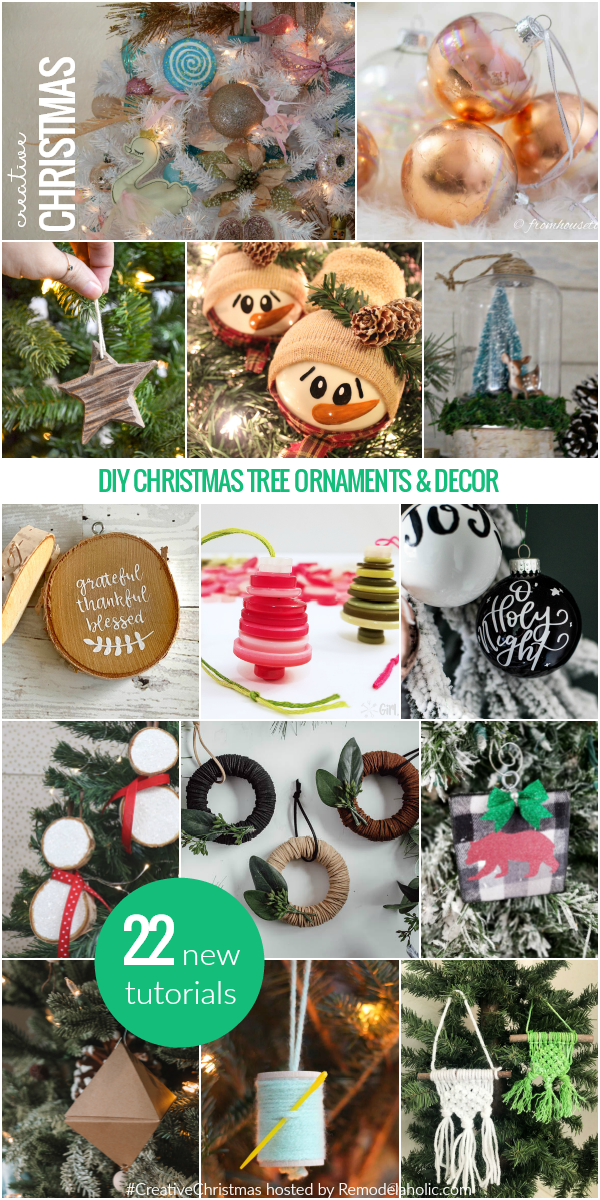
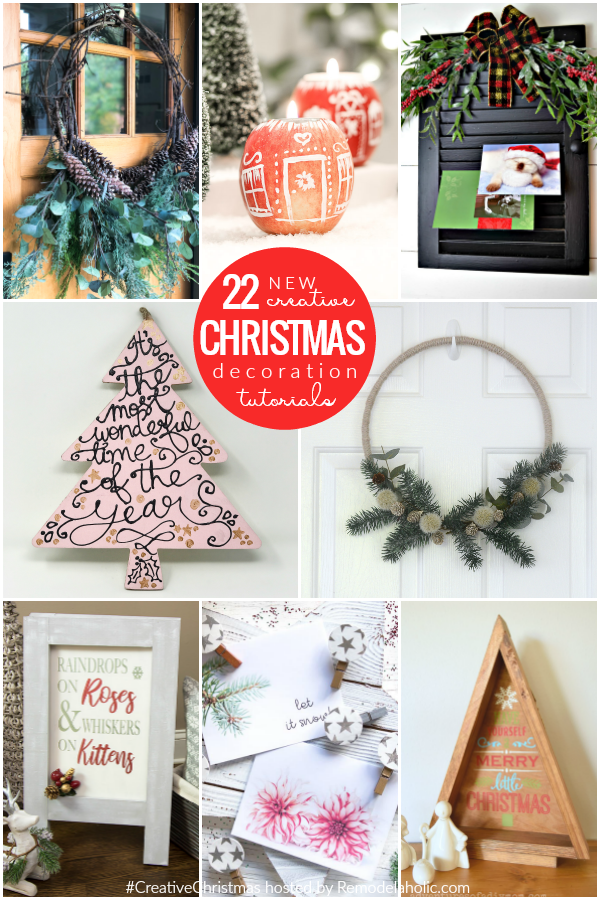
Want to check out all the projects in the collaboration? You can do that at the links below or check out the whole playlist of videos below these!
Nutcracker Christmas Tree Decorating | Remodelaholic
Copper Christmas Ornaments | From House to Home
DIY Rustic Carved Wood Ornaments | Ugly Duckling House
Snowman Globe Ornaments | Kailyn Williamson
Dollar Store Snow Globe Ornaments | Our Crafty Mom
Wood Disc Ornaments | Everyday Party Magazine
Button Christmas Ornaments | Girl Just DIY
Handlettered Ornaments 3 Ways | Lemon Thistle
Wood Slice Snowman Ornament | Creative Ramblings
Mini Wreath Ornaments | Love Create Celebrate
Buffalo Plaid Ornaments | Leap of Faith Crafting
Easy DIY Geometric Ornaments | Practical and Pretty
7 Cheap and Easy Christmas Ornaments | Toolbox Divas
Macrame Ornaments | Frazzled JOY
Grapevine Christmas Wreaths | Grace in My Space
DIY Apple Candle Village | Life on Summerhill
Festive DIY Christmas Card Holder | Red Cottage Chronicles
Lettered Tree Sign | Smiling Colors
Modern Christmas Wreath | Sister’s What!
Reversible Holiday Easel | Queen Bee of Honey Dos
Pretty Decorative Clothespins | Sustain My Craft Habit
DIY Wooden Triangle Christmas Tree | Adventures of a DIY Mom

 Holiday DIY Pennant- Two Ways
Such a great idea to do hand-lettering on an ornament. I don’t have a very steady hand for it but yours are beautiful. I love that you also did them with vinyl and mixed up the sayings for Christmas. They look so beautiful on your tree.
I love how your lettered ornaments turned out, Colleen! And I love the colors! I’m planning on doing a black, white and gold tree this year, so I may have to make some of these :)
These ornaments are beautiful, thanks for sharing all the different techniques. The vinyl is probably best for me, but someday I’d love to be able to hand letter like that.
These are so cute! I love how they turned out.
These are so beautiful, Colleen! Thanks for joining Creative Christmas!
I love your beautiful ornaments! Thanks for the great tutorial!
Such an great idea. Thanks for great tutorial.