 Happy Humpday friends… I have to say this week I’m so glad it’s half through. This weekend we got busy and tore out our leaky bathtub (we only have one in the house!) and have spent the past 5 days replacing boards, plumbing, tiling, tiling, tiling, and grouting. I’ll be so glad in two more days when the grout has cured enough for me to have a shower without fear that our basement suite is collecting water! If you follow me on Instagram, you might have seen the tile we used (a collection of the tiles we used in the Kitchen) and I’m SO happy with how it’s turning out… I’ll leave the ‘reveal’ if you will for another post but this was only my second time tiling (the first was our basement suite!) so I’m especially proud of how it’s looking.
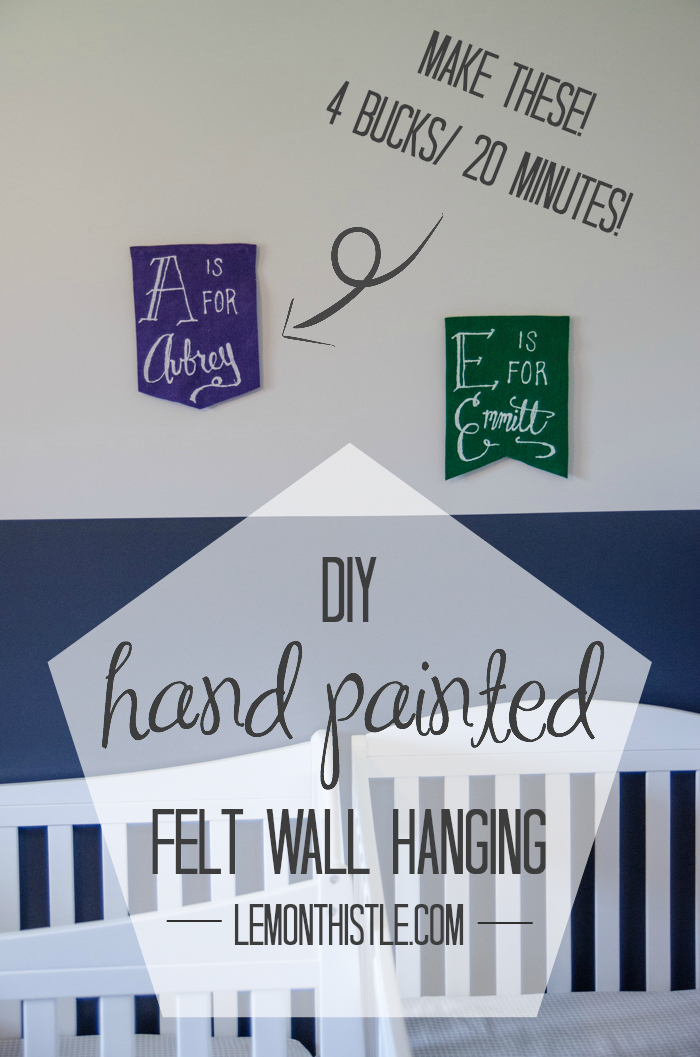
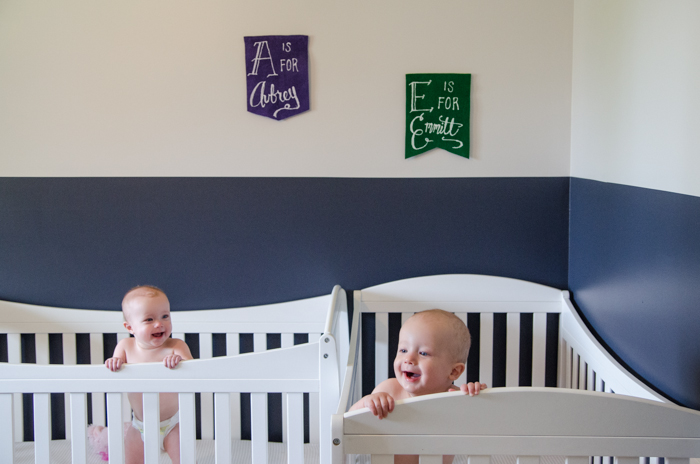
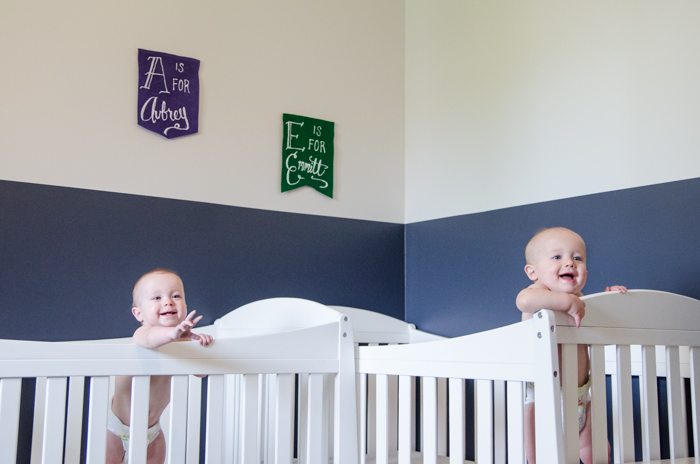
But that’s for another day… TODAY I’m talking about these adorable hand painted felt wall hangings. And it’s a bit of a walk down memory lane. I originally created these felt banners for my first contributor post at Pretty Providence and then promptly forgot to share them with you! For months. So my babies are itty bitty in these photos- I can’t stop staring! These banners are still up in their nursery… and their nursery is still not ‘complete’. I think it’s the next room on our hit list… but we’re also trying to get our basement finished- so who knows when it will happen #RealLife.
I still love these things so very much- the only thing that I would do differently is order better felt. I used the cheap-o dollar store felt and was really happy with it… until I made these felt masks with a more luxe felt and now I feel the need to order it for everything… ever! I maaay go ahead and re-make them for that reason alone. Well- and honestly, I think my hand lettering has improved! (Speaking of improved- these graphics remind me of how much I love my new branding!!) These little felt banners cost me a grand total of $4 (plus tax) to make four of them- and I have leftover supplies. Not bad, eh? (I’m Canadian, so I can say that). Here’s what you need before we get started.
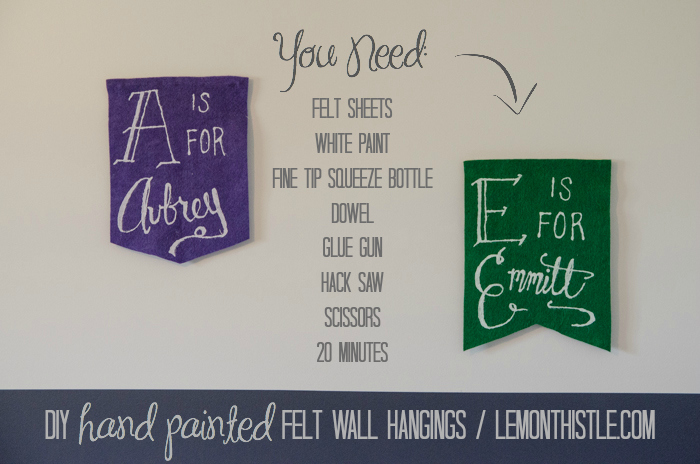
You’ll need:
- Felt Sheets (3/$1)
- White Craft Paint ($1)
- Dowels (6/$1)
- Glue Gun & Hot Glue (on hand)
- Fine Tip Squeeze Bottle (2/$1)
- Scissors (on hand)
- Hack Saw (on hand)
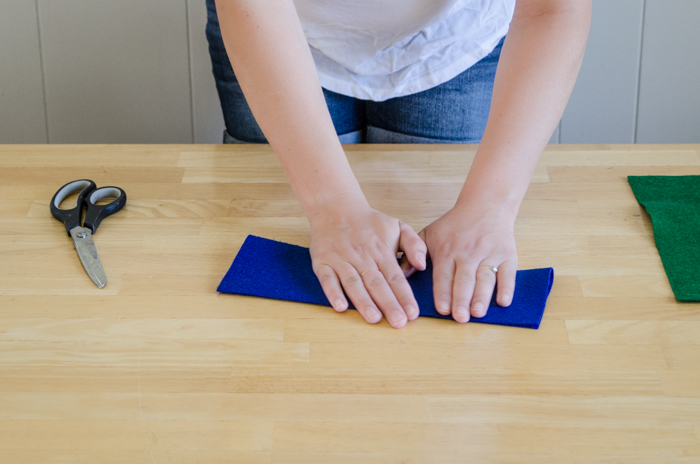
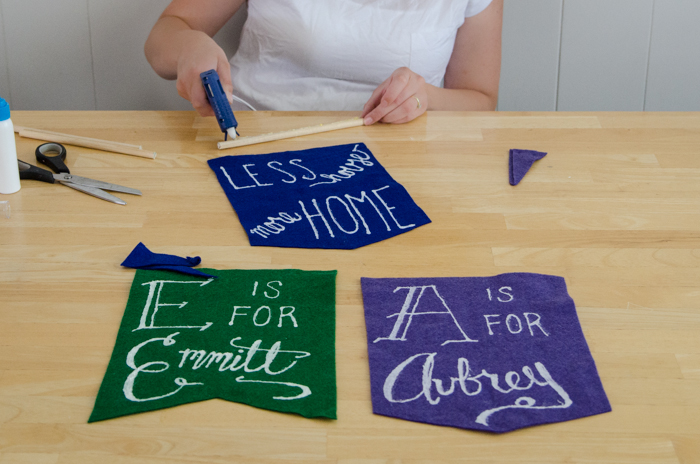
First you want to cut your banner in the shape you like. I drew out some practice designs on paper first to decide which kind of bottom I wanted for my banners- this also helps you when it comes time to get drawing! I love the pennant look- so I folded mine in half to cut on an angle.
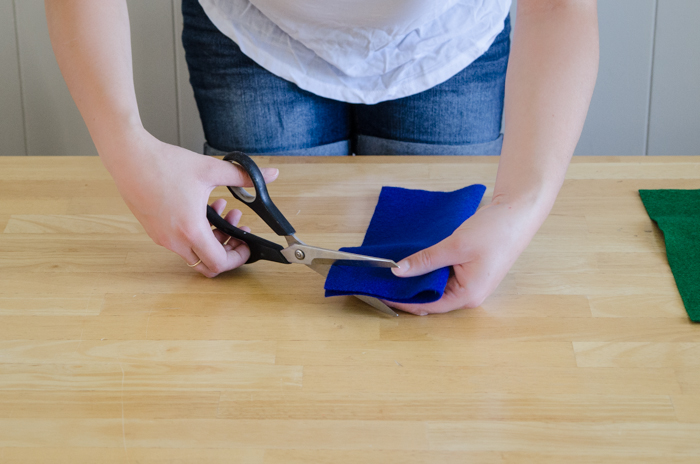
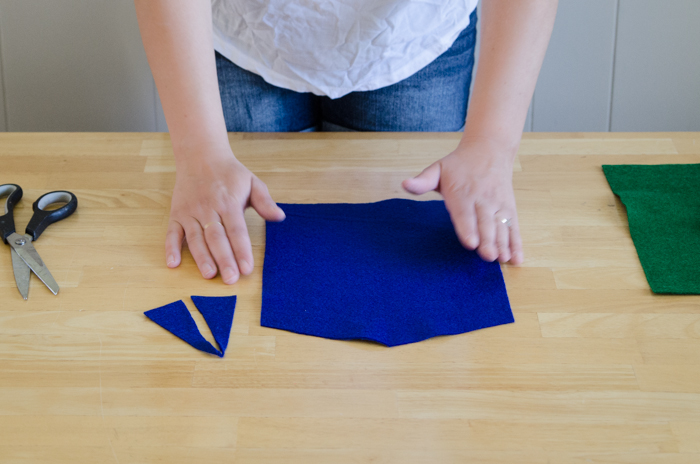
Fill up your squeeze bottle with paint and practice getting your pressure even on the scrap pieces of felt. Felt’s funny to work with because if you press on it, the fabric gets all fuzzy. I found it easier to draw super lightly, then go back over to add more paint to areas I wanted bolder. Originally I was going to try painting with a paintbrush and the squeeze bottle- but the squeeze bottle worked a gajillion times better than the paintbrush, so I’d go with that if you can find it (mine are from the dollar store).
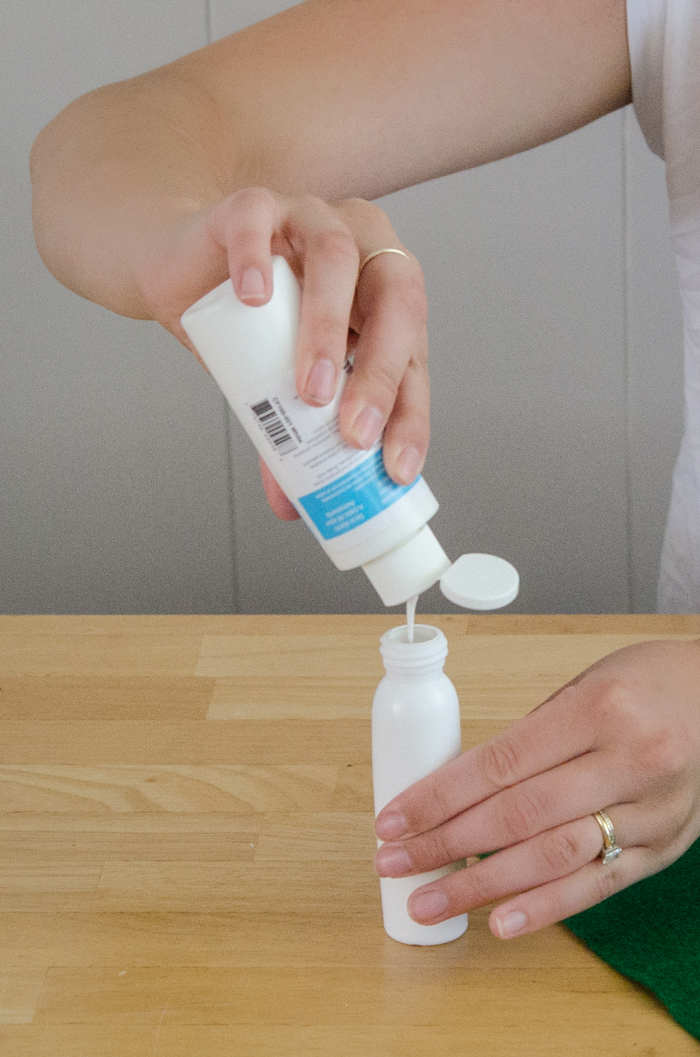
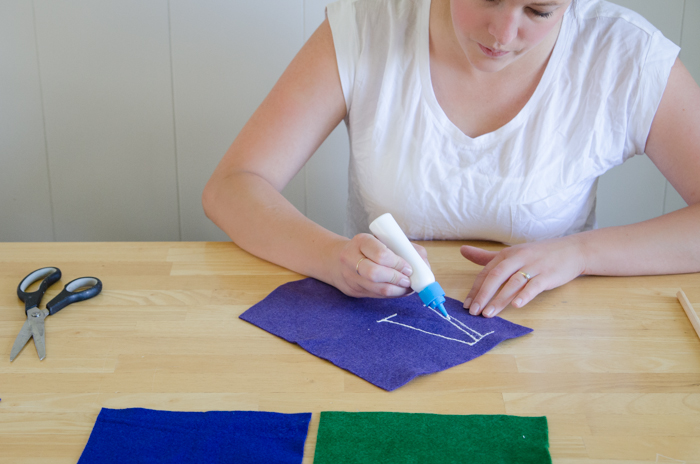
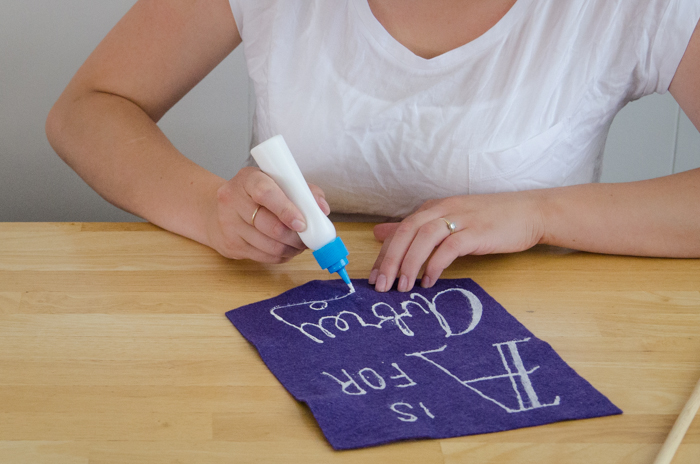
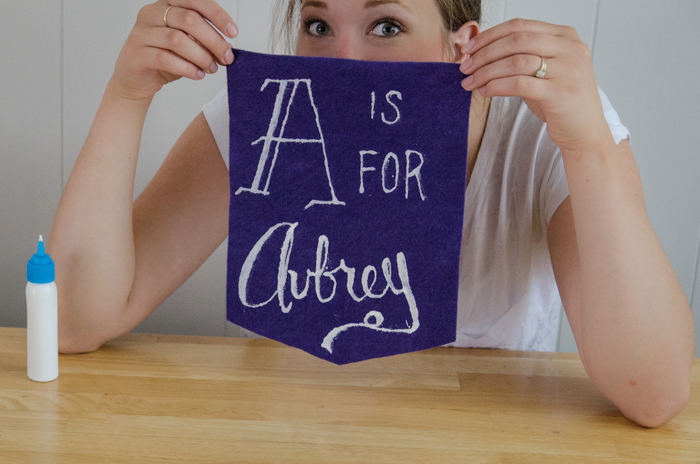
Once you’ve drawn out your design, let that baby dry while you prep your dowel. Measure how long you need it to be- mine are glued to the back of the felt to hang them by, so I wanted them a tiny bit shorter than the felt. I cut mine with a hack saw- but any old saw would work. Use hot glue to affix the dowel to the back of the felt. I hung them with tiny nails and the dowel sits on top- with the nail heads between the dowel and felt.
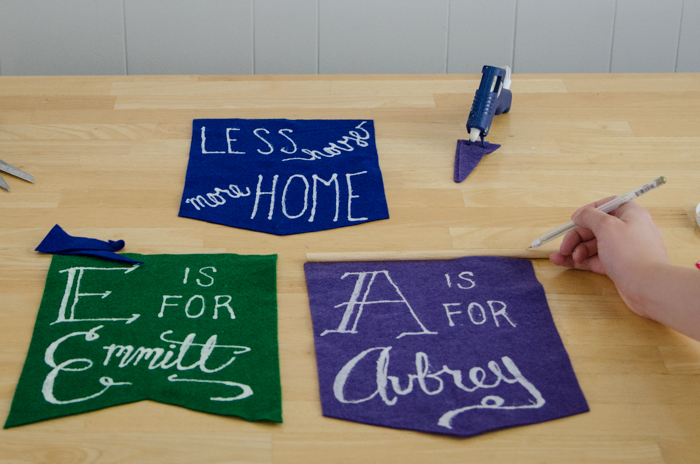
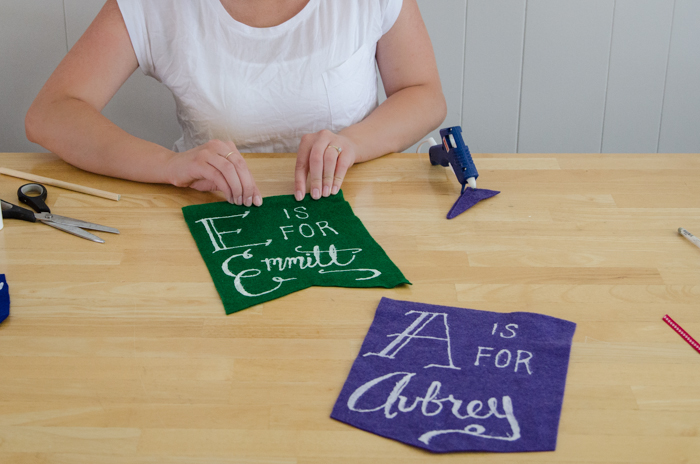
All done! It’s so easy, and these little banners make a big statement- for a room or for a party! These ones I made to hang above the twins’ cribs (hurray for not having to answer which crib is which!), but I used the same technique to make the front door banner for their first Bee-Day and it made for a dynamite sign!
I totally scrapped that ‘Less House, More Home’ banner… it didn’t wow me. Does that ever happen to you? I was actually most excited to have that saying on my wall. I’ll have to try again. Speaking of botched DIYs… that’s why I dug into the archives today- I totally botched what I thought was a brilliant idea. C’est la vie! I feel the need to use the hashtag #RealLife for the second time in this post, I think the lack of sleep is getting to me. Anywhoo- What would you write on your banner? Do you have unfinished rooms in your house too? Spill and help me feel better!

 DIY Felt Animal Masks (6 Templates!)
So so so cute! Your lettering skills is super impressive as well! I love it!
Thanks so much Brie! I’m workin’ on it… I really enjoy the process :)
Adorable idea! And WOW that hand of yours is STEADY! I would be all over the place haha!
Ah thanks so much Jacque! It’s getting better the more artsy things I do… it definitely never used to be steady (at all!).
Too cute, Colleen! Such a simple way to add a bit of personalized art to those ADORABLE babies’ room!
Aw thanks Sarah! The room is still pretty empty, so any little bits help!