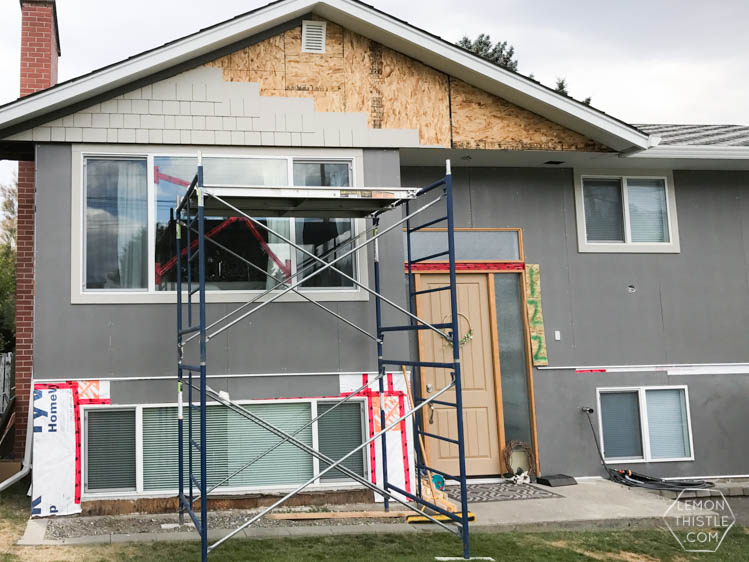
This post has been a long time coming, you guys! I prooobably could have done a ‘Before & the Plan’ post, but instead I’ve saved it all for one nice big update! Killer, right?
If you’re new to Lemon Thistle, I’ve been sharing progress on our DIY renovation of our 1965 home. We are *pretty much* done the interior (less the rest of our bathroom) so it was time to turn our attention to the outside.
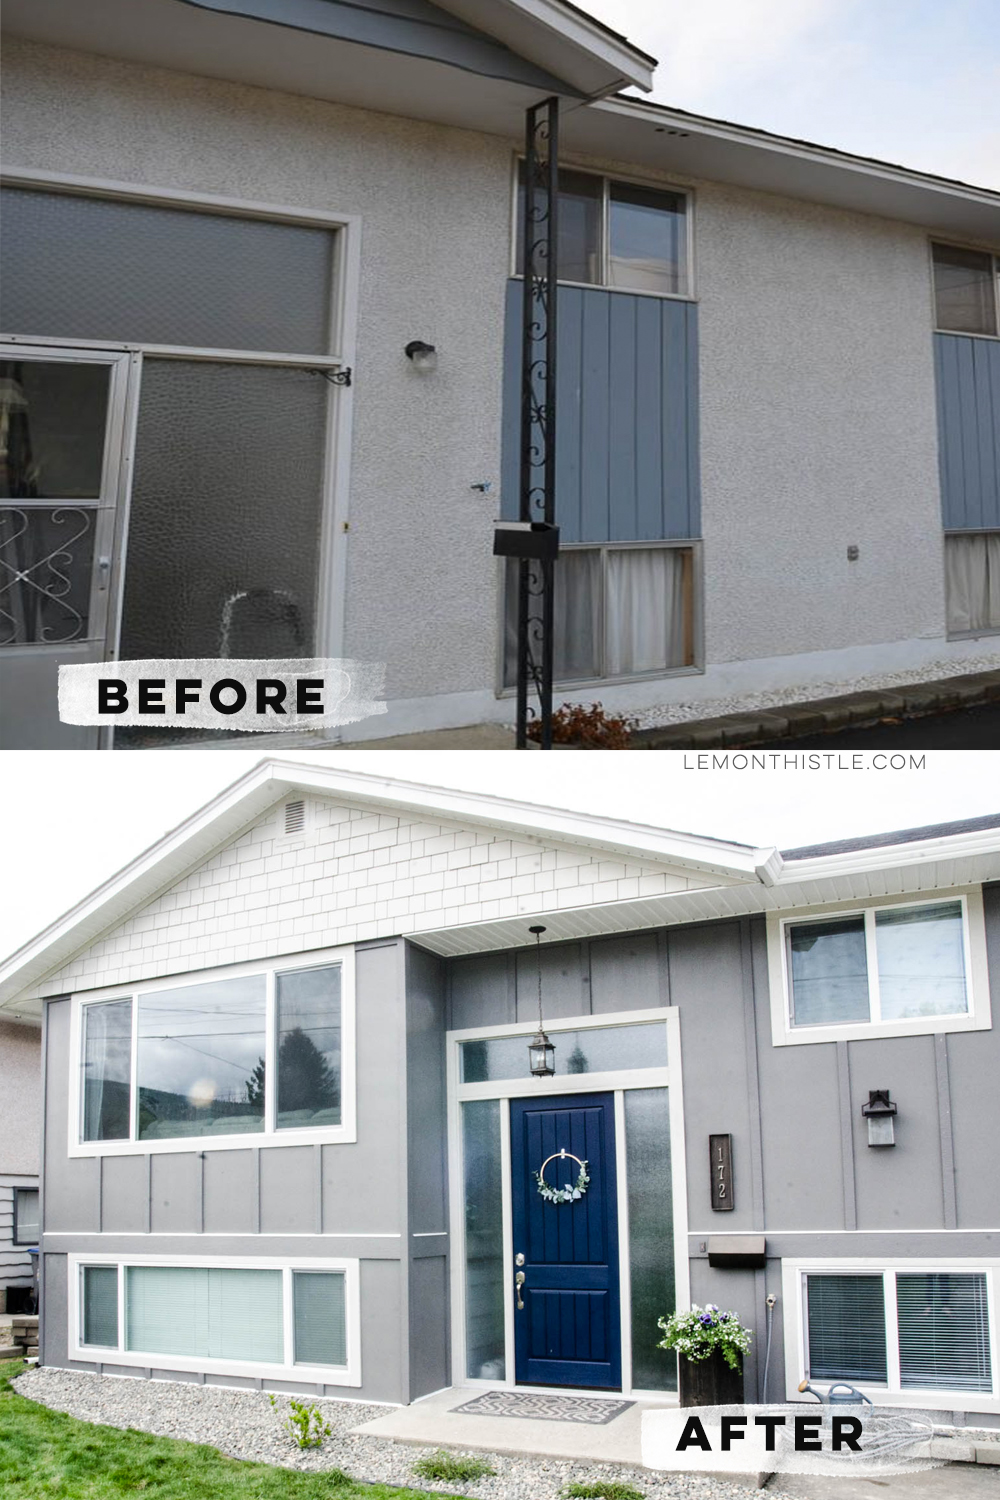
We are excited to be tackling the exterior of our home and finally get rid of that stucco/wood combo that was *so* cool in the 60s. Yeah, you know the one ;) You can find all the ‘before’ photos here if you’re interested.
Since buying our place 3 years ago, we’ve done a few upgrades to the landscaping and earlier this year we replaced our front door. We were knocking things slowly off the list but the exterior was a big one that is going to pull it all together.
Before I get to all the details I will tell you that NO, WE DID NOT BREAK OUR WINDOW. Ha! I’m so tired of answering that question, but I’ll get to that more in a bit.
Here’s what we had planned for this exterior renovation:
- Strip the house of stucco and wooden siding
- Vapour barrier
- Wire in new exterior lighting
- Side the exterior in Hardie board and batten (gable with shingles)
- Replace the LAST old window (the giant one)
- Paint fascia boards
- Update soffits with aluminum
- And all the finishing work that goes with it
Before that though… how about a flash back to the BEFORE?
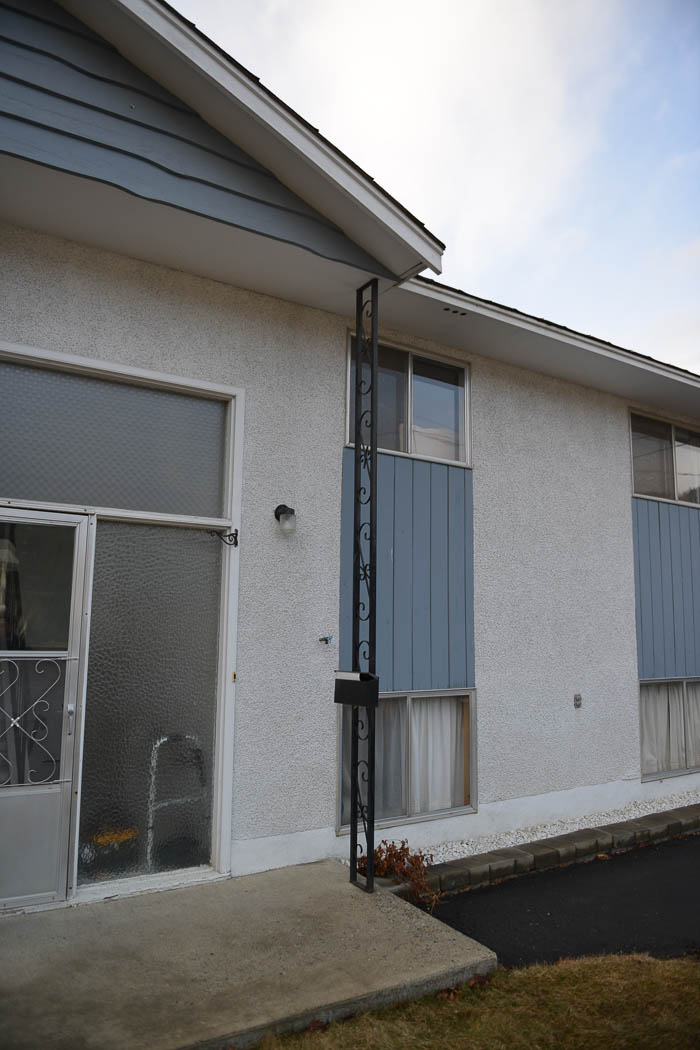
*this post contains affiliate links which help support Lemon Thistle at no cost to you. Find out more in my policies!
PREP & LIGHTING
Shane stripped the stucco in just a few days which (I think) is insane, so we got off to a really great start. We decided to rent a waste bin so we wouldn’t have to do dump runs and if you’re doing an exterior… can we tell you how very much worth it this is?!
We chose to do a bin just for the stucco/wire instead of a mixed bin (you can’t throw wood in this one then) to save money. It pretty much halved the cost but we did have to run the wood to the dump then. I think it took two runs for us.
The one surprise we did run into here is that the gables were sided over NOTHING. As in when you pull off that nice wavy blue wood, it was open attic full of blown in insulation (that was now flying all over our yard). SO we had to get OSB to cover it over before we could look at siding it.
We did have a sider recommend that we just side over the wavy siding that was up there BUT after talking to a contractor (and a couple other people we trust with these things) it was a big no-no. In case you’re considering it ;)
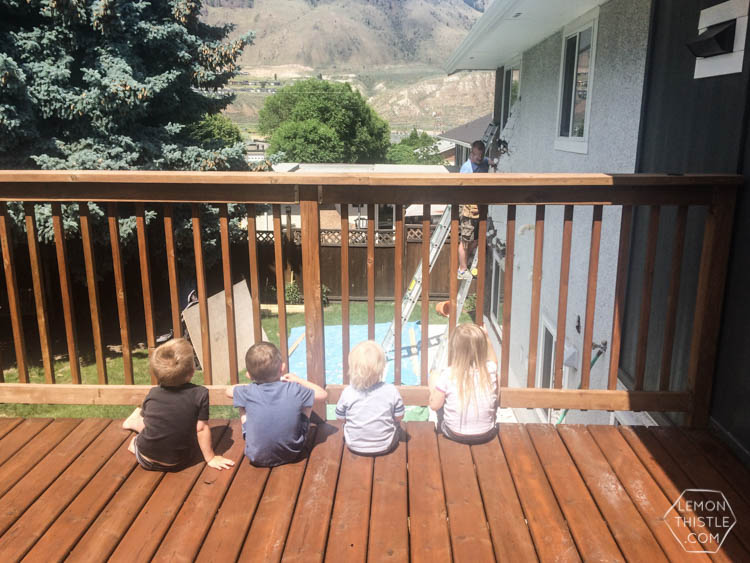
Shane just used extension ladders to tear all the stucco off, but we set up scaffolding to tackle boarding the gables, replacing the window, and have them for the rest of the work to be done. He has had the BEST audience for all this work. Sometimes they even help.
Preparing the house to install Hardie Panel
Next up was getting the house prepped and ready for installing Hardie. My dad helped us wire in new lights around the house and Shane painted the fascia.
We added in a bunch of new lights since we have a suite and someone has to walk around the back of the house all the time. We saved big time on this by buying from Costco- for $30 they are LED (not available online) and have a light sensor so we can have them turn on automatically once it’s dark. This is GREAT for the side and back of the house that we don’t want to have to switch on and off.
We wired the rest in so they can be switched on and off if we choose (but will only switch on in low light). We also wired in a hanging light that we have yet to install for over the door. We ordered it from Wayfair and I love how closely it matches.
It was IMPOSSIBLE to find one even close to these locally. We paid a bit (lot) more for this one but I’d had gift cards that covered it and it was the BEST match we could find for the lights we’d bought for the rest of the exterior.
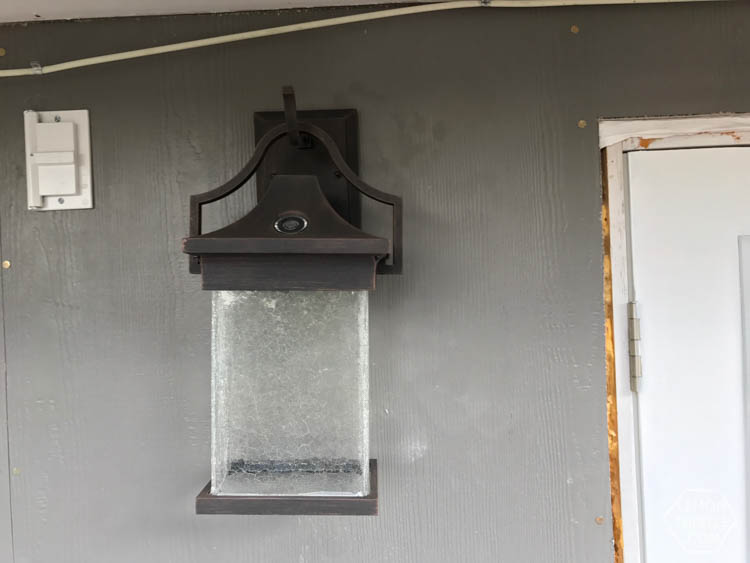
I was a bit worried that the lights we got would look really orange/brown on the house but now that we have a few up, I’m really happy with the colour- especially the light they cast at night! I’m excited to get that hanging light up in the front to see how they tie together.
Picture WINDOW Update
At this point we replaced that giant window. OOOOOOHHH the window. You guys, we have replaced every. single. window. in this house now. And they’ve all been great, no problems and this one went in no problem too but getting it? And getting it IN ONE PIECE? That’s proven to be pretty difficult. I mentioned on my Instagram stories that I’ve put off writing this post because I haven’t wanted to address a broken window.

The new window actually arrived broken and we left it as long as possible because it was supposed to be fixed before we installed it. It hit a point where we needed to start siding and we were told they’d come here to replace the glass. I did want to say that our local window guy (Dan’s Doors) is beyond amazing and we’d recommend him 1000x over (and have)… he’s been a great advocate for getting it fixed as well. The issue is with the manufacturer, Starline Windows. You guys… the window arrived more than TWO MONTHS AGO! Isn’t that insane?
The only reasoning that I’ve gotten is that ‘they got their wires crossed’. We actually have most of our windows from Starline and we have absolutely no issues with the product itself. This is the first time I’ve had to deal with their service though and I’ve definitely been disappointed. Sooo if you’re choosing between window brands, that’s just something to keep in mind. That’s the joys of renovating without a contractor, though… you get to be the one making all these phone calls!
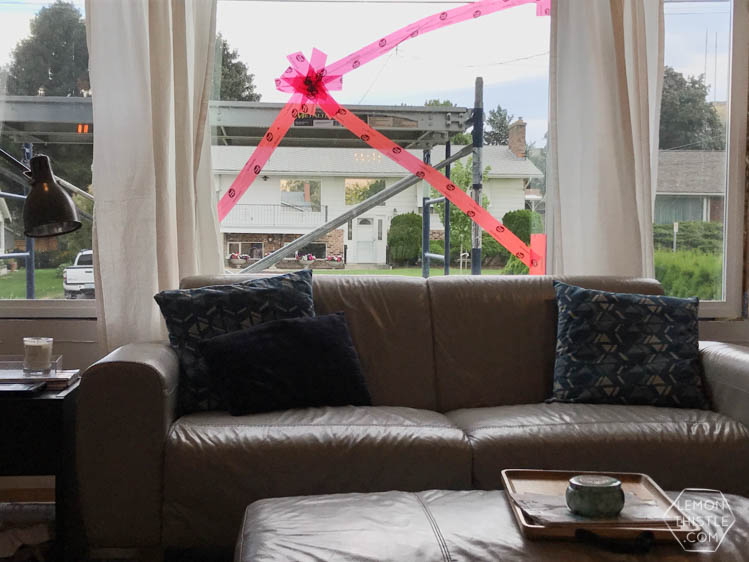
This has nothing to do with the exterior renovation (just the window) and only a blogger would complain about this but… having red tape on my main lightsource has made photographing anything and anything awful (I’d put the crying laughing face emoji here if I could). Such a first world problem! Ha! I haven’t taken a picture of my living space in weeks because of this thing (which is sort of what I do for a job!). Anyways… I’ll end my rant here ;)
Side note… would you guys be interested in a how-to install windows yourself post? Let me know if you’re a yes! I should have really taken photos on this one, but I’m sure Shane will be helping with one somewhere soon ;)
BOARDING- Hardie Board & Batten
Ahhh finally on to the siding! We had priced out both regular Hardie planks (horizontal) and the board and batten. My dad had done the board and batten look on his place and we love how it gives an almost cottage feel to a regular home.
We weren’t totally sold until we were told that the FASTEST siding installer in town does a house with the planks working full time for two weeks. We just don’t have all that free time (assuming we are nowhere near as fast) and knew we could install the Hardie board and batten in much less time on our own.
Shane took a week off work to kick things off installing with the help of my dad. This is where we’re at after that week (plus a weekend and a couple evenings). In that week, we already have some tips and such for you.
If you’d like to learn more about different styles of Hardie siding, you can read up on their site here (not sponsored, I’m just not the person to ask all your questions to!).
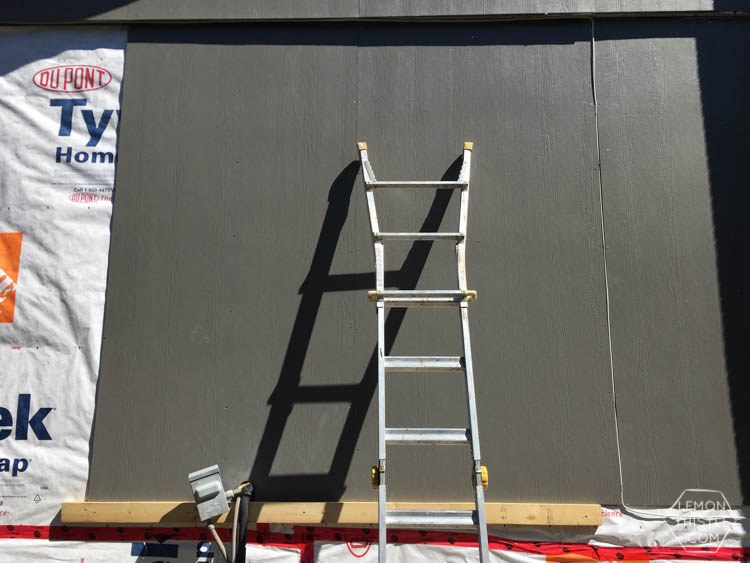
The first is that they started from the top. It makes total sense- of course you want your horizontal lines to be level with your roof line. Boosting that heavy cement board up to a second story isn’t the easiest and holding it in place and level while nailing it is even more tricky SO here is the big tip of the day.
Level a 2×4 where the bottom of the board sits and screw that in place. Resting the bottom of the board on that while you secure it keeps it level and in place. This can make it a one man job even on scaffold (although it makes for a stressed wife if she’s watching… from experience).
As for cutting all the Hardie… This tip should be common sense to me but I needed to be told, it’s even messed me up on craft projects. Datum measuring. This just means that if you have more than one hole or thing to cut out of one board, measure it all from the SAME side/point.
That means even if one cut out is right near one edge, and one is right near the other… measure from the same side. If only someone told me this before we drywalled the basement suite!
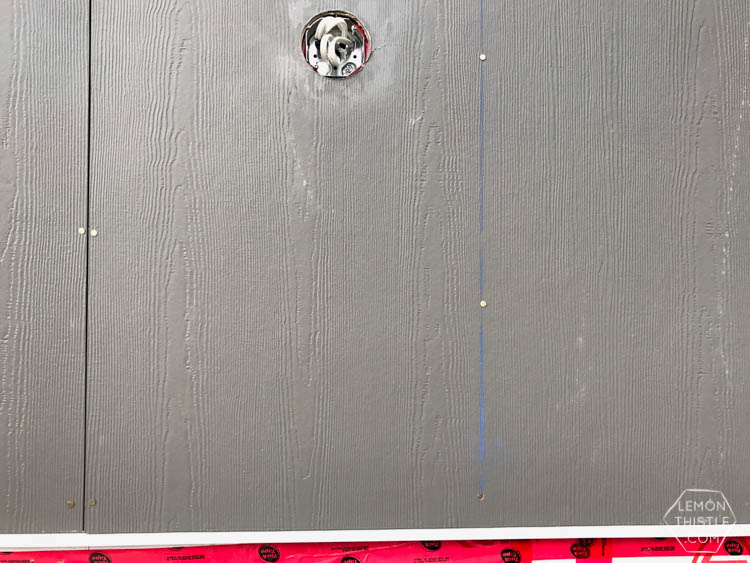
You can choose to do battens as far apart or close together as you like, provided they are in intervals which allow you to cover the seams between boards (12, 16, 24″). We knew we didn’t want to do 12″ (it gives quite a cottage look) and after driving around to look at way too many houses, we decided on 24″.
The cost savings won us over and we didn’t see going to 18 would make it look any better for the cost. Did I mention I also questioned every person I know with a design bone? W
hen you’re installing the boards, you would just nail near the edges where batten or belly board (the horizontal boards) goes. We then used a chalkline to mark the 24″ battens and nailed there as well.
SMART TRIM VS HARDIE & PAINTING TIPS
Let’s talk about the Hardie trim and batten versus Smart Trim. From what we’ve been told (by pretty much every one we’ve talked to- contractors, contractor sales, installers etc), Hardie trim is pretty brittle and chips and breaks way too easily to make it practical.
Plus, it costs more than Smart Trim. The downside of Smart Trim is that it doesn’t come painted in Hardie colours, so you’ll need to paint it yourself. We went this route.
As far as paint- almost any hardware store will give you paint that ‘matches’ Hardie colours. BUT keep in mind that each and every dye lot of your Hardie board has slight variations (like yarn). So you’re best off to bring a sample in and ask to have it colour matched.
We tried that… and the paint counter refused and insisted we use their tint instead. And it totally didn’t match. Which we should have checked before painting so. many. pieces. So just insist that they match it… it’ll save you repainting.
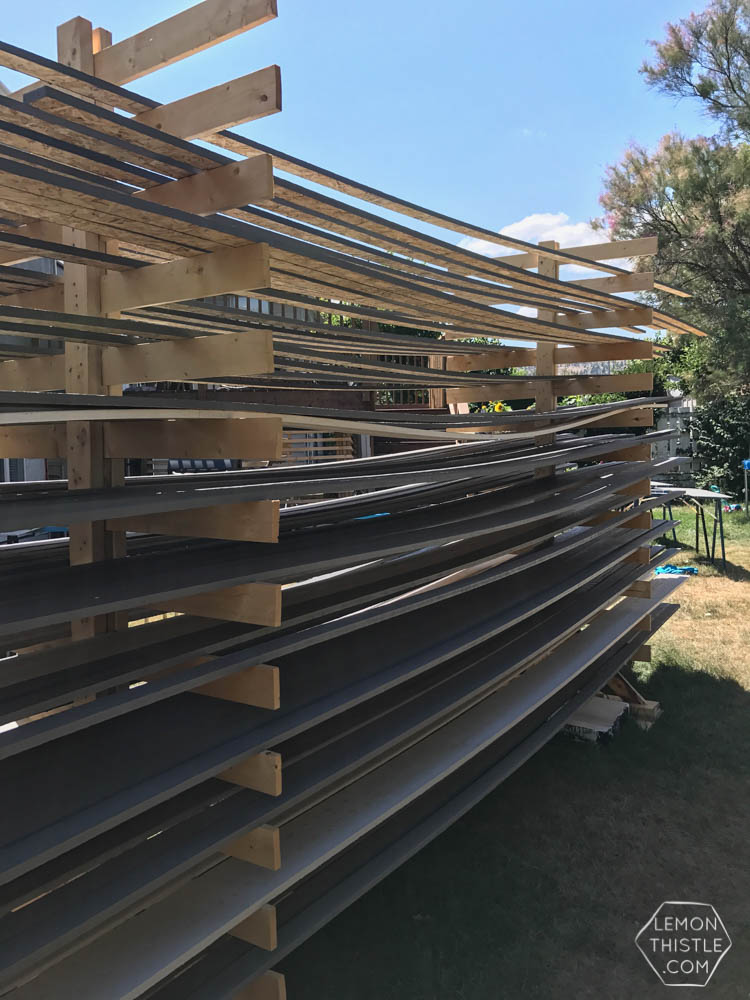
Since there are a million pieces to paint with the board and batten and it is too hot to paint in the heat of the day, we have made a bit of a system to get everything painted. We paint first thing in the morning (until about 8:30 when it gets too hot). So we can’t wait for things to dry on the sawhorses.
We built these ‘trim trees’ (that’s our name for them, I’m SURE that someone somewhere has a real name for them) out of 1×4 and 2×6 to hold trim while drying. They’ve been THE BEST. They cost under $100 in material and have really saved us so much headache.
Also, notice how dead our grass has become in the two weeks since we started using our backyard as a painting area? #facepalm. It was so green in that photo of Shane ripping off the stucco!
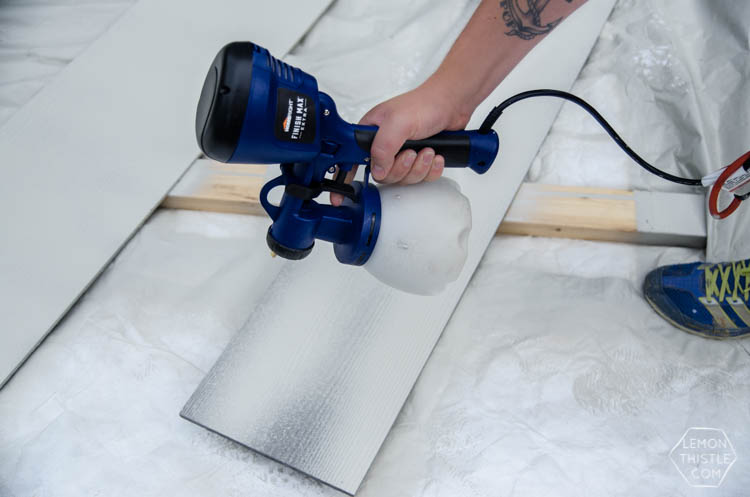
Lastly… Shingles! We chose to do our front gable in Hardie shingles rather than carry up the Hardie Board and Batten. We got the shingles just primed as well. I knew that they’d be a job for a paint sprayer because of all the grooves.
We used vapour barrier instead of dropcloth (who has THAT MUCH DROP CLOTH) and I partnered with HomeRight to upgrade my paint sprayer. They sent me their Finish Max Extra and it was perfect for the job. Now, I totally loved my smaller sprayer but you did have to thin down thick paint to use it.
This one? NO THINNING! It took me two mornings to paint all of the shingles with two coats- not bad at all! This photo is obviously not of the shingles with grooves, this is of a starter strip of board we used to start the gables off (the bottom, it will show between the shingle grooves). Shane even got to try out the sprayer- it’s usually my baby.
Other differences between the Extra and regular Finish Max? The Extra comes with specific tips for the types of paints you’re using and tools to get them on and off- SO simple.
The downside for me is that it didn’t come with the Rapid Clean attachment BUT after reading reviews after the fact, I could have used the Rapid Clean from my smaller sprayer and saved myself a ton of time.
Alright… I’m going to leave it at that because this post became GIANT. If you have any questions about it all… let us know! I’m excited to get our door painted (*UPDATE SEE OUR NAVY FRONT DOOR HERE!) and battens up to see how it comes together.
OH and to tackle that chimney… I’m debating painting or trying out the ‘german schmear’ because who doesn’t want to try that?
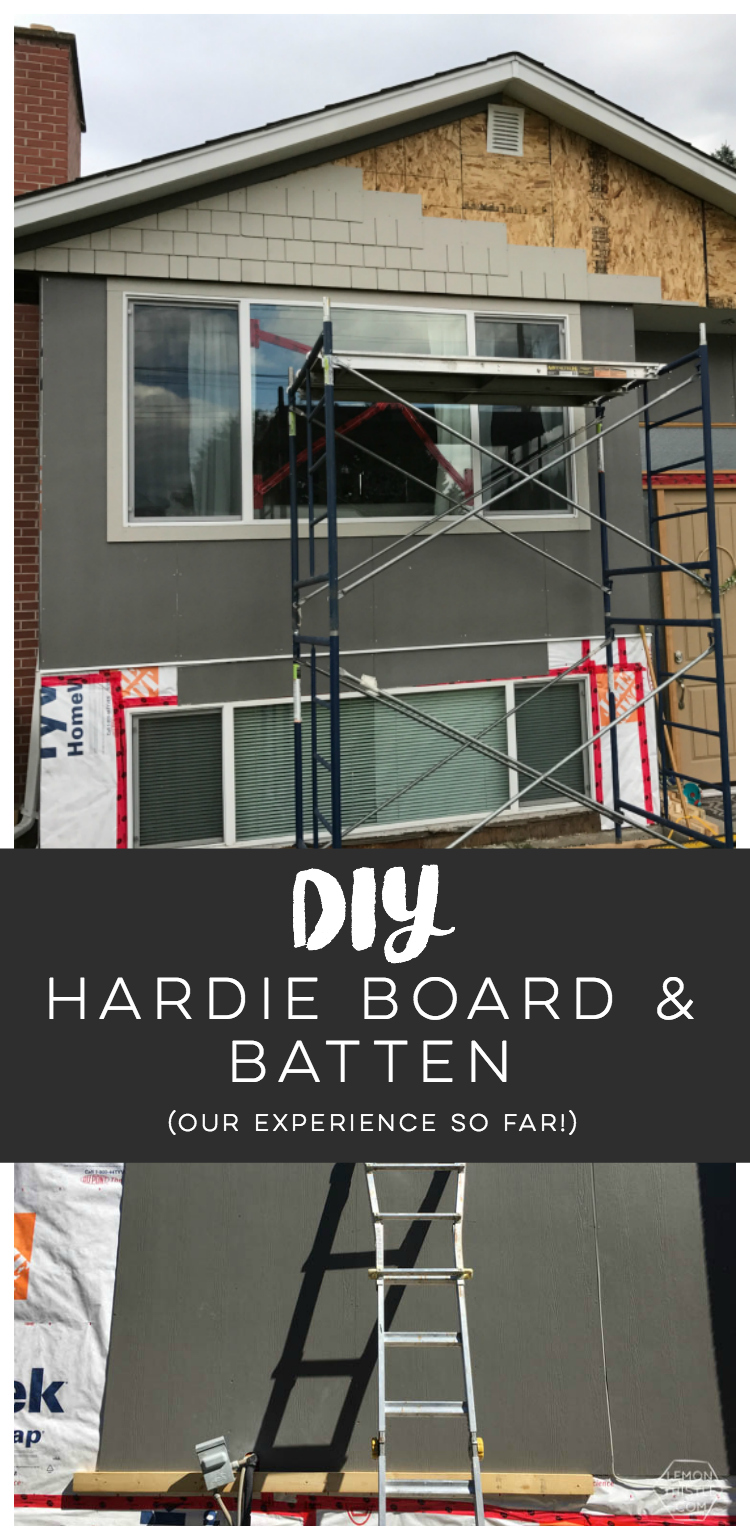
LIKE IT? PIN IT!

 Beach Days Free Printable Coloring Sheet
Yes, I’d love to see a post on how to replace windows. We too, have a 1973 split level and will be replacing windows along the way…and since this is our first fixer-upper, reading a post on the subject seems like a great idea. Thanks!
Wonderful! I will commission the hubby ;)
Please tell me where you purchased the Americana Curb Appeal paint in the color of “New England Navy”.
Im in Tennessee. Thanks!