*This post contains sponsored or affiliate links- as always, I’d never write about a product I didn’t 100% love (full disclosure)*
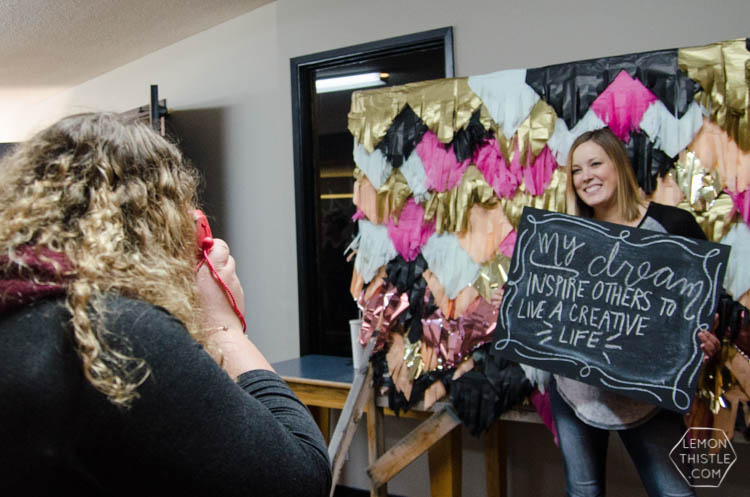
You guys! I am SO crazy excited about this project. I recently helped out with a girls conference at my church that was all about dreaming (and I’m on board with that). Besides crafting decor and other small volunteer tasks, the one thing I really wanted to take on was a photo booth. I’m thrilled that Fujifilm came on board to make this photo booth beyond amazing. We decked the booth out in a fringe backdrop and had attendees write their dreams on a chalkboard to snap two photos with the Instax Mini 8– one for them to take home and remind them of their big dreams, and one for us to hang on our wall. It was inspiring to read over everyone’s dreams and see all the passions that were spoken of during this conference. It is totally nerve wracking writing your dream on a massive sign to tell the world- then you’re kind of held to it! I’m kind of a coward with these things so I waited until the end of the day to shoot mine. Even though I’ve been writing this blog for two years now (whaaat!?) it’s empowering to speak out why you’re doing it- it’s a total dream!
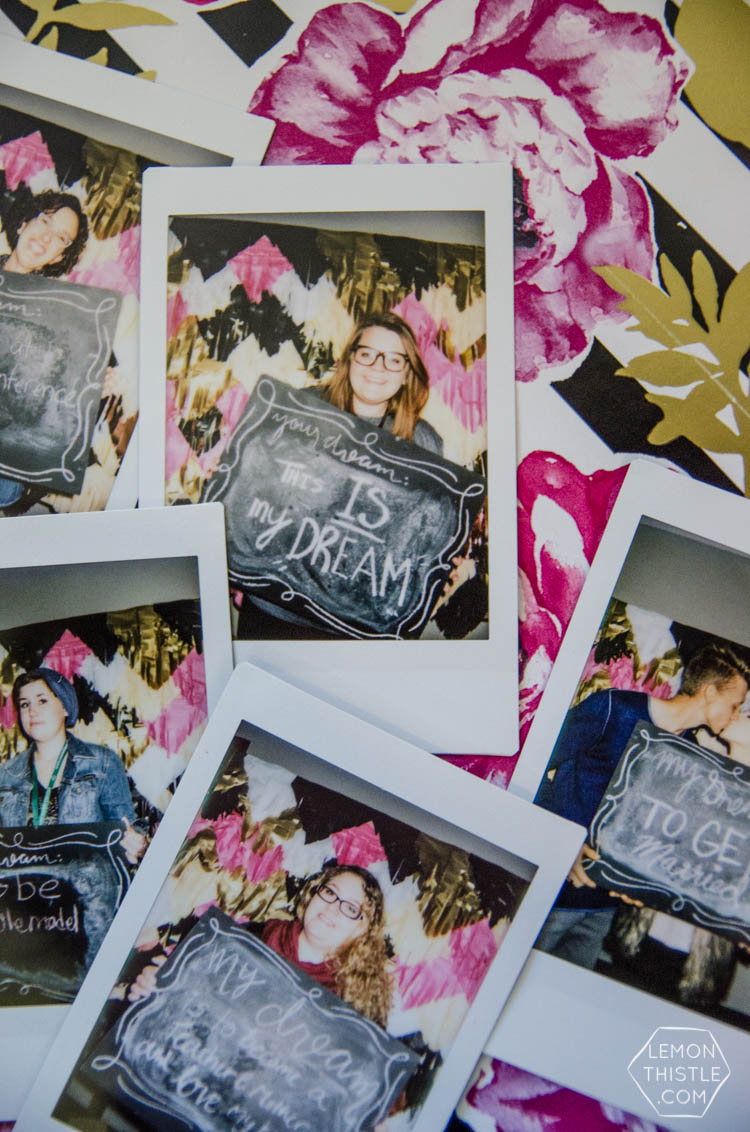
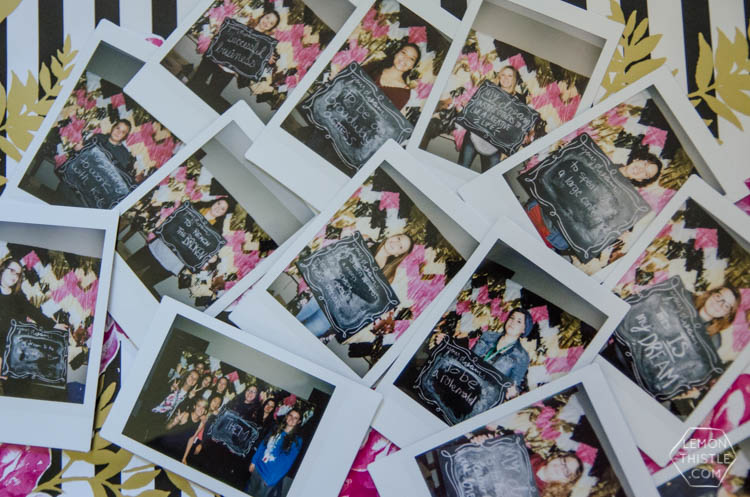
When I was dreaming up the backdrop for our Instax photo booth (we’re going to overuse the word ‘dream’ this post, and that’s a-okay), I wanted something that was fun and bright with lots of texture but without costing a fortune. Tissue paper is a girl’s best friend when it comes to affordable decor. We paired tissue paper with some foil wrap and I’m so impressed with how it came out! Want to learn how we made it happen?
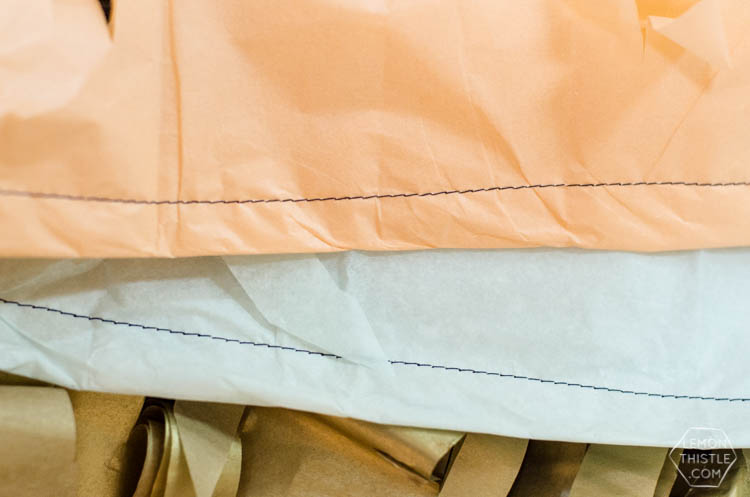
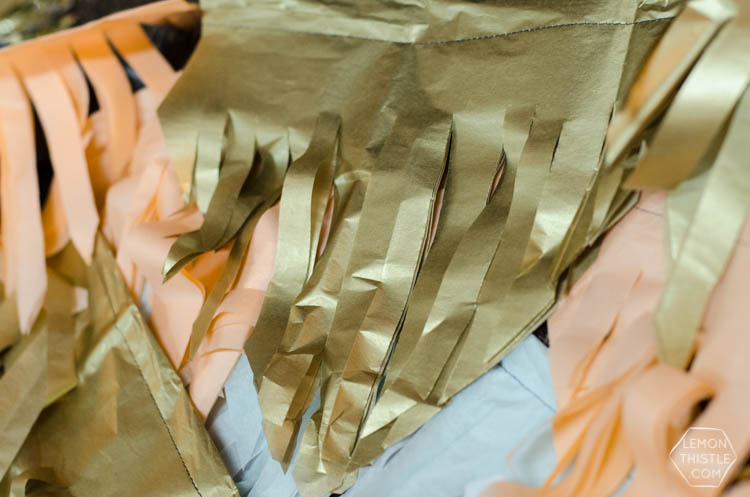
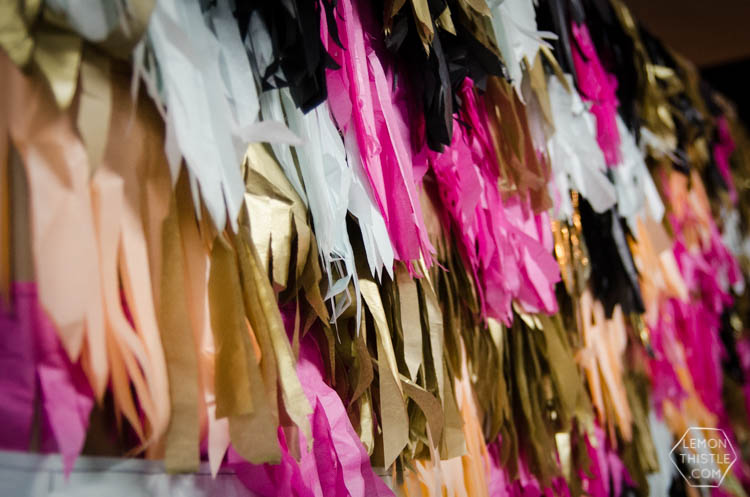
Start by folding two sheets of tissue in half lengthways and sew along the folded edge (we left about a 1″ seam allowance- but it really isn’t important). I found that by lengthening my stitch to the longest the machine would allow, I was able to zip through the tissue in no time. If it was a race, my machine would have won you guys- I’m now a paper sewing pro! Once all the pieces were sewn (you can leave them all one in one run and think about cutting them into smaller garlands later), you’re ready to get fringe-ing! We cut each piece of tissue into two triangles, then fringed those. Make sure your scissors are sharp and be patient with the foil wrap- it can be slippery! When you’re cutting, make sure to only cut to about an inch away from the stitch line, you don’t want to cut too close and have it fall apart. Take those fringes and use double sided tape to affix them to a wall or freestanding backdrop. Start at the bottom and work your way to the top, staggering the triangles to hide the stitch lines. When they’re all on the wall or backdrop, fluff out the fringes to make it look fuller.
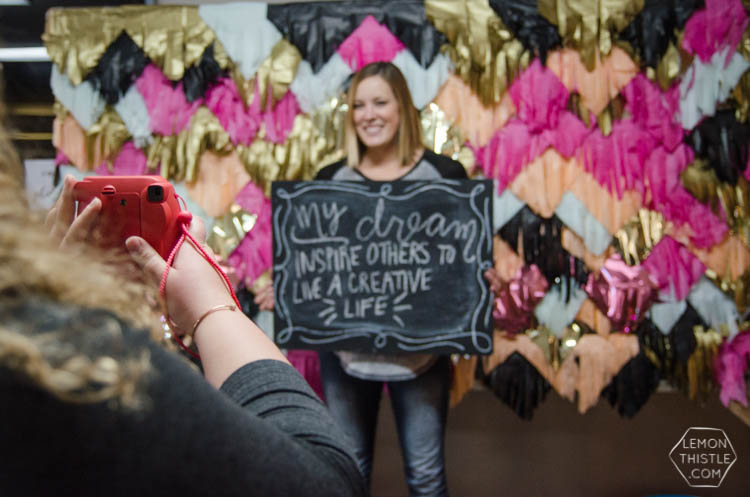
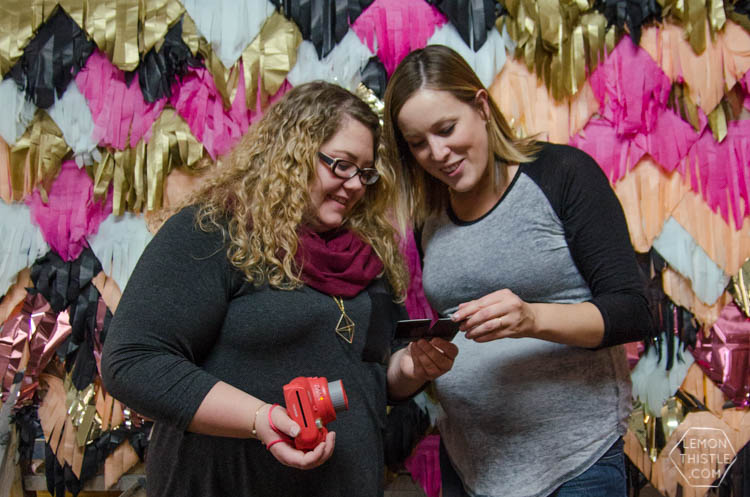
That’s it! It really wasn’t difficult to put together, just took some time (and a couple sets of hands!). The girls totally loved having a photo booth (who doesn’t?) and even more they loved that they could take a physical Instax print home with them- because who ever gets those iPhone photos printed, really? I’m pretty much wanting to do a photo booth at every party I have in the next 10 years now that I have my hands on one of these adorable cameras. They’re really irresistible you guys.
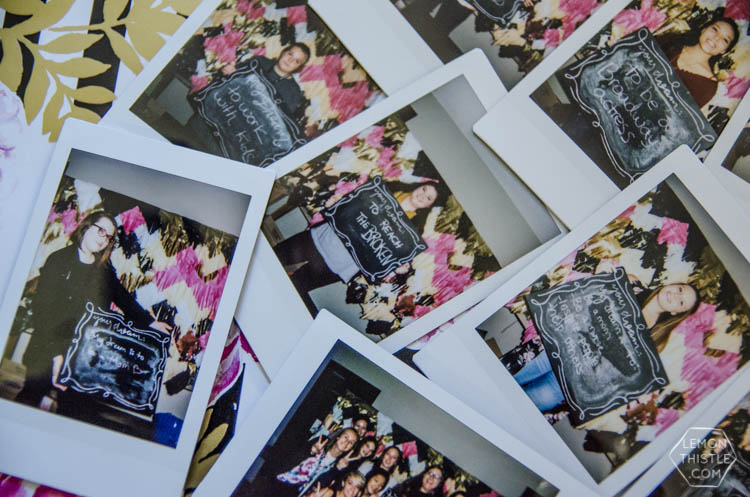
And after all this talk about dreams… what would your dream be? I love hearing about them! If you want to chime in… let’s talk in the comments :)

 Spooky Floral Centrepiece for Halloween- Black and White Blog Hop!
nice! perfect backdrop.
b
Thanks so much! We had a blast making it :)
I love your backdrop, but the message is the best!!
If I had a cream it would be to have a kitchen set up to share my recipes and cooking with groups of women that enjoy cooking and baking.
Thanks for sharing on the #OMHGFF hope to see you next week!
Pinned to share!!
Hope you have a great week!
Thanks so much Karren! I wish I could have brought that backdrop home with me…
What an awesome dream! I would totally try to get in on that group if you were hosting!