This modern dollar store DIY costs only a few dollars and 10-20 minutes to make using a dollar store wood canvas and a paint marker.
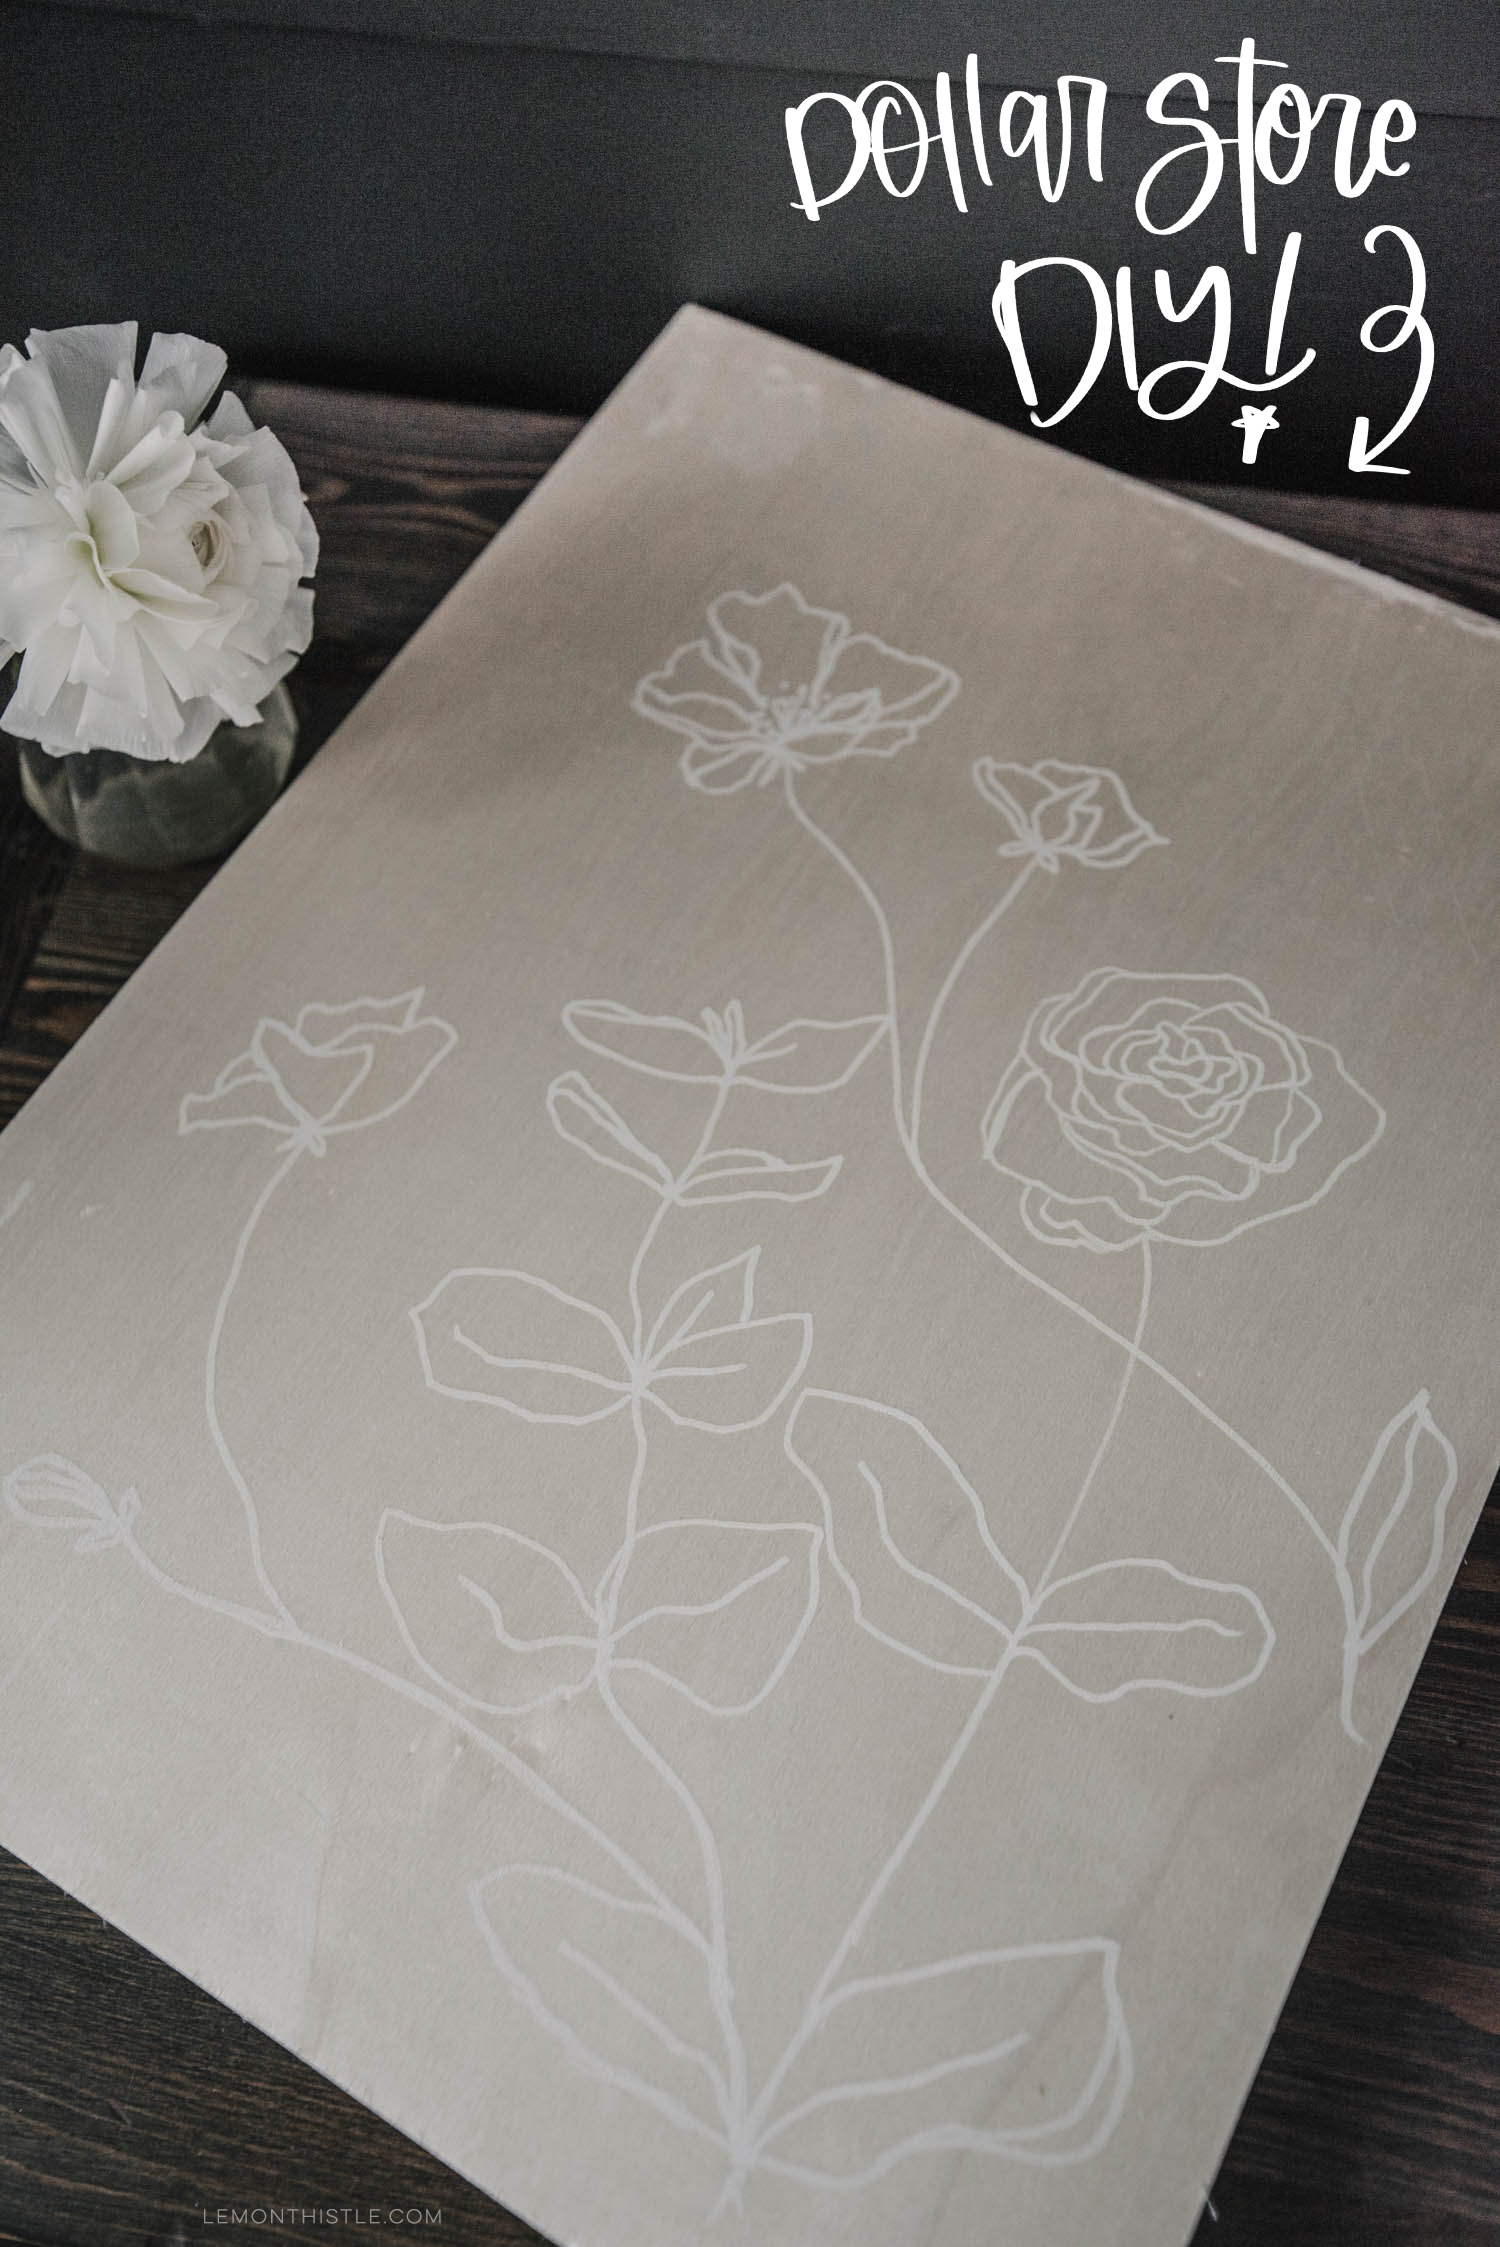
Today I’m sharing such a simple DIY with you guys as part of the Seasonal Simplicity Spring DIY Tour (find them all at the bottom of this post)! This project took me about 10 minutes to make start to finish and cost me only $4. And I’m obsessed with it. I hung it in my bedroom and every time I walk by it I stare at it because it’s so lovely.
*Update* I love this little DIY but after walking by it for a week or so… I had to change it. The white didn’t show up quite good enough. I just went over the white lines with a black paint marker. Check it out now!
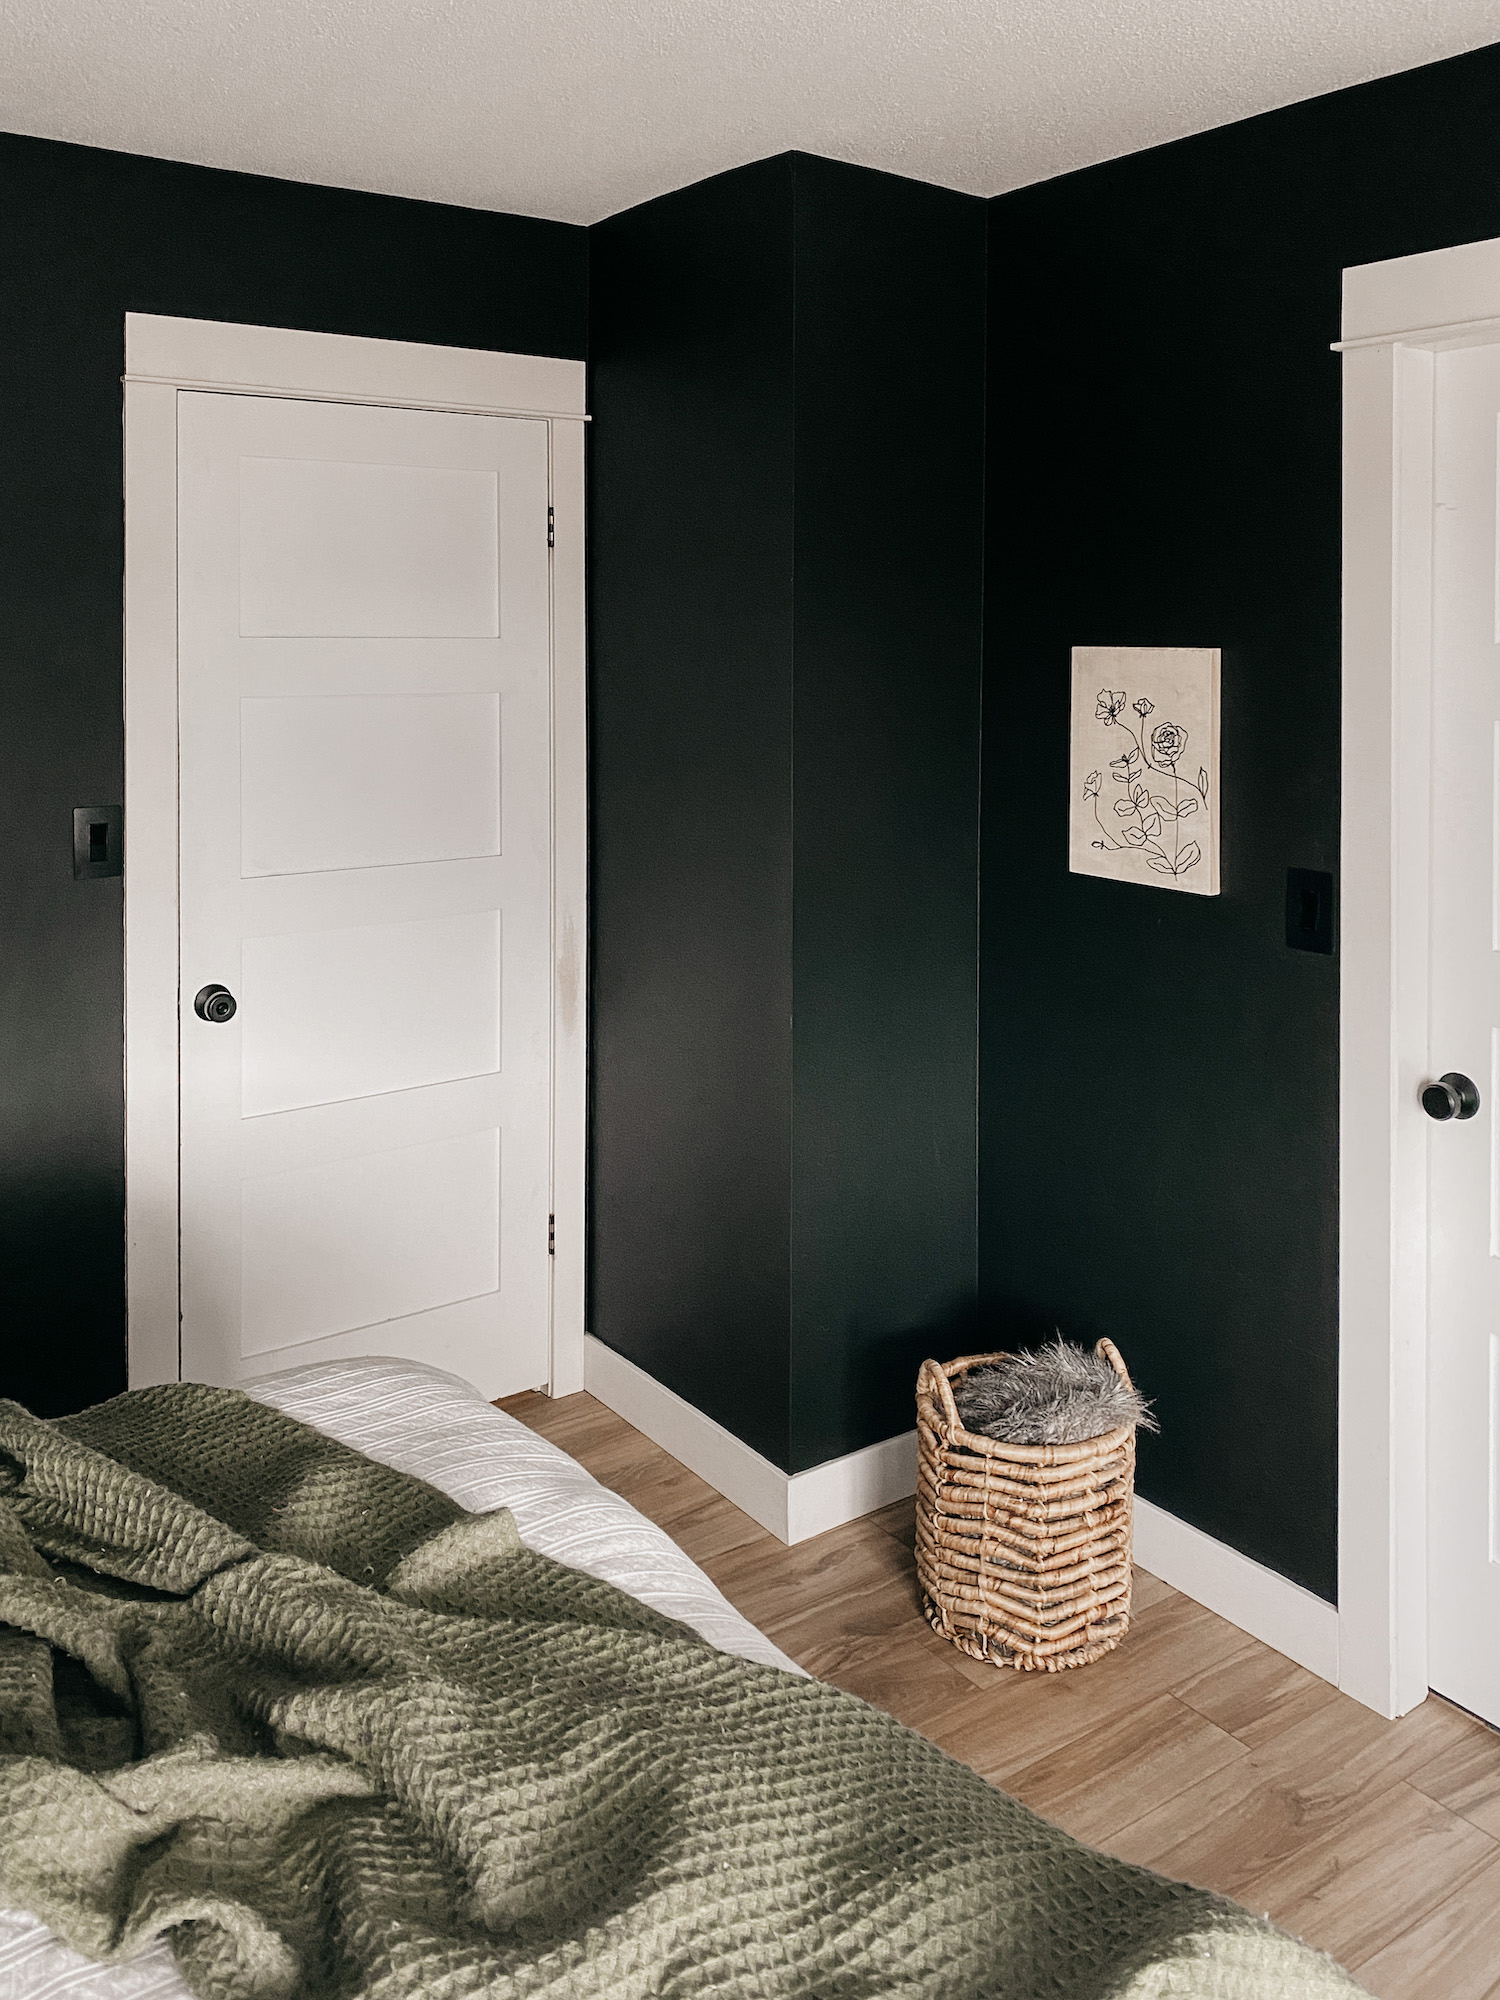
But as lovely as it is… it’s incredibly difficult to photograph, ha! Something about the white on the light wood my camera just could not capture. I might make one with black line art florals to photograph next week because I want you to see how pretty it is and I don’t feel like this does it justice!
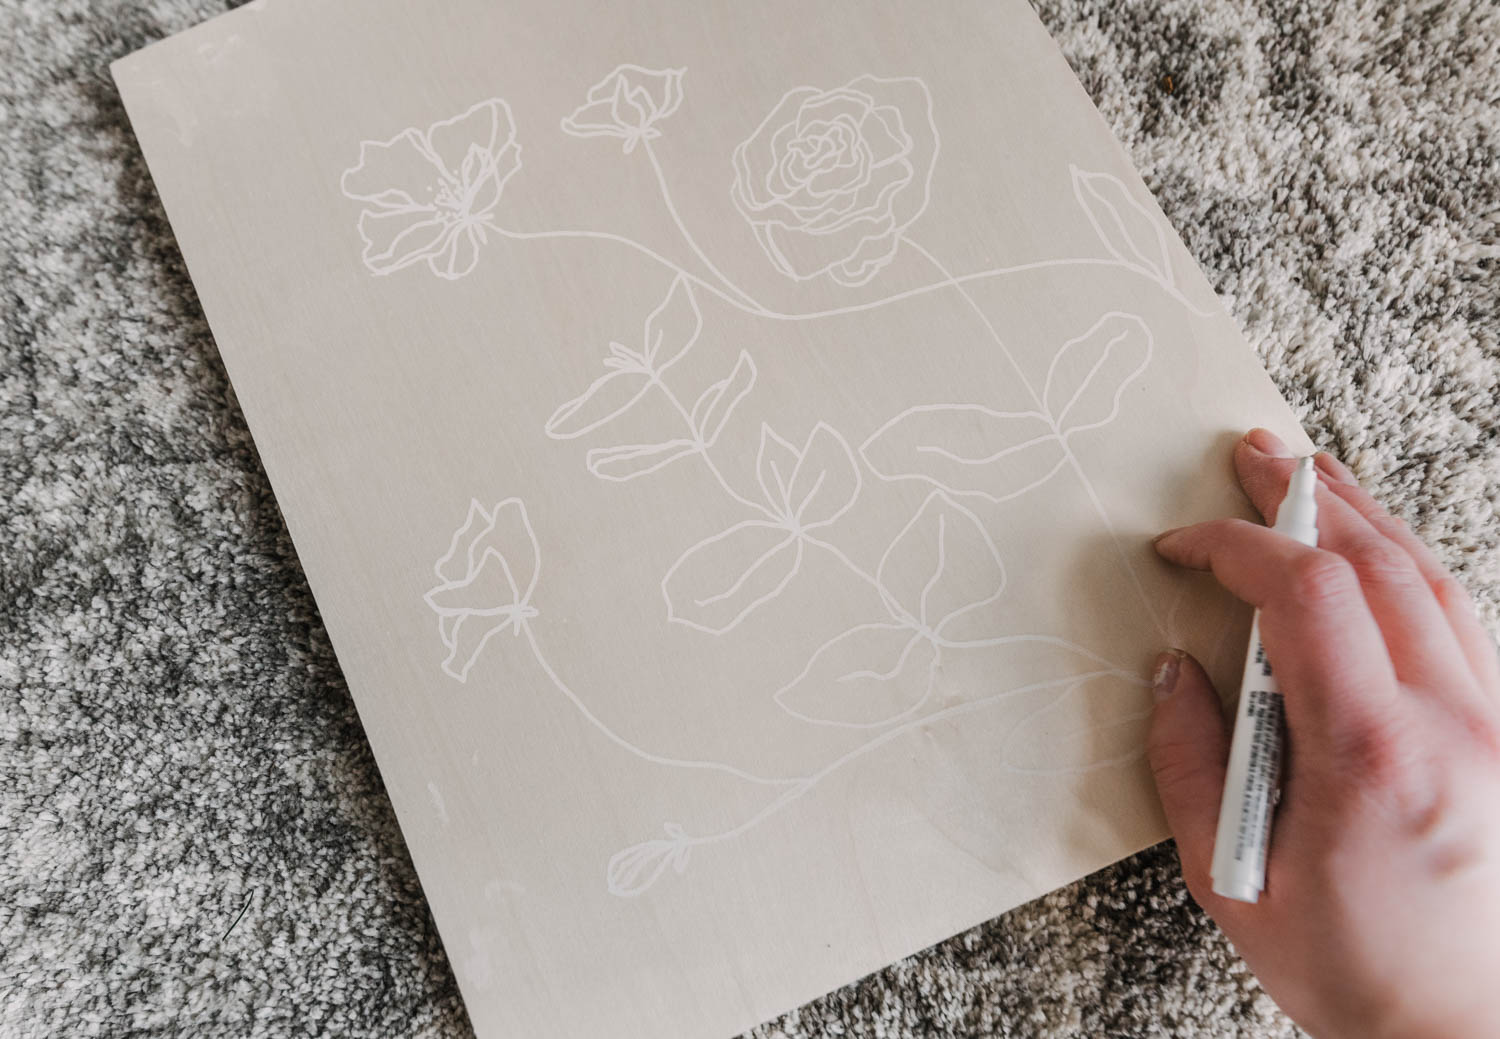
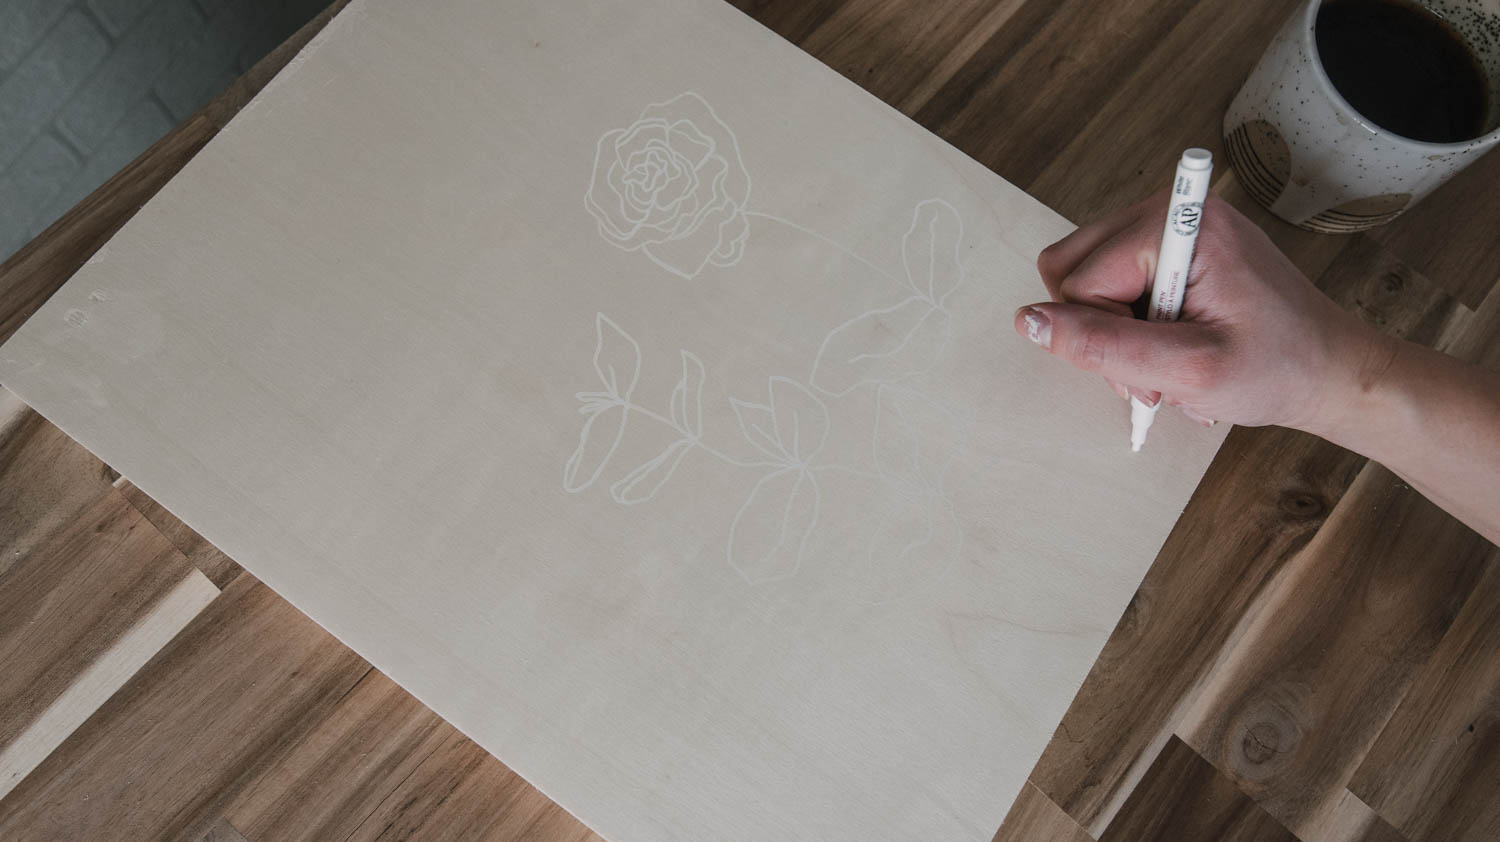
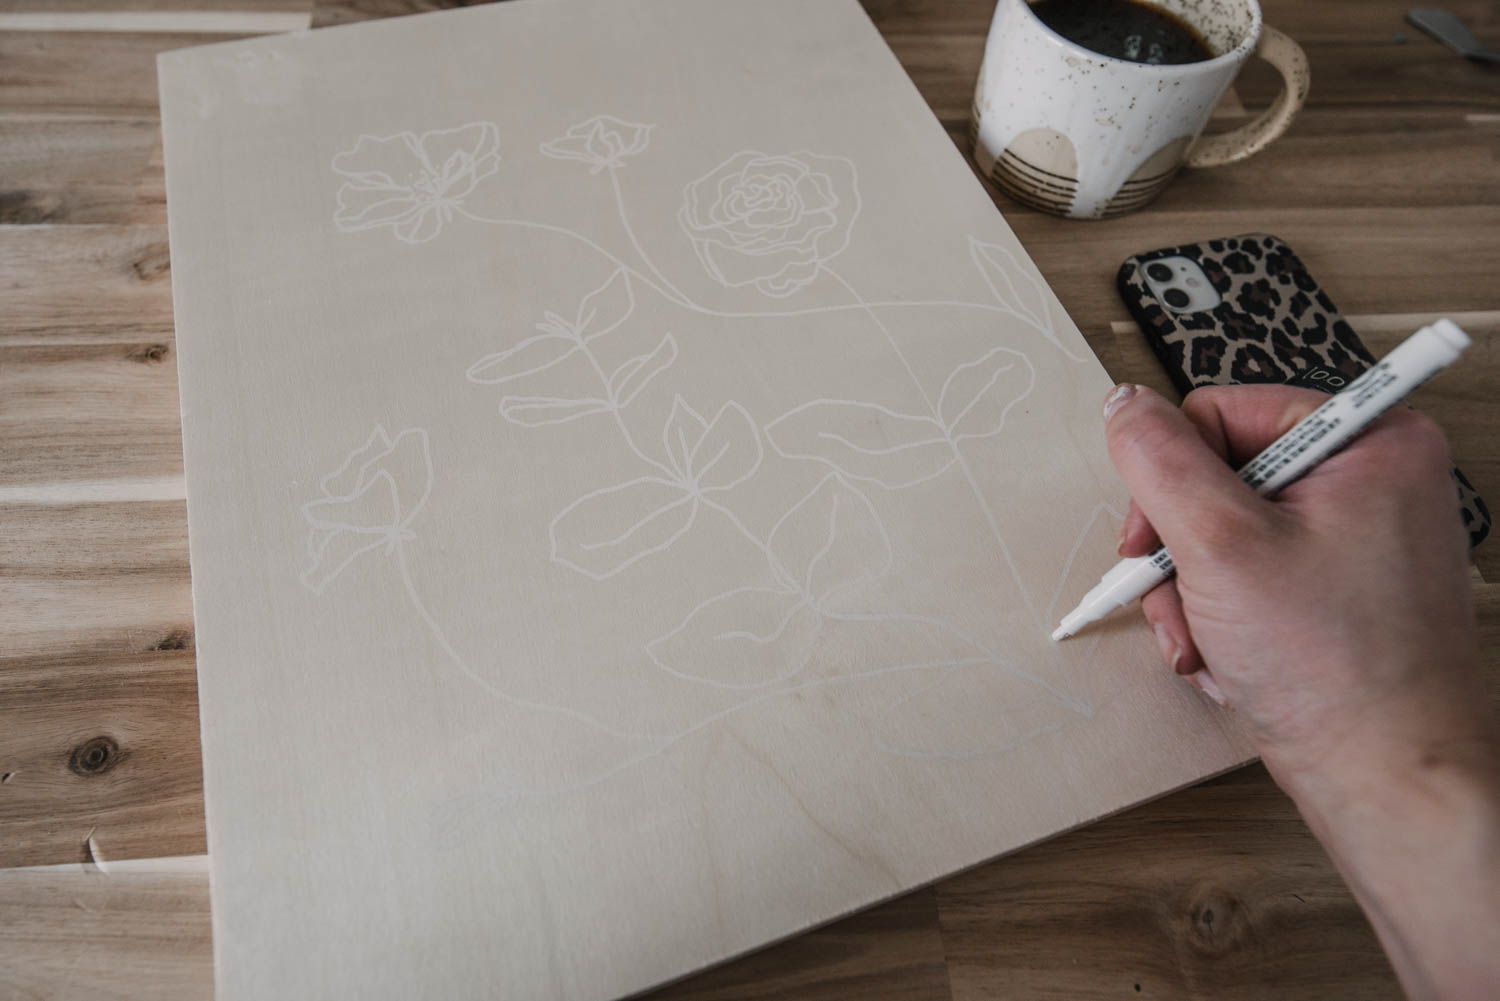
For this DIY, you’ll need a wood canvas from the dollar store and an acrylic paint marker. That’s it! I have been practicing my line art florals this past year, so I just freehanded this, but if you would like some inspiration, @allikdesign is my very very favourite artist to follow. I just did a quick search on YouTube and found this playlist if you’d like step by step tutorials on line art florals!
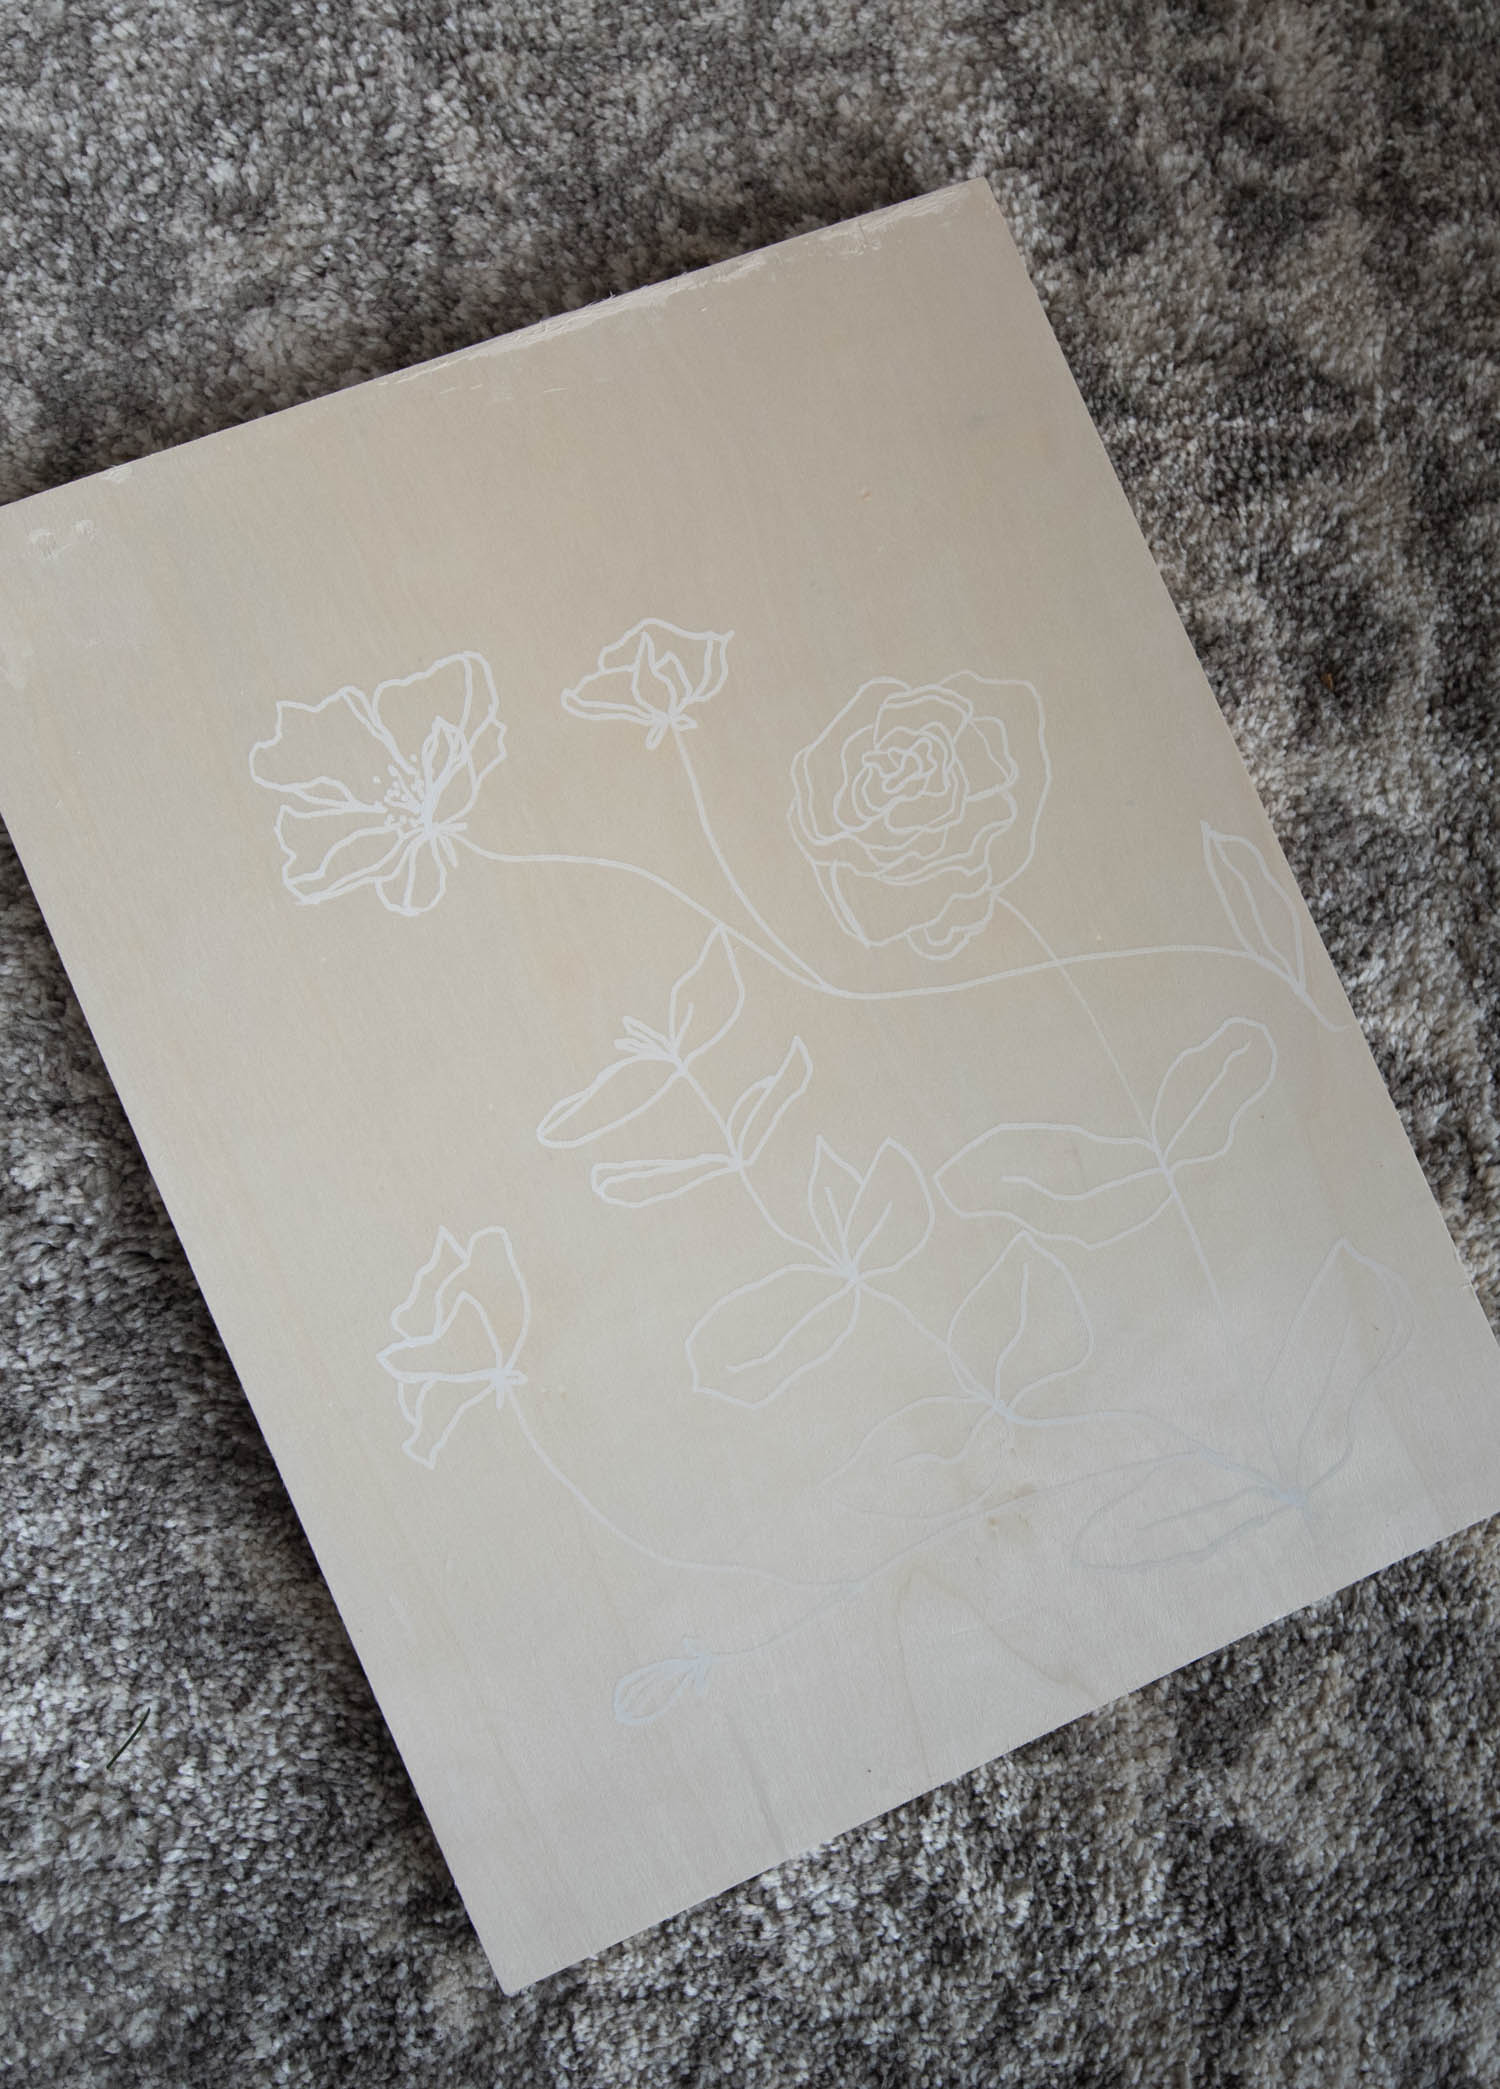
The important thing to note here is to use an acrylic paint pen- not an oil based one. The oil based paint markers just bleed right into the wood and you can barely see the paint. Keep a small piece of cardboard beside your project to help get the paint flowing on your paint marker. Paint markers need to have the tip of the marker depressed to allow paint to flow. Don’t do this on your project or you could end up with a small puddle of paint- not the delicate line art you’re going for!
A couple other tips… don’t stress about it! Why not? It’s a $4 canvas. Get a smaller one for $2 if that makes you feel better about it. Test out your drawing style on paper first. Add some wave and shakes and jagged edges to your lines. I love how organic that makes it look. Don’t worry about being perfect because art isn’t perfect and neither are flowers.
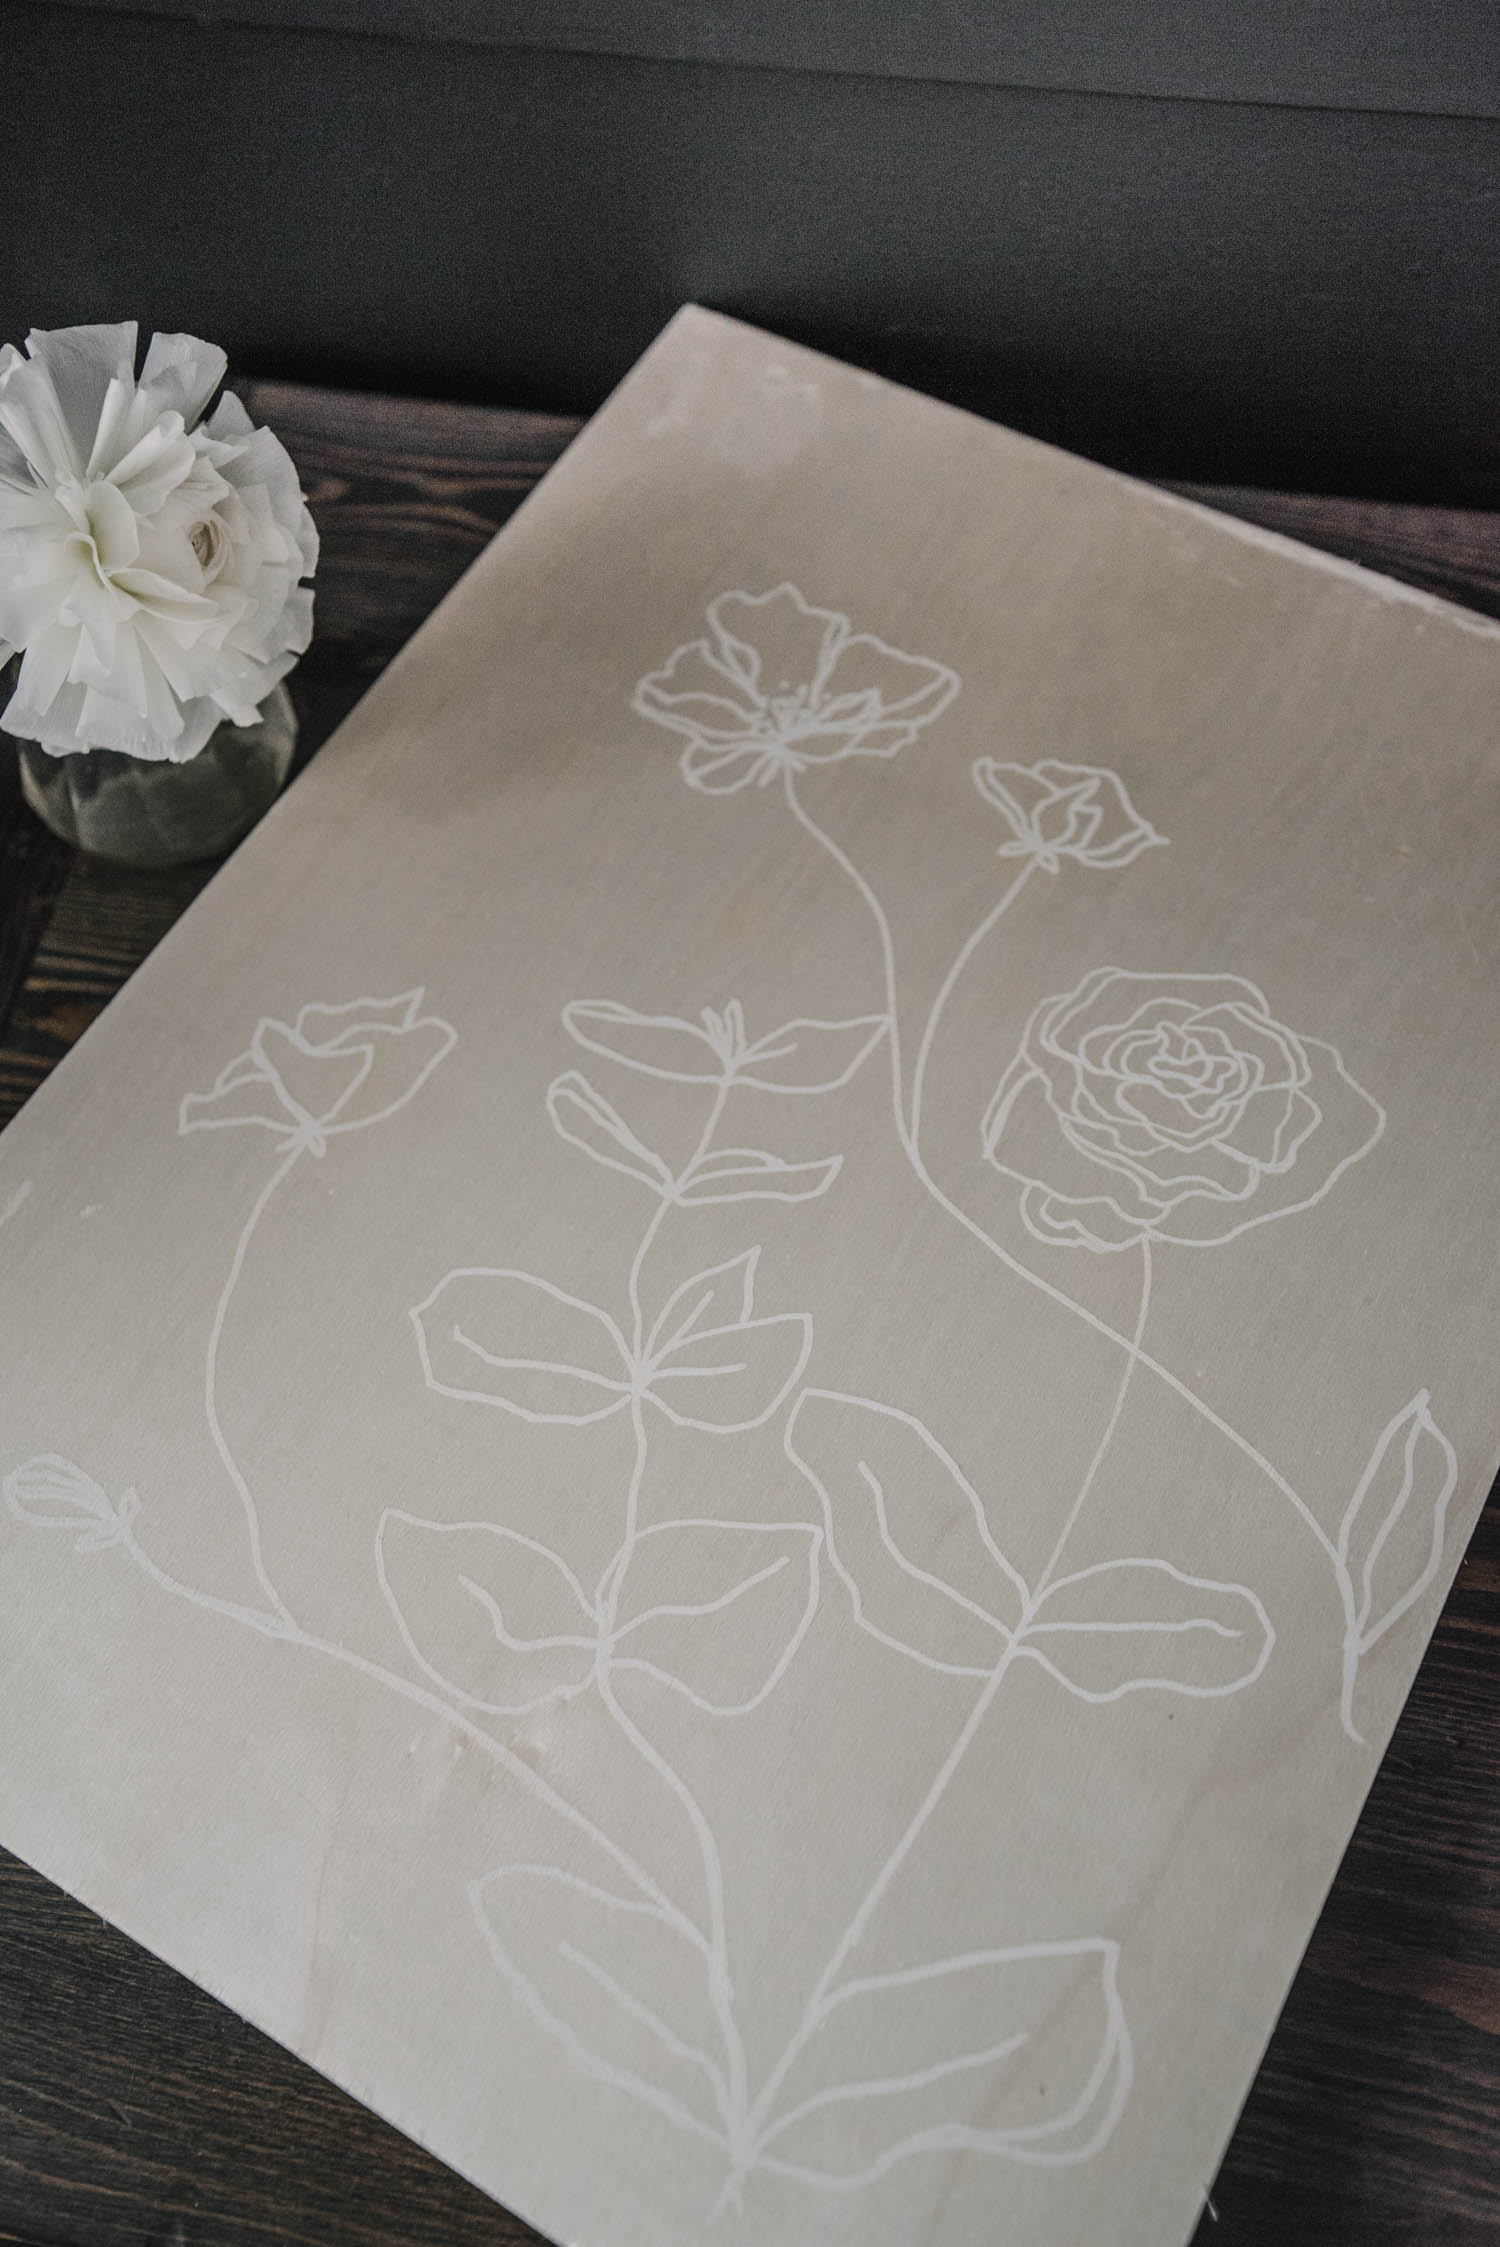
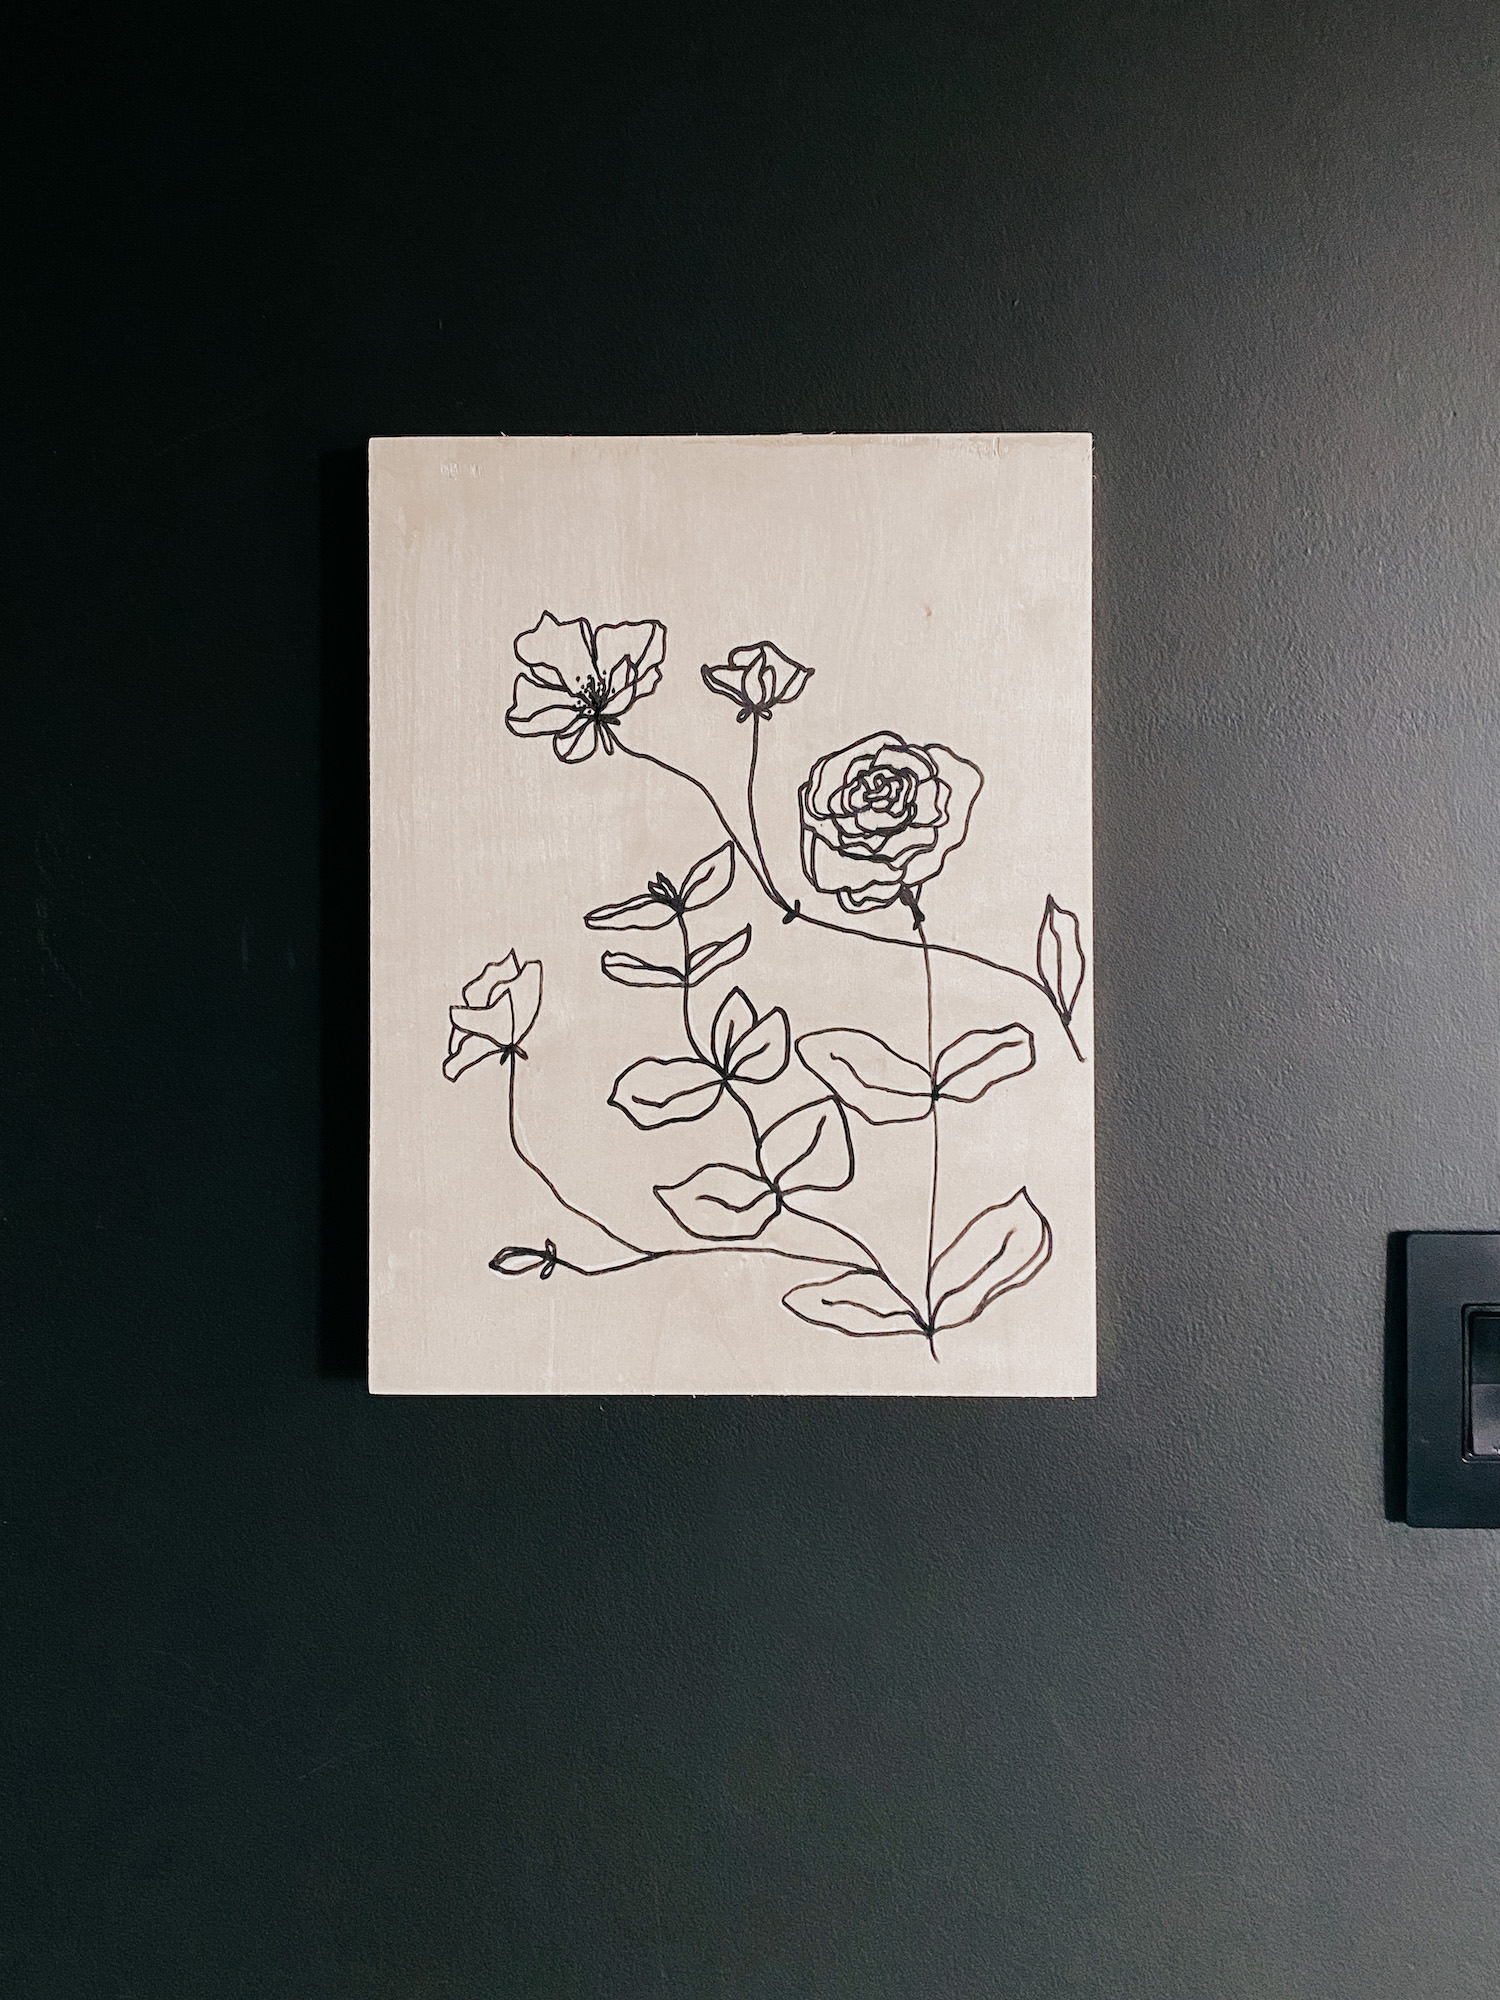
That’s it, that’s all for this dollar store DIY! It’s a short post, I know. I am so happy with how this came out, it was what I was picturing in my head and it was easier than I had thought it would be… which is why I’m drawing a blank on what else to teach you about it. It’s seriously easy, friends.
 Today I’m joined by some of my talented blogging friends who are also sharing their Spring DIY or Craft projects with you! Be sure to see what they are sharing by clinking the links below the images.

DIY Printed Seasonal Pillows at The Happy Housie Spring Bulb Arrangment at Modern Glam Wood Burned Cutting Board at Cassie Bustamante DIY Antiqued Vase Effect at Craftberry Bush

Macrame Jar Cover at Place of My Taste DIY Bird’s Nest at Finding Silver Pennies DIY Painted Wooden Bowls at Zevy Joy White Washed Terra Cotta Pots at She Gave it a Go

Hand Stamped Napkins at Paint Me Pink Spring Letter Board Bunny at Life is a Party DIY Pantry Labels at Home Made Lovely DIY Pot Painting with Texture at Hallstrom Home

Anthropologie Inspired Basket Planters with Legs at Tatertots and Jello Simple Hanging Egg Tree at Sincerely, Marie Designs DIY Dollar Tree Macrame Vase at The DIY Mommy Dollar Store DIY Line Art Floral Panel at Lemon Thistle DIY Paint Dipped Vases at Southern State of Mind

 Modern LEGO Party
Simply, beautiful! What a great quick and easy project!
Would never imagine this is a dollar store hack. LOVE your line drawing. xx
Thank you so much!