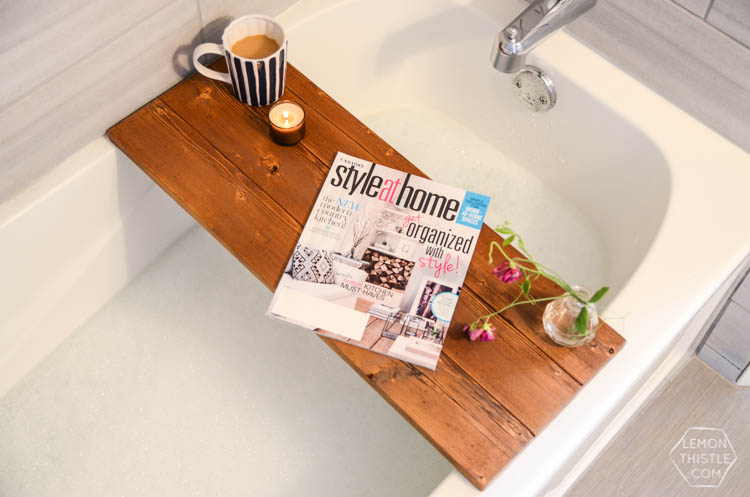
Sigh, can I make a confession? I just finished up this bath caddy yesterday and ran a bath just to take pictures. But I was rushed to get to a meeting so didn’t get to enjoy the bath. So I can’t tell you from experience how wonderful it is to use… but man, it’s so inviting! I’m planning on trying it out tonight when we get home from swimming lessons. Because a long soak in suds filled water beats the chlorine smell.
This post contains affiliate links which help support Lemon Thistle. As always, I’ll only recommend things I love, love. Full disclosure here.
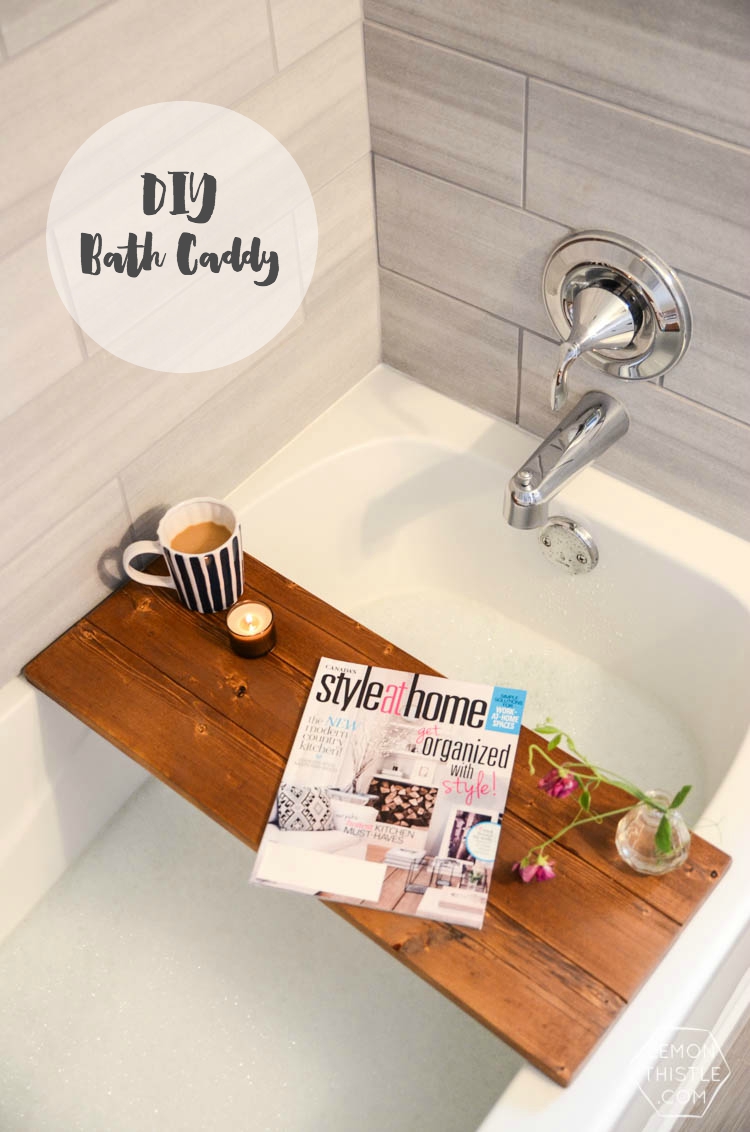
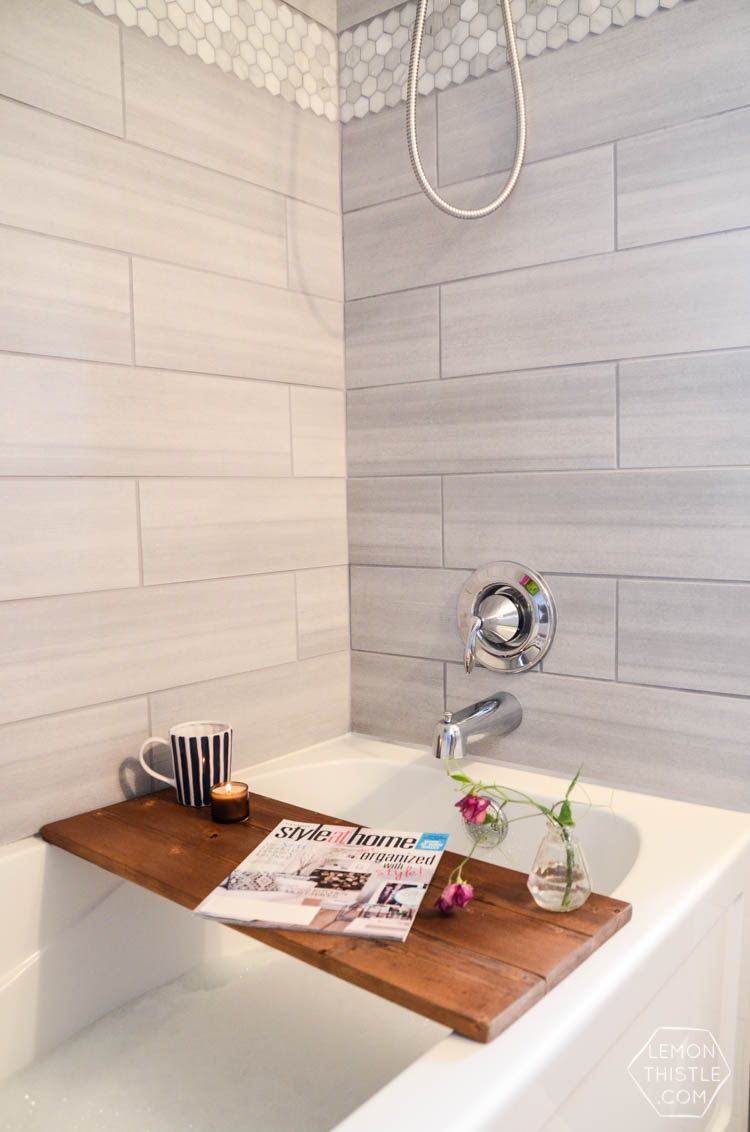
Okay, now that I’ve come clean about this being a fake bath… let’s talk about this bath caddy because I’m kind of in love with it! I can tell it’s going to make my ‘me time’ so much more enjoyable. And less magazines will suffer damp pages because of it. Also… our bath does not have a very big ledge around, so it’s exciting to know I’ll be able to have tea (or wine when this baby makes it’s appearance!) without having to reach to the floor #thestruggleisreal.
When I spotted this bath caddy on Etsy a while back, I knew that instead of shelling out the $130, I needed to try making my own. I’m so glad I did!
This project took me only a morning to assemble and then I took my time staining and sealing it. And do you want to know how much it cost me? $4 in lumber. Seriously. I already had the stain on hand, but if you needed to buy that, it still would come in around $20 which is a $110 savings.
This would make the perfect gift for almost anyone who loves baths which is… well, almost anyone. It would be a great Mother’s Day Gift Idea too!
Here’s what you’ll need to make your own:
- 1×4 board
- 1×2 board
- Miter saw or circular saw
- Sand paper or sander
- Drill, small bit, and 1 1/4″ screws with matching bit
- Stain and sealant of your choice: I used Minwax Pre Stain Wood Conditioner
 , Early American Stain, and Finishing Paste
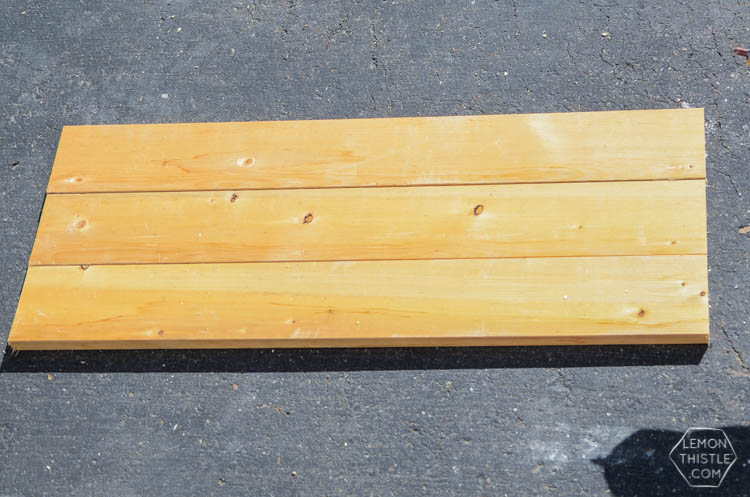
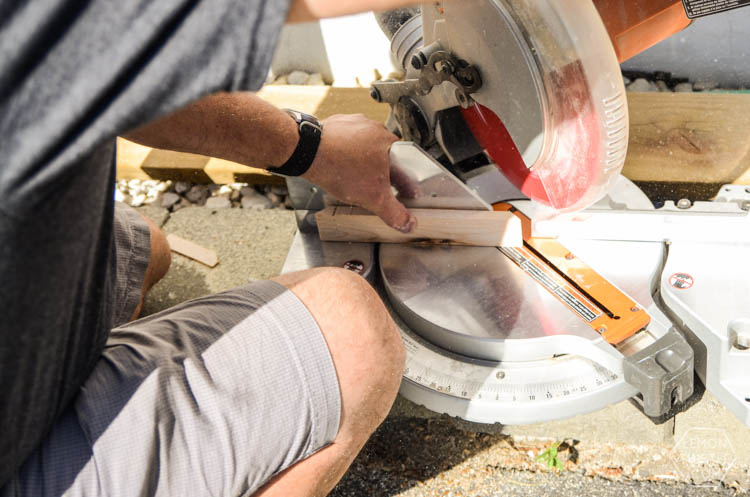
Start by measuring out your bath tub. Measure how wide you would like the top to be and where you should position the supports to keep it from slipping off the edges (this is just inside your tub). Then, cut your 1x4s to length. I used three pieces and love the depth that it has. The 1×2 strips for the supports need to be cut long enough to hold all three boards together. I cut them on an angle (because my dad was manning the saw for framing that day) and love how ‘finished’ it looks.
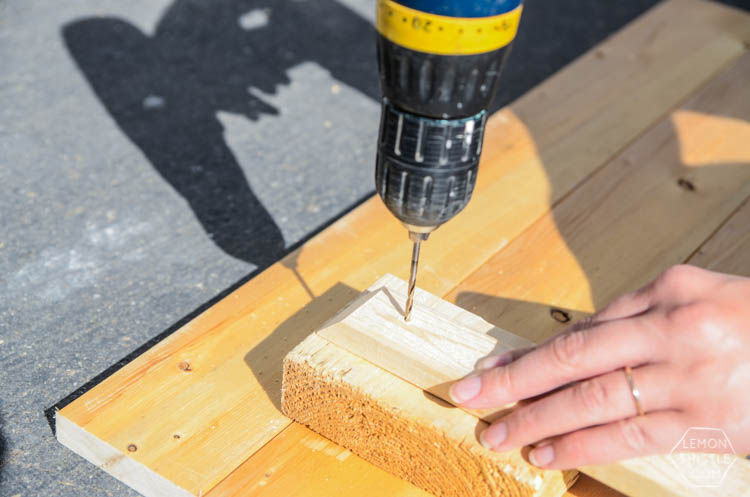
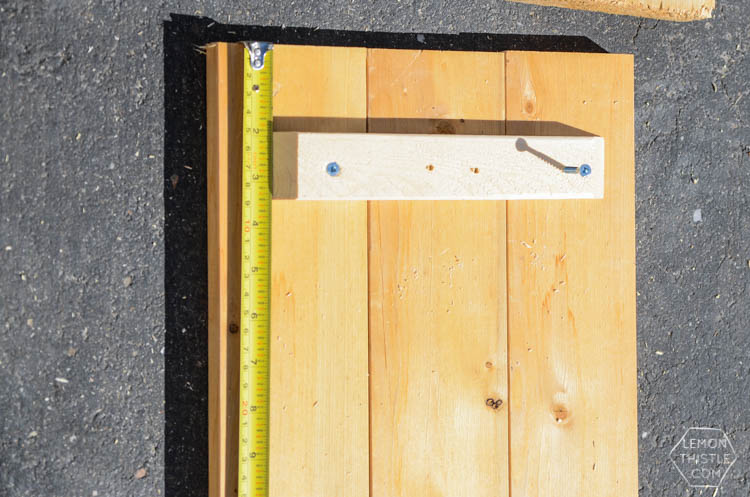
When your pieces are cut, lay them out and line up your supports. One of my supports needed to be much closer to the edge than the other. Mark out where your screws need to be to attach the boards. I used one screw in each of the end boards and two in the centre for both supports. Use a small drill bit to make pilot holes (into a scrap piece of wood!) before screwing it together. This is just because it’s such narrow pieces of wood, I didn’t want to deal with splitting.
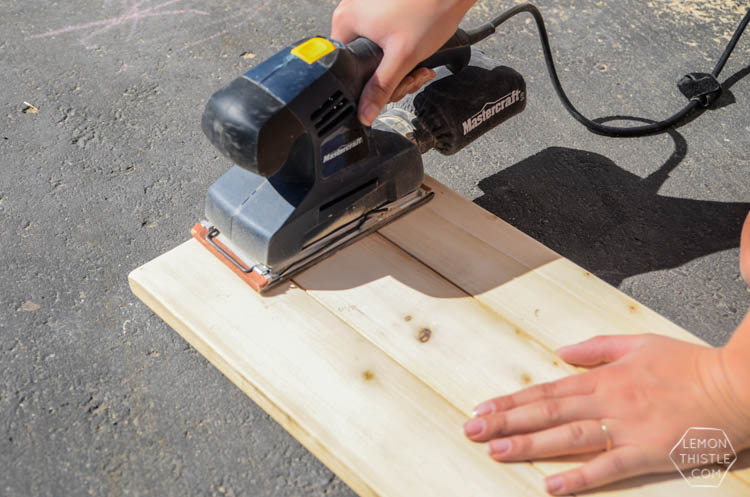
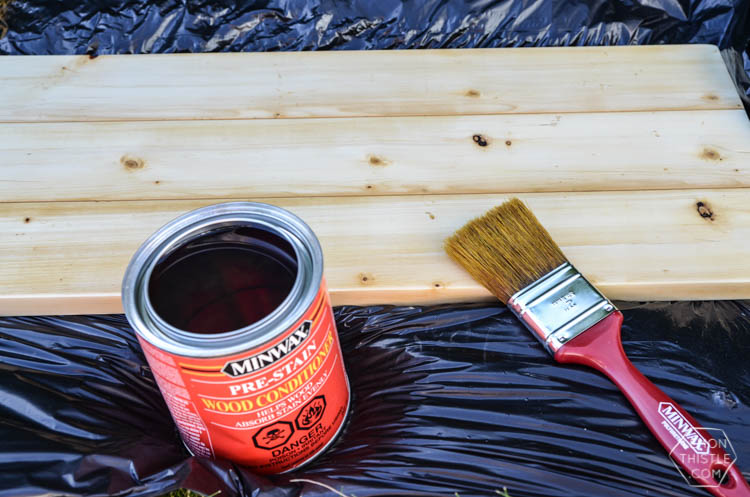
When everything is assembled, it’s time to get sanding! I can’t believe how much the wood I had was yellowed before I sanded. I smoothed it all down with an electric sander and 100 grit paper before applying Minwax Pre Stain Wood Conditioner![]() . This is the first time I’d used the stuff, I actually bought it for a patio table project we’re working on (I can’t wait to share that one with you!!) and thought I’d test it out on a smaller project first. It helps the wood absorb the stain more evenly and it definitely gave such an even finish!
. This is the first time I’d used the stuff, I actually bought it for a patio table project we’re working on (I can’t wait to share that one with you!!) and thought I’d test it out on a smaller project first. It helps the wood absorb the stain more evenly and it definitely gave such an even finish!
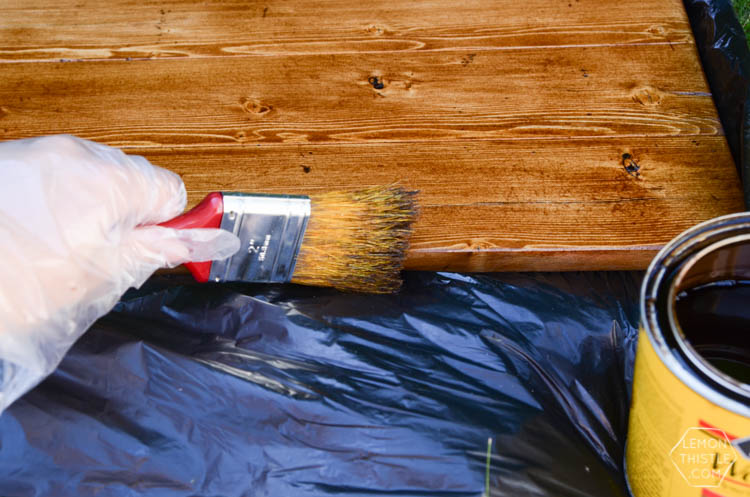
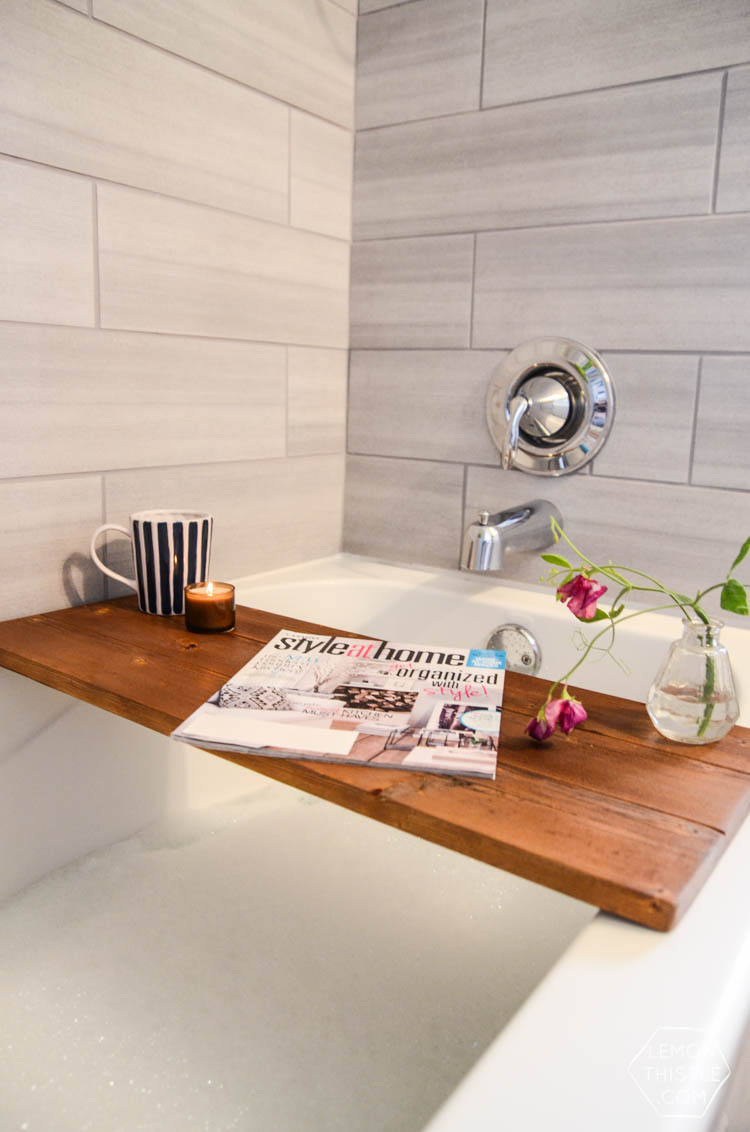
I then applied Early American Minwax Stain![]() (it’s a go-to colour in our house) and finished it off with Minwax Finishing Paste
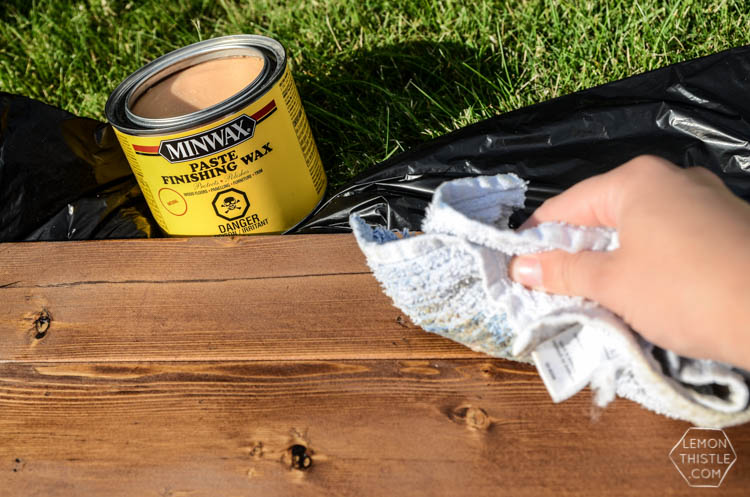
(it’s a go-to colour in our house) and finished it off with Minwax Finishing Paste![]() – which is essentially a wax which I thought would be good for the moisture. It’s what we used to finish off our Jenga and I really love the feeling of it and the natural look compared to a poly.
– which is essentially a wax which I thought would be good for the moisture. It’s what we used to finish off our Jenga and I really love the feeling of it and the natural look compared to a poly.
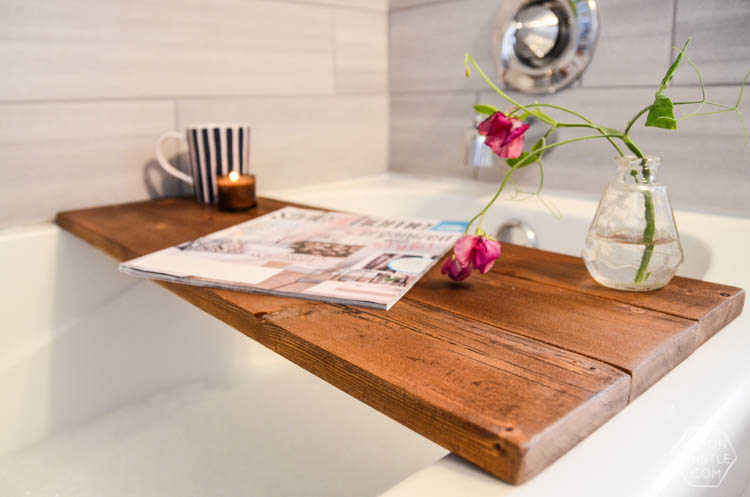
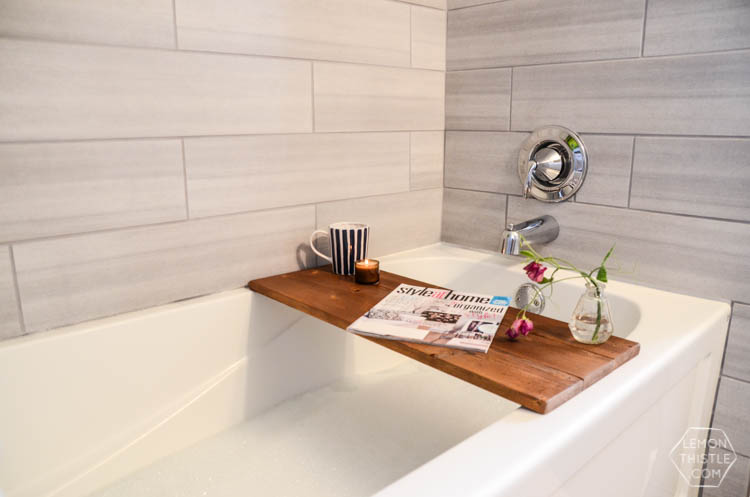
When it’s all done and dried… run yourself a bath and test it out. Or if you’re in a rush like me, set it up anyways and dream about how wonderful it will be to use! I can’t help but think what a perfect Christmas gift this would make… maybe include a lovely scented candle and some epsom salts.
 8 Rad DIY Tea Towels to Try
Very nice. I like. :)
Thanks so much Maria- I always appreciate your sweet words!
I’m so jealous, this looks like such a gorgeous and relaxing bath. Definitely a great project!
Definitely makes for a relaxing bath! Thanks for the sweet comment Ashley :)
Love it – need one! Being a Canuck, I’m liking the Canadian Style At Home Magazine on the tray too :)
Yes! Hurray for Canadian magazines that rock ;)
Hi this is so beautiful and is such a great idea for a great way to relax after a long day. Thank you for sharing it at our Something to Talk About Link Party and I’ll be featuring this tomorrow morning at our party so I hop you’ll join us again, thank you, Lisa at Concord Cottage
Thanks so much Lisa- heading over to check out the feature now :)
I adore this! I’m not sure I have an excuse to make one as I have a bit of a ledge around my tub, but it looks so luxurious! Definitely pinning. :)
As a place to put your magazines! That was my excuse ;) But I’m a pro at getting them wet, so I really needed a solution.
Love it! I need one of these, but I will have to modify it for my oversized bathtub :)
An oversized bathtub sounds so luxurious! I would love to see how it turns out :)
Thank you so much for this easy idea!! I have always wanted something like this for my tub, but the metal ones they sell in the stores would never fit. I have never seen a wooden one before. LOVE IT!
I was able to make this in one afternoon, it fits perfect, and I absolutely cannot wait to use it. Just (patiently) waiting for the stain to dry.
I may make a few for gifts. Thank you for making my bath fantasies come true.
Teehee.
Thank you so much Rachel! This sweet comment has made my day :) I’d love to see a photo when it’s all finished!
As a former antiques dealer, I’d guessed that this was from antique/vintage wood, because unless you’ve got the barn/outbuilding on your own land, that wood has gone up in price so much that sometimes it’s cheaper to just go buy the completed item instead! But no; you’ve used regular wood which drastically lowers the price, AND you’ve made it appear to be antique/vintage…and so well that I hadn’t guessed! Thank you for sharing the exact products you used, as well as the entire tutorial; it WILL be used, and I WILL do this over the summer!
I was given a wooden one with slots for magazine and a cut out for wine glass etc.
Best gift ever, but it’s too small…need to make it wider somehow! OR MAKE THE ONE YOU JUST SHOWED…..Both are great.
I would love a wooden slot for a magazine! Great ideas :)
So cute and helpful! I just made my own and now im waiting until the stain is done setting to poly! Thanks for sharing!
This looks great! I’m going to make myself one ?