**While I’m busy welcoming a new baby into our home *woohoo!* I’m having some of my blogging friends step in and share some rad posts with you all. Please give them some love and enjoy their creative ways!**
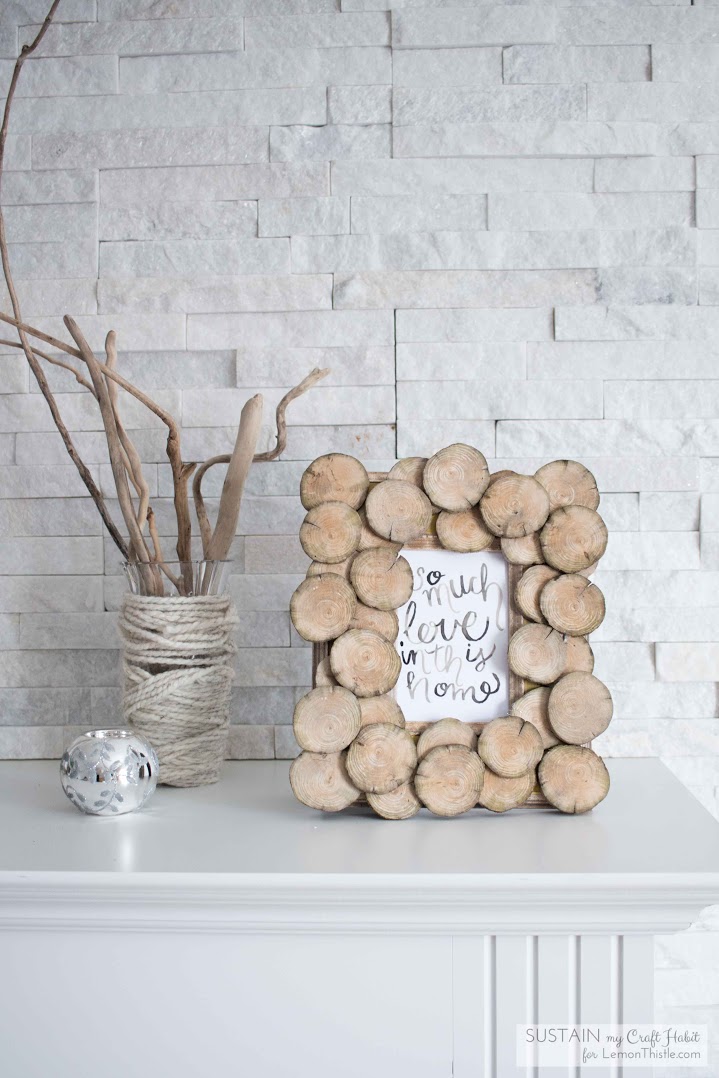
Hello! We’re so happy to be here at Lemon Thistle Blog, sharing a simple DIY upcycled wood round photo frame project with you. For those of you who don’t know us, we’re Jane and Sonja, two sisters who blog over at SustainMyCraftHabit.com about DIY crafts, home decor and yarn arts, all with sustainability in mind.
We like to use the materials we find around us, be it a curbside find or a beautiful piece of driftwood collected at the beach. So, a few months back when we saw an post in Freecycle, giving away three brand new picture frames for free, we jumped on them! We brought them home and excitedly opened the bag. Wah wah wah wah… they may have been new, in the ‘70s! However, as with anything manufactured in the 70’s (think pastel green appliances that have come back in style), they were solid and just needed a little updating.
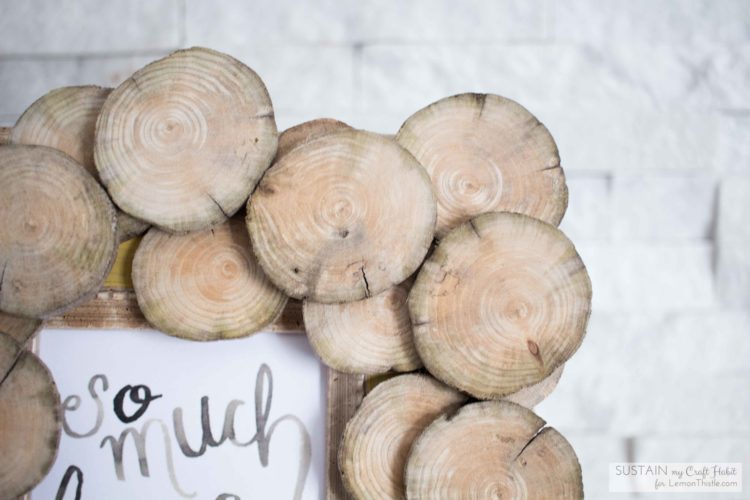
We’ve taken one of the frames with a wider flat surface and have given it a makeover using wood rounds we sliced from a piece of driftwood we found at the beach. Here’s how you can upcycle your own out-of-date frame into a rustic, lumberjack-type home decor piece.
Supplies:
- old photo frame
- about 3 dozen wood slices (driftwood or other branch). The number you need will vary depending on the size of frame you are using as well as the diameter of the slices. Our wood rounds measured approximately 1/4inch thick and 1.5-2 inches across.
- heat glue gun with clear glue sticks
- acrylic paint and paintbrush (may be optional)
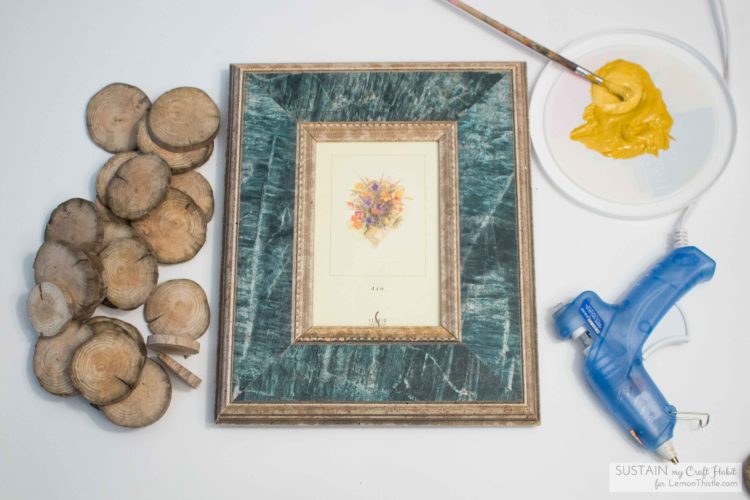
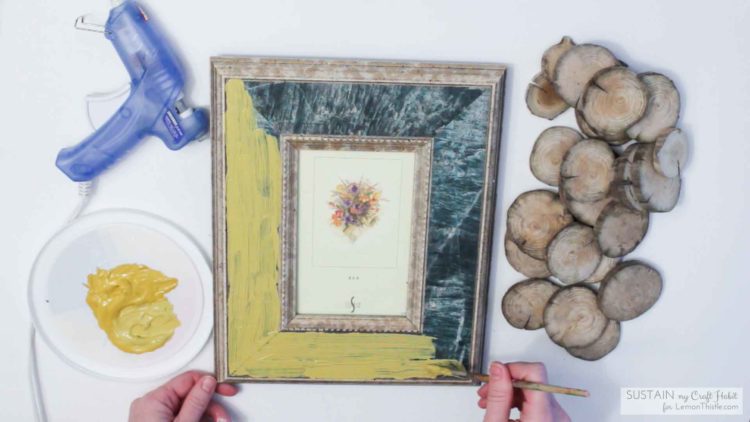
Since it is difficult to get complete coverage of the frame with round pieces, we painted over the dark green parts of the frame with a neutral colour, in case parts of the frame ended up peeking through. We had mixed together some acrylic paints we had at home. We were aiming for something close to the shade of the wood rounds but of course, ran out of white paint just as we were getting started!
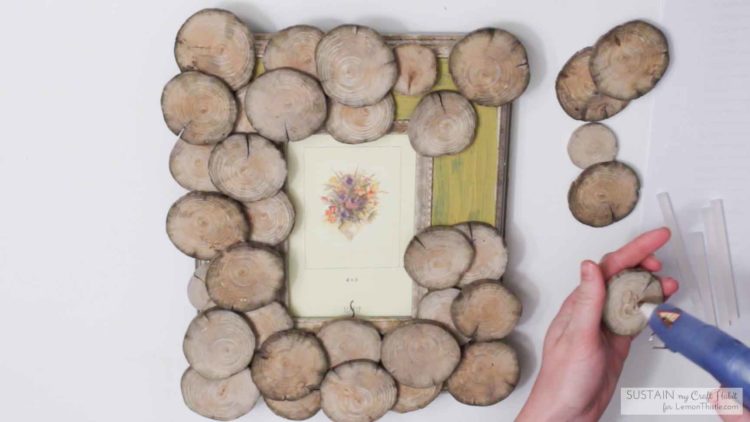
Once the paint dried we practiced arranging the wood slices on the frame. It took several tries to arrange them to ensure optimal coverage of the frame without covering the central photo part too much and making sure that the pieces were generally balanced around the frame. When we were happy with the arrangement we started in one corner and took off a few of the pieces to glue them back into place, a section at a time. Once we glued the last round, we were done!
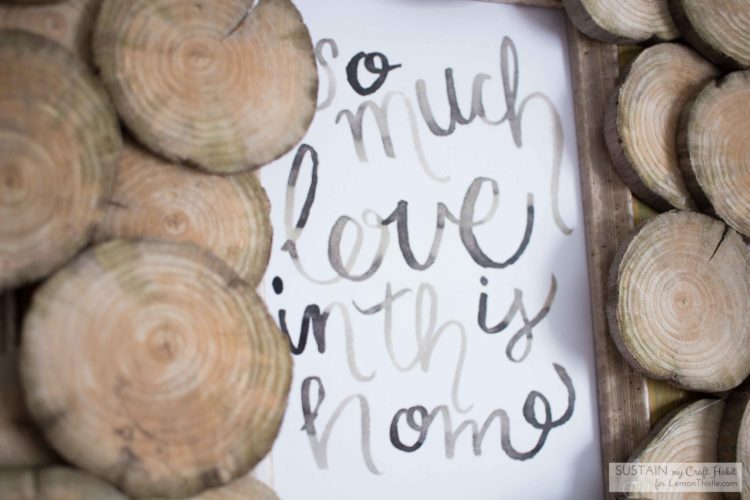
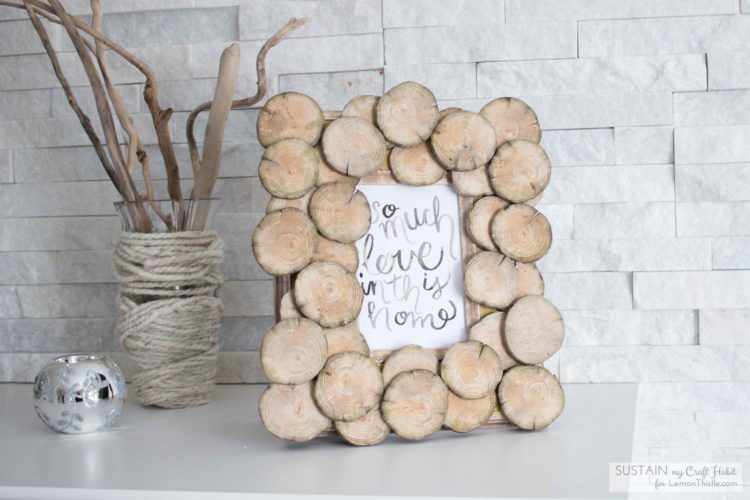
We’re pretty happy with how the upcycled photo frame with the driftwood rounds turned out, even if it’s not perfect (the beauty of one-of-a-kind). Since the rounds make the frame quite busy we struggled a bit with what to put inside of it. Then the beautiful and unique hand-lettered prints from Colleen’s Etsy store came to mind. We especially love the sentiment of “So much love in this home”. The rounded font and warm gray/black tones of the letters perfectly complement the new frame. The framed print makes me (Jane) so happy each time I see it on my fireplace mantle.
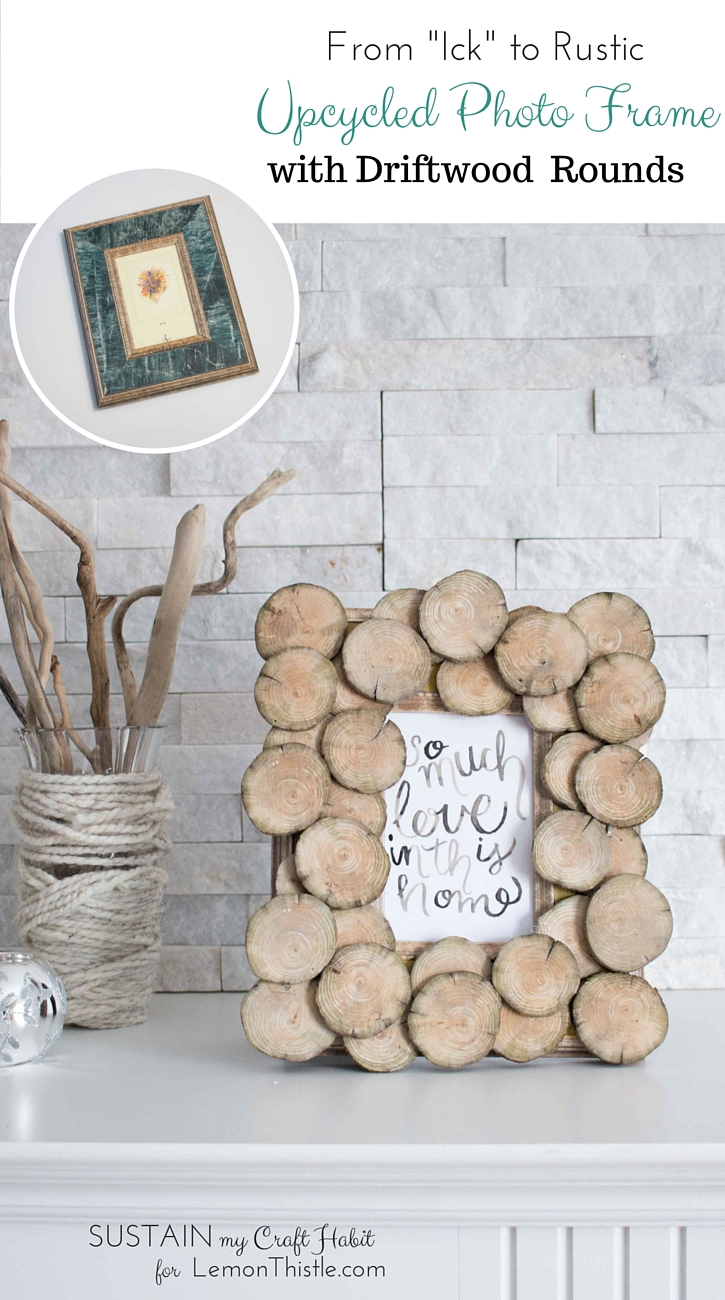
A huge thank you to Colleen for having us here on Lemon Thistle and for helping us to complete this fun and rustic upcycled photo frame with her beautiful print. Here are some other projects from our blog that you might enjoy:
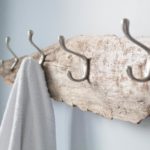
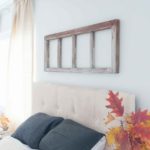
Rocks and Sea Glass Mobile / DIY Driftwood Towel Rack / Upcycled Farmhouse Window Frame
We’ll love to have you stop by and pick up our free e-book “DIY Rustic Decor: 7 Ideas to Infuse Nature into your Home”.
Blog / Instagram / Facebook / Twitter / Pinterest


 Celery Snacks (with a twist!)
Thank you so much for the opportunity to share this project on Lemon Thistle Colleen! We really do love your printable, strangely even more than we thought we would. There’s something special about having a piece of handcrafted art in our home, and knowing who created it and where it came from. I never really appreciated that before!
Love this! What a great inexpensive project :)