This DIY thread shelf is a simple project to keep your thread and bobbins on display in a beautiful way. Free plans and tutorial using Kreg Shelf Pin Jig for even spacing and concealed joints.
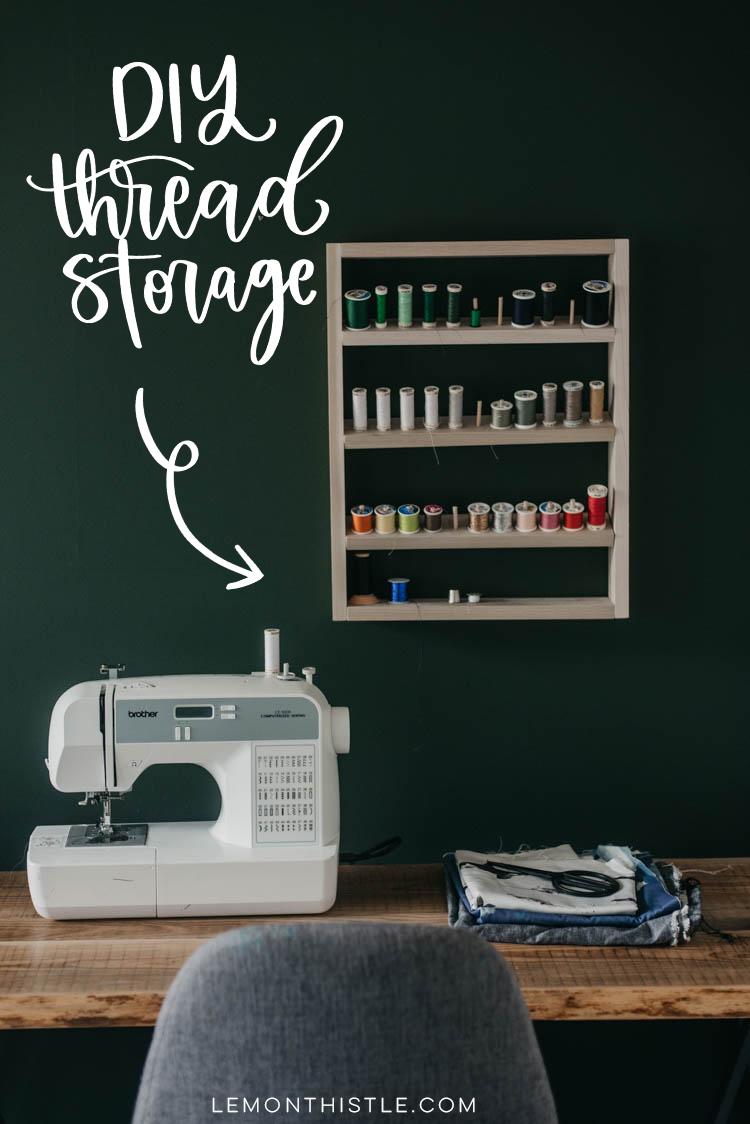
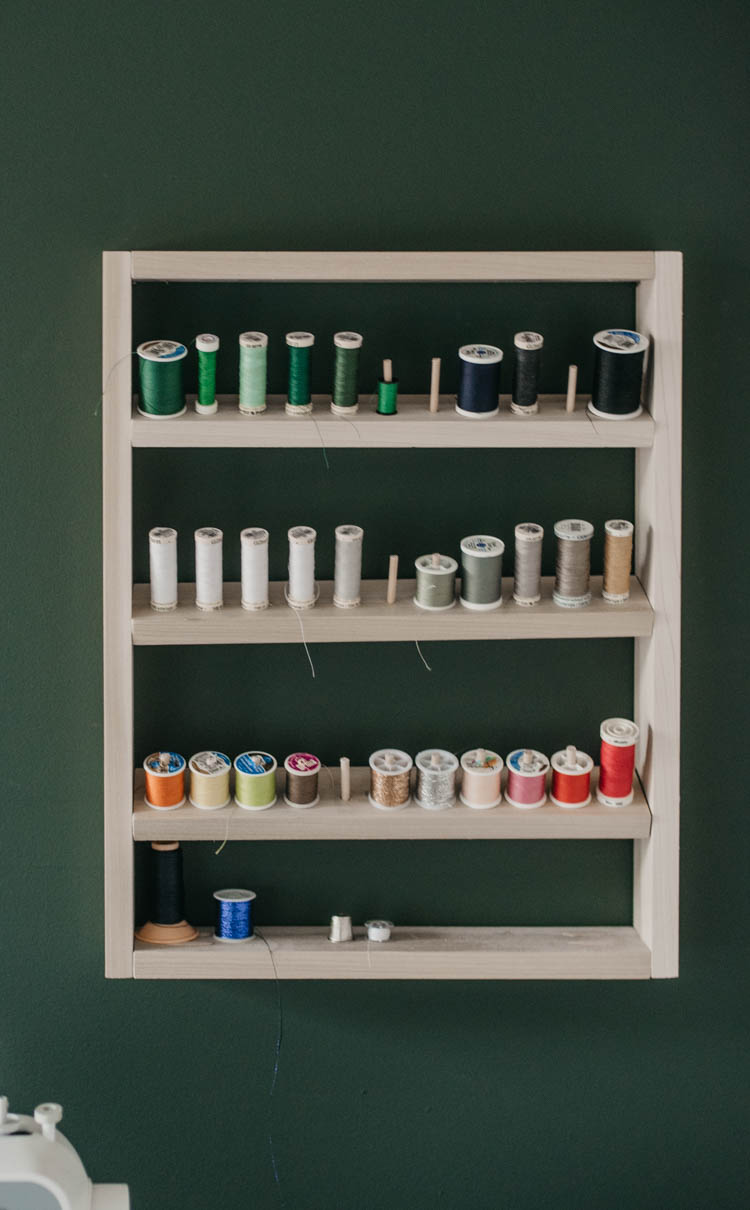
I’m so excited to get building my office/studio later this summer and have room for all my craft and work things… not just shoved in boxes in the storage room but out and usable and… well, beautiful. This project is one that I’ll be putting up in that space once it’s done- a DIY thread shelf! My Grandma has a shelf very similar to this that my Papa built for her. Growing up, we learned how to sew with her and I always remember getting to chose the perfect colour of thread from her collection for our project. Now I get to have my own little modern version of her larger shelf- and I get to be reminded of those experiences more often.
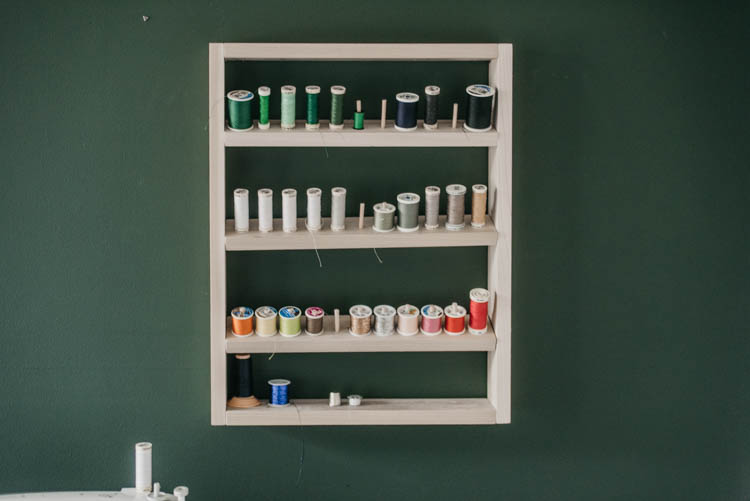
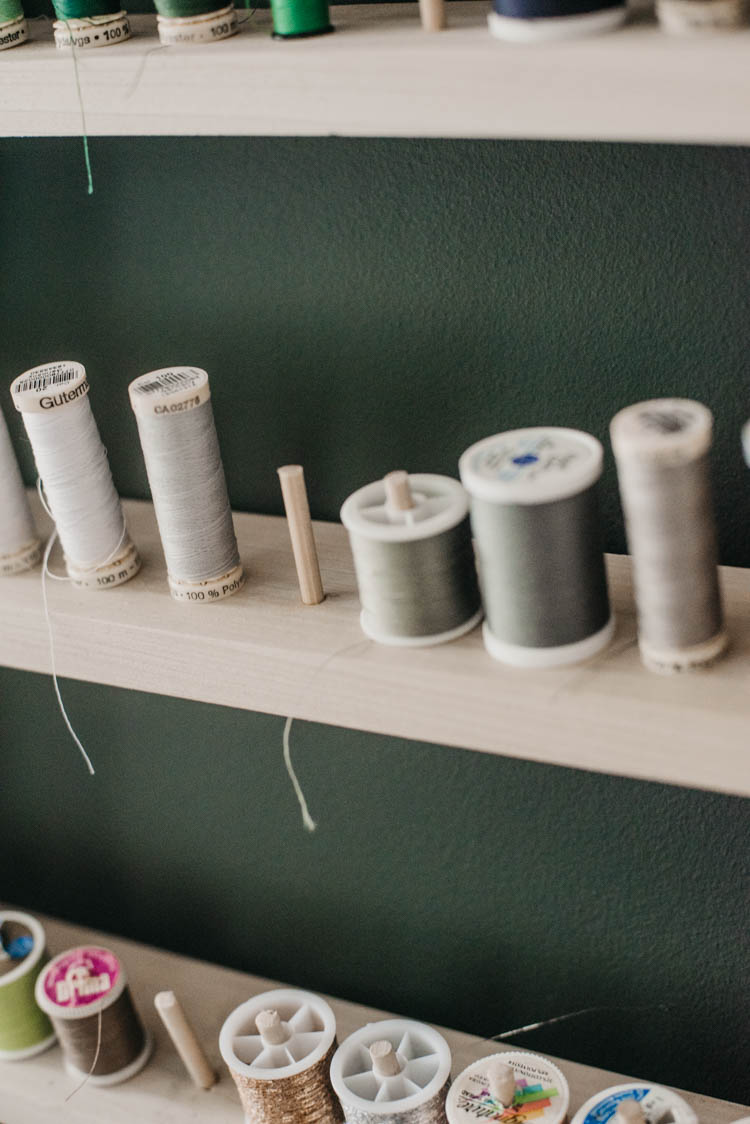
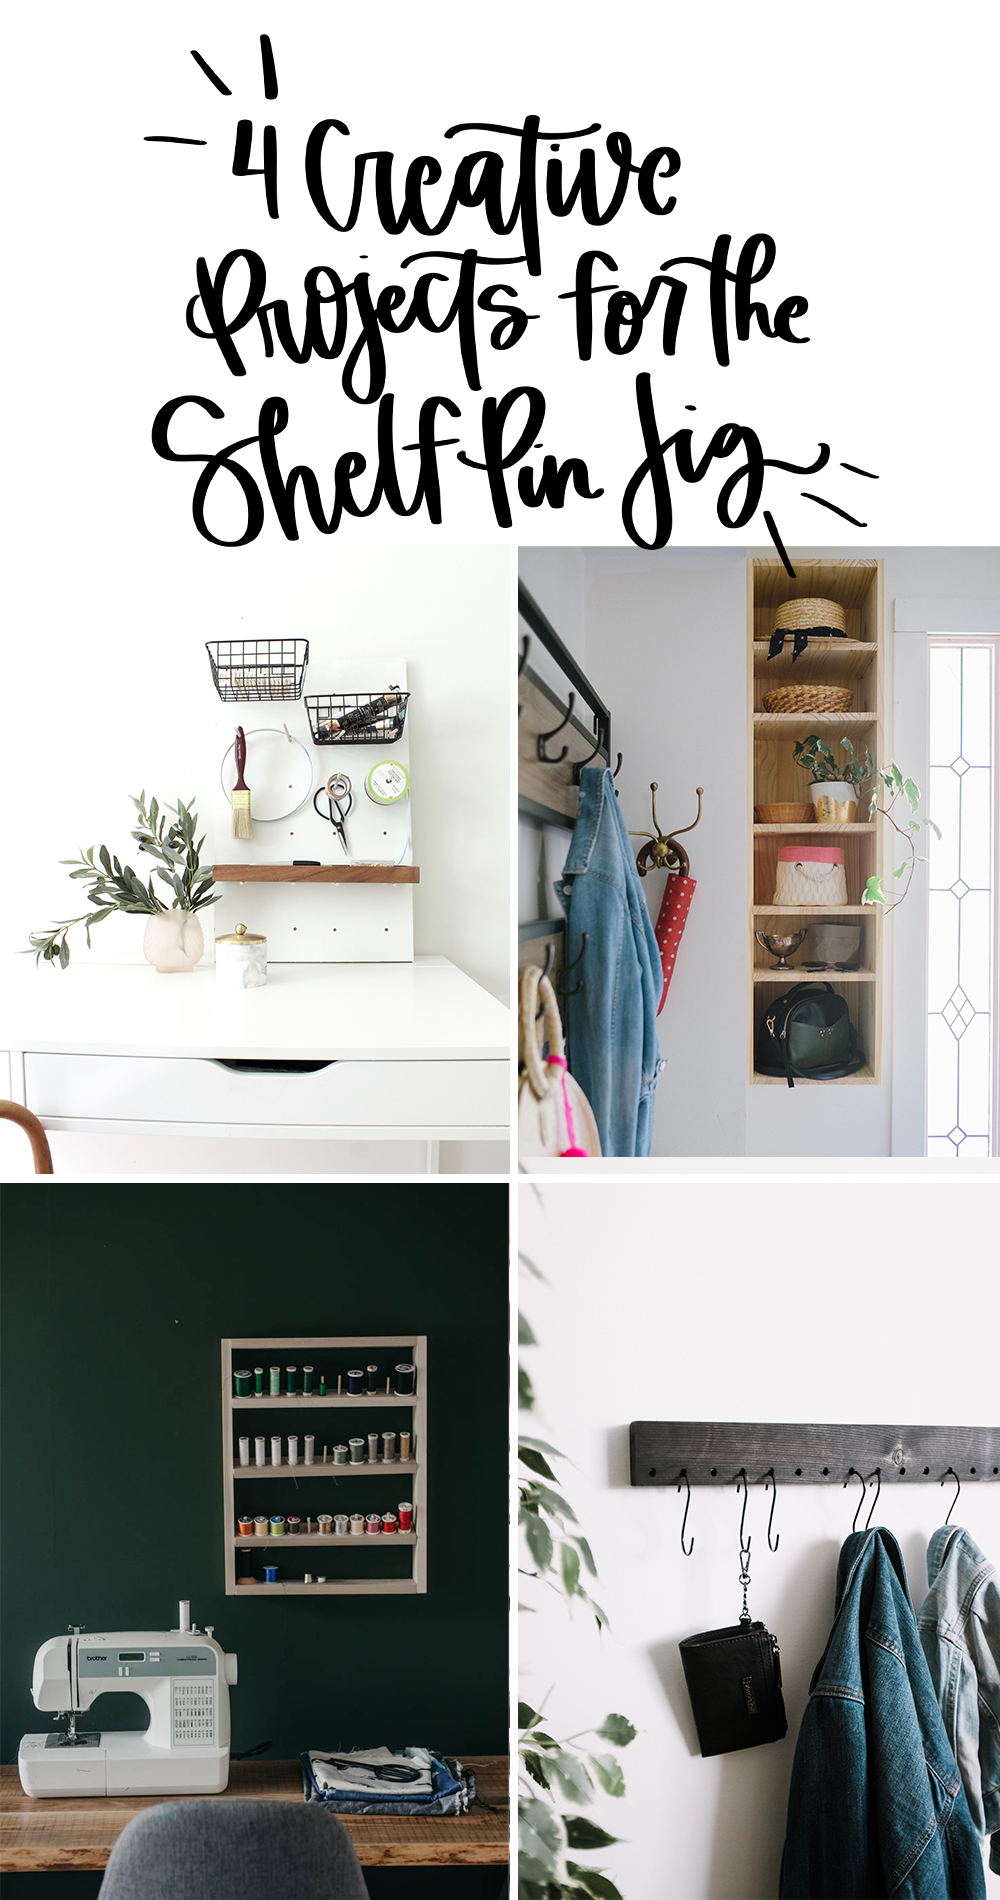
Today I’m sharing the free plans and tutorial so you can build your own DIY Thread Shelf for your sewing or hobby room. I made this project in partnership with Kreg Tools as part of the Modern Handmade Home series. The other girls in the series and I each created our own project using the Kreg Shelf Pin Jig. You can see all their projects at the bottom of this post! When I told Lindi what I was creating, she laughed and asked if I would even have enough thread to fill it. Well… when I dug all of my thread out from the three different spots they were stored… I had SO MUCH. I didn’t put all of them on so you could see the dowels in the project, but one of the benefits of this project is now I can easily see if I have the right colour thread for my project without buying more (I have even more white thread than this! I kept buying it because I couldn’t find it!).
To make your own thread shelf, you’ll need:
- 1×3 boards (I used 2x 72″ boards BUT you can make this as big as you want…)
- Chop /Mitre saw
- Kreg Jig (for pocket holes)
- Kreg Shelf Pin Jig
- Drill
- Kreg 1 1/4″ Screws for appropriate wood (I used a hardwood, but if you use soft- get those screws!)
- Wood Glue
- Dowel
- Pocket Hole Plugs
- Fine Grit Sandpaper
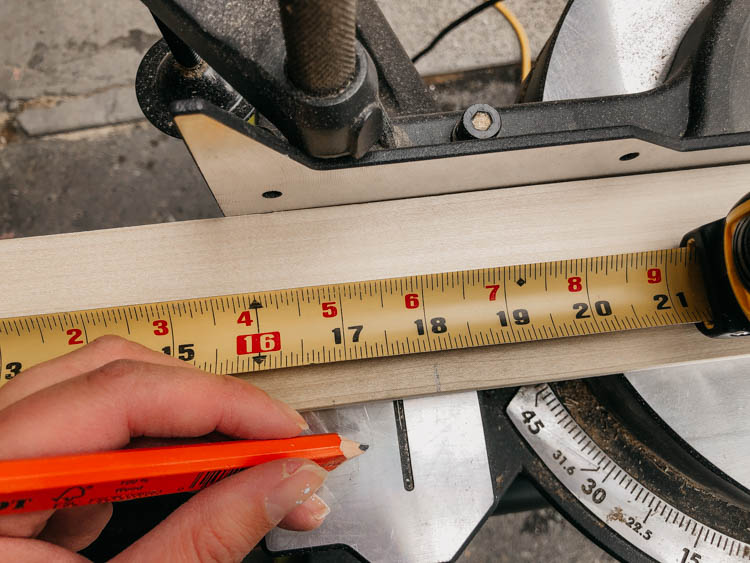
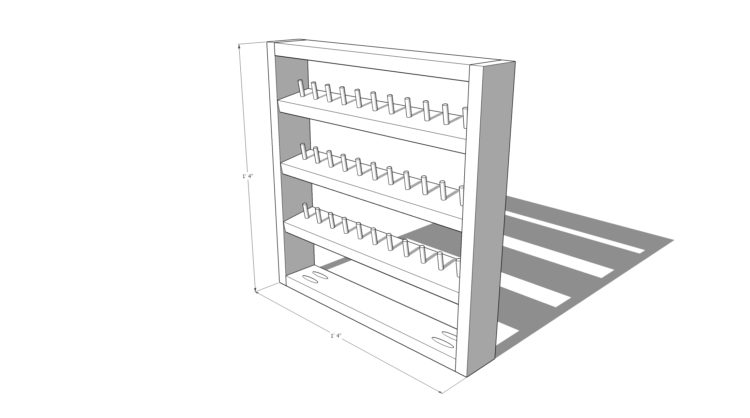
The first thing you’ll need to do is cut your pieces to size. You can make this shelf… ANY size you want. How many threads/bobbins do you want to hold? Use a chop/mitre saw to cut to length the 1×3. Make two cuts the same length for the vertical pieces and then cut the top and bottom of the shelf the same width as all your shelves. You can do as many or as few shelves as you like- I could have fit a fourth shelf in on mine as the angle of the shelves makes it easier to get thread on and off the dowels.

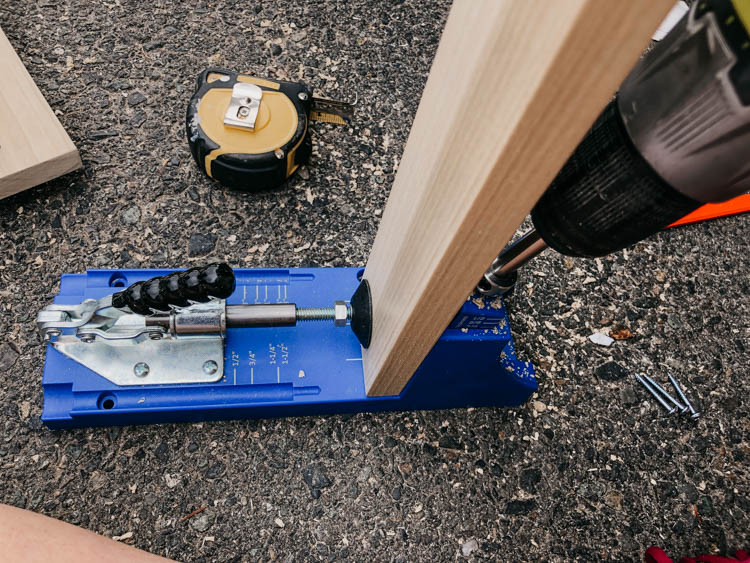
Set up your Kreg Jig to drill your pocket holes. There are three different adjustments to make- the depth of the wood (to adjust the angle), the clamp tightness to hold the wood in place, and the stop collar on the drill bit. The jig I’m using is the K4– I used the pocket jig (R3) for years and this upgrade feels like such a treat! Drill 2 pocket holes on each end of the horizontal pieces.
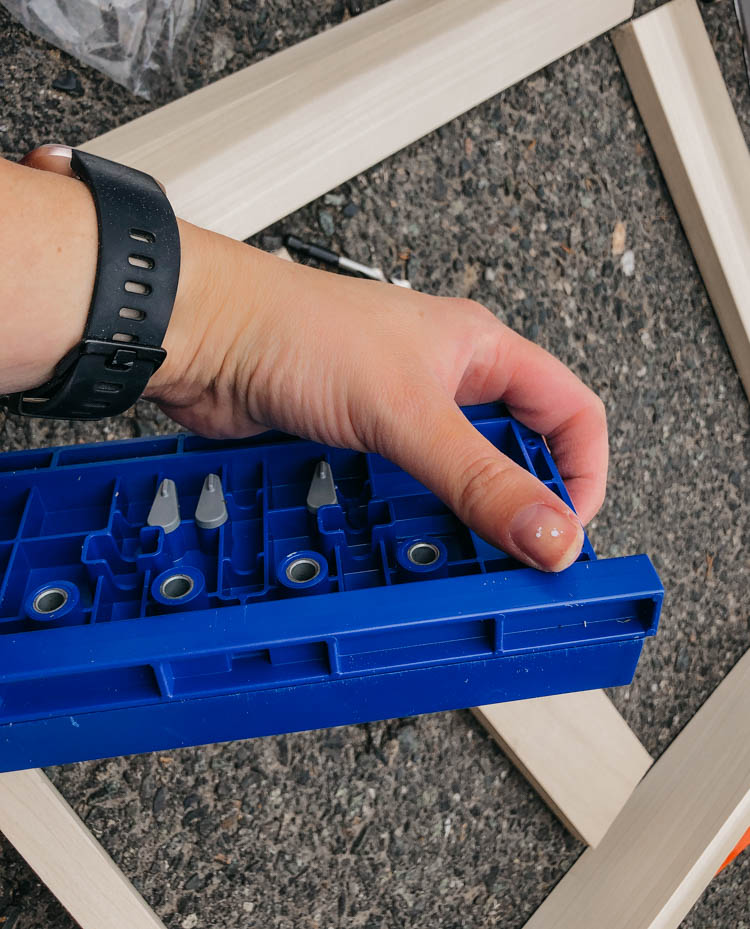
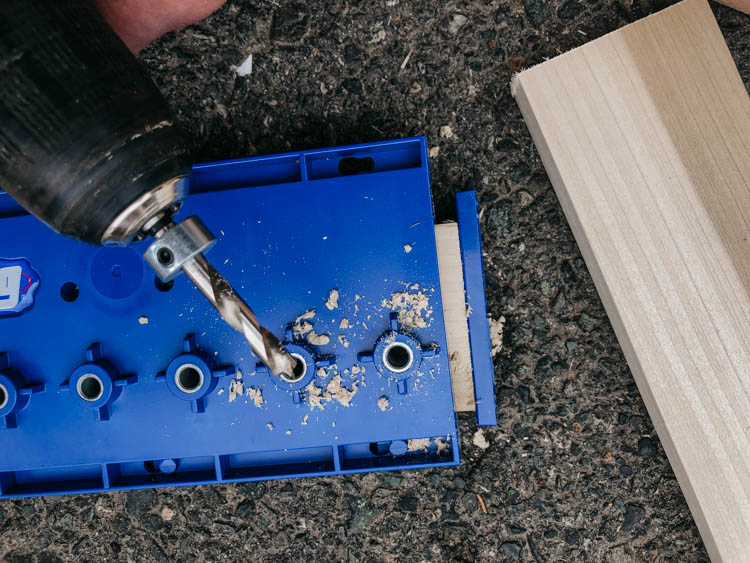
Now it’s time to pull out the Kreg Shelf Pin Jig! This was my first time using this tool but honestly, it couldn’t be more simple! The adjustments to make on this one are the set back (guard) and the stop collar. You could also get different sized drill bits but the one that comes with the tool worked perfectly for this project. I used the 1″ setback, so put the guard on the side of the jig closest to the holes. I set the stop collar so the drill bit when half way through the wood.
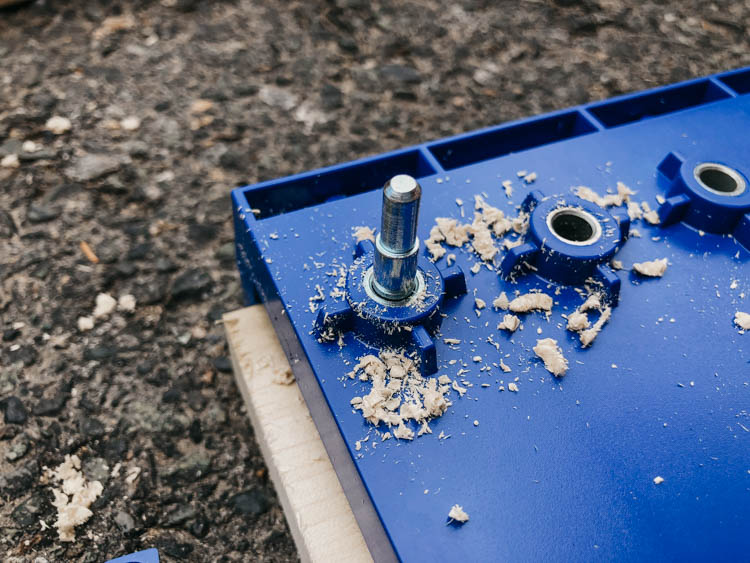
Once you drill your first hole, use the pin that comes with the jig to secure the jig in place. Once you reach the end of your jig (it’s shorter than the shelves), reposition, putting that pin in the last hole you drilled to keep the spacing even.
Then you can get it assembled! Use the Kreg 1 1/4″ screws and do the frame first. We just bought ourselves a starter kit of Kreg screws so we are always ready for whatever project we take on (nothing worse than running to the hardware store 6 times for 1 project!). Assemble your shelf using screws in your predrilled holes. Once the frame is made, attach the shelves with a slight angle for ease of use. You can cut yourself blocking to ensure they’re the same size or measure and mark.


 Modern DIY Concrete Wall Cover
Leave a Reply