Sharing the two DIY room decor features I designed at the Calgary Fall Home Show: a dark and moody green bedroom with moulding wall treatment and a playful sitting area with hand painted mural.

These past couple of months have been so full, but with all of the offline work… I haven’t shared on the blog as much as I’d like! Today is a bit of a re-cap post as I’m sharing about my features from the Calgary Fall Home Show.
If you’ve been following Lemon Thistle for a while, you might know that we renovated a 1945 post-war era home in Calgary last year and have been renting it out as an AirBnB. We have fallen in love with the city as we spent so much time there during the renovation. My sister has lived there for more than 10 years, so it’s wonderful for us to have a place to stay when we visit now.

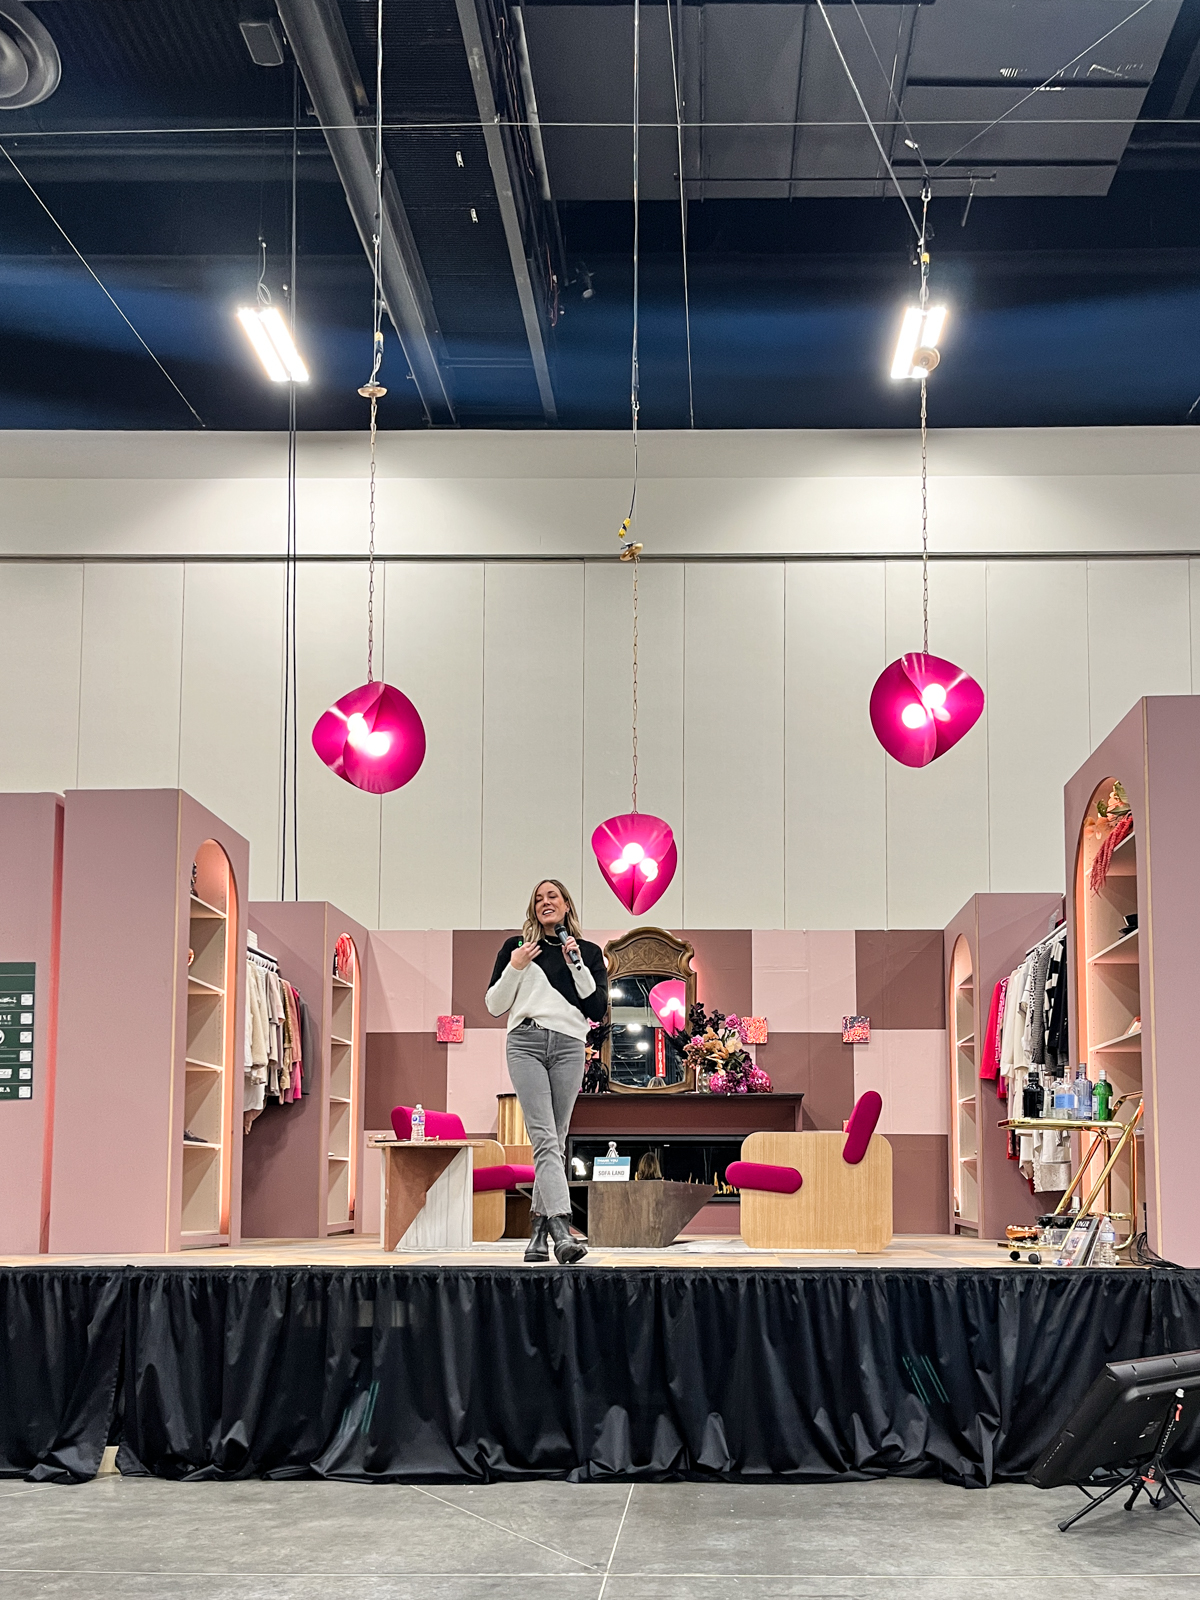
I was honoured to speak on their main stage all about the steps I take for every room makeover. It was honestly such a privilege to speak on the same stage as names like Bryan Baeumler.
In my presentation, I covered the different stages in planning any home renovation and I’m planning to put that all in a separate post. I think it’s so helpful to talk about more than the actual DIY projects!
I also got to share some DIY projects on the morning news (both CTV and Global) and participate in a feature on the home show with the Global evening news. It was such a great experience.


Other than the speaking… I was excited to design a DIY Home Decor Feature for the Home Show. I decorated two spaces on the home show floor for guests to check out.
Today, I’m sharing those spaces as well as all the DIYs that were featured in them. Plus- I’d like to thank the awesome sponsors who helped make these spaces happen!
We set up the rooms (and the murals) in just ONE day. It’s amazing what you can do with some great planning! But you don’t need me to harp on that more than I already do… do you? ;)
I’ve included all of the sources for each room in here as well!

Dark and Moody Bedroom Feature
This bedroom design has become my go-to recipe for a gorgeous, cozy bedroom.
It has dark, moody wall paint, a simple moulding wall on the headboard wall, lights flanking the bed with light bedding to balance the dark walls and an area rug to anchor the space.
You can see this ‘recipe’ at work in my sister’s green bedroom, my own black bedroom, my last home’s navy bedroom, and both Tux House bedrooms… which is what this bedroom was modelled off of!
It’s essentially the design of the Tux House primary bedroom, but the colour of the secondary bedroom because I really fell in love with that earthy green.


This picture frame moulding wall is so easy to pull together. The large box design makes it easy to lay out (and easy math!) with only mitered cuts needed. If you are looking for a detailed tutorial about how to install this and how to do the math… I have you covered in this picture frame moulding blog post and video!
Big thank you to Metrie for sponsoring the moulding for these room features!
To balance the dark walls, I like to choose lighter bedding.
Whether that’s lightly patterned bedding, textured white bedding, or a neutral like we have here, this helps the room from feeling too dark which is always a concern I hear from readers about dark walls.

I love to anchor the whole the room with an area rug. You can layer a rug over carpet if you have carpeted bedrooms as well. Here, an 8×10 sized rug is perfect under the queen bed. I love the warm colours in this classic medallion style rug and the faded design gives the traditional design a bit more of a casual feel.
Big thank you to Ruggable for sponsoring this beautiful rug!
For furniture, I really love the look of a simple metal bed frame against the moulding wall. It’s such a classic and doesn’t compete for attention with the other elements in the space. We borrowed this one from my son’s bedroom for the show weekend.


Speaking of borrowing… we also borrowed the nightstands, but this time from my sister’s green bedroom.
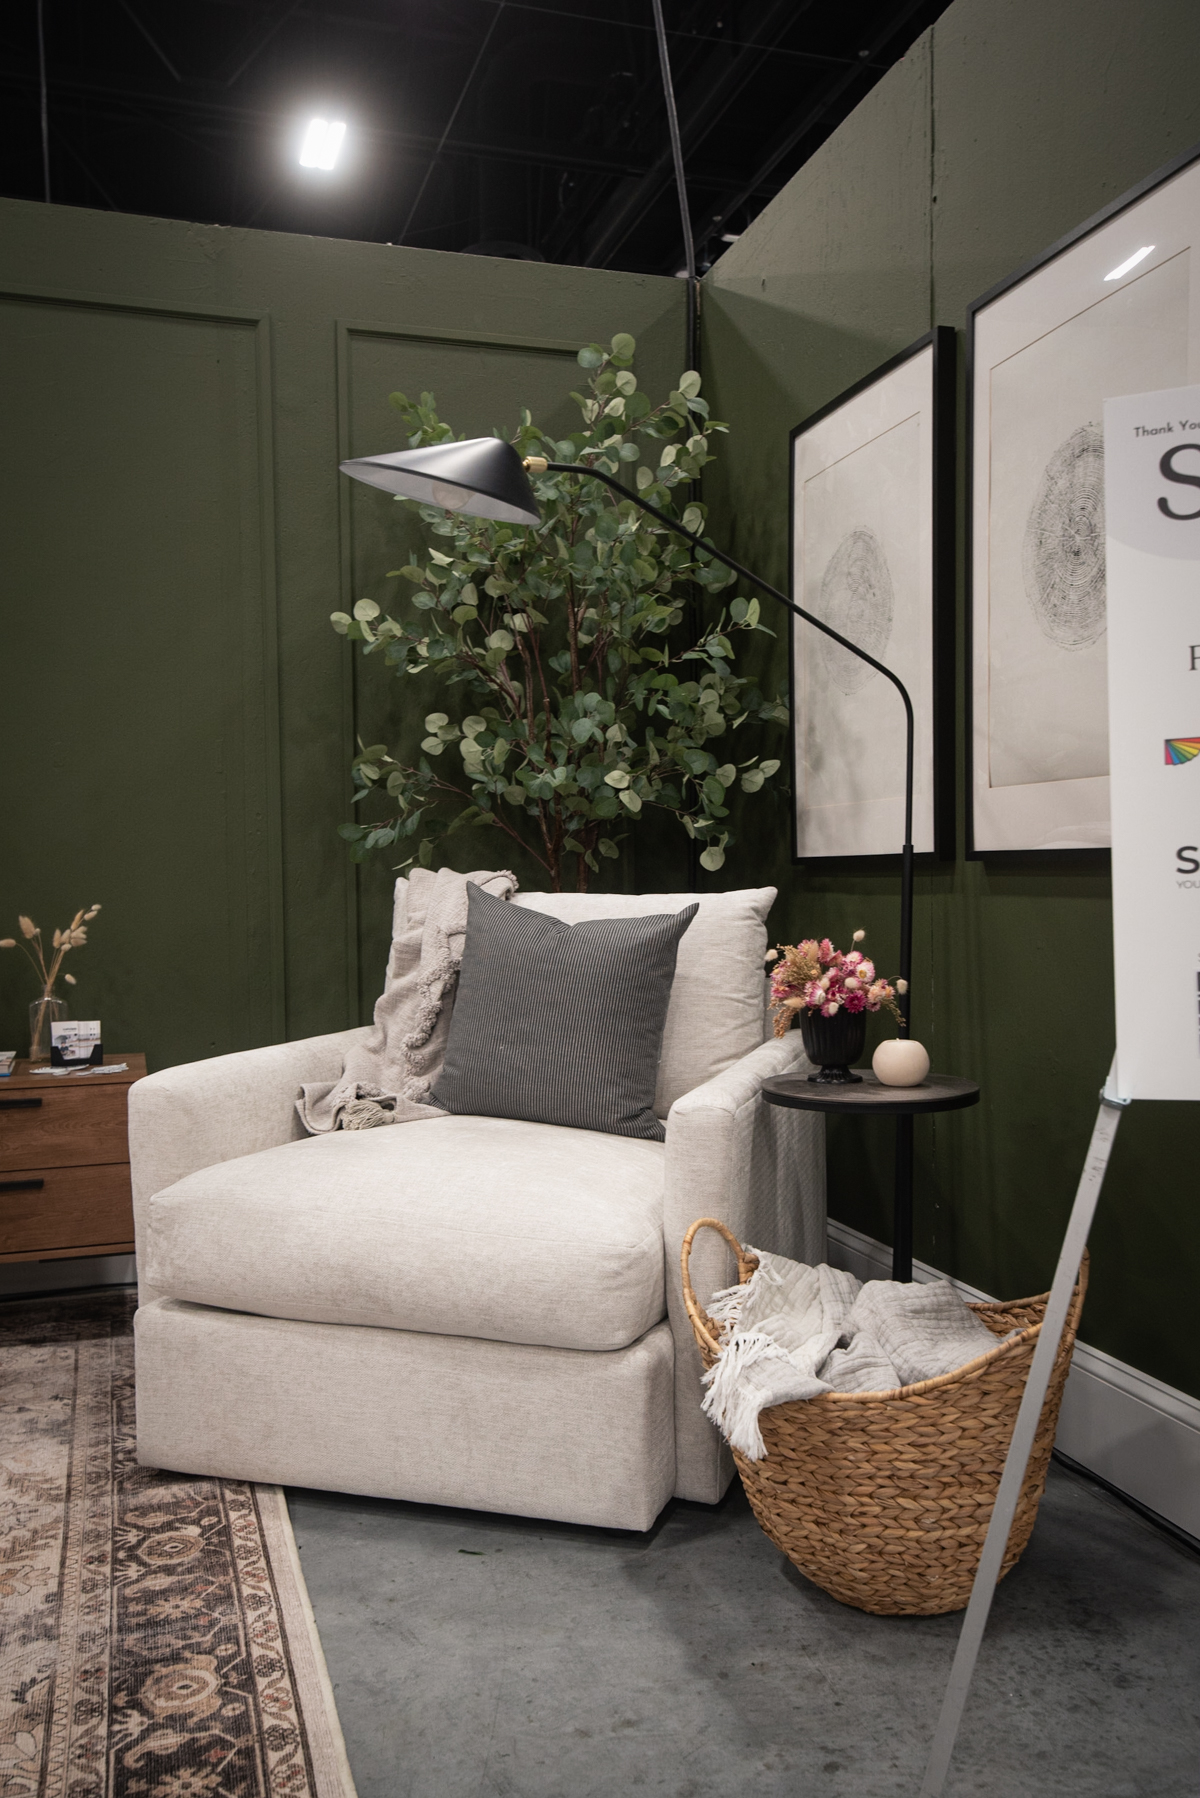
In this space, we had a reading area which is so cozy thanks to a fabric chair with a black floor lamp. Having the chair, lamp, side table combo helps define a reading area even in a smaller bedroom. We’ve done the same thing in the bay window of our own bedroom.
Big thank you to Sofa Land for sponsoring the chair, side table, lamp and faux plant for this space!


I love to free up spaces on the nightstands for decor and water glasses. I know lamps are so popular, but if you can get them off of the nightstand surface, you open up so much space! I like sconces (like these plug in gold ones) or hanging pendants if you can wire them in.
The moulding wall means we don’t need art on the headboard wall. I love how simple this is!
It allows us to add art to the other walls without the space feeling too busy. In here, I’ve added my wood round prints (these are a DIY! see the tutorial here) and a macrame (see the beginners macrame tutorial here).
These all stick within a neutral colour palette and let the texture of the pieces add character.


Texture is key in a dark and cozy bedroom design!
I like to add different textures on the bed with throw pillows and blankets and bring that over to the reading area as well. Natural fibres like the basket also help to add texture and warmth to the space.
I stick to the same decor for most rooms I decorate. Books, candles, florals (dried, faux or fresh!), and plants are my go-to decorations. You can see all the dried florals I used in this space and a tutorial on how to dry your own right here!

RESOURCES
- Room design based off of this blog post
- DIY Moulding Wall Tutorial (math included!)
- DIY Wall Art
- Dried Florals Tutorial
- Macrame basics
SHOPPING + SOURCE LINKS
- Bed Frame (Amazon) – borrowed from this room makeover
- Mattress courtesy of Sleep Country
- Night Stands (Walmart) – borrowed from this room makeover
- Jenkins Chair courtesy of Sofa Land
- Brunel Side Table courtesy of Sofa Land
- Floor Lamp courtesy of Sofa Land
- Kamran Hazel Rug courtesy of Ruggable
- Moulding + Baseboard courtesy of Metrie – built to match this room makeover
- Duvet Cover (Amazon)
- Faux Plant courtesy of Sofa Land
- Paint courtesy of Cloverdale Paints in colour Vegetarian

Playful Mural Sitting Area
The second area I designed for the Calgary Home Show to feature is a small sitting area. It’s designed to be an upscale version of our Tux House basement suite living room.
One of my favourite ‘recipes’ for an affordable basement sitting area is painting a simple mural with paint you have on hand and using affordable outdoor furniture for seating. It’s perfect for a kids space or a casual hangout space. You can see that ‘recipe’ at work in the Tux Suite Living Room and in my old basement reading nook.

In this upscale version, we swapped the chairs for gorgeous faux leather swivel chairs and a equally gorgeous black side table. Add in a lamp, faux plant and area rug and your space is the coziest upscale sitting area.
Big thank you to Sofa Land for Sponsoring the furniture in this space!
This mural is a recreation of the line art mural I created in Tux Suite. It’s so simple to create using just line art and simple florals.
I love line art florals and have enjoyed practicing them using Alli K’s books– such beautiful work! I definitely have simplified the line art florals and it makes for a simple mural that I truly think anyone can do.
I give tips on painting a mural right here. Just sketch it out using pencil and once you’re finished your project, erase any pencil lines remaining.


Keep in mind we set up these spaces, including painting this mural and the one on the back wall in just one day. Many murals are super time consuming but a line art mural using only one colour of paint is going to be really quick in comparison.
When you’re designing a living room, my favourite configuration for most living room spaces is to have a sofa facing two chairs. I like how open two chairs feels compared to a love seat or sofa.
We did this in our last living room as well as our current living room. I always gravitate towards curling up in a chair like this over the sofa when I’m able.


In here, again we added some dried grasses from the garden and DIY art.
Dried grasses and florals are awesome because you can dry them once then use them year round for decor. I even mix them in with my holiday greens.
One packet of bunny tail grass seeds is under $3 and gives SO many sweet bunny tails for you to use in your decor! I even planted them in my front entry planters this year. Find the full tutorial on what flowers and grasses you can grow yourself for dried arrangements here!


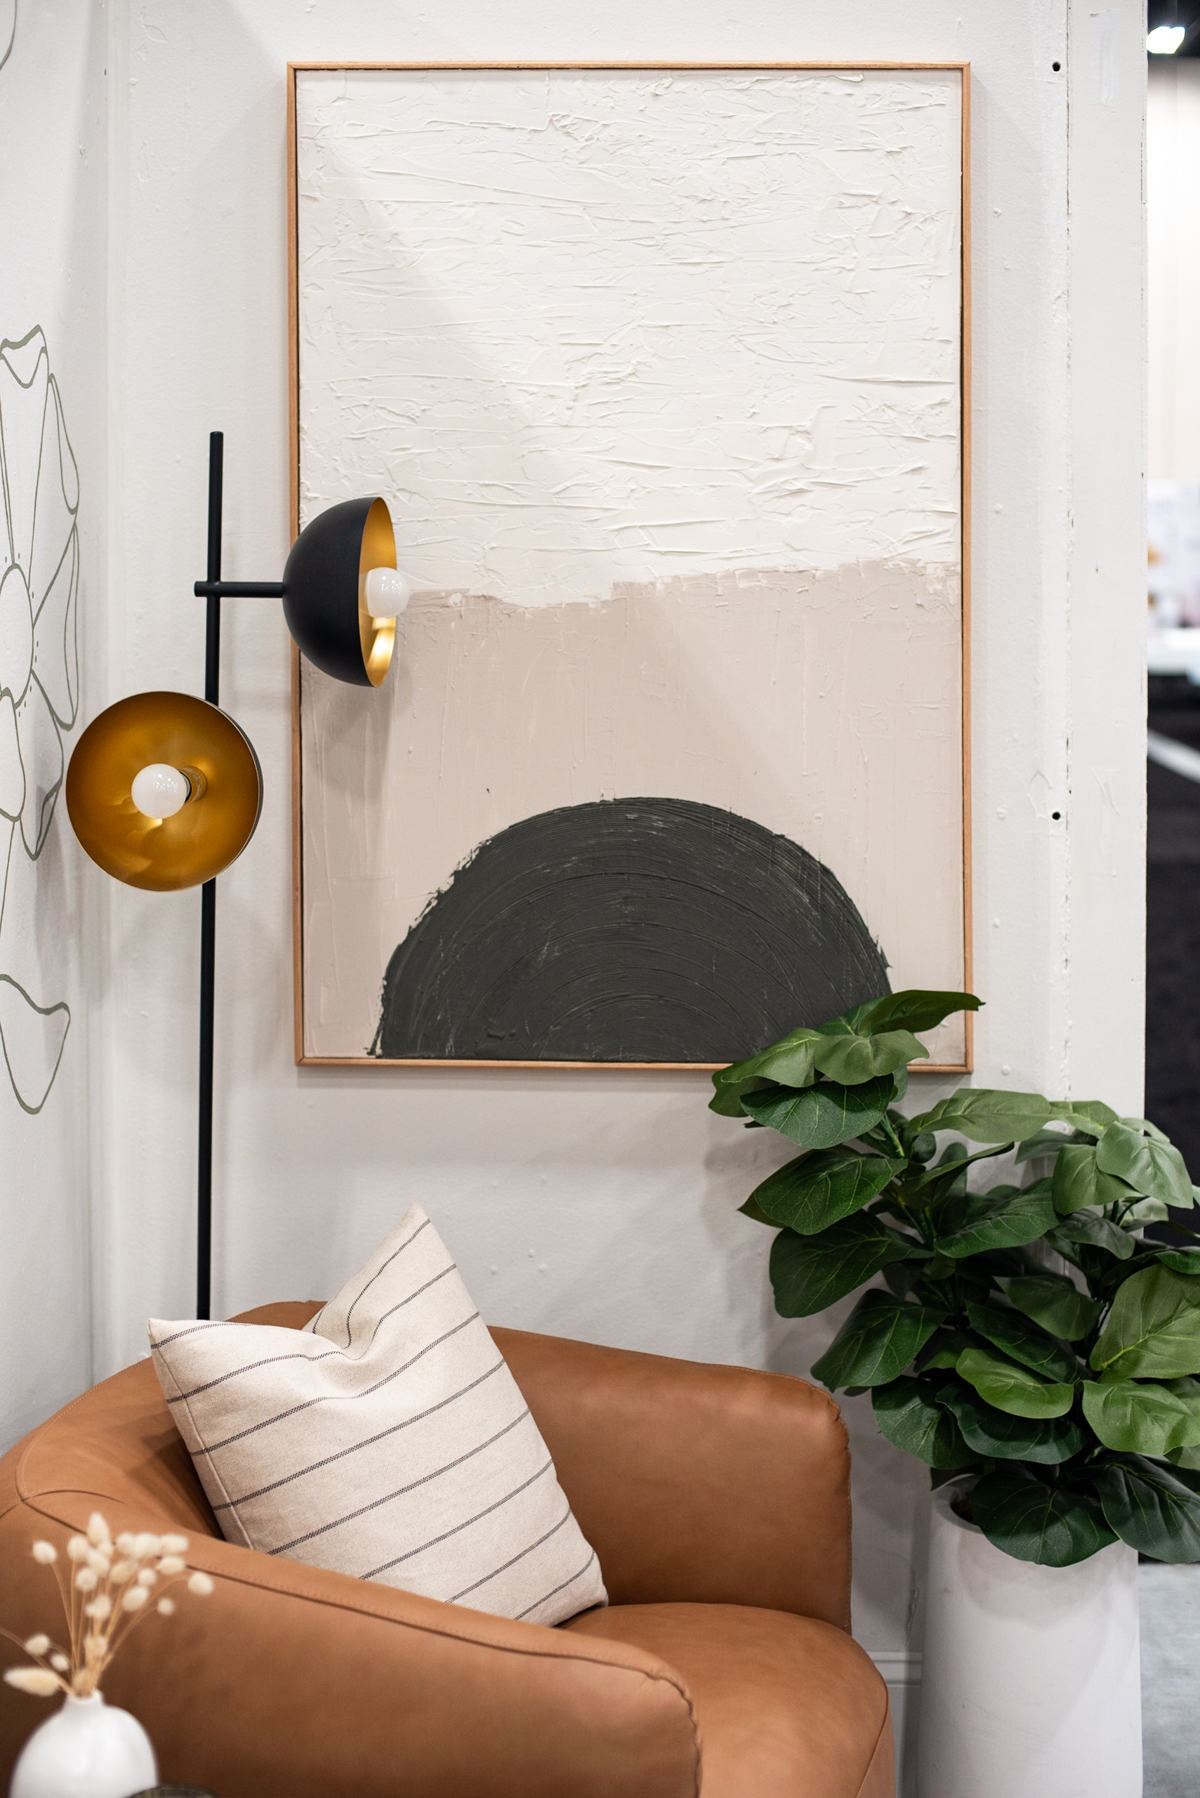
This art is also borrowed from my sister’s bedroom makeover. We tested out the viral drywall compound hack and mixed in paint to get different shades of paint full of gorgeous texture.
I wanted to keep the space from getting too ‘busy’ by adding a detailed art piece right next to the mural. This piece is fairly neutral but full of texture so definitely fits the bill!
Like almost every space I design, this room also features an area rug to ‘anchor’ the space. I love how much texture and character an area rug can add to a space but it also helps differentiate (or anchor) zones in a larger open space. This one is fairly neutral and has a simple design so it doesn’t compete with the mural.
Big thank you to Ruggable for sponsoring the rug for this space!

It was so fun to pack alll the character and charm into such a tiny space. This space is only 8 feet long by 4 feet deep! I love how this whole space turned out.
We really wanted to take these chairs home with us, they’re even more comfy than they look. We did however take that rug home with us and I can’t wait to share where it’s found a home!
RESOURCES
- Room design based off of this blog post (this space features super affordable furniture options!)
- DIY Mural Tips
- DIY Wall Art
SHOPPING LINKS
- Kyan Swivel Chairs courtesy of Sofa Land
- Circularity End Table courtesy of Sofa Land
- Faux Plant courtesy of Sofa Land
- Lamp Courtesy of Sofa Land
- Vista Grid Dove Grey Rug courtesy of Ruggable
- Baseboard Courtesy of Metrie
- Paint courtesy of Cloverdale Paints in colour Mystic Fog
In addition to these two spaces, I also designed the back wall of these spaces as a pinboard full of DIY home makeover ideas. I’m going to put that into a separate post because there’s so many tips there that I think they deserve their own post! Plus… this one is getting quite long!

BIG thank you to the Calgary Fall Home Show for having me!


Leave a Reply