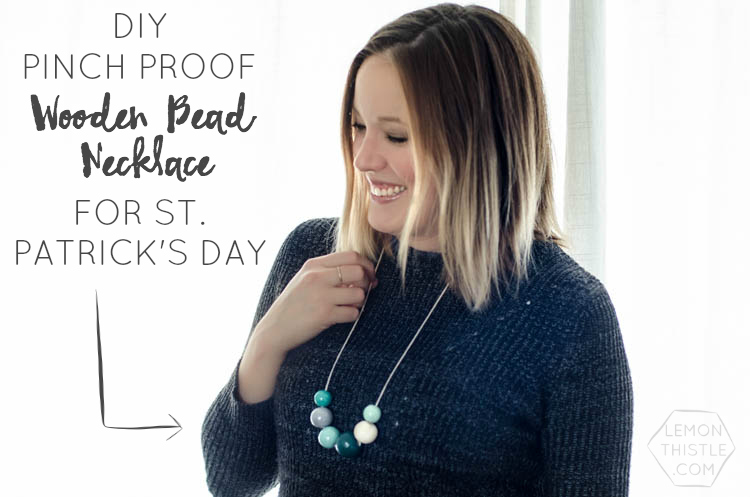
I’m not sure about you, but St. Patrick’s Day usually flies by without me realizing… until I get pinched. This year, I’m determined to enjoy the holiday a bit. Next week I have a super exciting collaboration planned for a fabulous St. Patrick’s Day Party (I’m crazy impatient to share it with you all- I know you’ll love it!). But this week, I thought I’d share this simple DIY wooden bead necklace to get you ready for the holiday.
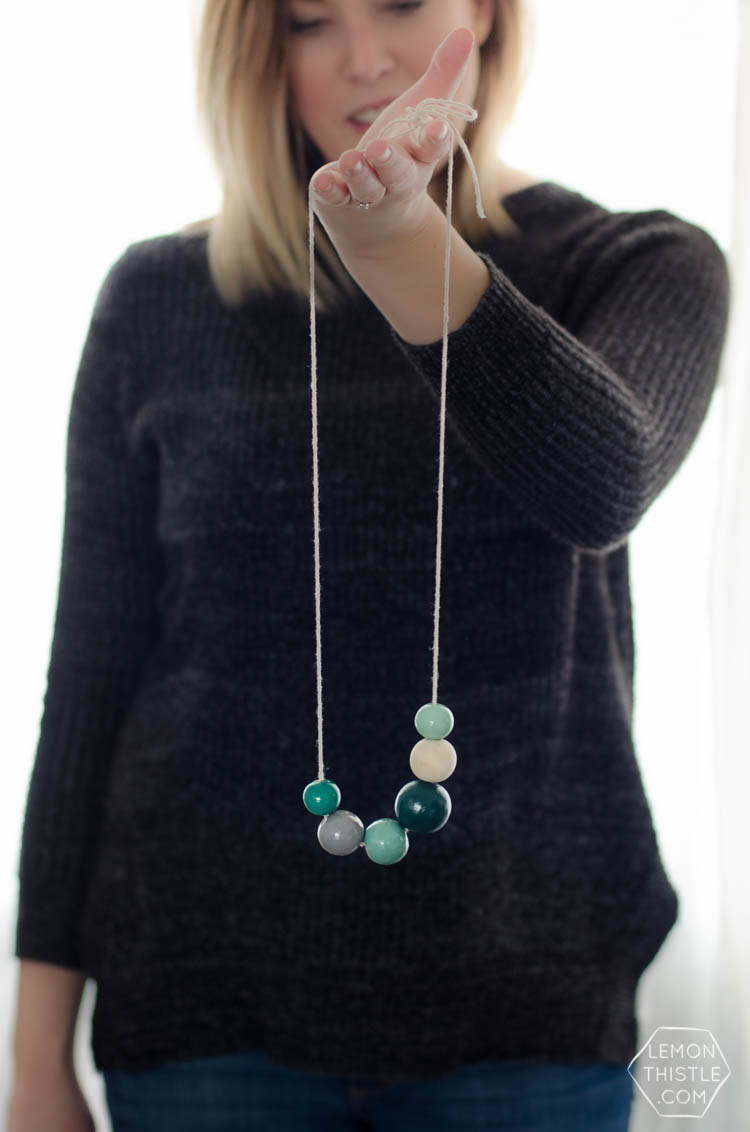

You’ve probably seen chunky necklaces like this floating around Pinterest, and I’ve always liked them but never thought I could pull one off. A holiday is the perfect excuse to try something a little out of my comfort zone! And I really like the way it looks… it might become a regular piece for me! The only problem is that my kids really like it too, so I’ve been choked a few times wearing it. I’m a big neutral wearer. Most of my wardrobe is filled with black, grey, denim and navy… and some white. This year I’ve branched out and included some khaki green in there, but that’s not a festive green for St. Pat’s. This bright necklace works perfectly with my otherwise dull (speaking colours) wardrobe.
Here’s what you’ll need to make your own:
- Assorted Wooden Beads (I found mine at the dollar store)
- Clear spray sealer (found with the spray paint)
- Assorted green and grey nail polishes
- Qtips & Styrofoam
- String or cord
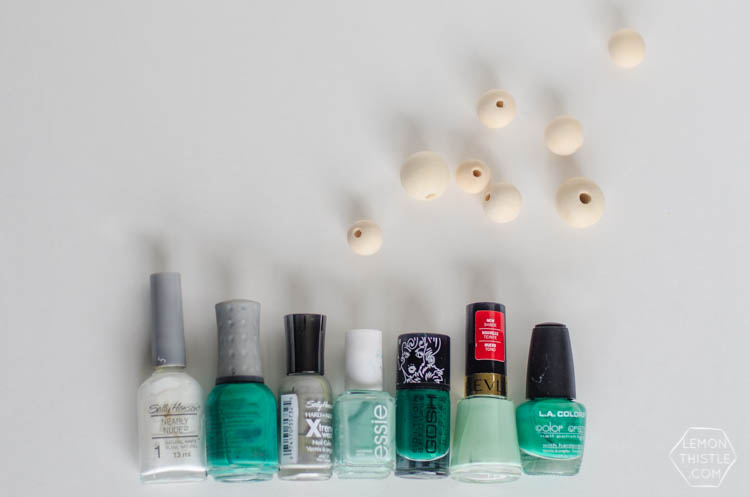
When I went digging for nail polish for this project, I realized that I have WAY too many green polishes. These are about half of them, I also have shiny, darker, and more khaki colours. Who does that? Who buys that many green nail polishes when they hardly ever paint their nails? Anyways, pick out the colours you would like for your necklace. I chose to add a grey bead in with the greens and left one wooden. I didn’t do this, but I’d recommend spraying the beads with a clear sealer before you start painting. I didn’t even think of it, but had to do several (read: wayyy too many) coats of the polishes because the wood soaked so much up!
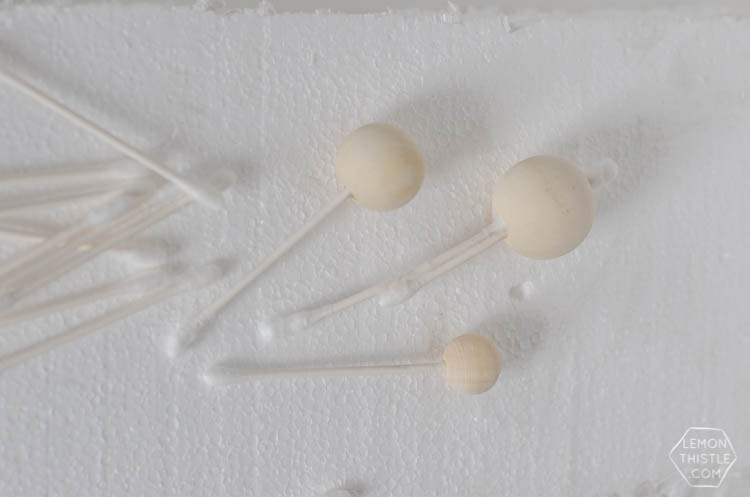
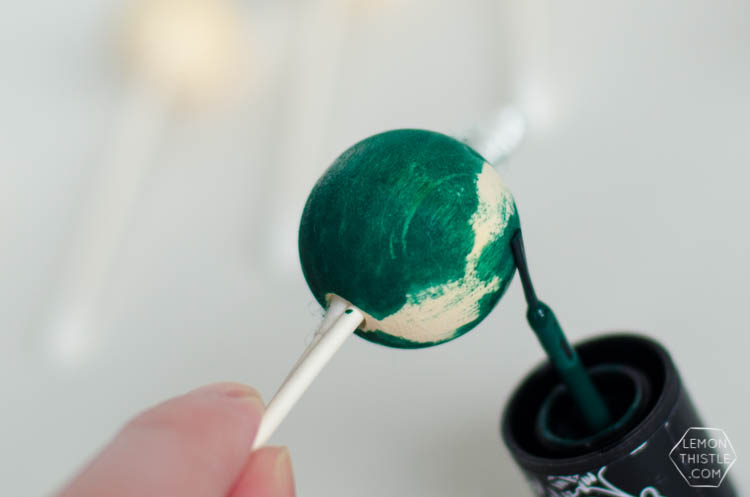
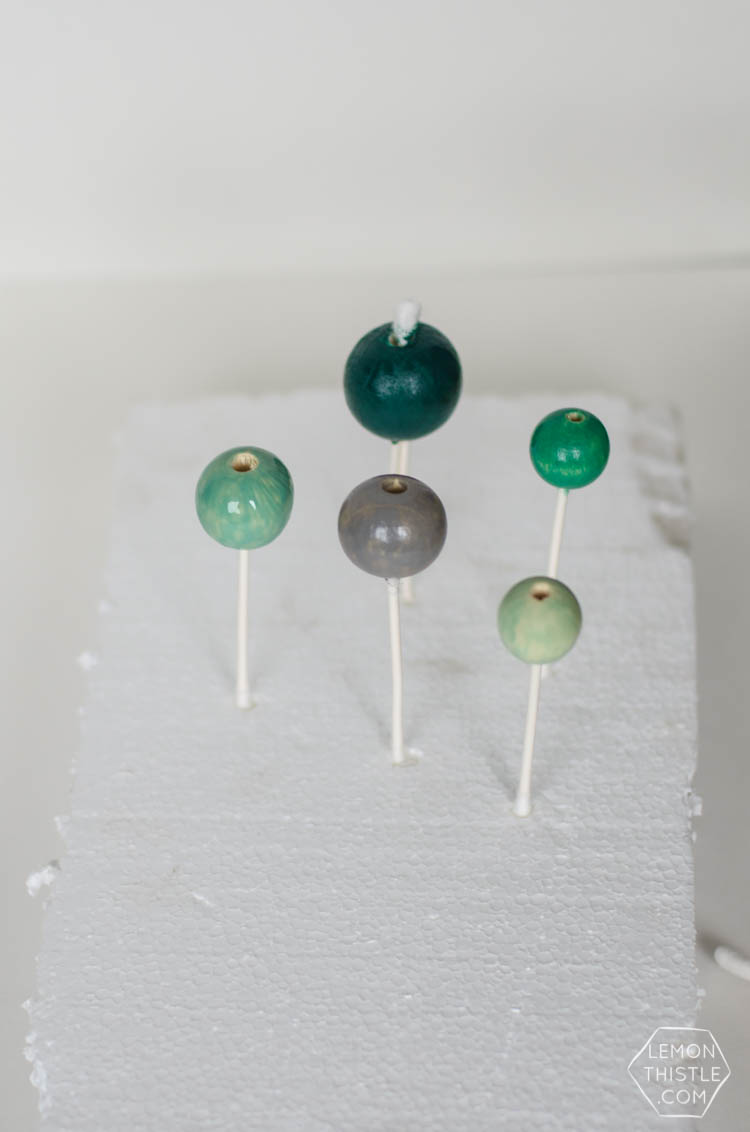
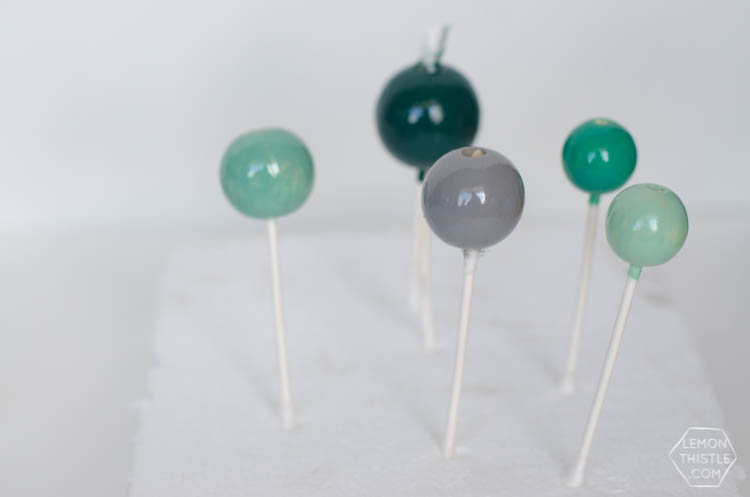
Once your beads have been clear coated, you’re ready to start painting. I chose nail polish because of the shiny finish (and that shine is SO good). To paint them, I used q-tips in the holes, so I could paint the whole bead in one shot. For the smaller beads, I pulled the cotton off the q-tip so it would fit, and for the biggest bead, I used two. I used styrofoam (floral foam would work great too, or a dish full of rice) to stand them up in while they dried.
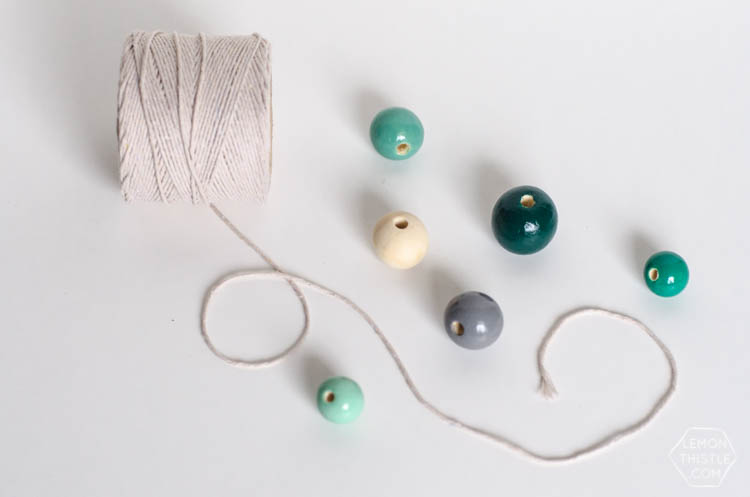
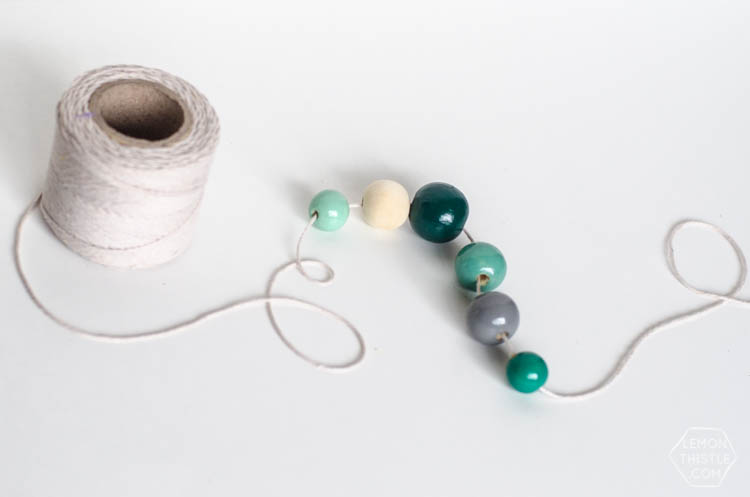
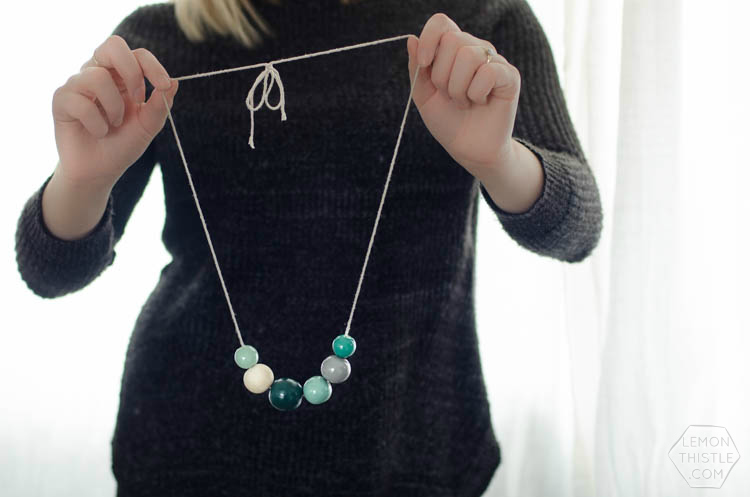
When they’re completely dry, pick a cord to thread them on to. I was originally picturing leather cord, but ended up liking a simple baking twine better! Tie the ends in a bow if you like.


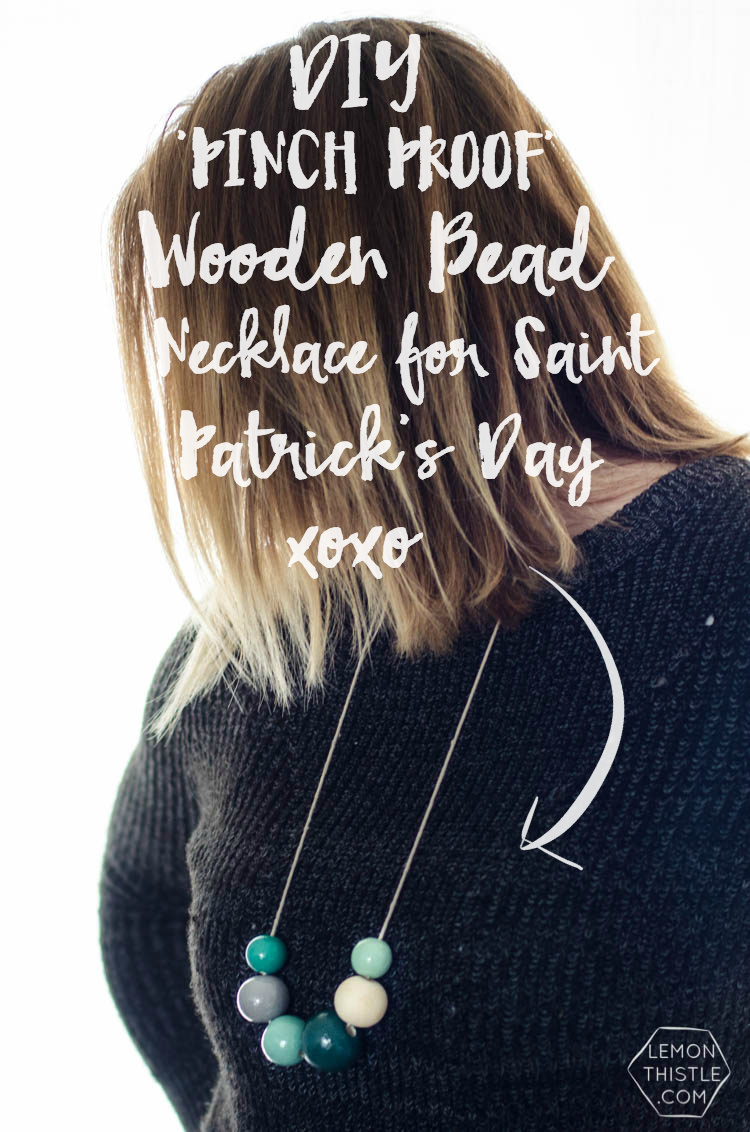
That’s all there is too it! I’m really in love with this necklace- I feel so stylish. Is that crazy? So tell me, is St. Patrick’s Day your jam? Do you remember to wear green?

 Stuffed Animal Storage for Kiddos Plush Toys
Cute! I just can’t over how much green nail polish I have. Maybe I could make one for next V day since those are the only colours I have. ;)
Haha, Red is definitely your colour! I don’t know why I have so much green, I love it- but never paint my nails.
YOU DID THIS WITH NAIL POLISH?????? SERIOUSLY? I swear, you have THE coolest DIYs ever!
I swear, you’re the sweetest blog friend ever!! Thank you for making me smile!
Best idea ever for painting wooden beads. Thank you.