Since I’ve been busy filming and editing all the videos for my e-course over the past few weeks, I’m FINALLY getting to the point where I ‘get’ or enjoy video. So much so that I’ve made a second video this month (whaaat?!) and you might even see a third. I’m crazy, I know. If you’re not already following me on YouTube and want to make sure you see each video, I would LOVE to have you subscribe over there!
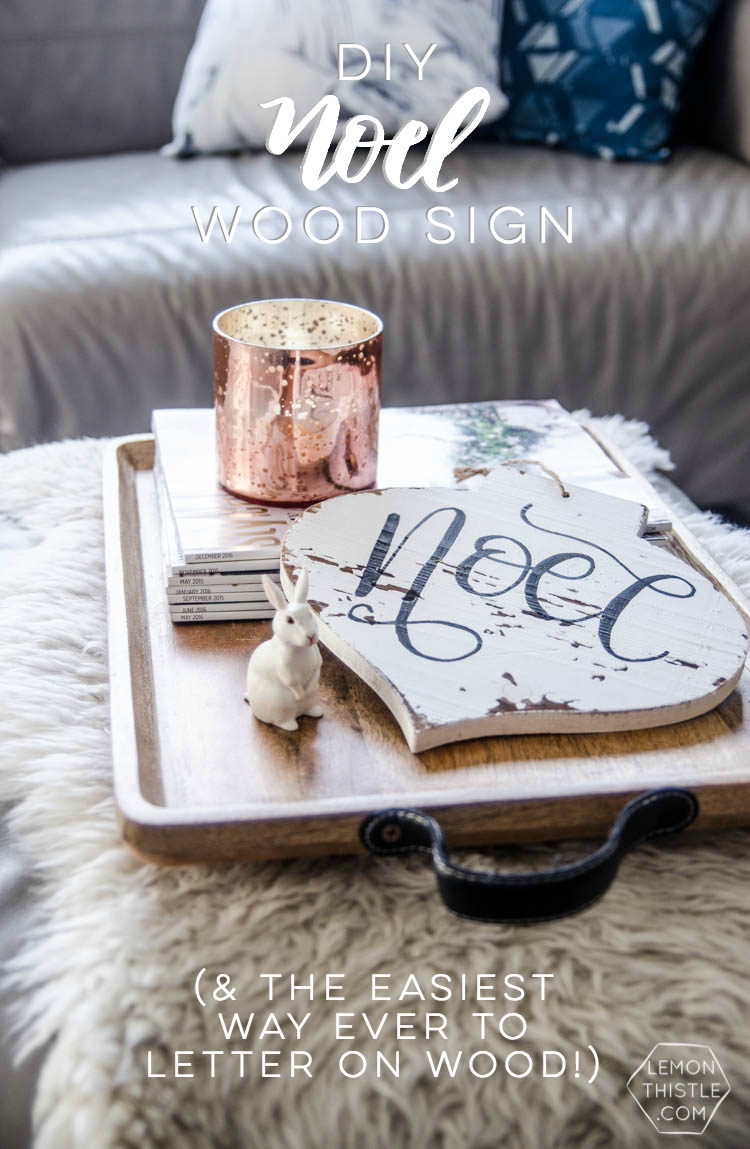
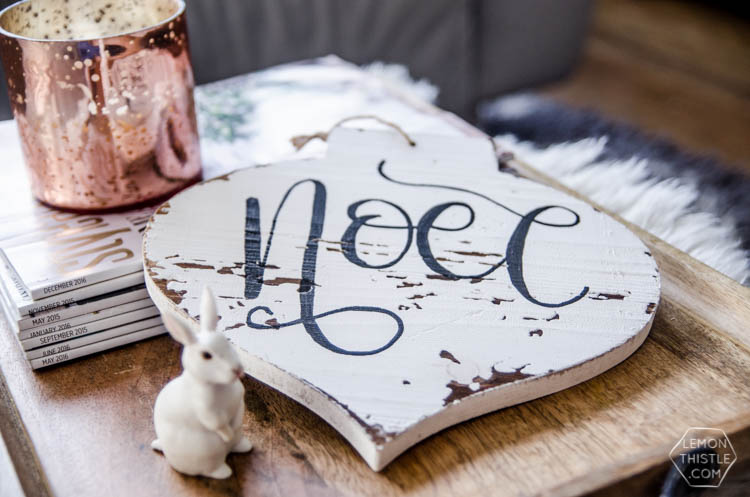
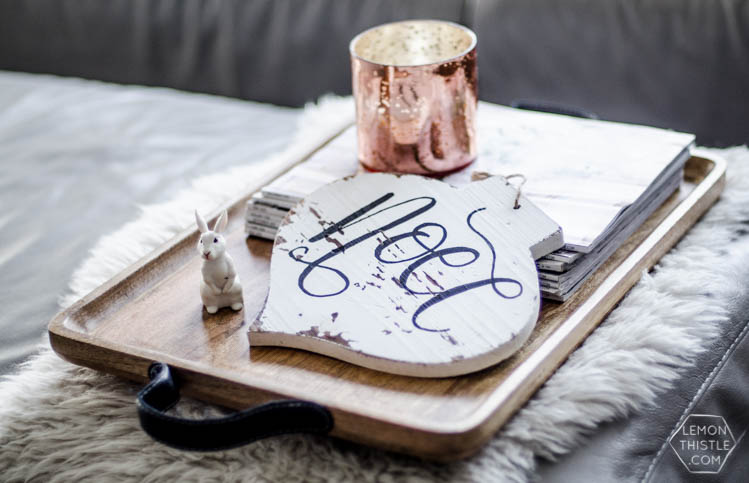
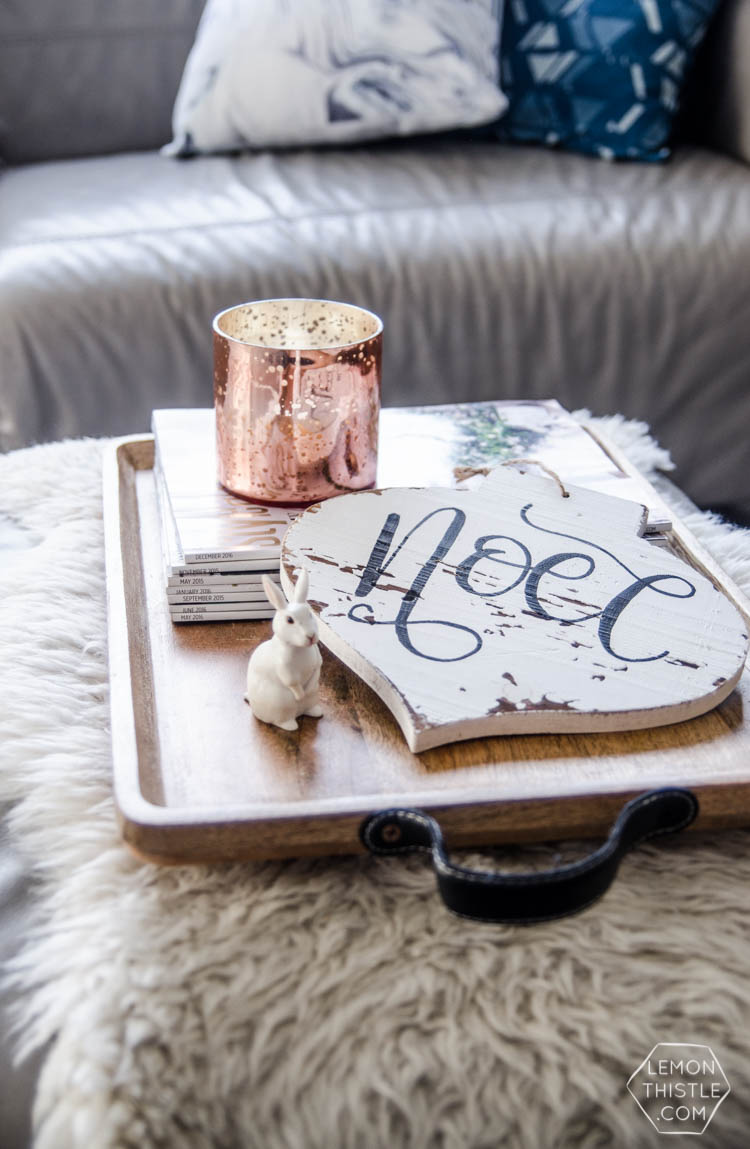
Today’s video is a quick one, but it’s one I’ve been meaning to make for a while now. I actually made this ornament Noel sign for a specific reason- to show you HOW easy it is to letter on wood using the right tools!

This summer I lettered a bunch of wedding signs for a few different weddings and tried pretty much every method. From paint with a brush to stencils to a paint marker. And at first I really didn’t like the paint marker. Then I got my hands on this one at the recommendation of a friend, and it was a total game changer!
SO I found this little ornament shaped cutout at Michaels on Black Friday and thought it would be the perfect speedy DIY to show you not only my fave paint pen but how I use ‘faux’ lettering to fake brush lettering on DIYs… like here to letter on wood! I go into crazy detail on this method in my ‘Learn Brush Lettering E-Course‘ in the bonus section, but this is a nice mini version for you.
Plus, it fit in perfectly with my holiday decor this year! You can spot it in our full Christmas Home Tour (my first ever home tour!).

Alright, here’s the video, friends! Tutorial text is all below this :)

Plus, since I’d been practicing the word ‘Noel’ with my printable practice sheet from a few weeks back, I was all set to free-hand this baby. You can totally sketch yours out with a pencil first before you letter on wood with your markers. But I’m much too lazy.
The magic pen? Montana Markers! I use the 2mm and ordered mine online BUT noticed the last time I was in Michaels that they fiiinally started stocking these babies. Why these over something else? They’re totally opaque. That means you can’t see the 100 little strokes you made to fake one big brush stroke when you letter on wood… or anything else. Which is pretty amazing. And you don’t have to go over and over to get a clean look- one pass is really all it takes.
The big thing to pay attention to when you’re faux lettering is spacing. Give more room than you thing you’ll need to each line since you’ll be adding in the thick downstrokes after. The other big tip I think makes a huge difference is smoothing your skinny lines out afterwards. this makes them a bit thicker and I think blends them with the thick downstrokes 100x better!

What do you think? Are you off to letter on wood and make some rad signs now? I’d love to see them if you do!
PS… what do you think of the new music I have for my videos? Isn’t it rad? It’s actually a clip from one of my hubby’s old bands’ songs that I had put into a loop. So that kind of makes my day :)

 Black, White & Green All Over Christmas Home Tour
Leave a Reply