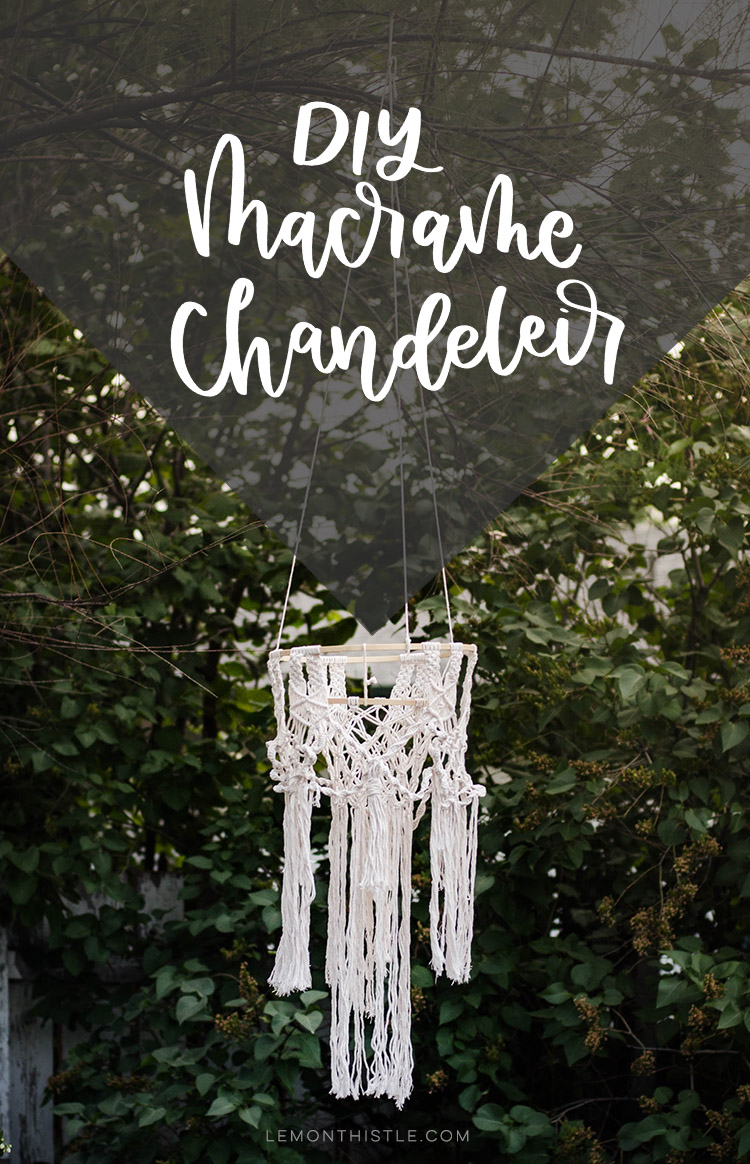
Do you ever have a project that you think should be straight forward but it ends up taking you 10x longer than you expected? Yeah… that’s the VIDEO for this guy. I made this macrame project over a year ago for this boho tablescape and recorded all the steps. I thought it would be easy to put it together into a tutorial for- after all the project itself is pretty straight forward… only three knots and two embroidery hoops! But somehow this video has taken me a year and literal days to pull off. But it’s done and I’m done and hopefully someone makes an amazing boho macrame chandelier because of it, right?! Ha!
How did it take so long? Well… we sold our house shortly after I made this, so I put it on hold thinking I’d get to it after we moved. Then we dug into our kitchen remodel and everything else got put on the shelf. And then (here’s where the story get’s frustrating) I went to put it together and realized it was maybe a little hard to see these knots if you didn’t know what a ‘square knot’ was. So I decided to make an introduction to macrame video first to help make it super clear how to tie each knot and troubleshoot any issues you might have with the basic knots.
Once I got that up, it was time to turn back to this video. I spent some time working on it then got to a point where… OH NO! I didn’t have all of the video clips! My phone had died last summer and when I got the new one I wasn’t able to recover all my videos. I assumed these videos were lost. I looked a few places then decided I needed to just make a new one since I’d almost finished the video anyways. So I spent the hours tracking the things down and creating a second one of these. Then my phone was too full of photos and videos to record any more. So I plugged it in to transfer all my photos and GUESS WHAT WAS IN iPHOTO the whole time?! Those movies. *sigh* But here we are. DONE! And it feels so darn good.
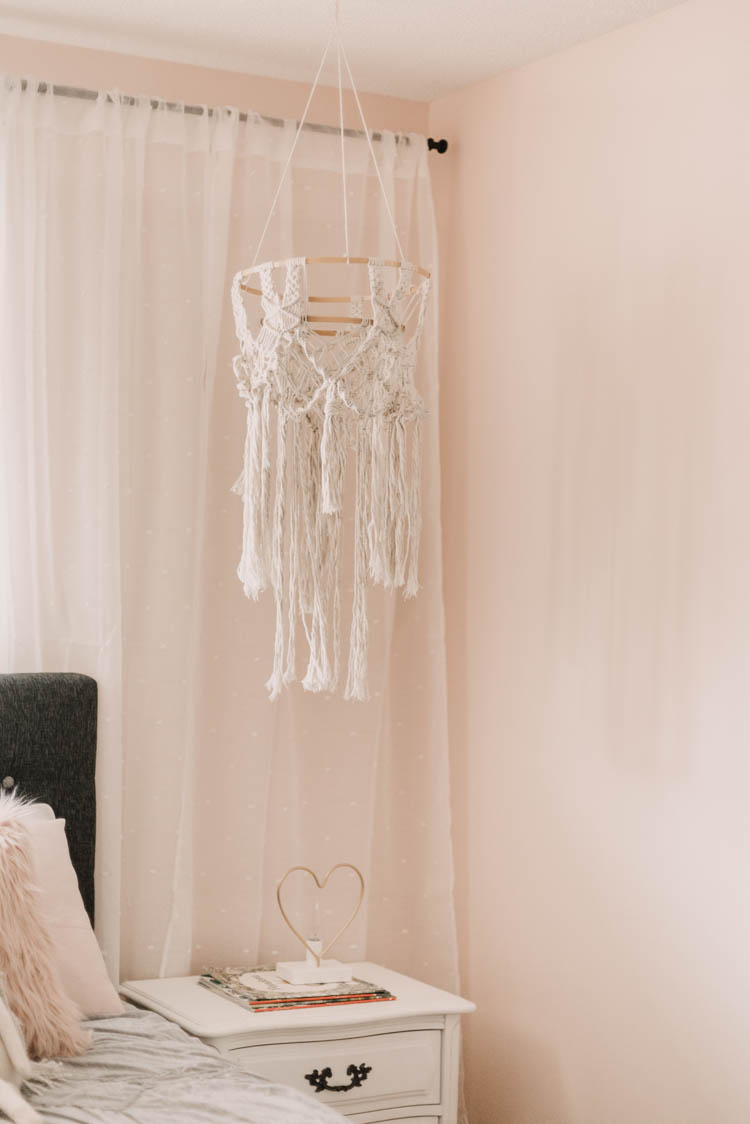
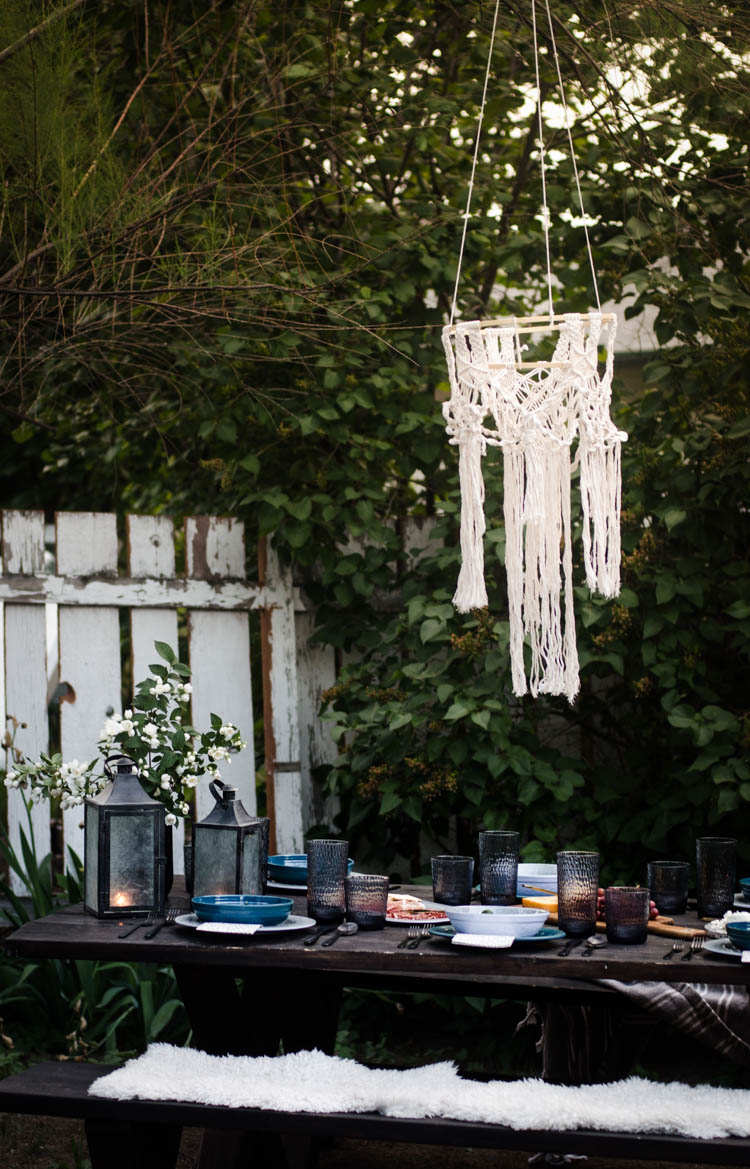
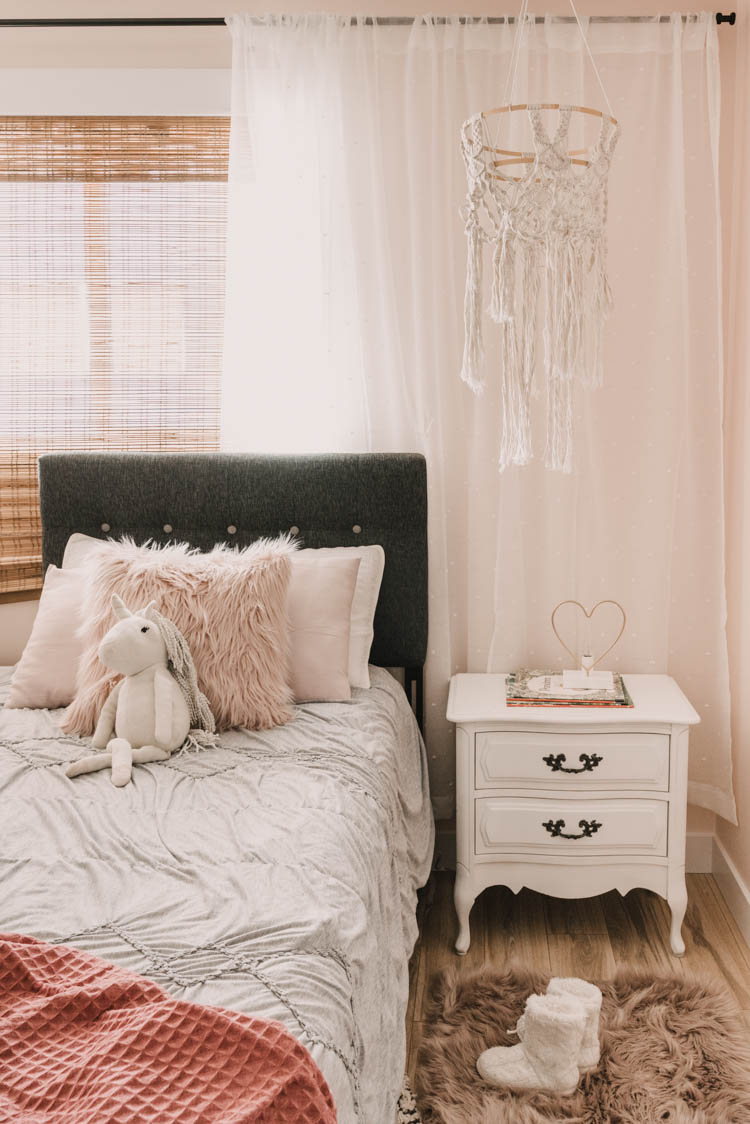
Please note… my video skillz (yeah, with a z) have come a long way in the past year. So there’s baby interruptions, me clearing crumbs off my floor (actually) and tons of adjustments. But the design is really really great and this piece has been so amazing for both our boho outdoor dining area and now in Aubrey’s girly bedroom. I’m thinking that I’m going to use that extra macrame chandelier that I created (you know, when I thought that I had to remake it for the sake of the video) for a giveaway in August when Lemon Thistle turns 6… so if you want to get in on that, make sure that you’re on my email list!
Ready for the DIY? Here we go!

To make your own macrame chandelier, you’ll need:
- Macrame Cord (I use 24 ply cotton twine like this)
- 12 Inch Embroidery Hoop
- 8 Inch Embroidery Hoop
- Good Scissors
The video is going to be the BEST way to get clear directions to make this project. But if you’re at work and want to wrap your head around it and can’t watch the video (or would rather just read first), here’s the short instructions!
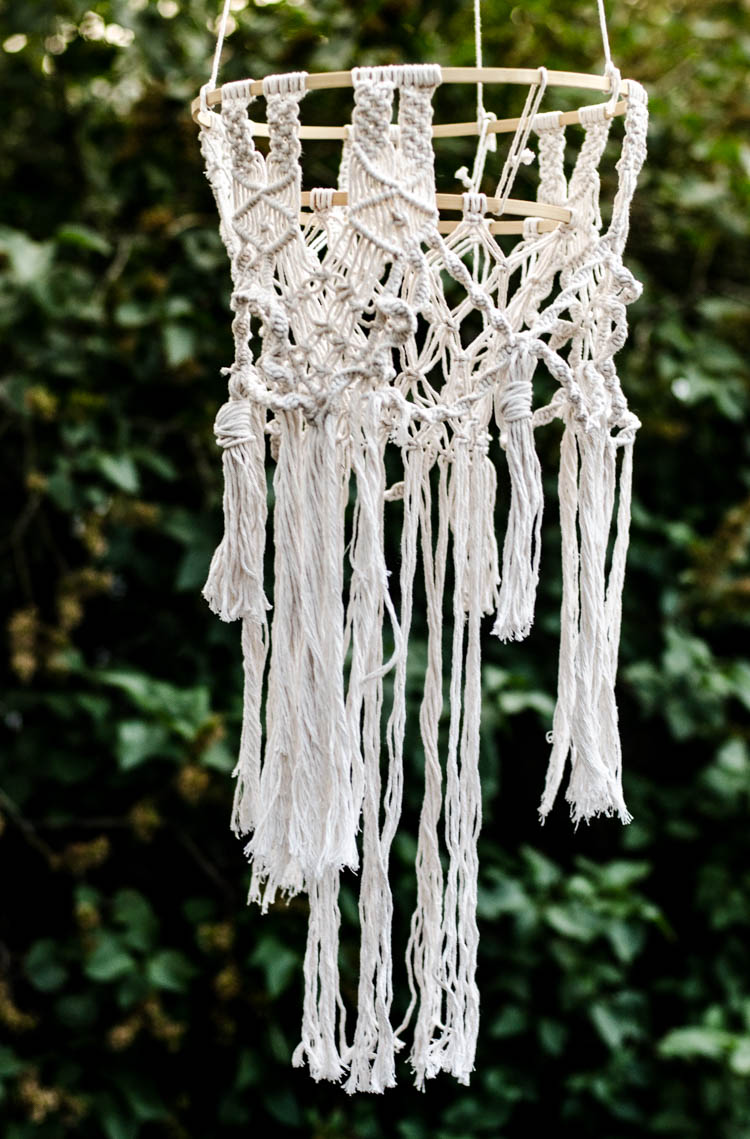
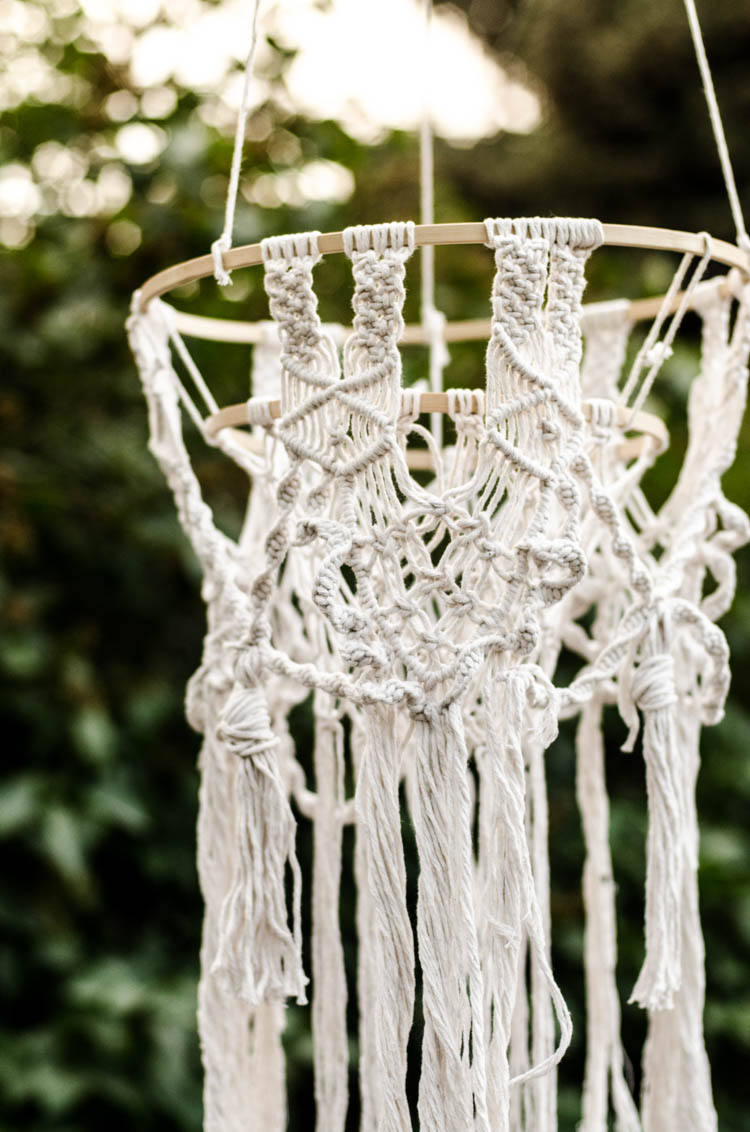
Start with your larger hoop- this is the main hoop that we’ll be working on. You’ll need to cut strings SUPER long for this. I did four arm lengths (both arms spread wide, four times). Fold the string in half and attach it to your hoop with a larks head knot. This is also called a cow hitch knot sometimes. It’s just taking the folded end underneath the hoop and looping that folded end over, then pulling the ends through that fold/loop until it’s tight and attached to the hoop. Do four of these together, then leave a space and do another four. I did eight sections of four for this hoop, but you could add more if you like- you would just need to make sure to add in four more sections at a time.
Once you have more than a couple sections, you might notice that the strings are getting tangled. I tied up each section in a loose large knot/ package to keep them from tangling. I would untie each section to work on it, then bundle it back up when I moved on to another section.
When your hoop is all sectioned off and ready to go, it’s time to get tying! Each section of four strings can be tied in two square knots, side by side. Then, split the two square knots and tie the centre 4 strings into a square knot. Split that square knot, taking the strings back to tie two square knots side by side like in your first line. Repeat this so you have four lines of side by side square knots with four lines of single square knots, alternating. Do this for every section.
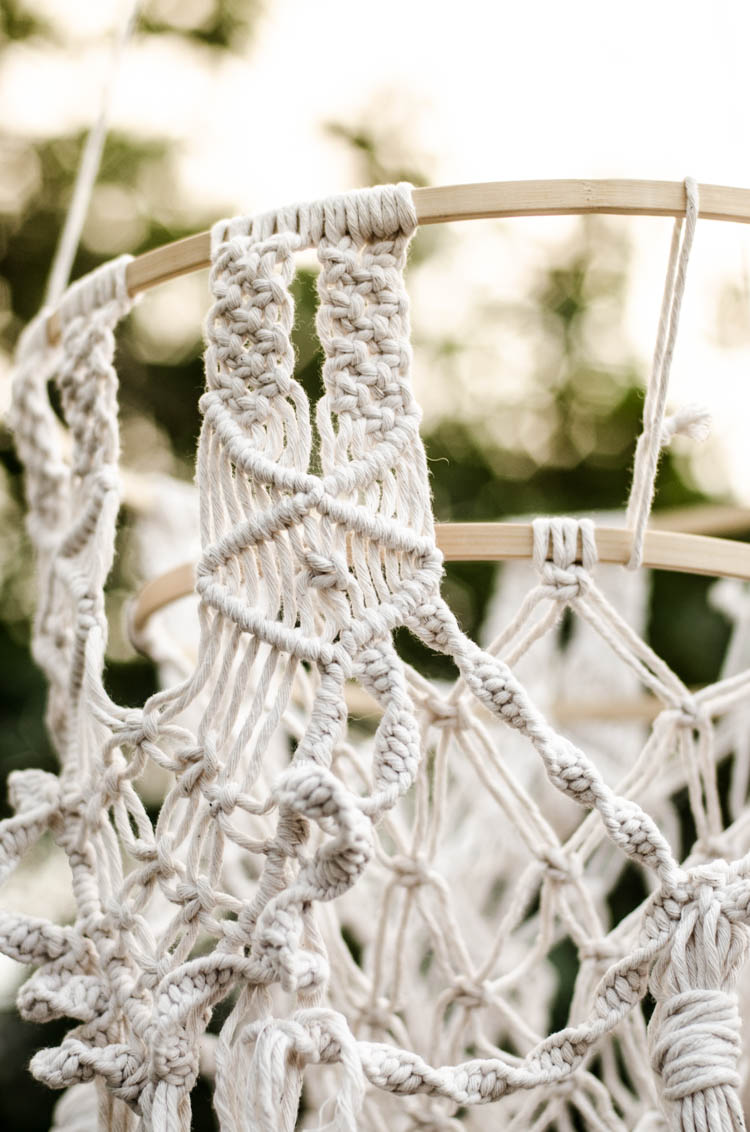
Next, we’re going to join two of these sections of half knots together. For this we’ll use our second knot- a double half hitch. This one you take the outside string and hold it over the rest of the strings in the direction that you want your line to go. This is your traveling string and it should stay in the hand that is holding it as you knot the rest. Pull the next furthest string and loop it OVER the travelling string and through the gap that is created between itself and the travelling string. Pull it tight and do that a second time. It takes those two ‘half hitches’ to make the knot. Move on to the next string and do this all the way across. Move on to the other half of this section and do the opposite direction so that the double half hitch lines create a V when put together. I just tied these two together. Do this to each of your sections.
Now that they’re attached, we’re going to make some diamonds! This is done using the double half hitch. Start where you connected the two together and start working your way back out with the double half hitch. Do the top half of the diamond, then pause to add a square knot in the centre of your diamond using the centre four strings. Then fold your travelling string back over and use the same one to finish the bottom half of your diamond with that double half hitch. Again, do that to all your sections.
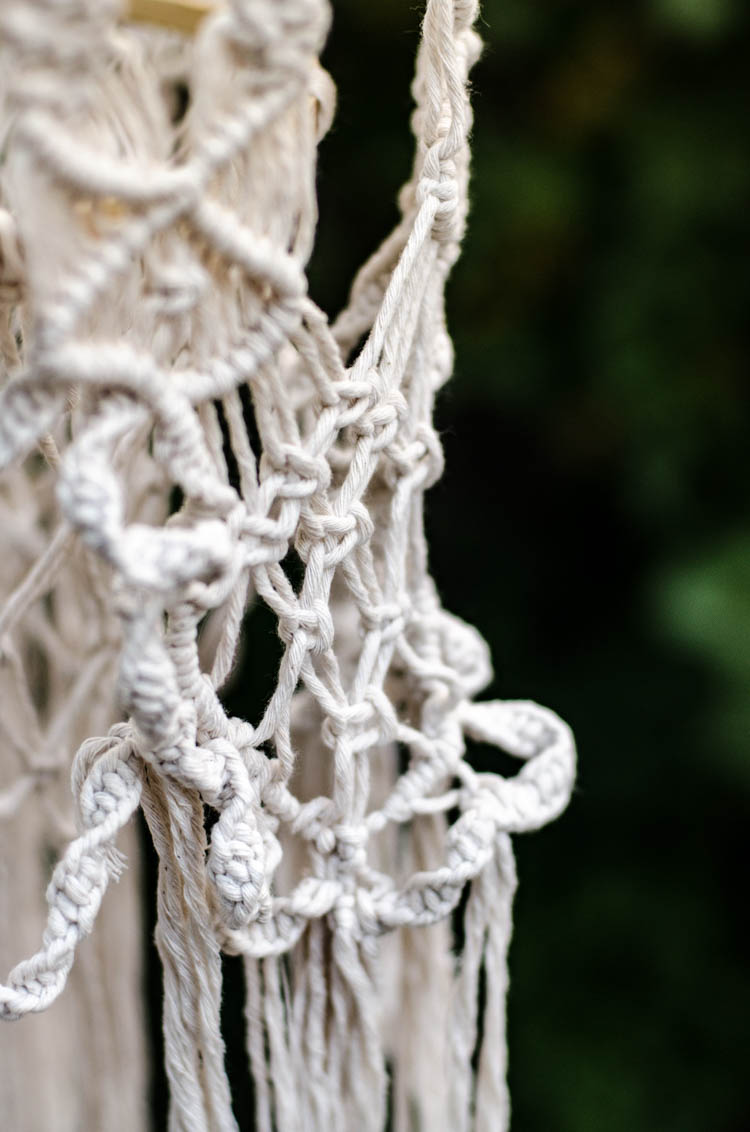
Now it’s time to connect those diamond sections together! Take the two strings from each diamond closest to each other and pull them together to create a square knot. Then split that square knot and take the next two strings from each diamond and create a square knot on either side. Go in this pattern down, creating a triangle of the square knot ‘net’ until you’ve used almost half of the strings from your diamond. These square knots are spaced apart more than your first section of square knots. We’ll finish these triangle sections off with a double half hitch border. Take the middle string from your diamond and direct it along the bottom edge of your half knot triangle. This will be your travelling string. You’ll be doing more than one double half hitch with each string. Do double half hitches along your travelling string until you get to the next string, then start using that one. Do this all the way down both sides and tie the two travelling strings together to make the point of the triangle.
Now for the other side of these diamonds! We’re going to add in the third knot for this macrame chandelier- the spiral knot, also known as the half square knot. It’s called the half square knot because it only uses the first of the two parts of the square knot. You do this over and over and it starts to spiral. Again- you can check out my introduction to macrame knots video for a really clear how-to on this one! You should have 8 strings left in your diamonds. Choose the next four strings and start spiralling. You’re going to scallop these spirals down the side of your triangle. You can see how I do that in the video, but essentially, I just incorporate the new string I run into as I go, then drop out the original string out the back a couple knots later. Do this down both sides of the triangle, then knot it together at the bottom.
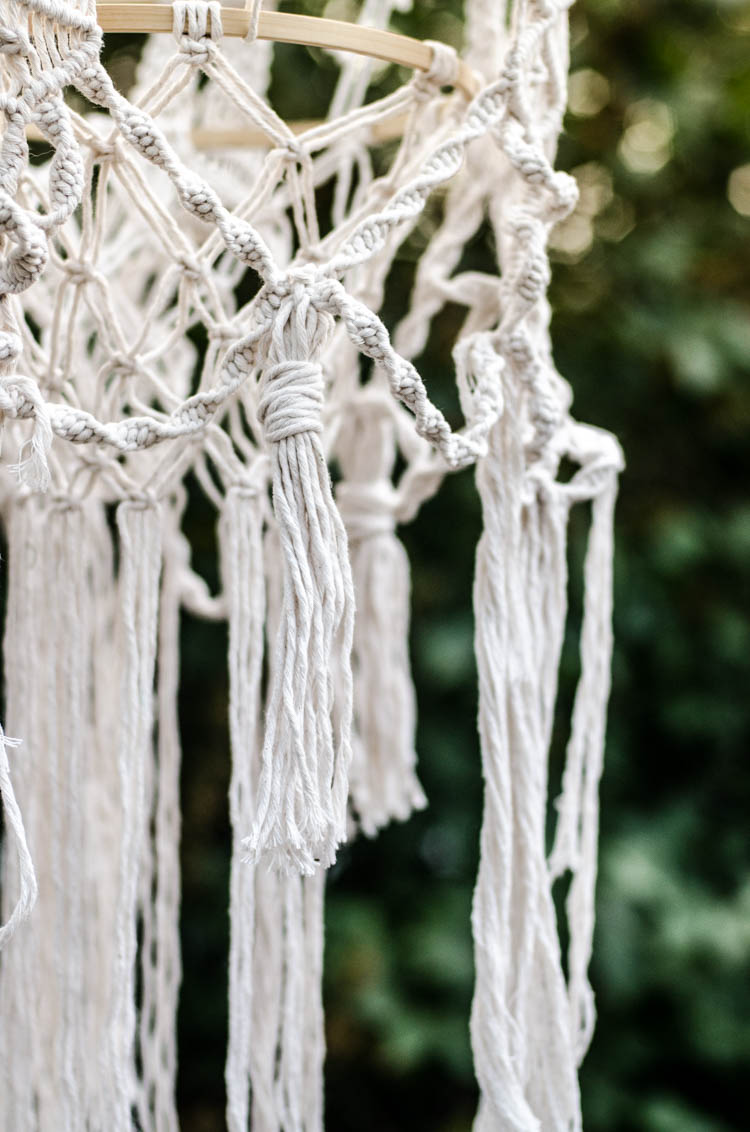
Then the last four strings! Get spiral knotting those too! Those ones will attach to the other triangle’s spiral knot, then cross back to tie into your own. I added a tassel after I was done to that intersection. I made the tassels using the extra string I cut off once I was finished to see how long I wanted it.
The inside hoop is so fast compared to the outside You just attach two larks heads knots side by side and do a square knot (add a bunch of these all the way around the hoop!). Then split them and knot them with the strings from the knot beside. You’re going to create a net type pattern with square knots the whole way around- much like your triangle but that’s all you do for this centre hoop.
That is it! Once you learn those three knots, it’s crazy how many things you can make. I really love that about macrame. There’s so many options! If you’re looking for more macrame, I’m wanting to make some more tutorials. Do you have anything you’d specifically like to see? I think I might make a tutorial for the macrame in this room… what do you think?!

 Summer Patio Update
Just started a macrame garland for my little girl’s new bedroom and was struggling to find a lampshade I love – do you think this could be used over an actual bulb or would it catch fire? I might do it without the inner ring maybe? Thank you! It’s beautiful!
That sounds like such a fun project! I wouldn’t use cotton cord too close to a light bulb!