This modern side table is a great beginner resin project- sharing the full tutorial for this DIY live edge table with resin river below!
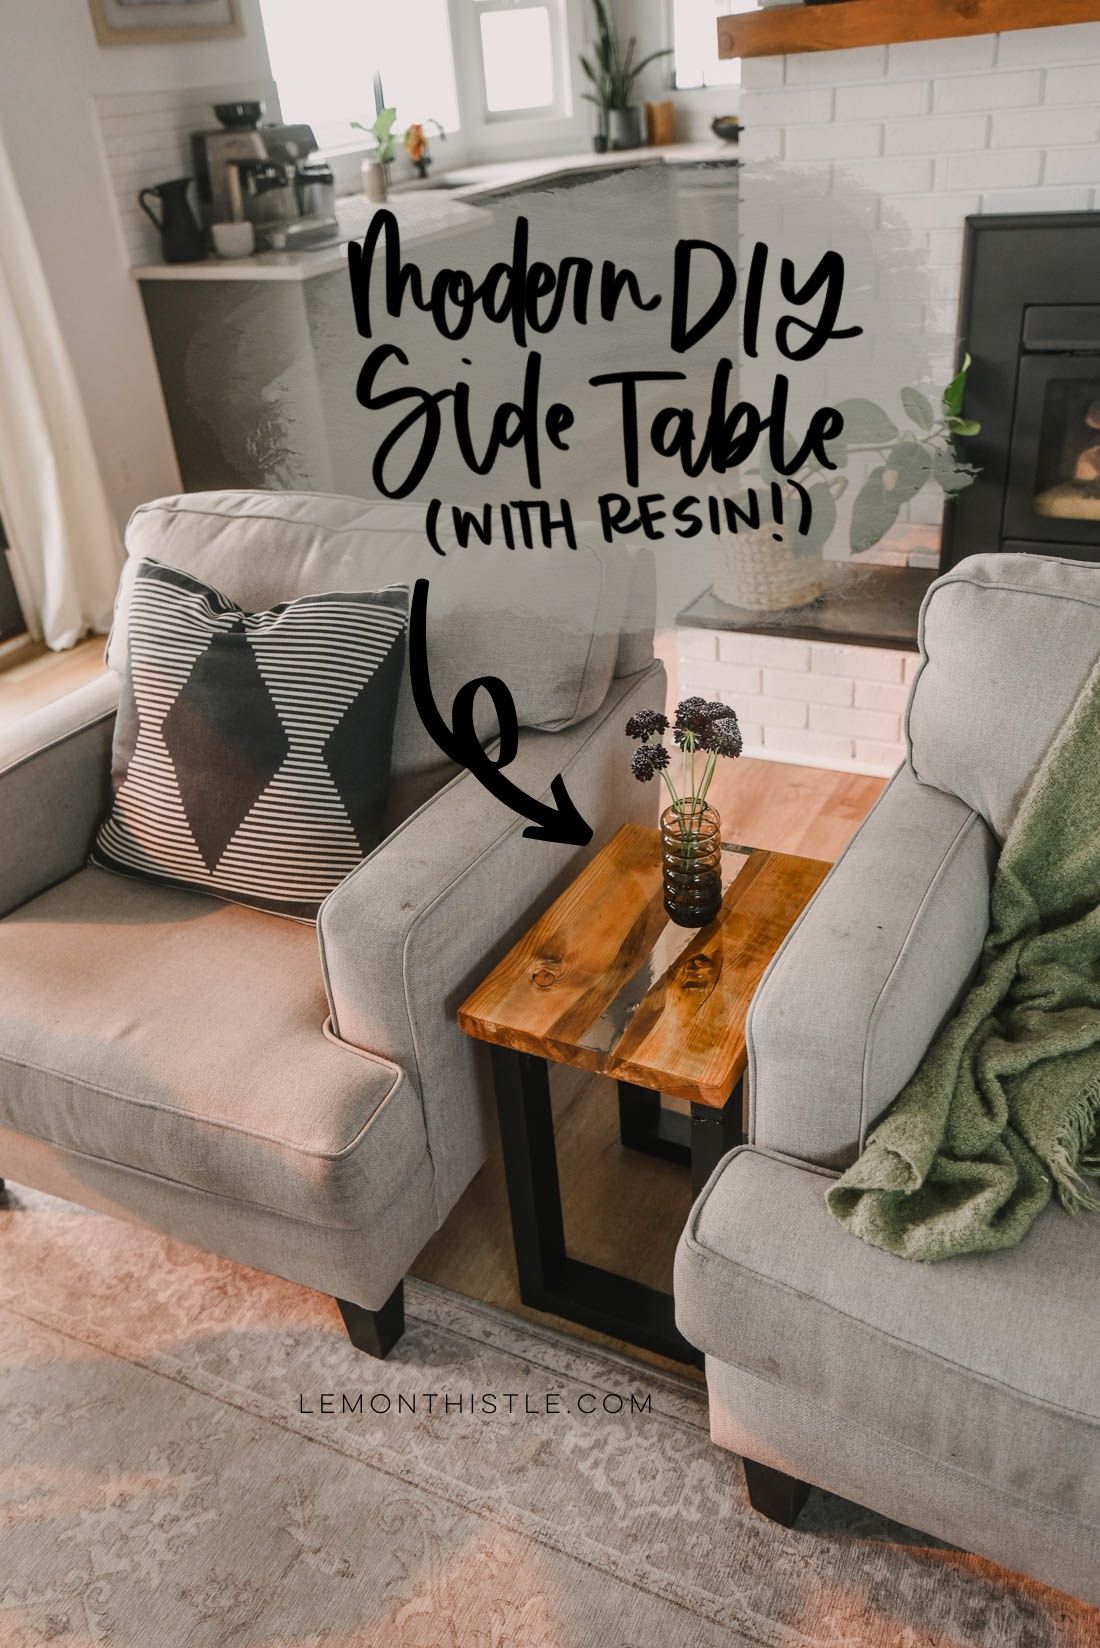
This DIY live edge table with a resin river checks so many of my DIY boxes. I love trying a new DIY technique, I love using up supplies I’ve had kicking around and I love creating something I’m happy to have in my home that I’ve made myself.
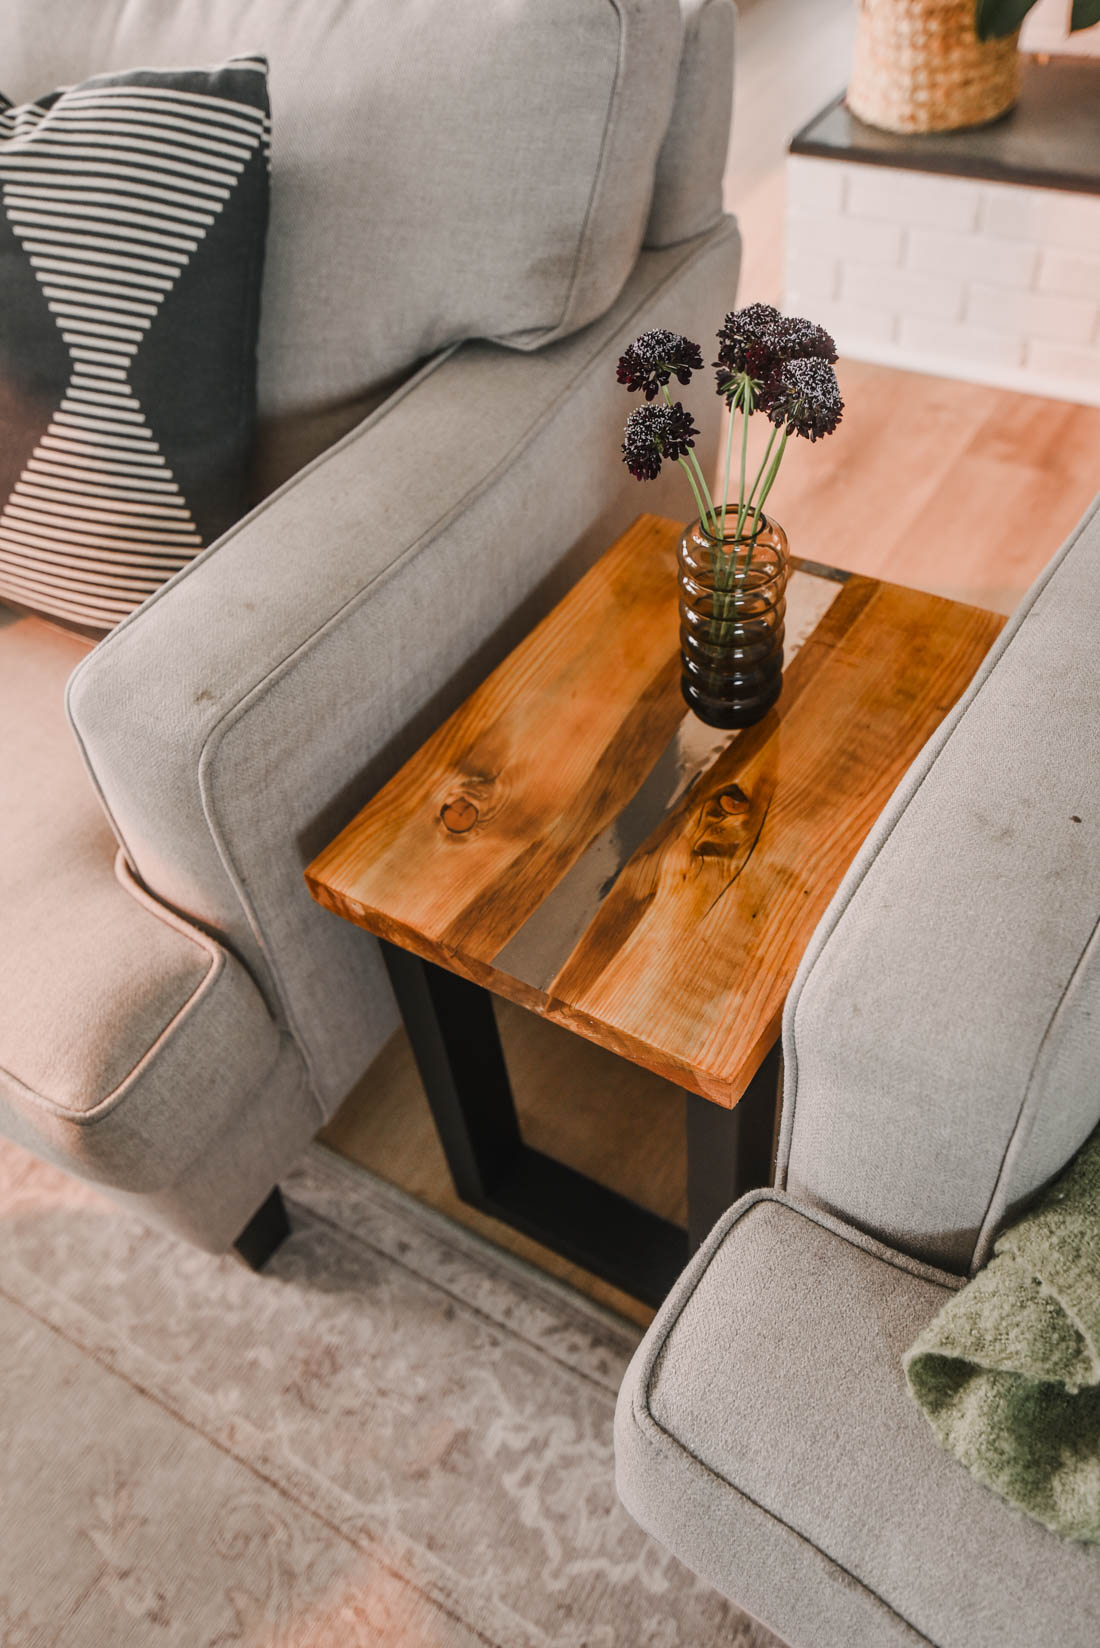
This piece of live edge wood was a cut off from my first DIY desk. It was too skinny to do much with so it just sat there. Shane tried to throw it out so many times, but I knew one day I’d find something to use it for. It is just such pretty wood! Now it’s the perfect little end table and not too skinny at all thanks to the resin river down the middle of the table.
Today I’m excited to share the tutorial for this little table in partnership with ETI Resin Crafts, affiliate links are used where possible. You can read all my policies here.

We’re talking all about the table top and how the legs are made too. It’s actually not as difficult as I’d thought it would be but it is a bit time consuming. Very much worth it though!
Let’s get into the tutorial!
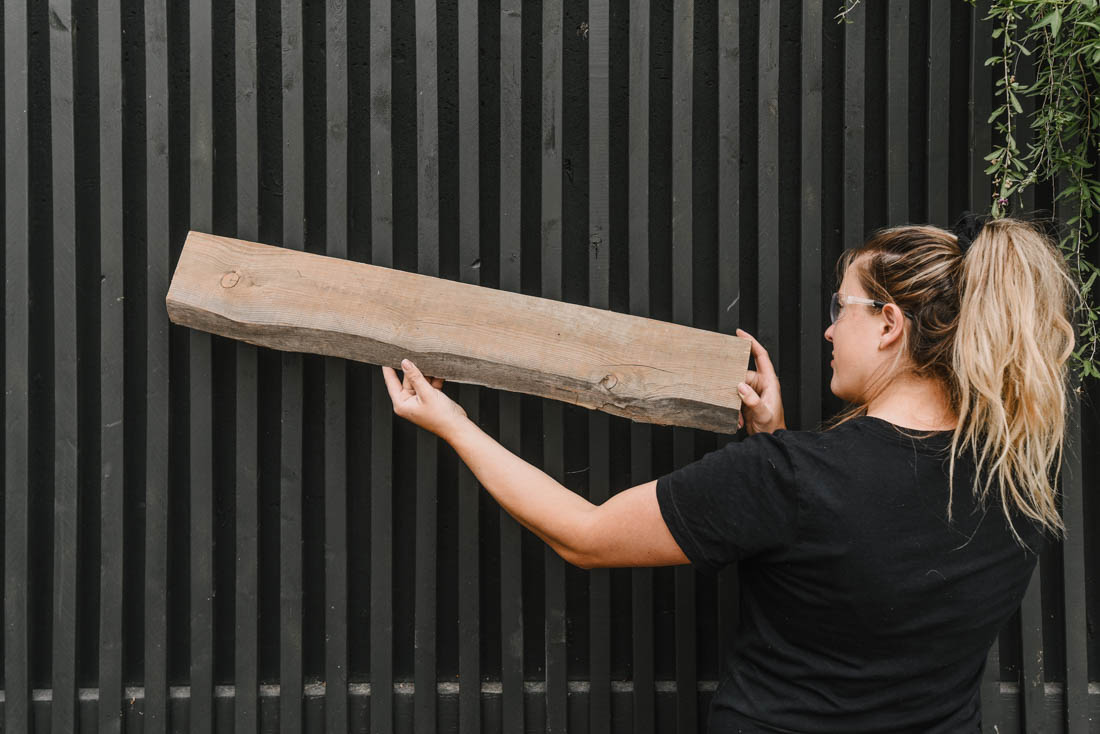
The first thing you’ll need to do is to cut your wood you’ll be using down to size. Mine was already quite skinny, but if you needed to cut it width wise, you would use a table saw for this. Once it’s cut width wise… cut it length wise to equal lengths.
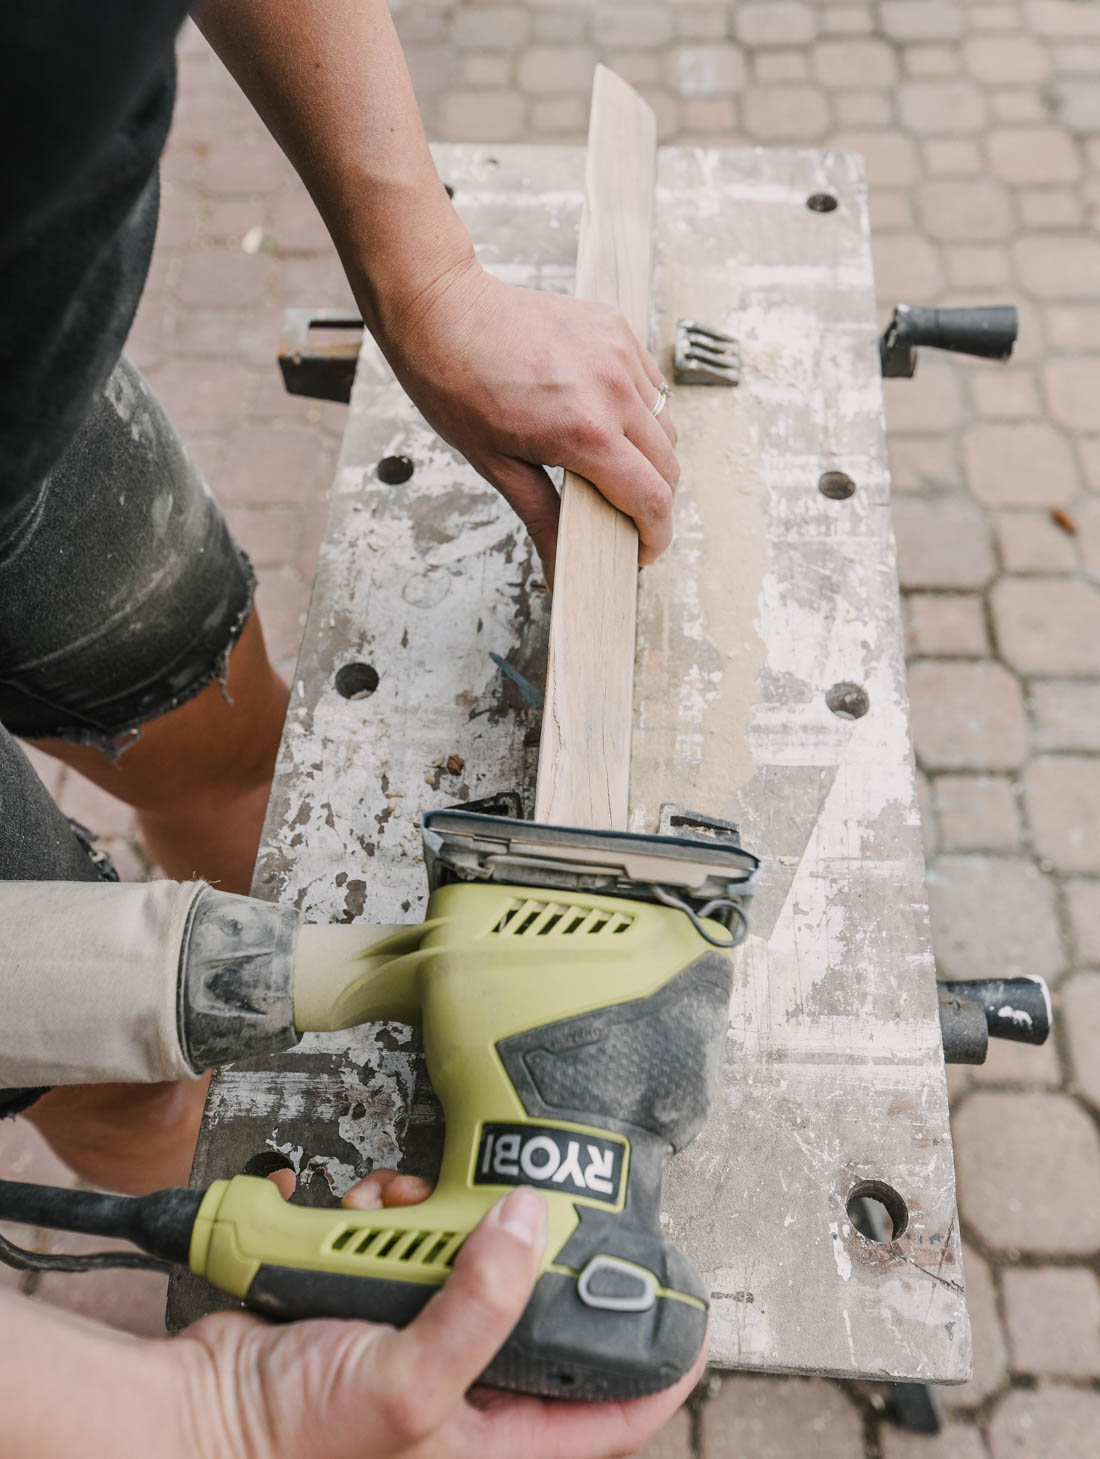
Then… sand it really well to get it nice and smooth! I sanded the live edge parts too just to get the wood back to it’s natural colour as it had greyed over time. Make sure to wipe clean your surface after sanding.
Once it’s all sanded, it’s time to build a containment box for your table top.
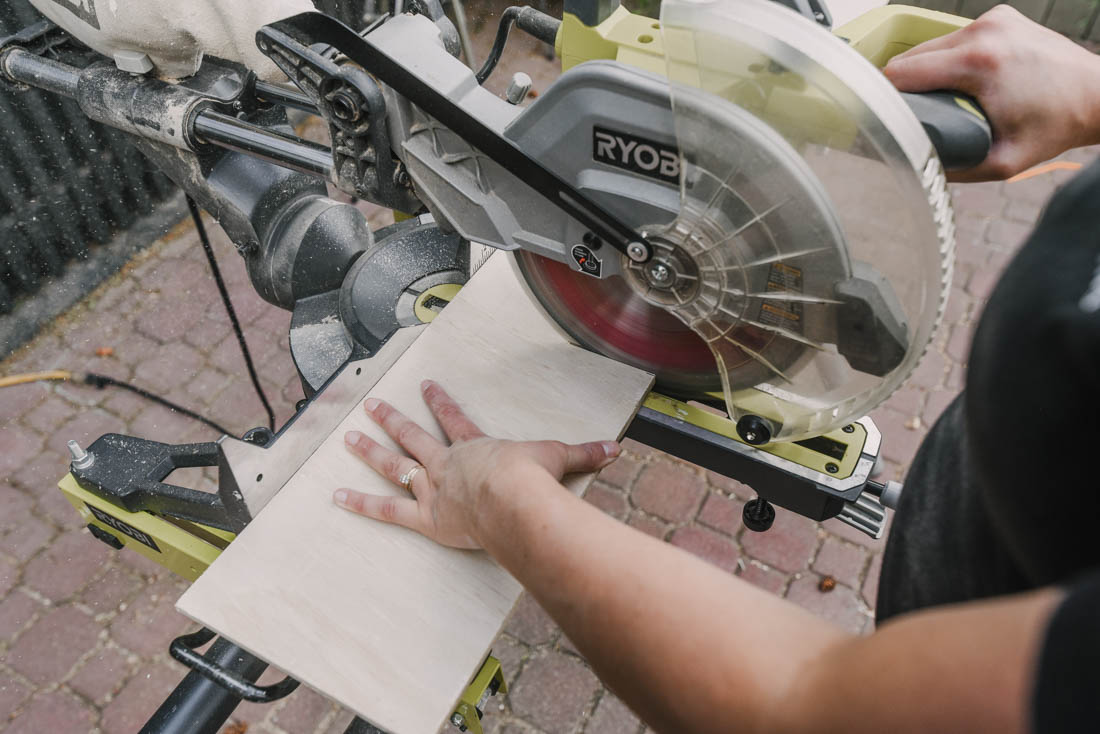
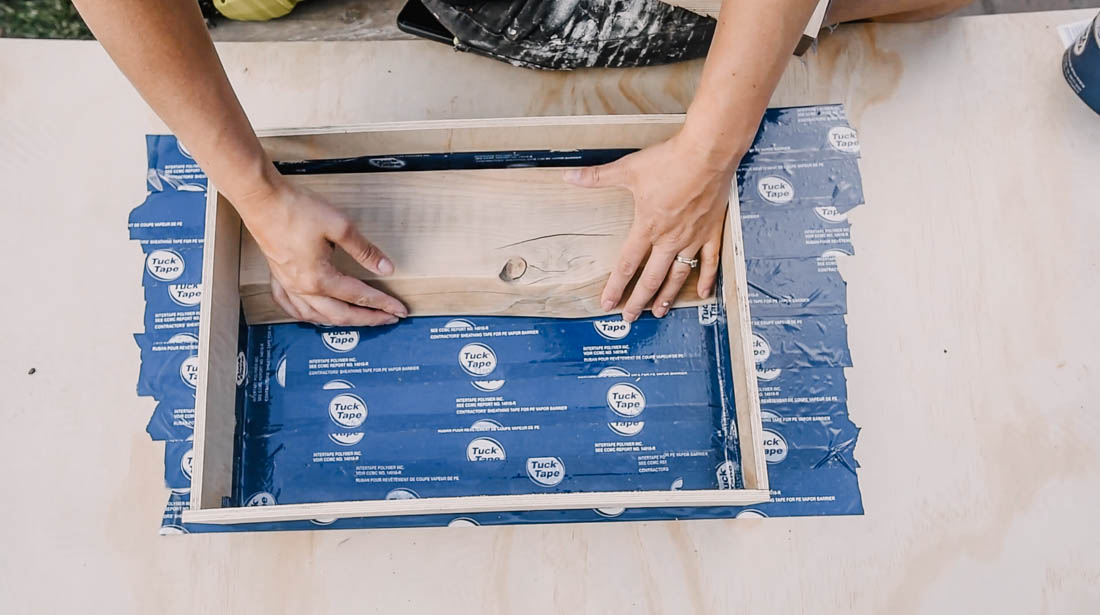
A containment box holds the table top for pouring the resin. It doesn’t allow the resin to escape from the mold to help it take shape. You can make your containment box a couple ways. I chose to use plywood that I had from a project and cover it in house wrap tape. House wrap tape will not stick to the resin, so it makes a great mold. The only downside is those small lines at the edges of each piece of tape will be visible in your project and you will need to sand those out.
Another option for a mold would be to use melamine pressboard and just tape the edges.
Once your containment box is assembled, you can get to mixing up your resin! It’s important to read the instructions on your product fully- it has information like the temperature the product should be before mixing to make sure it will harden. Even the temperature of the room can slow the hardening! Make sure to keep your space well ventilated and wear gloves any time you work with resin products. Choose a space that won’t have too much flying dust- I used my office with a window open and fan.
To decide how much resin you need to buy, you can fill your void with rice, then pour that rice into a measuring cup.
The first layer is painted on to seal the wood. This will help prevent air from escaping from the resin pours and creating bubbles in your river or top coat. For this layer, you can use either ETI Castin’ Craft EasyCast Casting Epoxy or ETI EnviroTex Lite Pour-On High Gloss Finish.
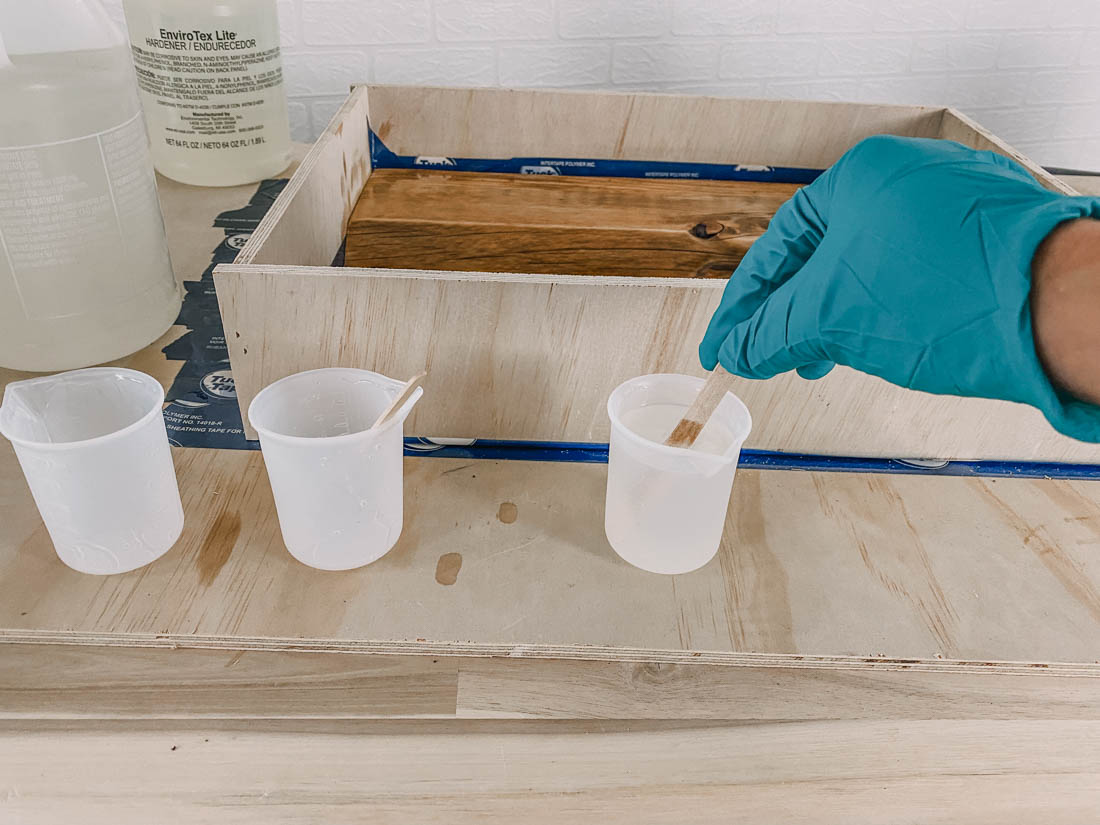
Both these products are mixed up the same. Double mixing is required to make sure they cure fully. Measure out equal amounts, then pour one to the other and mix for a full two minutes, taking care to scrape the sides as you do. After two minutes, pour your mixture into a clean cup or container and mix with a clean stir stick for another two minutes. You’ll watch the mixture go from cloudy to clear and when you’re done mixing, it’s time to apply!
For this first coat that is sealing the surface, paint it on all edges of the wood. Use a brush that won’t shed and use few brush strokes. If you brush back and forth, you’ll put air into the product and it will get kind of foamy.
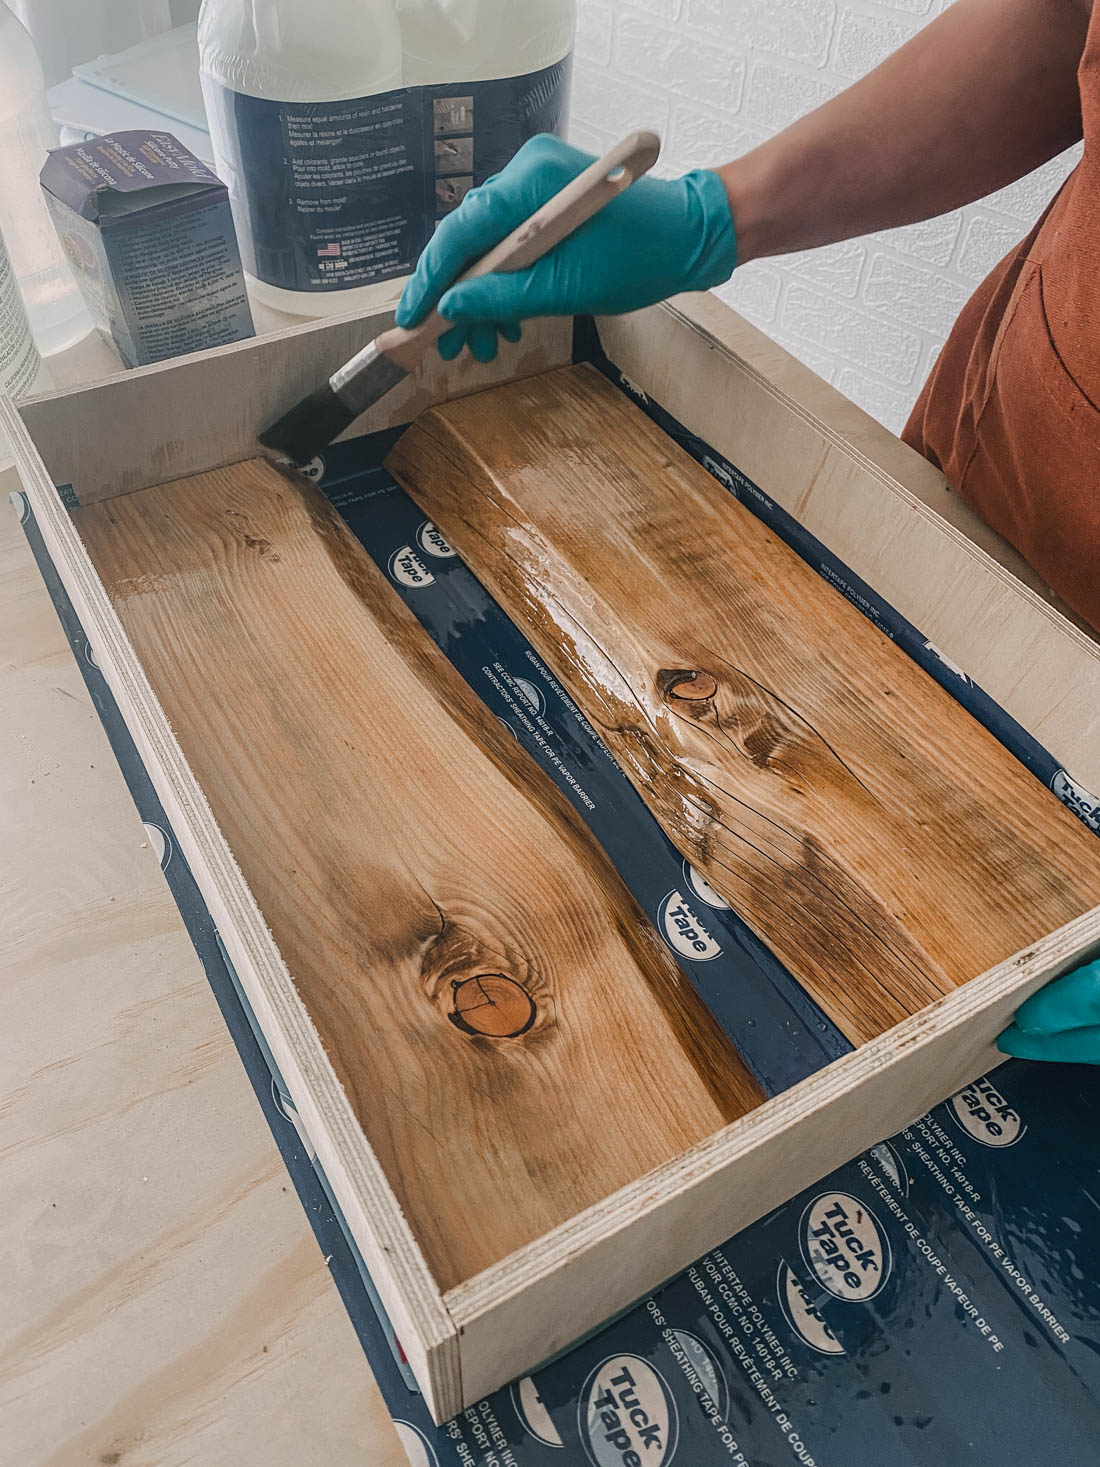
You’ll notice that I’ve done this step with the wood in the containment box. Next time, I’ll definitely do this step with the wood out of the box so I can paint all edges. This even first coat will keep the colouring of the wood even. You can see on mine, some drips got down onto the end cuts and it was very difficult to sand out. Even though it was smooth, the colouring is different due to this.
The next day, it’s time to do your first resin pour! For the river down the middle, the best product to use for this is EasyCast. You mix it up the same way and pour it to fill the river space 3/8” deep. Keep each pour under 3/8” thick each to ensure proper drying. Between each coat, let the pours dry for 8+ hours. I found it best to do a pour first thing in the morning, and one in the evening.
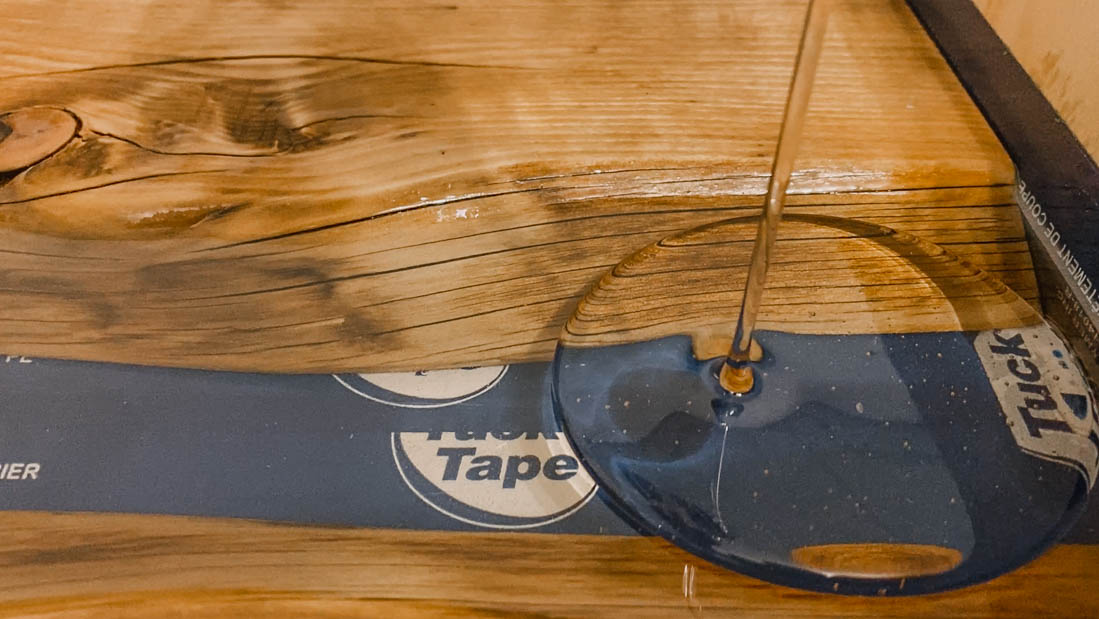
It’s so satisfying to watch this come together over a couple weeks. One thing to note is that when you first pour a layer, it will look super bubbly. Tiny white bubbles and that may be concerning, but I found that if I walked away and came back in an hour, it was always, always crystal clear. You can see that in the photo above. The fresh pour is bubbly, but the layers below it is crystal clear.
If you are having an issue with bubbles, you can use a hair dryer for a minute or two just to help release the bubbles before the resin cures. Bubbles can be caused by the product not being warm enough (room temperature) before mixing as well.
When you get to the top of the river, another tip that I’ve learned from experience… I would pour it over the entire surface, not just the river. The ridges where the resin stopped were a pain to sand out. If it were even across the whole surface, this would have been a lot faster.
After you’re done pouring your last EasyCast layer, let it cure for 72 hours before removing from your containment box and sanding.
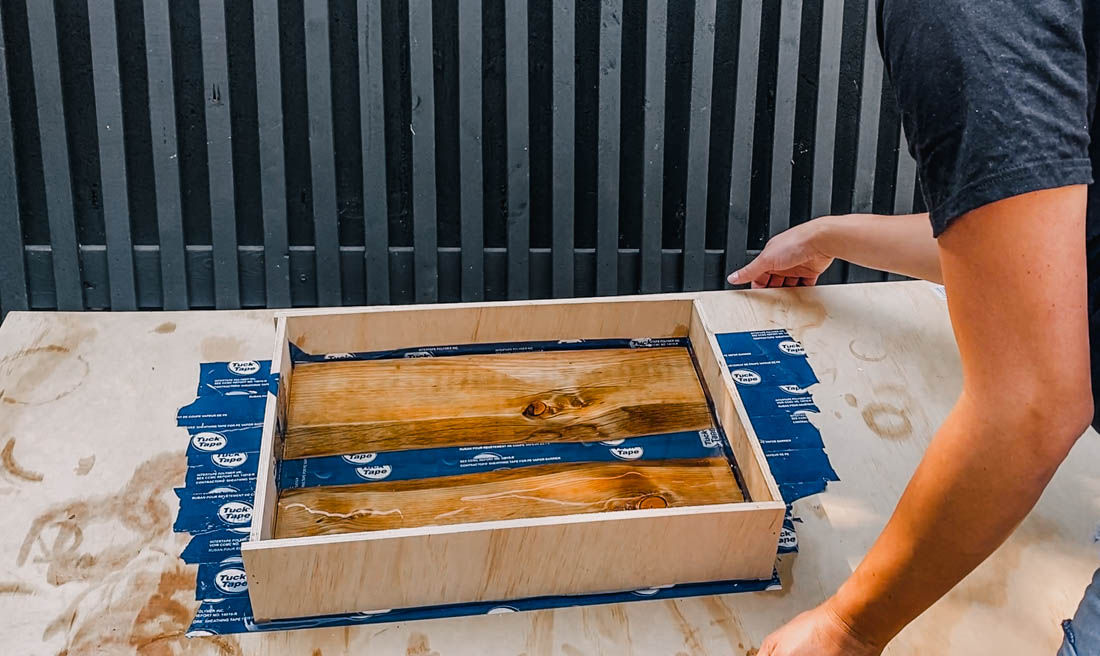
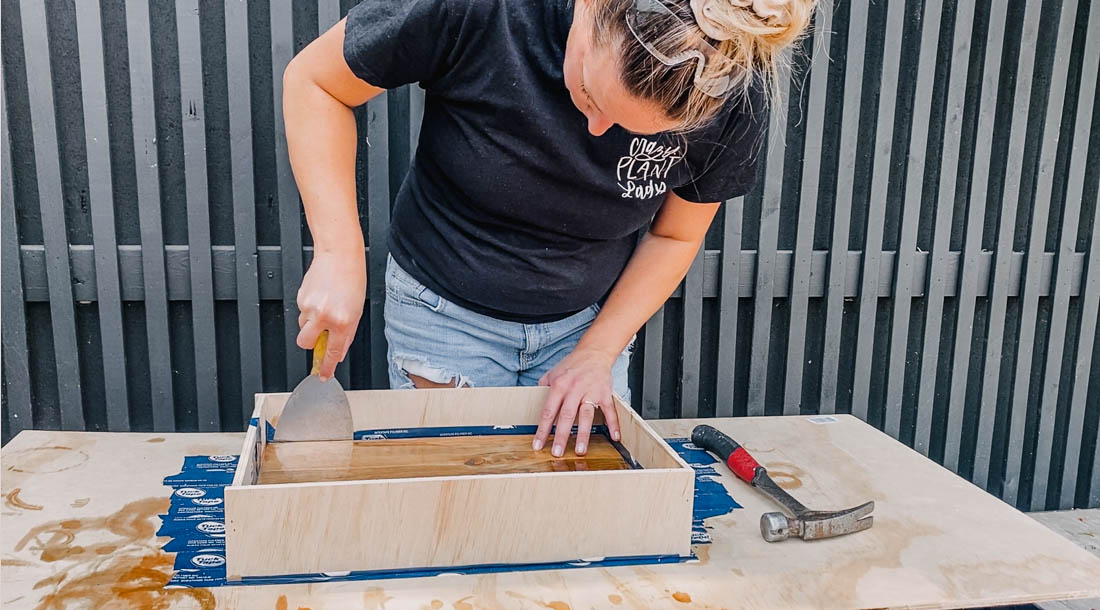
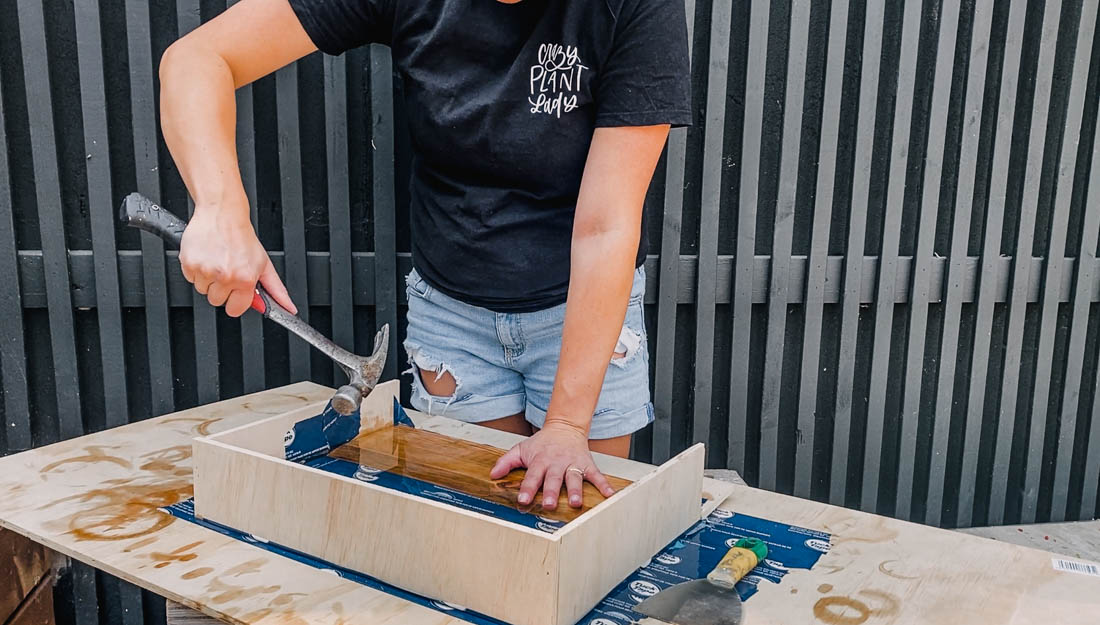
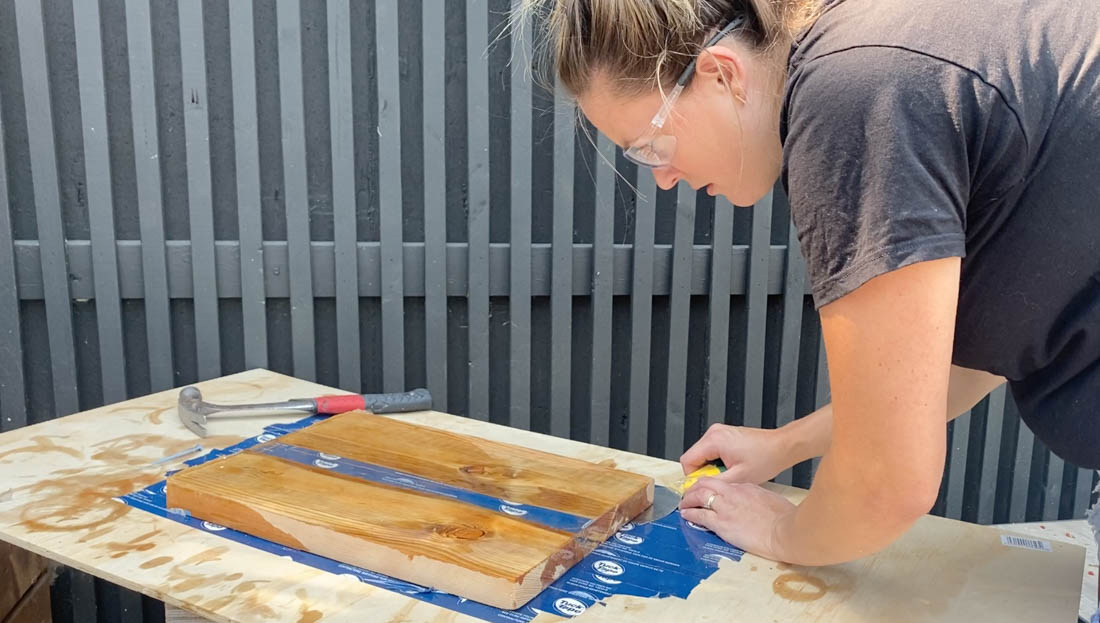
To remove from the containment box, use a metal spatula to release the mold from the resin. Since mine was put together with small nails, I then tapped it with a hammer to remove the edges. If you were using melamine boards, you would have screwed them together so it would be simple to unscrew.
To release the table top from the containment box bottom, I just used the metal spatula to gently pry until the table top released.
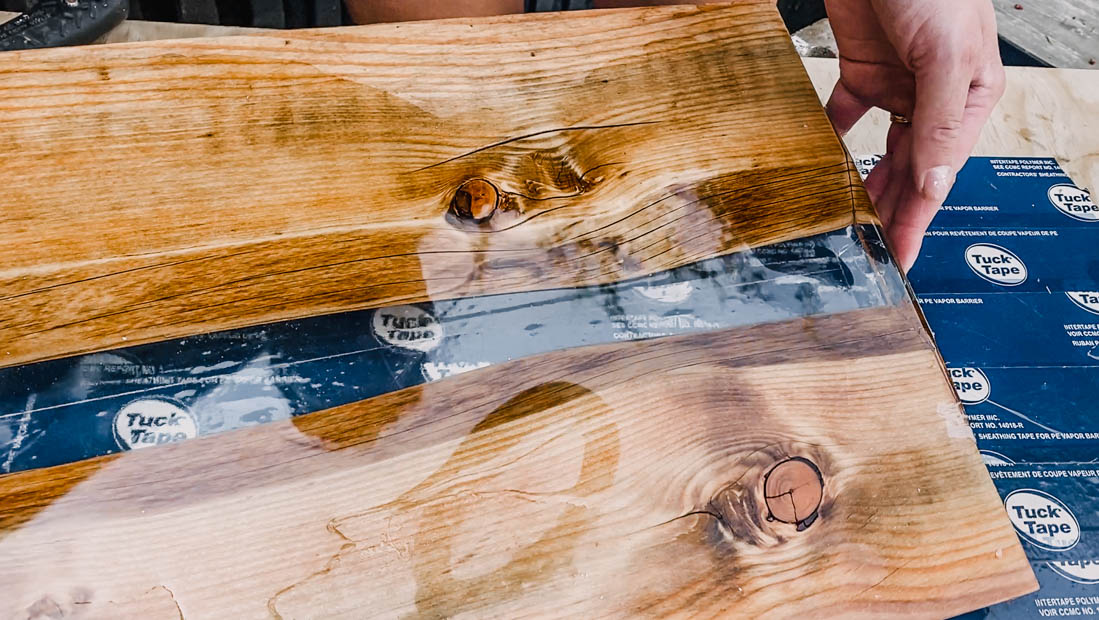
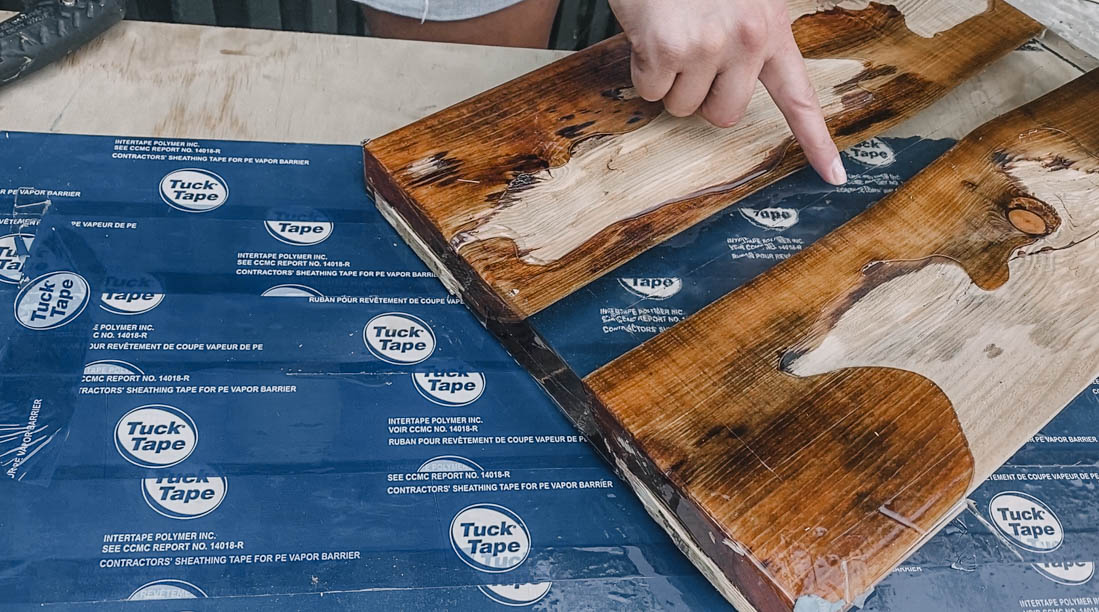
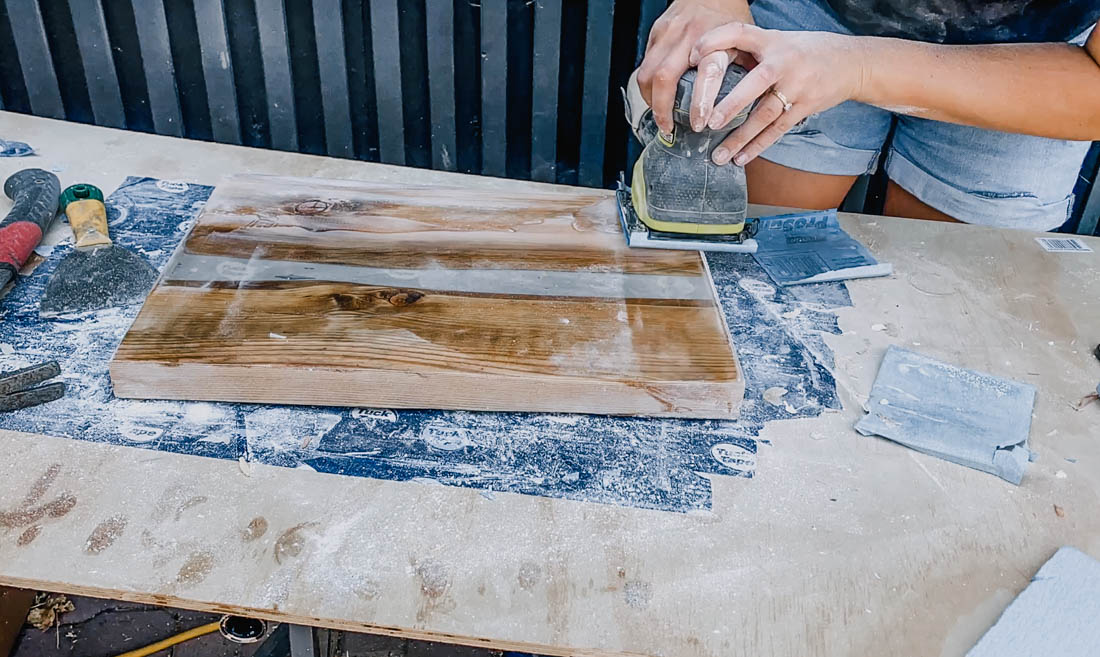
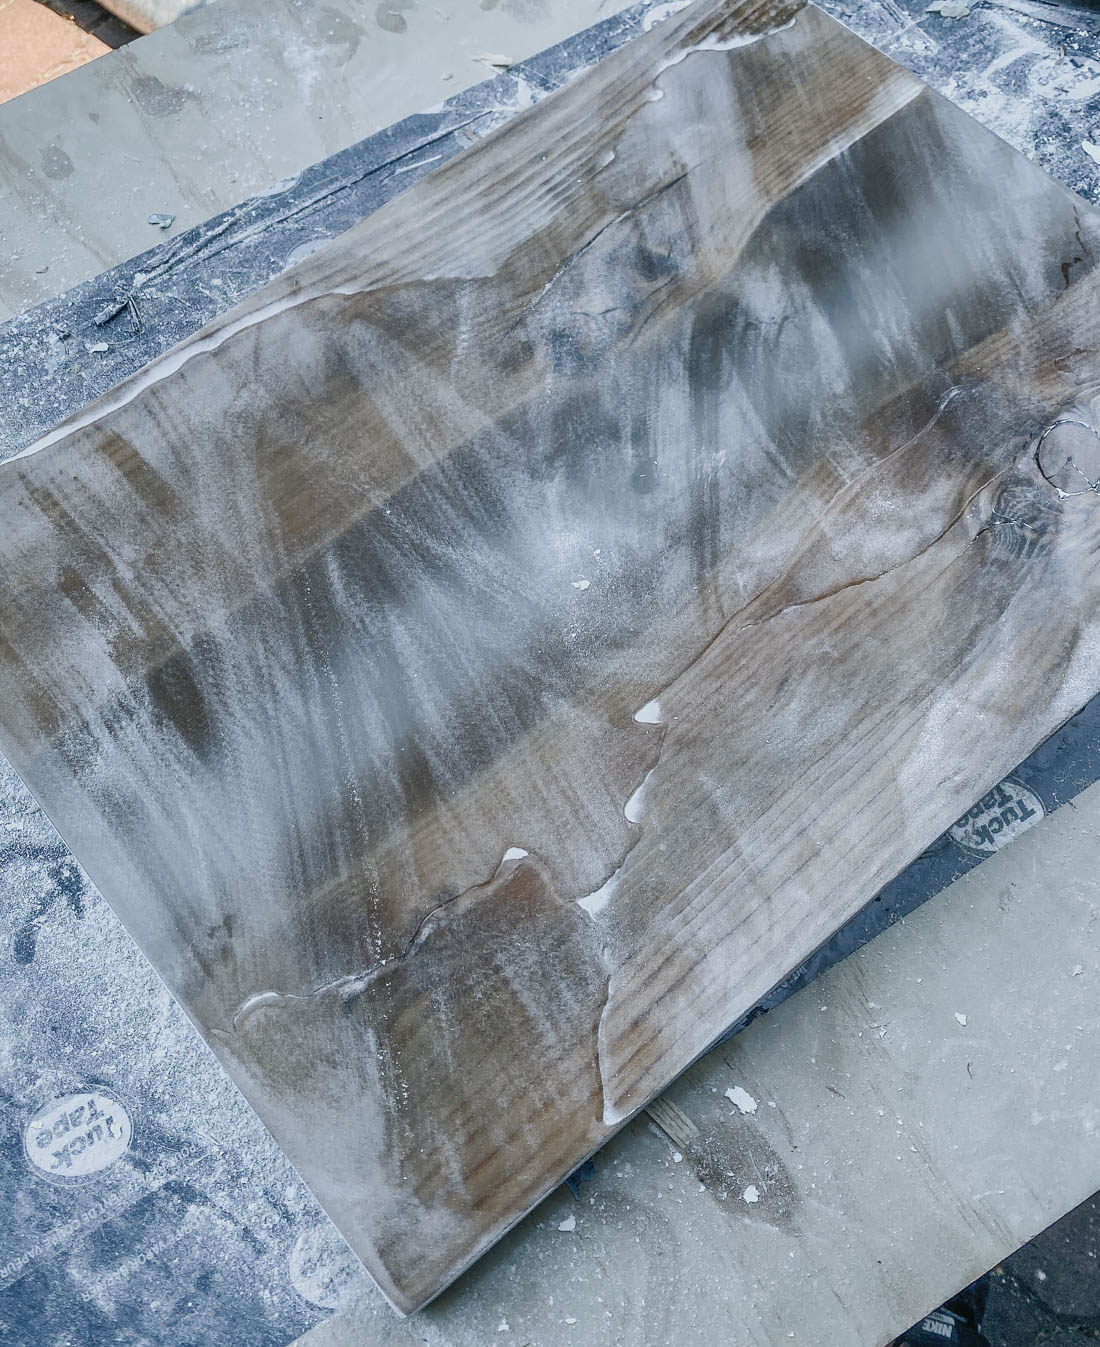
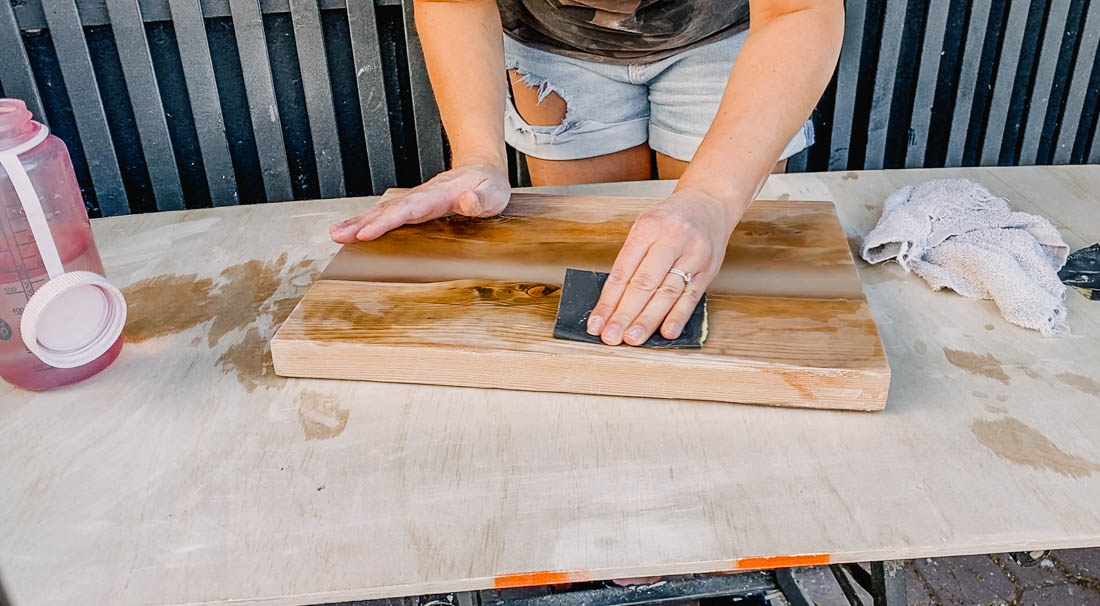
Then it’s time to sand! It does take a while to sand down ridges that you might have, so again I’d definitely recommend pouring the entire top surface. You will still need to sand, but less. Start with a 120 grit sandpaper to get any ridges down, then move up in grit to remove any scratches from the sandpaper.
Your resin will still look cloudy from sanding. It won’t get all of the scratches out, but don’t panic! It will disappear when you put the top coat on. You just want to take care of any deep scratches or irregularities here. Get your edges looking great and if you’ve used tape for your mold, sand those small lines out of the bottom of your resin river. When you’re happy with how it looks, wipe it clean, then wipe it extra clean with isopropyl alcohol. Now you’re ready to do your top coat!
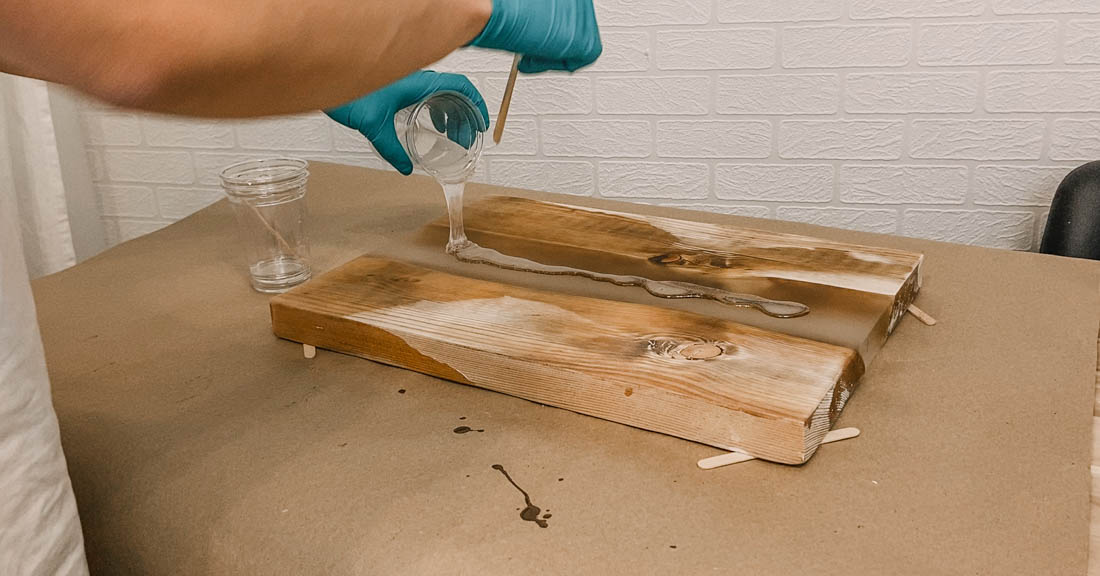
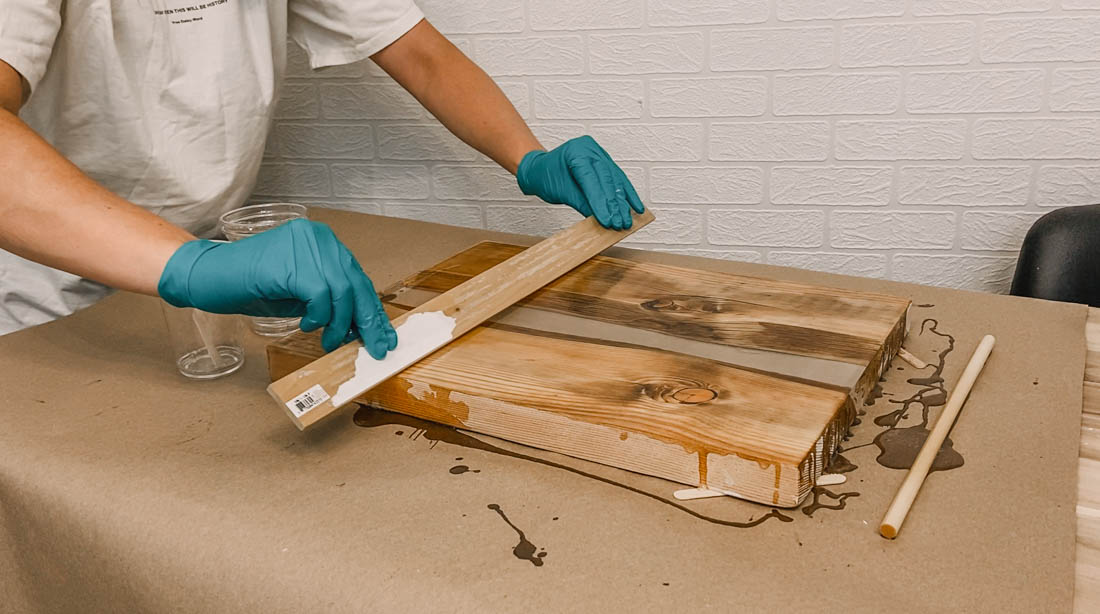
The top coat is done with EnviroTex Lite. It’s a pour on top coat so you won’t see any brush strokes at all. Double mix it and pour it on and watch any scratches in the tabletop disappear. It’s really like magic.
Okay so here’s another thing I learned that I would do differently next time. You need to pour a top coat onto the backside of the table as well since the bottom of the resin river has been sanded and needs a top coat to become crystal clear again. I would put the table top face down and pour this first. Let dry 48 hours, then flip and pour the top coat on the tabletop surface.
Prop up the table top so that it doesn’t stick to your surface as the top coat drips off the edges. You’ll want to pour enough that the edges do get covered as well. You can help push the top coat along by using a long board to squeegee it over the surface if you like. This helped me get it to all the corners easily without adding any bubbles into the top coat.
Wipe any drips on the bottom edge off with your gloves to avoid sanding further.
Let this dry for 72 hours before using. Sounds like the perfect time to make your table legs!
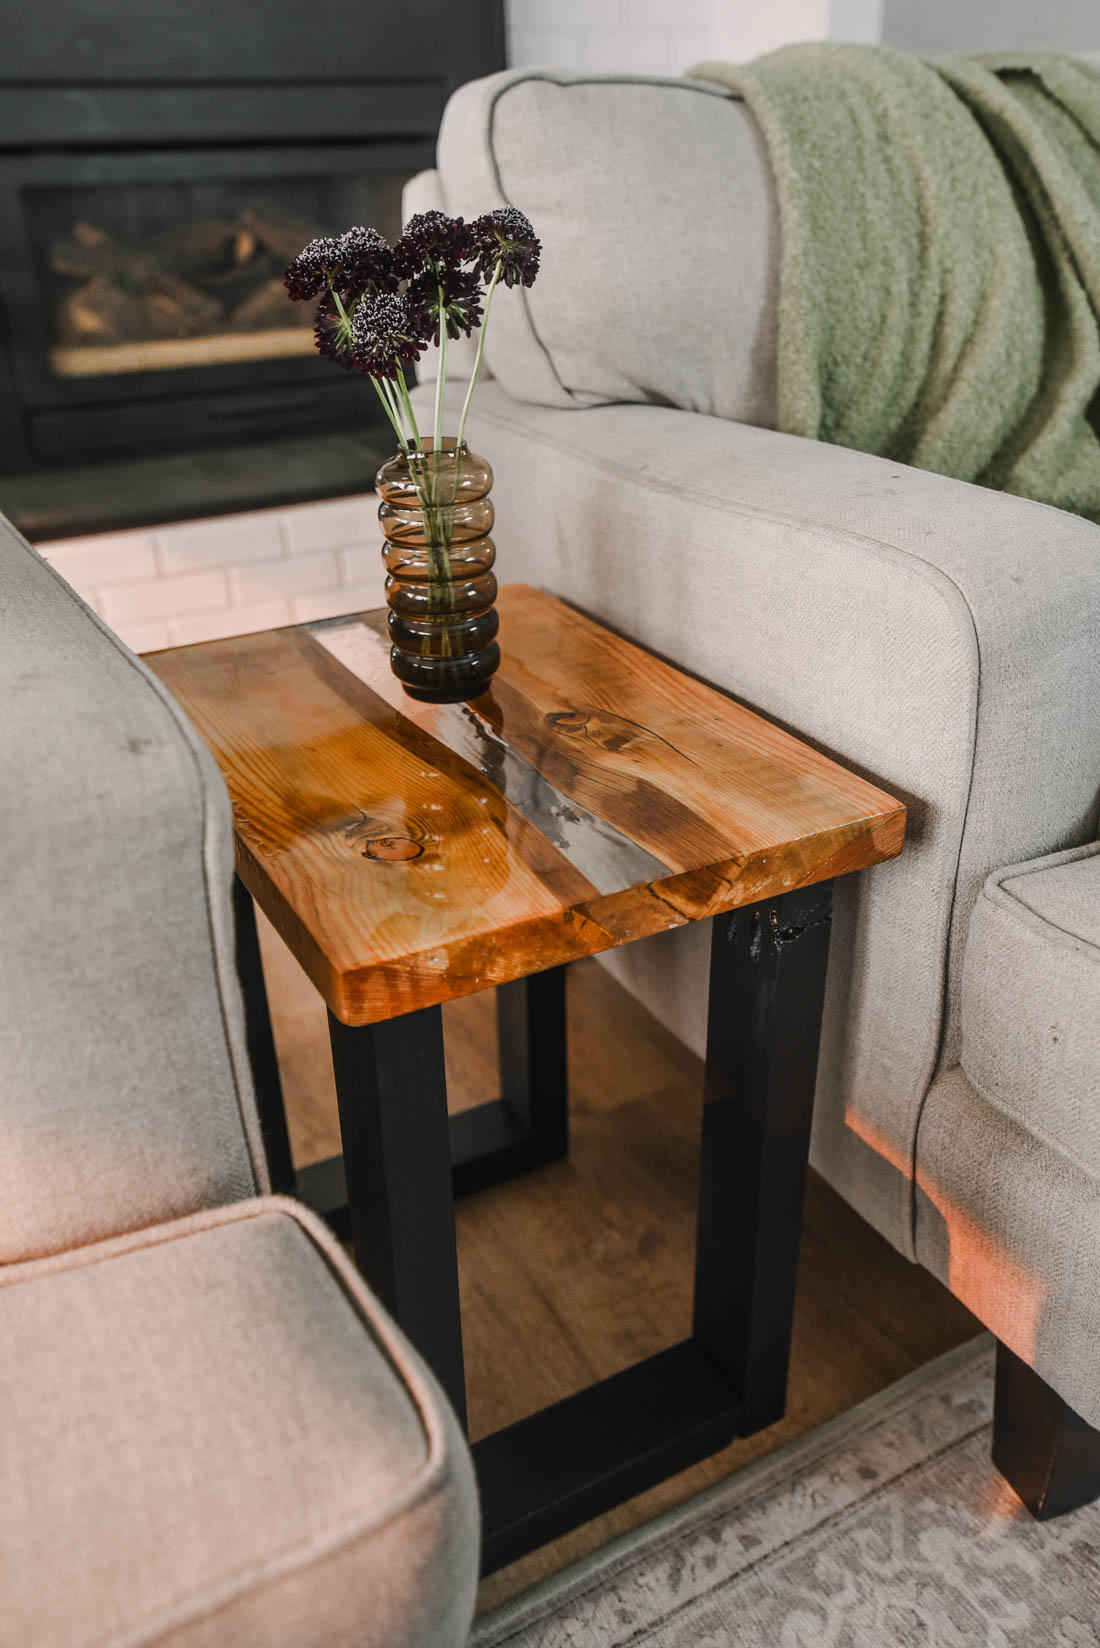
I made my table legs out of 2×3 wood. I think I would choose a hardwood for the next table or maybe even have legs made out of metal. The knots in this wood make it noticeably wood, not metal, but the black paint definitely disguises it.
I decided on this design for legs to give it more support and stability without adding any support pieces directly under the river. I love the modern design of these legs and they’re super easy to make.
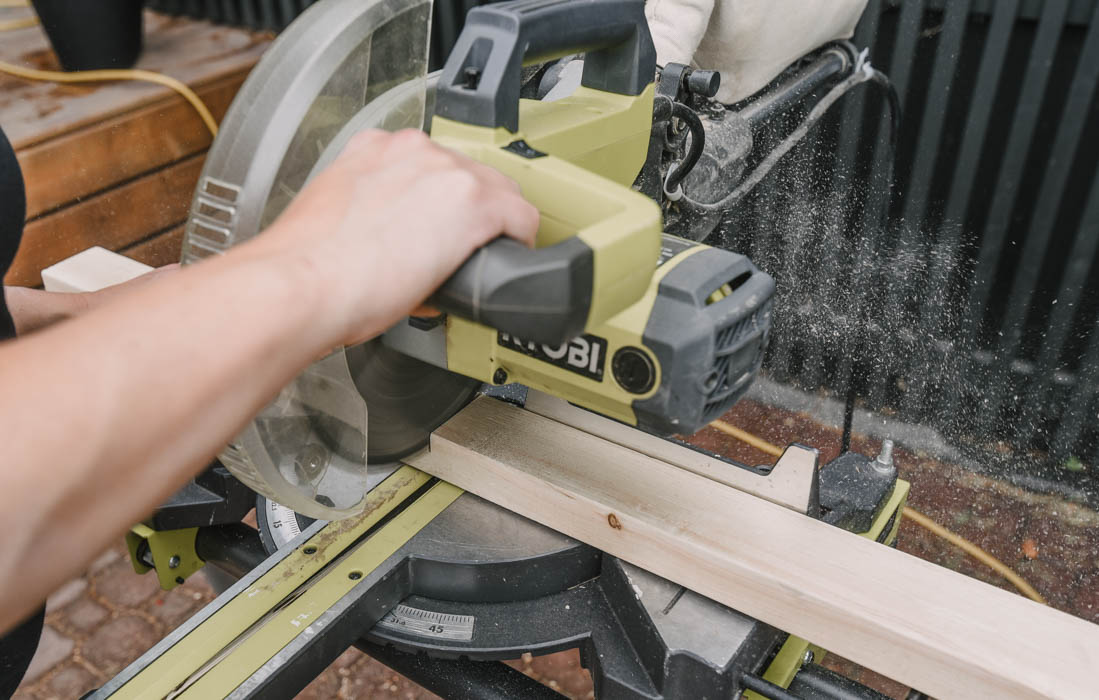
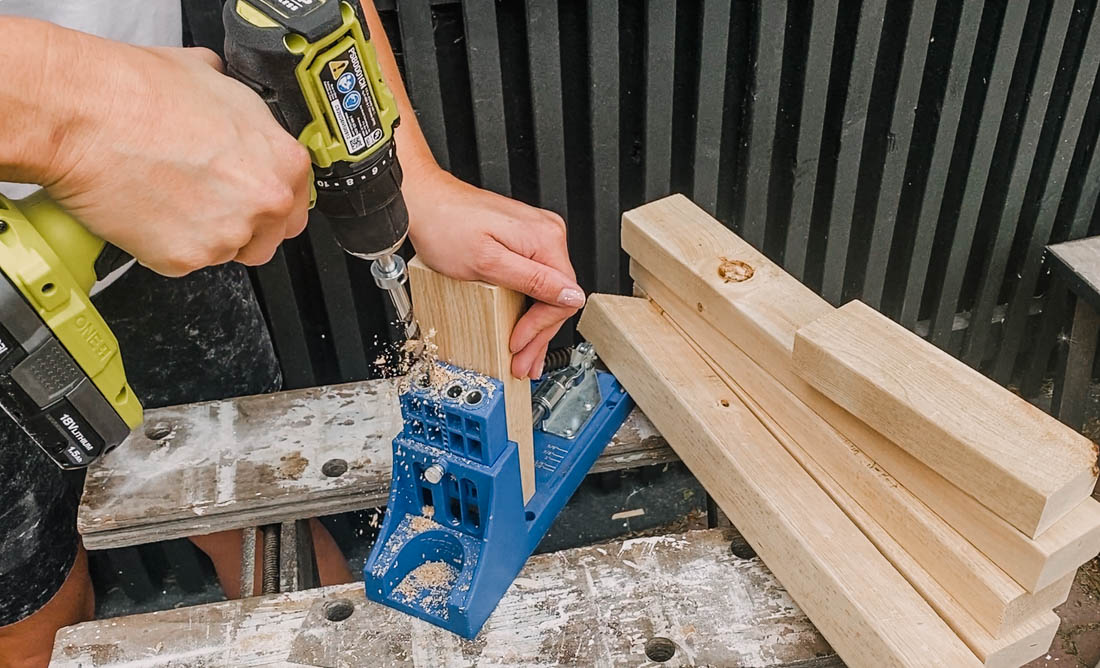
First, cut your 2×3 to length. I cut the legs as tall as I wanted the table (you might want to measure another table you have to see what height works best with your seating). The piece that goes in between the two legs will depend on how big your table top is.
Once they’re cut, let’s drill some pocket holes! Pocket holes are a great way to attach wood for stability and it conceals the screws. Drill pocket holes into both ends of the smaller pieces (supports) and into one end of the legs (to attach to the table top).
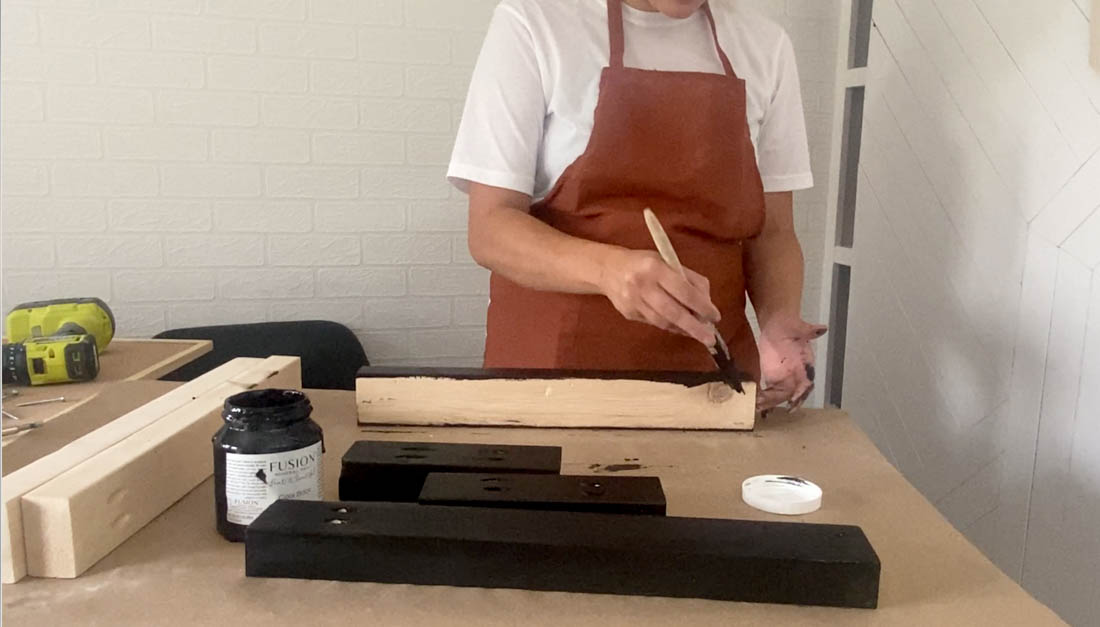
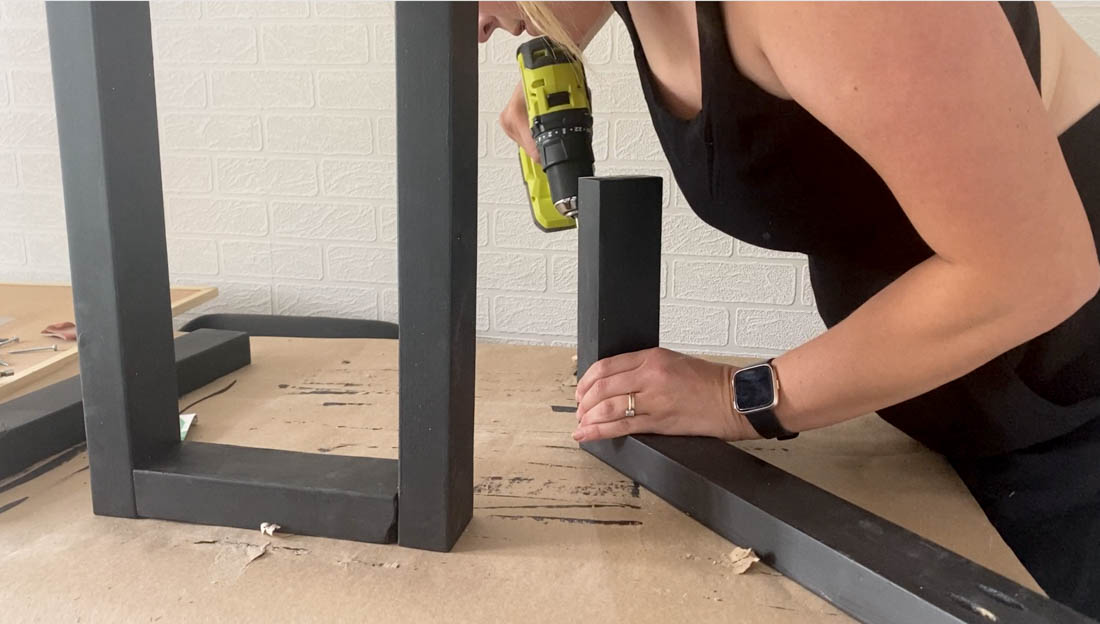
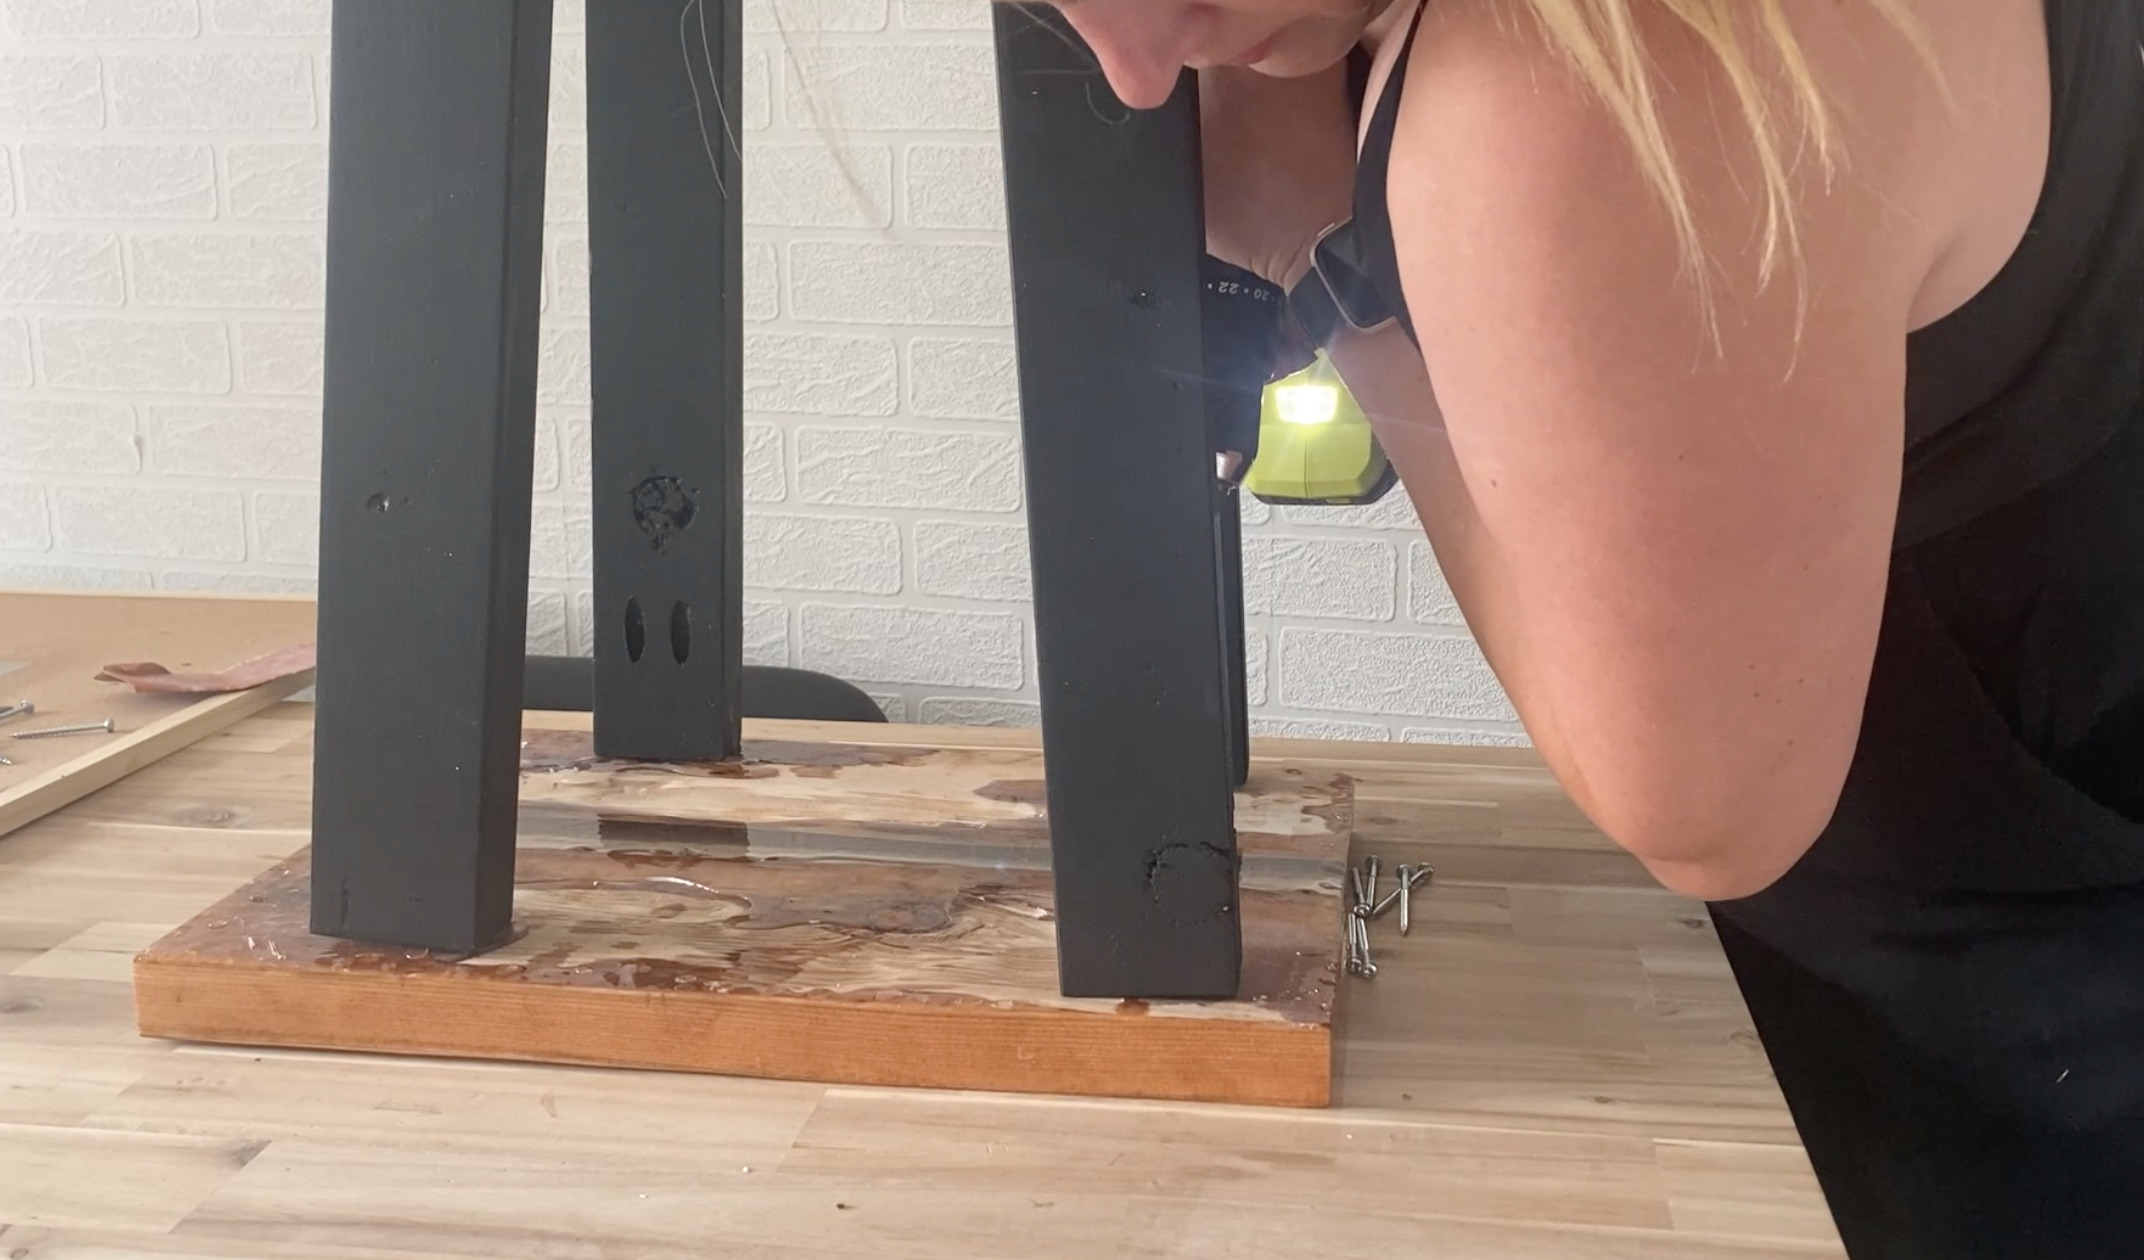
Face the pocket holes in the support piece down to the ground and the pocket holes that will attach the table top to the inside. Unless you get down on the ground, you really don’t see them, but you could get plugs for your pocket holes if you wanted to completely conceal the screws.
I painted mine in a black paint. I did the first coat before assembly, and the second after.
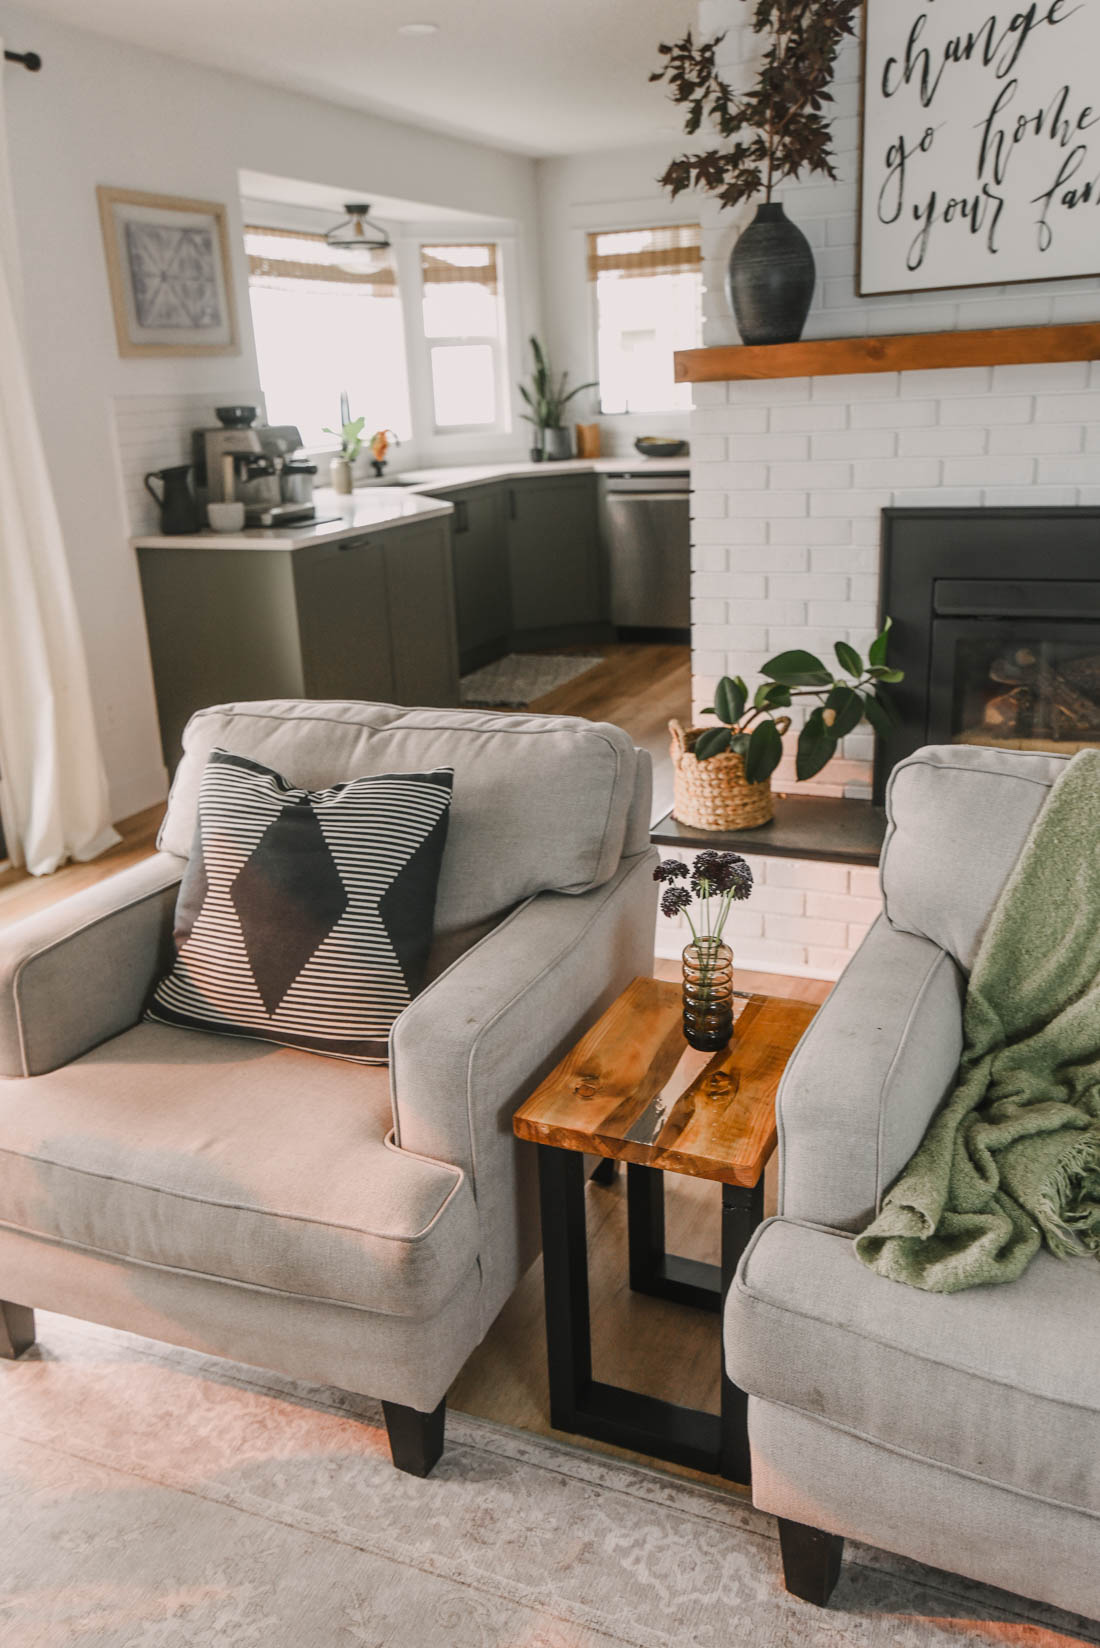
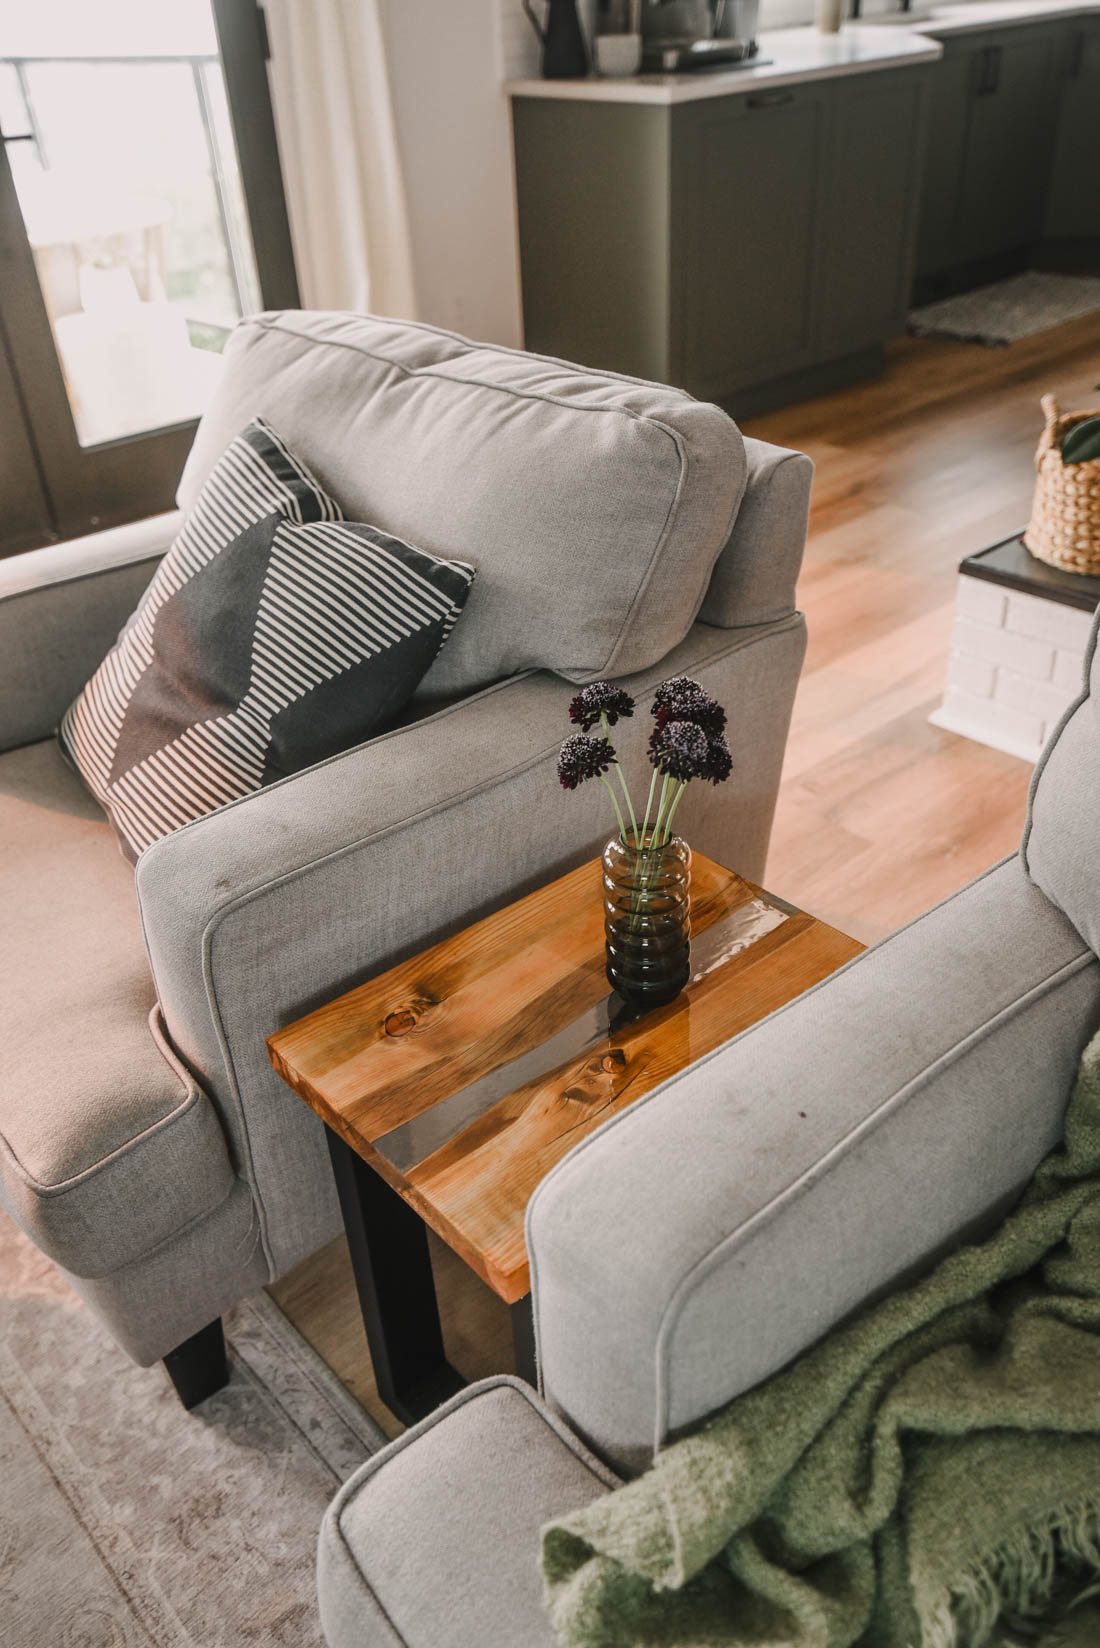
That’s it! It’s such a pretty and modern table and I’m so proud to have made this one myself. I love the visual interest that the live edge resin river adds. The ETI Products made it so simple to create- I’m confident that if I could make this, you definitely can too! Just make sure to follow the product instructions to the letter and you shouldn’t run into any surprises.
This table with resin river is actually going to go in our basement beside our sectional down there, but that room has a lot of work to do before it’s photo ready, so I’ve styled it in my living room for you. It looks so good here now I might have to make it a twin!

 Amazing Closet Makeovers
Leave a Reply