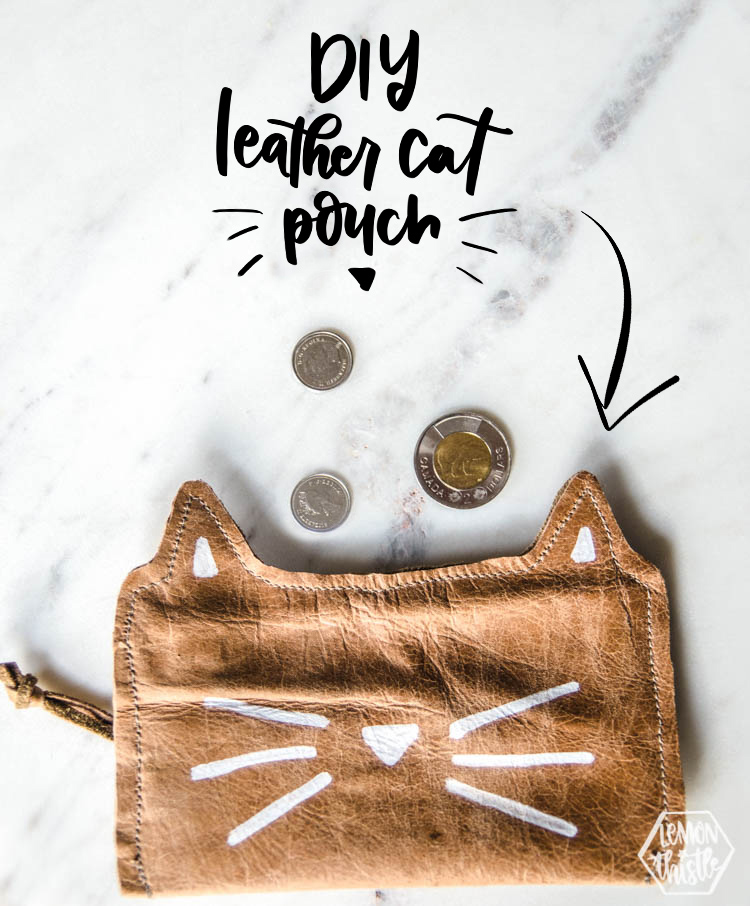
Cat lovers! This one’s for you.
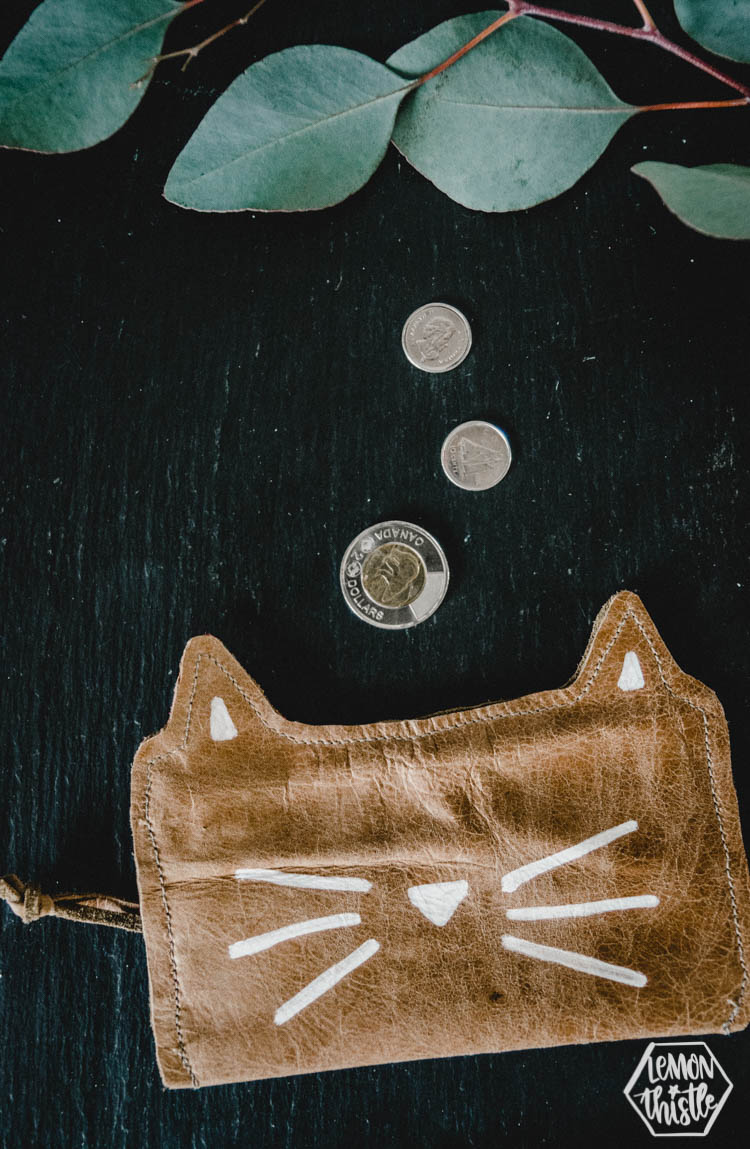
A few weeks ago I shared a DIY Cat garland that I’d made for a friend’s birthday party *last* February. Since I’m in the mood to catch up on some of those little projects I’ve been stockpiling, I thought I’d share the little leather cat pouch I made for her birthday gift back then too! What I should probably be doing is cleaning my house so I can take some BEFORE photos of our new place for you! Or editing video on one of the room tours from our old house. But hey… this was an easy win ;)
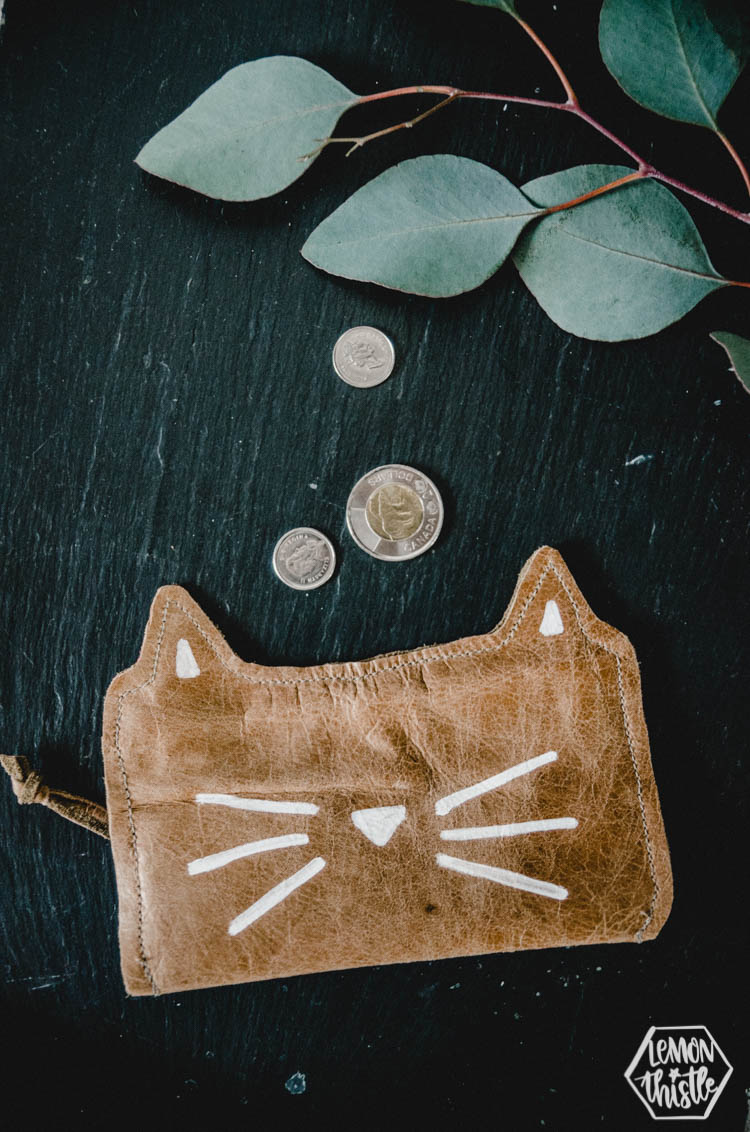
This project was really simple and I love how it turned out. It’s cute to boot and took no fancy tools to make. A couple years back now (time flies) I skinned a couch. Yep, I just took an old couch that was free on Kijiji and took all that gorgeous leather off of it. I made this ottoman slip cover, these keychains, some cute pennants, and some tassels. But I still have SO MUCH LEATHER. It’s amazing. So this project is made using all salvaged leather from that couch. You could totally use any leather though.
I cut this baby using good fabric scissors (good fabric scissors will make SUCH a difference when cutting leather) and sewed it using my regular sewing machine. I did buy a special leather needle. I took some notes of things to do… and things not to do. Because this was definitely a first for me! Ready for the tutorial? The tutorial photos on this one are pretty rough you guys… I made it late at night and photographed with my phone. But you’ll forgive that because the project’s pretty darn cute, right? ;)
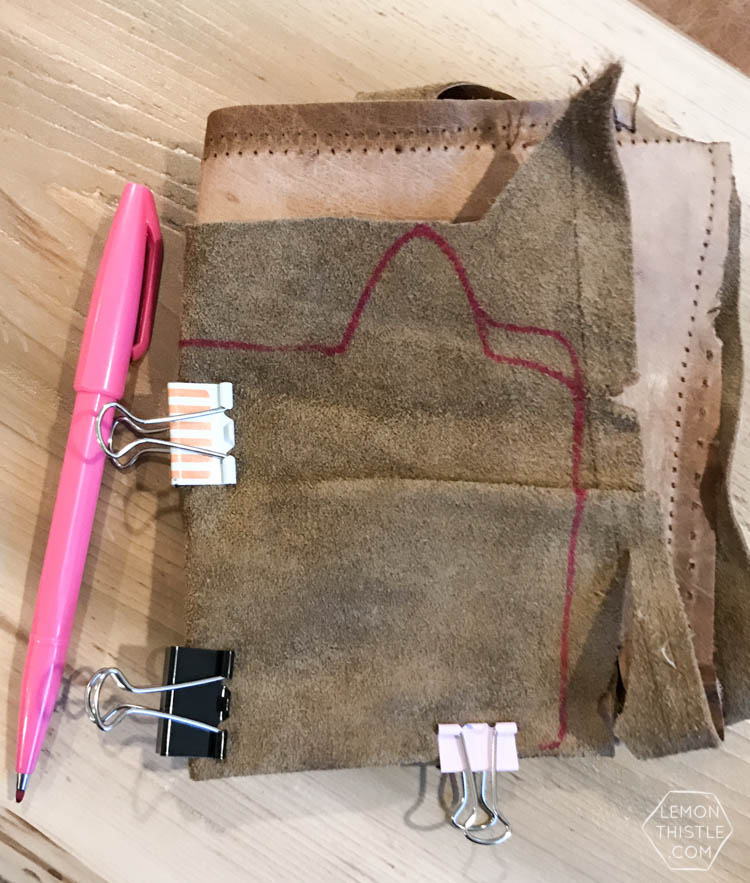
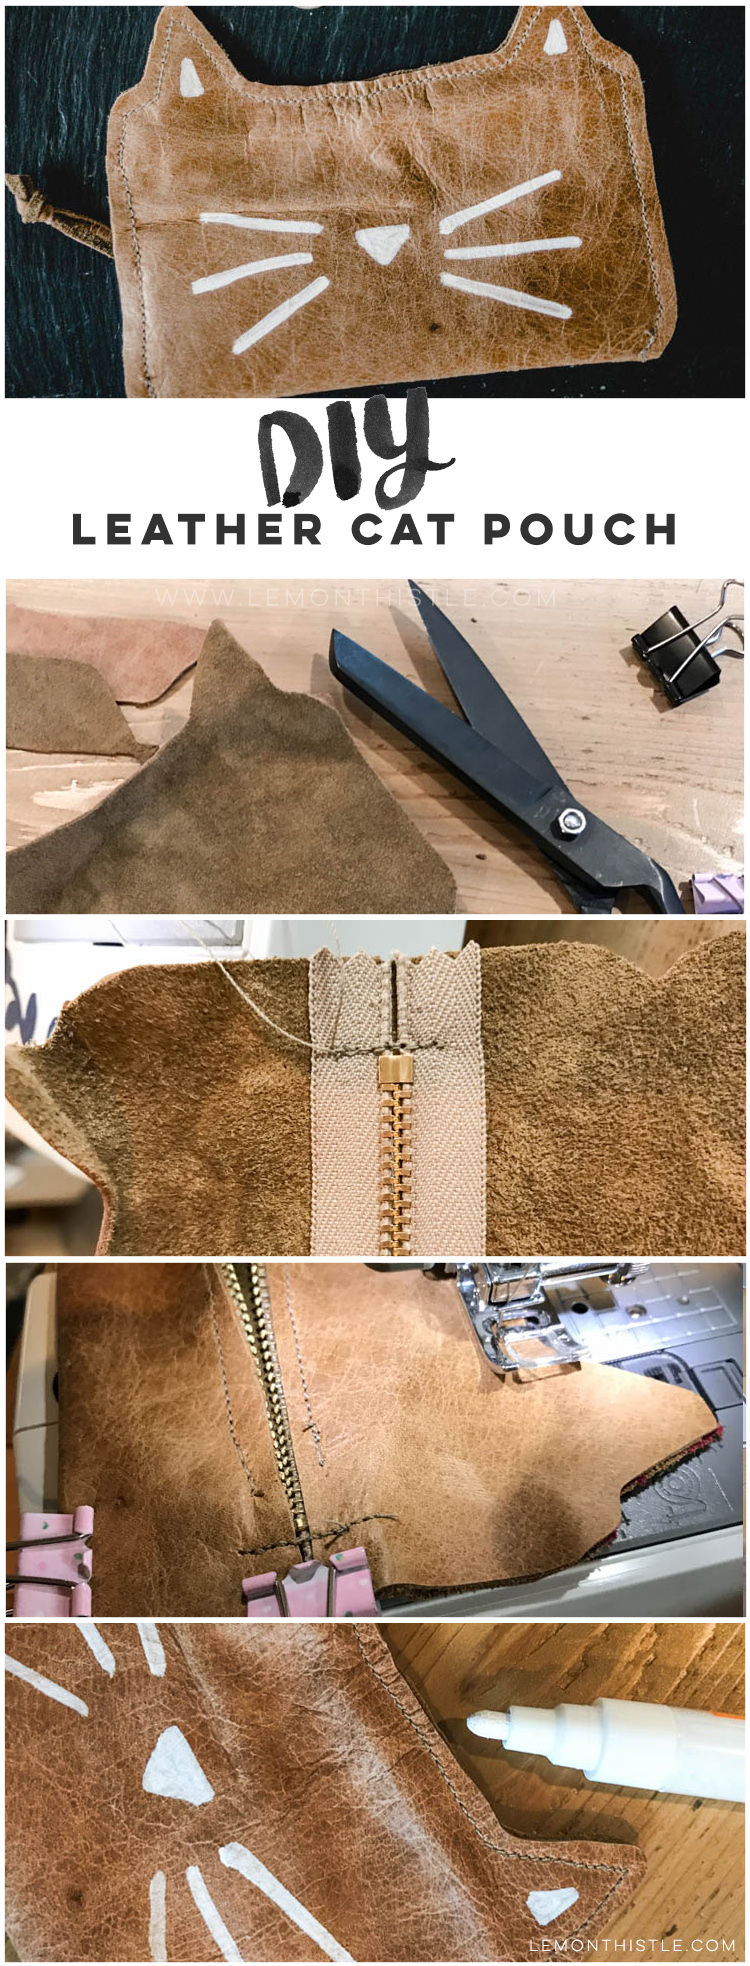
First you’ll need to cut a rectangle of leather to use for this project. In hindsight… a rotary cutter would have been best to get nice straight edges. Then, fold it in half and sketch on the inside of the leather. I used a marker… because that’s what I had on hand, but a pencil or something a little more subtle totally would have worked too. One tip that I will give you is to use binder clips instead of pins for leather as pins will leave holes that won’t ever go away. Marks from binder clips totally do go away.
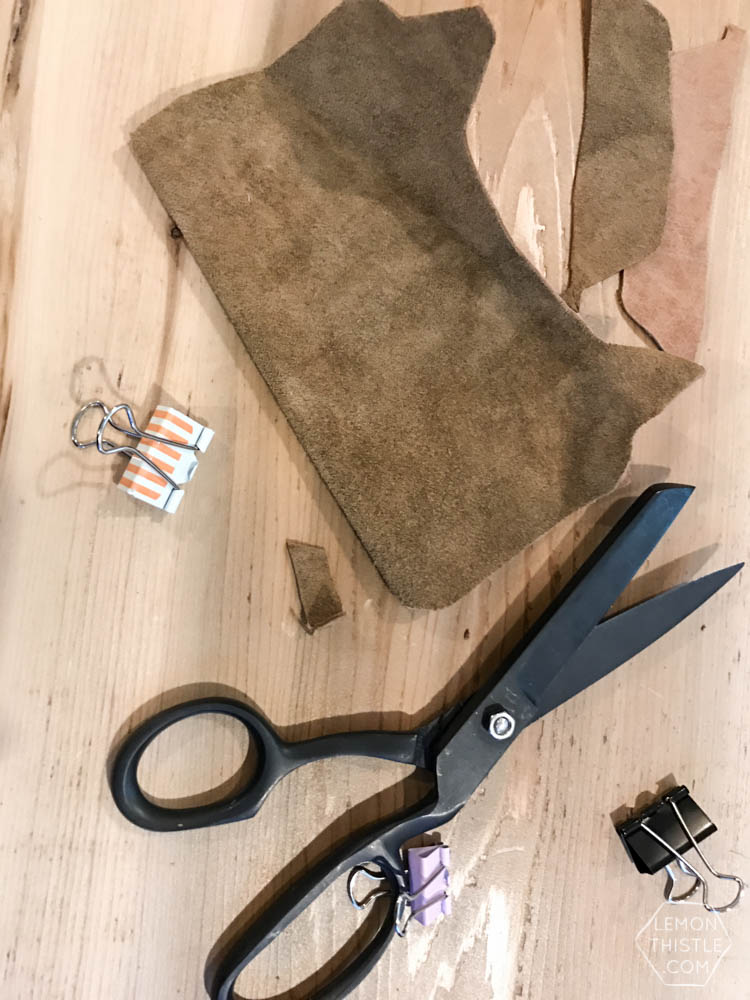
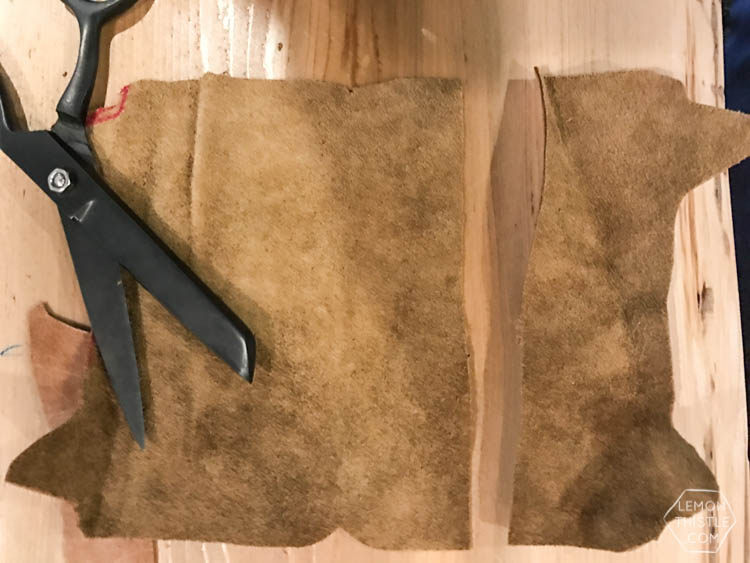
When you’re happy with your shape, cut it out and admire. Make sure your leather is folded on the bottom edge to avoid sewing an additional seam. Then it’s time to wrap your head around the zipper. I did an exposed stitch on this because the pouch itself is pretty small and I didn’t want to have to deal with turning it right side. I was also able to sew the exposed zipper in place easier this way.
To place the zipper, you’ll need to cut the leather again. I did this halfway up the back of the pouch as shown.
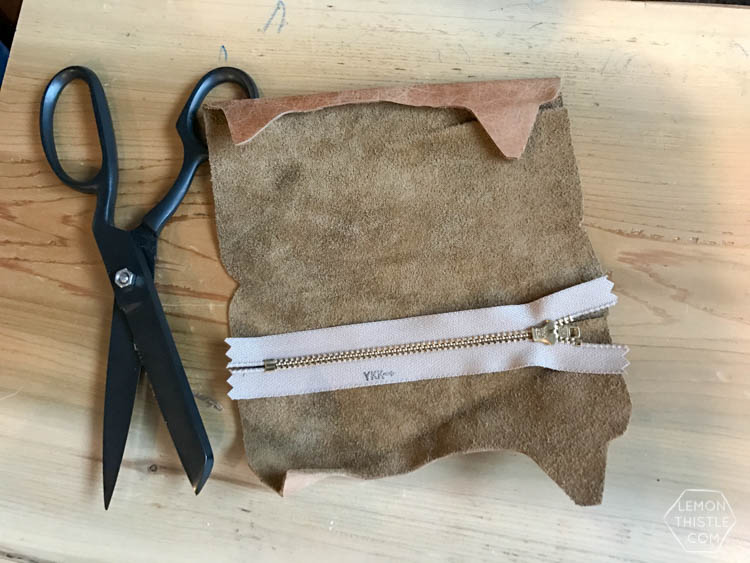
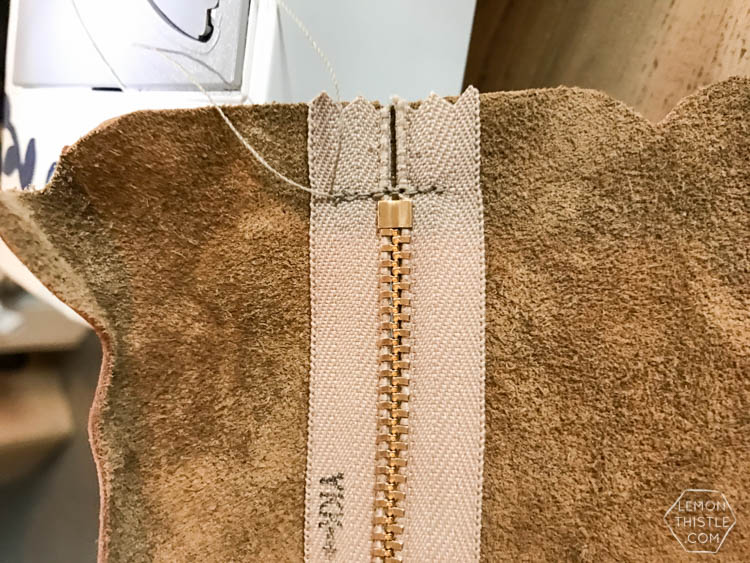
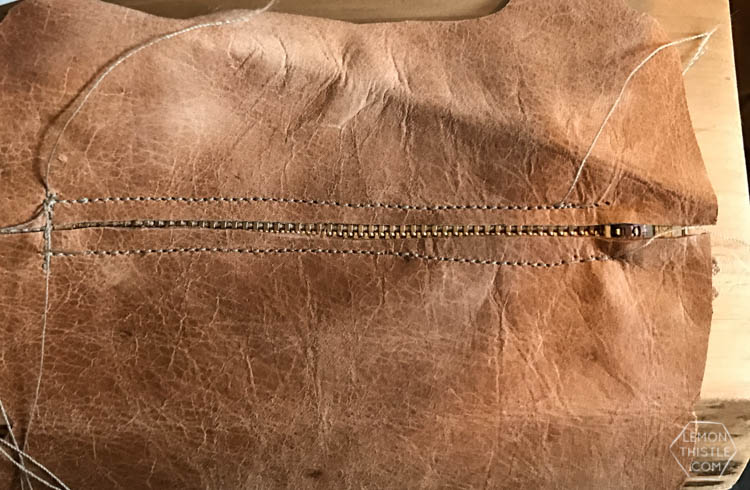
Line the cut leather back up as if you weren’t doing a zipper and lay the zipper directly over the cut. Sew the end of the zipper as shown to help hold the pieces together. Then you can stitch around the zipper on both sides. Do this first to save your sanity when it comes to sewing the rest. Notice how my seams are far from perfect? Yeah… sewing isn’t my greatest talent. So if I can make this… YOU CAN TOO ;) When you’re sewing leather, make sure to use a specific leather needle. This makes such a big difference. Also make sure to go REALLY SLOW. Your machine will do so much better if you’re kind to it and go slow. Also… heavy thread is your friend. Thinner thread just wouldn’t hold up.
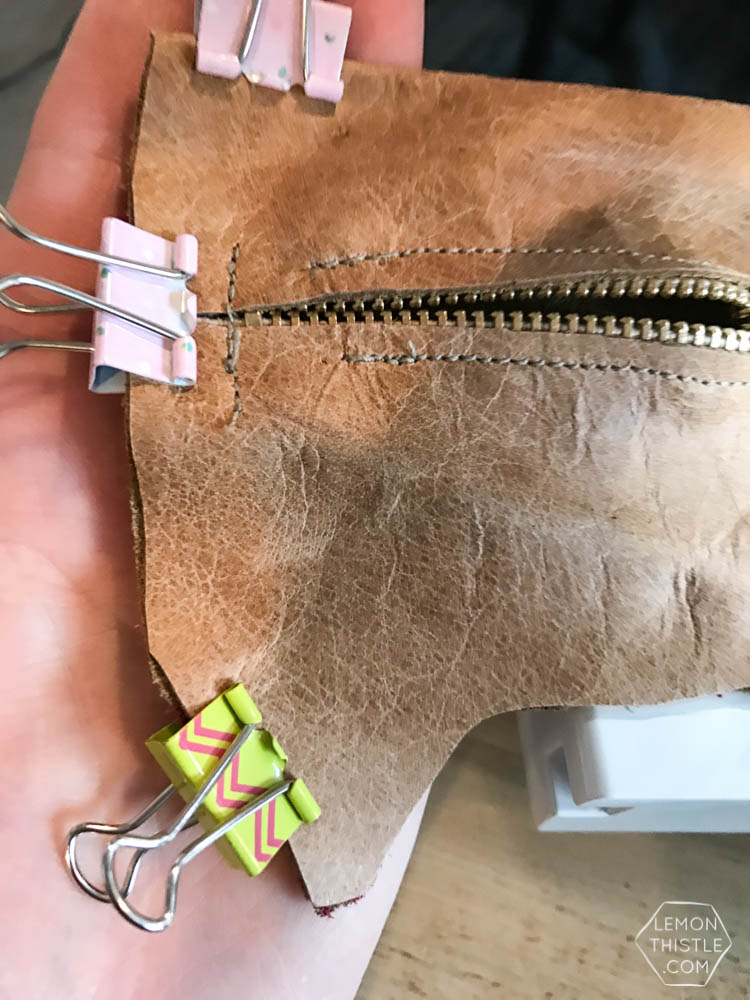
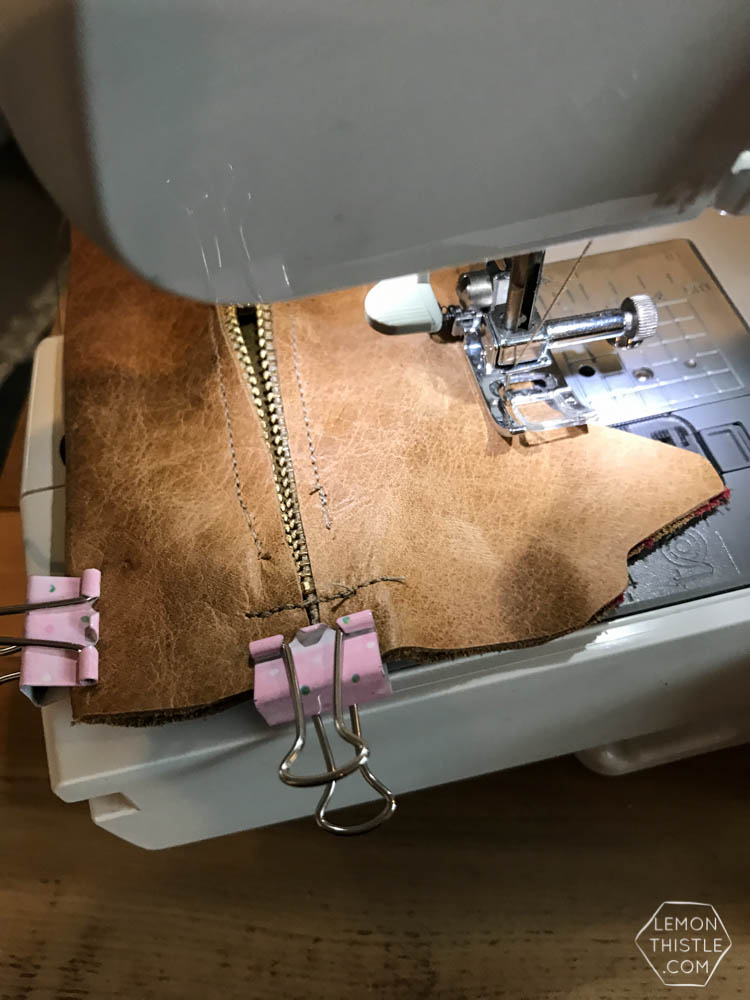
Then, go ahead and sew around the outside of the pouch with a half inch allowance. When this is done, you can trim the cuts to make the edges look really clean. This took a little time to get it to look really clean. In hindsight as I’d mentioned before, a rotary cutter and straight edge would have been so helpful. At this point, your pouch is DONE! I added a couple decorations. I added a little leather tie on the zipper as a tail. I also added ears and whiskers.
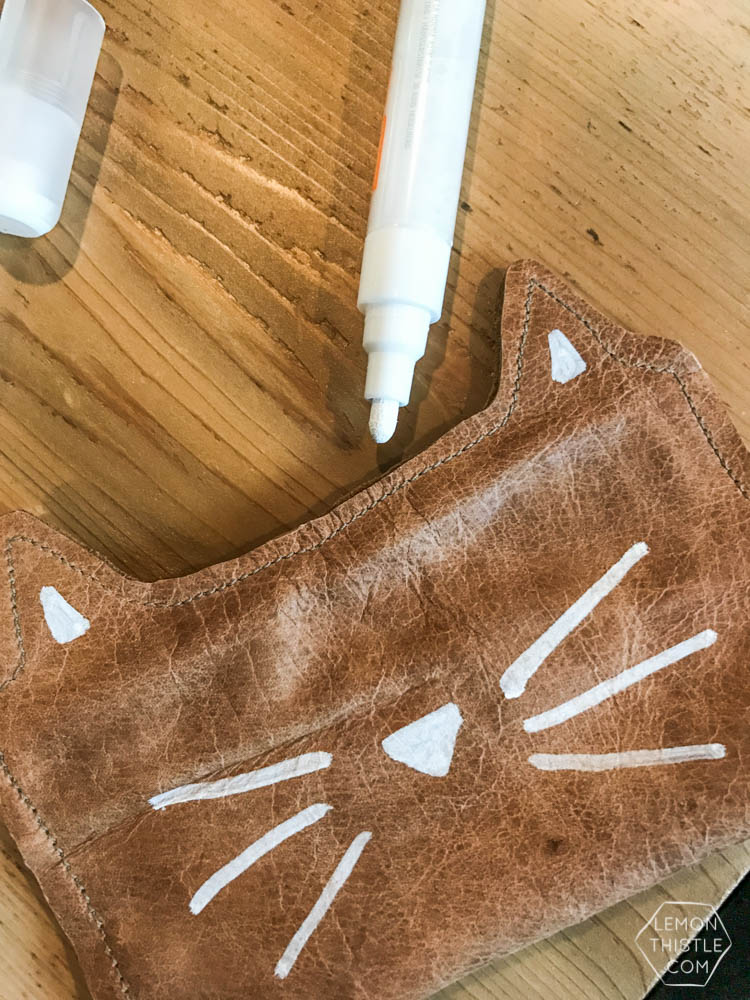
I used the same paint pen that I used for my leather pennant. The Montana Markers hold up really well on the leather. I kept it simple but really think this adds to the ‘cute’ of the piece. Make sure to let it dry completely before touching it. Smudged paint on leather sucks to get off. But if you do- nail polish works before the paint dries!
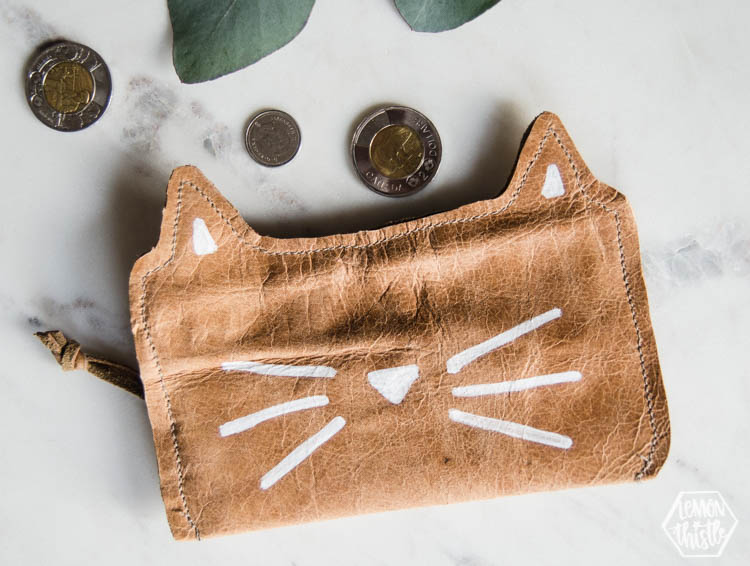
That’s it, friends! It’s pretty cute… right?! I’m considering making a template for this guy and cutting out another using my Cricut Maker since it does such a great job cutting leather (I talk all about it in this post). What do you think… is that something you’d want to see?!
LIKE IT? PIN IT!

 Two Tropical Leaves Printables for Summer!
I love this! A perfect gift to make for all my cat loving friends!