Do you feel like you have to come up with something new each year for holiday wrapping? I kiiiiind of felt that pressure but honestly… this is what I did last year and loved it so much that I thought I’d do it again. And I did NO tutorial last year and had a lot of questions about what kind of ink what kind of paper and all that. So I took some photos as I went this year and thought I’d share a little tutorial with you!

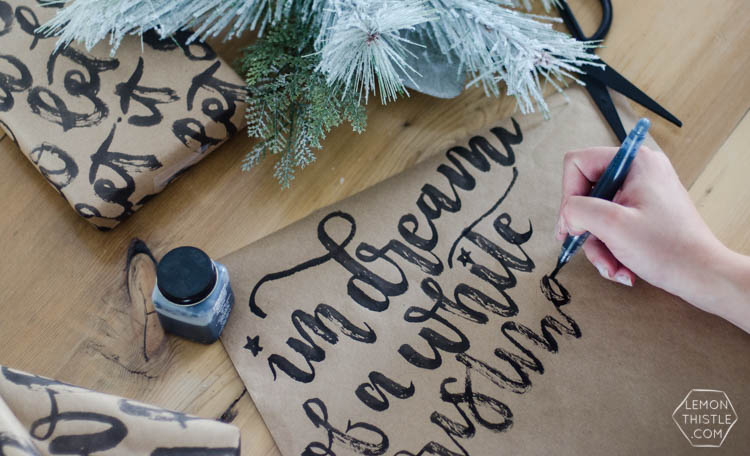
I’ve actually made handlettered wrapping paper a few times- for Christmas last year, for birthdays, and even on a couple kraft gift bags. It’s my favourite way to dress up gifts for an occasion when you don’t have the perfect paper. In fact… as much as I love beautiful paper, I have almost completely stopped buying it because this way I only have to store ONE roll of wrap instead of one for every occasion and style.

The first time I made handlettered wrapping paper I used my favourite brush pen and the rough paper totally wrecked it. You can get smoother Kraft paper but it’s much thinner and has a kind of shiny finish that I didn’t love… plus it’s more expensive. SO this method doesn’t cost you a brush marker and it gives such great texture in the brush strokes. And it totally works on Kraft paper bags too!
I’m not going to give a full tutorial on brush lettering- because that’s a whooole course ;) But I do want to give you some tips to get started AND I’ve got a printable warm up sheet if you’d like to do some brush lettering practice.
If you’ve never brush lettered before- the concept is pretty simple. Every time that you make a downstroke (your pen travels down the paper), you apply more pressure getting a thicker stroke. When you are on an upstroke, apply light pressure to get a thinner stroke. If you want to practice this, I’ve got a printable warm up sheet (get it below). It’s SO much fun to play with.


As far as supplies for the wrap- I used a Pentel Aquash with Higgins India Ink. I totally love my Aquash to use with ink. Even more than with watercolour (which is what it’s made for). If you’ve never used a waterbrush before- basically it’s a paint brush with a refillable tank. Since it’s a real brush- it won’t get frayed and ruined from the rougher paper. And since it’s refillable… you can fill it with ink and get this great brushy texture. You squeeze the tank as you’re lettering to control how much ink flows out. Squeezing less to get those voids.

I have tried it a few ways but found my favourite way to get a care-free ‘this is wrapping paper’ type look without wasting time and ink on paper that will be cut away, I prefer to letter on a chunk of wrapping paper cut to size before lettering. I also usually letter on an angle from the corner. Since you’ll be wrapping it- it doesn’t matter if you hit the edge with a word… just like on premade wrapping paper when you cut through a word to get the right size.


I wrapped it up with some glittery black ribbon that I snagged from Michaels (they’ve had it the past two years) and paired the hand lettered wrap with some black and gold wrapping paper I also made (black kraft paper with a gold paint pen). I love how these play together under our tree and how personal they are to gift without looking too crafty. I hope that you’re inspired to give it a try!


And since I’m such a weak mom, I totally let my kids open one of the gifts early. And we played boardgames all afternoon long. What’s the harm in a bonus gift… right?
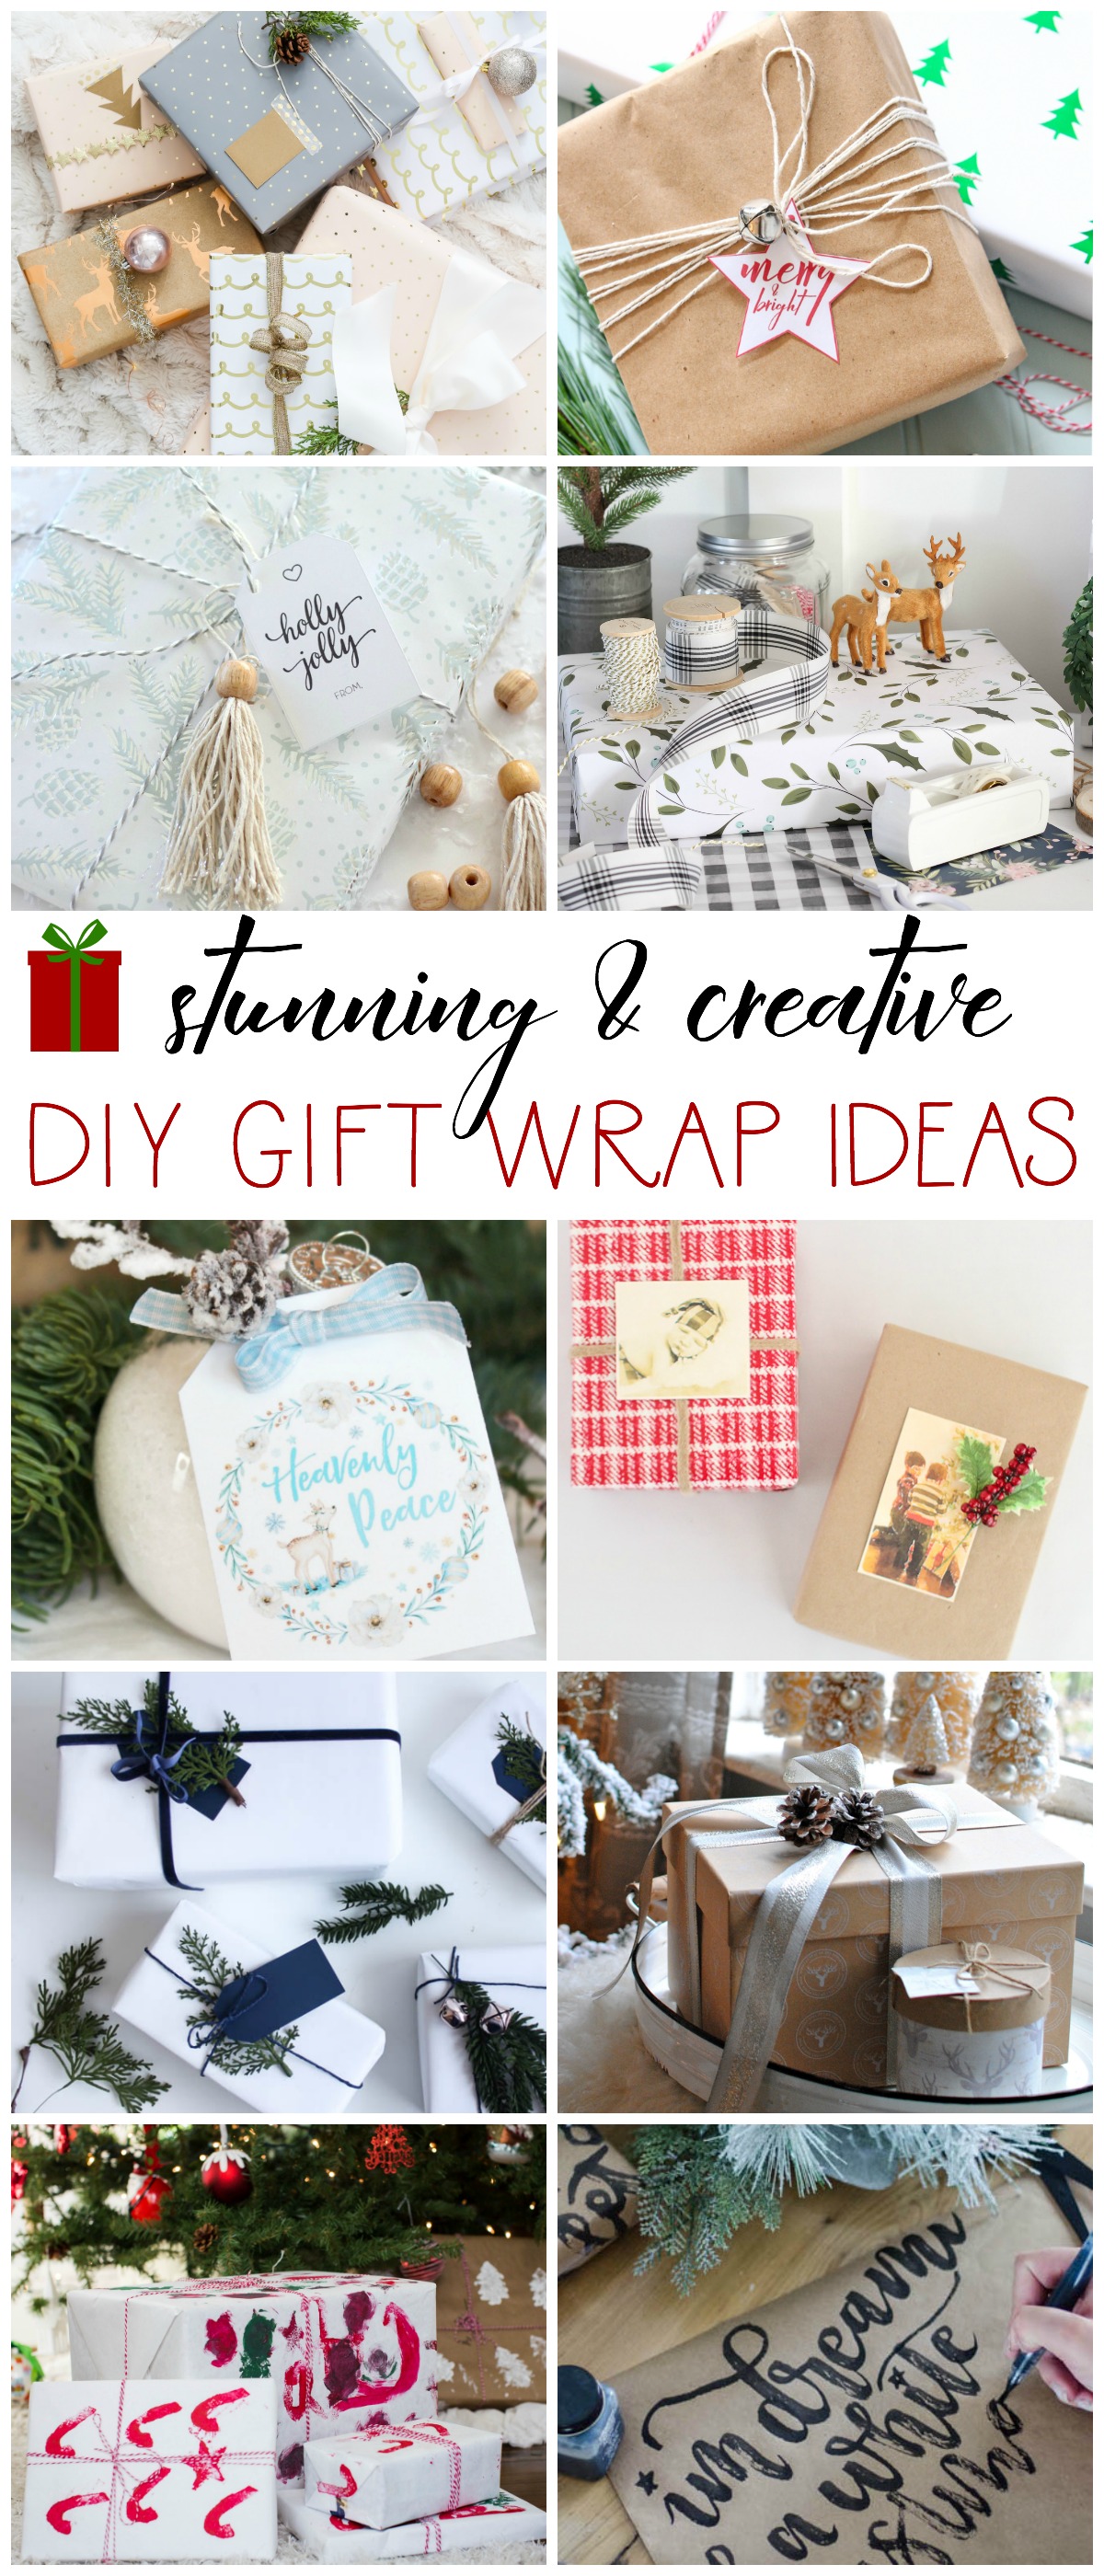
Some of my friend’s are sharing their beautiful and creative DIY Gift Wrap Ideas today as well!! Hop over to check out what they have in store for you…

The Happy Housie / Satori Design for Living / Maison de Pax / Town and Country Living

The Turquoise Home / Clean and Scentsible / My Fabuless Life

Love Create Celebrate / Lovely Etc. / Lemon Thistle / Restless Arrow
We know you are going to find some awesome inspiration! Enjoy…


 13 Rad Holiday DIYs
Such beautiful, special paper, Colleen! I absolutely love it! I still want to take your course so I can do such things! Thanks for taking part in today’s hop- hope you are doing well with your new addition!
Thank you so much Krista! XO
It turned out beautifully! Wow, you are certainly gifted with a pen. Love it all :)
Thank you so much Shauna! XO
So pretty and I love the idea of just having to store ONE roll of paper! I’ll have to give this a try next year. Your kids must have been thrilled that they got to open a present early! :)
They loved having early presents! Haha, I’m sure they’ll want to do it again next year.
I’m in love! What an amazing idea! These turned out GORGEOUS! Your kids are adorable. Hope that you and your family have a Merry Christmas!
Thank you so much Laura! XO