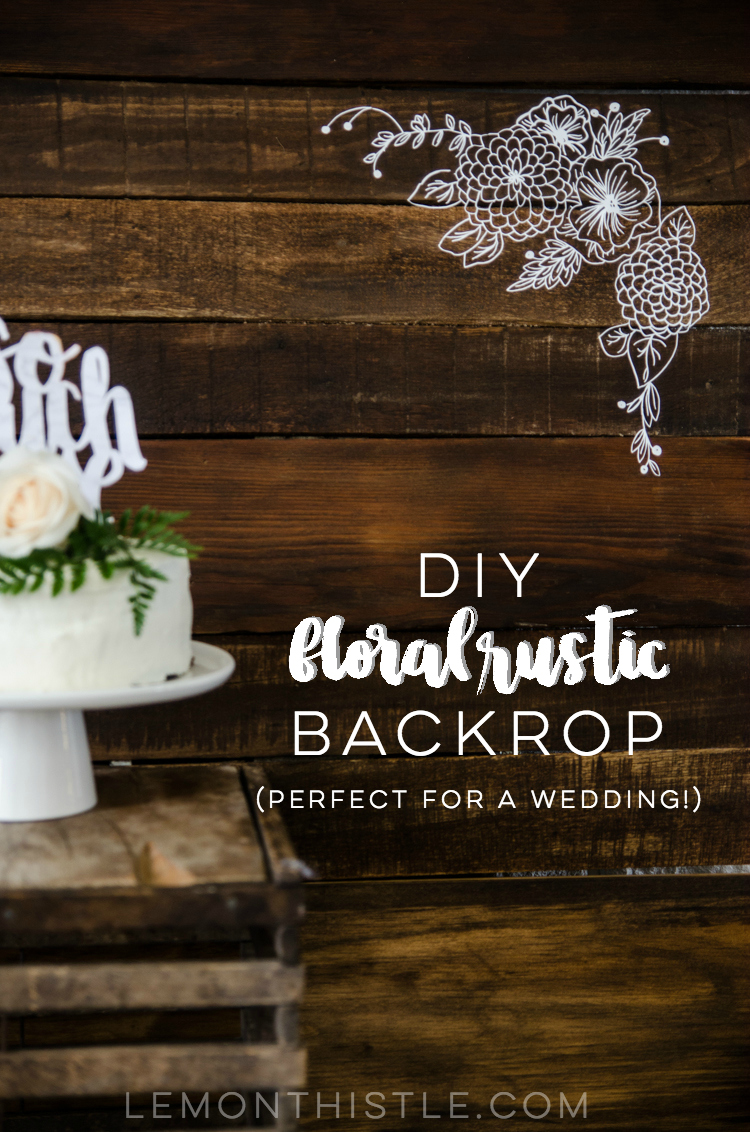
Did you spot my DIY cake topper on Saturday? Well today I’m sharing the DIY for that beautiful rustic backdrop! This DIY was created with a wedding in mind as part of the Cricut Wedding Campaign, ‘It’s your story make it personal’ (have you entered their ginormous giveaway yet?) but it would be SO beautiful for a wedding shower, baby shower, or any party… or photo booth. Seriously, this thang is versatile. Yes- I said thang.
The backdrop itself is super easy to assemble using pallet or scrap wood and the florals are actually vinyl I cut with my Cricut. I find unless I really sand down wood, the wood destroys my good paint pens- especially with such a detailed design. If you wanted to make a few of these backdrops (one for your cake, one for your ceremony, one for your photo booth or seating chart… this method will save you SO much headache! Plus it will keep them looking uniform. I faked a painted driftwood sign with vinyl for my nephew’s nautical baby shower last year and ever since, I’ve been using this trick as much as possible.
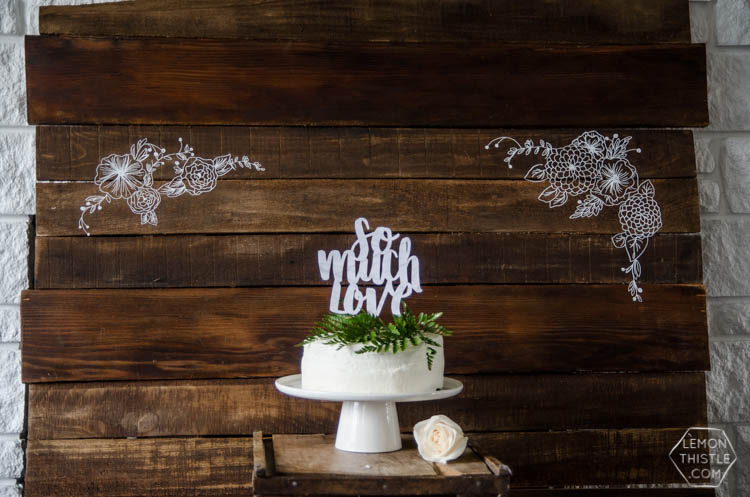
To make your own floral rustic backdrop, you’ll need:
- Pallet or other scrap wood (these ones are all 1″x 4,6, or 8″)
- Saw if wood is not cut to size (I used a circular saw)
- Sander (I used a belt sander with 80 grit)
- Stain (I used Early American by Minwax)
- Drill with 1″ screws
- Cricut Explore or similar
- White vinyl **the PERMANENT/Outdoor variety!**
- Transfer tape
- Floral design (see below)
- Patience for weeding (seriously)
*The floral design I chose is one I illustrated myself. I have them in my store, but there’s also some beautiful ones in the Anna’s Garden collection included in Cricut Access.
BUY THE FILES
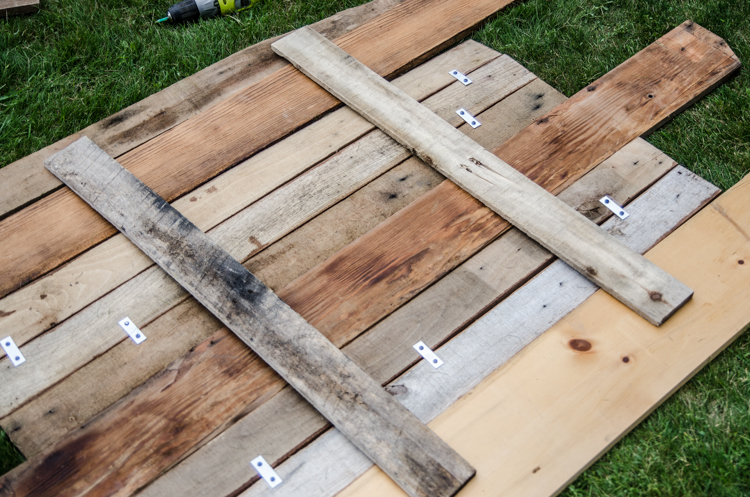
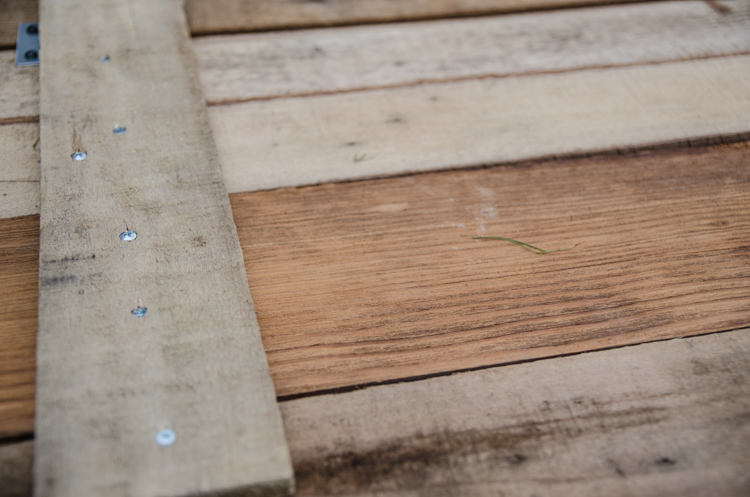
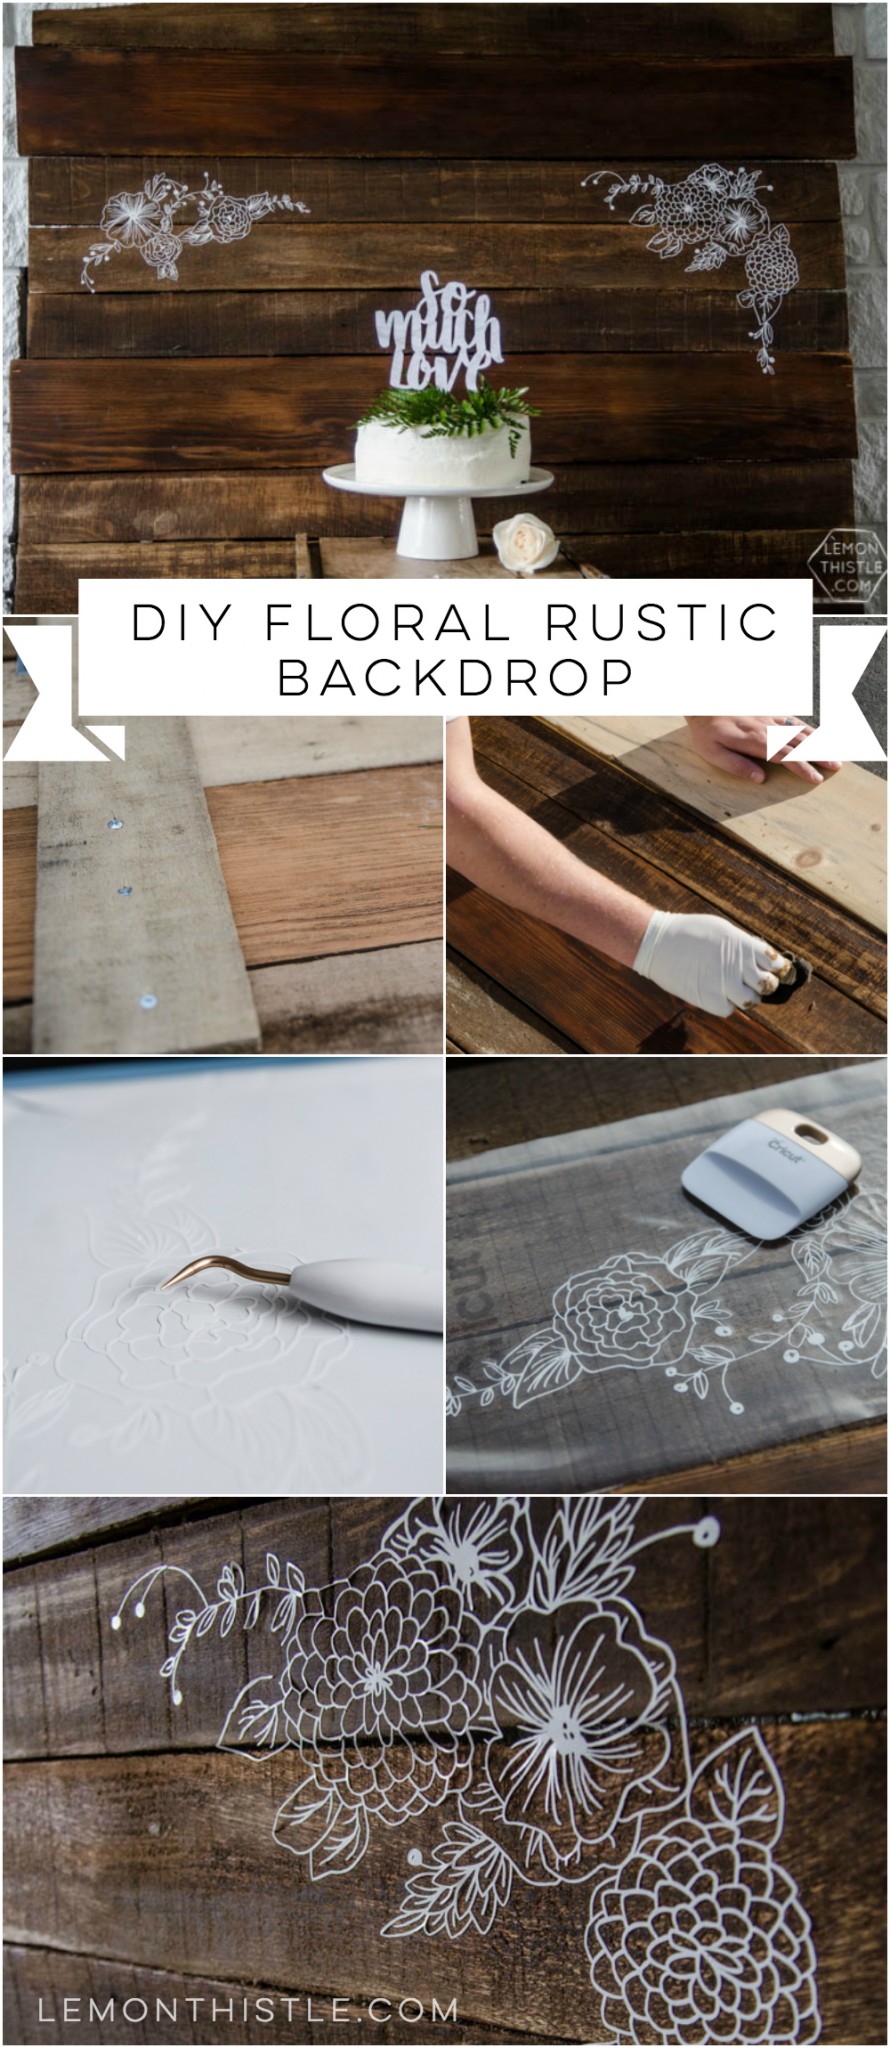
The first thing you’ll need to do is build your backdrop. I used pallet and scrap wood (I had a pallet plated together for a project that totally flopped… so I repurposed that and added some wider boards in between, so ignore those metal plates). To attach the wood together, lay all your pieces out with the side you want showing face down. Lay two more pieces of wood on top and use 1″ screws (if your pallet wood is thin as mine, I would double check your wood thickness before buying screws) to attach them. Pallet wood is known to split, so don’t tighten the screws down too tight if yours look to be quite dry.
I cut the pieces of wood that were extra long down once it was assembled. I didn’t cut them perfectly straight (you totally could if you wanted!) for a more rustic look. I just used a circular saw for convenience.
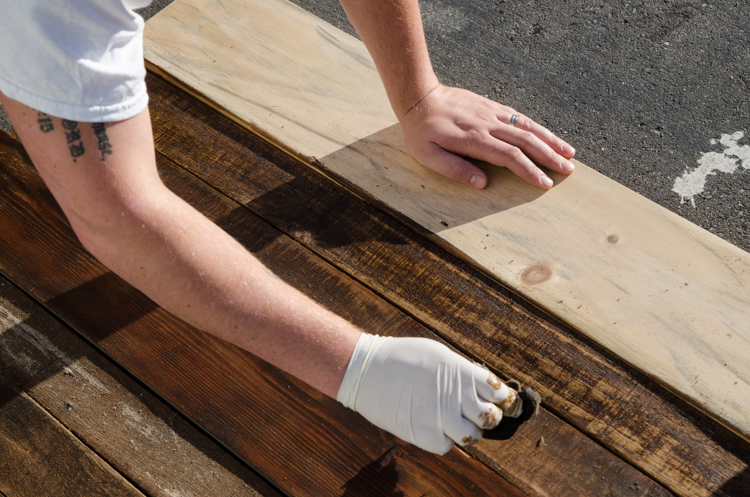
Next, turn it over and give it a quick sand before staining. If you want it to look pretty rustic (like mine), don’t sand too much, just knock any sharp edges and dirt off. If you want it to be a more permanent fixture and to have a smoother finish, by all means sand away. Then seal it with a top coat after staining. We stained ours with Minwax Early American. Then let it dry!
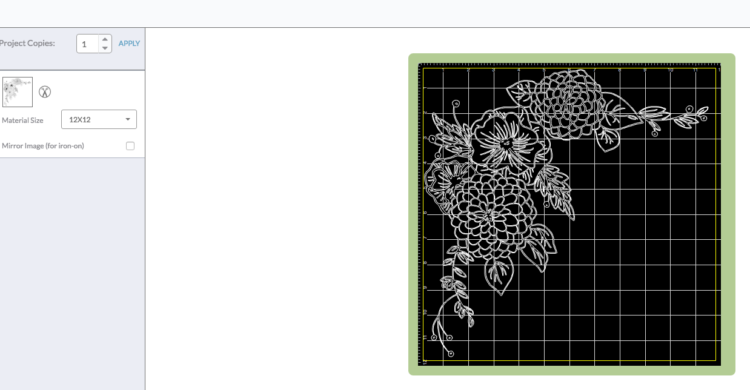
Now it’s time to turn your attention to the florals. Once you’ve decided which florals you want to use, load them into Cricut Design Space. To load your own images in, select Upload Image / Image / Simple Image / Cut Only. Then size it as big as you’d like. I sized mine to the max for a 12×12 mat. If I were to make another, I’d probably cut it as smaller chunks (one flower with leaves) to max out the 12×12 mats and piece the florals together on the boards- this would make them a bit bigger and the lines a bit thicker. I used standard white vinyl and struggled a bit to get it to stick to the uneven surface and STAY stuck. Since then I’ve found outdoor grade vinyl and OHMYGOODNESS… just skip the pain and use this. It’s way better suited for wood!
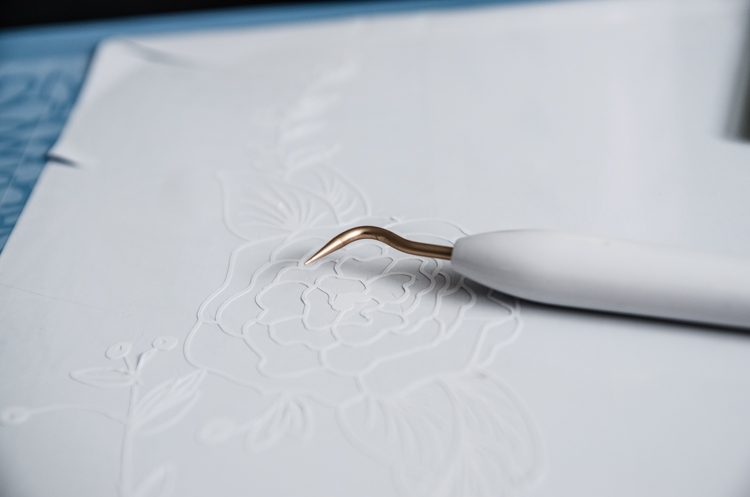
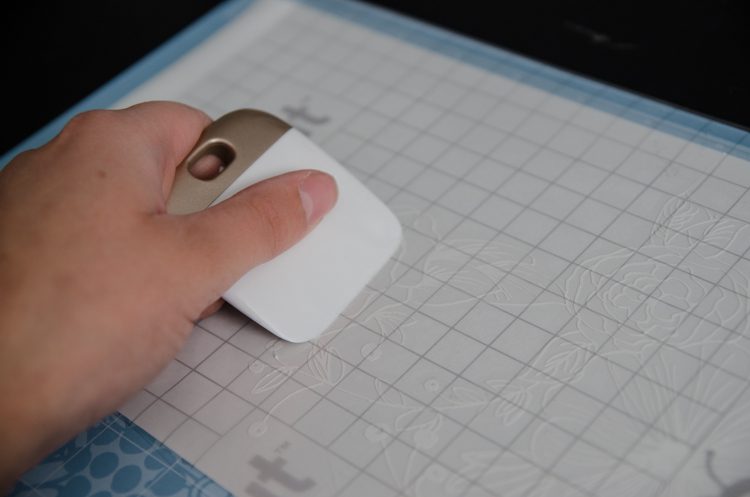
When it’s cut, get to the task of weeding. I’m not going to lie to you… this is time consuming! Put on a show and get busy. Rushing it will only frustrate you more. The lines are quite narrow and there’s lots of bits to weed out. But the result is OH so lovely, so keep reminding yourself of that. When you’re done weeding, smooth some transfer vinyl overtop. I’ve used a few different transfer tapes and the Cricut stuff is my hands down favourite because it’s not only clear, but has guidelines, the vinyl actually sticks to it but it’s not so sticky that I have issues transferring the vinyl to surface.
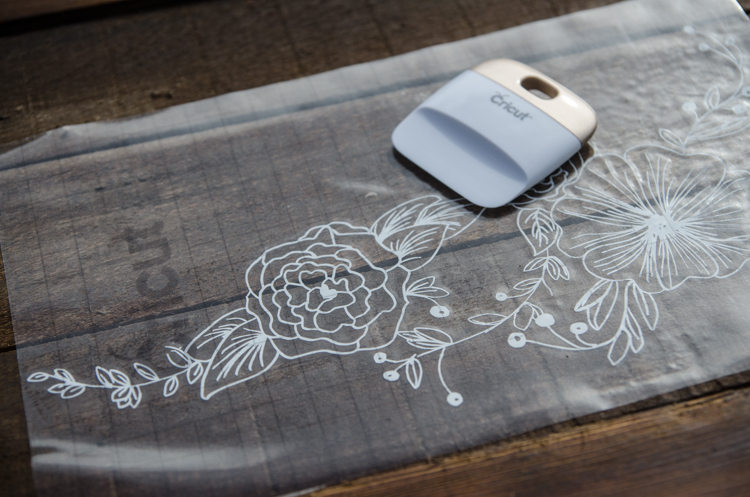
When your backdrop is all dried and you have all your floral elements ready to be applied, give your surface a good wipe. This is really important for the wood since it could have sawdust or other particles that the vinyl would stick to before it sticks to the surface you actually want it to stick to. Sound like I know what I’m talking about? #learnedthehardway. Take your time positioning and smoothing it out. Peel back the transfer vinyl reallllly slowly and carefully.
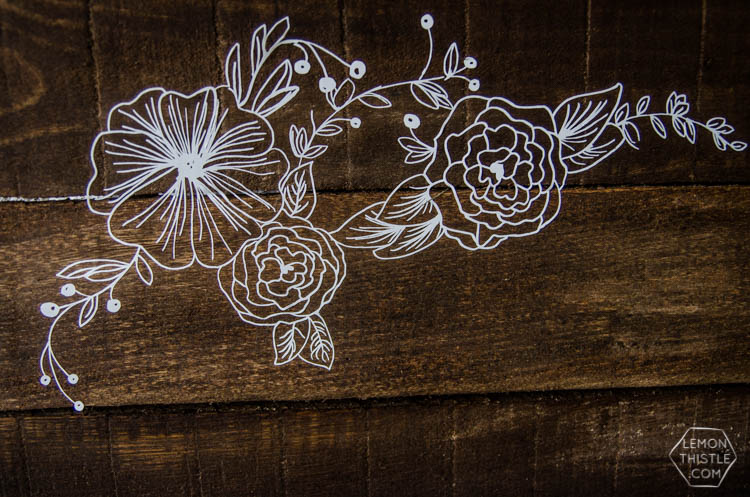

Okay, let’s talk seriously. See how mine isn’t TOTALLY adhered if you look up close. This is the piece I didn’t wipe the wood down first. *sigh* Learn from my mistakes. But also… see how there’s slight gaps in the wood planks and the vinyl floats overtop and the flowers look perfectly seamless instead of chopped up. That’s the power of vinyl over painting these on there friends!
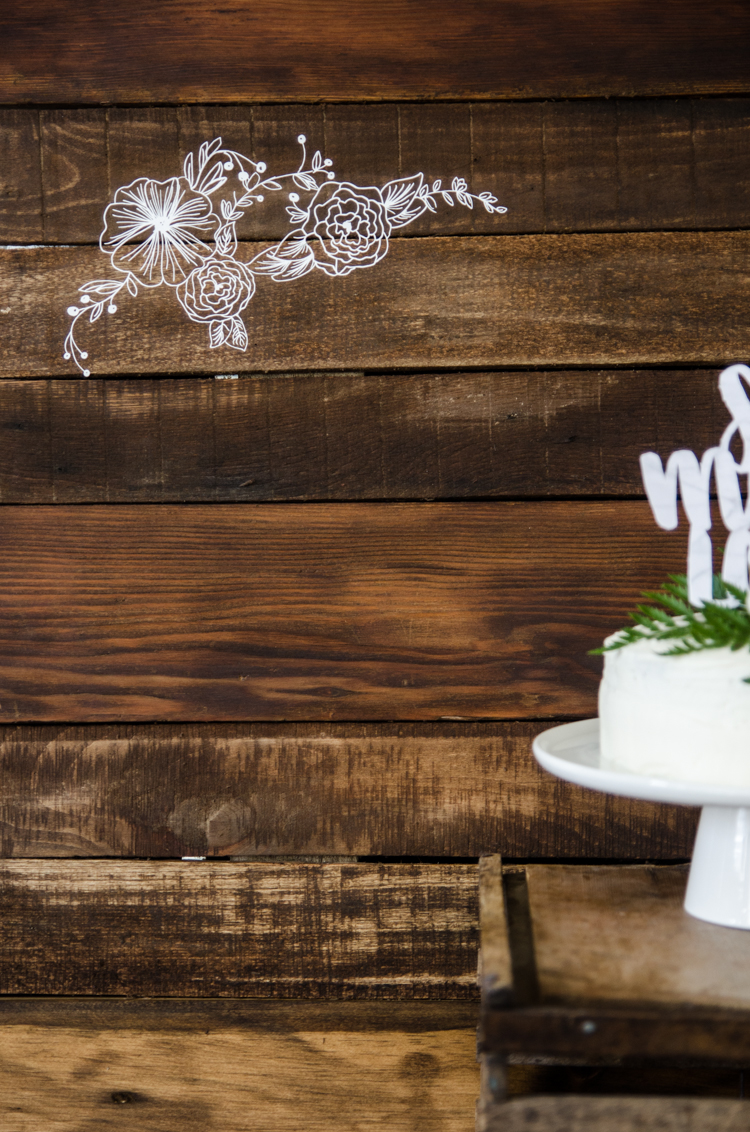
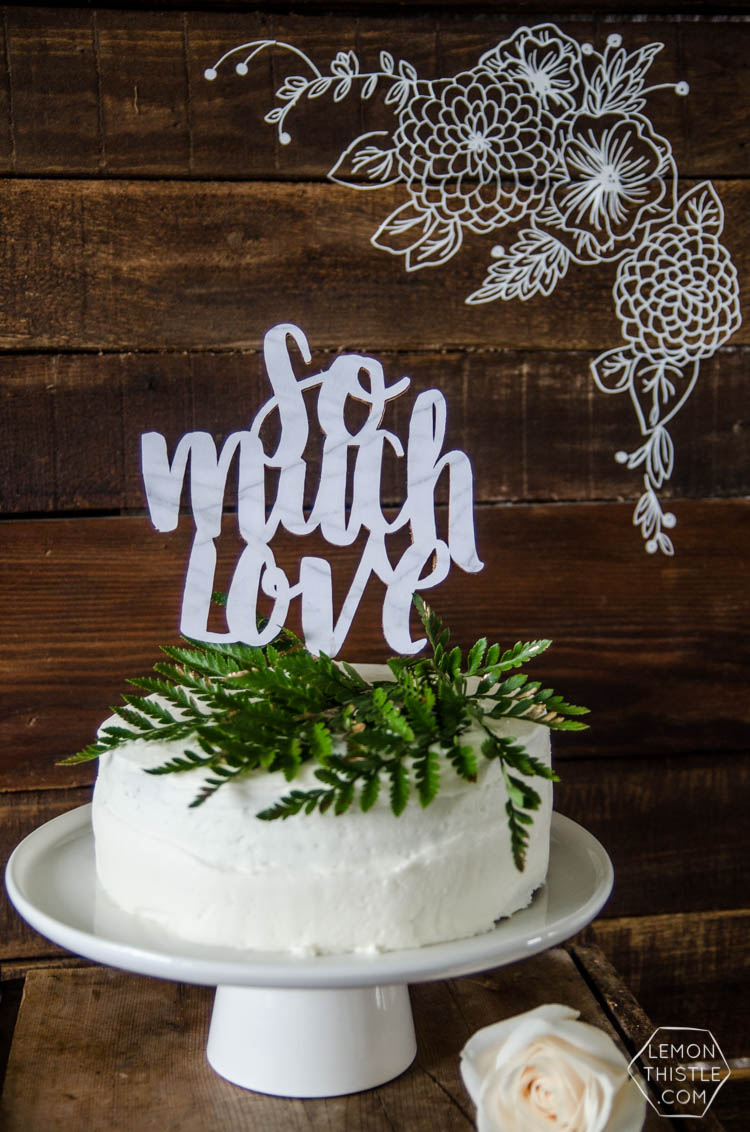
When you’re done… enjoy! It’s so dreamy when it’s done, I really can’t get enough of this one!
Alright… know how I mentioned that there’s a HUGE giveaway going on with this promotion and the new prize pack started today? It’s with FiftyFlowers and is for $1500 worth of wholesale flowers… that’s seriously rad. They have DIY kits too so you can get SO many blooms and greens and DIY (y’know I’m a fan of that) your own arrangements. Or you can get them made up… if that’s your thing ;) So pop over and get your name in!
Like this? Pin it!


Oh this is a great creation
how do i find where to buy this floral image? i cant find a link to your shop anywhere or to the floral image itself
Hi Britany, sorry about that! It’s right here: https://www.etsy.com/ca/listing/464699330/hand-drawn-floral-elements-for-digital?ref=shop_home_active_2 I’ll update the post to reflect that :)