Big thank you to Dollar Tree for sponsoring this post. See my full disclosure and policies here.
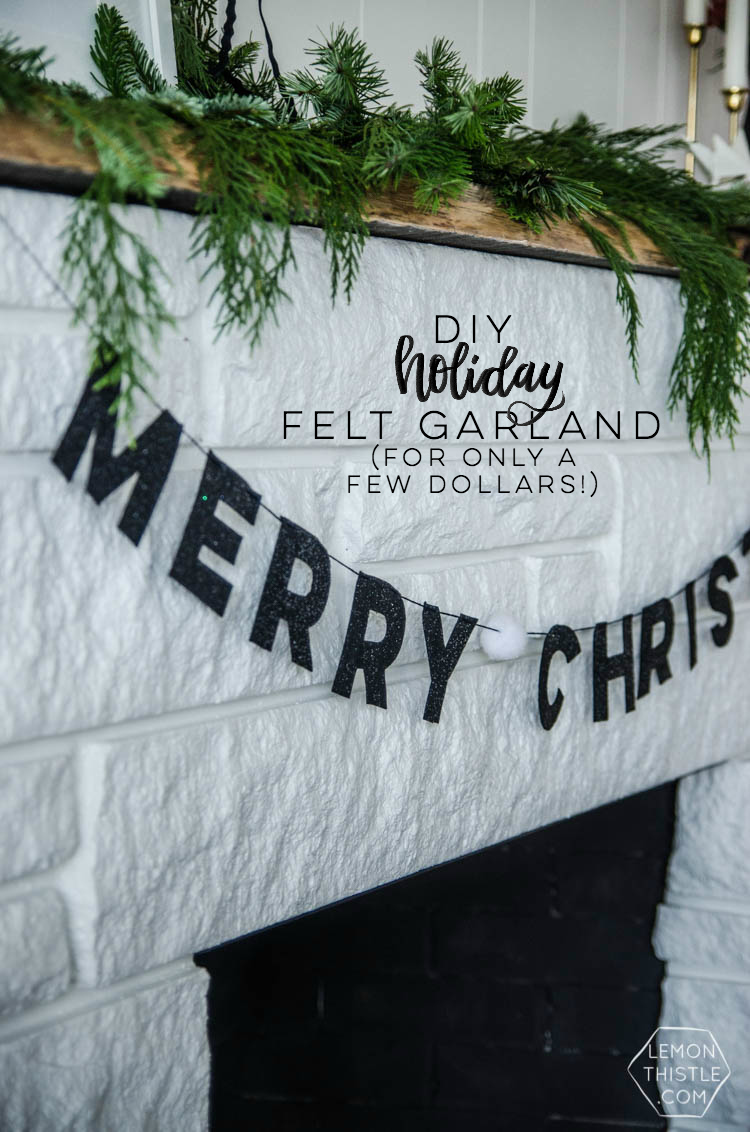
One of my biggest values in crafting, decorating my home, and this blog is that I believe you don’t need to spend a lot of money for something to be beautiful. Or rad. I feel so strongly about this, it’s in my ‘about me’ page. It can be exhausting to scroll through Instagram or any social media and see these perfect homes, these perfect products, and these perfect clothes and know that the price tag is just out of your budget. I am totally living on a budget around here so DIY is a way for me to make things beautiful without blowing all my cash. That’s why you’ve seen so many projects that are cheap or free around here and I don’t think that they’re any less awesome than some of the DIYs and crafts that cost me more to make. This DIY felt Christmas garland? This is one of them!
CLICK HERE for a video tutorial of this ‘Holiday’ felt party garland and 12 more modern DIY Dollar Store Party Decorations that you can make for your next party!
There is something so satisfying about making something that you KNOW you could pay good money for. And you can make it suit your style completely. I’ve made felt letter garlands before. I made one for Valentines day (I’ll be pulling it out again!) and one for a baby shower. So why NOT make one for the holidays? Or two… because I got a bit carried away!
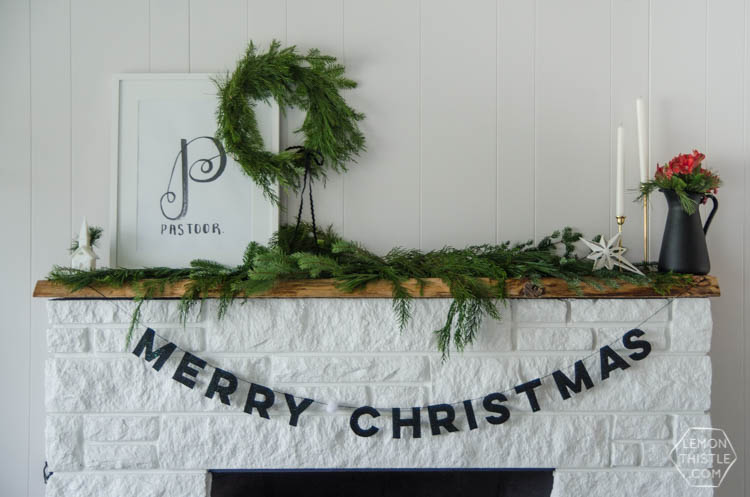
Everything to make these felt garlands can be found at Dollar Tree. The pair of garlands cost me less than $5 and they look so quality. I also picked up those two white ornaments on the mantle while I was there. $1 each and they work so great with my black and white look!
Here’s what you’ll need to make your own DIY Felt Christmas Garland:
- Felt sheets (see notes below)
- Pom poms
- Embroidery floss, wool or string
- Darning needle
- Craft knife
- Cutting mat
- Template (see notes below)
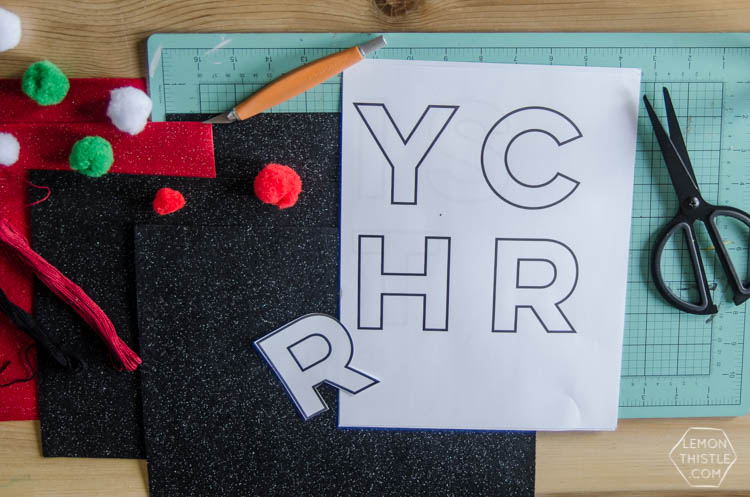
I bought my supplies in store, but they’re a bit different than what’s available online. I’m linking to the closest for you. I bought felt sheets from the holiday section- they were glittered and a bit stiffer which was AMAZING for cutting. I’ve only ever used standard felt sheets (like this pack) for a garland like this in the past. The stiffer ones were easier to cut, but I know the standard ones work for this as well. Also… glittered! I’m not usually a glitter girl- the thought of cleaning it up all over my house kills me BUT when Christmas comes around… I change my tune.
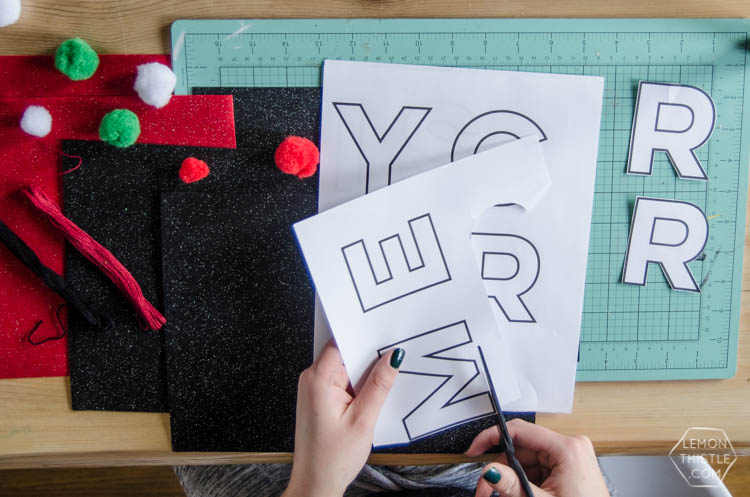
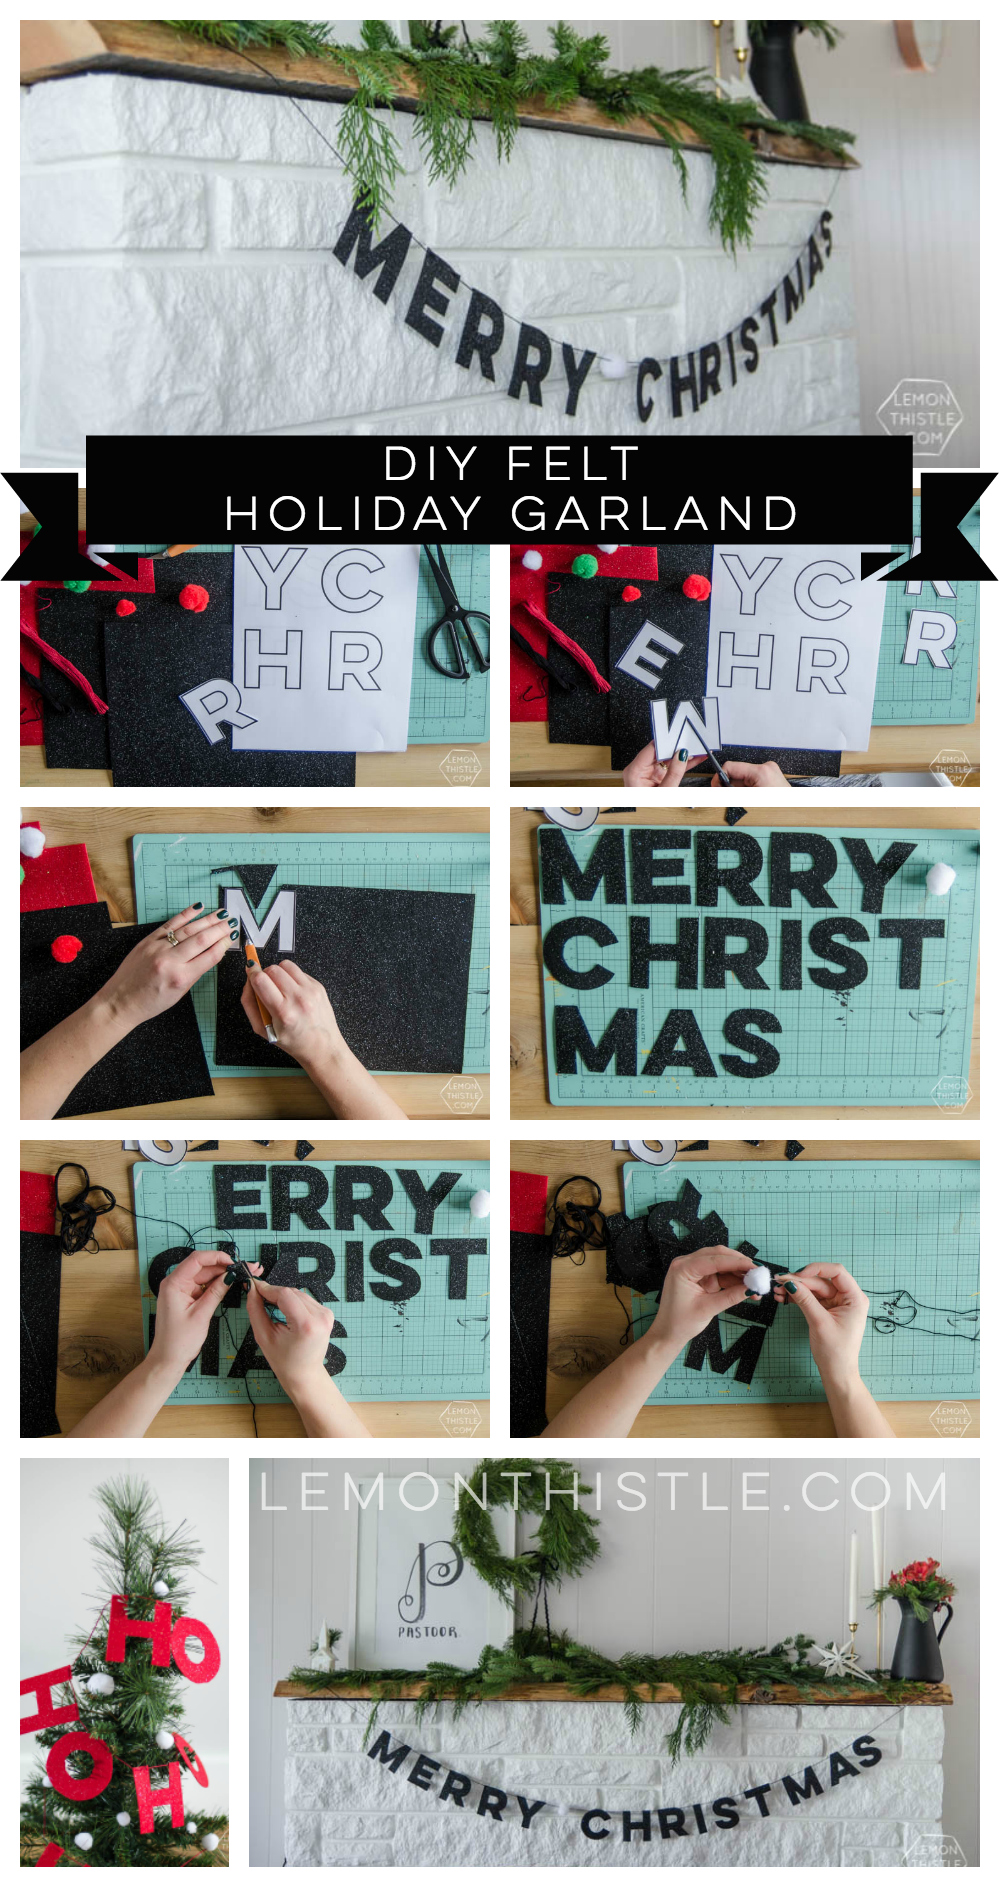
Before you get started, make yourself a template. I used LULO clean for the font- I love this one, it’s the one I purchased for my blog. BUT you can use any free font. In the past, I’ve used Arial Bold for garlands like this and it looks great too. Type out whatever phrase you like, change it to an outline (if you have that option- to save ink) and delete any duplicate letters before printing.
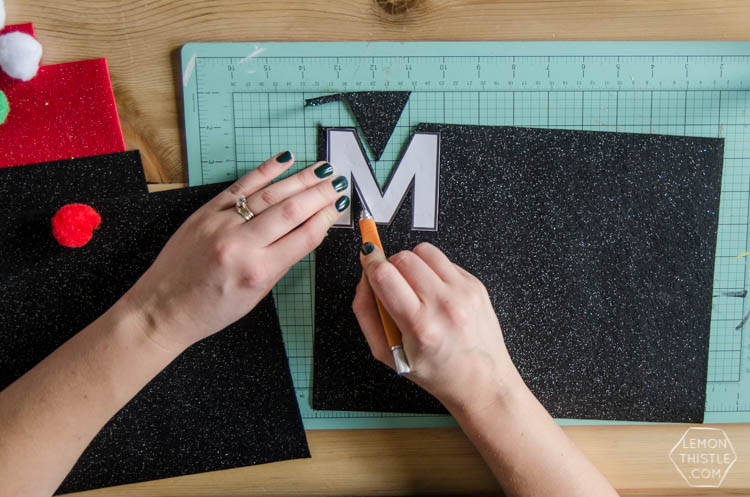
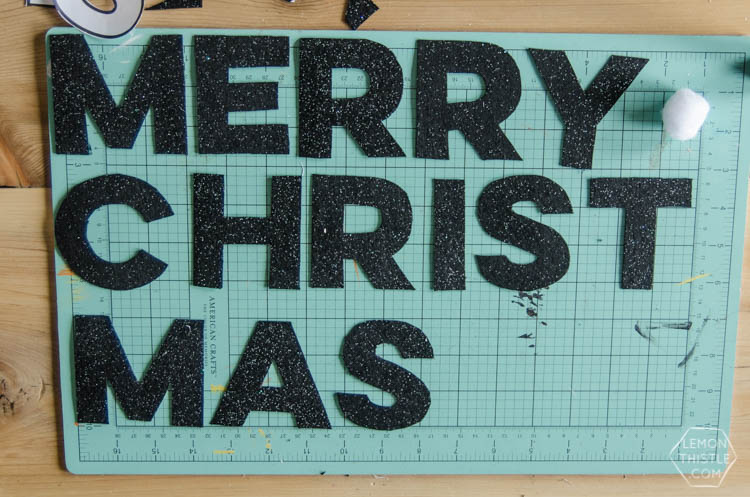
Cut your letters out- in the photos I’m using scissors but that lasted all of 3 letters, then I switched to using my craft knife- so much faster! When those are all cut out… start cutting out your felt! Lay your template letter on top of the felt, line up to the edges to save yourself a cut (if it’s a straight edge) and get cutting. The stiffer felt cuts really easily but if you’re using standard felt, the key is to press your knife through the felt instead of dragging it through (or else you’ll get fuzzy edges).
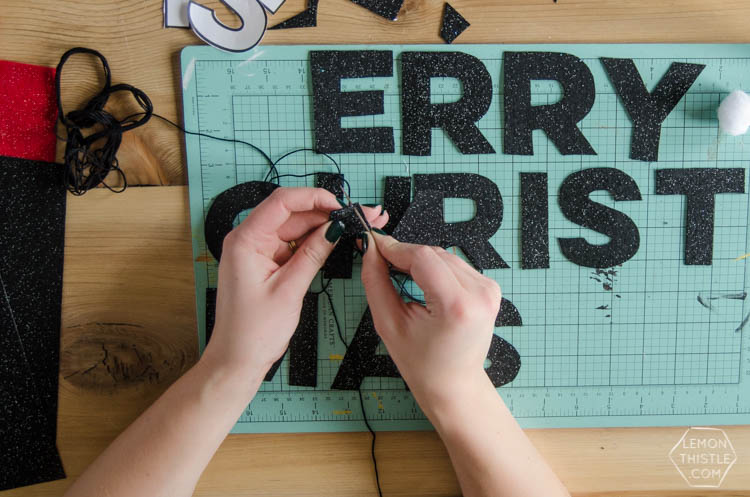
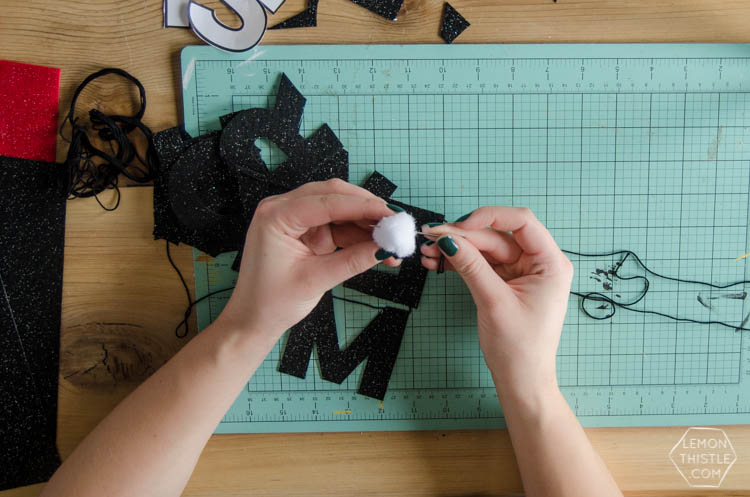
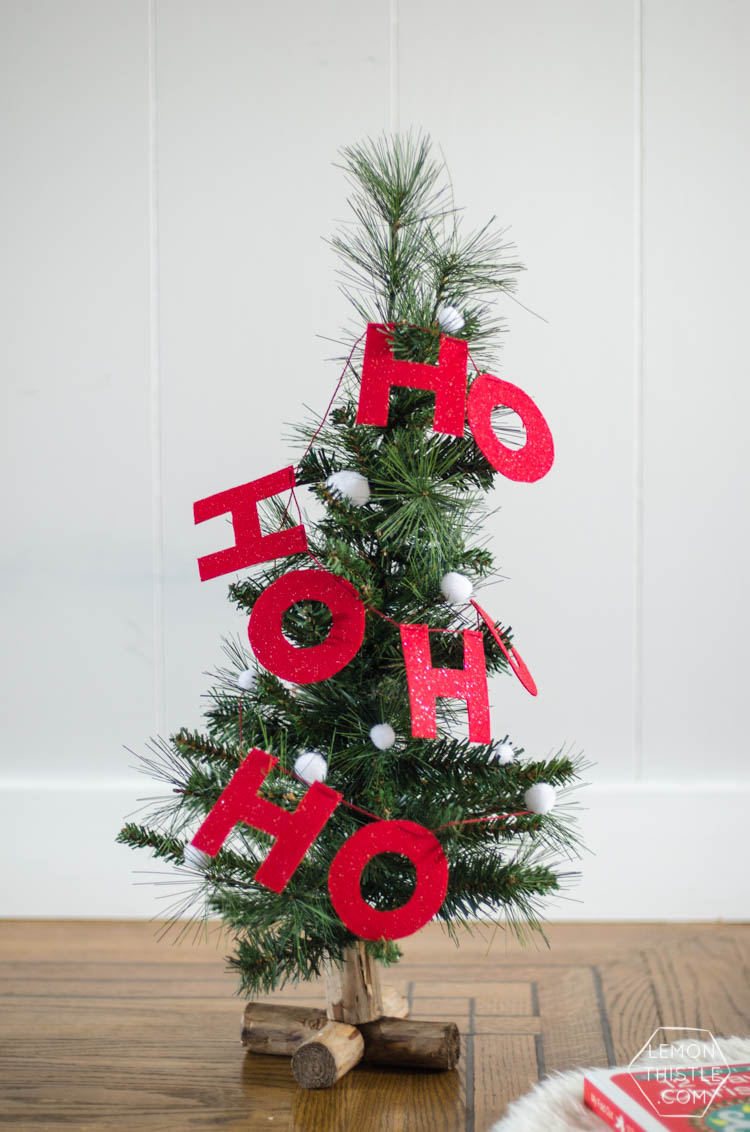
When you get them all cut out, it’s time to string them together! Use your darning needle (which is basically the biggest needle you can get so it fits wool through the eye) to thread the letters on. I threaded the pom pom on in between the two words and love how simple it is! I made myself a red version for my kiddos’ wee tree as well. Then we added the rest of the white pom poms into the tree for decorations. My daughter is OBSESSED with pom poms. She snuggles them, she loves them so. She’s also three so it’s not weird ;)
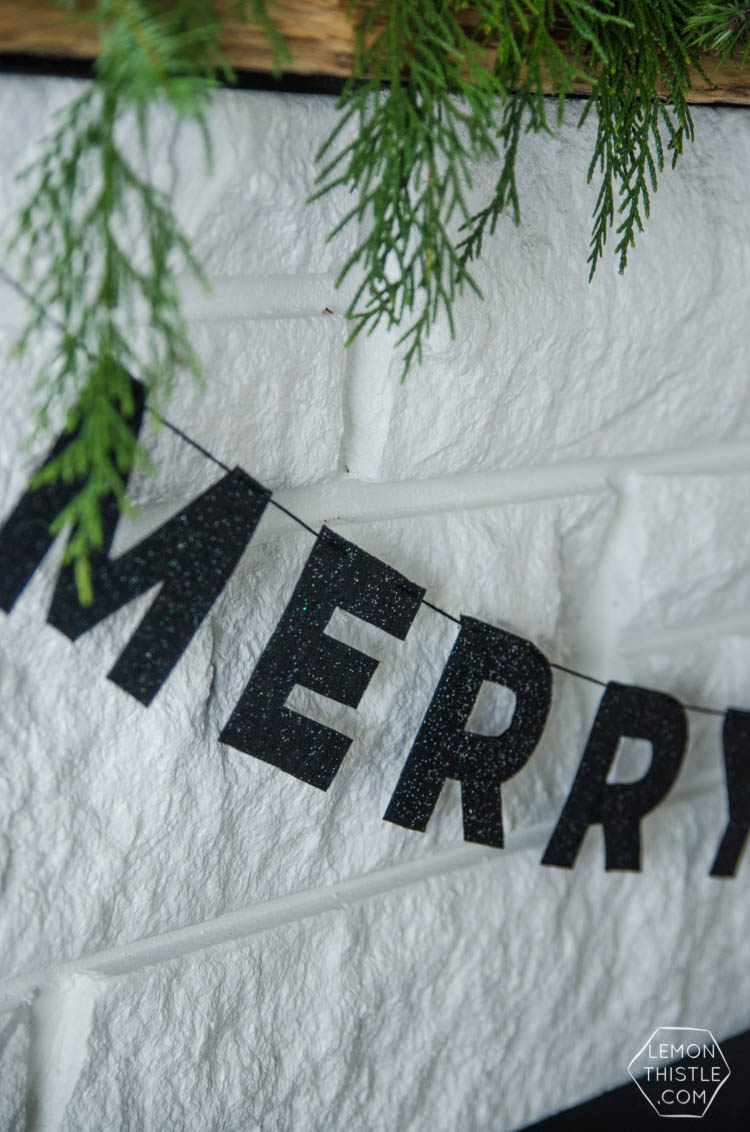
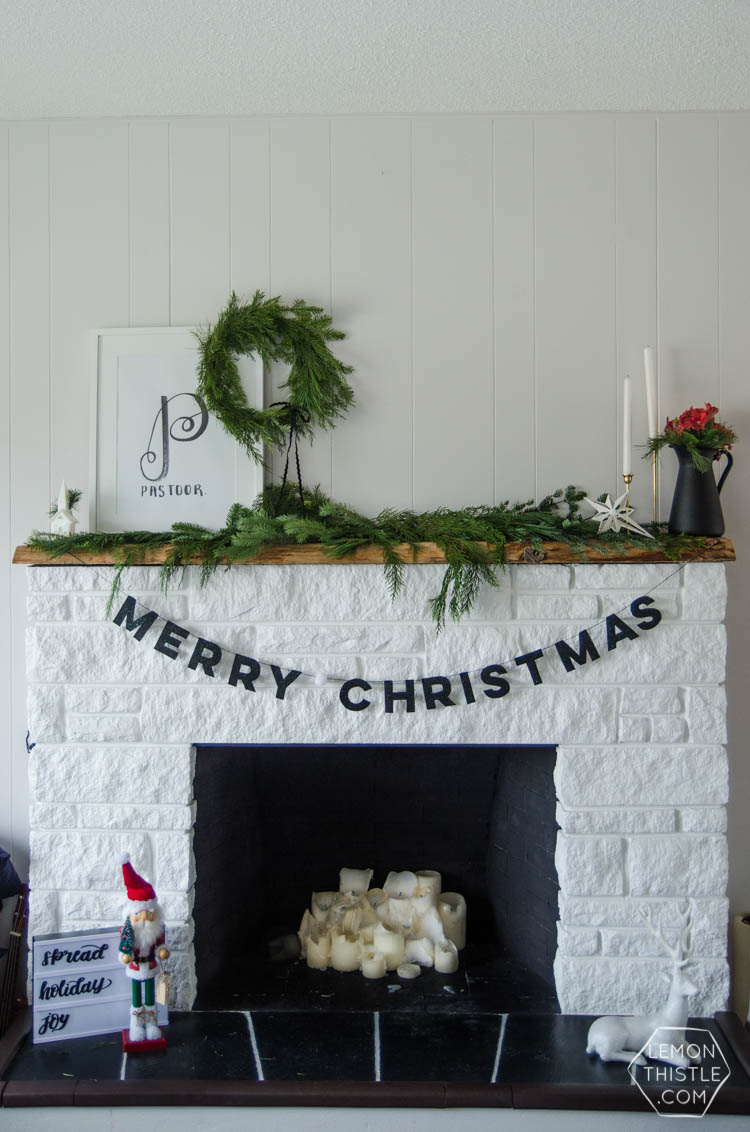
I really love how the simple black and white compliments the fresh greens. It’s such a fresh look for Christmas- I can’t wait to pull out the rest of my decorations and see how it all comes together! I honestly don’t remember what’s in those bins… it’s always a bit of a surprise when I see what’s in there.
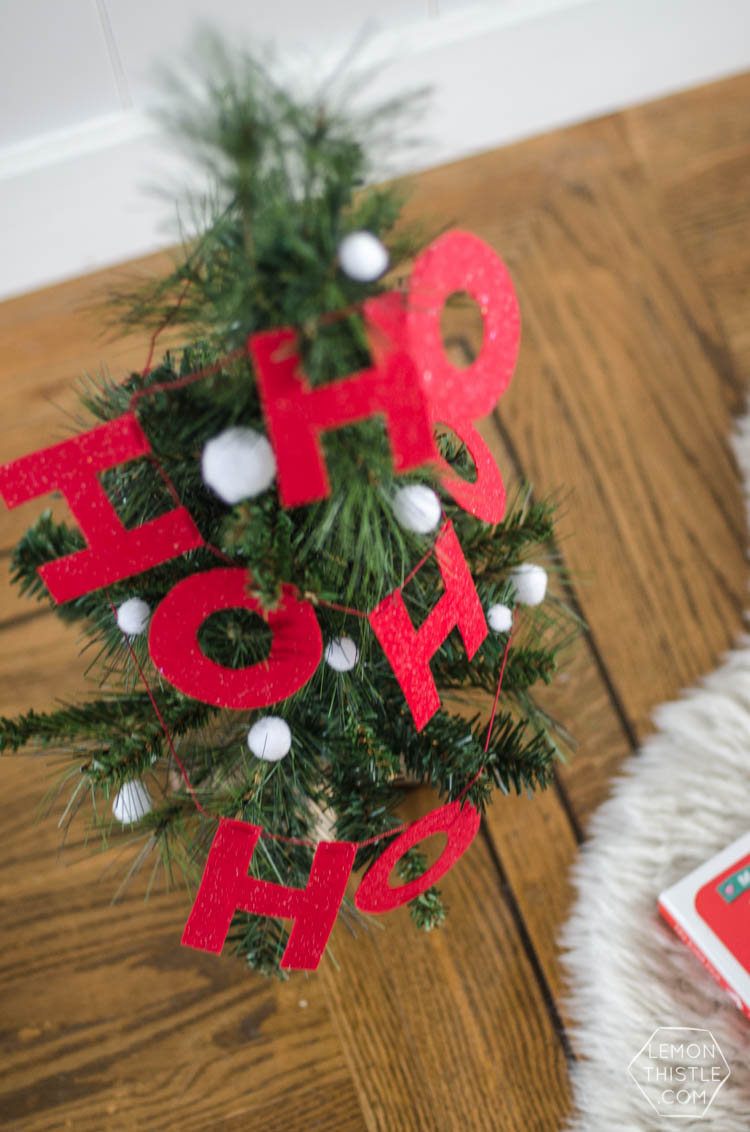
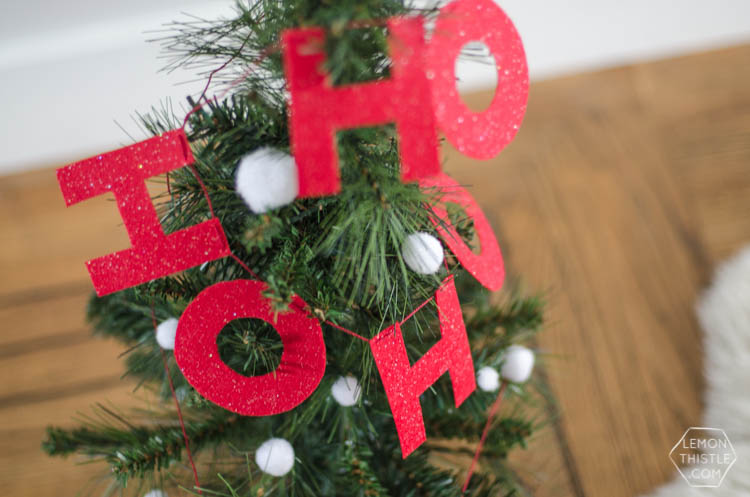
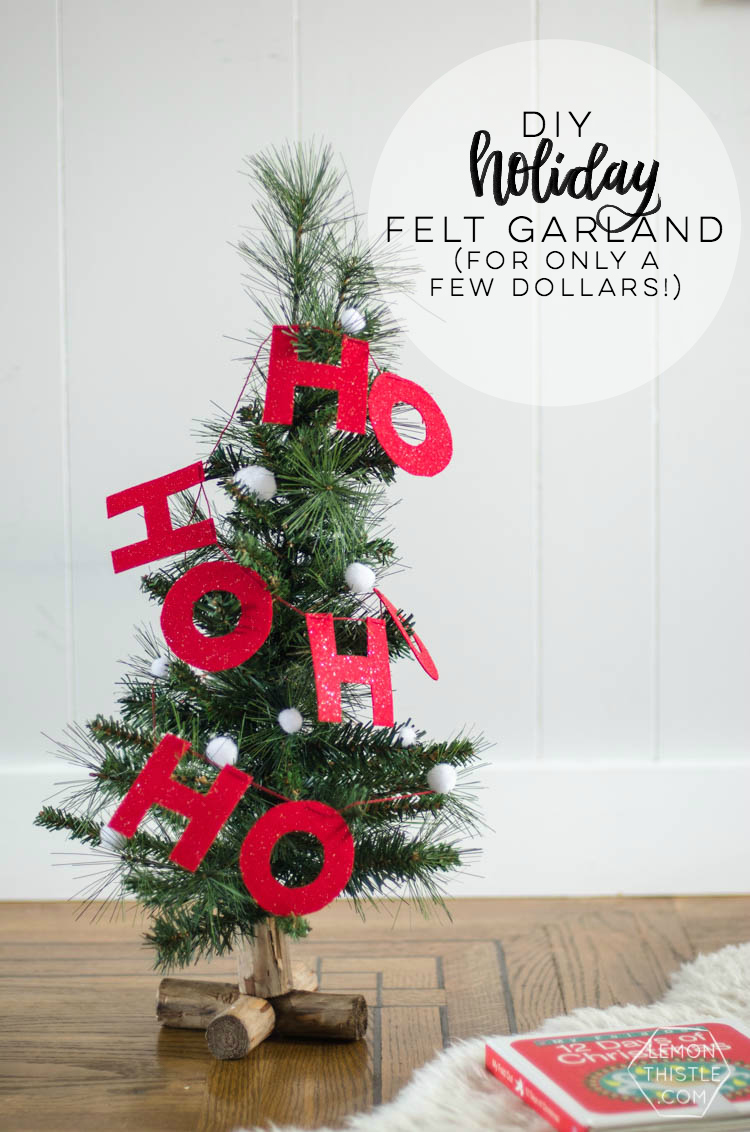
And this red little wee tree? I think it will make it’s home in our basement. The twins are so excited to have a tree they can make decorations for and redecorate as they wish. The felt garland is awesome because they can’t break it! Win/win if you ask me (cute and kid-friendly). What would you have yours say?
Where’d THAT come from? Sources from the photos:
- P Monogram: I made it! Learn to make your own in my e-course
- Frame & Black Vase: Ikea, vase & frame
- White Ornaments: Dollar Tree, Star & Church
- White Reindeer: Last season from Home Depot (Martha Stewart Living collection)
- Nutcracker: A gift from my mom- Shane loves those things
- Lightbox: My Cinema Lightbox but the letters are a DIY coming soon!
- Wreath: DIY
- Candlesticks: Vintage
- Wee Tree: The Land of Nod
LIKE IT? PIN IT!


 10 Minute DIY Scandi Inspired Wooden Star Ornaments
Leave a Reply