DIY Engraved Ornaments that cost less than a dollar to make? Yes please! Click through for the full tutorial and tips to make your own.

These DIY engraved ornaments are so easy to make and they’re super affordable too! I made three in less than ten minutes, so if you have a long list of ornaments to make for your holiday gifts, this might be a really great way to make that happen in a jiffy!
I have always loved the look of hand engraved glass, but there’s quite a (mess) process to etch glass and engraving can seem intimidating. When I spotted this hand held, battery operated engraver at the dollar store for just a few bucks, I knew I had to give it a go!
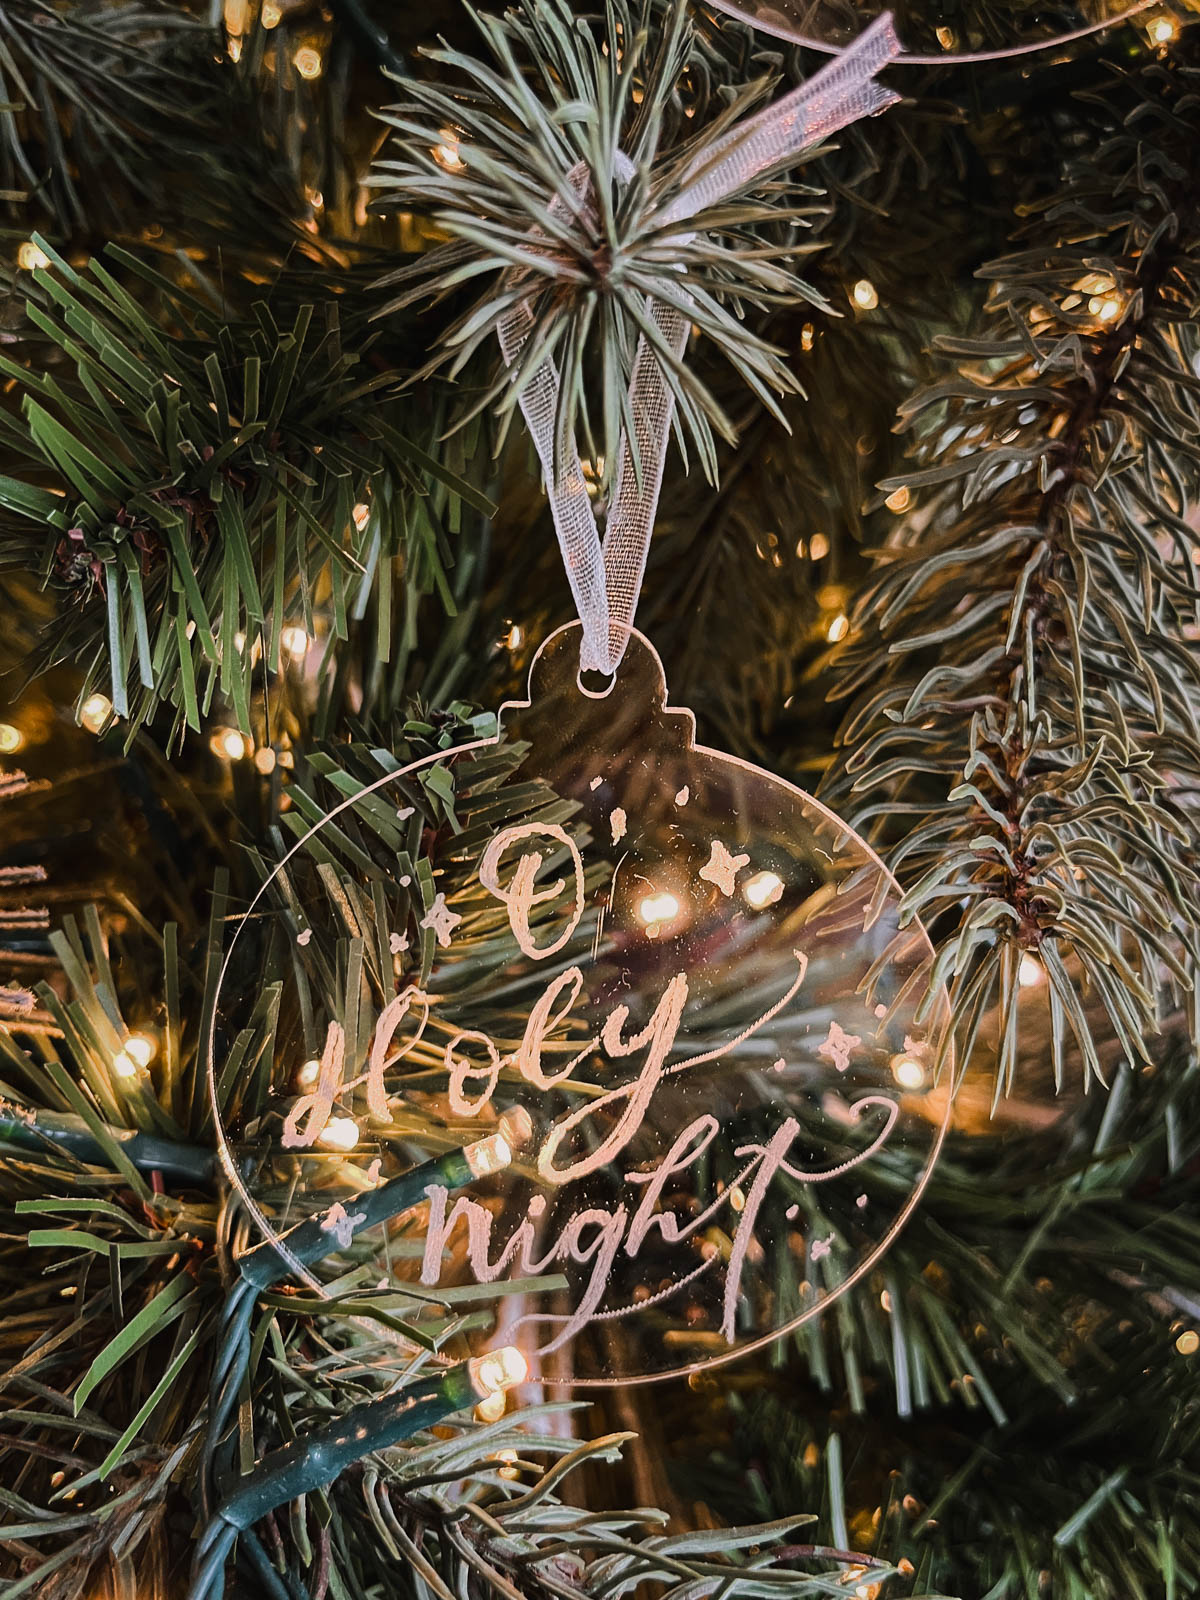
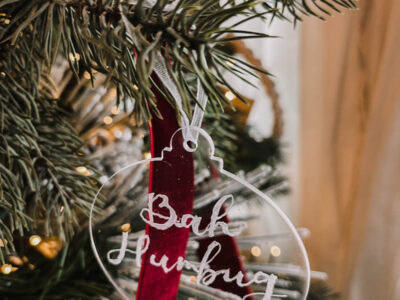
The acrylic ornaments are from a DIY pack at Michaels and with a coupon I think cost me about $10 last year. So for under $15, I can make 18 engraved ornaments… that’s less than a dollar a piece and they look GORGEOUS!
These would be perfect for ‘New Home’, ‘Mr & Mrs’, dates, or ‘First Christmas’ ornaments… or they’d be awesome for gift toppers by engraving your giftee’s names. They double as ornaments for years to come! Just tie this around the top of a wine bottle and you have a perfectly customized… but affordable… gift!
To make these DIY engraved ornaments, you’ll need:
- Blank acrylic ornaments (mine are from Michaels, here’s similar from Amazon)
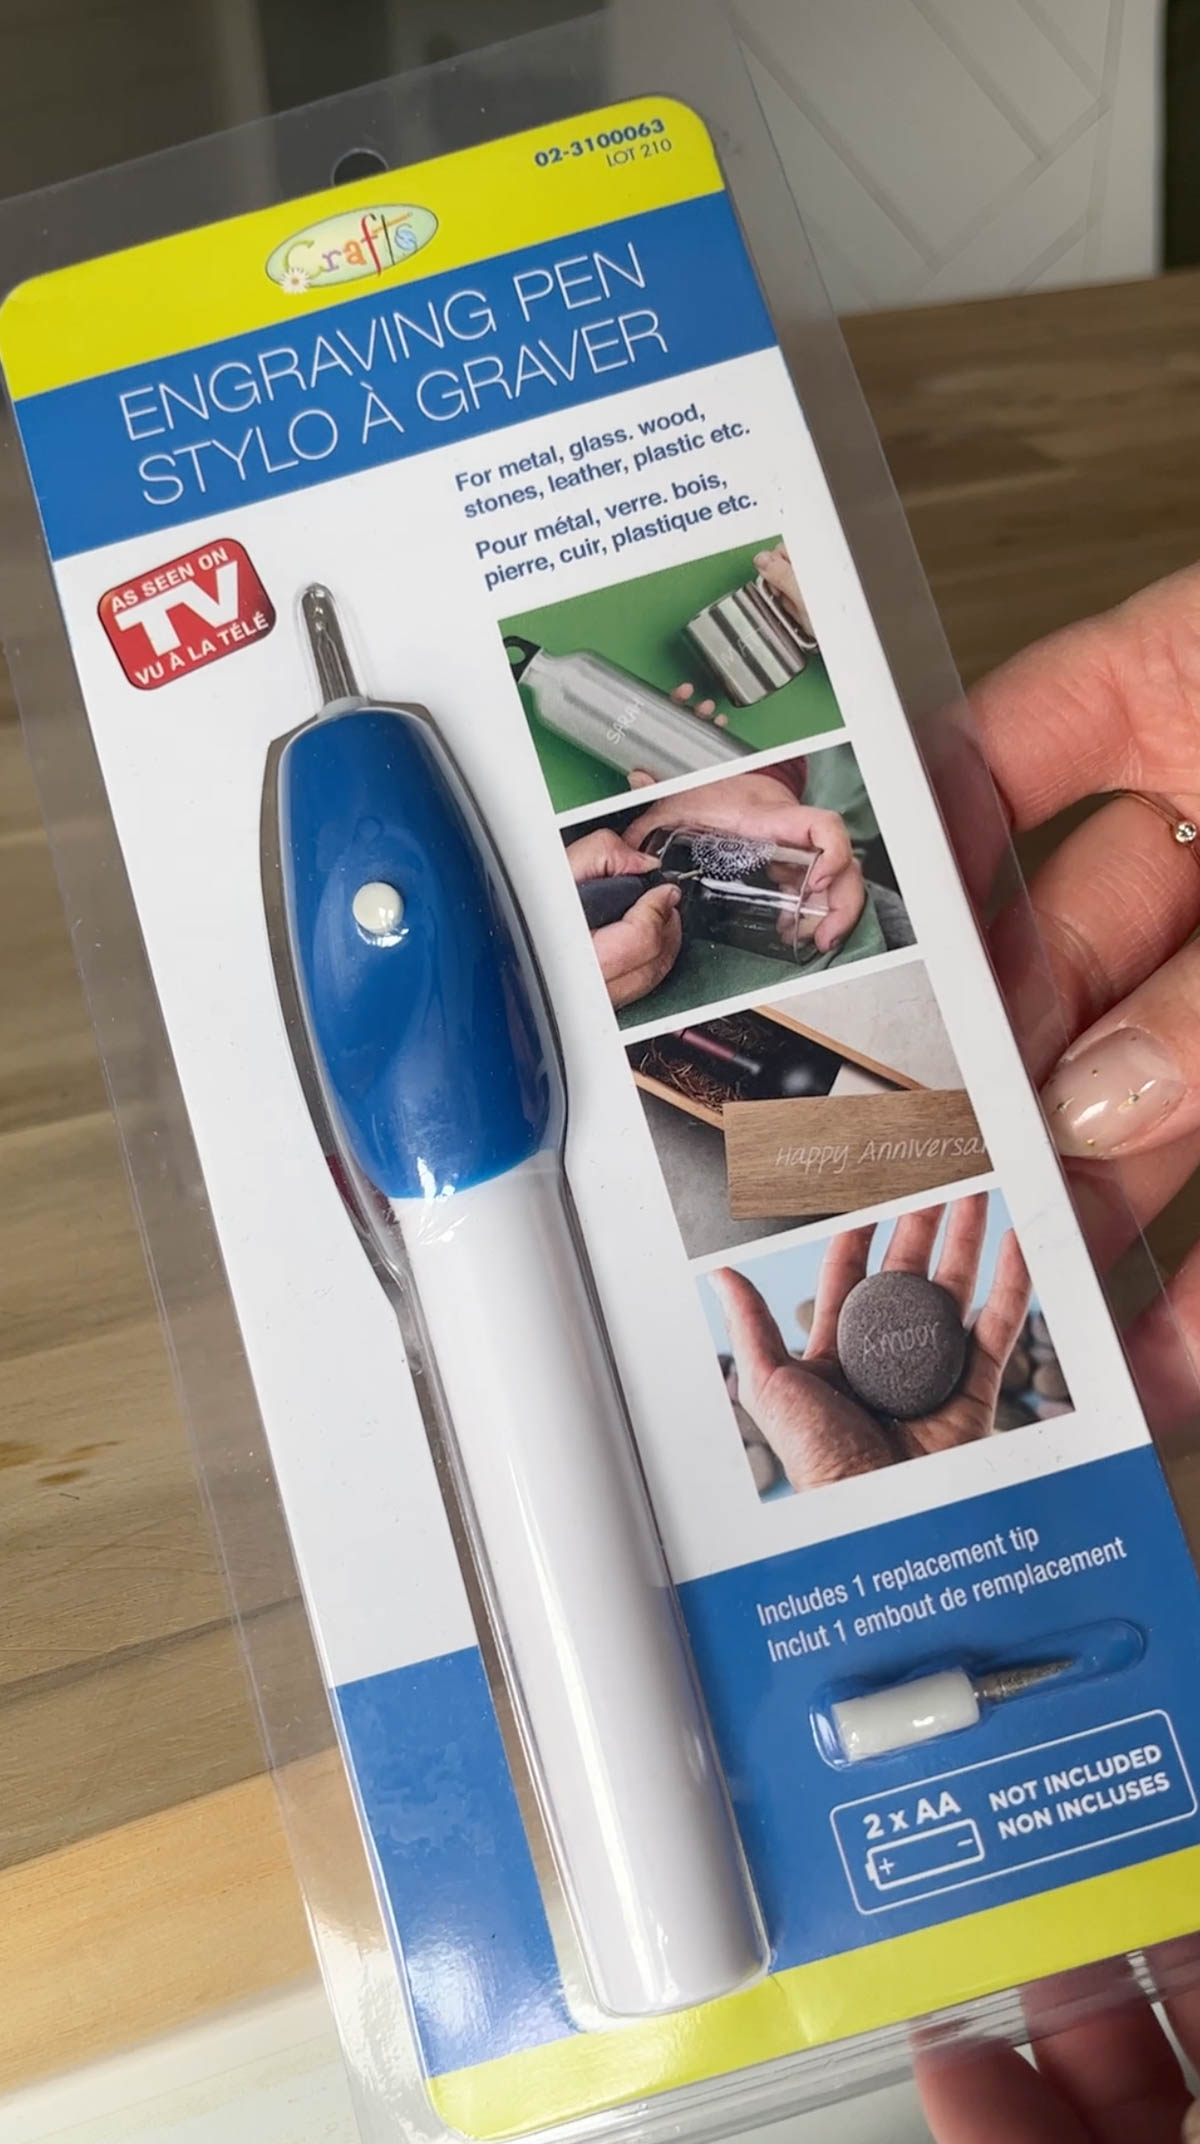
- Engraving pen (mine is from the dollar store, here’s similar from Amazon)
- Template if preferred (can print a font- heres some of my faves!)

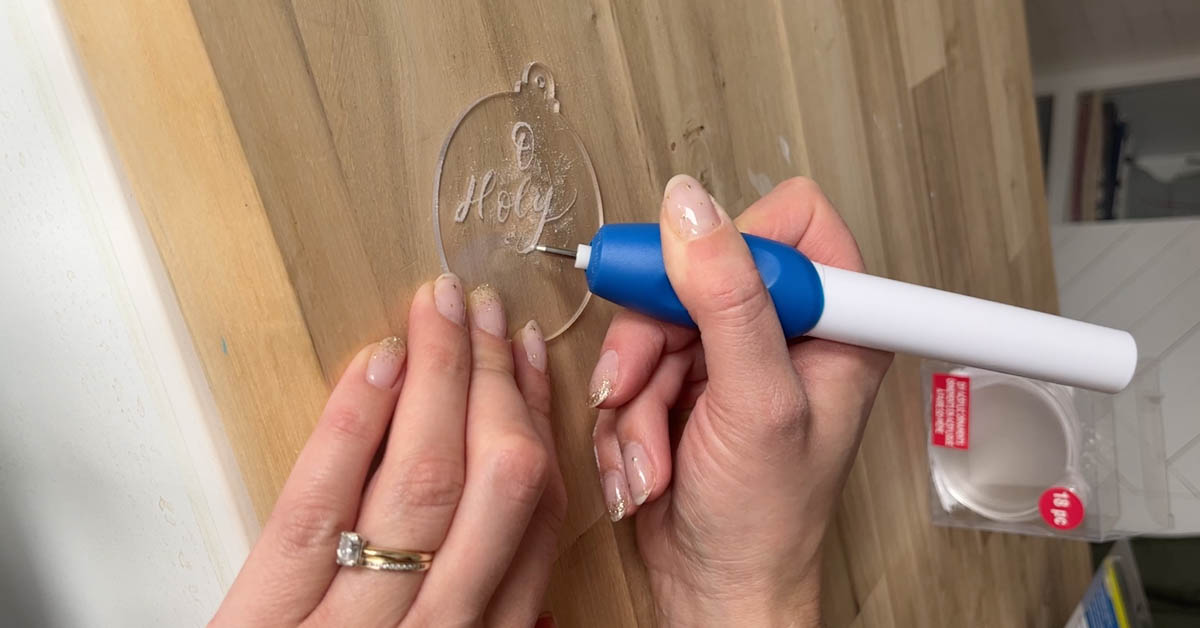
This is really so simple, it barely needs a tutorial. After adding batteries to the pen, just hold down the button while writing to engrave. I freehanded the first one and it’s my very favourite, but if you’re more comfortable, you could letter on paper and then trace or even print a template from a font for yourself to trace over. You can see me doing that here.
Press lightly and do many gentle strokes instead of one hard stroke. Just like wood burning, this will help keep the tool from getting stuck in the material and causing wonky lines.
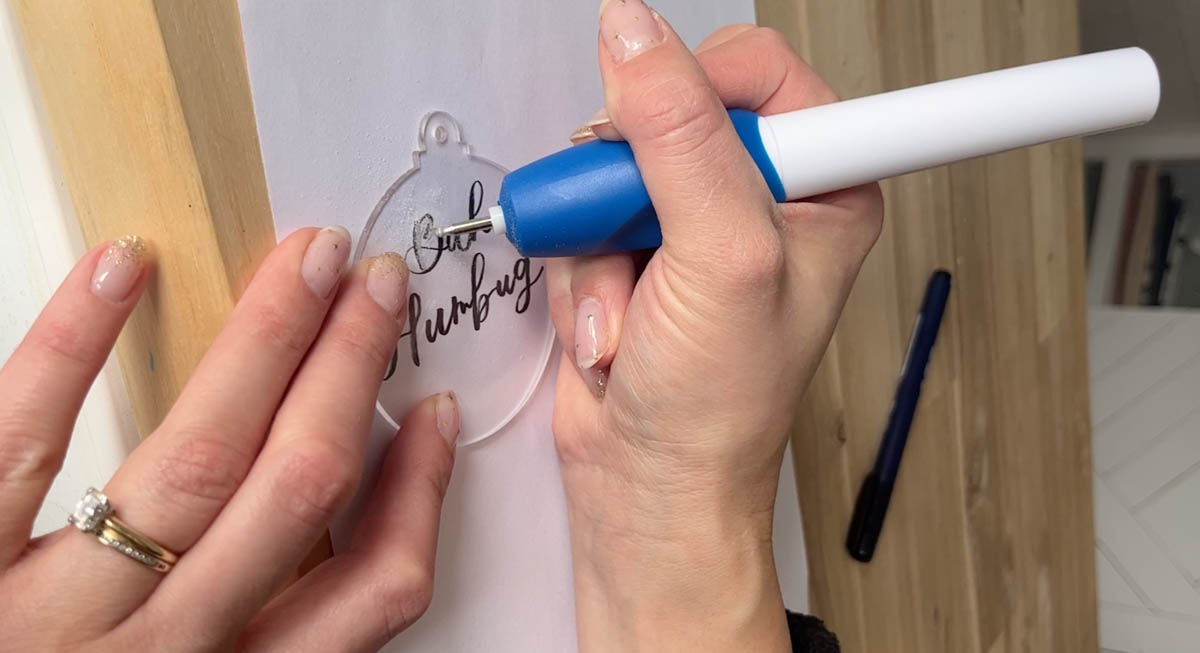
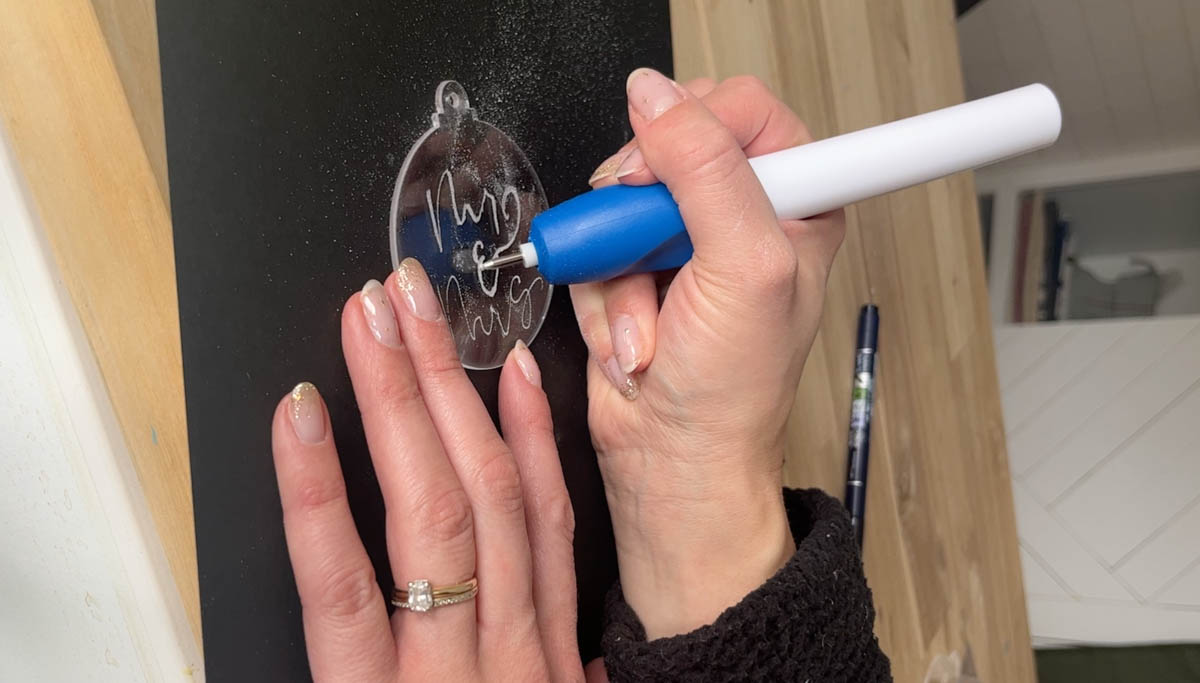
I found it difficult to keep track of where I was lettering or exactly where my lines were connecting especially on the tracing. I found that by lightly tracing just one thin line, then moving onto a black paper for the background I was able to clearly see my work and the results were much clearer. I definitely recommend using black paper as your background.
You can see on the third ornament I did, I used black paper as the background and then once again, just freehanded. I love creating free-hand designs but I know it’s not for everyone- I’m just an impatient crafter and any steps I can save… like tracing… is a minute I would like to save!
The only other note I have about the engraver is that it seemed to slow down by the third ornament and the vibrations got a little slower making the pen jumpier to work with. I’d use fresh batteries if I was going to run this for a long time and was finding it difficult. I stole batteries from my computer mouse so blame myself for that one ;)
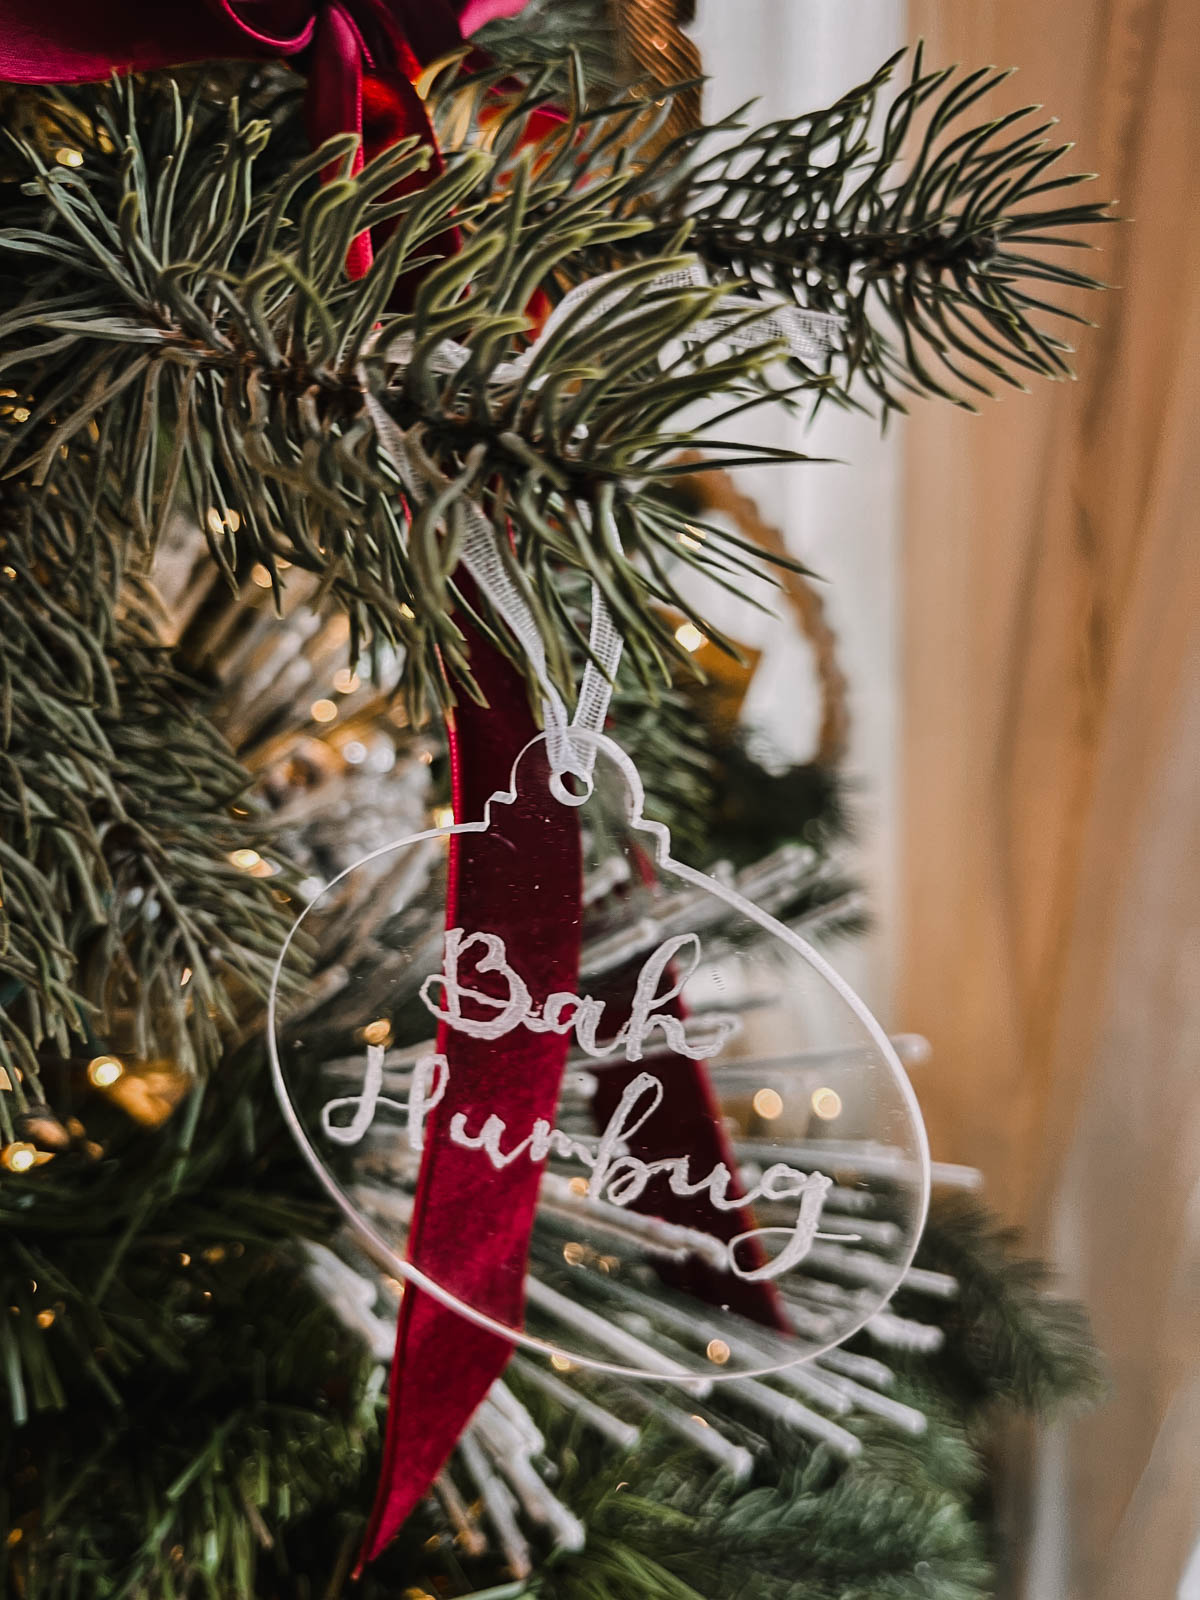
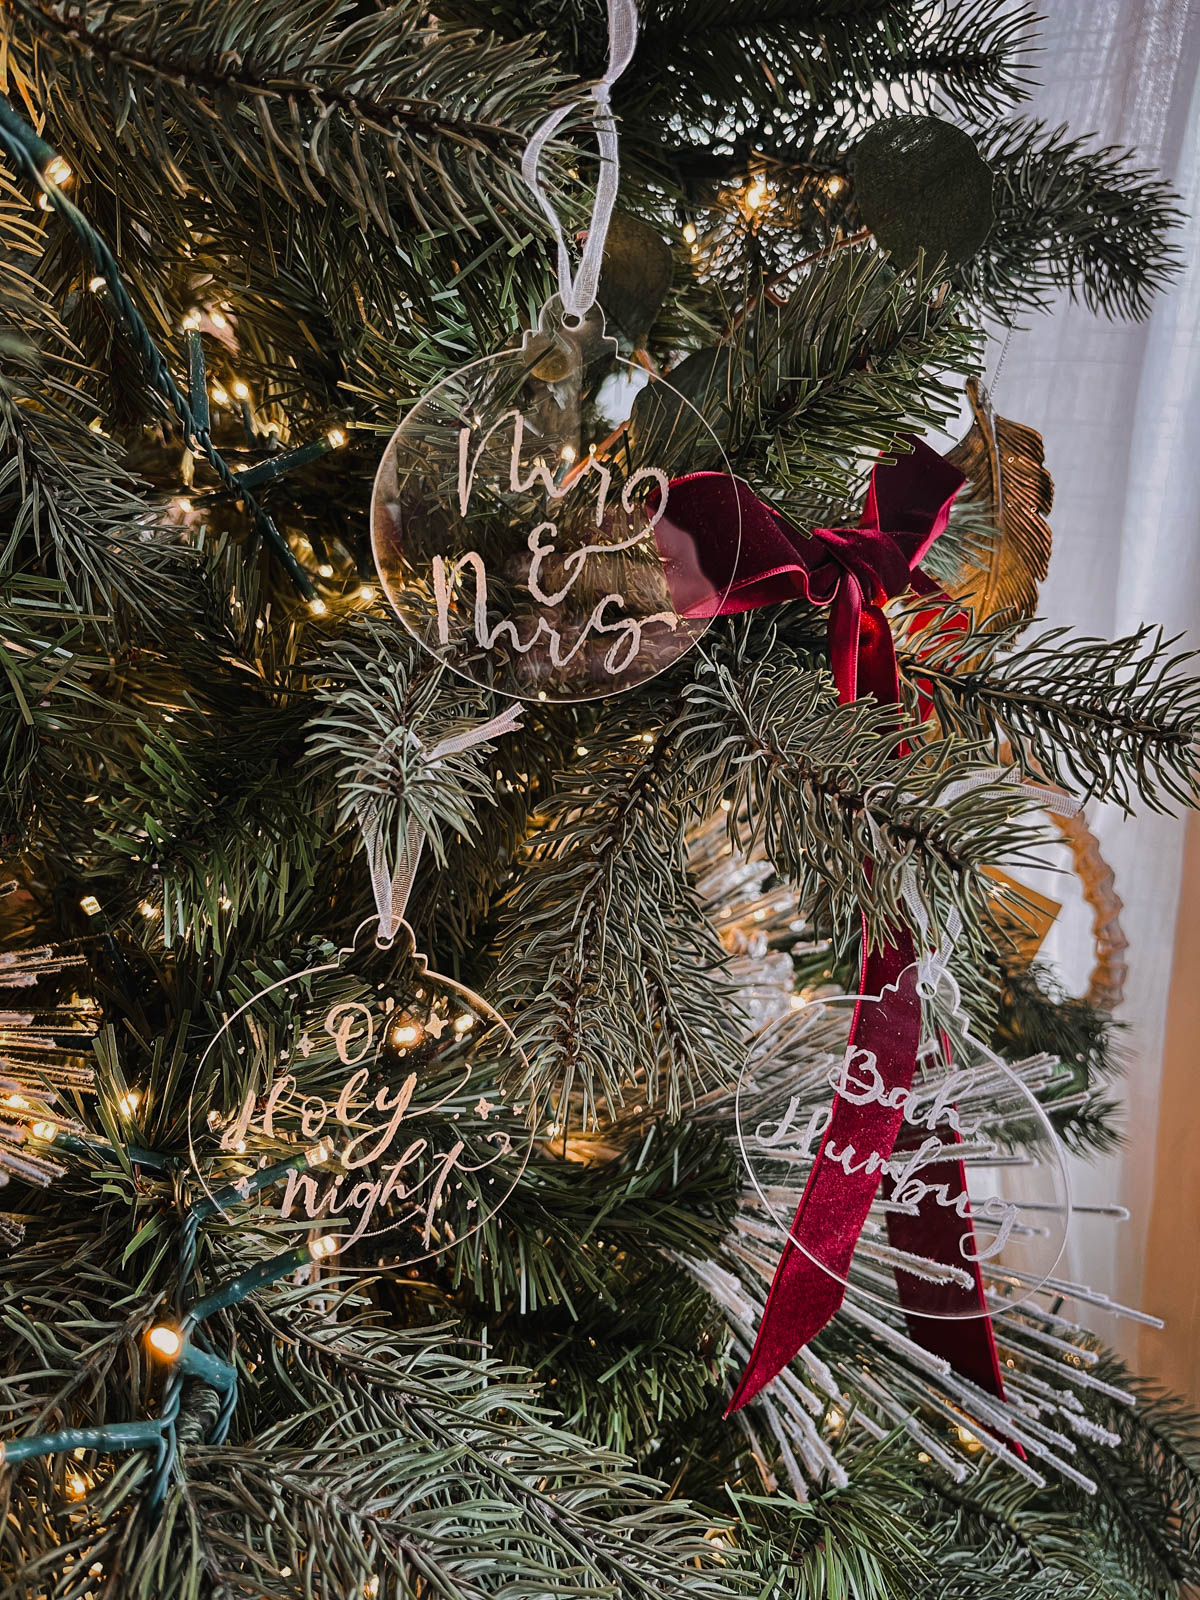
Then just tie on the ribbon to hang on the tree and you’re set! I really love how these turned out, they are classy and perfect for sentimental ornaments that you might want to have on your tree and match practically every decor style.
I’d love to know… what would you letter on your DIY engraved ornaments? If you do happen to make these yourself… you KNOW I would love to see! You can tag me on social @colleenpastoor or email me colleen(at)lemonthistle.com.
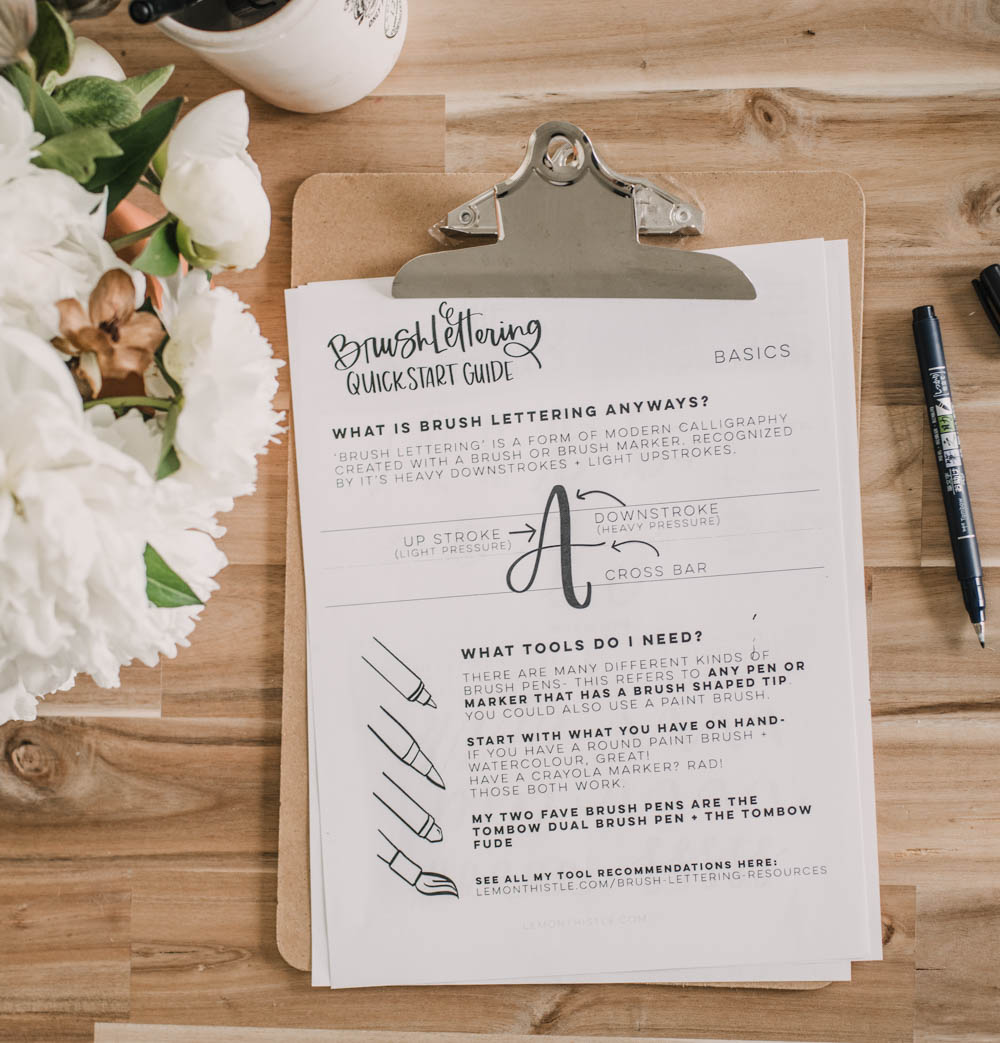
Interested in learning how to brush letter, but not ready to commit to a course?
I have a free Brush Lettering QUICKSTART guide and video training you will love!
LIKE IT? PIN IT!




 Boho DIY Tassel Ornaments
Leave a Reply