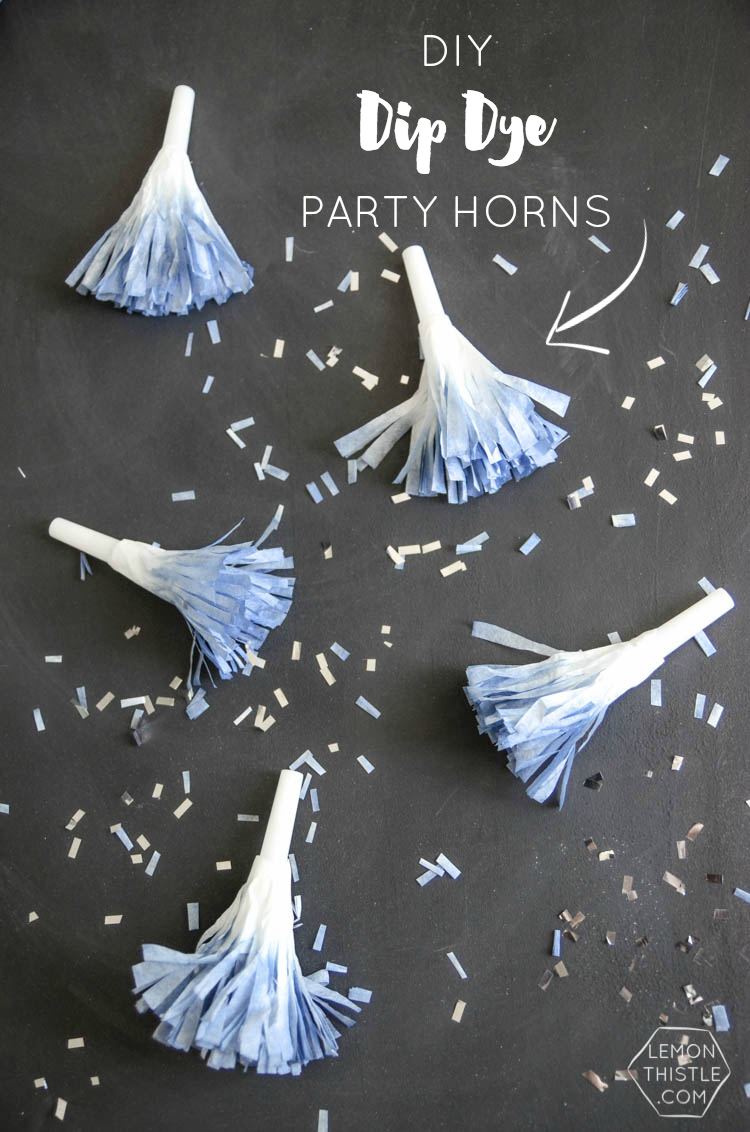
After my Dip Dye DIYs round up on Monday, I couldn’t shake the ideas! I am in love with that look and after reading through aaaaalll of the tutorials from the round up, I decided I had to give it a try ASAP. So I did (I’m not crazy, I promise). I actually bought dye ages ago to try dip dye, but I got all freaked out that it would be too difficult so it’s sat in my stash untouched. Now, I’m so excited to introduce you to these adorable dip dye party horns!
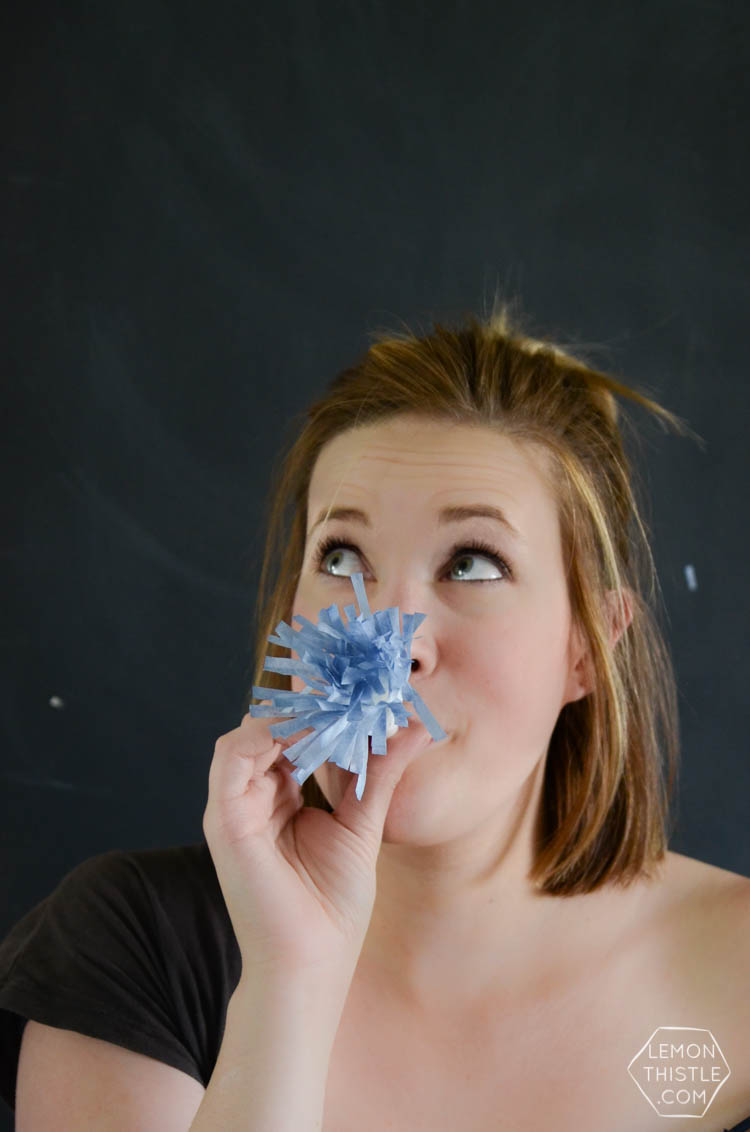
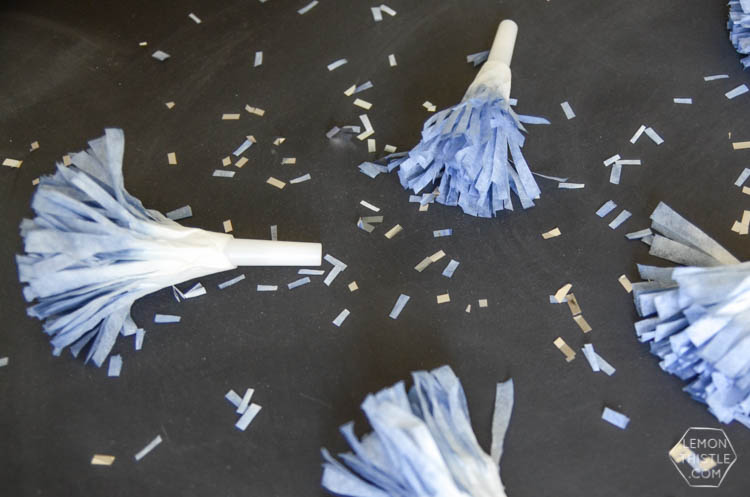
This DIY is totally inspired by Club Narwhal’s Tye Dye and Pie Party (who wouldn’t want to attend that!?). I loved her coffee filter garland and thought that would be the perfect material to experiment with dying. Other than dry time, this DIY is so speedy to pull off, and I’m kind of smitten with the look of these things! Party horns are so much fun, I can’t help but test them out when I see one- but they can be terribly tacky. I love how this DIY classes them up!
Here’s what you’ll need to make your own:
- Pack of party horns
- Double sided tape
- Scissors
- Coffee Filters (round; one per horn)
- Dye packet (I used navy, from the dollar store)
- Gloves and garbage bag
- Small bowl with warm water
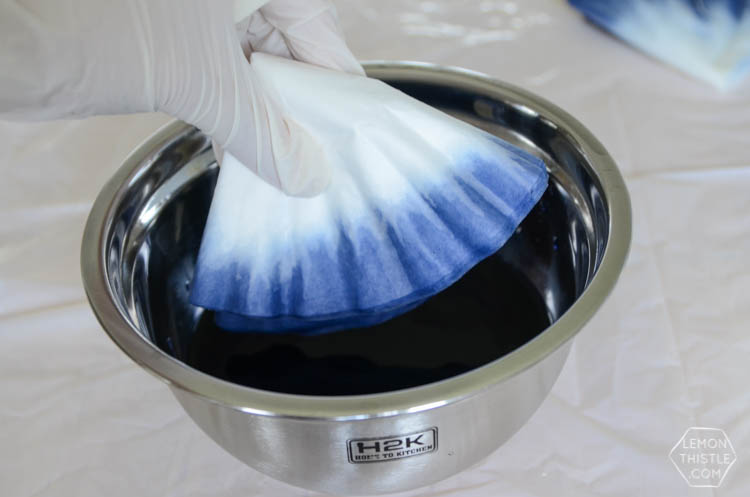
Start by dying your coffee filters. These took about a day to dry, but I dyed about 100 and left them in a stack to dry. If I was dying only what I needed, I imagine they would have dried in an hour or less. Lay out a garbage bag to protect your surface and put on some gloves. Fill about half of a small bowl with warm water and add in a sprinkle of dye until it’s the depth of colour you like. I could have probably added more dye, I realized that the colour dries lighter than it looks when wet on coffee filters. I also tried it on some fabric (can’t wait to show you that!) and it dried pretty well how it looked wet so it’s just the different medium. I folded my coffee filters into quarters to dip in the dye. I did this so I would get all the outside edges dyed without getting the middle. Dip it in for a few seconds, then remove turning upside down to allow the colour to filter through the material. I let them dry flat.
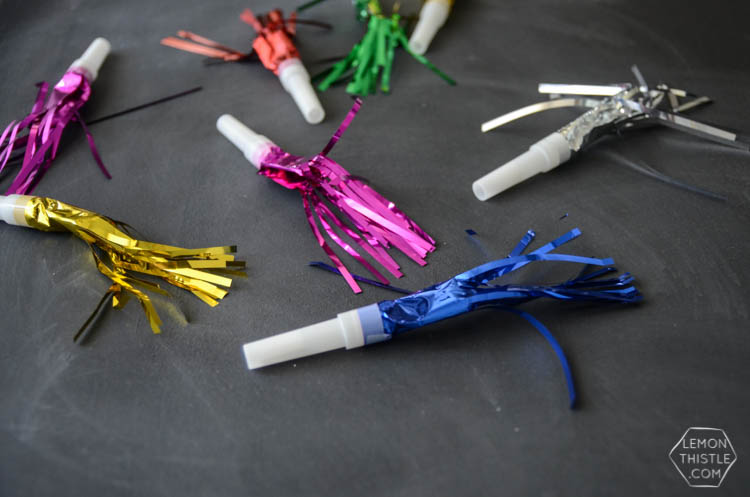
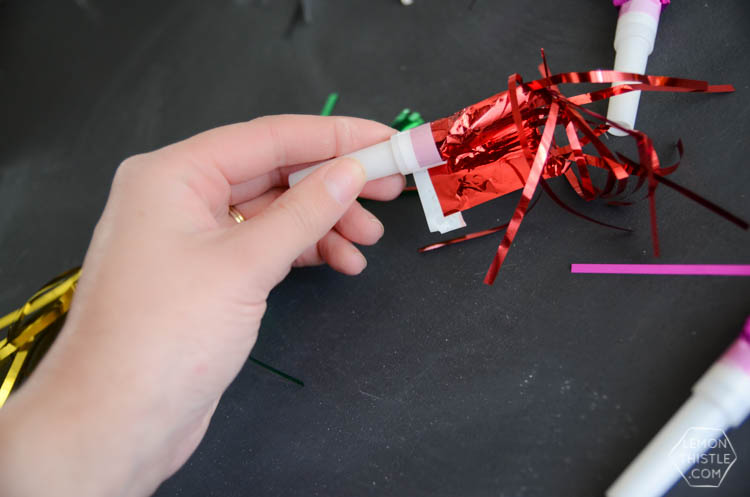
The next step is to disassemble your tacky party horns. Mine were just foil shred taped to the horn piece. Peel it back and you’ll be left with party horns that look like they forgot their party outfit.
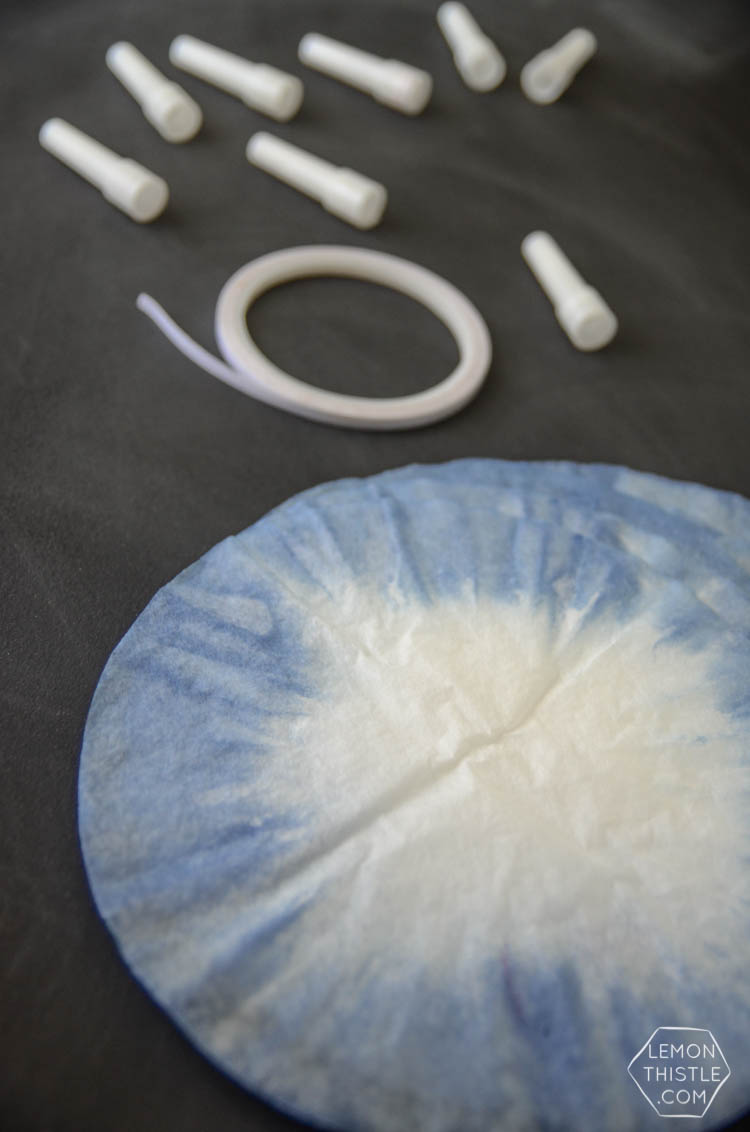
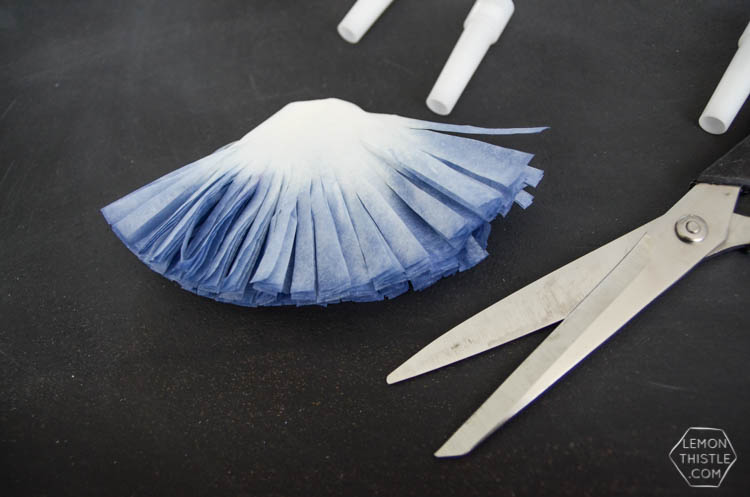
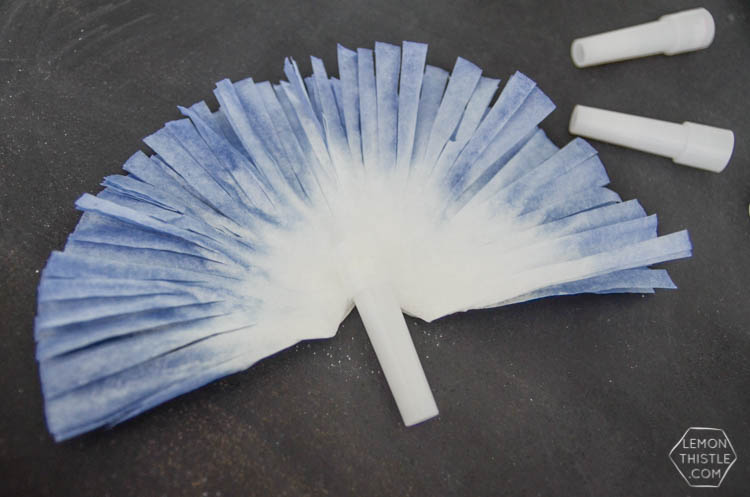
When your filters have dried, fold them back into quarters and use scissors to notch out the center (the point) and fringe the dyed edges. I left mine folded in half (not quarters) when affixing them to the party horns. Make sure to tape the fringe pointing away from the horn (and not on the end that you blow into). I wrapped double sided tape around the horn and wrapped the filter around after. You will need an extra piece of tape to tape the end down after it overlaps.
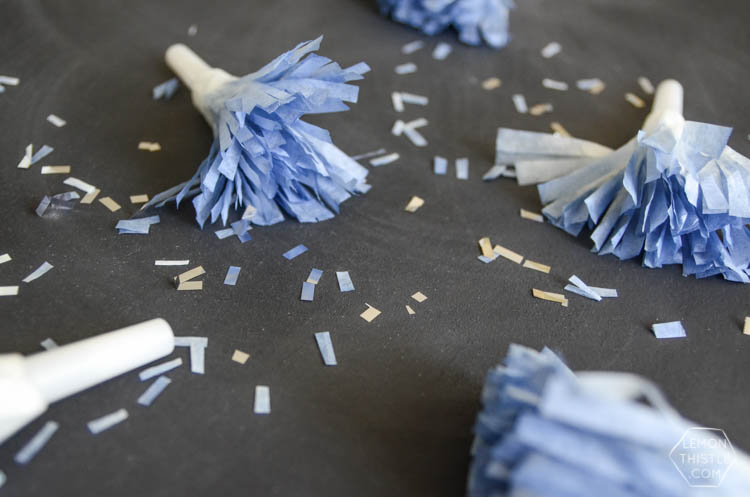
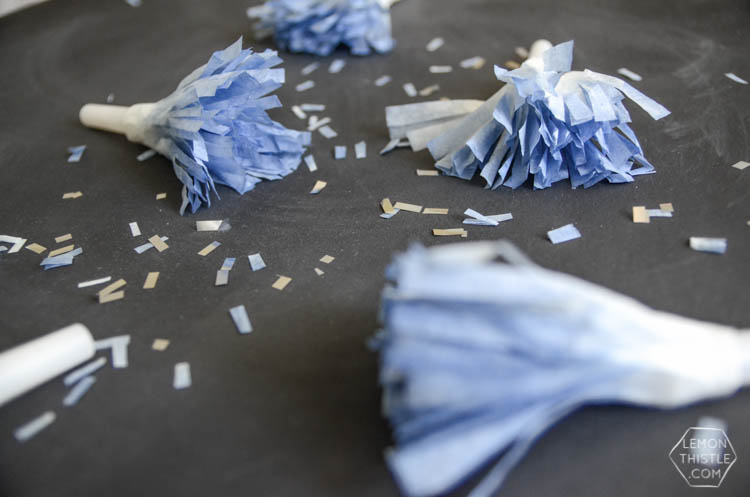
That’s it! It’s so quick to assemble once you have the filters dyed. I really love them and can’t wait to use them at my next party! I have to warn you though, dip dying is addicting! I’ve been looking for things to dye since this experiment. If my husband doesn’t stop me soon our whole house will be dipped (curtains… pillows… towels… clothes… I’m coming for you!).

 8 Dip Dye DIYs to Try
These are adorable!
Thanks so much Brie! The black background and confetti reminded me of you :)
too cute! What a great idea! Pinning away
Thanks so much Ariel! XO
Fabulous project and so happy to “meet” you on craft schooling Sunday! Hope you’ll continue to join the party, always looking for great crafters like you for the features!
Thanks so much for stopping by Sara! It’s always great to ‘meet’ a fellow crafter :)
How cute and festive- thanks for sharing at the #HomeMattersParty
Thanks so much Vickie! Appreciate you stopping by :)