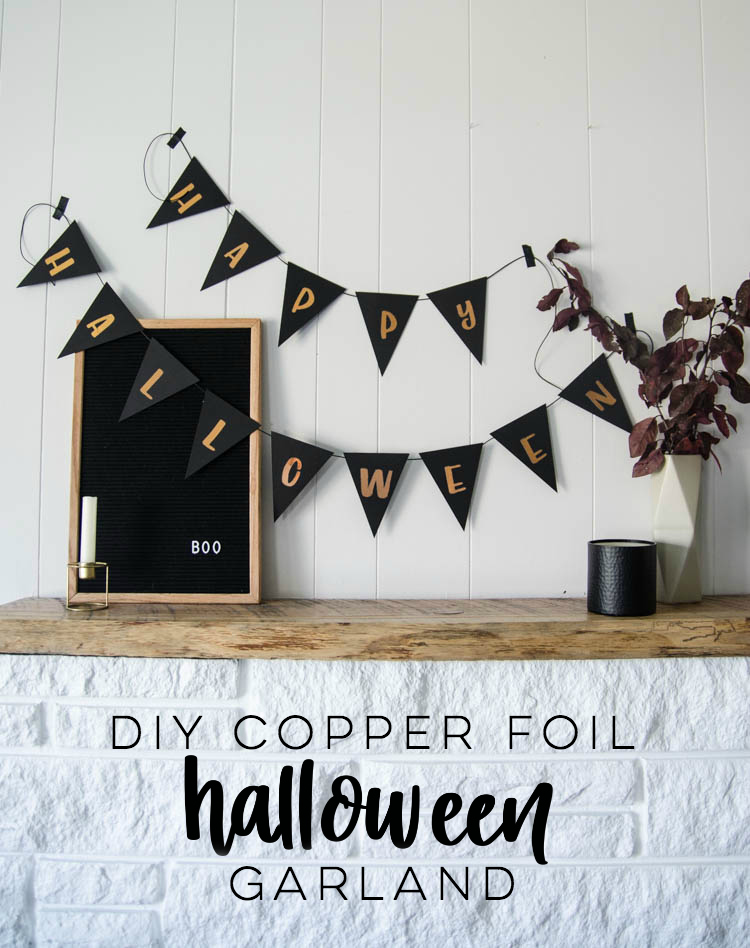
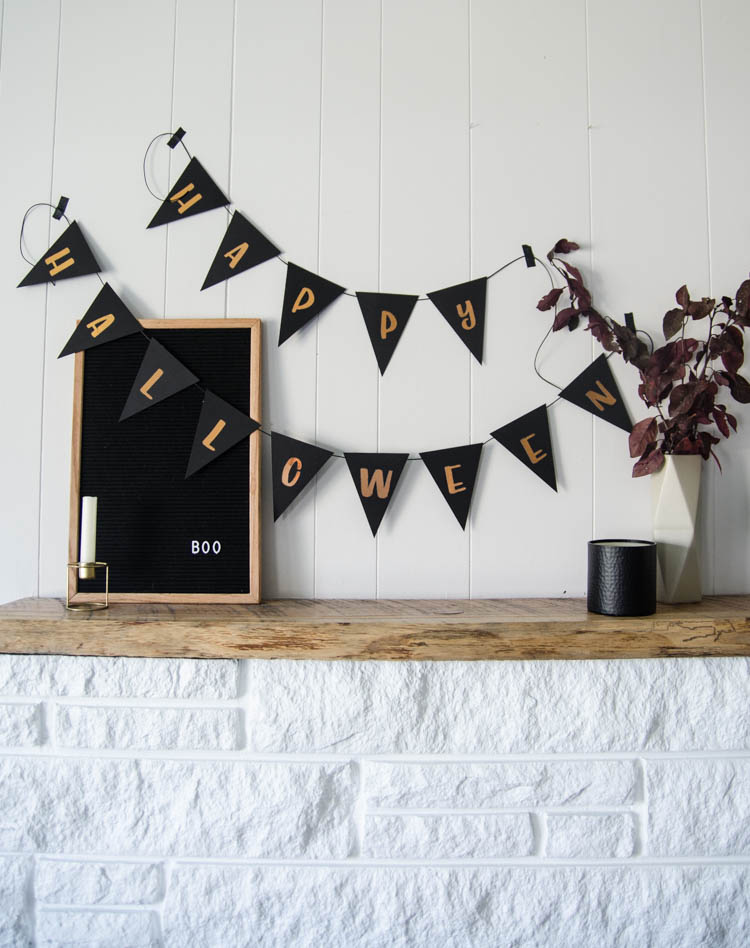
I spent the weekend hanging out poolside for a bachelorette party- it seems crazy to come home and be writing a HALLOWEEN post! But in less than a month this baby will be on my mantle full time as we get ready for the holiday. Fall always sneaks up on me and this year I’m trying to be better prepared for the holiday. Today I’m excited to be sharing this DIY copper foil halloween garland.
You guys know by now that I LOVE the look of foils and have played with pretty much every adhesive DecoFoils work with to get different foiled looks but there’s one product I’d never tested out… and that’s what I used this time around! I finally got my hands on a laminator and did some foiling on toner… it gives such a smooth finish! Ready to hear all the details? And grab the free cut file for the handlettered ‘happy halloween’, of course ;)
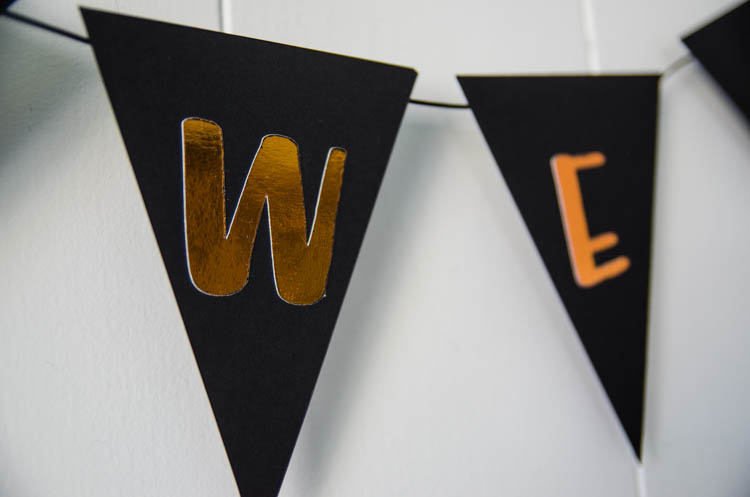
To make your own DIY Copper Foil Halloween Garland, you’ll need:
- Black Cardstock
- Paper Cutter
- Happy Halloween Template
- Deco Foil PeelnStick Toner Sheets
- Laminator
- Cricut or a craft knife and patience
- Copper Deco Foil
- String, Scissors & Tape
The first thing you’ll want to do is download my hand lettered ‘Happy Halloween’ template and either load it into your cutting machine software or print it out if you are cutting by hand.
You’ll be cutting this out of the Deco Foil PeelnStick Toner Sheets.
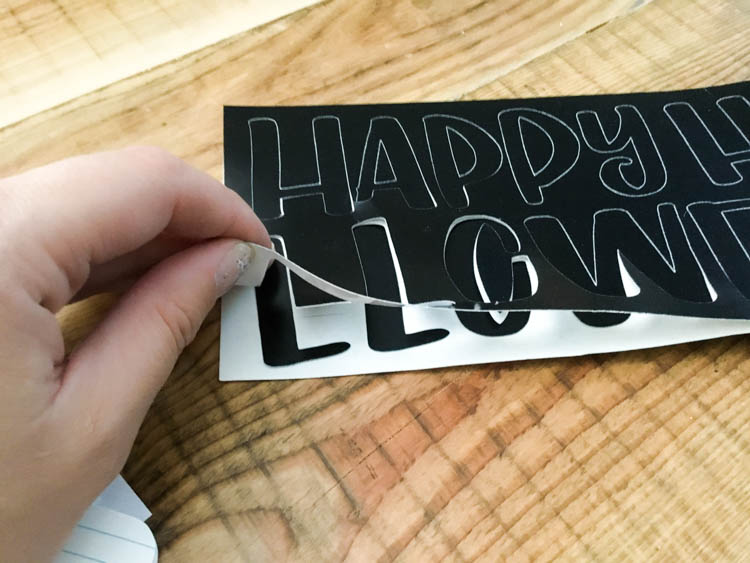
If you’re using a Cricut- the setting I used is ‘thick cardstock’ and this gave me the kiss cut you see- where the toner sheet was cut but the backing wasn’t. This made it nice and easy to run through the laminator. If you are cutting by hand, you’ll want to trace the template onto your toner sheet (I am thinking the easiest way to do this is pressing firmly with a ballpoint pen to transfer an indent to the transfer sheet).
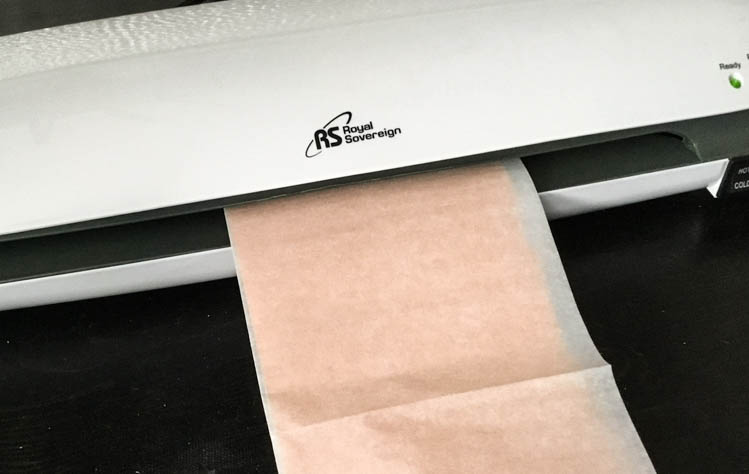
Once the letters are cut, you can lay your foil (shiny side up) over the transfer sheets and cover it with the parchment that comes in the toner sheet pack. Run that through the laminator (hot setting, after letting warm up for about 10 minutes) and let cool before you peel back and reveal your foiled letters!
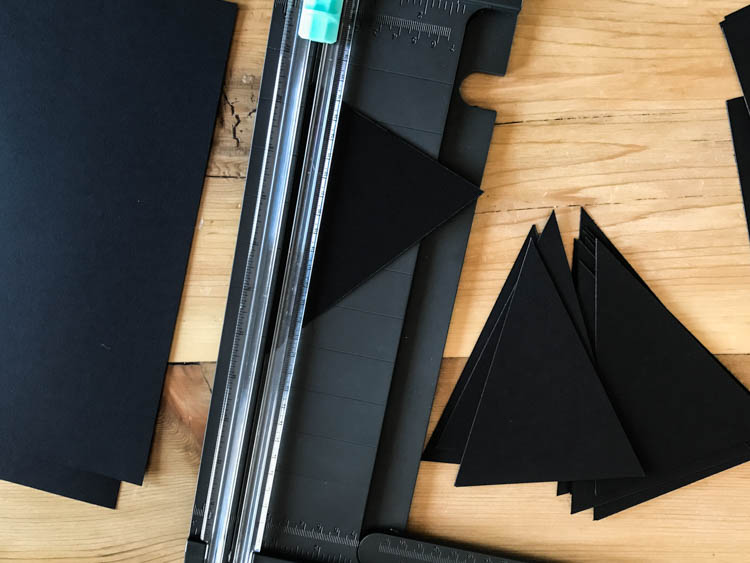
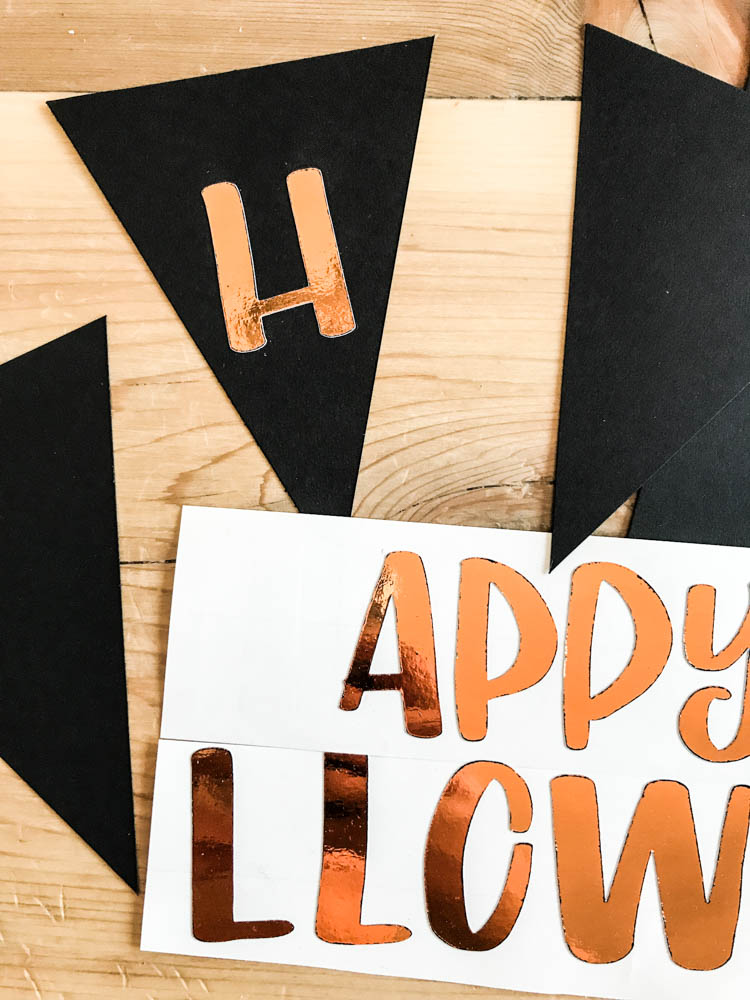
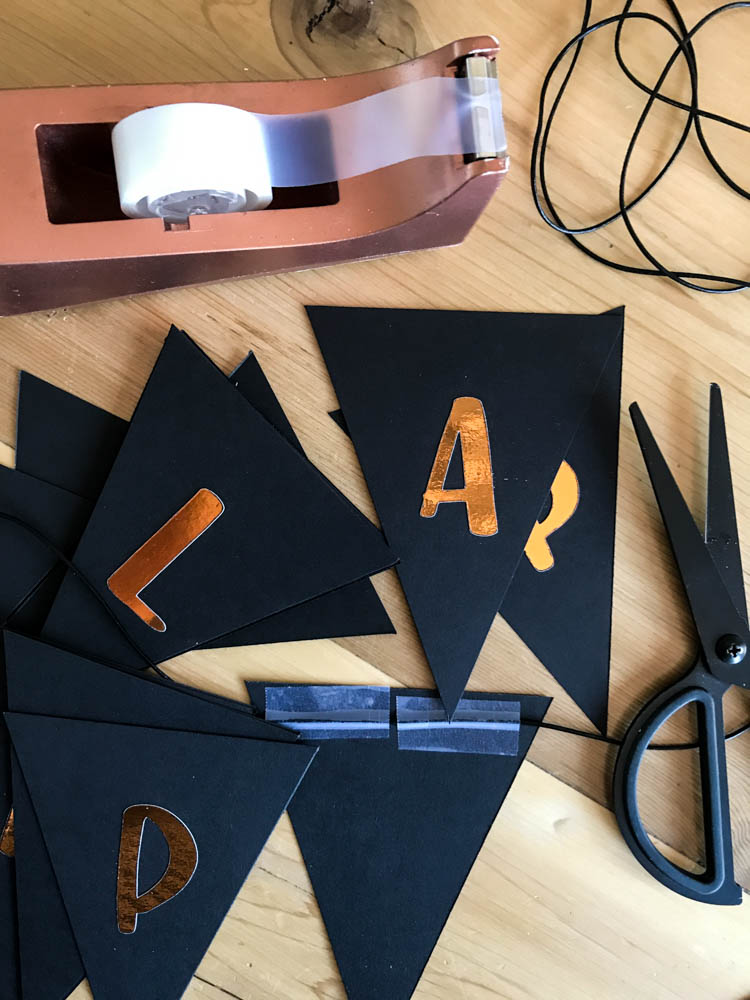
Set those aside and cut your bunting triangles! I used a paper cutter and did this by hand but it would have totally been quicker to cut them using my Cricut. Stick your letters on (they’re stickers!!) and tape your cord/string to the back of each bunting to create your garland.
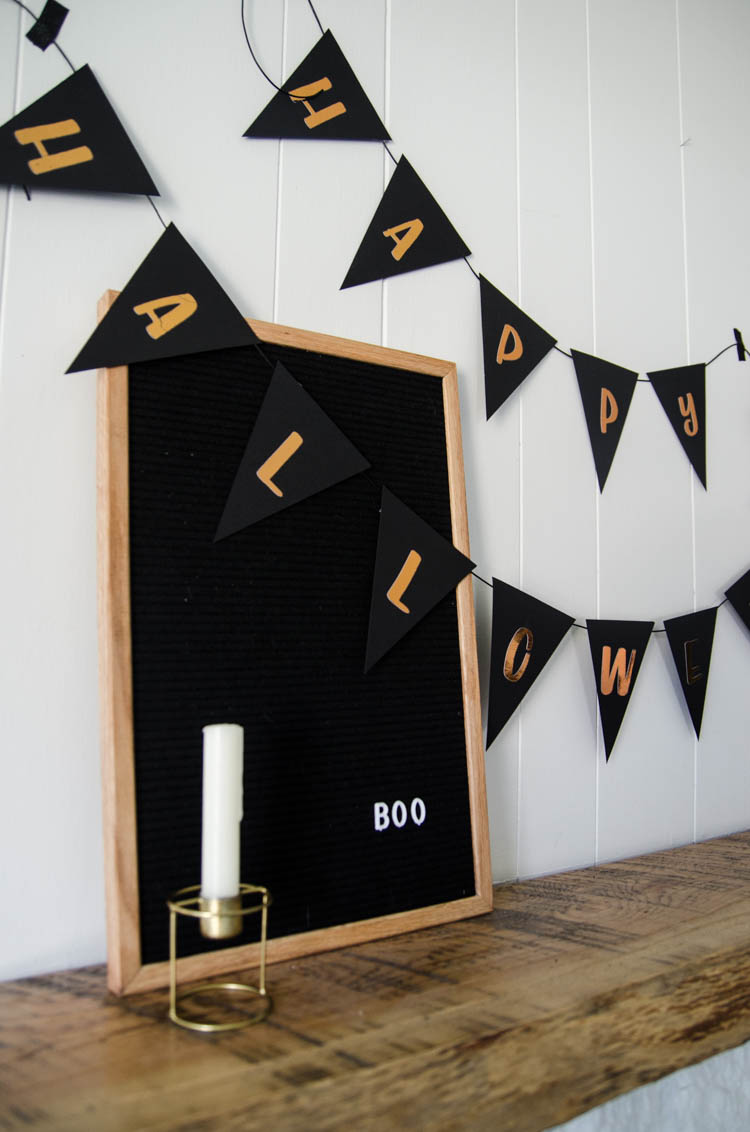
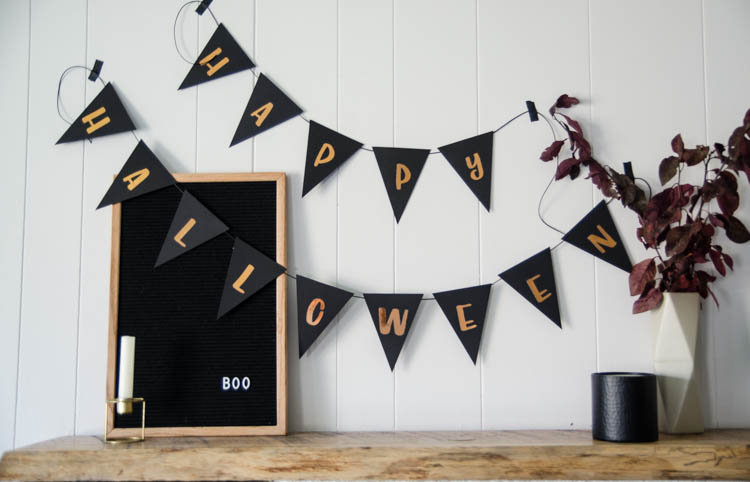
THAT’S IT! My head is swirling with ideas for foiled stickers using these sheets, you guys! Monograms? Holiday cards? So many options!


 Welcome Autumn Wreath
Is the download for the Happy Halloween banner still available?