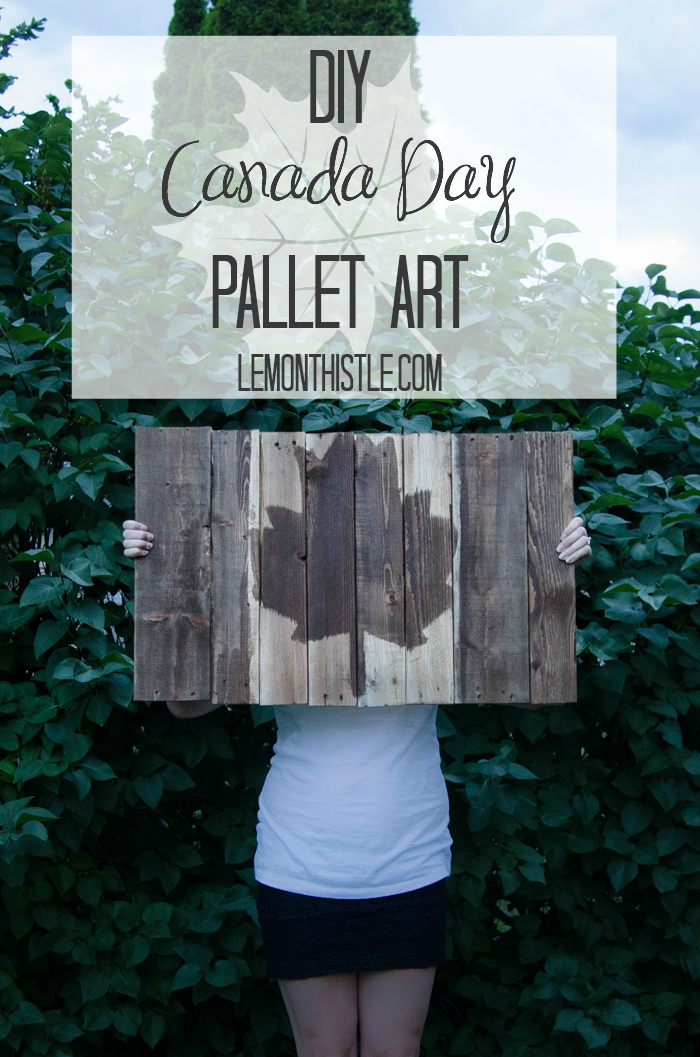
I know blogland is filled with redwhiteandblue right now, but us Canadians are looking forward to Canada Day this Tuesday! I’m sure it’s the same everywhere in the world, but most patriotic decorations can be so tacky! Red and white all over- I was in a store yesterday and thought about taking a picture of the seasonal aisle for this post but there were too many people around I thought I better not. I’m sure you get the picture anyways. I was inspired by Craftberry Bush’s take on Canada Day decor with her woodburned coasters (an Indigo copycat I love) that I thought I better make myself something too! This Pallet Art fit the bill perfectly. And it’s really not hard to make (making a different flag would be easy too!).
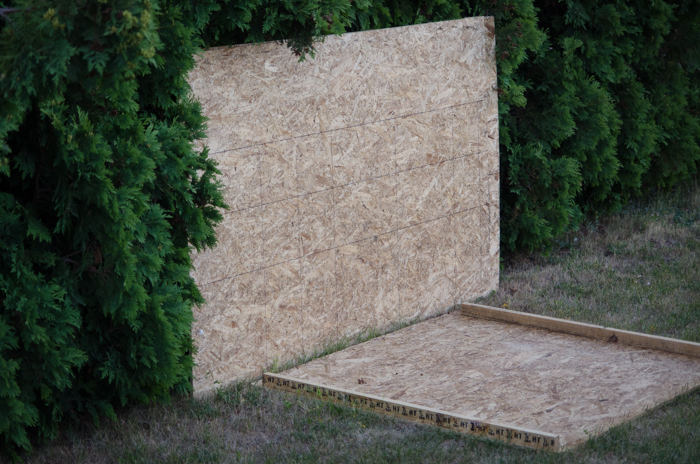
Can we talk pallets for a minute? Since we bought our place and I started doing pallet projects, I’ve learned a few things. Not all pallets are equal- some are much uglier than others, but they work well for rustic projects that live outside your home. I’ve learned they can be a pain in the butt to pull apart (so I’m working out the best way to do this- then I’ll share with you). And this is the biggest/best thing I’ve learned. Businesses/People want to get rid of them. You’re doing them a favour. One of my Dad’s good friends owns a business where they get shipped small tractors and such. Every time my Dad meets up with him for dinner, he picks up a pallet and drops it off for me. The other thing that’s used to package these tractors? Plywood. The cheap but super sturdy pressboard type. And they just throw it away! See the picture below for what I mean. That’s a lot of free wood. Ask around, I’m sure you’ll be able to get plywood for your projects for free too. You’ll just need to pull 1000 staples from it- but once you get going, that goes quick. Does that blow your mind? It blows my mind. Anyways, on with the project.
All you need to create this project is plywood for backing, pallet wood for the face, and stain to paint your design. For tools I used a circular saw, drill, and 1 inch screws. Oh, and a tape measure- a bit of math is involved. Before I started, I did a bit of researching on the flag- width vs height and how large each part was proportionally. Once you figure out how big you’d like it, go ahead and get cutting. I decided I’d like mine 20″ by 30″ which worked great for using the pallets because each piece of wood was 40″ long (so I’d get two out of one). I’m assuming you’ve already pulled apart your pallet- just use a hammer and small pry bar and you’ll be on your way :). I used a circular saw to cut all the wood for this project- I did the cutting on my own so don’t have any photos of that, but a circular saw works just fine for cutting all these pieces. I’m using my flag for our backyard, so I didn’t mind if cuts were a bit crooked. To be more precise I could have used a table saw for the plywood and a chop saw for the boards, but when it’s just me around? I stick to the circular saw- it’s easy. Just keep in mind that your plywood backing should be a bit smaller than your front pieces so it’s not sticking out around the edges. I ended up trimming mine down to avoid this.
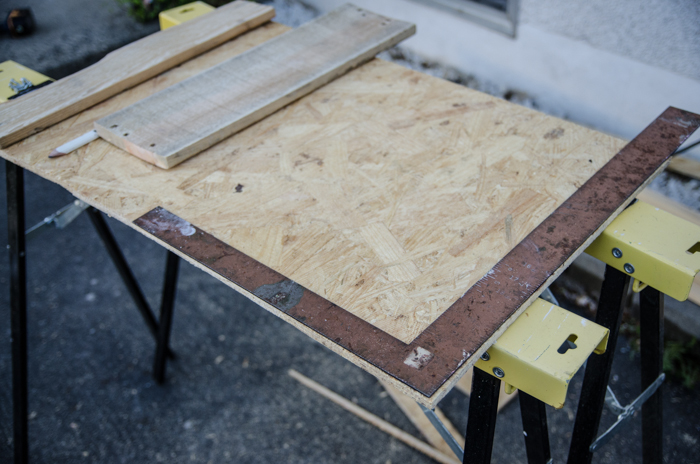
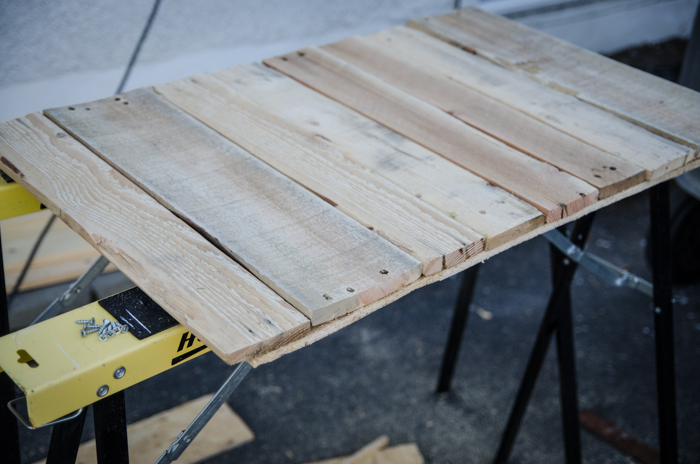
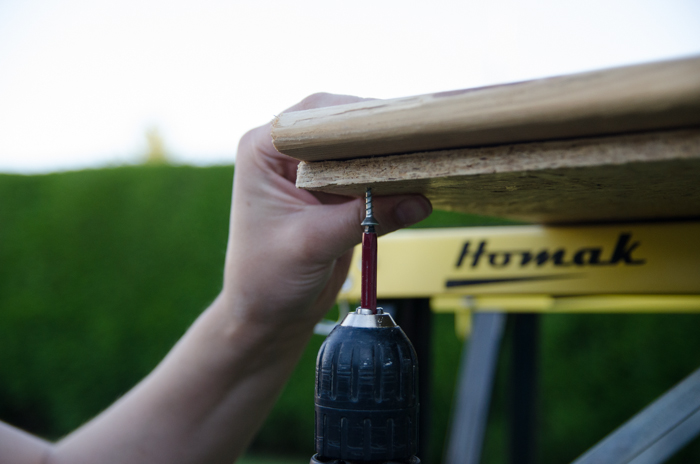
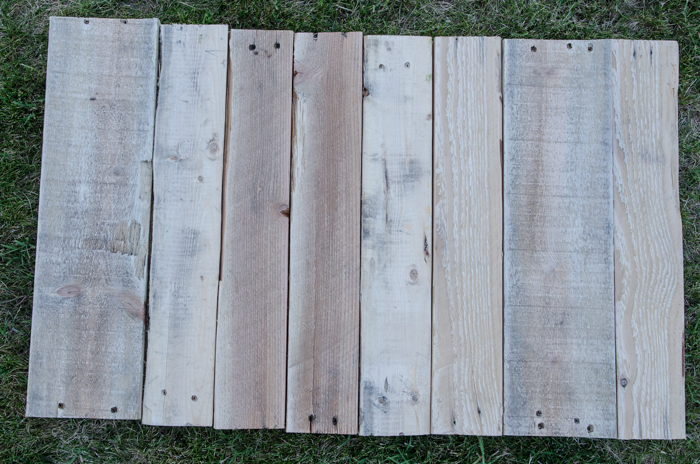
Once all your pieces are cut, lay them out on the backing how you’d like them to be arranged. Give the pieces a good sanding to smooth off the really rough parts. When you’re satisfied with how it looks, you can start assembling it. Use your drill to screw through the backing and into the top boards. I did this on sawhorses so I could leave it assembled. The screws need to be just barely longer than your ply wood backing is thick. For me that was one inch. I screwed one on each end of each board before flipping the board upside down to add some down the middle. Adding extra screws sucks the boards tighter to the plywood, closing up gaps.
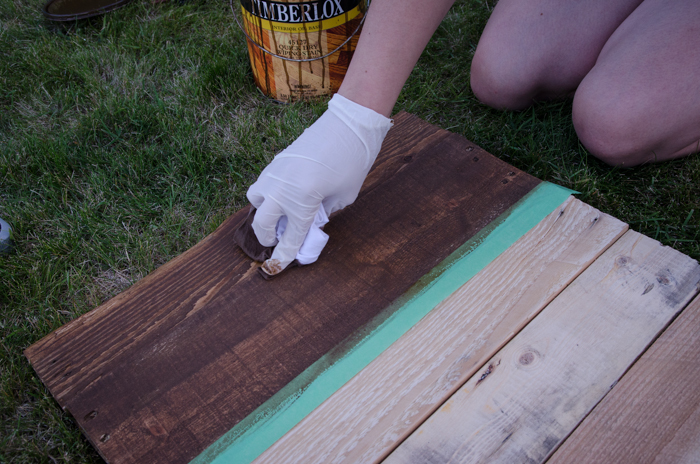
Now the artsy part- get staining! I taped off the edge panels of my flag and stained that with a rag. I later decided that I didn’t like how neat the lines were so brushed them out with a paintbrush. I free handed the leaf- I wasn’t going for a perfect, straight lined maple leaf. If I was… I would have taken the time and taped it off. In a perfect world, I would have used two stains- one for the darker colour, one for the lighter. Since I had leftover floor stain, I used that, and I was aiming for this project to cost $0, so I just dry brushed some of the same stain on the lighter parts to get an aged look. The only thing this project cost me was my time (disassembling the pallet and pulling staples from the plywood was time consuming!). The screws I used came out of the packaging for our new windows- you can call me cheap, I’ll go with resourceful ;).
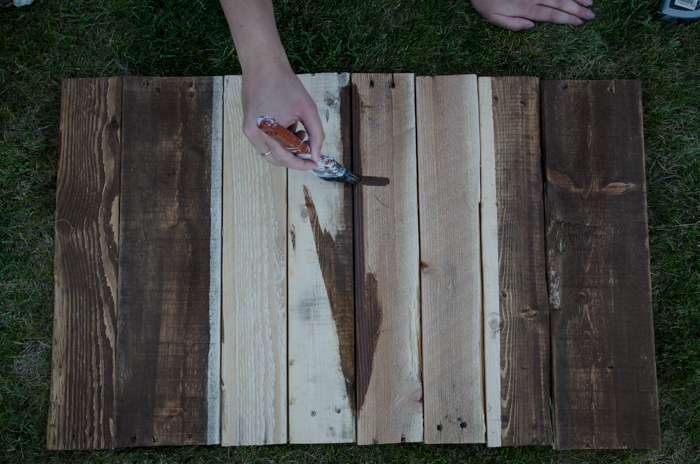
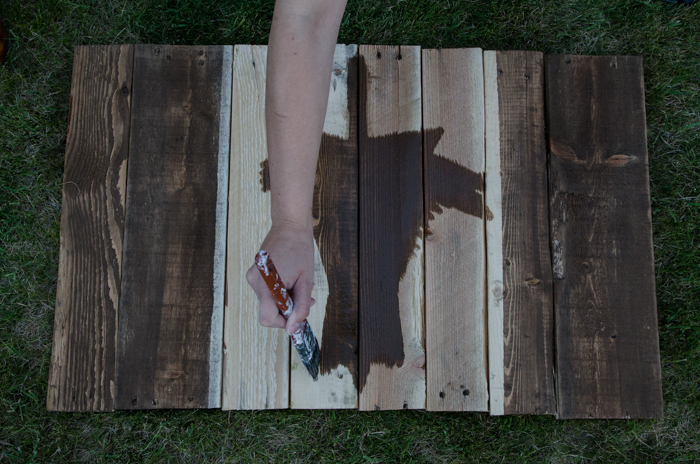
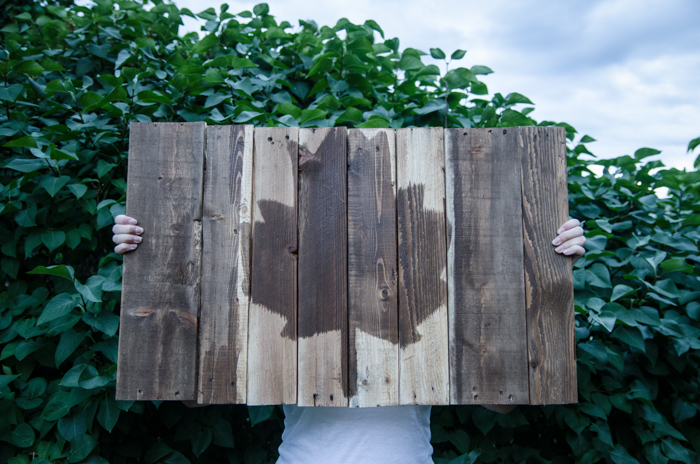
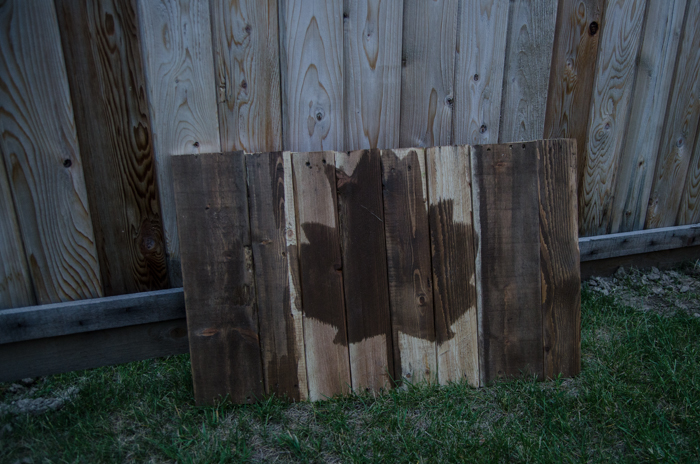
That’s it! Let it dry before hanging it (ours is going on our new fence in our backyard). It wasn’t dry when I took these pictures (#impatient) so you can see the darker spots are the ones that were painted last. Also- you could put a clear coat over top to seal it from fading. I like the way it looks without one so didn’t bother, but if it starts aging really quickly, I might do it then.
Are you crafting anything patriotic this year? I’d love to hear what you’ve got up your sleeve!

 Snail Mail: Puzzle Love Notes
I love all your pallet projects! I’m going to have to steal some of them (but probably not this one, ha!) since I have a ton of pallet wood in my garage now! :)
And to clarify, I’m not stealing it because I’m not Canadian, not because it isn’t adorable! It totally is! :)
Haha! I laughed when I read part 2 of your comments- I assumed that’s what you meant, but reading this I can imagine someone taking it the complete wrong way.
I’m so excited to see what you make with yours! Way to go getting them disassembled- that’s half the challenge ;)
Lovely! I may steal this idea. Our only patriotic craft type projects are a red hand print on a white tshirt so that we are parde ready!
We don’t have a parade here! Maybe we should move up north with you… ;)
Happy Canada Day from a fellow canadian blogger who calls Calgary home. Love your maple leaf pallet. It has sort of a vintage feel that I really like. As for me, wearing red today and making scones for strawberries and whipped cream with a wee flag on top. Visiting you via “ShareItSunday” linkup
Happy Canada Day to you too! I have family in Calgary, I might have to drop you a line next time I’m headed that way!
Thanks for us crazy Canucks at this time of the year. It is nice to know that we are remembered and thought of. Thanks so much.
Brian Spence