I’m back with another easy wreath DIY- the last of my impromptu wreath week! And this one is Shane’s favorite… maybe it’s because there was no mess when I made it. That’s probably why! I love how this one is rustic but with a bit of sparkle. It could fit with glitzy decor or the most simple. And it cost me next to nothing (my favourite kind of DIY). Want to know how I made it? First… let me show you how it started.

Bahaha. Bad, right? I found this wreath at the dollar store for a couple bucks and thought- that’s the cheapest wreath form I’ve ever seen! (Well- other than this one). So I got it home and the garland wound right off. Here’s what I was left with.

Now it was time to get crafty. I went with my sister-in-law on the Homes for the Holidays tour (it’s a fundraiser I shared a bit about last year) and I saw this gorgeous wreath made out of… well this stuff. And I knew I could replicate it. The one from the tour was a bit more glitzy- I could ave added glitter to the burlap to bring it there but I loved it as is so I didn’t want to push my luck (and Shane said no glitter… so we were both happy).


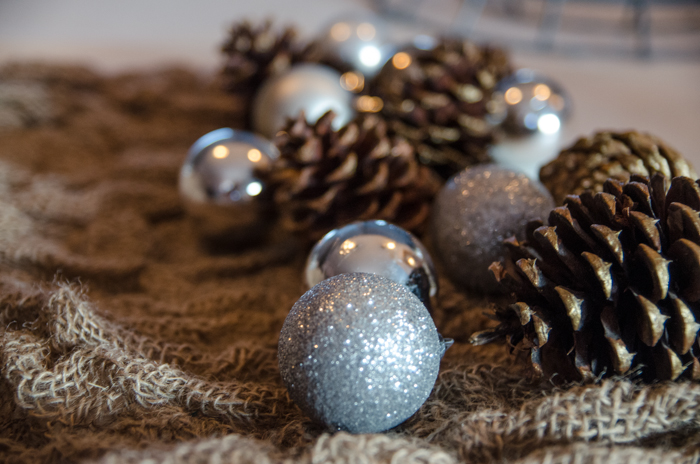
I had the burlap and the gold tipped pinecones from my Cozy Christmas party last year but if you don’t have those it’s still affordable. The pinecones were collected from a friends yard- then painted the tips with acrylic gold paint. The burlap is actually tree wrap (the stuff you get in the gardening section at Walmart to cover your plants in the winter) so it’s dirt cheap. I threw it in the wash a few times to get rid of the smell and it got this cool crinkled look. I picked up some plastic baubles from the dollar store as well but when I ran out of those I used some glass ones that I had leftover in my Christmas bin.


Once your wreath form is ready to go, start by cutting burlap strips and wrapping it to cover the plastic. This wreath form had hooks that I could hook the burlap on without a glue gun. I glued a few pieces to make sure it stayed put. When your base layer is on, you can start gluing pinecones and baubles on. make sure you press them until the glue hardens- and make sure that they are gluing to the wreath form and not just the floppy burlap. You can sing ‘just keep gluing’ as if you’re Dory if you like. Because you’ll go through more gluesticks than you thought imaginable. When you’re happy with the pinecones and baubles- move on to the ruffled burlap. I folded the edges under to glue, then glued bunches around the ornaments and pinecones. This made the wreath look so much fuller!


That’s really all there is to it. Just keep gluing. If you wanted to glitz it up (and your hubby doesn’t have an aversion to glitter due to a glittery tree skirt) then go ahead and spray some glitter on too! Have you ever made a wreath? I had to laugh because my sister in law just made a bauble wreath that she found instructions for on Pinterest and her one complaint was that the instructions basically just said keep gluing until you’re happy. And that’s kind of what I’m saying too! But I’m not sure what else to say- so if you have questions, please ask and I’ll update this post!

 DIY Flocked and Tartan Wreath
Ooooh, I love this one! I may just have to Pin this for next year! My only question is, where can you find just a small amount of burlap?? Other than stealing a potato bag from a grocery store, I’ve only seen large amounts of it. (Then again, I’m sometimes oblivious and could’ve walked right by some in the stores.)
Thanks so much Kara! I bought a TON of it in a tiny little package of tree wrap from walmart. It’s not the highest quality but for what you pay-it’s awesome. I have extra for sure, but I think the pack cost me five bucks.