In this guide, we cover the different types of wood that you can purchase for your DIY projects or basic woodworking projects. From softwood to hardwood to plywood and other considerations, let’s dig in!
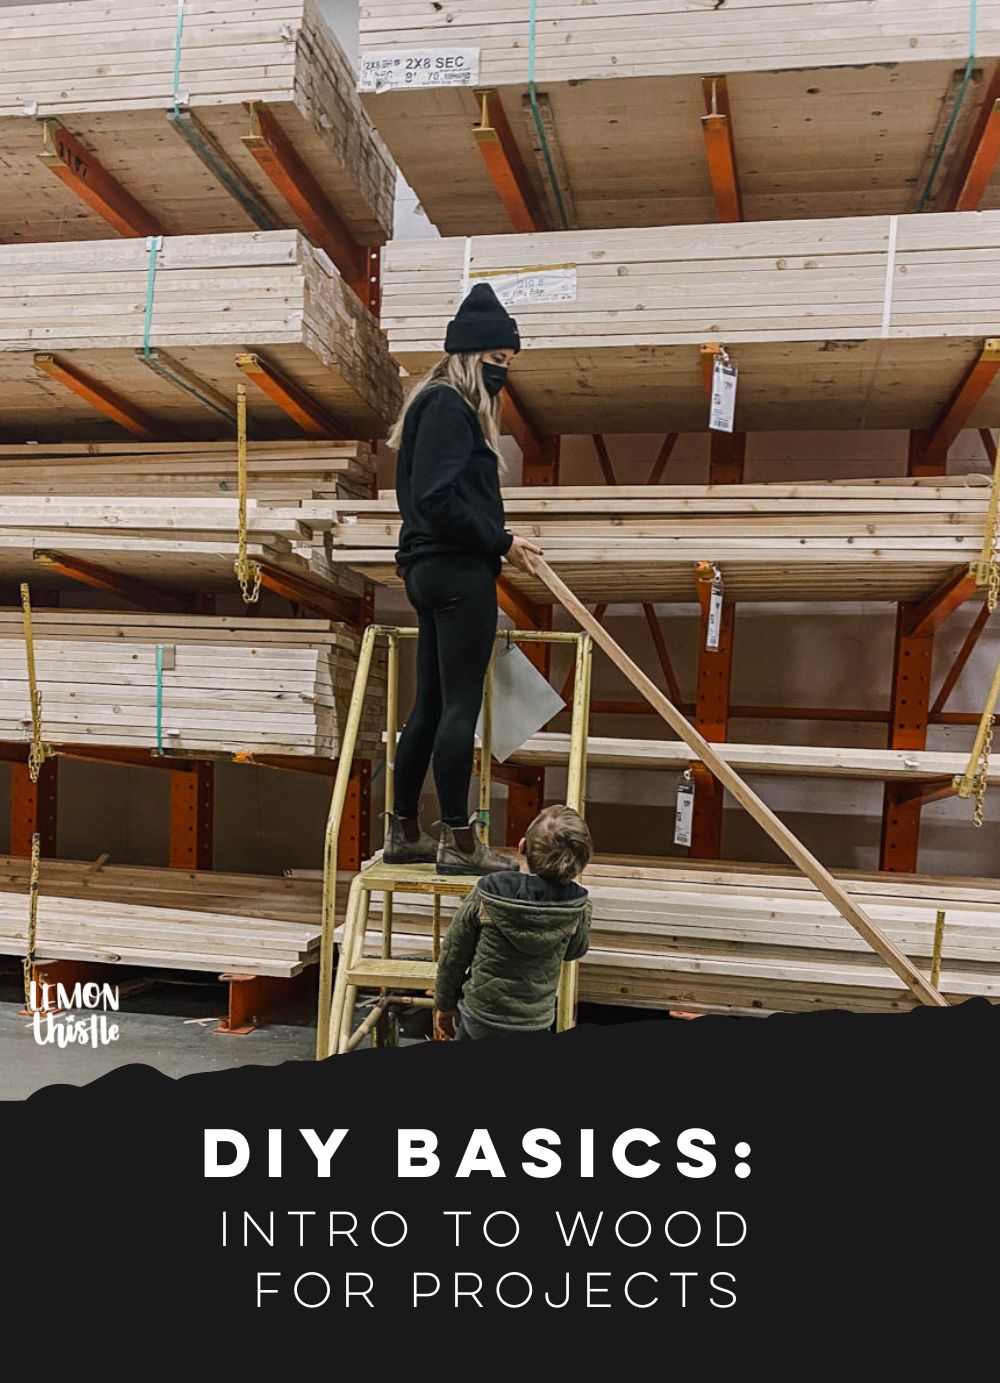
Welcome to my new series- DIY Basics! In this series, I’ll be talking about tools and materials you’ll be seeing in DIY tutorials and that you might be needing as you take on projects of your own.
These posts are also going to help you feel confident when you walk in to the hardware store to buy materials for your project. When the staff in the lumber section says, ‘you mean you want 5 1/5″ wide wood?” You can confidently tell them exactly what you’re wanting without questioning yourself.
I’ve been hinting these were in the works for quite some time but I’ll be honest with you… crafts and decor are way more fun than the technical bits for this girl, so it took me a little longer to hit publish on these than some of the other posts I’ve been working on.
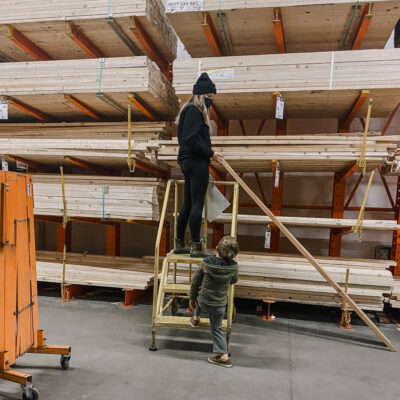
Last weekend we hit the road and worked on a fence and deck for friends of ours in another city. My girl friend and I went to buy all the materials, it took 3 different home improvement stores to get what we needed due to stock availability. I’m not sure my husband has ever run into, ‘I think what you mean to ask for is X’, but that’s a different blog post, I’m sure ;)
After spending the day talking treated lumber, board length and plywood thickness, I was reminded how helpful it is to know what these terms mean so I got to work on polishing this one up!
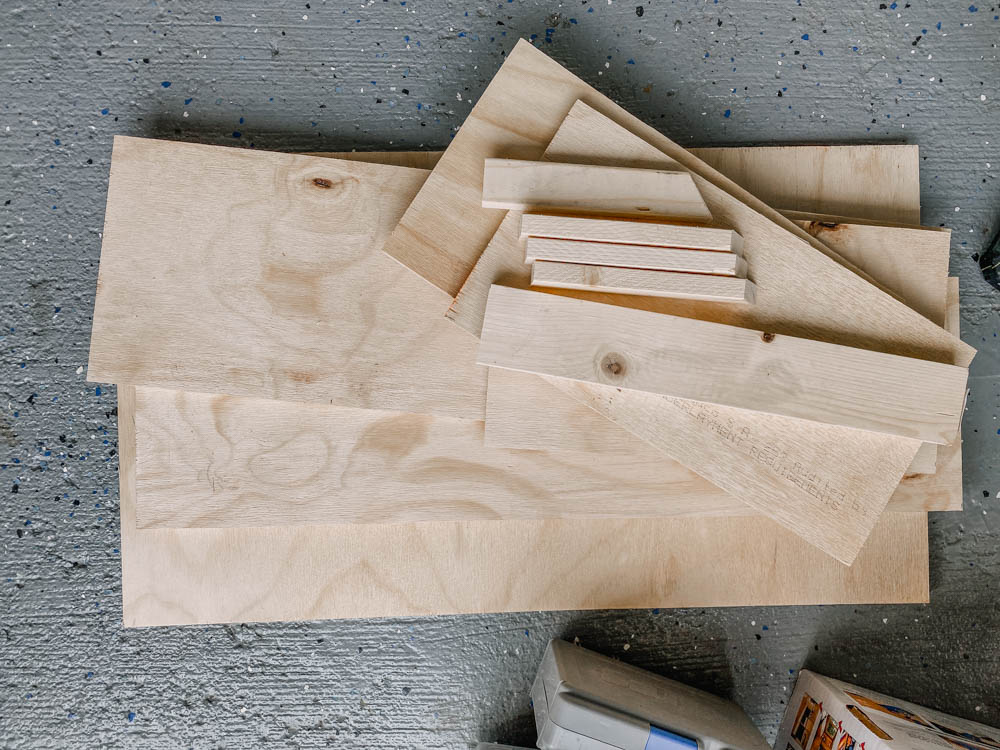
This series is going to be largely pulled from my book, DIY Backyard Games, that was released last year. The first half of the book is DIY basics specifically geared towards creating DIY projects in the book. I’ve taken some time to supplement the section I pulled from that chapter to apply to multiple projects but these guides will be mostly geared towards DIY projects. So not building a house or serious construction projects ;)
I’ve done my best to take the terms that you’ll hear in hardware stores and tutorials and describe them in everyday terms that everyone can understand. I love teaching and no matter what subject I’ve taught over the years whether in person or online, I really enjoy making something that seems complicated really, really simple.
So that’s my hope with these guides, that you’ll walk away saying that it’s actually not complicated at all.
This is the first guide in the series- I’ll be covering various tools and materials that are used in DIY, but if you have a topic you’d like to see covered, feel free to shoot me an email and drop me a comment as well!
This guide is all about wood!
Specifically, the different types of wood that you can purchase for your DIY projects or basic woodworking projects. If you’re new to DIY or building, walking into the lumber section of the hardware store can be overwhelming. There’s every size and you can pay 3x more for the same size in a different type of wood. So what’s the deal? In this post, we’re going to go over the basics.
What I’m not going to tell you though?
Is which wood is the best wood for your specific project. Of course, there’s more than one good choice and which is the top choice for your specific project will depend on so many factors… like your budget, where the project will be used (indoor or outdoor?), how sturdy you need your project to be (for heavy-use items) and even your personal preference for the tone of the wood.
As I describe each type of wood, I’m going to note a few project ideas that that type of wood would be an ideal choice for.
Let’s start with the two main types of wood products available for your various projects: hardwood and softwood.
Hardwood
Hardwood is exactly what it sounds like… harder wood. It’s more dense so often heavier and you’ll notice this when you’re carrying it compared to carrying something softer like cedar. It is more durable that soft woods, if you press into it with a clamp or your fingernail, it won’t dent.
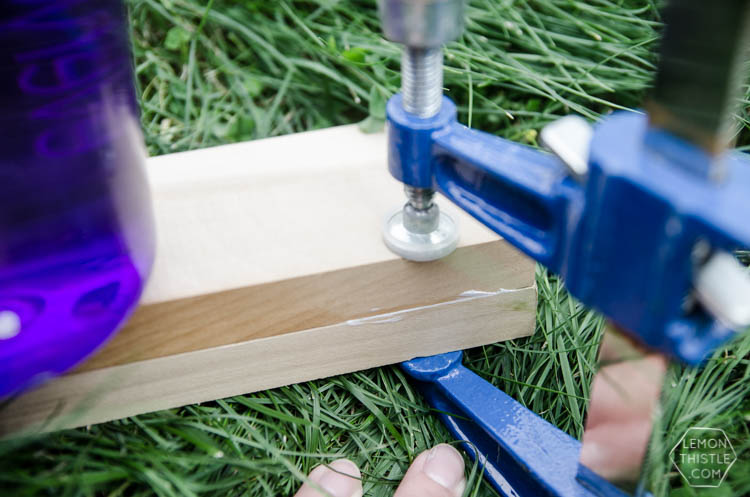
It’s probably the best kind of wood for building cabinetry and beautifully high end looking projects that you’ll be staining instead of painting. I also like to use hardwood for more intricate DIY projects where softer woods would split from the connections- like my guitar holders. But the price point matches this so if you’re looking for a more affordable price, you’ll probably want to move down the list towards soft wood.
There are so many popular hardwood choices available, even at a standard home improvement store. Some readily available hardwood options are walnut, oak, hickory, mahogany, maple and teak. This list could get a whole blog post of it’s own.
Depending on your preference for wood grain and color, you might have a different favorite wood for your project than the next person. Here’s a quick summary of some various kinds of wood grains and colors available.
Color
Most wood options do pull warm. You know, that caramel color that we see as wood ages. Some people love this, others loathe it. I’m going to guess what you’re thinking of is Oak wood. This is a common wood especially in projects made in the last 50 years. But even within ‘oak’ there’s other colors of wood available. And if you were to go to Home Depot and look at the hardwood section, you wouldn’t see oak and think that it’s yellow. A lot of that has to do with the finish you apply (another post on that coming up!) and how it ages over time.
One of my favorite hardwood options with a light color is white oak, but hard maple and white ash are also beautiful. One more I want to mention here is Teak- it’s great for outdoor furniture projects as it’s naturally weather resistant, rot resistant and holds up to UV. That said, it’s a slow-growth wood species so does come with a higher price tag.
If you’re looking for a reddish brown, you could look for red oak wood or the more expensive options like cherry wood or mahogany wood.
For other darker color hardwoods, you’ll look more towards walnut wood which is one of my personal favorites. Walnut is often referred to as the best type of wood for luxurious wood furniture projects without luxury prices. It is a softer hard wood so it’s easier to work with than some of the other hardwood lumber but it’s still a really strong wood.
Grain
While most wood you won’t be leaving it’s natural color, you’ll be adding a stain or even clear finish that may change the color of your wood choice, if you’re planning to leave your piece unpainted, you might care about the wood grain. Wood grains are dependent on the direction the a tree’s fibers actually grew. Pretty cool, right? It’s those wood rings but when you cut the tree into boards, the pattern you’re going to get.
For most of your DIY projects, you’ll probably be happy choosing a wood type (hardwood or softwood) then heading to the store to get your eyes on what the grain looks like and choosing based on that. If you’re getting very particular for your furniture pieces, here’s some terms you. might hear.
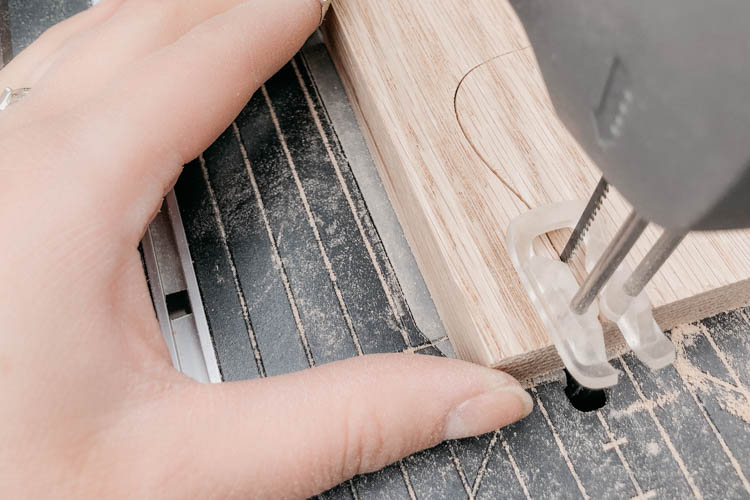
I’m simplifying here, but there are generally two categories of wood grain, open or straight. Open grains are deeper and more coarse so you’ll have a more noticeable pattern in your wood boards. You’ll find this open grain on oak for example. You could get visually interesting patters like swirls or large streaks opposed to…
A straight grain refers to a wood grain that runs along the centre of the tree. Unlike open grains, it doesn’t curl or twirl or weave around. This means they’re generally easier to work with and can be stronger than other types of wood. You’ll find a straight grain in cherry wood, and hard maple wood.
Softwood
Softwood is almost everything else that’s available in the lumber aisle of your big box home improvement store. When you press into it with a clamp or your fingernail, you will see a dent.
Fir, pine, poplar, cedar and spruce are the common ones you’ll see in stores and this is what’s commonly used in DIY projects where you’re looking to save money by building it yourself.
If you see boards marked SPF, that’s telling you it is spruce, pine or fir. They’re often used interchangeably in structural projects – you could think of this as construction lumber. SPF woods are an affordable place to start building projects but do absorb more moisture, so need to be protected for use outdoors.

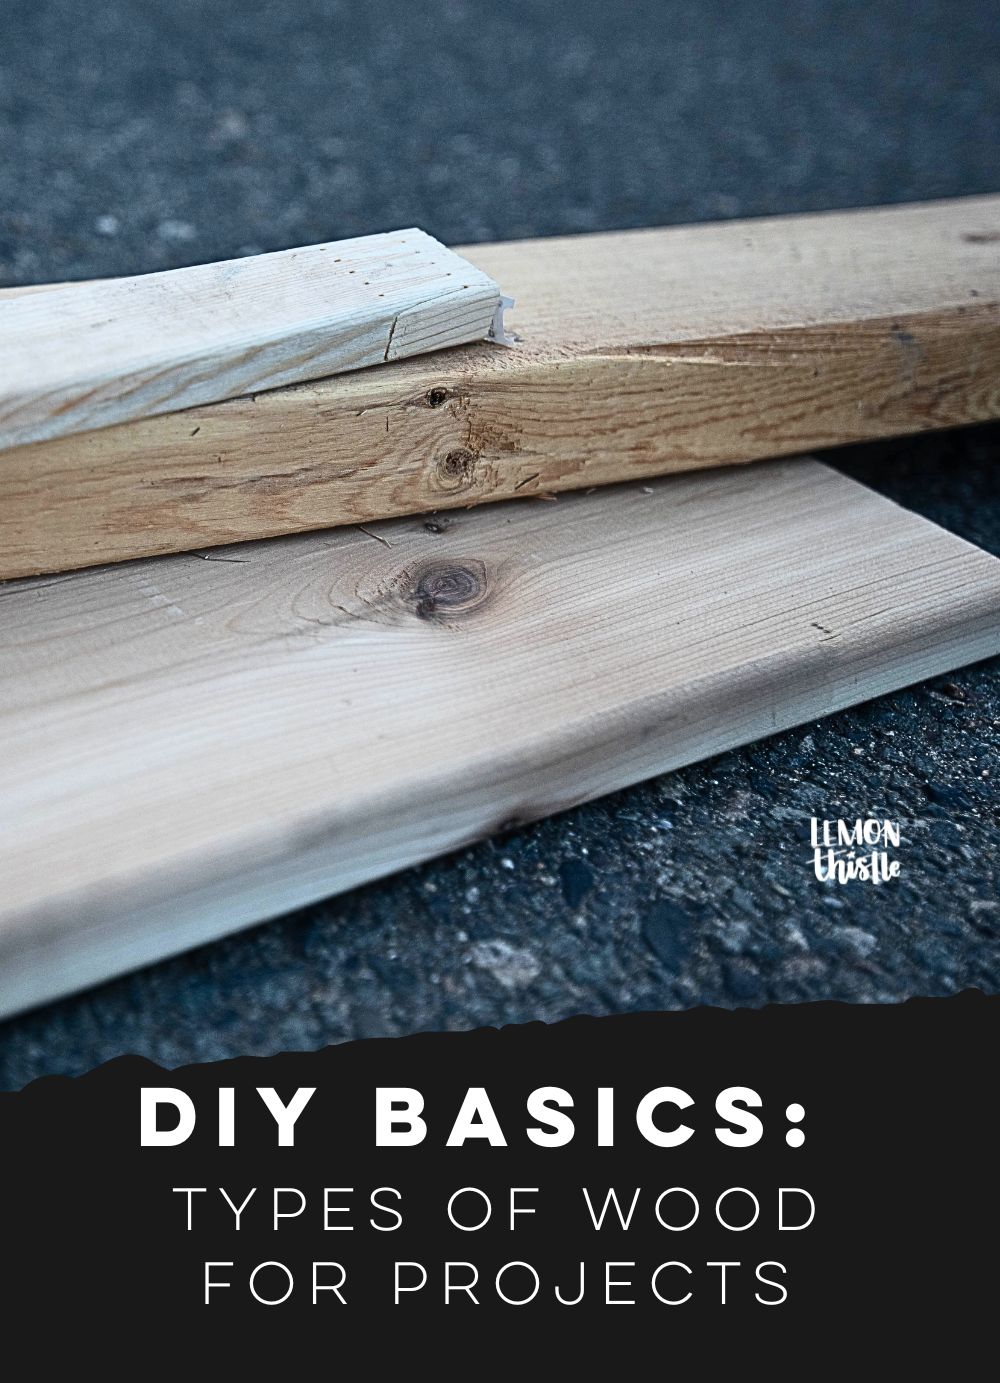
You can see in that stack of wood above the 1×2 SPF also has a zig-zag connection. Some of this more structural intended wood will have finger joints like this that doesn’t affect the structural integrity of the wood but is aesthetically not as pleasing so you wouldn’t want to use this for a stained project.
Often times, these softer woods can be a great choice for a rustic look. They are the most common types of wood used in DIY projects so if you see a pine coffee table or casual DIY indoor furniture built from solid wood, this is likely what you’re seeing. You’ll find common boards like ‘knotty pine’ in the lumber aisle at home depot for example. They’re a bit prettier than SPF without stamps and markings.
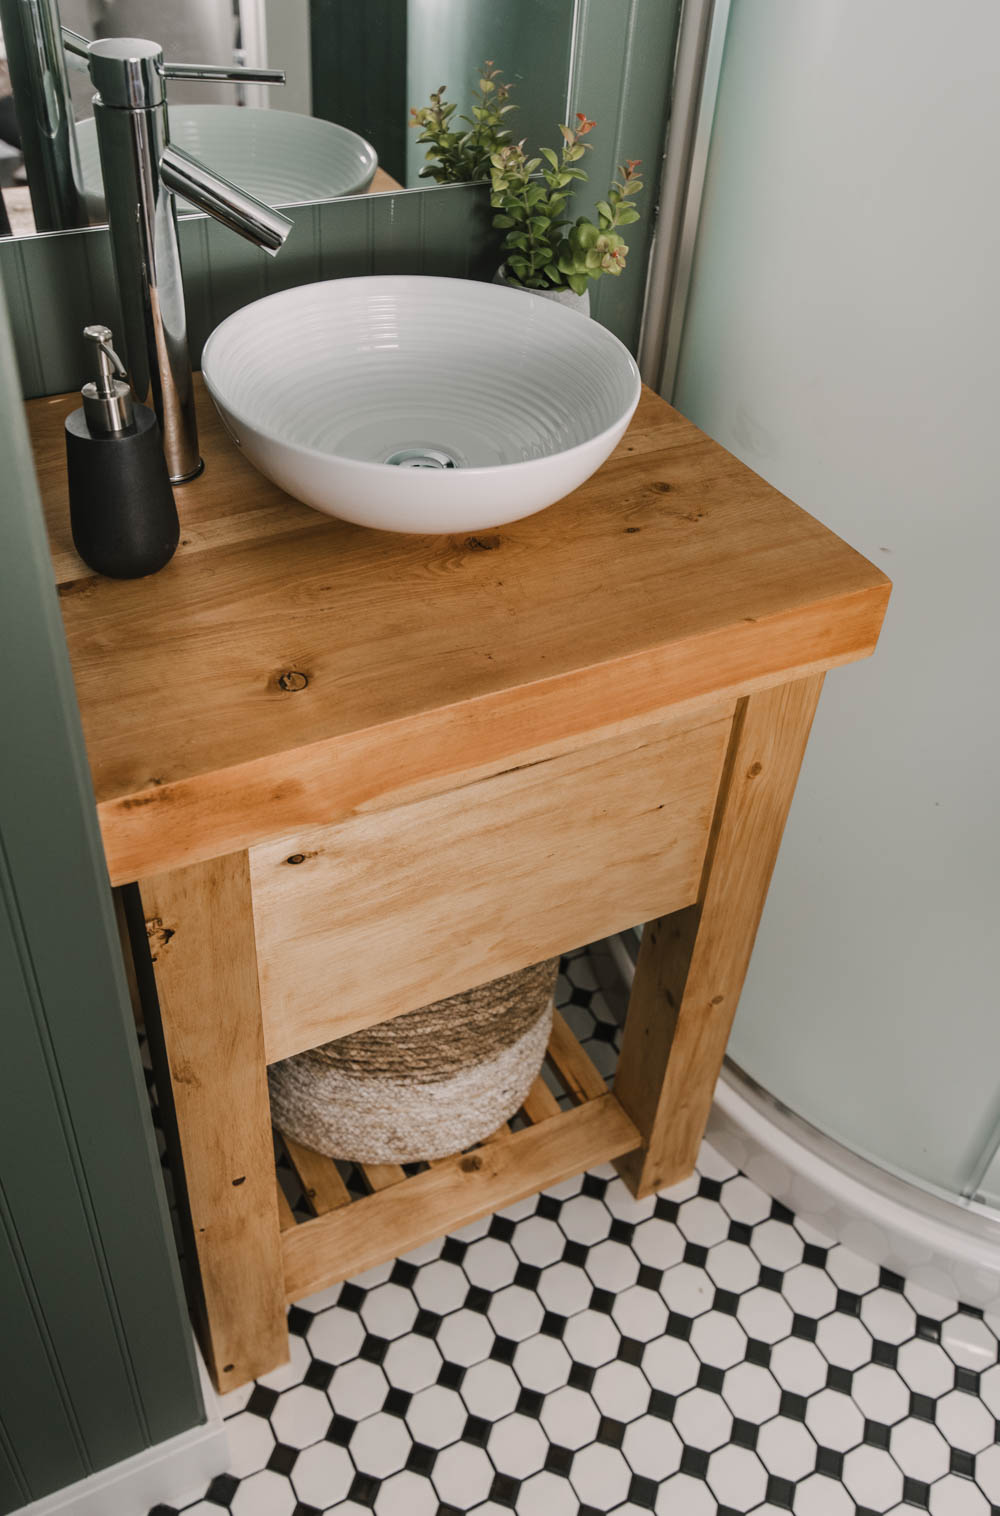
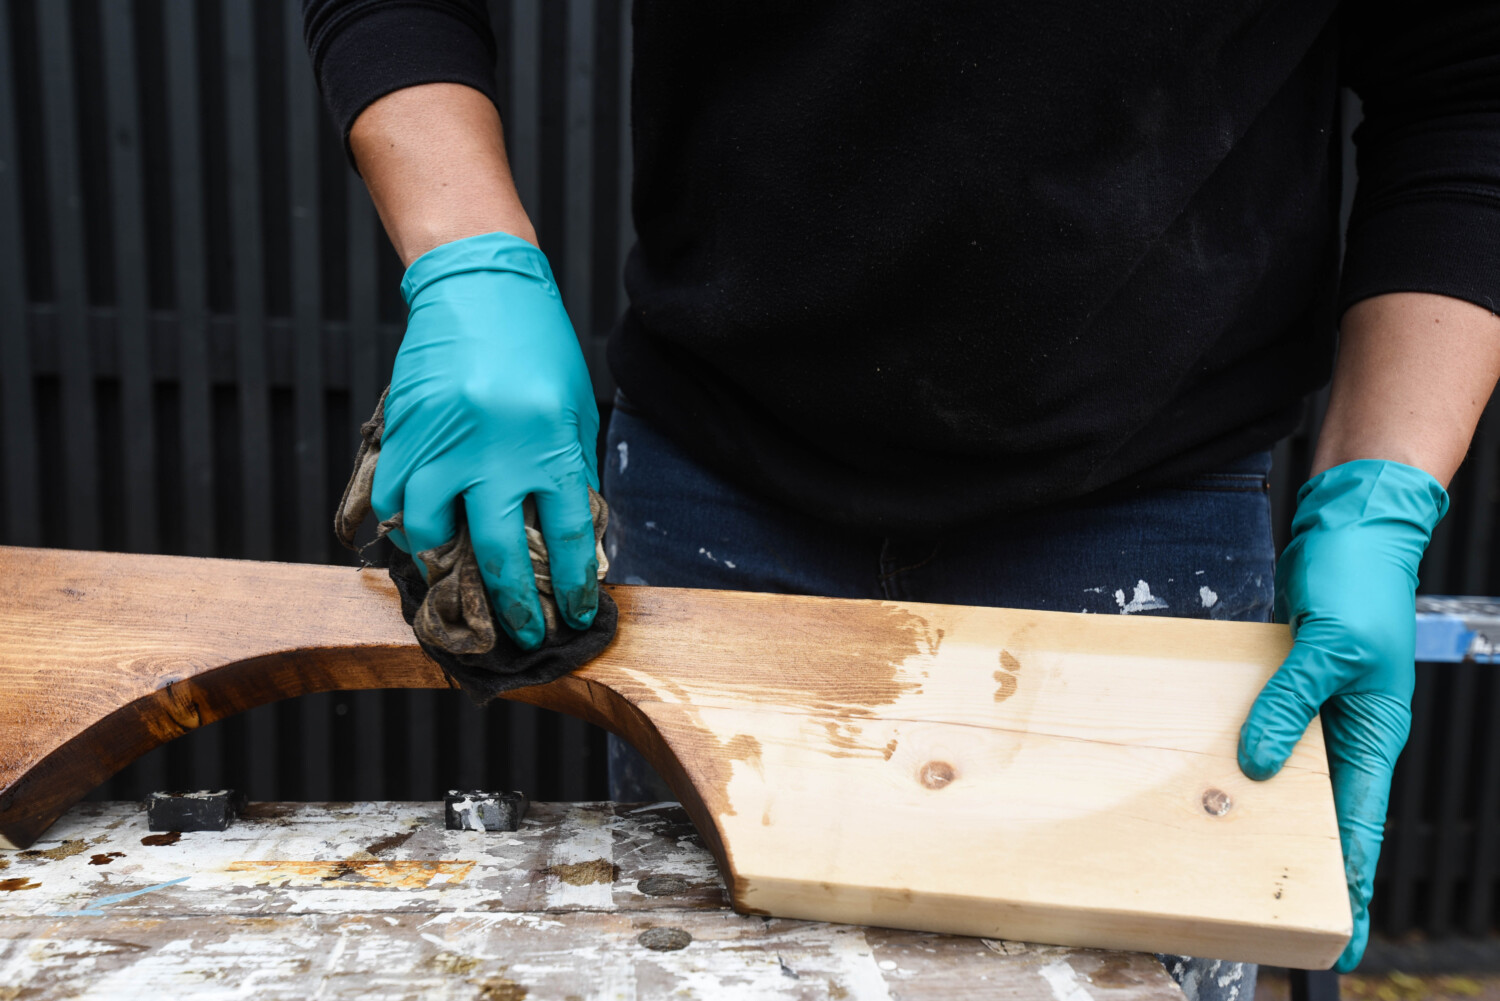
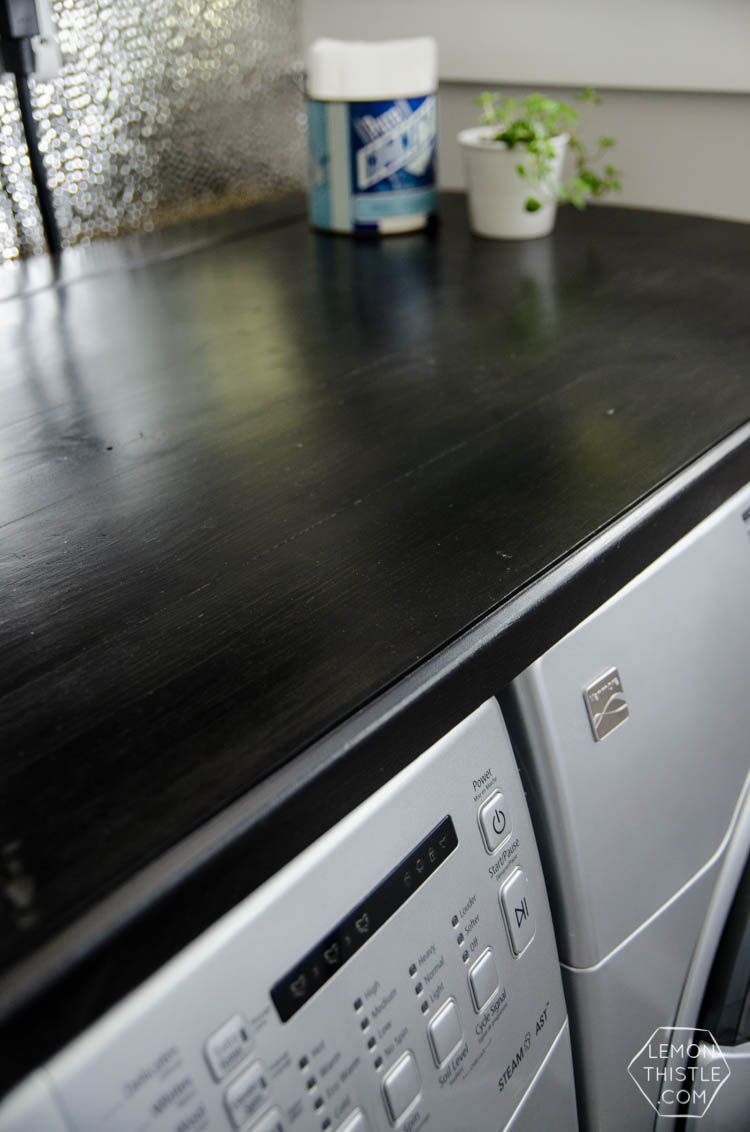
This is often what we use for cost effective DIY projects that we’ll be staining. A lot of the final product comes down to the finishing. We’ve made everything from laundry room countertops with a routed edge to patio tables that we sealed and stained for weather resistance to decorative shelving with SPF without issues.
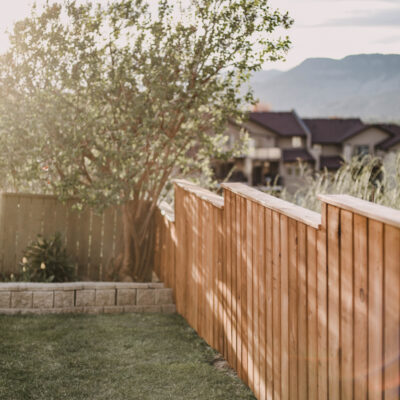
A softwood that is better suited for outdoor uses is cedar. Cedar has a straight grain and can resist rot so is often chosen for outdoor projects like fences and decks that you want that natural beauty of wood without the chemical addition of pressure treated wood (more on that in a second).
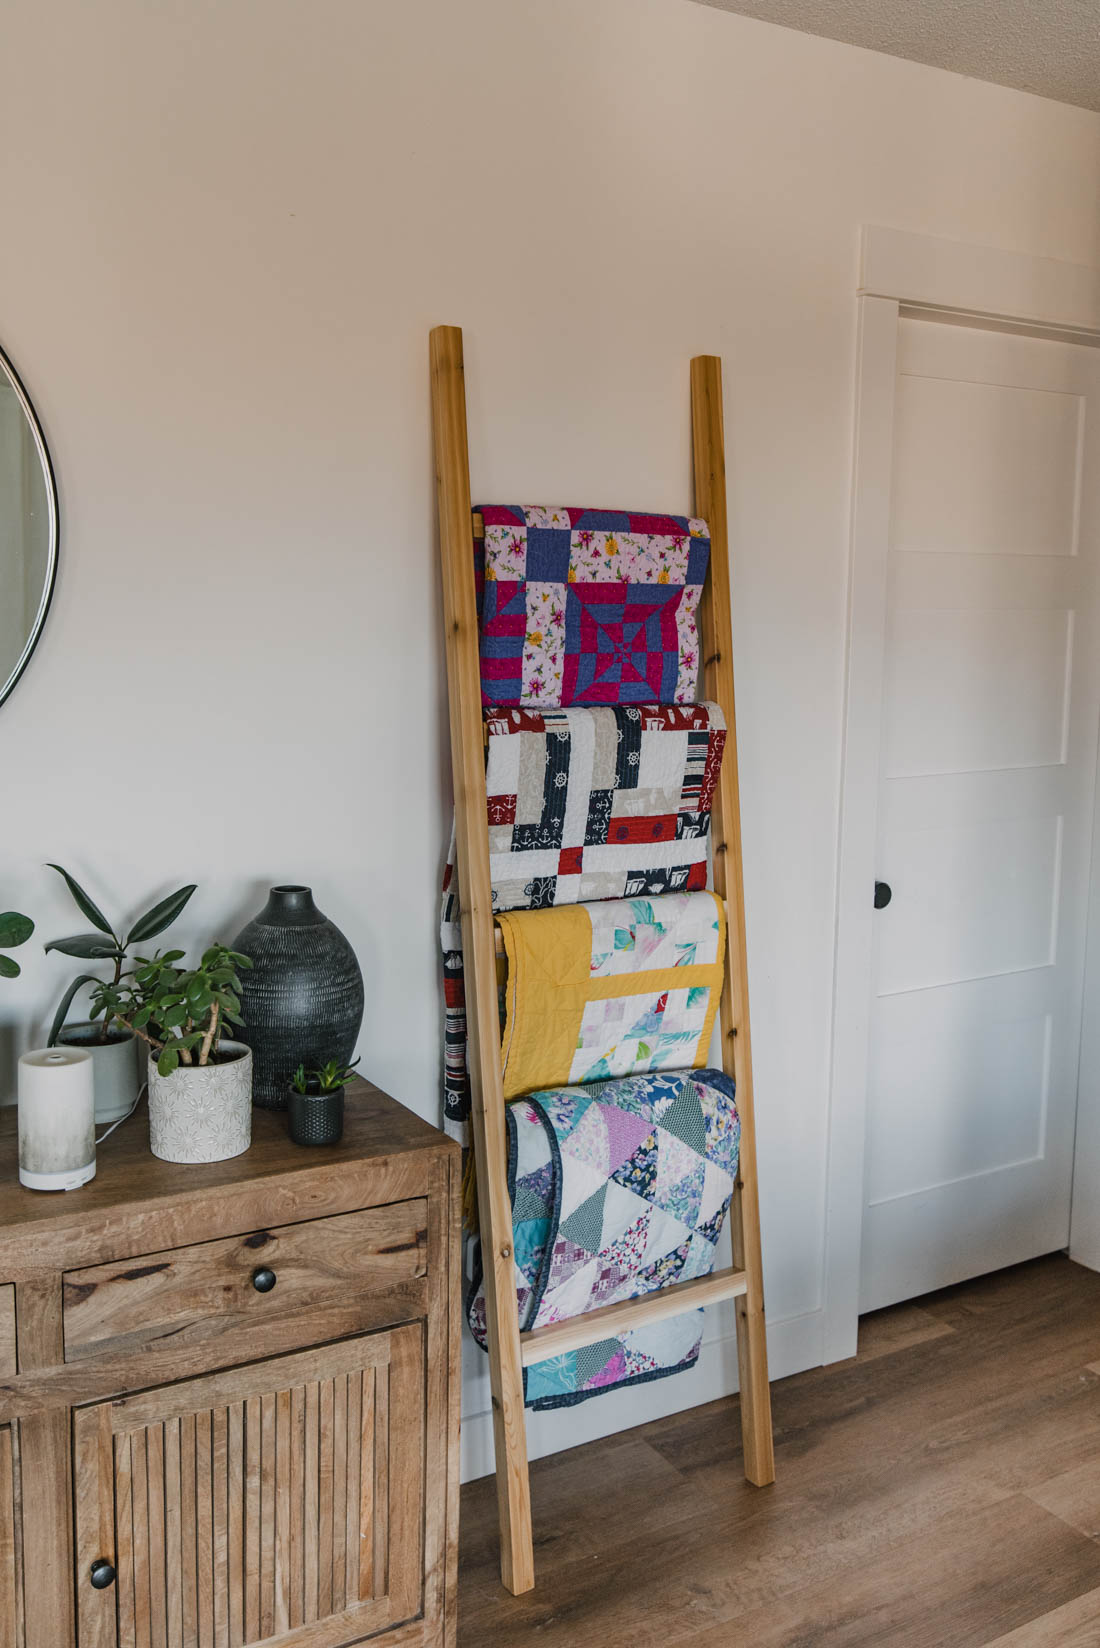
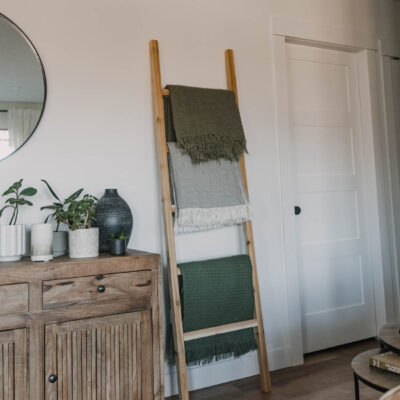
Cedar is also really popular for hobby woodworking, it was my Grandpa’s favourite material to work with. Here’s a blanket ladder I made using it.
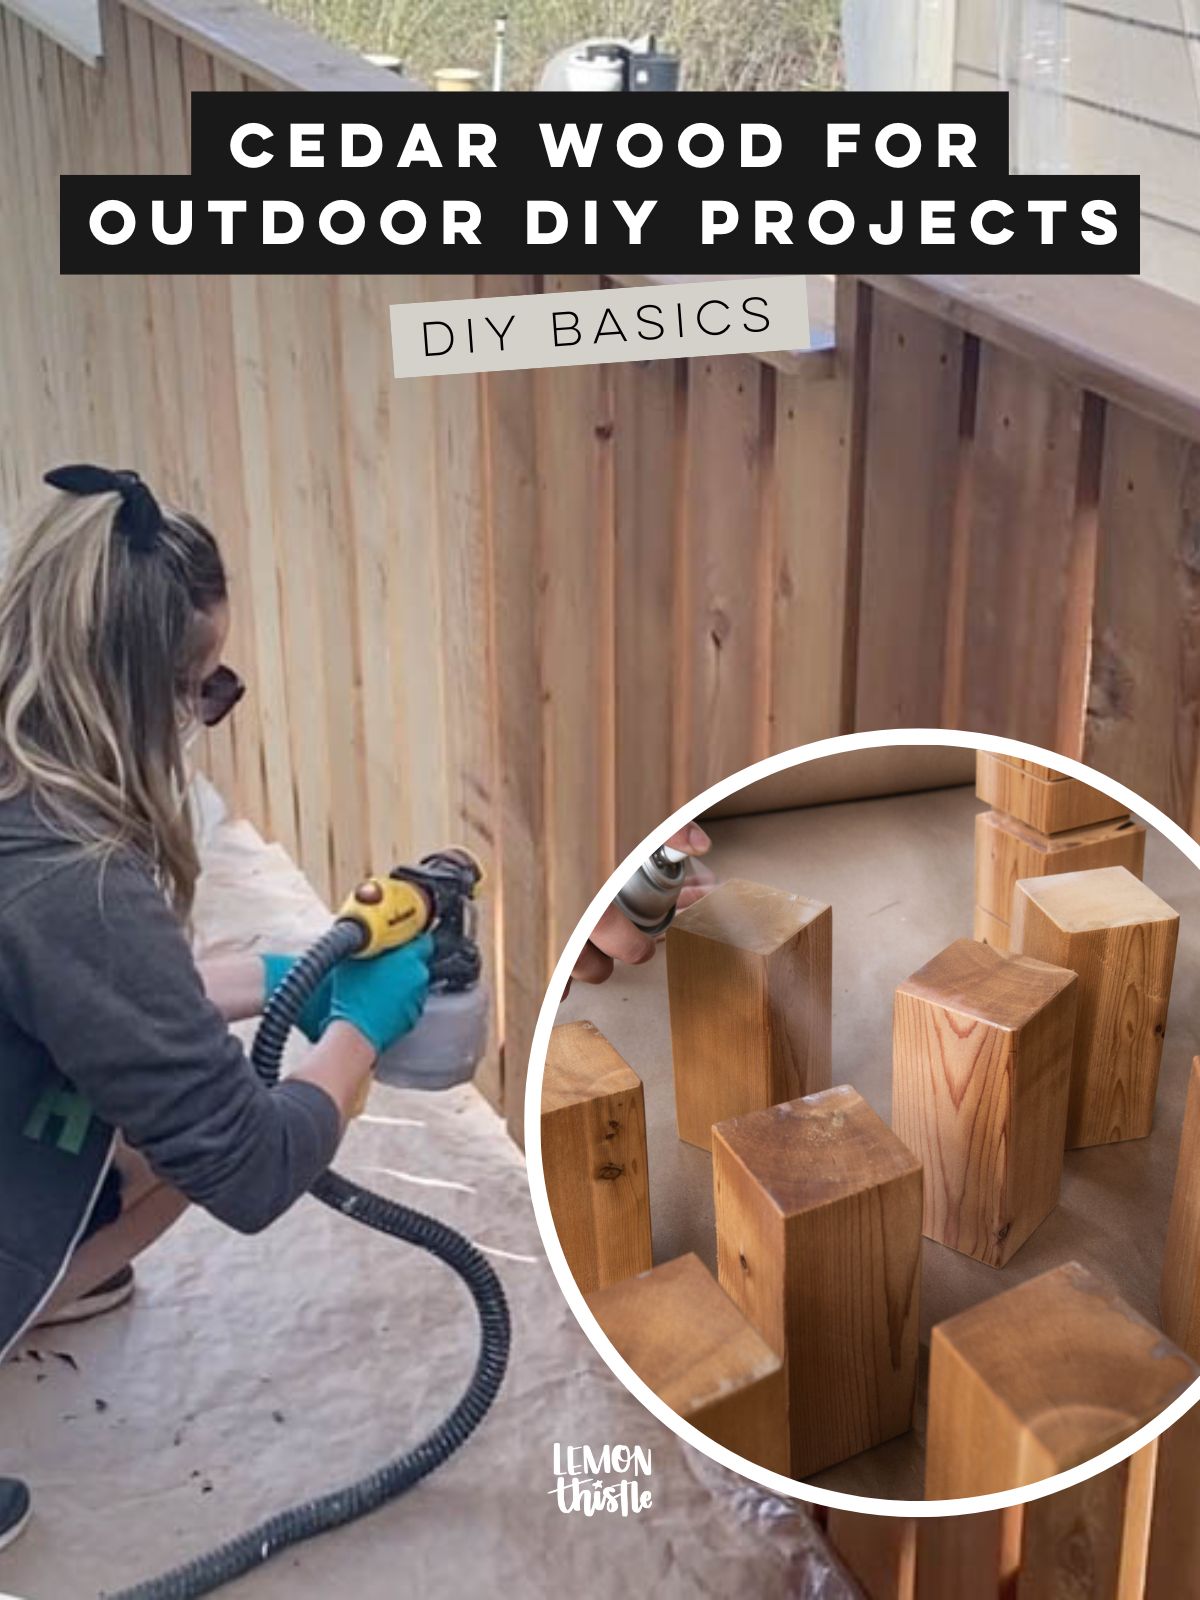
While it is a great option for outdoor furniture, decks and more- it does still need to be maintained to keep it looking gorgeous in the outdoor elements.
Again, that beautiful grain and rot resistance come with a slightly higher price tag than SPF lumber, but it’s still more affordable than most hardwoods. If you’ve looked at a beautiful wooden fence with warm almost reddish undertones- I’m going to bet it was cedar!
Pressure Treated Wood
Pressure Treated Wood is mostly used for outdoor applications where the wood may be exposed to sources of moisture, as it has been treated with preservatives to last longer and resist rot. These chemical preservatives in pressure treated wood should be taken into consideration when handling and cutting the wood, as well as when deciding where to install and what type of application this wood will be used in.
Pressure treated lumber used to be noticeably green, but now there are brown options as well often labelled ‘Sienna’. Treated wood comes with an added cost compared to untreated lumber but it will hold up in outdoor areas so much longer.
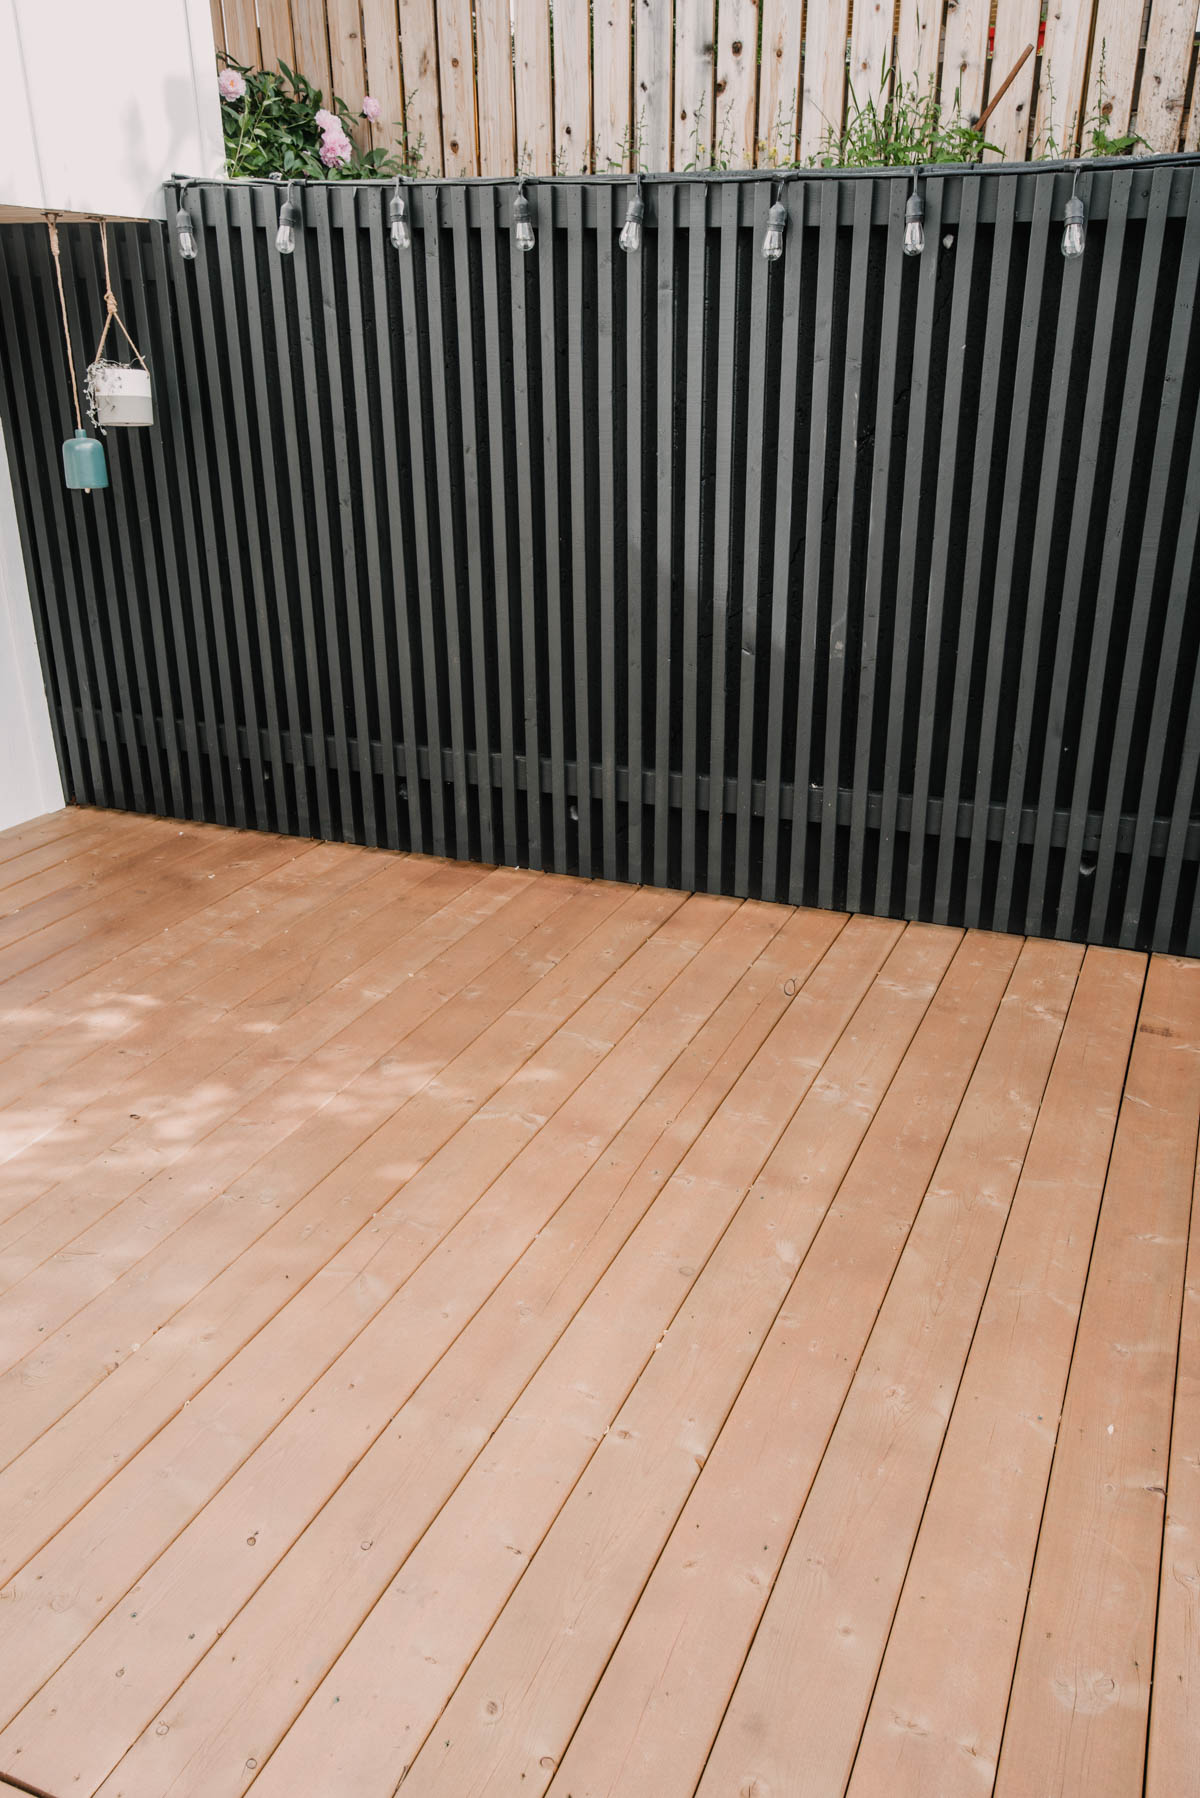
We actually use pressure treated wood quite often for construction projects like decks, posts that will go into the ground and structural beams for a playhouse to sit on for example. I wouldn’t use it for smaller DIY projects for the most party. It might be good for a garbage can shelter or something like that.
One consideration with pressure treated wood is that it doesn’t take stain or paint well right away. The treatment needs time to dry out before it will properly soak up a finish. It’s technically water repellant. If you stain or paint too soon you might deal with it peeling at a later date.
It’s recommended to leave it at minimum 3-4 weeks but months is probably a better option. We found 4 months with our own deck wasn’t quite enough- that one is in an area that doesn’t get as much sun though. You can test if it’s ‘dry’ by dropping some water on it and see if it absorbs within about 10 minutes or sits on top. For stain, choose an oil based stain for best results and for paint, opt for water based latex paint rated for outdoor use.
MDF
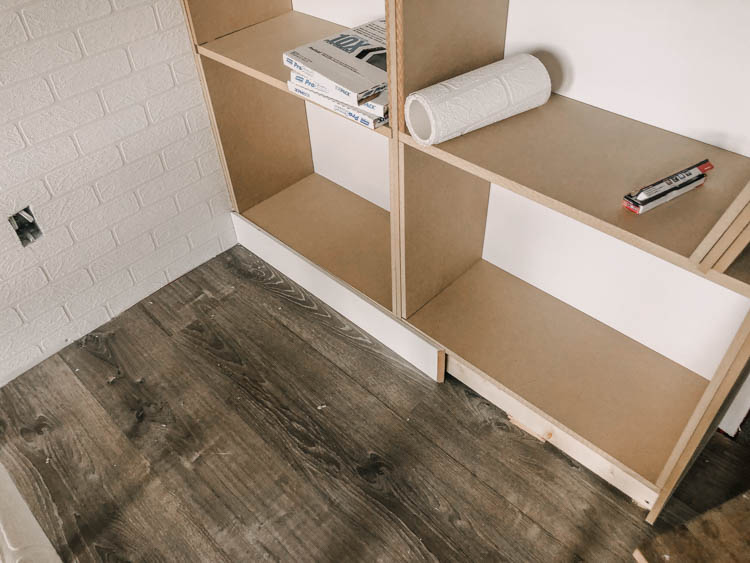
One other type of material you’ll see in the lumber area of the hardware store is MDF. While this isn’t technically ‘lumber’ it does need to be mentioned as there’s so many things it’s good for! MDF or medium-density fiberboard is essentially a composite of wood shavings and resin then pressed into boards.
MDF sheets are sold in sizes like plywood and are often used for painted furniture, unseen parts of furniture (backing) and longer lengths like baseboard are often used for painted trim work.
It’s important to note that MDF is not recommended for outdoor use as it’s not moisture resistant. It also requires sealing with oil based primer before painting.
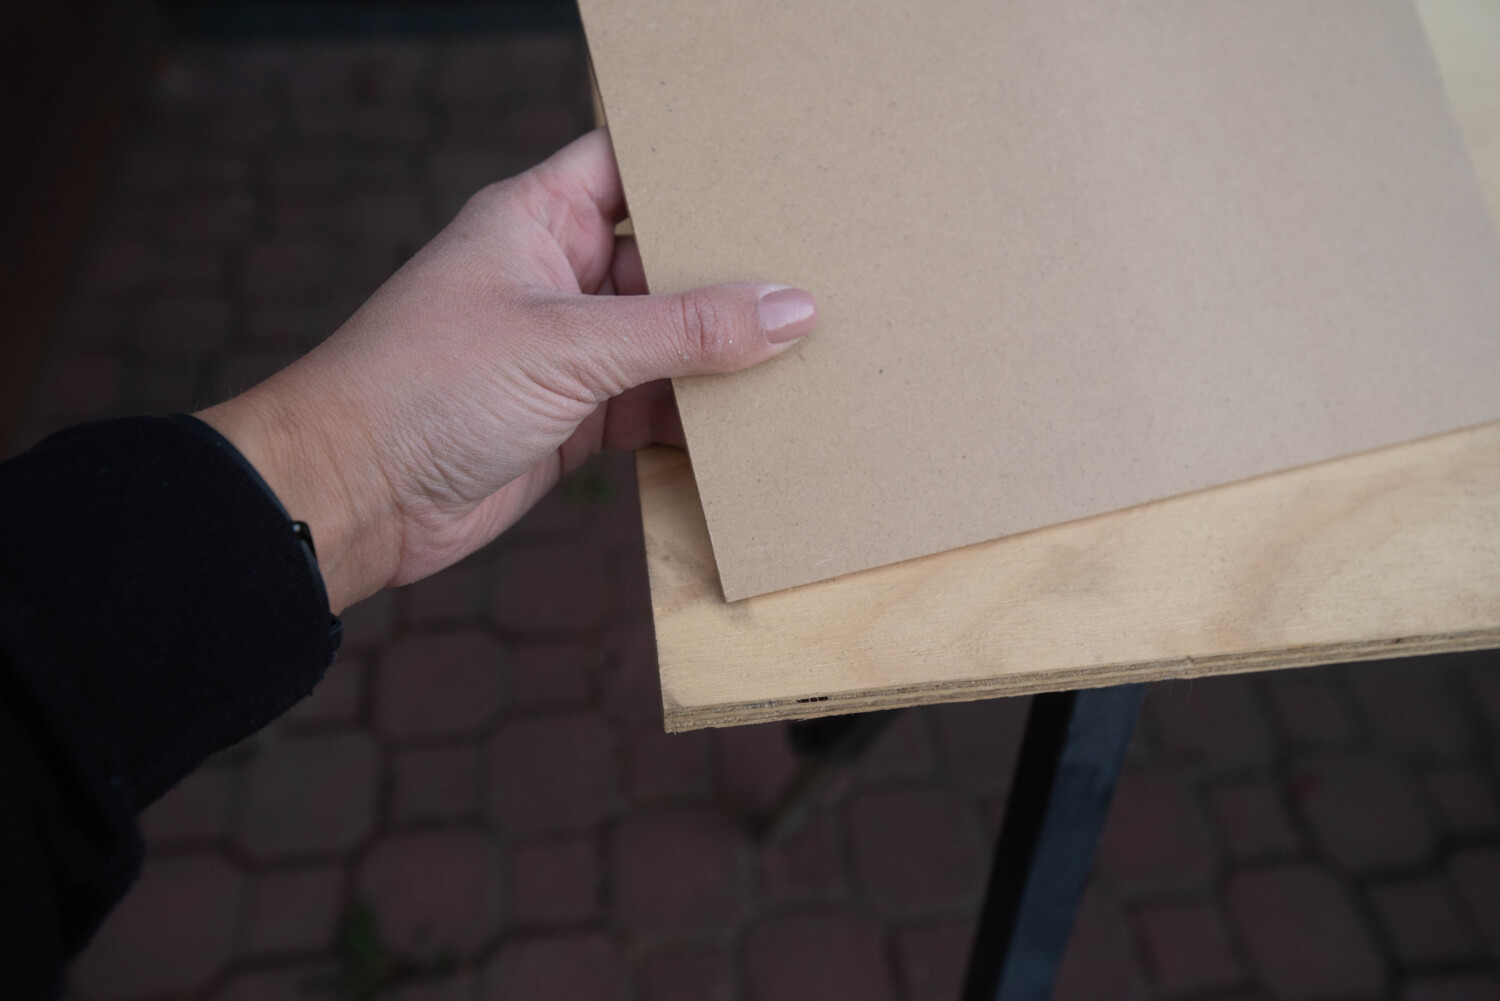
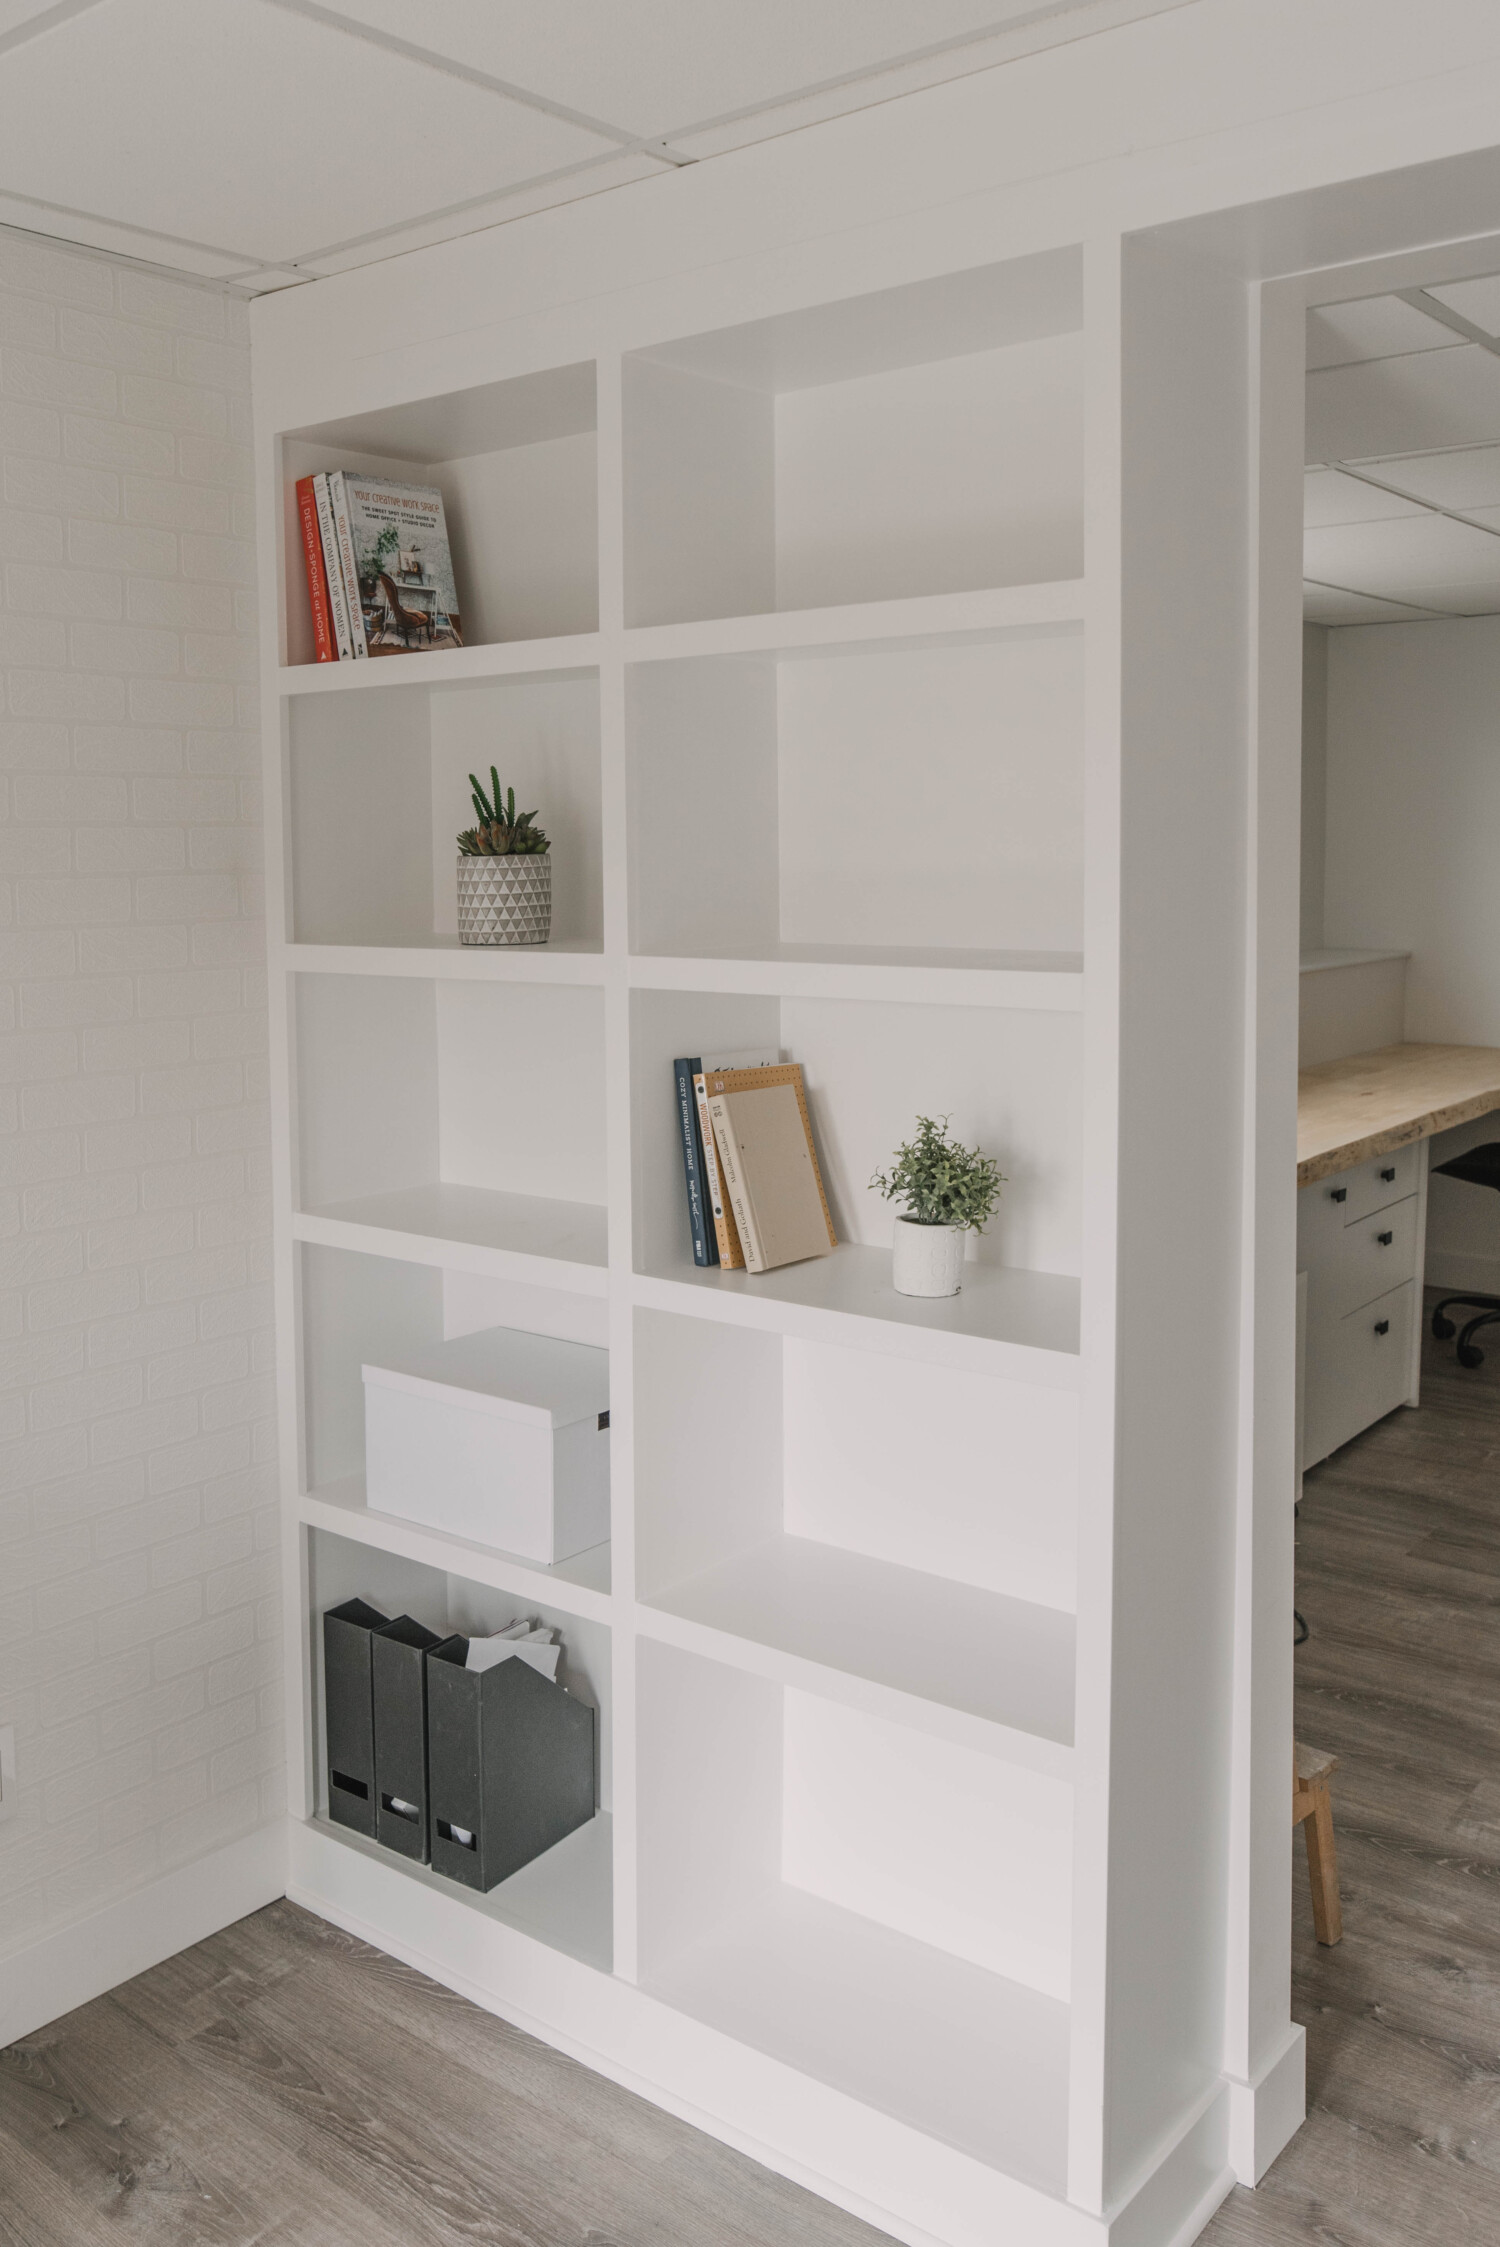
The plus on this here is that there’s no knots or wood grain to worry about. It’s so smooth. You can get it in long lengths (most primed baseboard would be MDF!) or in sheets in the plywood section for furniture projects. We like to use this four our DIY built in shelving or cabinetry.
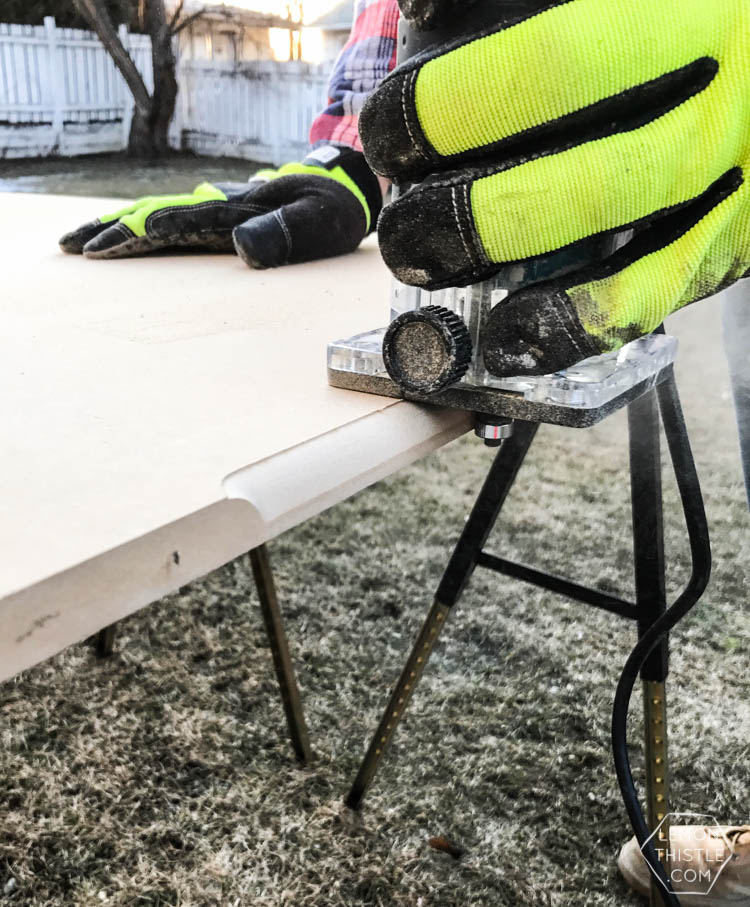
You can use an edge router to create a beautiful finish to MDF before painting as seen above. It does look great painted out, see the built in shelving below!
H

Boards, Plywood + Dowels
You can buy wood in so many different shapes, sizes and varieties but there’s generally three formats to buy it in. Boards (also called dimensional lumber), plywood and dowels.
Boards
Boards are your standard lumber, from a 1×3 (pronounced “one by three”) to a 2×10, this is probably what you think of when we send you to the lumber section of your hardware store. But in that lumber section, there are so many different pieces to choose from!
Generally speaking, structural lumber is for building but can be used for smaller DIY projects- we certainly have! Typically, any board that is 2” thick will be structural lumber.
Appearance boards are 1” thick and selected for how they look instead of for strength; if you’re staining your project, these are great boards to consider. If you’re not looking for super durable wood that can take heavy use, this is probably an excellent choice for you.
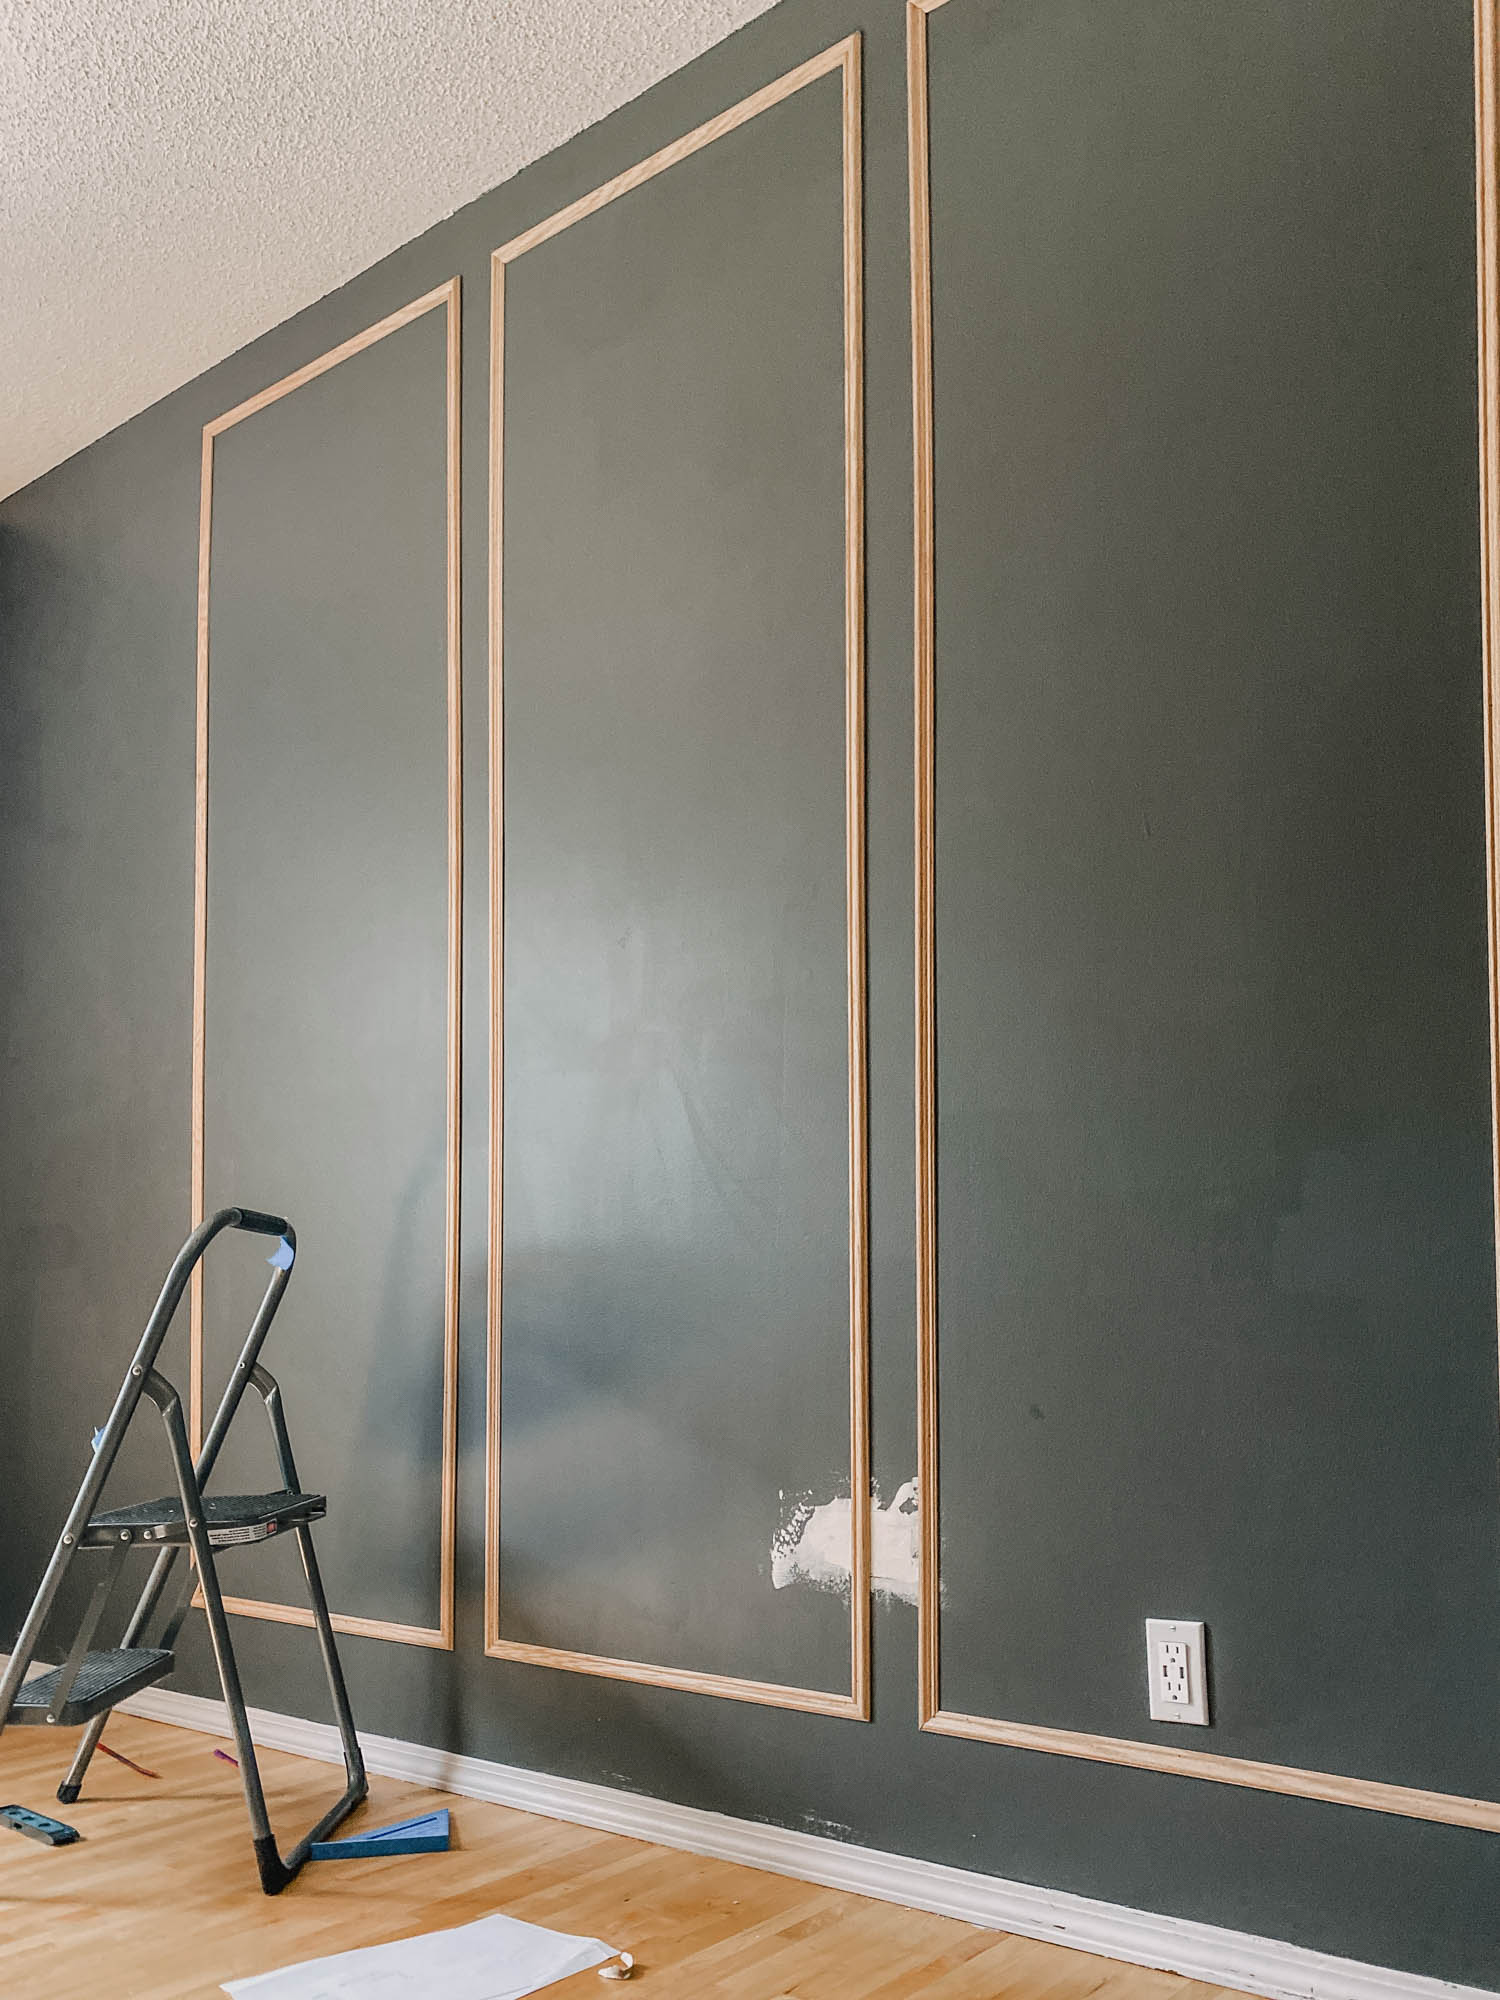
Anything smaller than 1” thick is likely moulding (like a baseboard, for decorative purposes) and while you can definitely get wood in this size, you’ll also see a ton of MDF options in addition to wood options (shown above unpainted). Since this isn’t typically used for building DIY projects, I’m going to mostly zip past this, but this is the type of boards you can use for moulding walls!
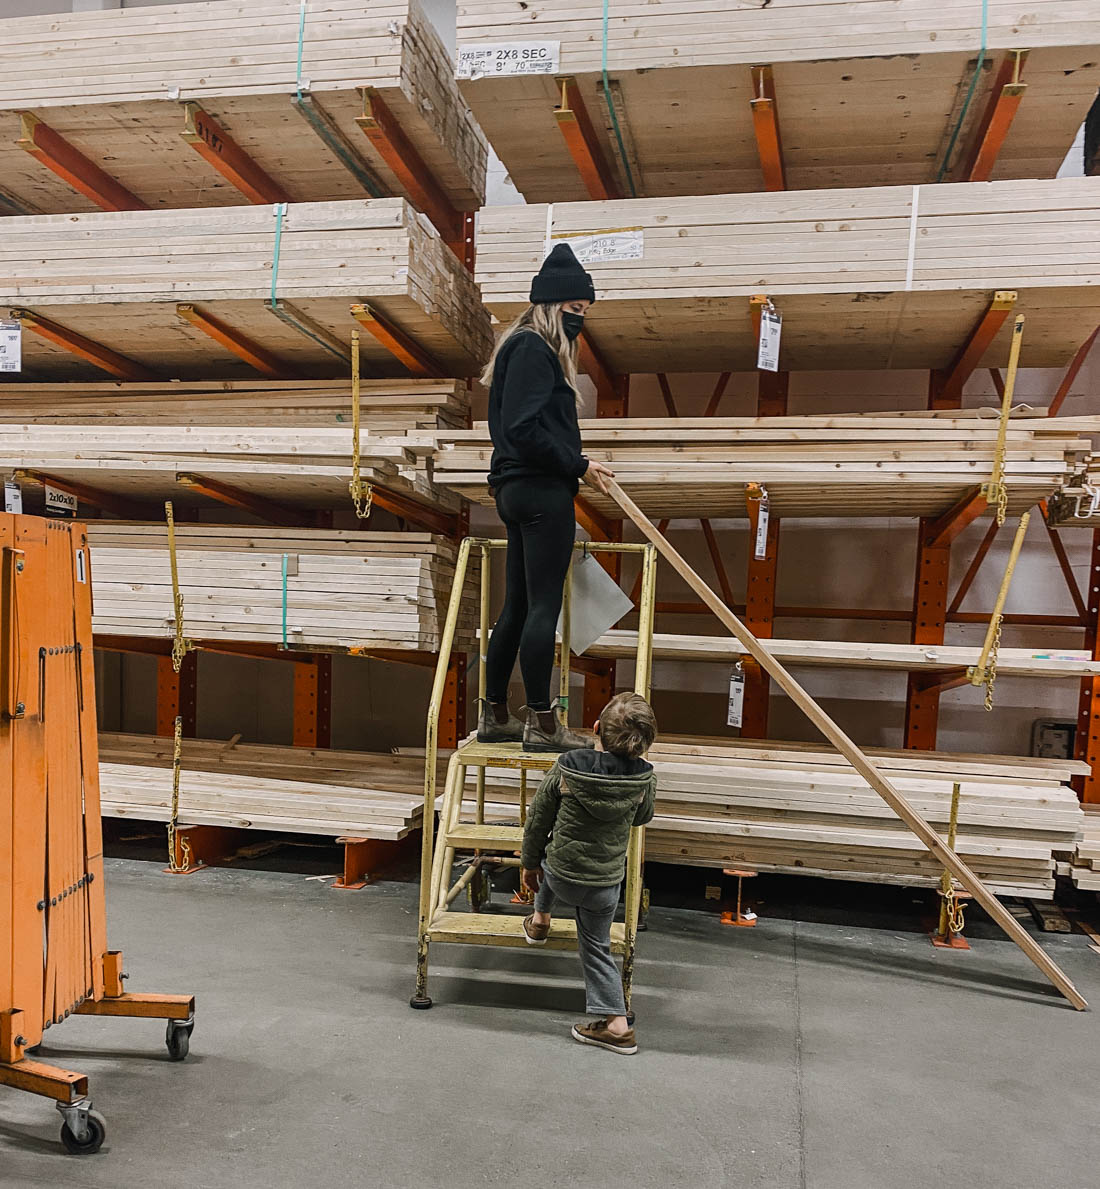
When you are choosing your boards, you’ll want to keep an eye out for warping and twisting. As wood dries it can twist and warp so when you’re choosing boards specifically at the hardware store, examine each piece. I find the easiest way to do this is to look from one end of the board down it so you can see any bowing. You can see me doing that in this photo here.
You probably wont’ find perfect pieces, but the straighter the better! You’re more likely to get warping in soft woods than hard woods. Again, the higher the price point, the better product you’ll be getting in this way as well.
Plywood
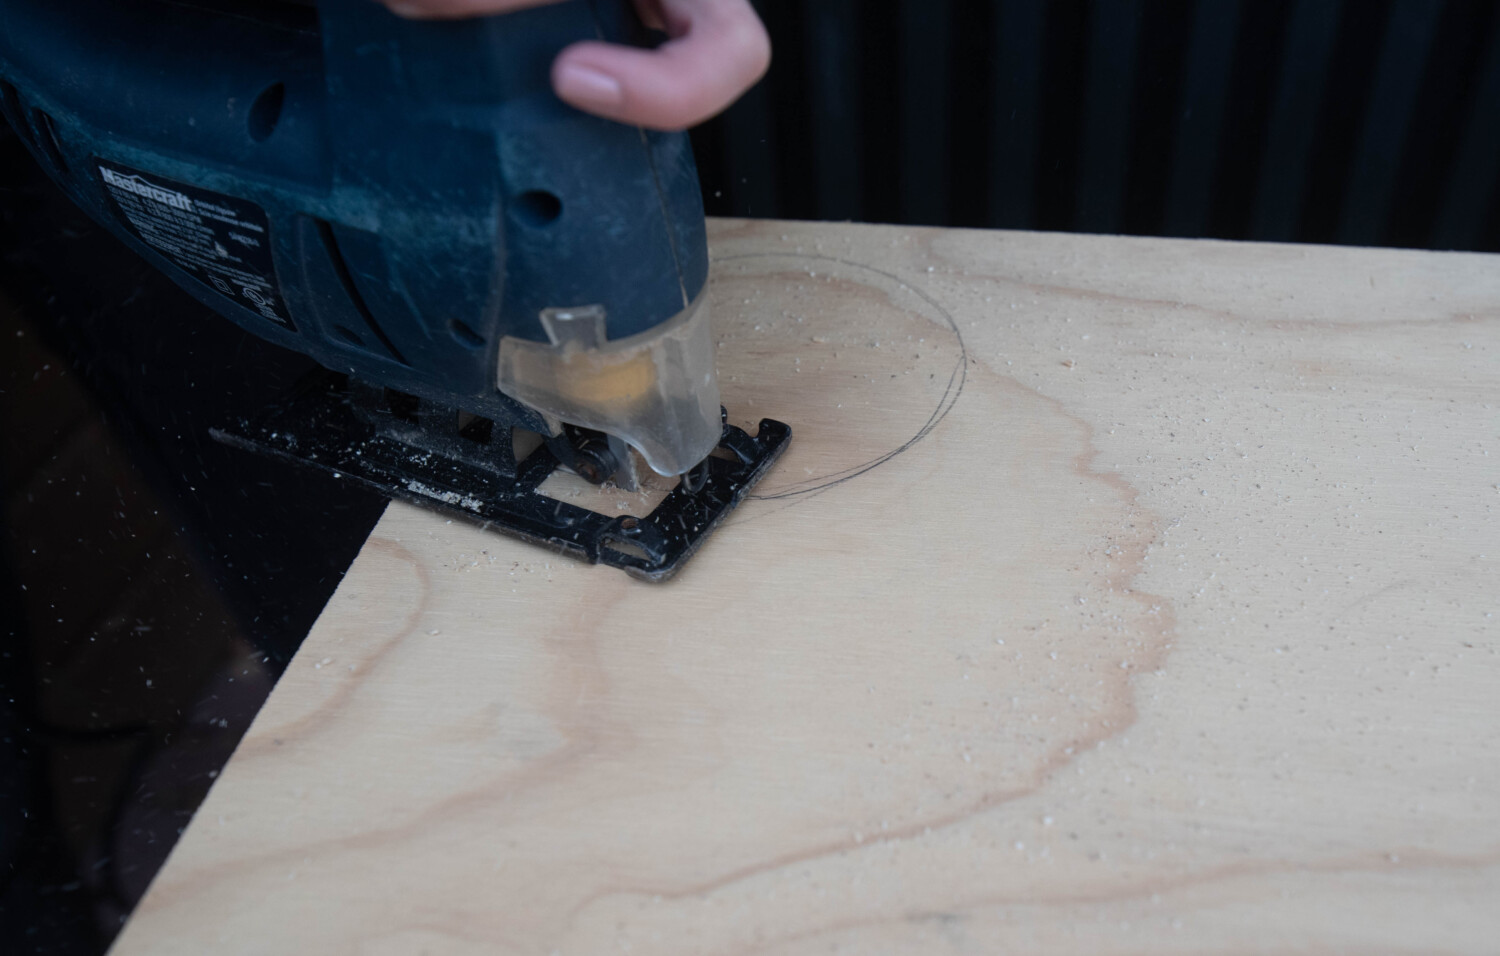
Plywood is a large sheet of wood that’s made from a bunch of other pieces of wood. Essentially, plywood is made from layers of thin sheets and pieces of wood, layered into one sheet and cured under heat and pressure to give them strength. It’s often used for subfloors, shelves, or as we are using it… for DIY!
Plywood is available with different grades of finishes, from rough OSB (Oriented Strand Board) that looks like chunks of wood glued together on the surface to sanded plywood that has a beautiful smooth surface. OSB would typically be used as structural wood panels whereas sanded plywood can be finished quite nicely and painted or even stained depending on the application. You can even get plywood with different types of hardwood veneers.
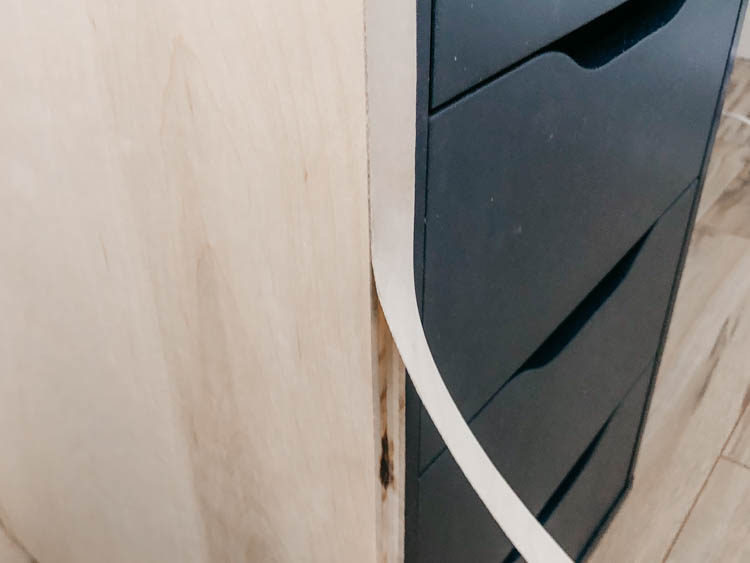
You can get iron on edging tape to finish the edges of plywood if you’d like a cleaner look than the layers of wood you see on plywood edge.
The different plywoods are graded A to D with A representing the smoothest finish (and the highest price tag). Both sides are graded so if you only need one side to be butter smooth, you can save some money. Plywoods are also available with hardwood or softwood veneers to match a specific wood grain and colour you’re building with.
Plywood is usually sold in 4×8’ sheets and you can buy half sheets which measure 2’x4’.
Thickness of plywood is also nominal not actual measurements (another post coming on this!). A common plywood thickness is ½” or ¾” but these actually measure 15/32” thick and 23/32” respectively.
Any time you see a shopping list with wood, you’ll likely be looking at nominal measurements which will match the tags you see at your lumber yard or hardware store.
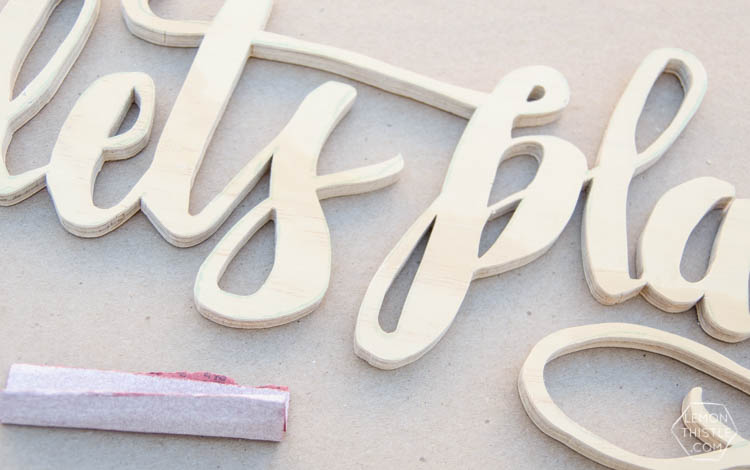
I love to use plywood for DIY projects. Whether for the base of a wood project or to cut into more interesting shapes with a scroll saw- like this lettering!
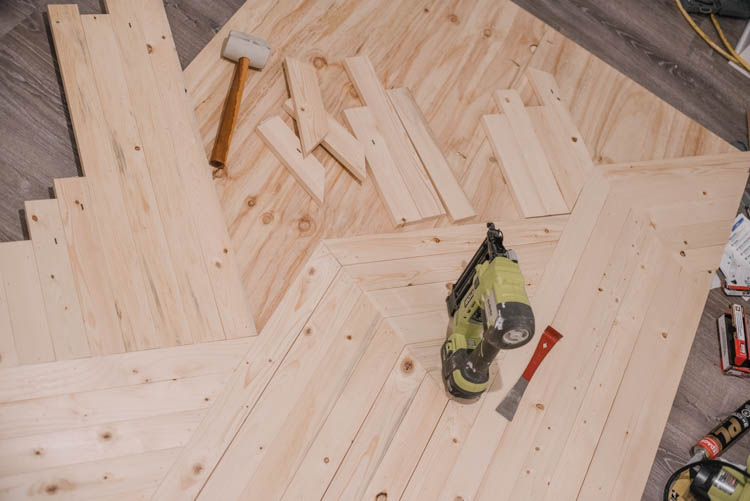
Oftentimes you’ll use plywood with other types of wood for projects like this shelf or this door or even our playhouse build. Most DIY projects will use a variety of wood pieces. Knowing what they are also helps you look at an idea or project you want to take on and know what materials you might be looking for to make it happen.
Dowels
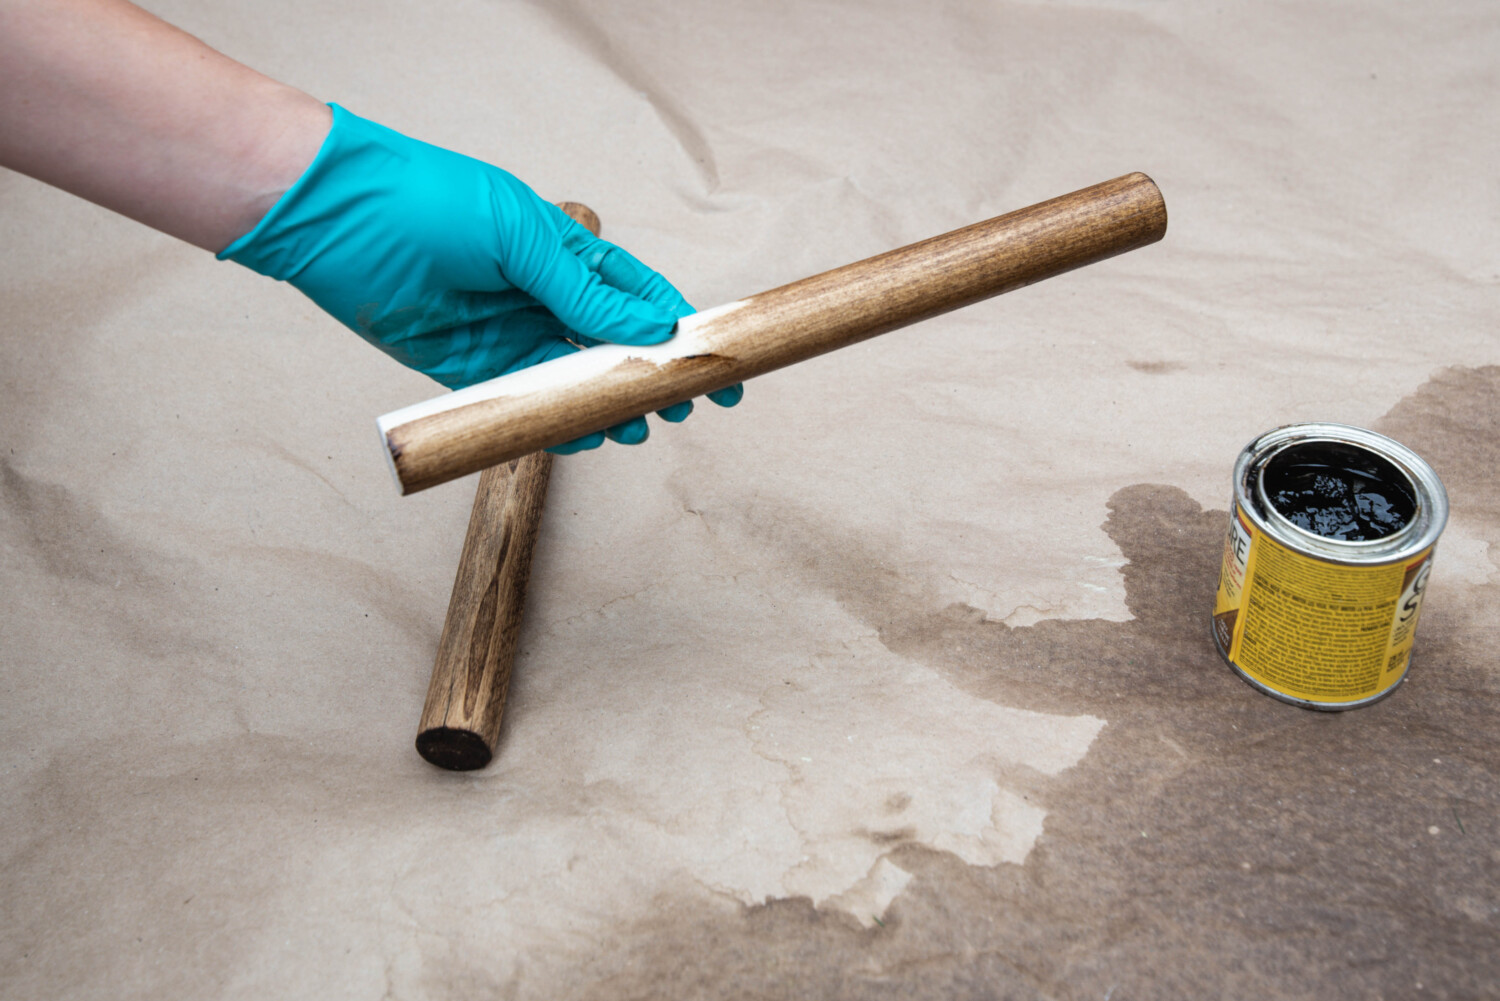
Dowels are the final format of wood we’re going to touch on- they’re round pieces of wood and are found in the mouldings section of most hardware stores. They are measured by the diameter of the wood and are often made of a softwood like poplar. Most hardware stores sell them in 4’ lengths, but if you shop around, you should be able to find longer lengths.
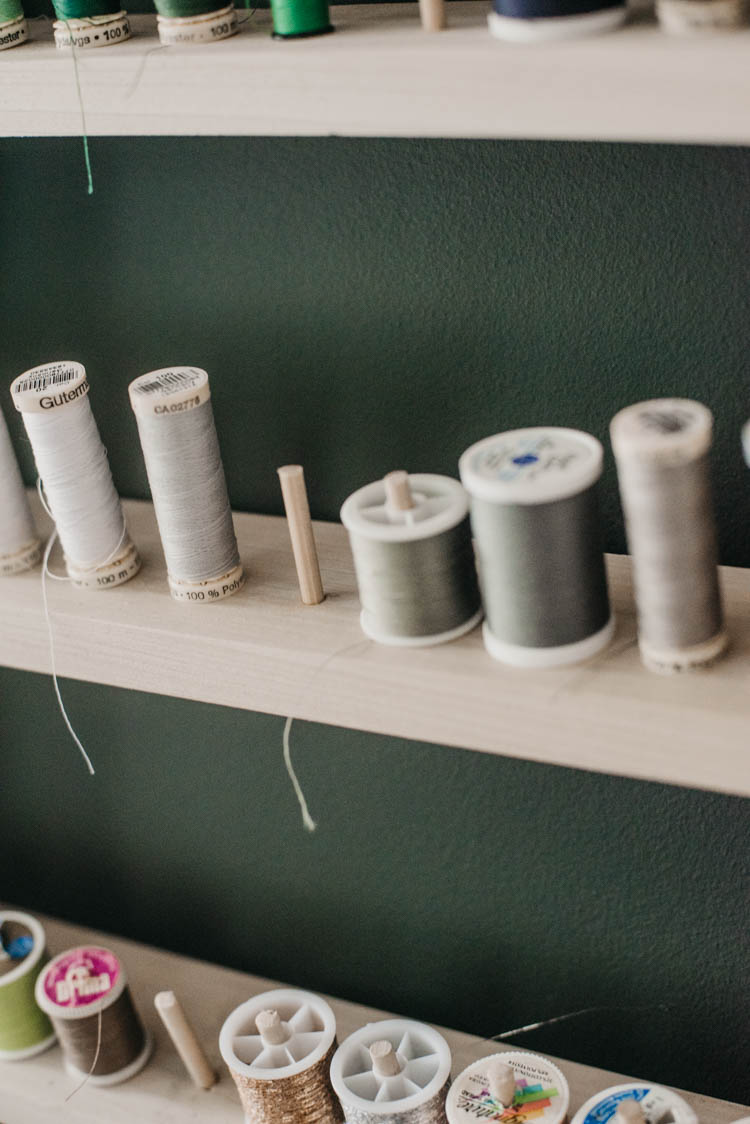
These are useful for so many kinds of DIY projects but I’ve been asked enough times where to buy them that I thought it was worth adding here. If you’re crafty, you might think of the little ones you can use for wall hangings and pennants that you can buy from the dollar store. That’s a dowel, just smaller than those available in the hardware store! I’ve used dollar store ones cut to short sizes for tiny decorative legs on projects before ;)
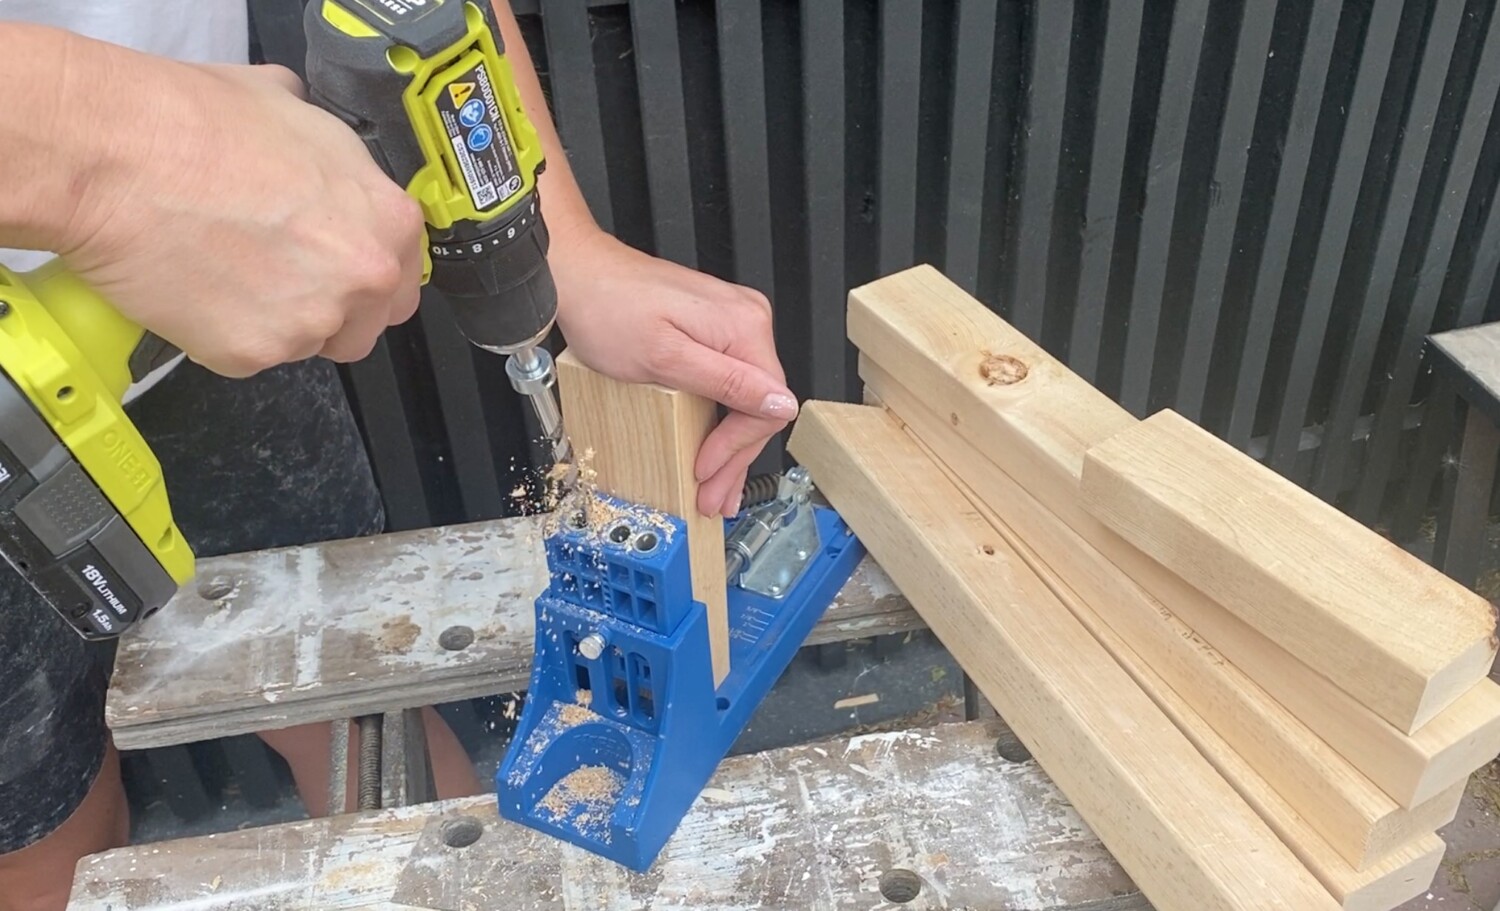
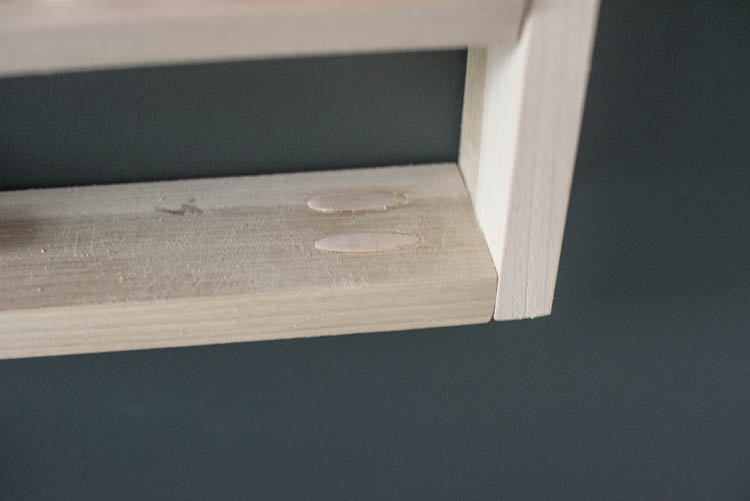
You can also use dowels to create plugs for your screws, to countersink those screws and fill the gap with dowel, sanding it smooth as shown above.
Live Edge Wood
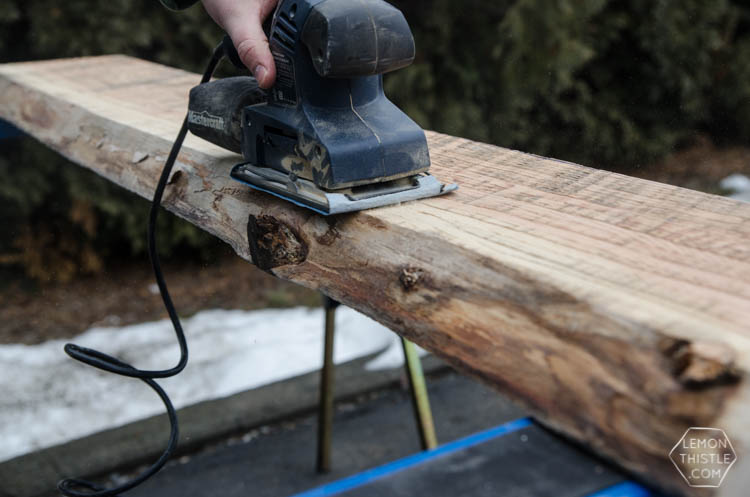
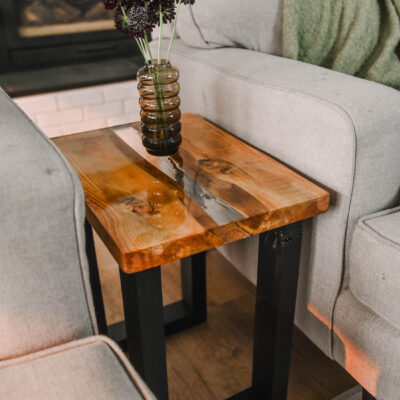
One more to note here is live edge wood. I love to use this in DIY projects for extra character. I’ve used it on our last house mantel, my desk, our dining table, and end tables to name a few projects.
Live edge just means that instead of the edges of the tree being cut off and squared for sale, they’ve left those uneven, natural edges and knots on. This can mean that the width measurement is uneven, but it really adds so much character!
Stores have started stocking live edge wood for DIY projects now, the long desk pieces were bought through Home Depot, but I have found it most affordable to buy from small mills if you happen to have one near you!
I hope that this was a really informative post for you as you dive into your DIY projects, making materials lists and wandering the aisles of your local hardwood store trying to decide which would be a great wood to try for your particular project.
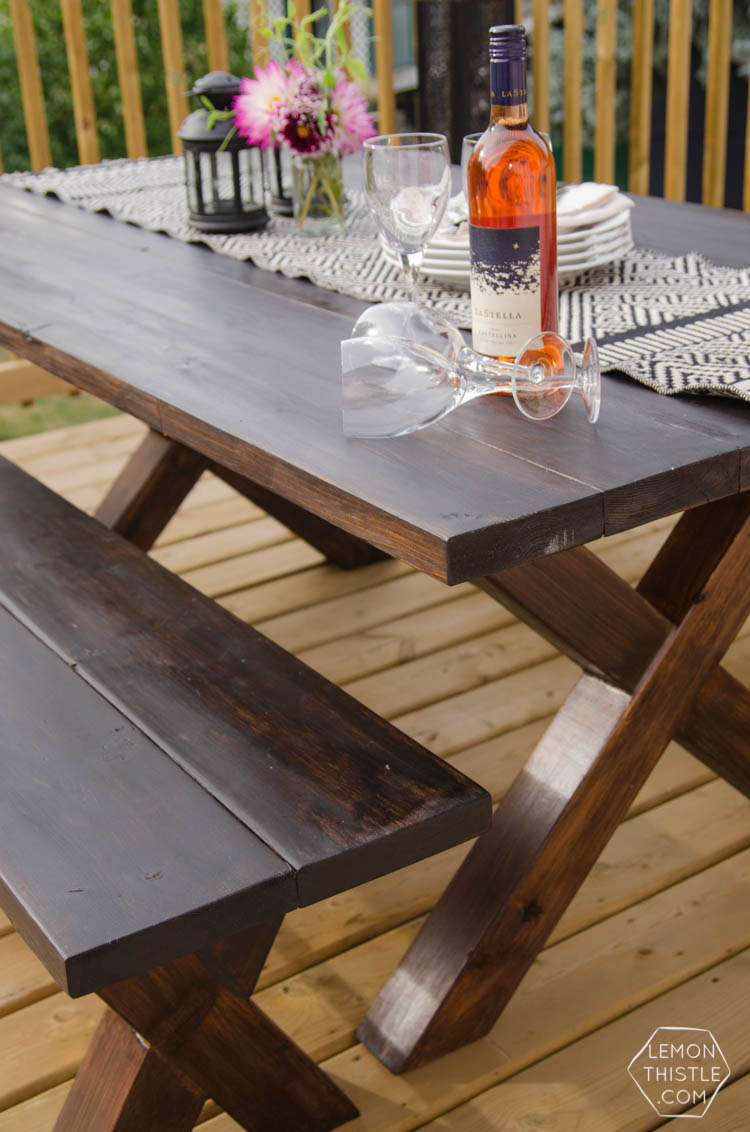
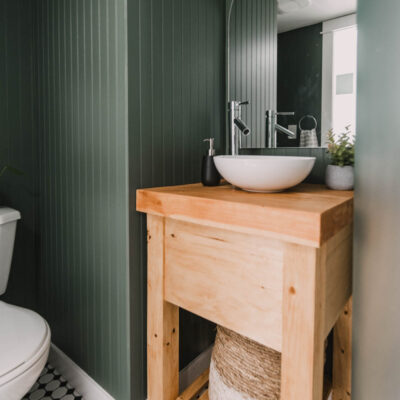
Once again, I’m just going to highlight that many projects use multiple materials, you can mix and match especially if you’ll be finishing your project with stain or paint. Here’s a look at that in action:

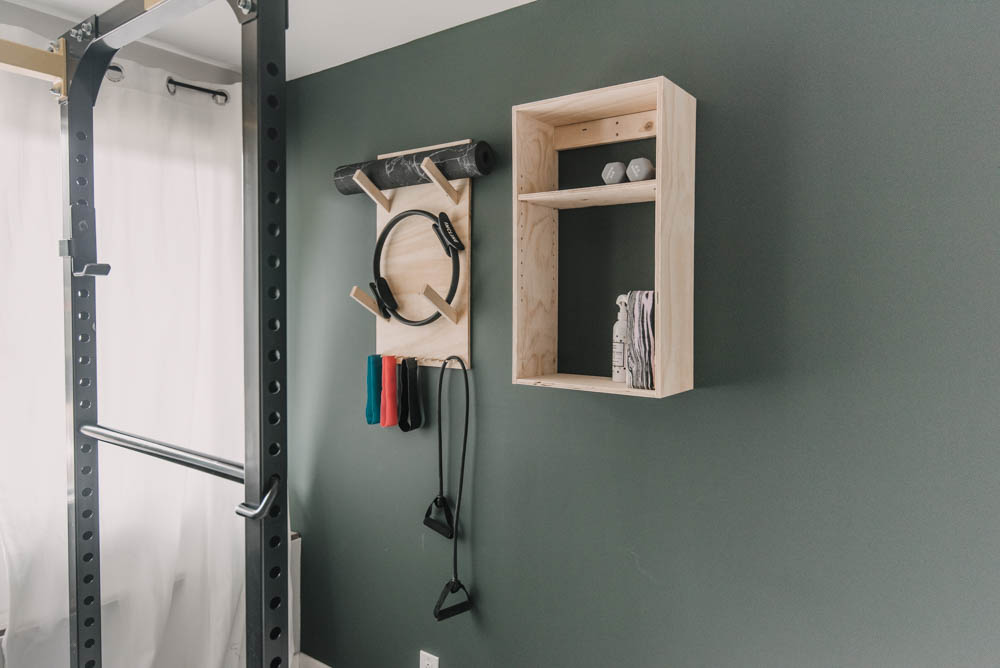
In this DIY Basics series I’ll be digging a bit more into materials and finishes for those materials but also into basic tools and power tools. Feel free to send me any questions and I’ll amend these posts with answers to keep them helpful for you!
Some Great Wood DIY Projects to Try
Pin this for later!
Don’t have time to read through this all right now? Pin this so you can come back to it! Plus, pinning or sharing on FB helps this post reach more people which helps me be able to keep sharing with you. Thank you!


 The Best Common Tall House Plants for Home Decor
Leave a Reply