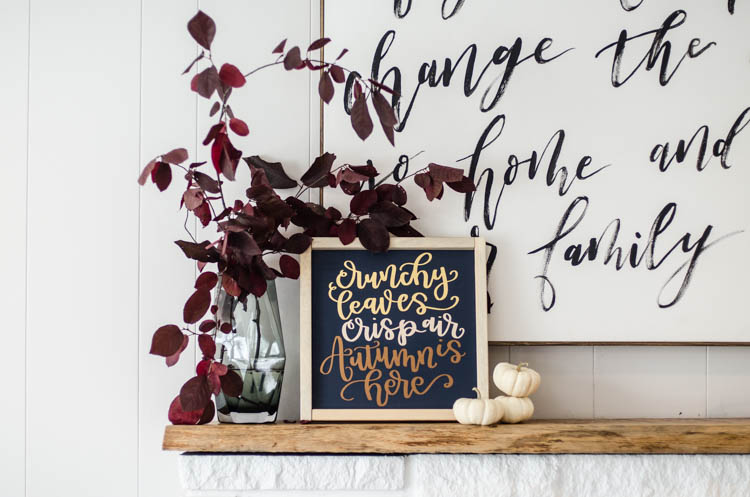
Who doesn’t love a good wooden sign? This girl certainly does… to the point that I have nowhere to hang this one, so it’s sitting on my mantle! I might need an intervention.
Today I’m excited to be sharing not only this fun sign and the DIY tutorial for it BUT also… the October Fresh Cut SVG Bundle! This time around it’s fall themed and there’s some really rad files in here you guys. lots of hand lettering, beautiful leaves, and I for one am full of ideas on how to use these! If you missed the announcement last month… I’m partnering with 9 other blogger/designers to offer a bundle of SVG (Cut Files) at a discounted rate. It’s only going to be available for this month at the bundle price and then it’s gone for good! So you get 10 rad Fall themed files for $9.99 and can I just say how. many. things. you can make with them!?
YOU CAN FIND THE BUNDLE RIGHT HERE.
*update! You all have been such an amazing support that we opened up shop FULL TIME. This bundle is running again at the link above :) New bundles every 6 weeks!

Alright… on to the DIY sign? You bet!

I wanted to get an angle shot so you could see the amazing texture and foil on this baby. I’m in love with that matte foil look! It catches light just like the regular foil, but it’s matte look is so different than what I’ve seen with some really beautiful colours.
Let’s start with the wooden sign itself… I didn’t take any photos of the making this because I actually had the pieces cut AGES ago for a sign making party I did with some girlfriends. This one was leftover and just waiting to be used. It’s a piece of 1×12 board cut square and the frame is 1×2. That makes it dirt cheap- especially if you have a use for the rest of that 1×12 board. When we had our party, things worked out to $5 per person including paint and sandpaper. Not bad ;)


Start by painting the sign itself. In my first ever post about sign painting… I learned that you should definitely paint BEFORE assembly. It will save your sanity. I chose this satin finish Martha Stewart paint and am in loooove with the dark navy that looks almost black. I found this paint to be much thicker than typical bottles of acrylic craft paint… and I love that! It kept all the ridges from the paint brush which makes for such a nice texture.
While the sign is drying, you can upload your design and get it cutting! I use a Cricut for my cutting, so my instructions might be a bit different if you’re using a different machine. To get your SVG uploaded, just start a new project in Design Space, hit upload and select the file you’d like to use. Hit GO and insert it. SVG files are rad because they break down into each piece. I used the ‘weld’ tool to put together the ones I wanted to cut out of each colour and then changed the colour of each welded piece so that they would automatically separate onto different mats. Just remember to size them by selecting them ALL so you’re not trying to match all the pieces up.


Load up your mat and get cutting! I used my Cricut Maker for this, but the matte foils are just a special vinyl, so any cutting machine could cut it! Specifically, I used three colours from this Matte Foils Vinyl sampler pack (Gold, Champagne and Bronze).
Since the three colours were cut from different mats, I laid them all out on my craft mat to line them up before layering one piece of transfer tape over them all. This made applying them to the sign really simple.


The matte foil IS thicker than normal vinyl, but I found it adhered just as well using the scraper. I don’t know how I ever got by without a scraper, you guys. And I did for almost a year of using my Cricut before I realized I could buy tools to go with it.

Once your lettering is on… time to frame it up! I just used a nail gun to add the frame on and that was it! If you want to hang it on the wall instead of on a mantle or table- my favourite way to do that is just with a saw tooth hanger.


So that’s my project using the cut file I created for the October SVG bundle… but there are a million things you could do with it! You could make a candle wrap (on a glass candle holder, using vinyl), create a layered cardstock card with it… make a pillow with heat transfer vinyl… I’m sure there are others but honestly, you can use it for whatever. Not to mention the 9 other files ;)


 XO DIY Applique Pillow
I love this font so much! Is it your own?
Yes, I hand lettered the file and turned it into an SVG :)