We renovated our kitchen and dining room, then NEVER decorated. I transformed it from a white box of a room into a cozy neutral dining room in this makeover reveal… all in one weekend!
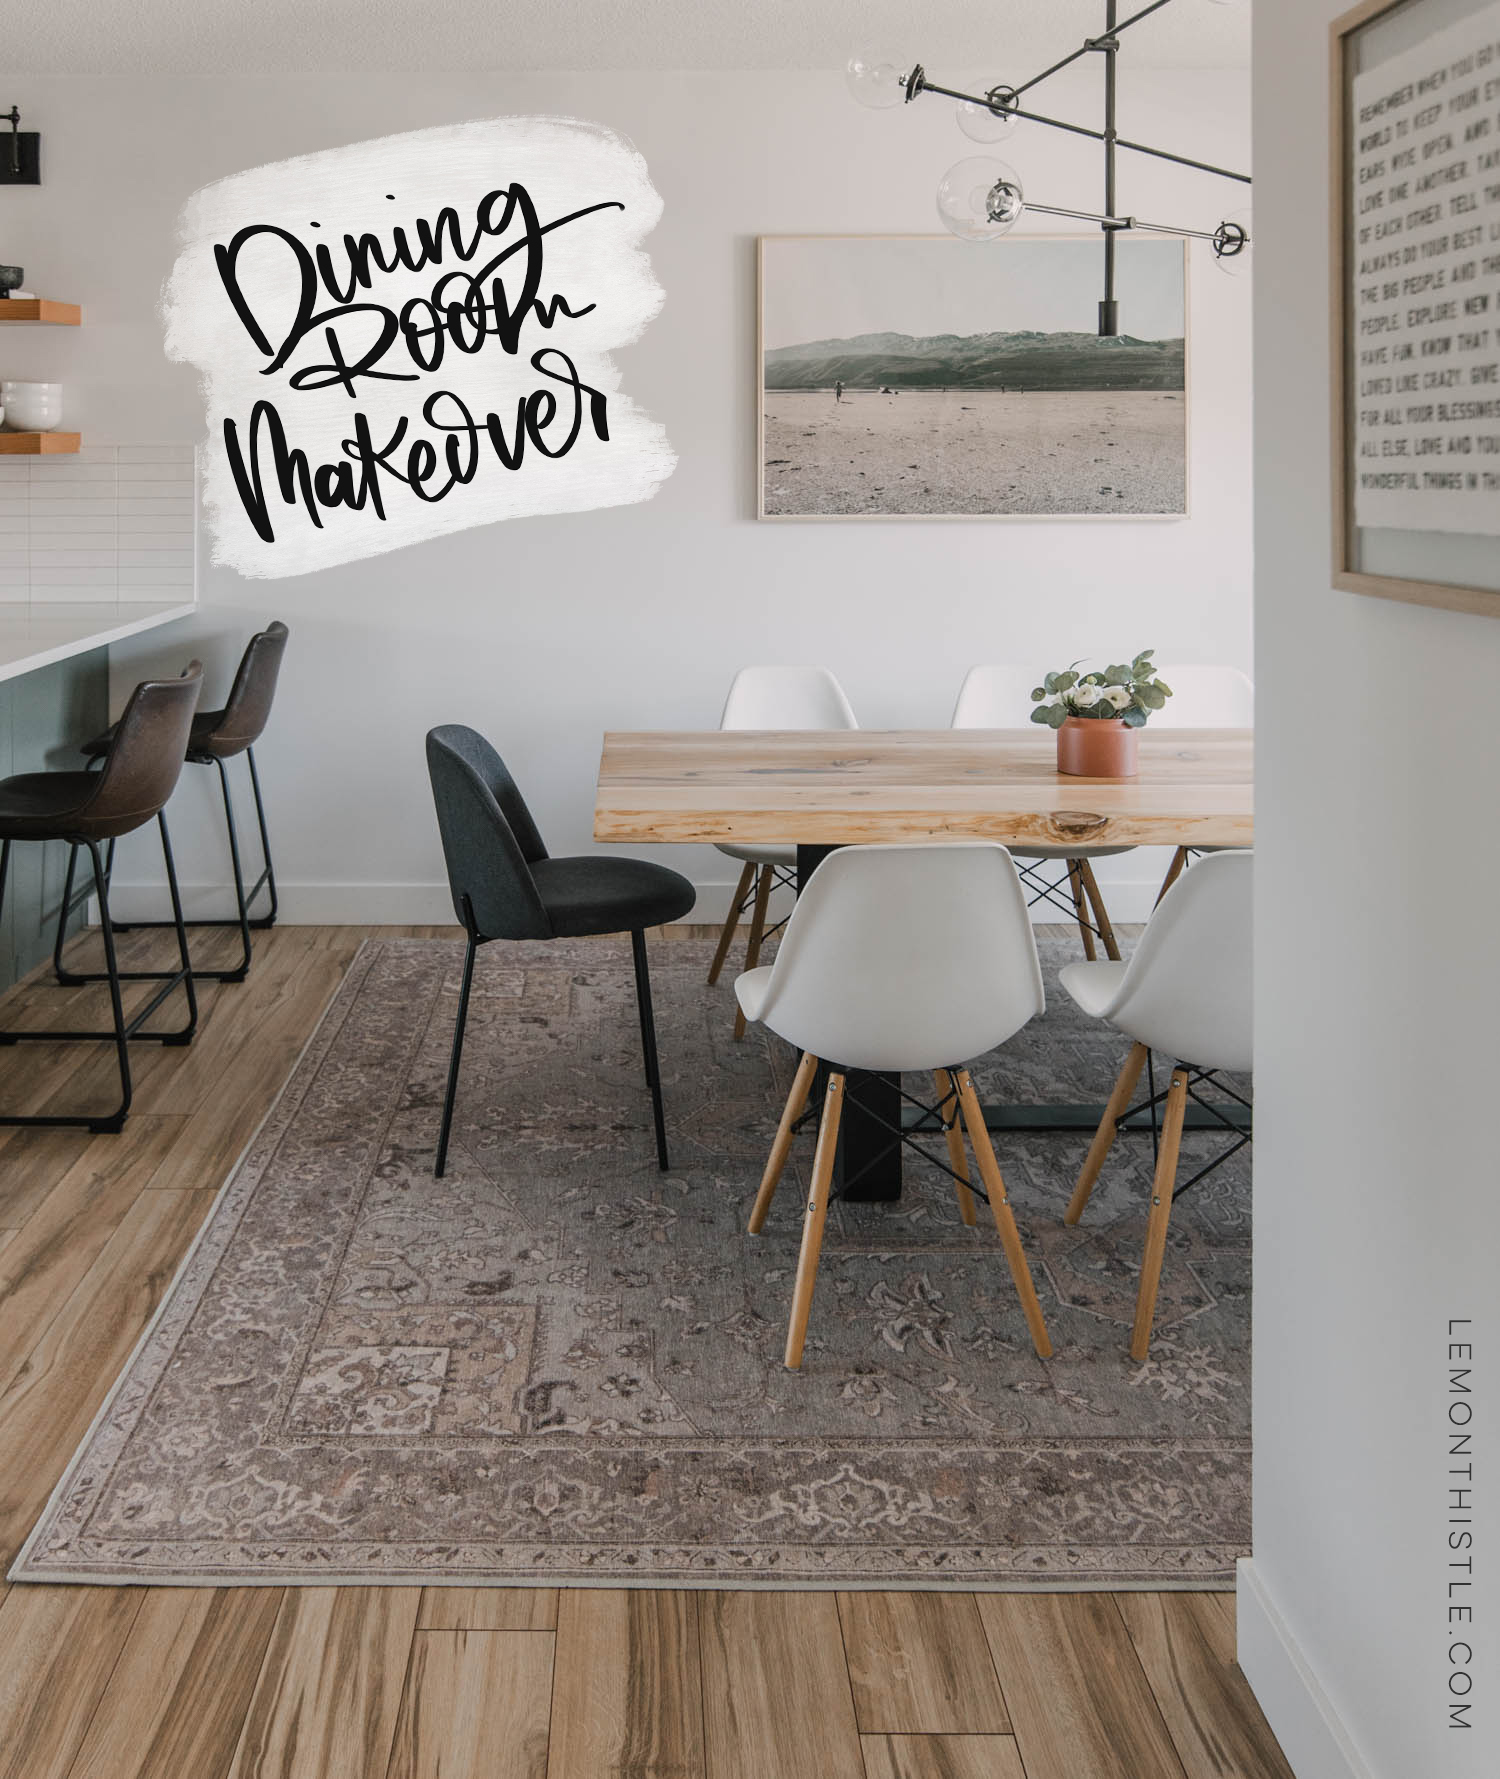
Remember about a month ago, I shared our dining room makeover plans? Well, we made this room over that weekend, sharing the whole time on IG (catch up here if you like!) and I took this long to share the photos with you guys! This month has been so wild (I’m sure you would agree) and it’s thrown me off my schedule more than this WAHM would have imagined. But I’m so excited to share this space with you now- because I still walk into it and smile.
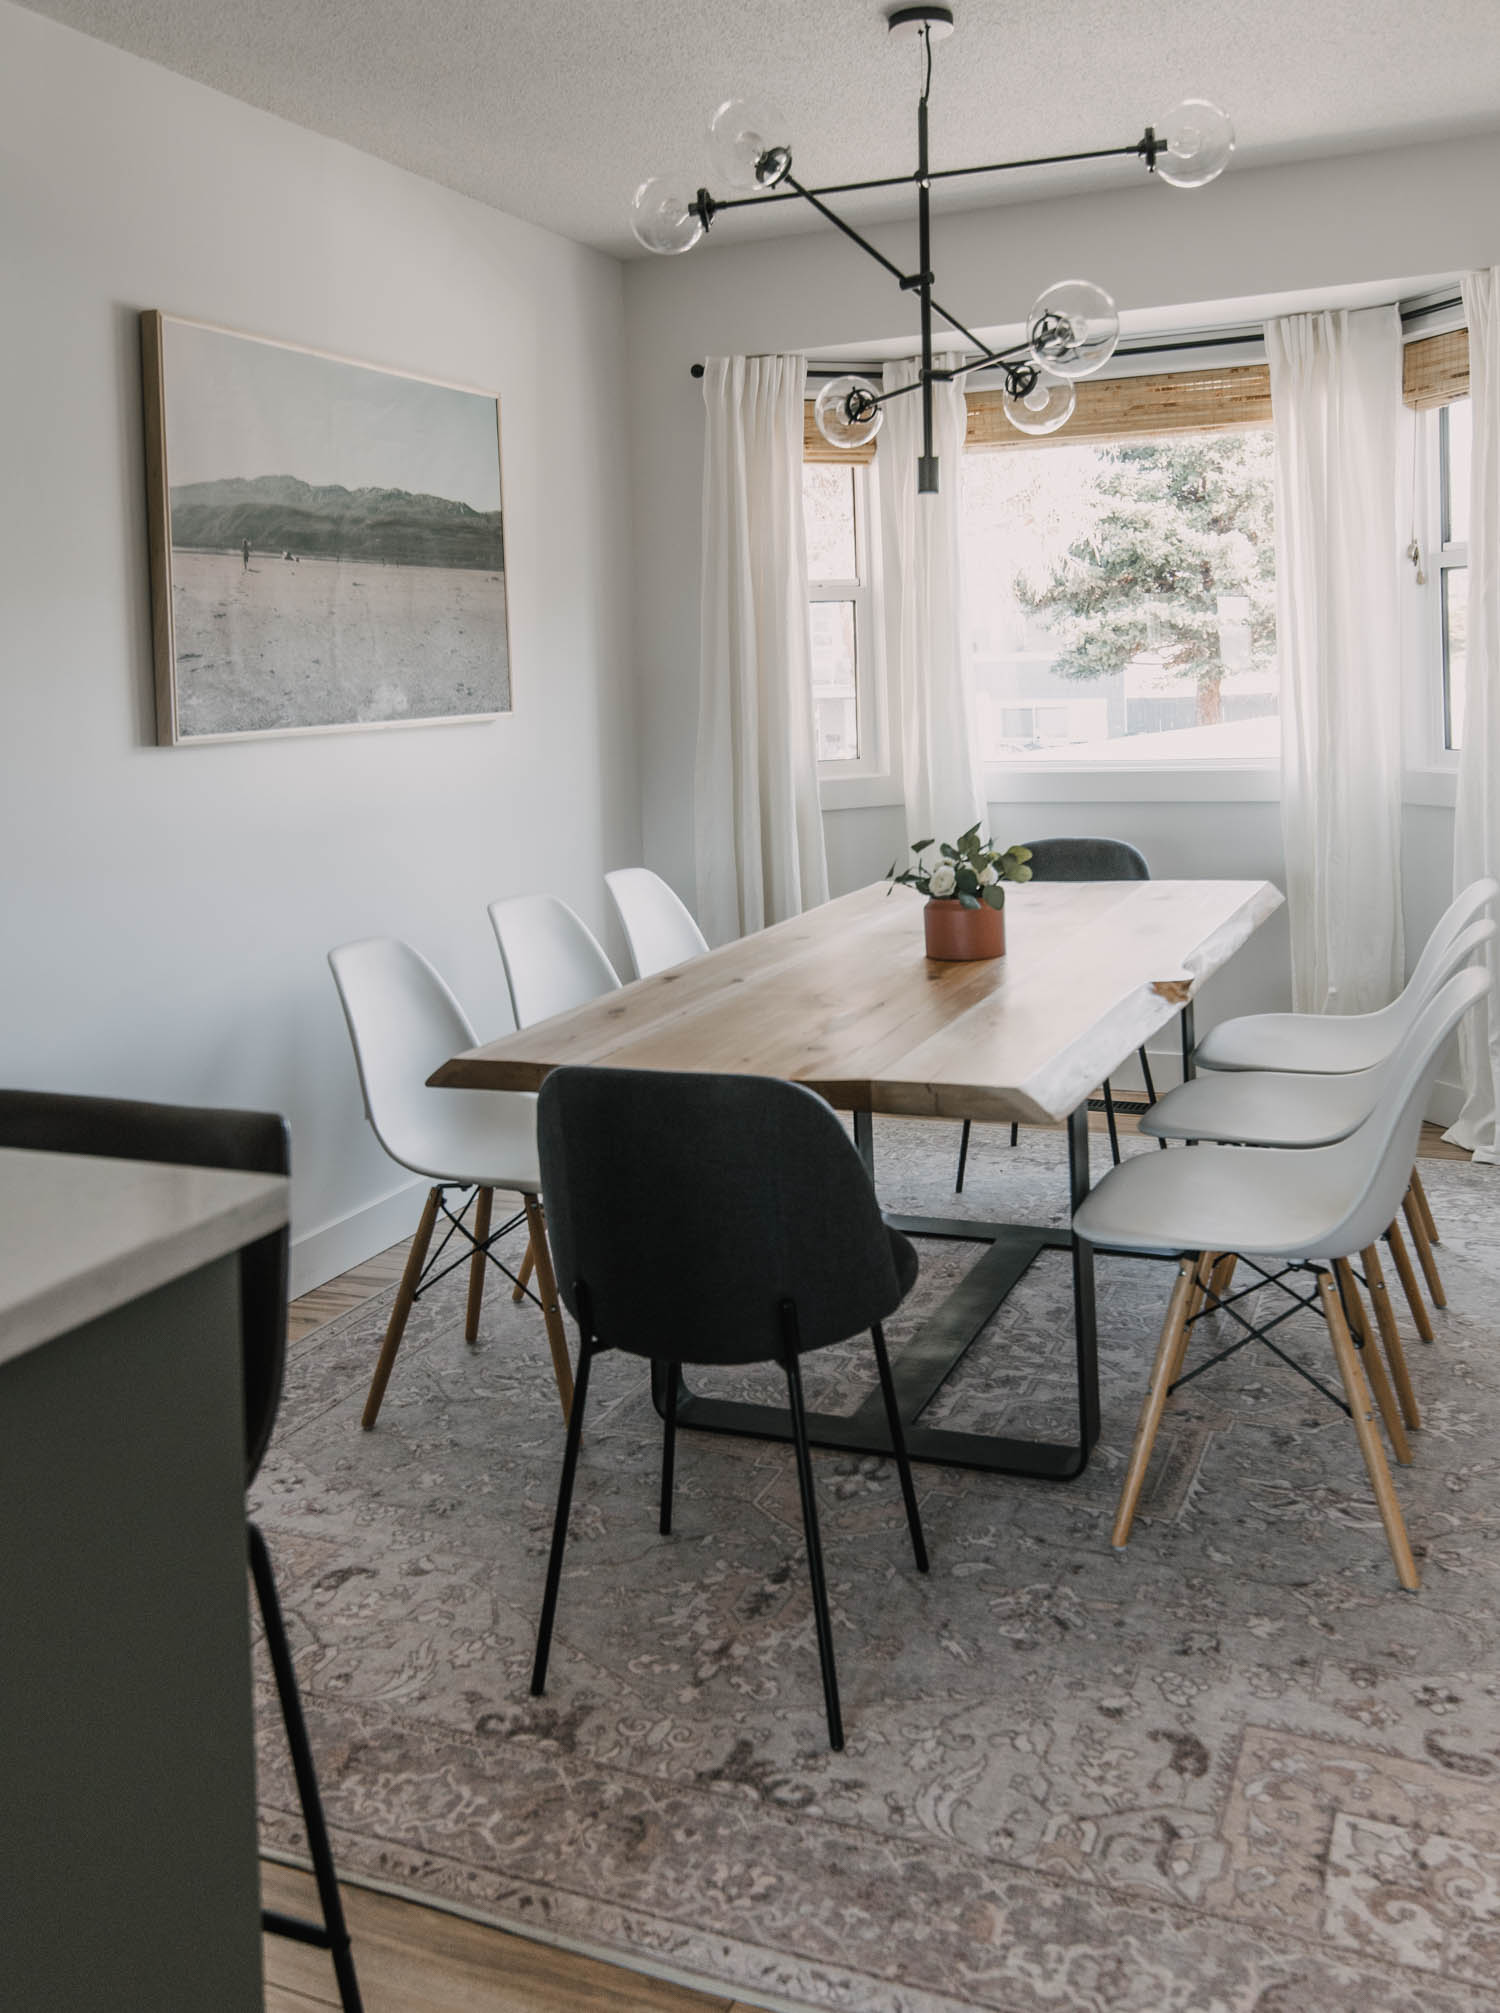
It always amazes me how a few small changes in a room can make the entire space feel cozier. And more finished. When we renovated our kitchen in 2018, we moved the kitchen and this dining room is part of the old kitchen. So back then, we finished flooring this space, painting it and adding *most* of the trim. We switched the light and moved our furniture in and called it a day. Just a white box with lots of natural light and NO privacy from the street right outside this window.
You guys, we hadn’t patched nail holes on the window trim and we had curtains and blinds sitting in boxes for MONTHS. And now, after one weekend of hard work (but only one weekend!) we are so thrilled to be able to enjoy this space. Let’s get into it!
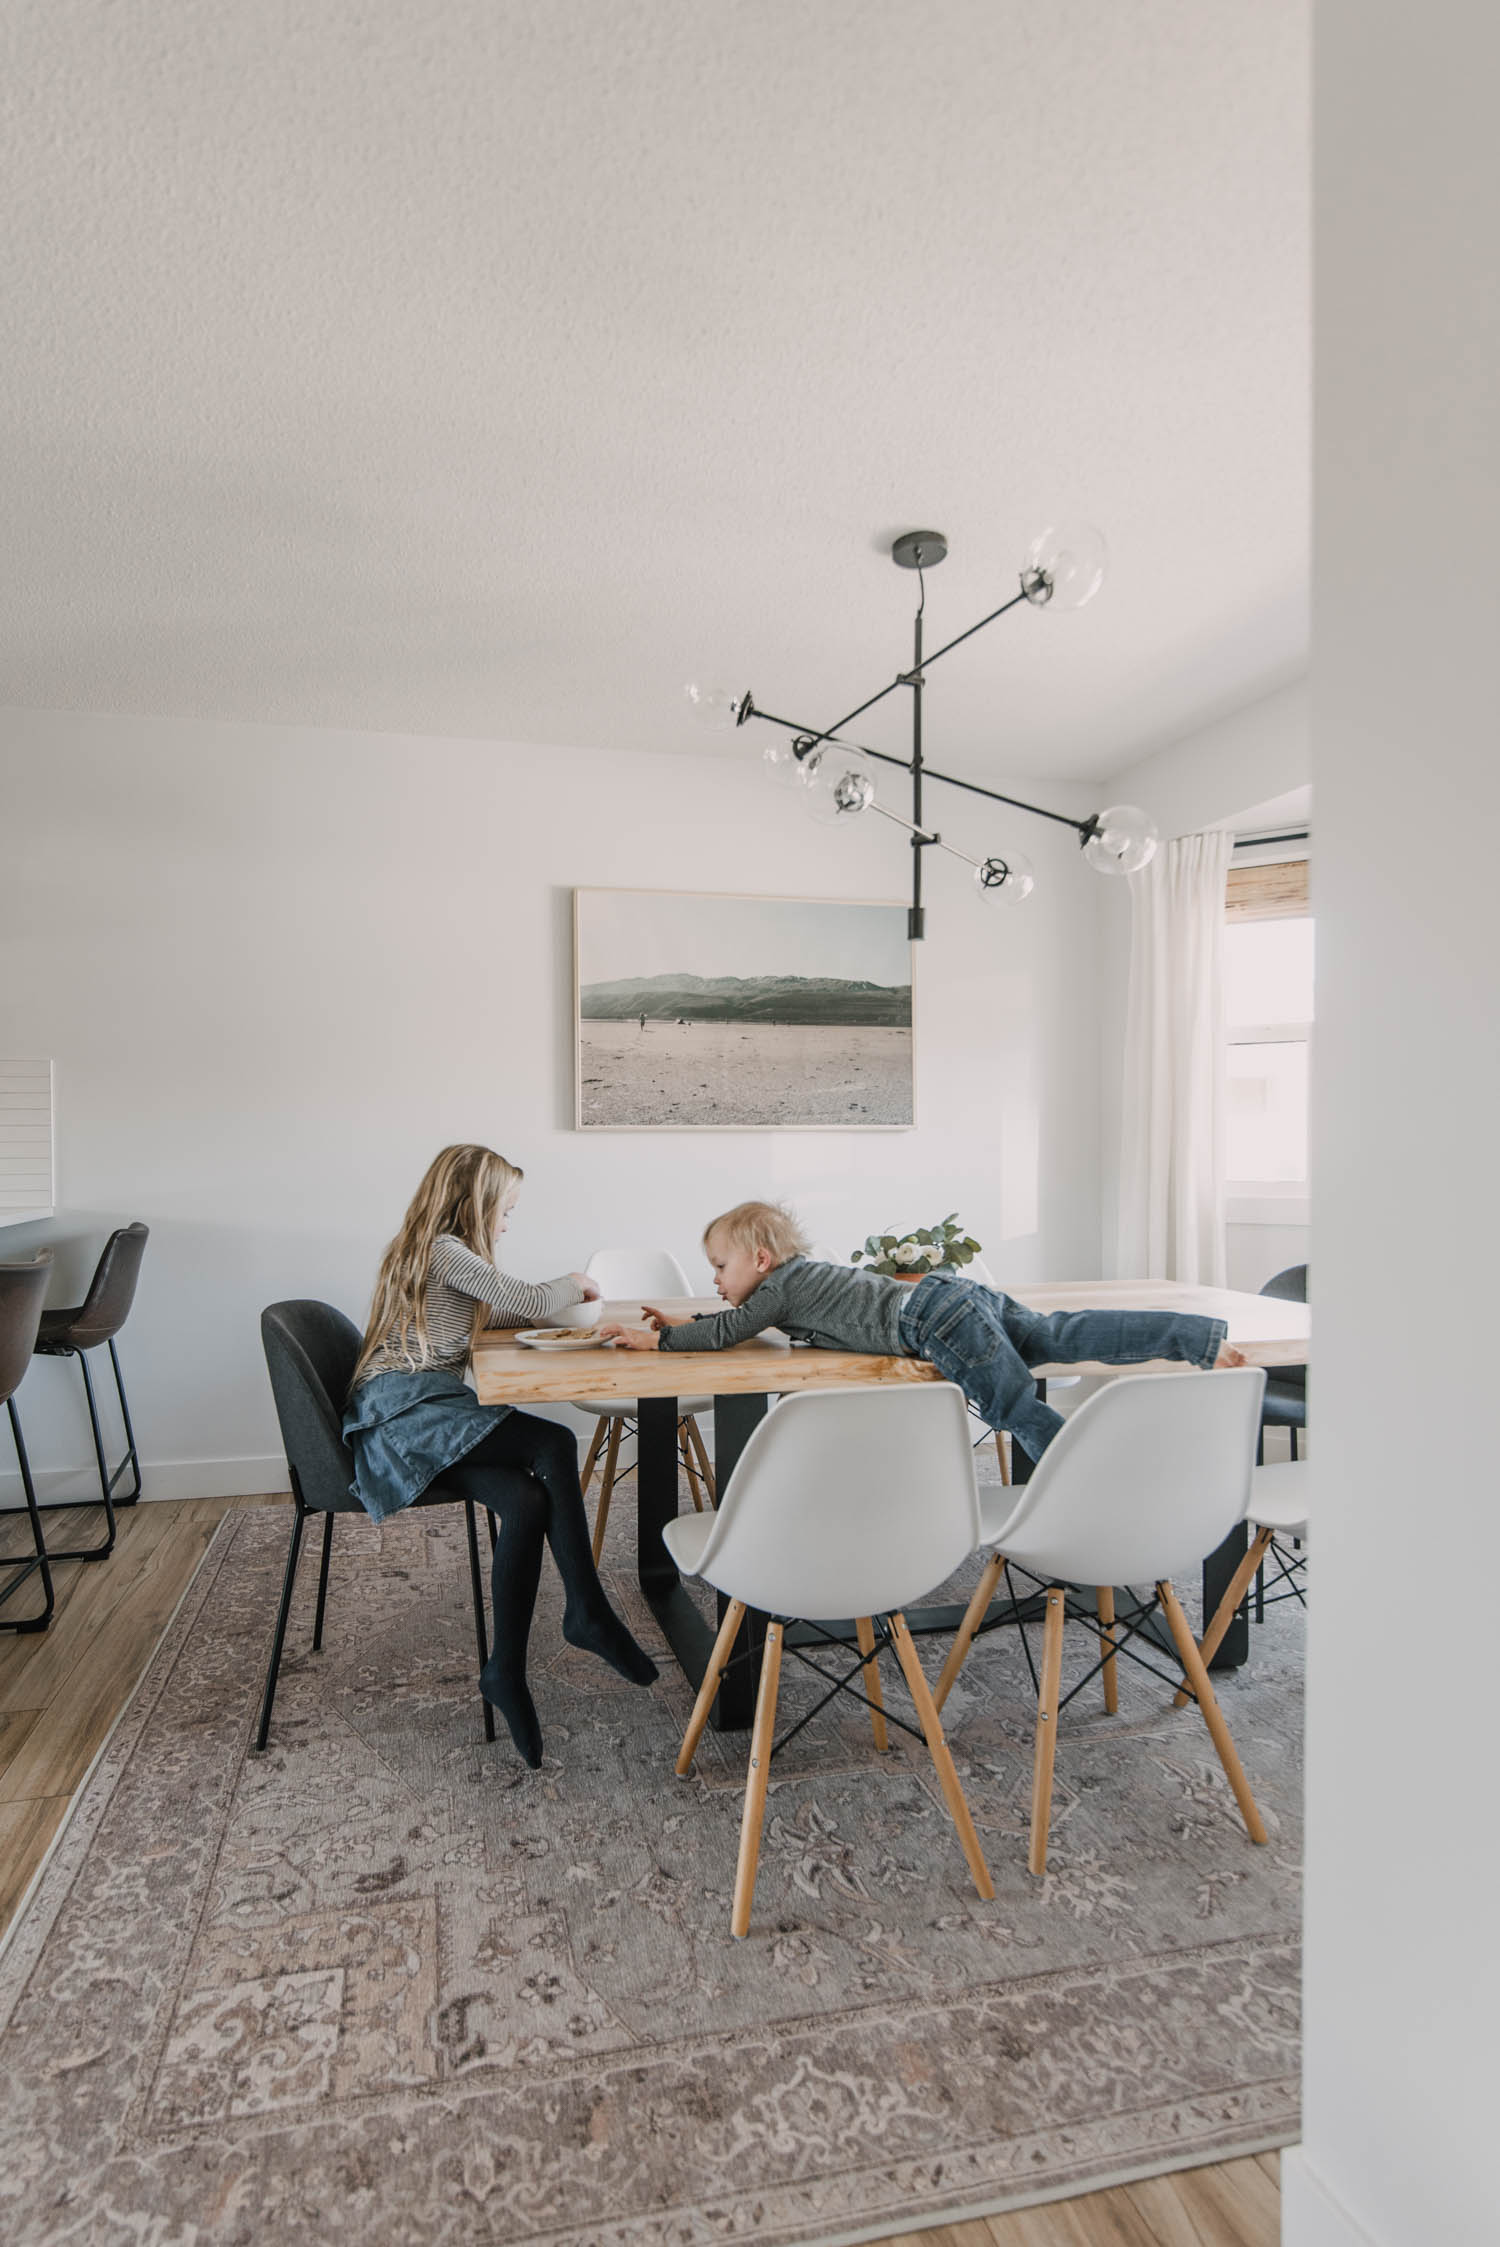

If you enjoy watching the videos for my posts, I’d so love if you subscribed to my YouTube channel!
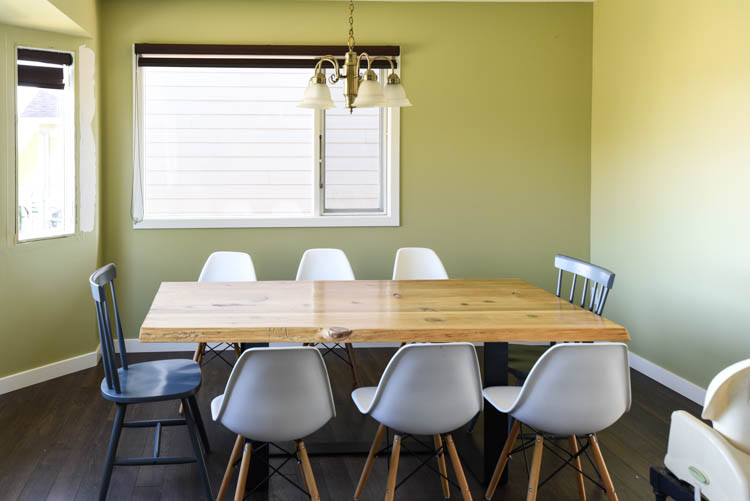
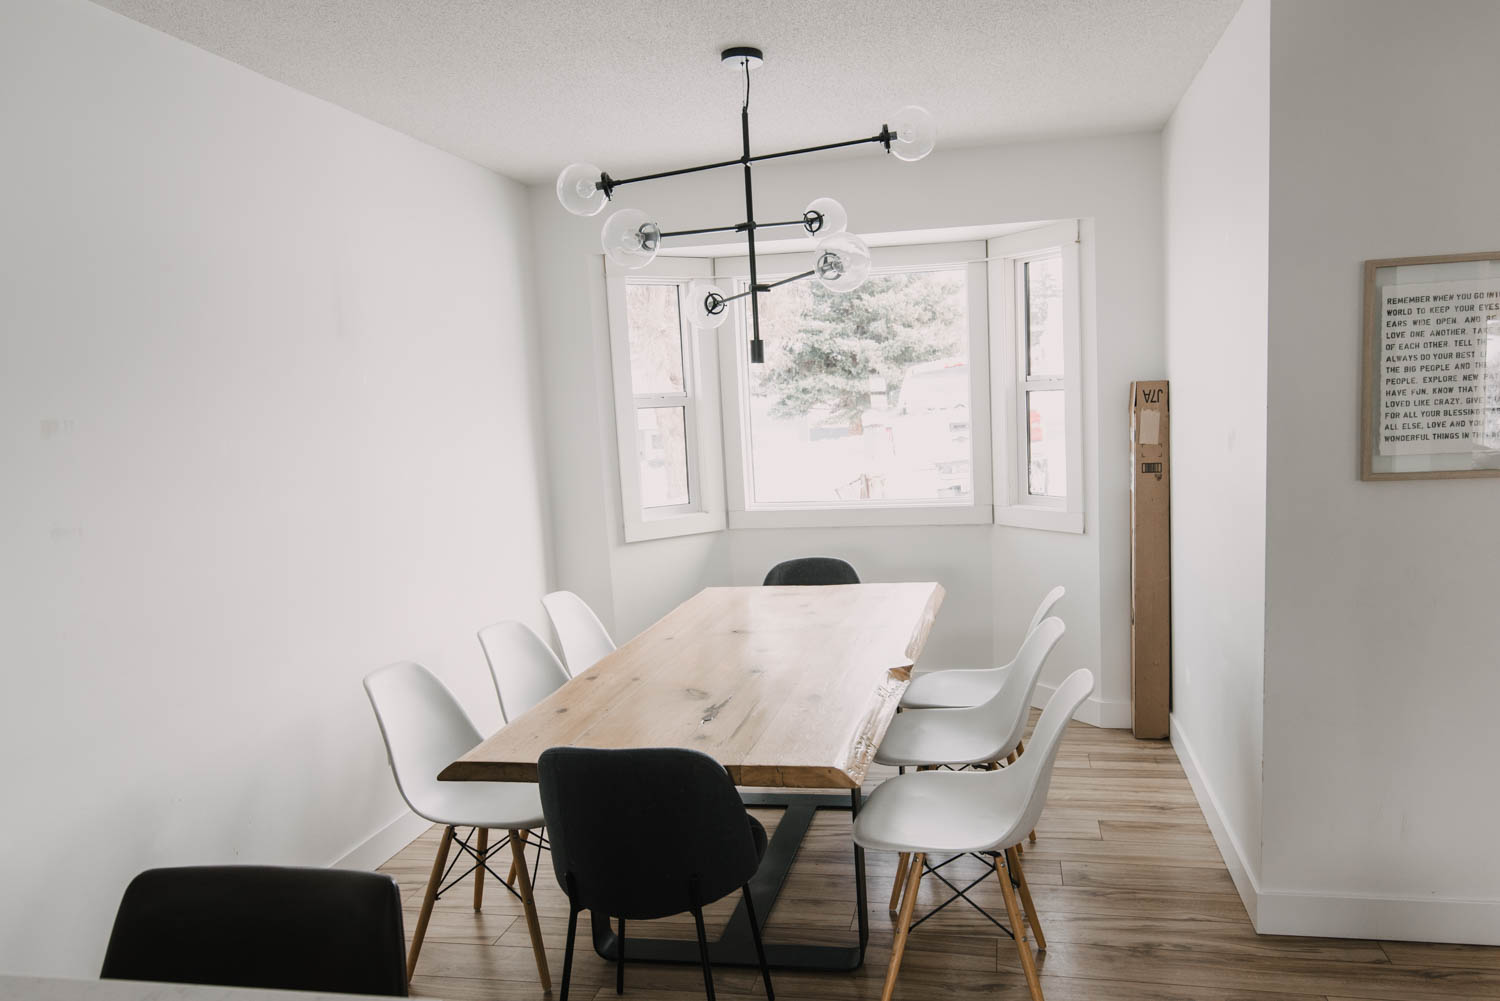
Let’s throw it way back to when we bought the house. This is where we started! Since then, we’ve moved the dining room to where the kitchen was and the second photo (white) is where it was at the beginning of our work weekend.
The first thing I did was to patch the walls and all trim, then caulked the trim. We had so many dings and dents and dings in the wall, it really needed it. I painted right up to our range hood so I didn’t have any weird lines. I am so glad I did, it feels new again. And painted/filled/caulked trim also makes a space feel like new… it’s a lot of work but incredibly work it. You can see more about caulking here if you’ve never tried! It’s my first video EVER, so be nice ;P.
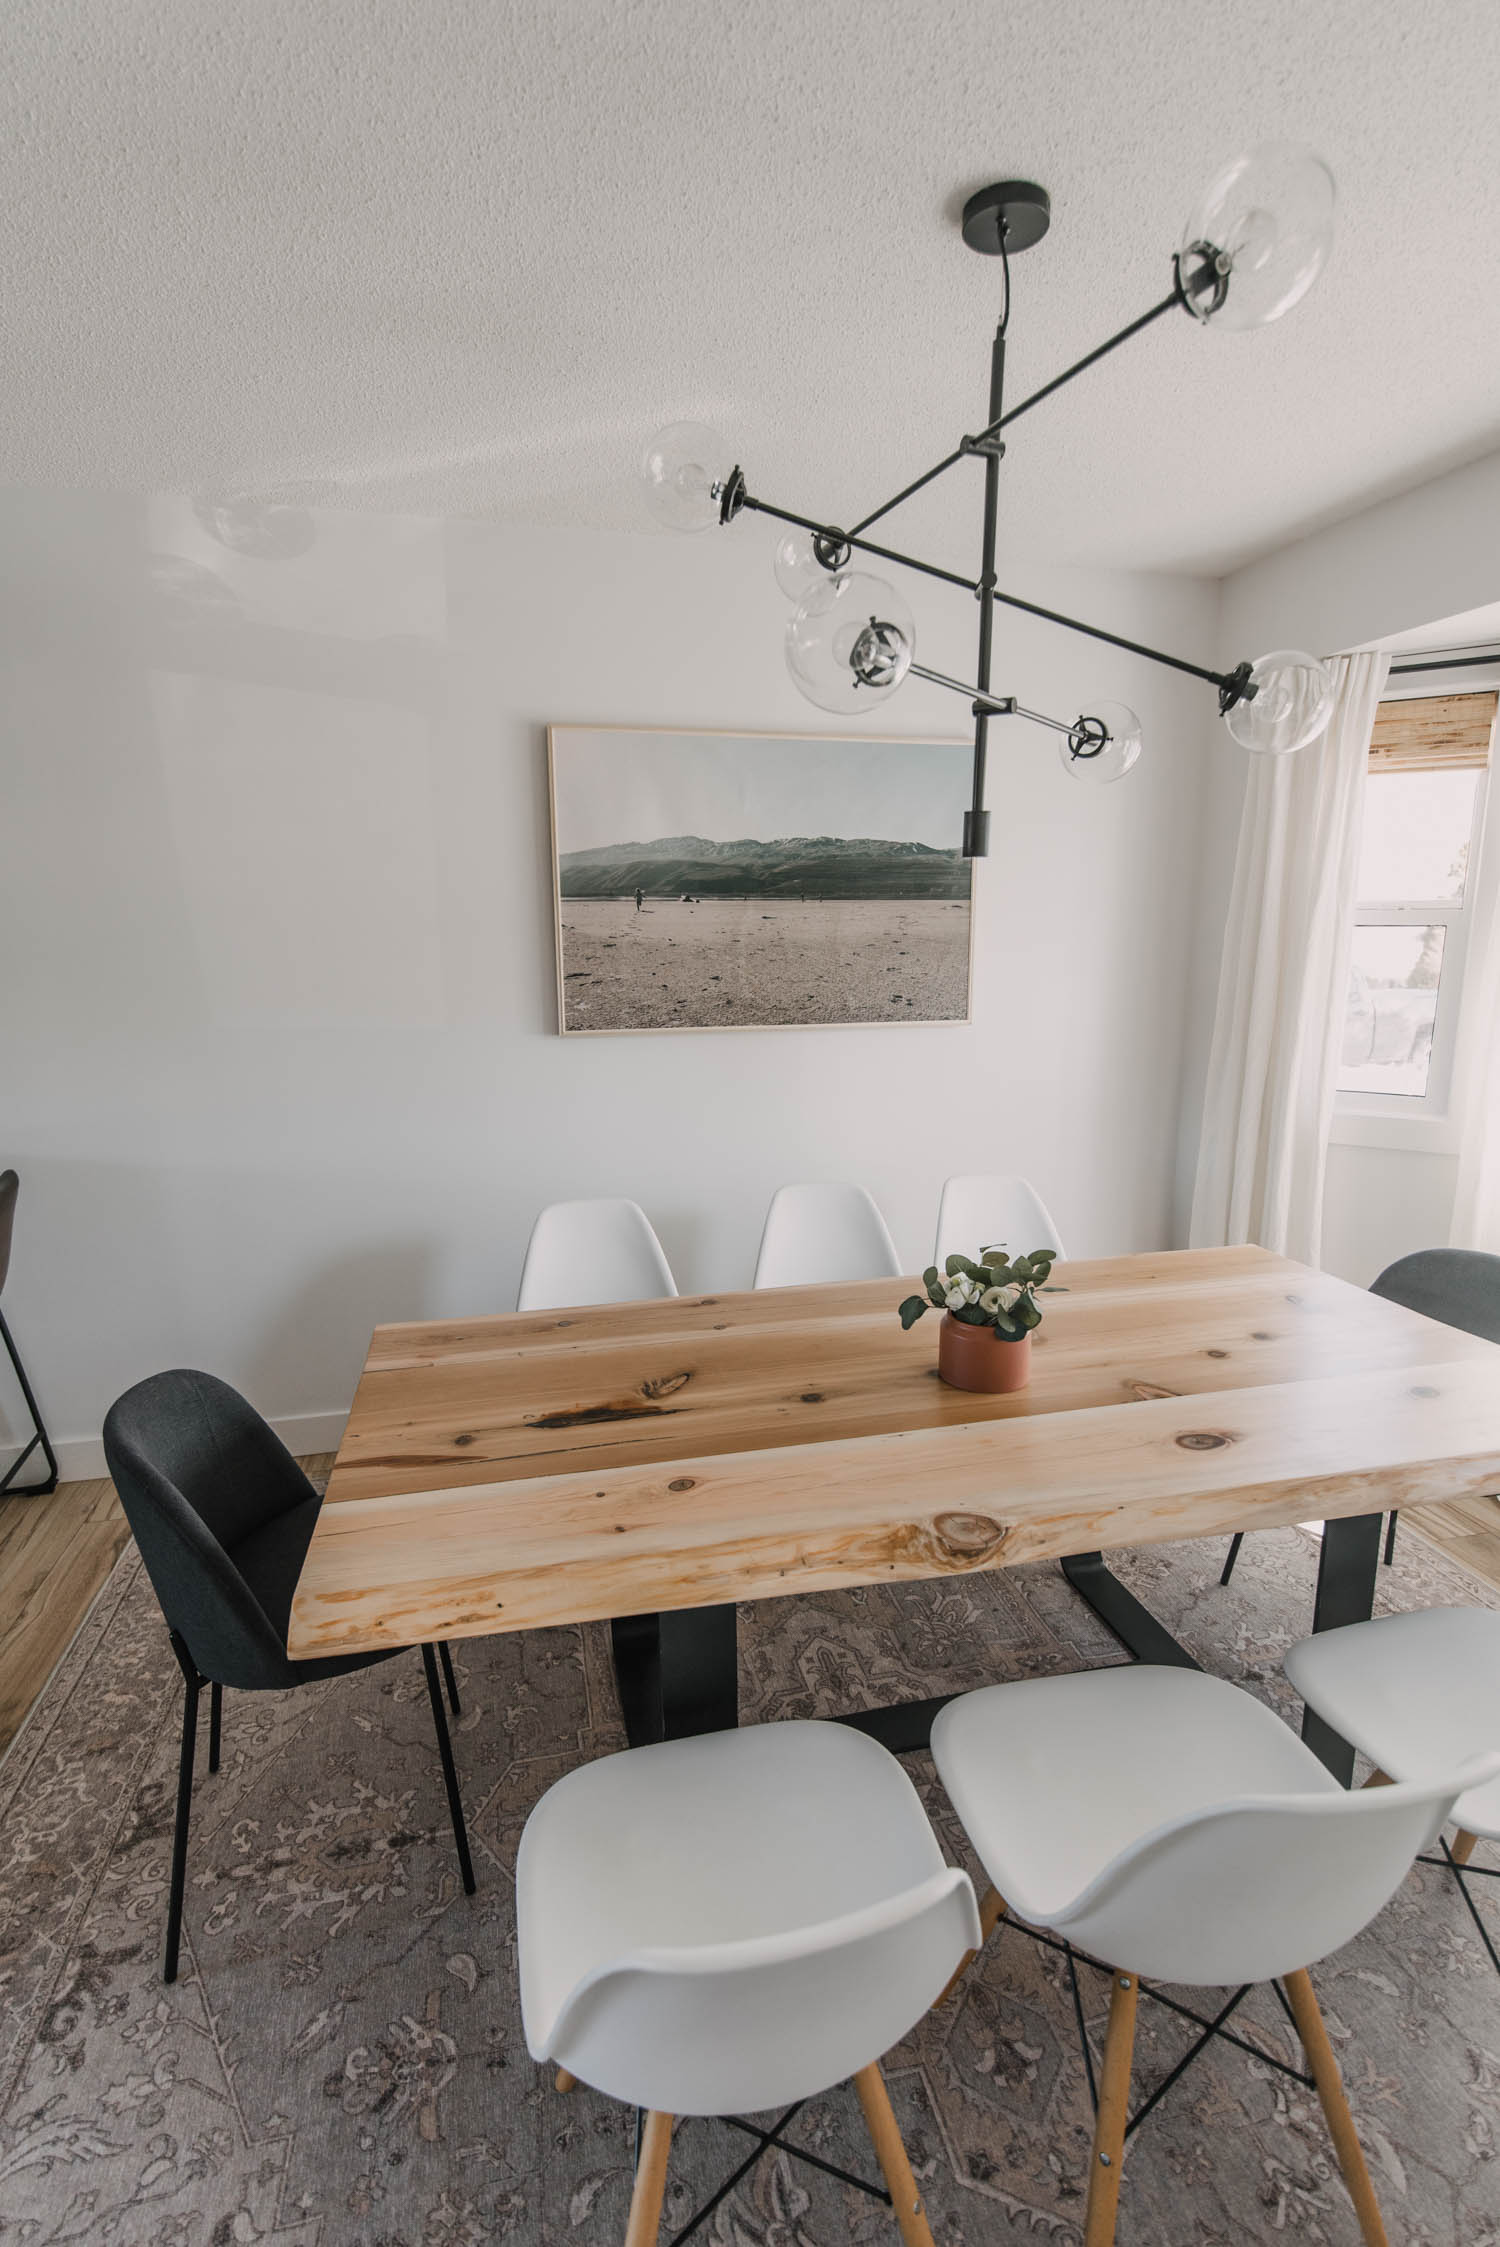
Next up, we got started on refinishing the table. This was by far the biggest job of the weekend and also the most frustrating. We made this table a few years back and I’m in love with it. I plan to have it as long as it survives. You can see the DIY tutorial for it here.
We filled the gaps with epoxy when we made it but had a few more that I wanted to fill. We bought a new epoxy kit, assuming ours was too old. It was identical, the crystal clear bar finish stuff. But whatever was in that box was not what it was supposed to be. You guys. It turned our table a terrible red. I was so so sad. We were frustrated. We asked anyone we know who might know why. I read on forums all night and NOTHING. All anyone said was that it must be the wrong product inside the box. I spent HOURS sanding the epoxy off. There’s a couple spots I wasn’t able to sand down enough- because it was used to level the table and I didn’t want big divots.
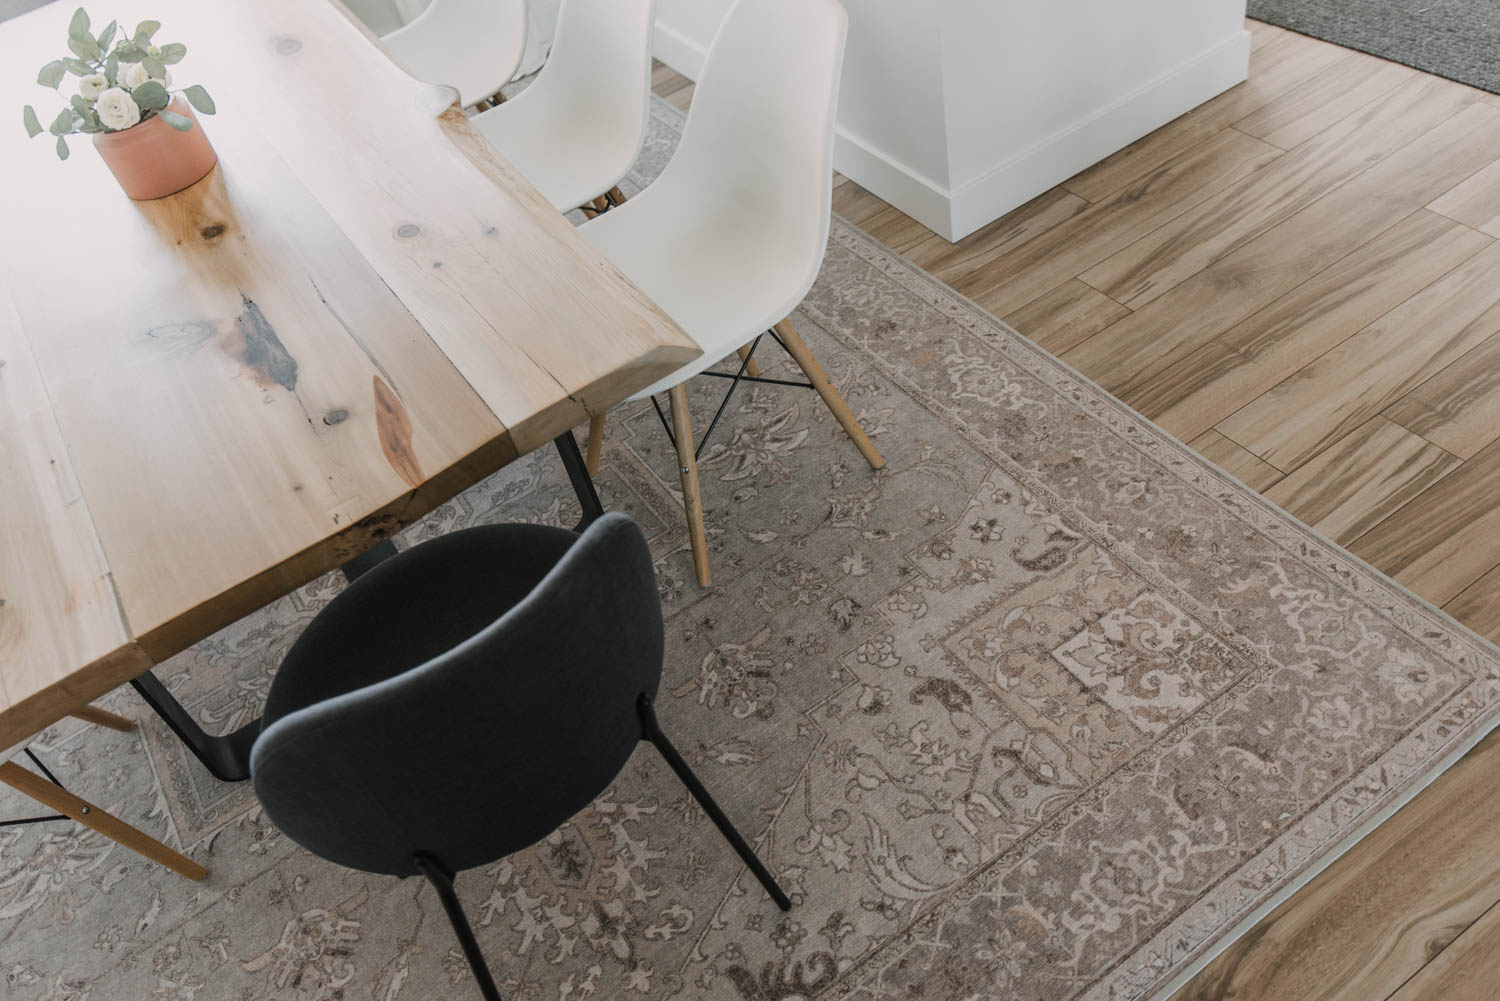
We’ll have these spots there forever and they’ve already (in the past 3 weeks) just become part of the table and it’s character. But it was the most frustrating experience. We finished it off with 6 coats of clear poly.
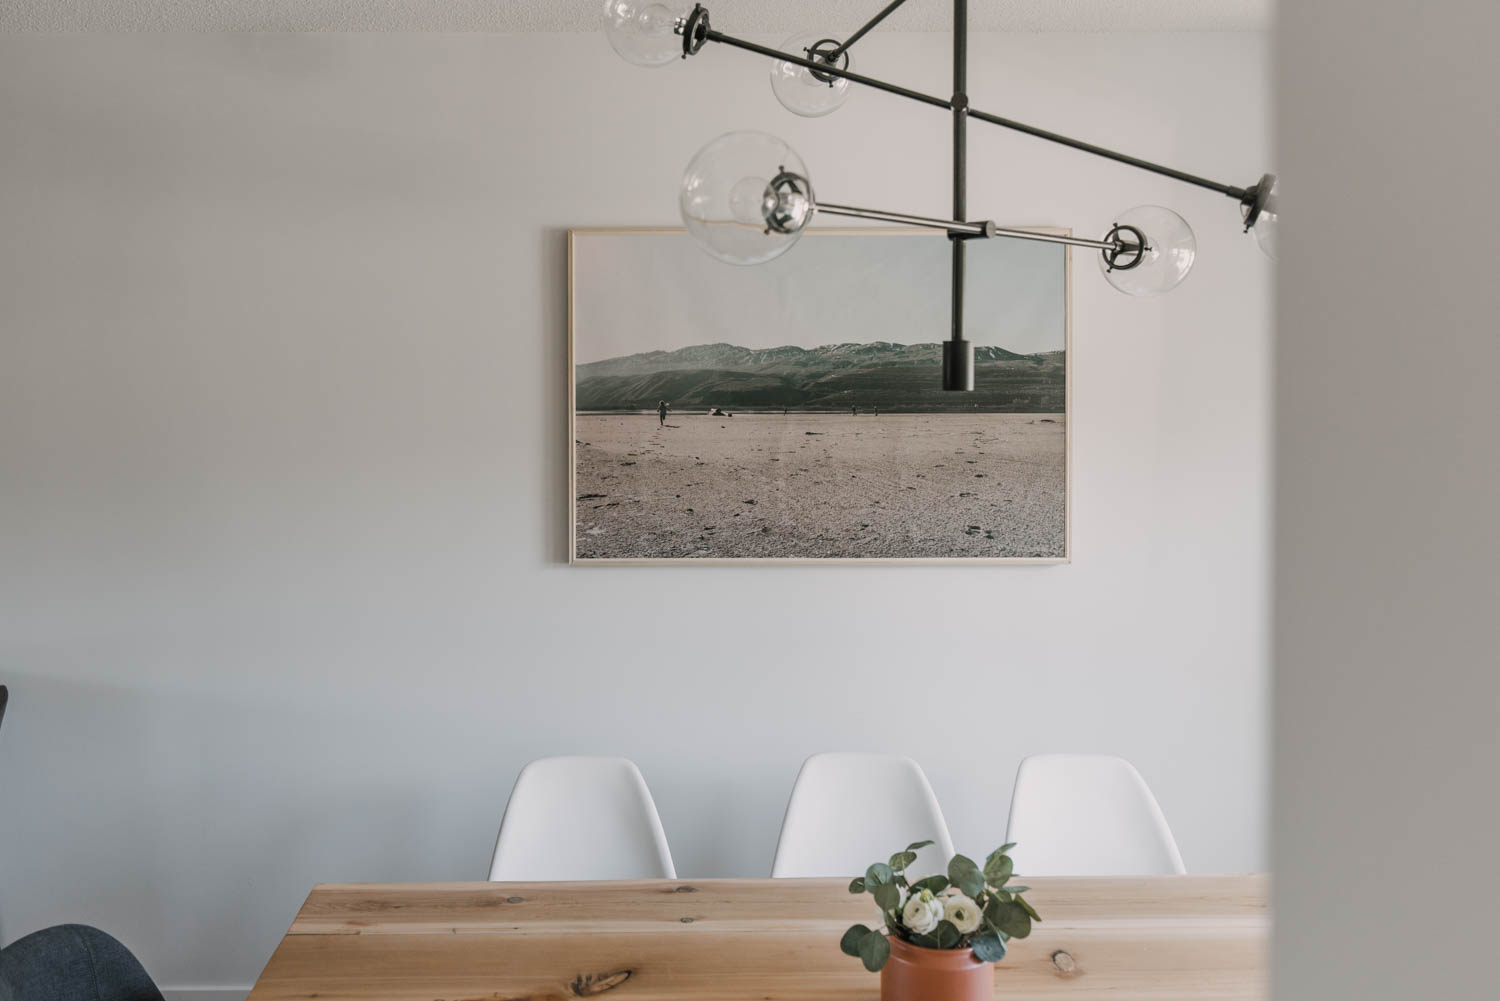
Next up was that art! I knew exactly what I wanted but didn’t have a big budget to get a ginormous canvas printed so DIY rocked the day. I took my kids out to the beach about a week before this makeover and took these photos of them running. I wanted a landscape photo that suited my home decor but I wanted something a bit more personal, so them running around was perfect. Plus, there’s something about Aubrey’s hair trailing behind her as she runs that’s just so magical.
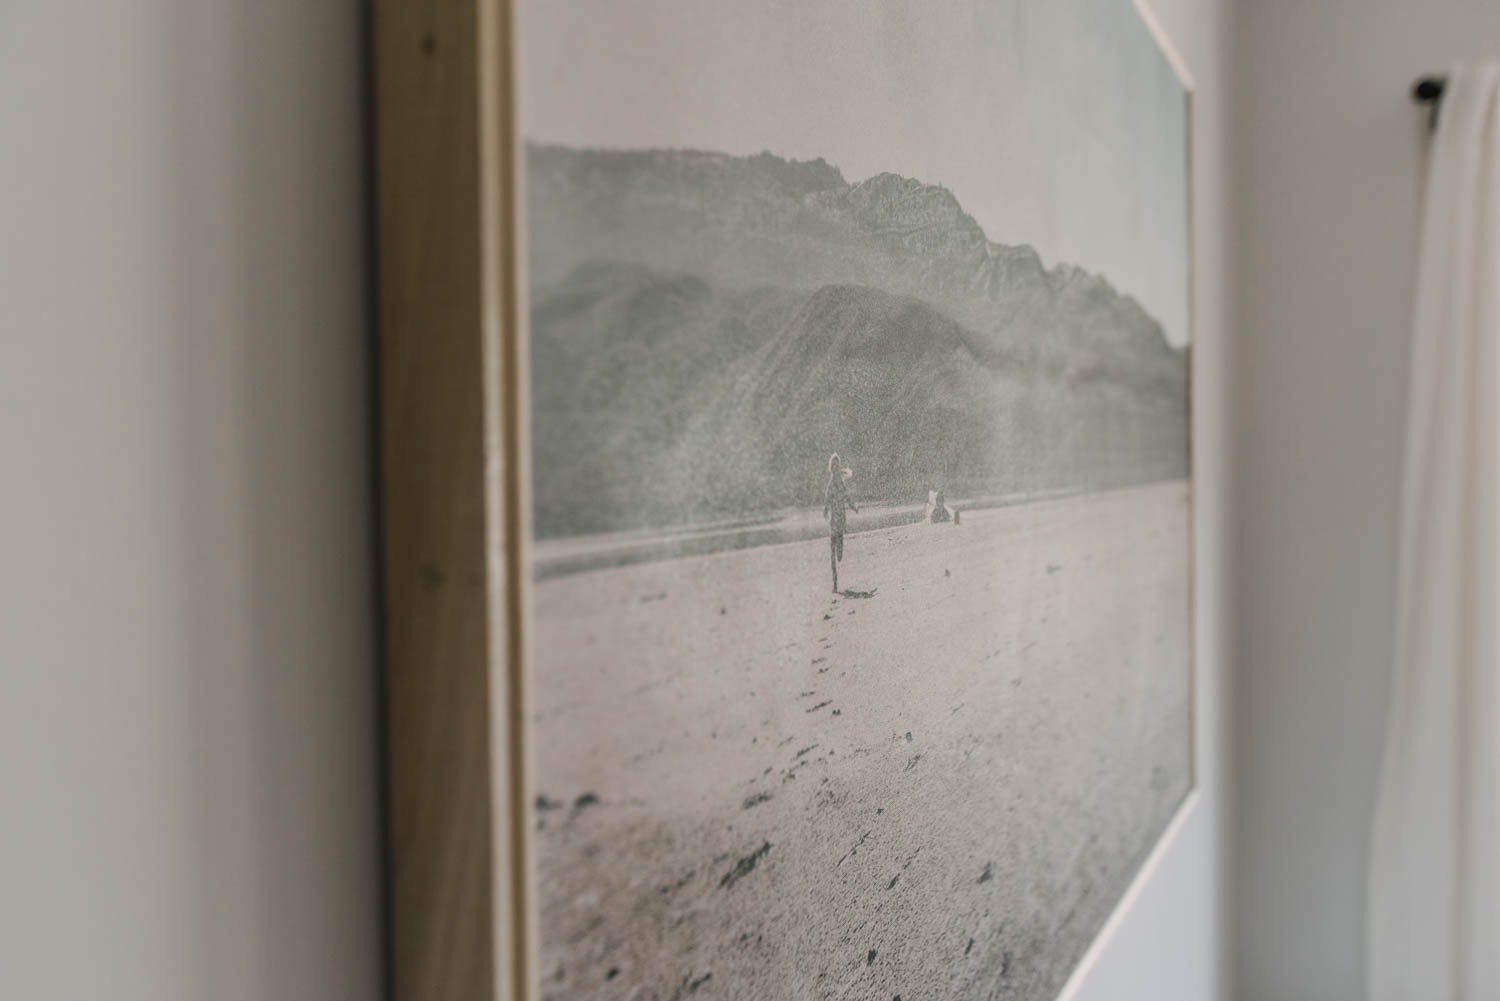
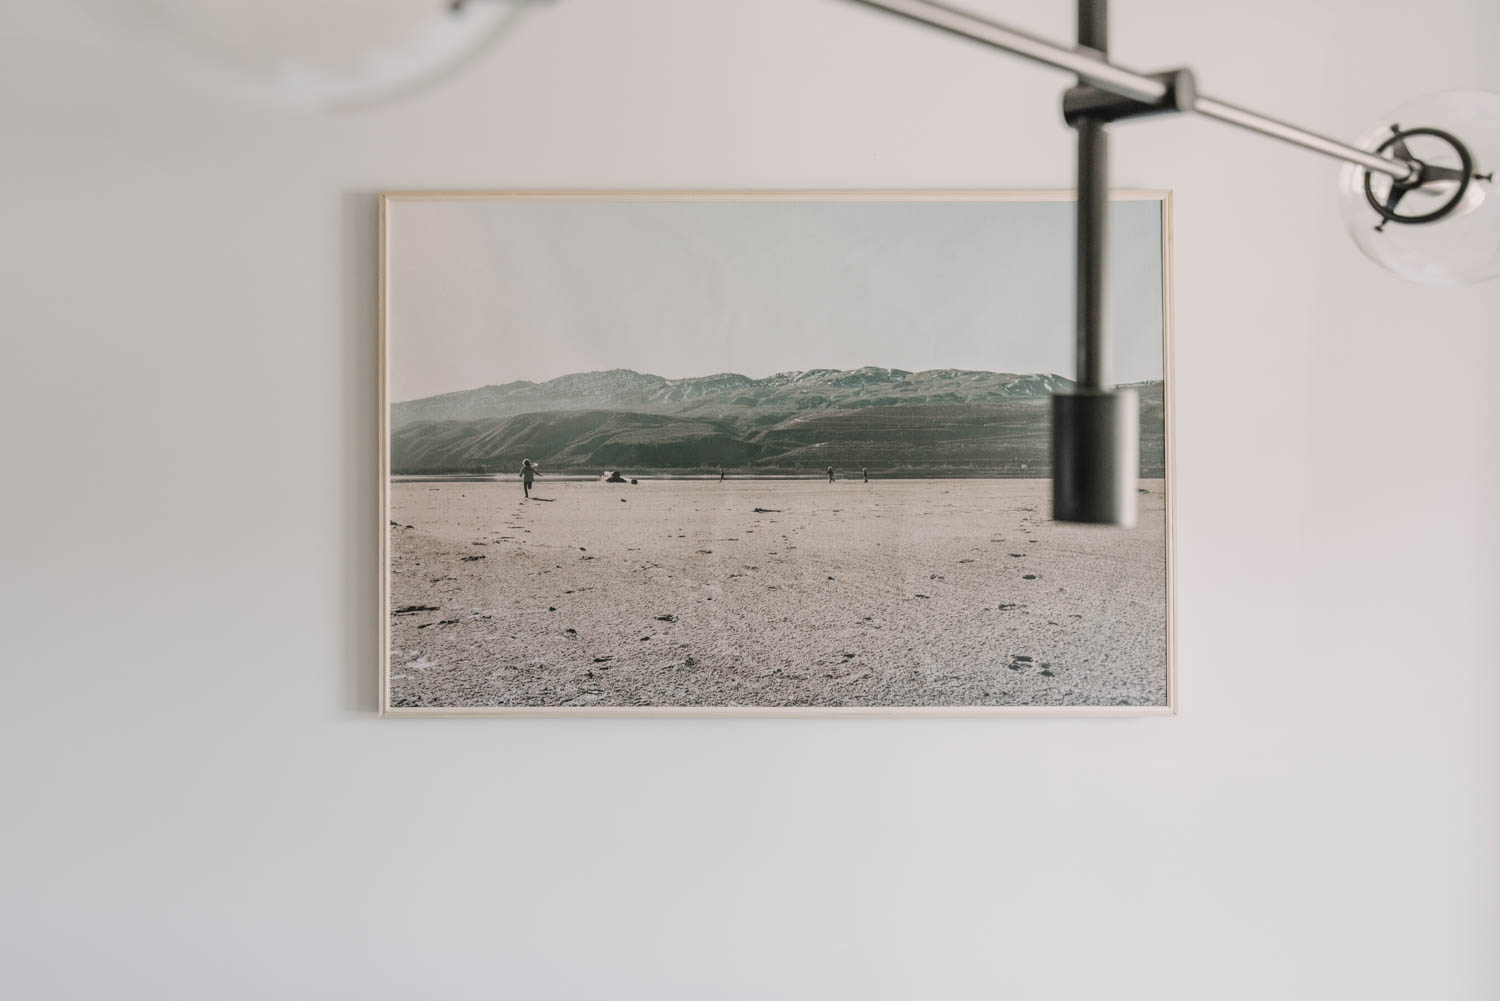
I got it printed as an engineering print from staples. It’s almost 3×4 and cost $23. I did get scolded at pickup that this is not what they’re for. So make of that what you like. You can’t get posters printed this big there, so this was my only option ;)
I used spray adhesive to attach it to a canvas I had scored at Jysk for $15 a while back and then used clear matte spray paint to seal it. I did LOTS of really thin coats instead of one thick coat. The thick coat would have wrinkled the paper. Now… you say, it’s wrinkled? I know, gosh darn it! It was PERFECT. Then when I went to steam the curtains before taking photos, I plugged in my steamer to heat up right below it (I know, ugh) and this is what happened. It’s still perfect, just a bit wrinkled. So don’t do that, k?

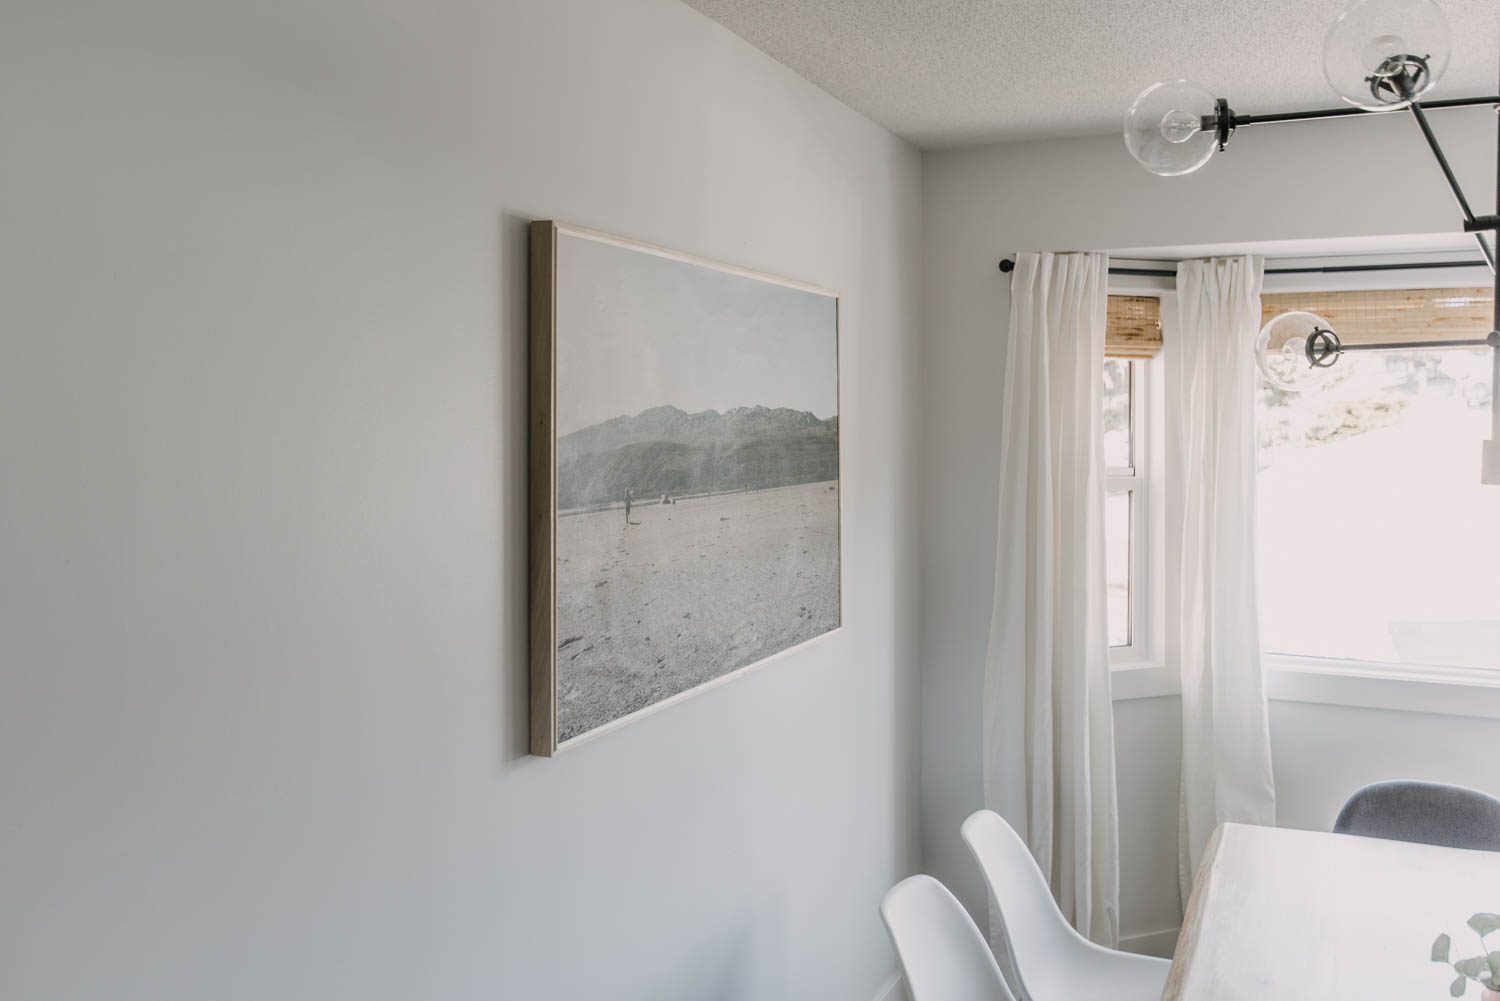
Lastly, I framed it out. I’m thinking of doing a canvas framing tutorial. I have two framed canvases I’ve made in my house that I get asked about all the time- would you like that?
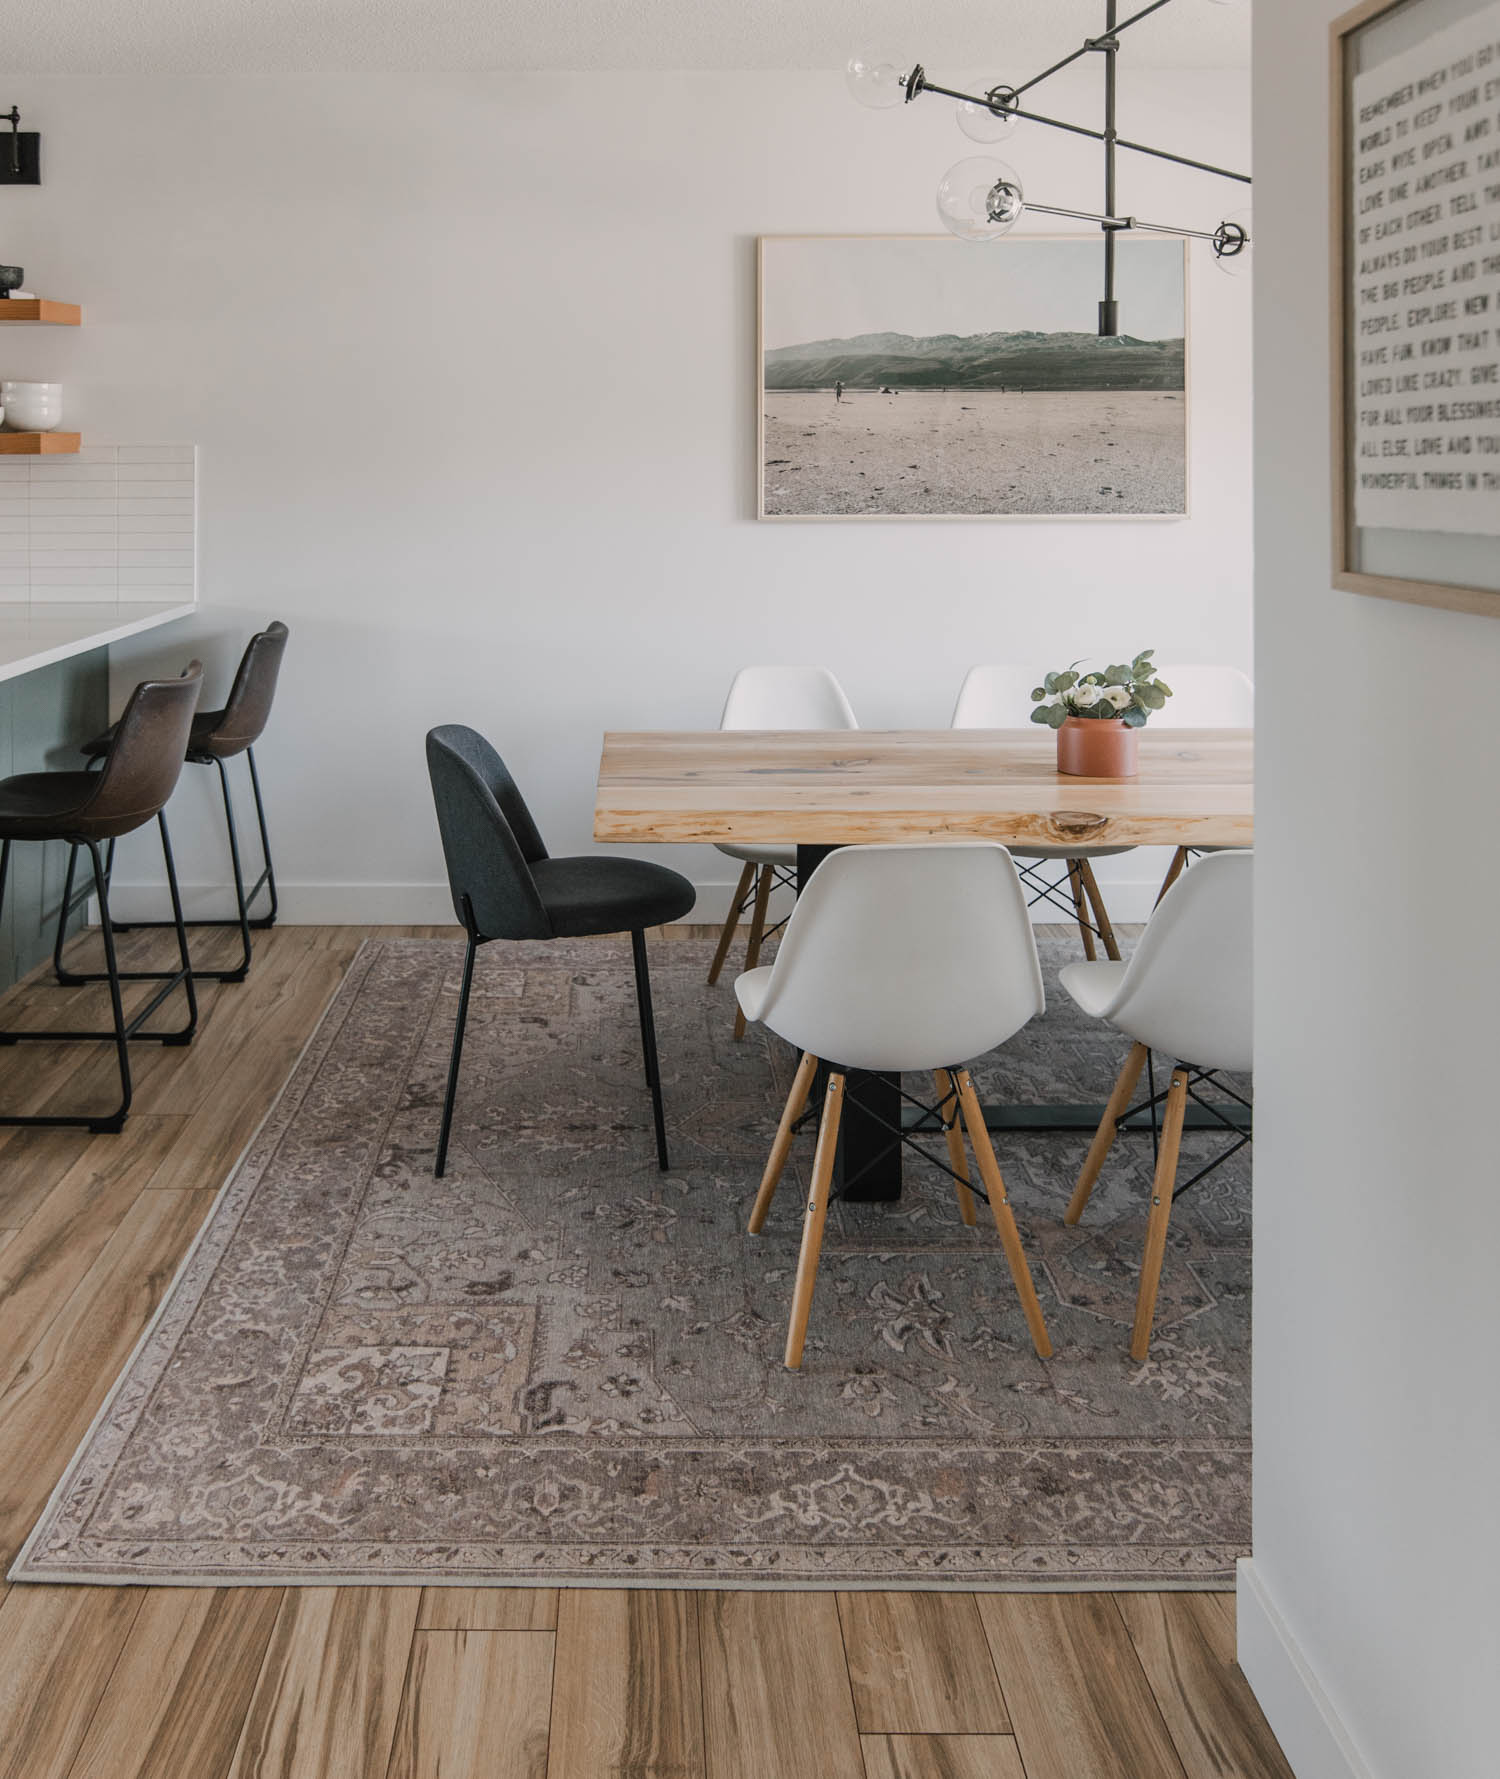
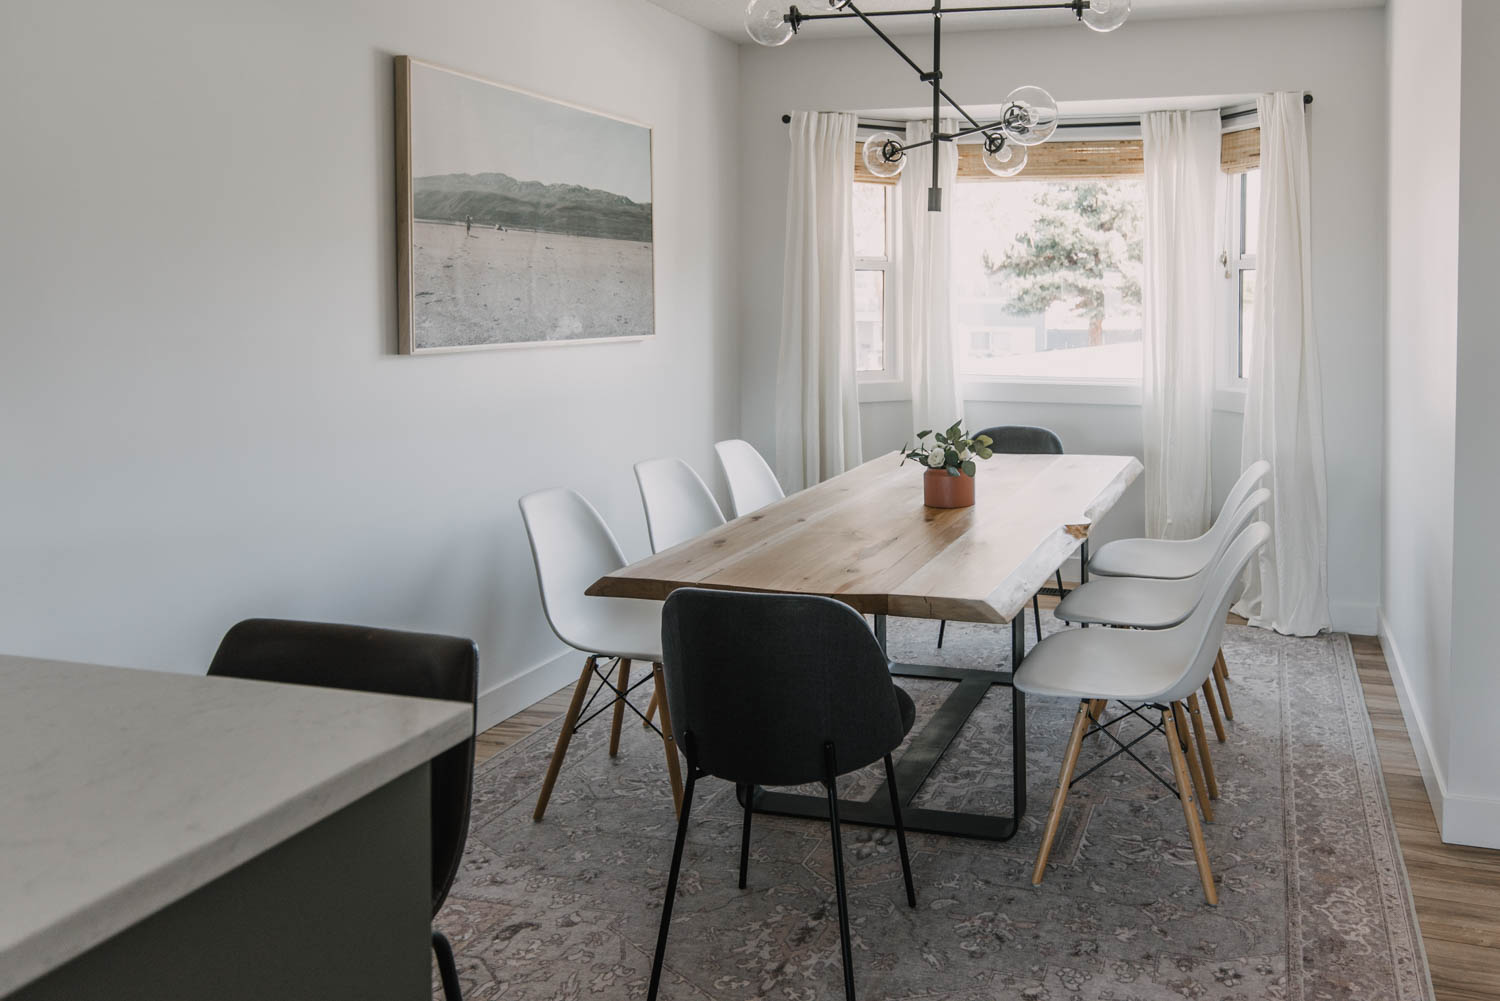
Phew! Almost done. We also added in a rug and window coverings. Let’s chat rug first, shall we? The rug is a washable rug which is freaking fantastic for a house full of children. It actually needs a wash right now but we can’t get to our laundry room due to a little flood our toddler caused… house full of children, remember? So I’ll let you know when we test that out.
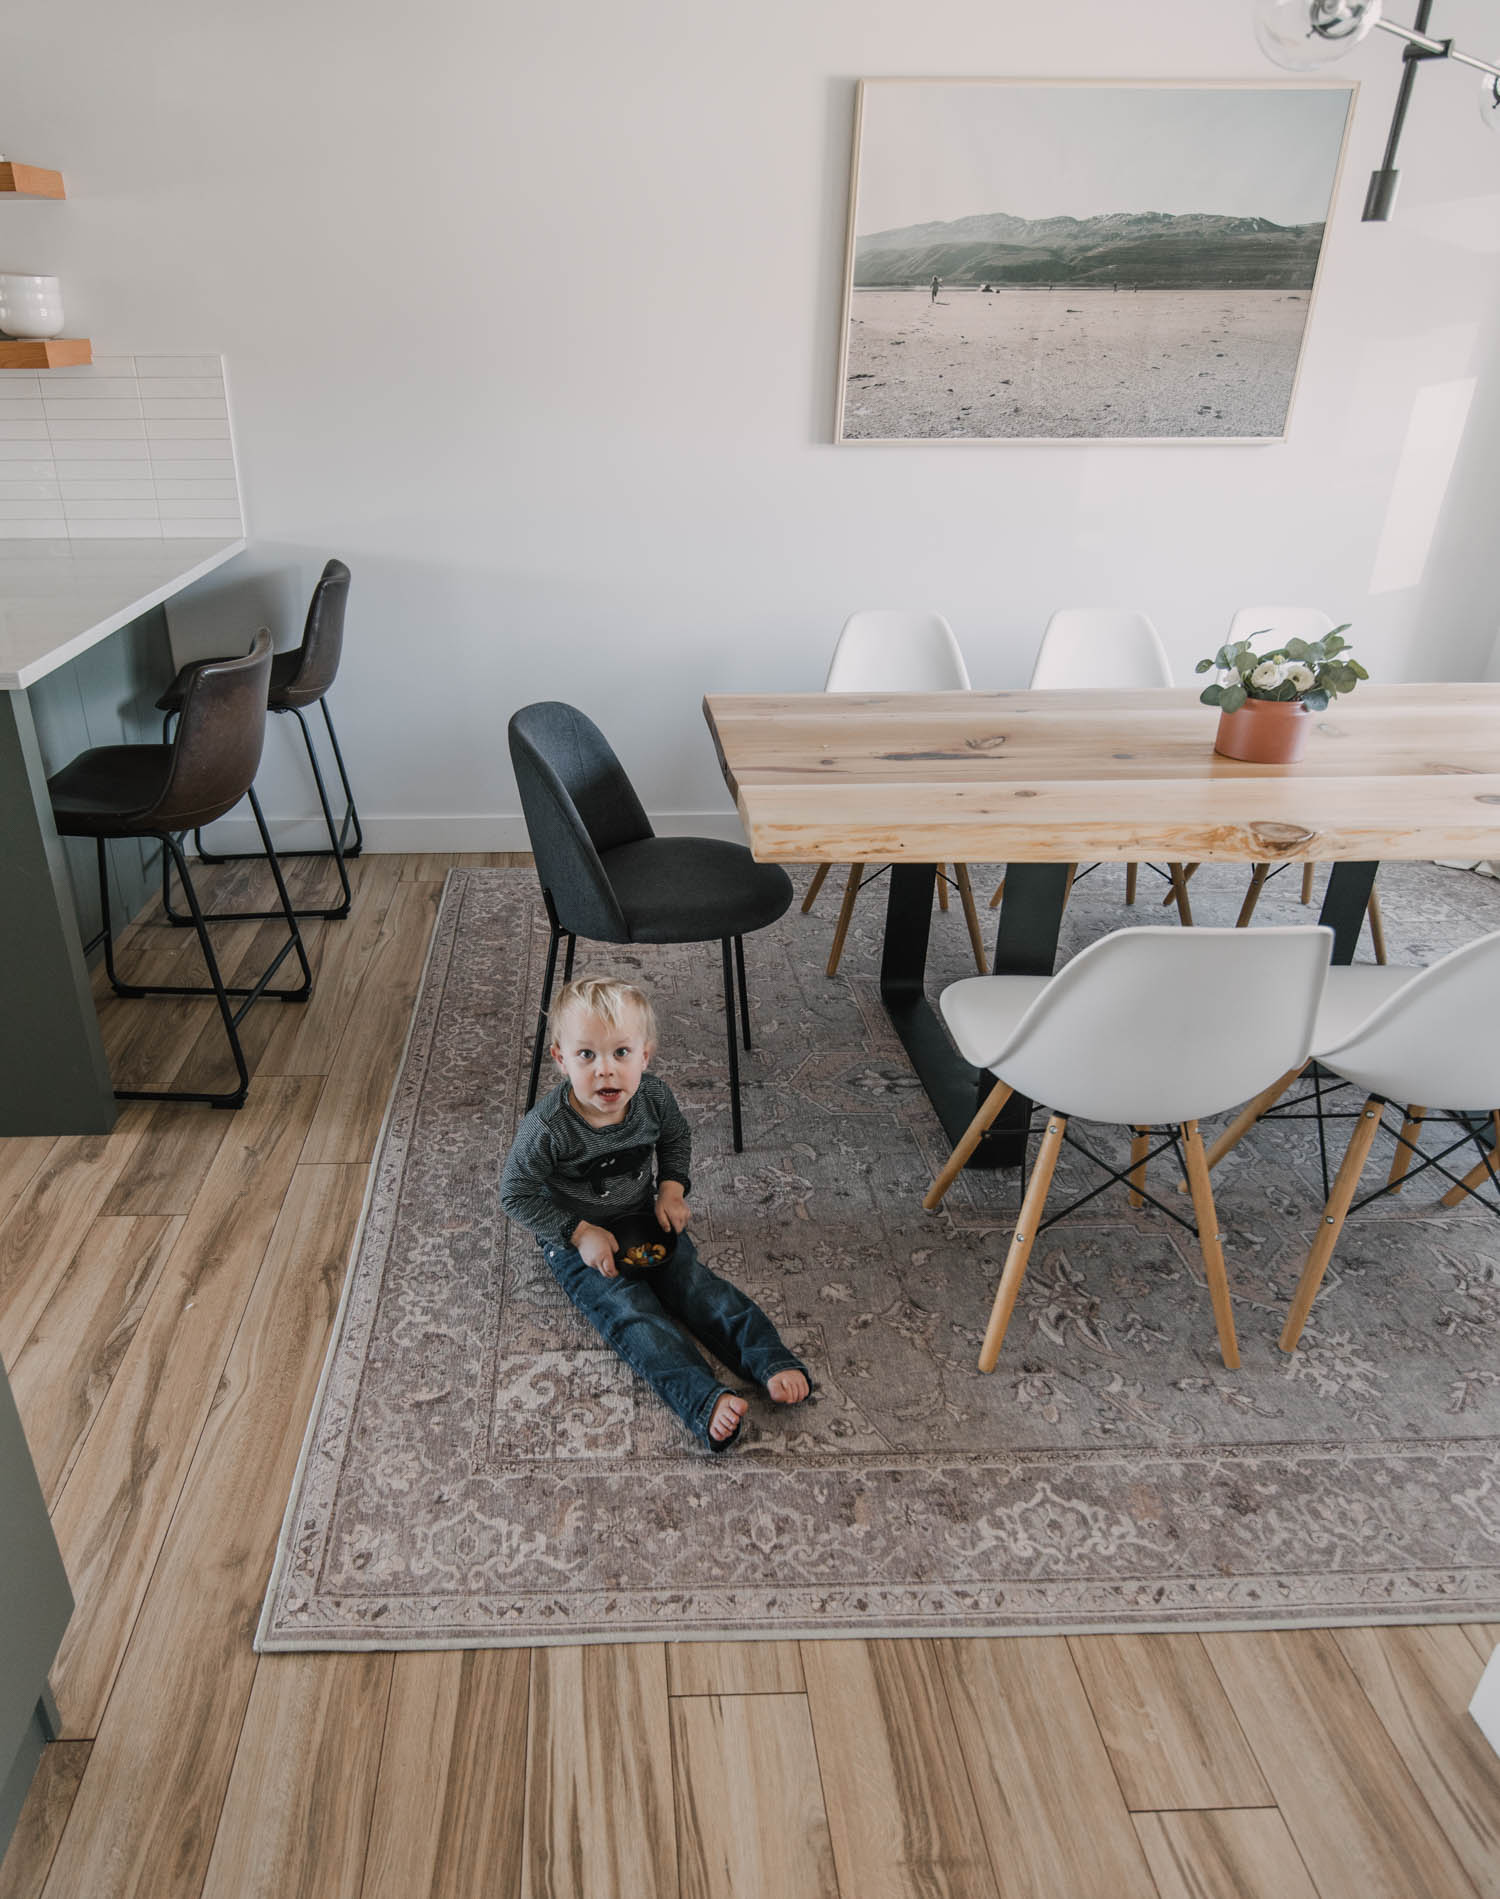
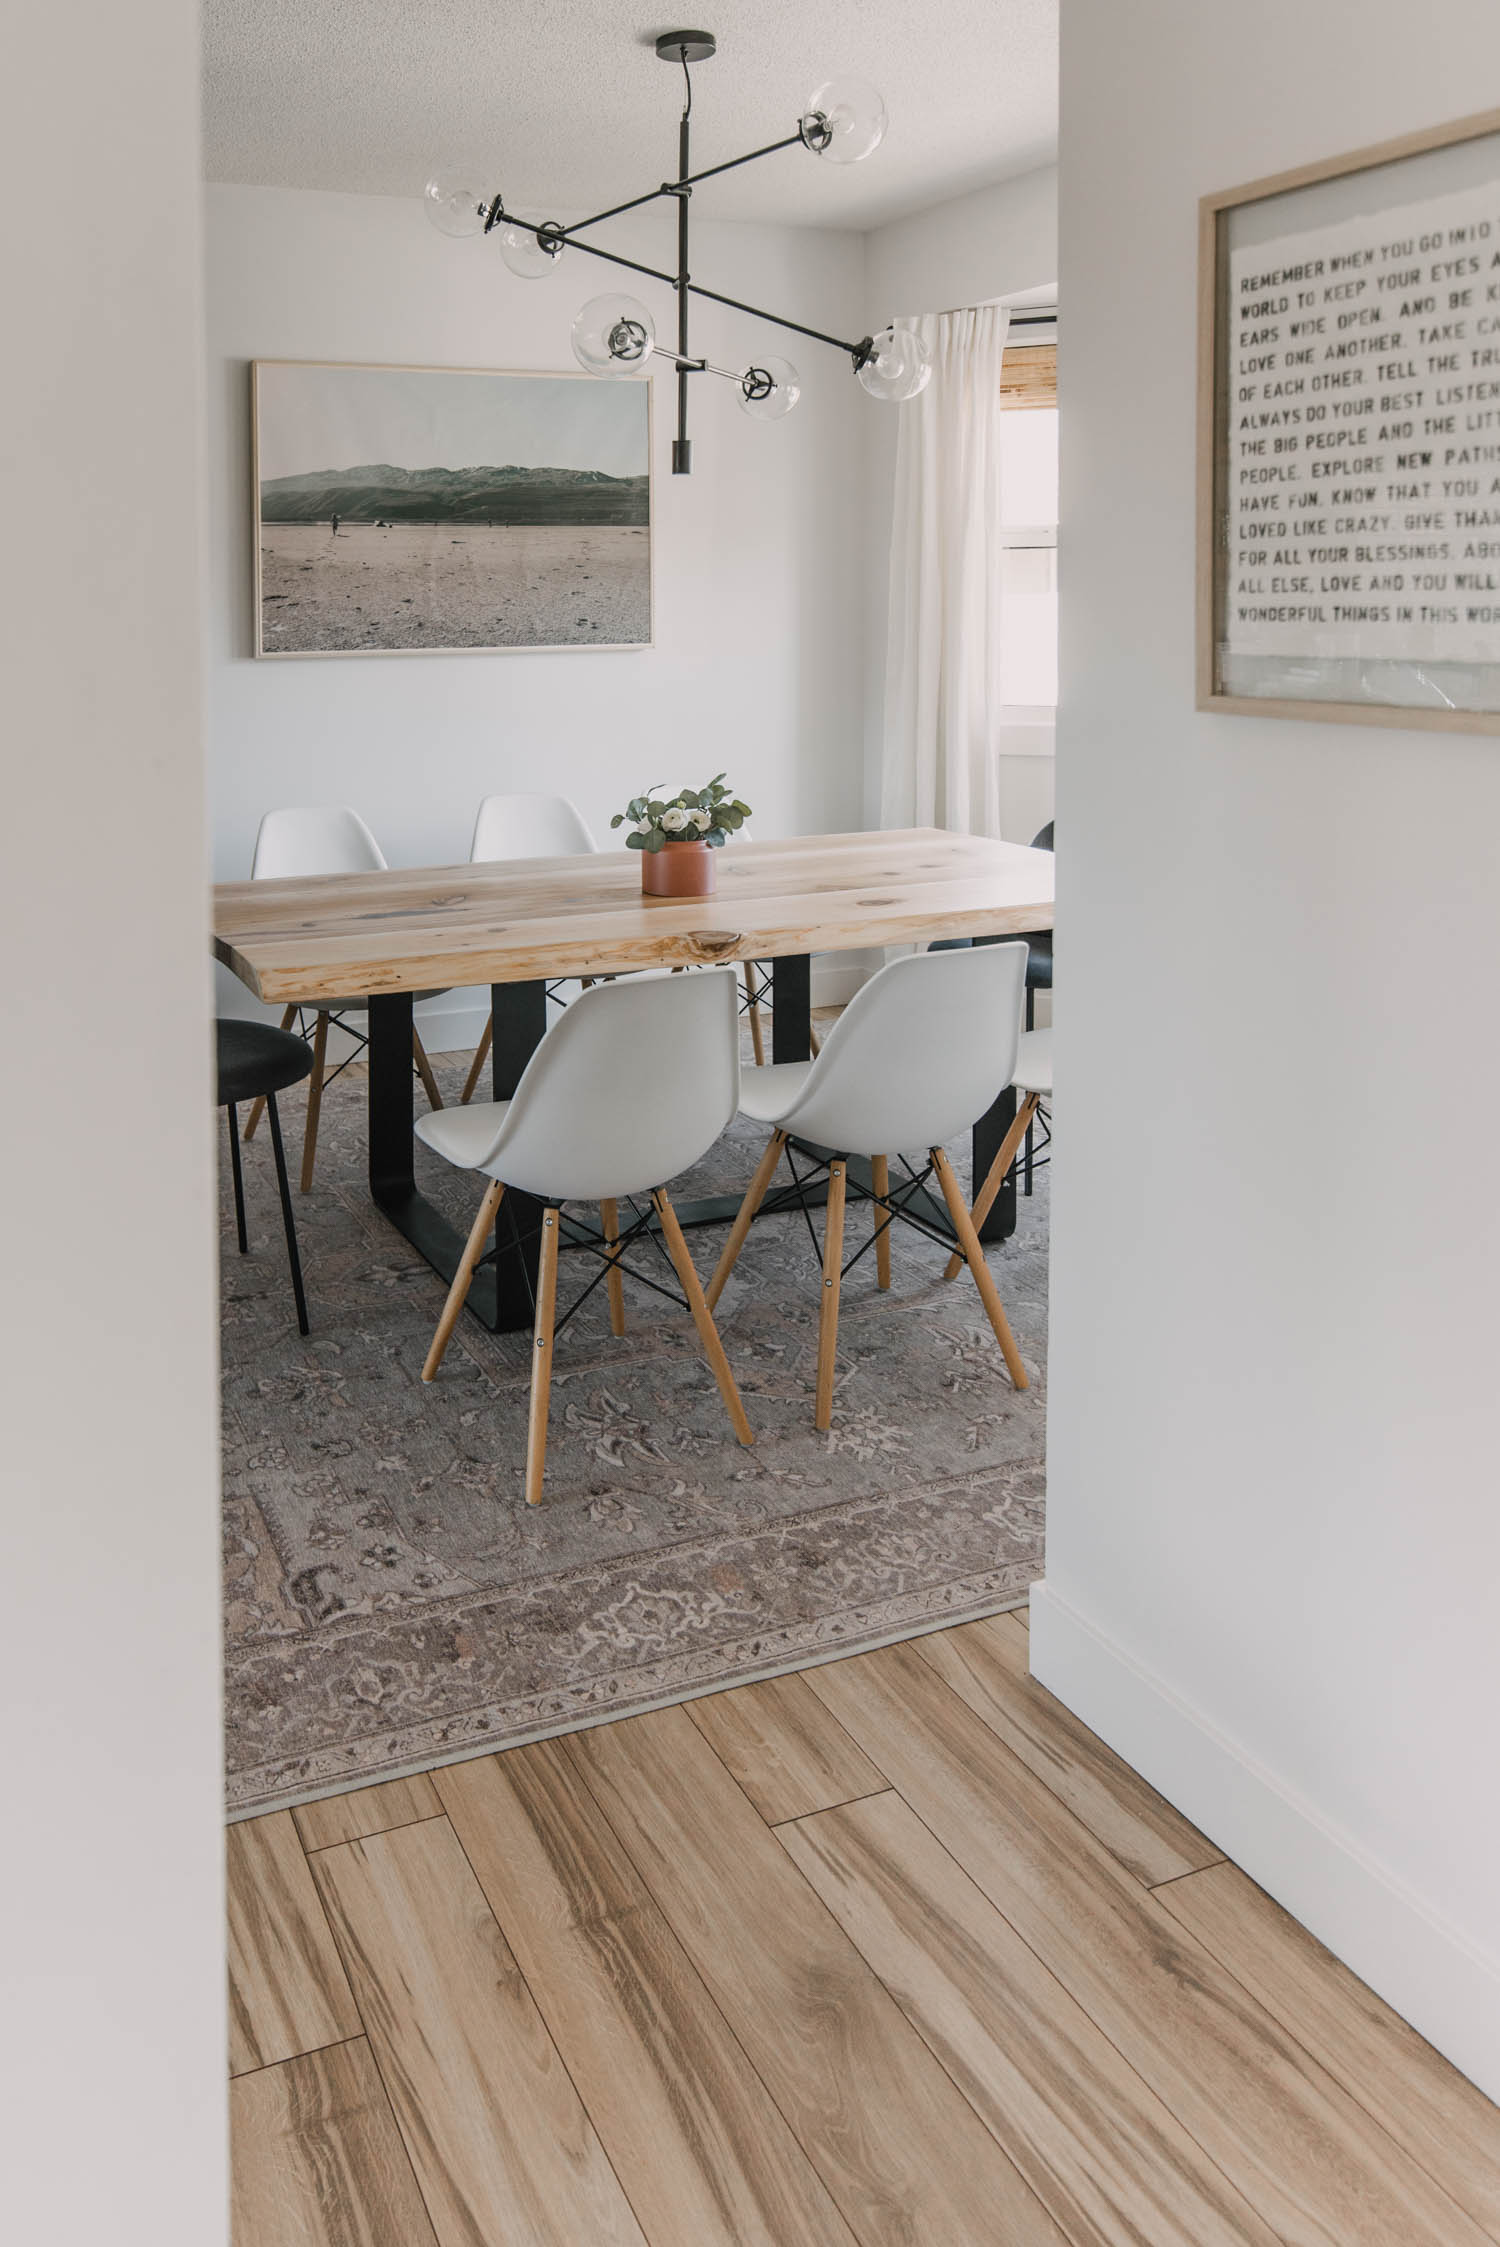
Ruggable sent this rug to me and it’s even more perfect in person than I thought it would be. It’s soft but not plush and the top layer is thin so you can wash it but the bottom layer is so good the rug does not bunch up in the slightest when you drag chairs over it. And this pattern! Love how it adds so much texture and character to a neutral space. It’s the Maral Heriz Creme Rug and after one month of using it, I highly recommend it.
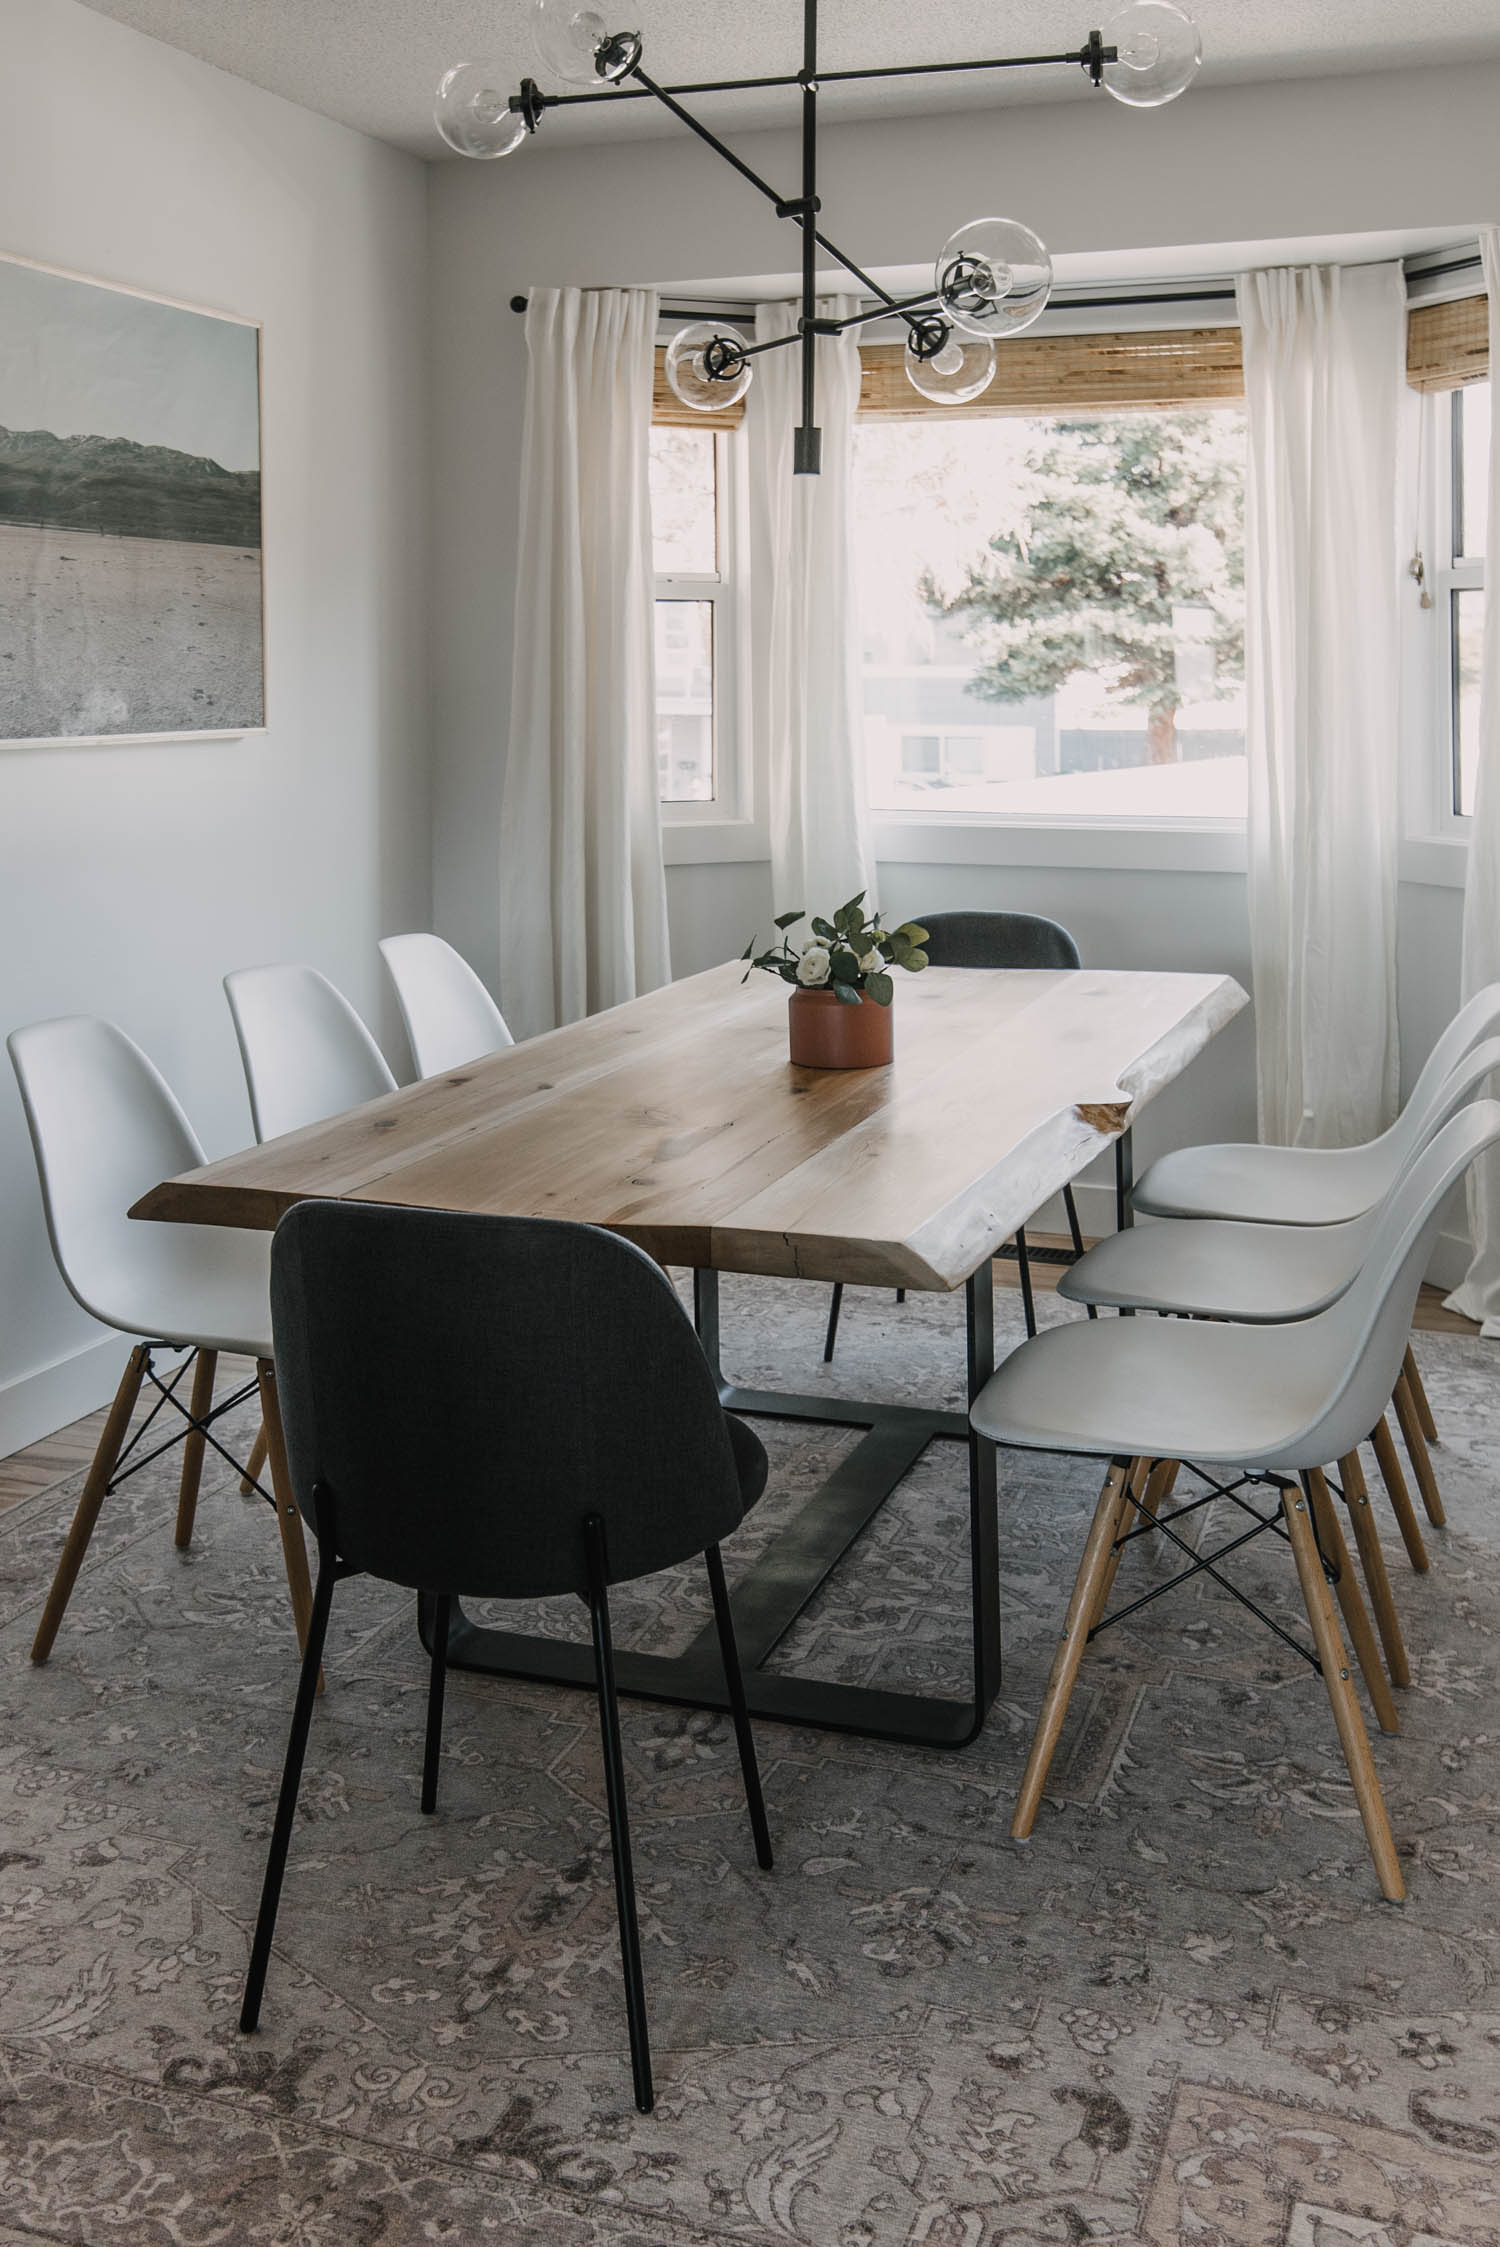
The window coverings have made mayyybe the biggest difference in how cozy this space feels. Although it’s hard to pick just one element that does that. We layered white linen look curtains over woven wood shades and it’s so casual elegant and I’m needing to do exactly this in my bedroom now. In every other part of our house so far we’ve hacked the look of woven wood shades (see here), but since this is street level, we did want them to close. We ordered these ones from select blinds in Hatteras Camel.
The curtains are just your basic IKEA ones– they’re what I have in every single room in this house and the last house. They’re my very fave. And the curtain rod is this affordable Amazon one. Did you know they make specific curtain rods for bay windows?! Rad, right?!
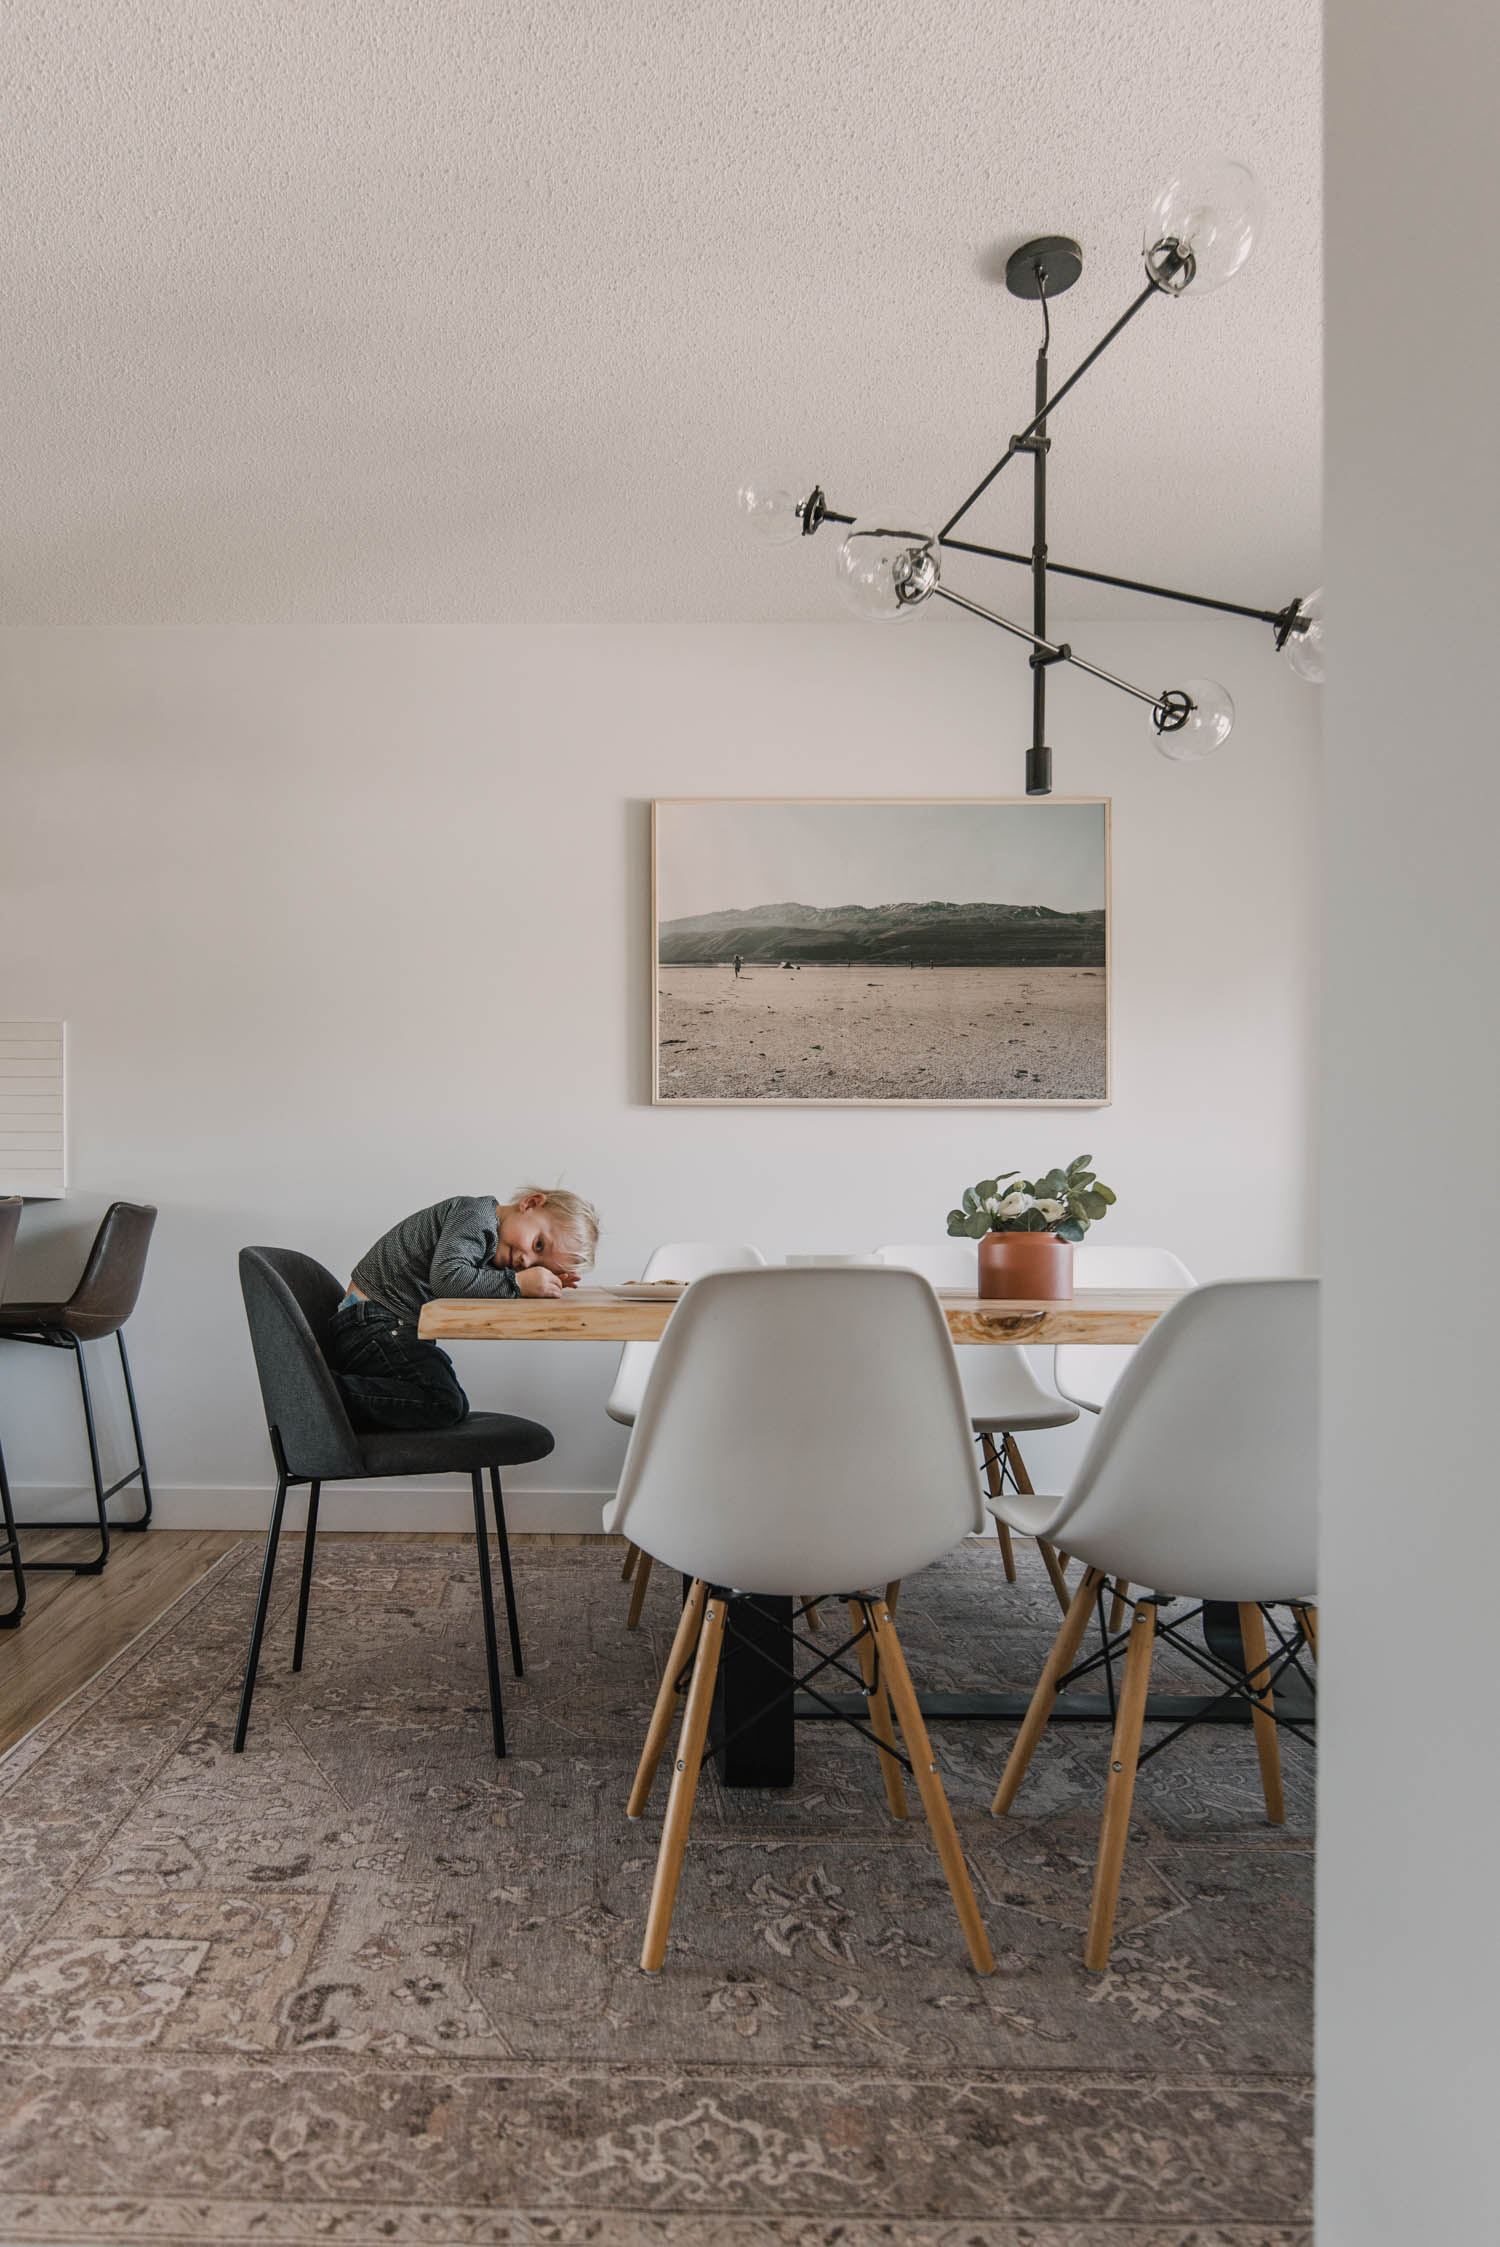
Okay, so there is the whole freaking space! I am in LOVE with it, I think I’ve said that 20x in this post but it really feels so good to have it done. Can’t wait to get a couple more spaces we’ve been working away on totally finished to share with you guys! But honestly… it’ll probably be a couple months now thanks to that little flood I mentioned… alllll of our new flooring has to come up and be replaced. But that gives me more time to decor shop…. right?! ;P
SOURCES
- Maral Heriz Creme Ruggable Rug
- DIY Dining Table
- Chandelier – Wayfair
- White Dining Chairs – Similar from Wayfair
- Charcoal Cloth Dining Chairs – Ceres Flint from Article
- Art is a DIY (see above)
- Curtains – IKEA
- Bay Window Curtain Rod – Amazon
- Woven Wood Shades – Select Blinds in Hatteras Camel
- See the rest of the kitchen here
- Paint Colour is Expert White from General Paint

 Casual Easter Tablescape | 3 Ways to Use Tart Pans for Decor
Leave a Reply