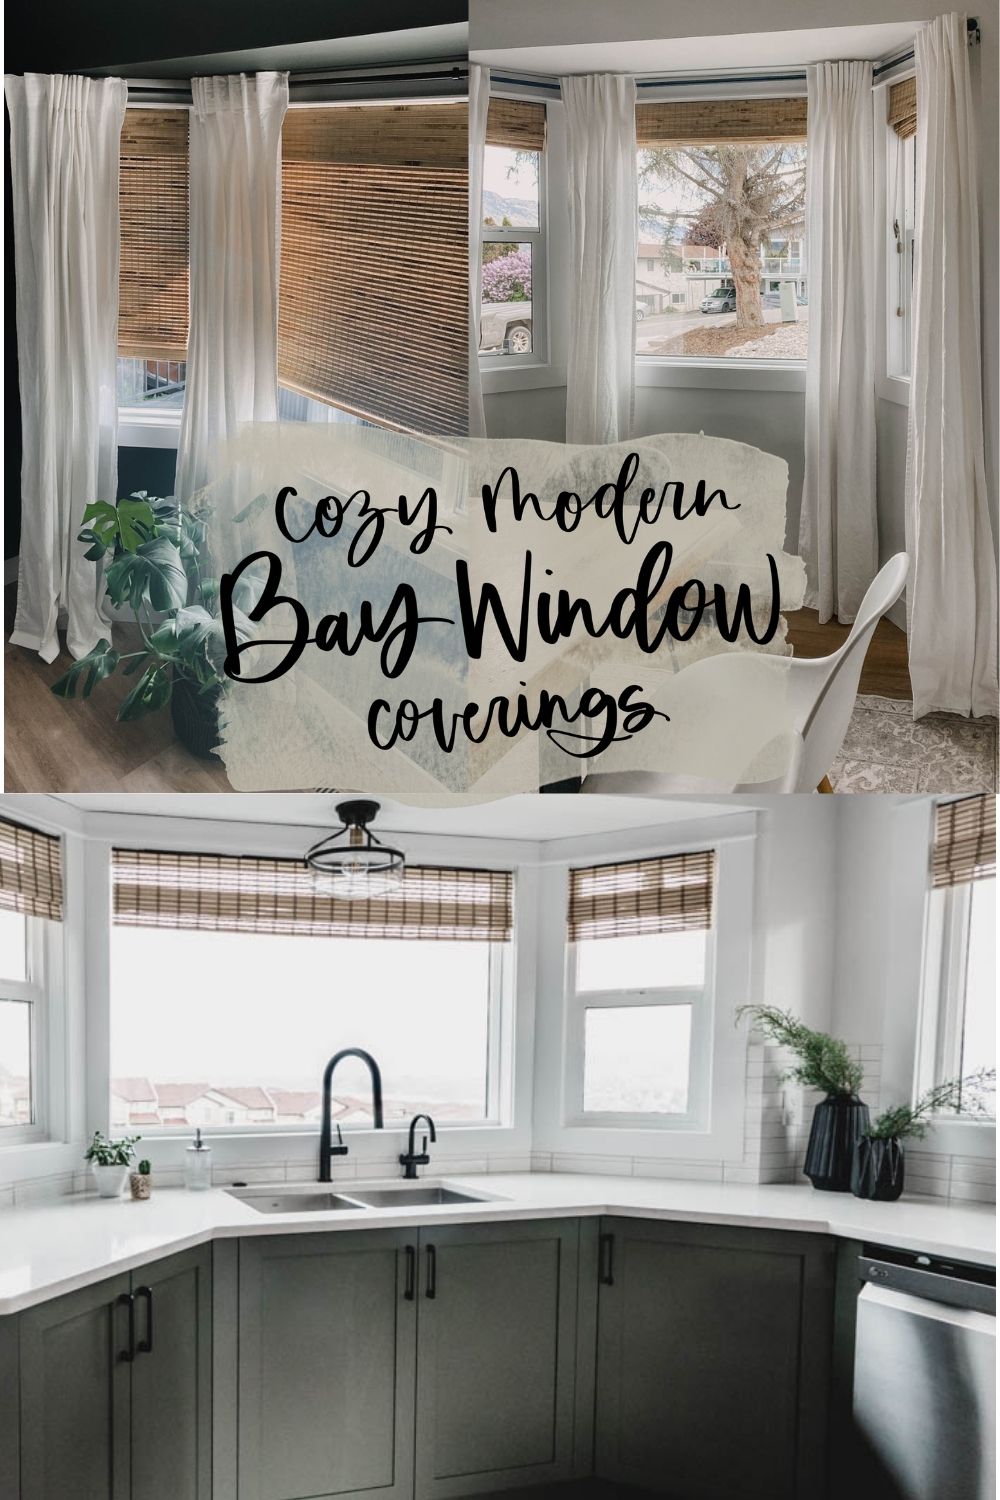
Let me show you how I used window coverings to make our bay windows cozy, inviting, and still a little bit modern, all without spending a fortune.
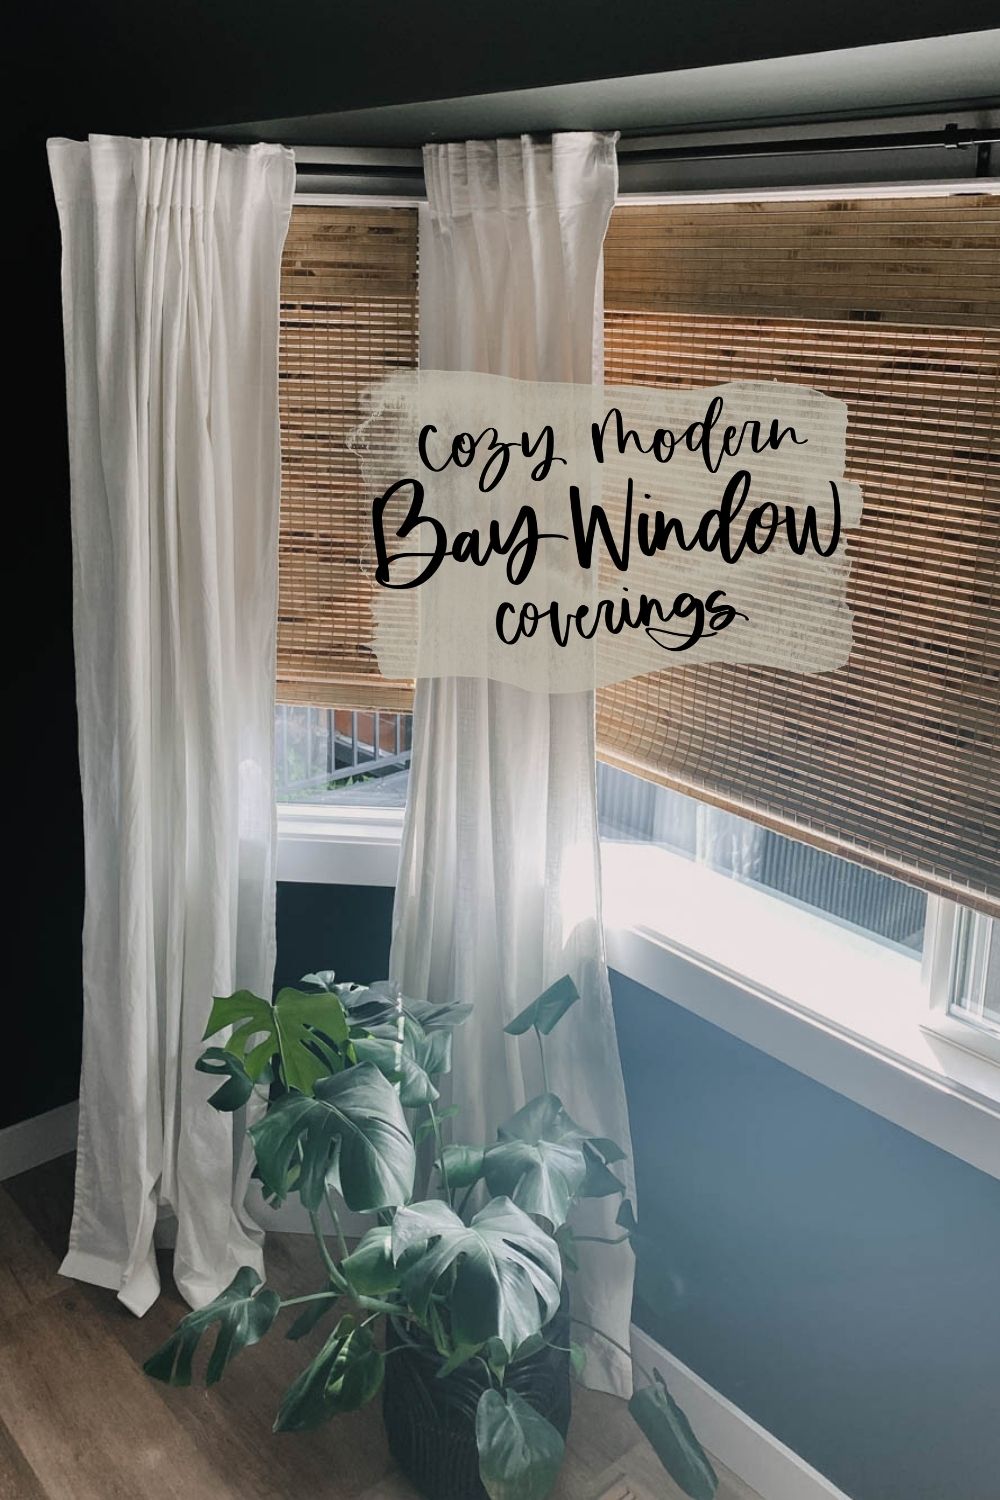
Today we’re talking about bay windows. We actually have three of them in our home, and until now I haven’t quite known what to do with them. We have been in our house for a few years now though, and it was time to tackle these windows! I am excited to show you how we used window coverings to make them cozy and inviting, still a little bit modern, and all without spending a fortune. If you get a little creative and know how to shop around for the best deals, window coverings don’t have to cost thousands of dollars.
Let me show you how I did it! Follow along and get all my tips for these cozy modern bay window coverings.
*Affiliate links are used in this post when possible- see my policies here!
In the kitchen
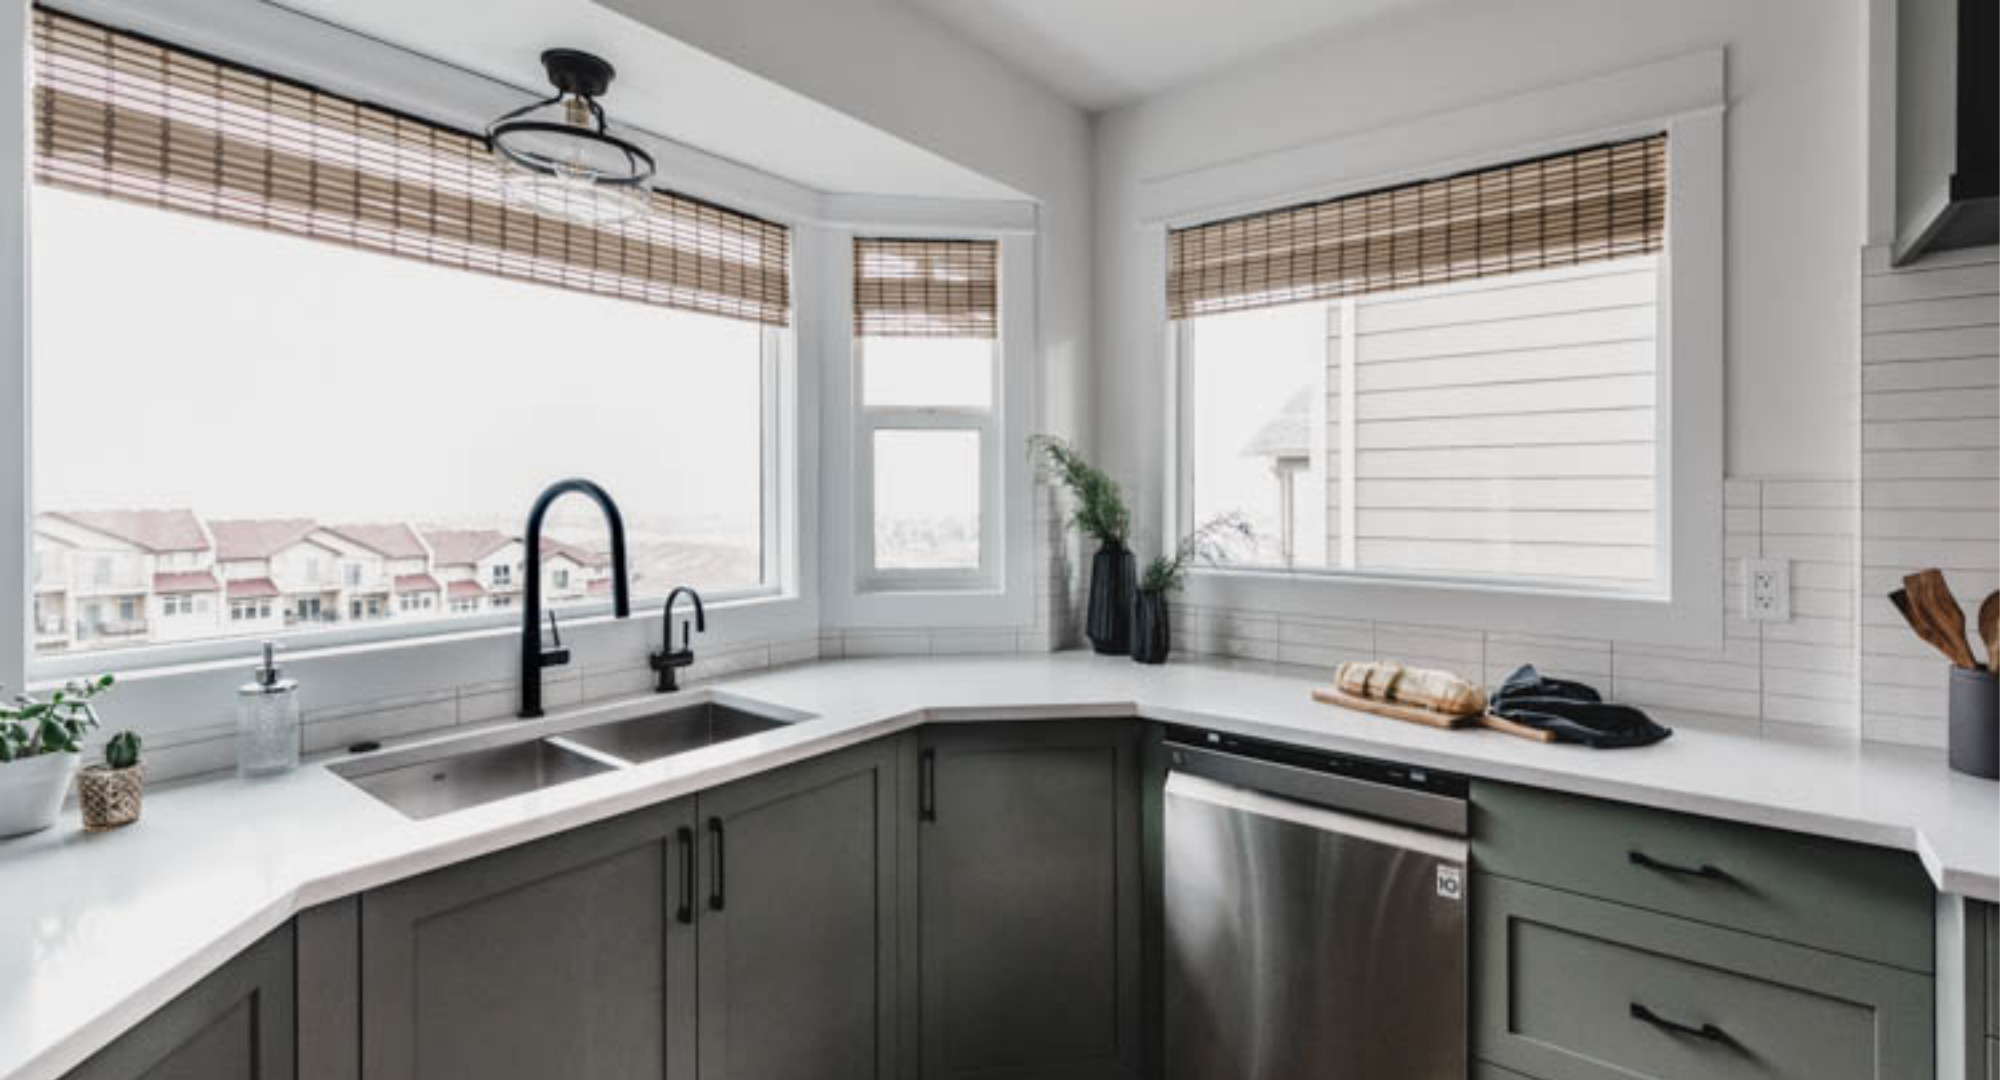
Let’s start with the bay window in our kitchen. These are a bit different than the other two, because they end above a counter, instead of a wall that goes straight down to the floor. They are also unique because we never have a need to block these windows, either for privacy or to keep the sun out (we back onto a large green space). So this meant we could spend less money and simply finish them off for strictly aesthetic reasons! So, we chose to do a bamboo faux valance. We made all three valances with just one $20 curtain panel. Before, this end of the kitchen looked so cold, white, and sterile. We had the open shelving in a wood tone on the other end, so we chose to bring the same kind of warmth to the windows with the bamboo. It added texture, it made the space cozier, and we just love the way it looks.
FIND THE TUTORIAL FOR THESE DIY FAUX BAMBOO WINDOW SHADES HERE
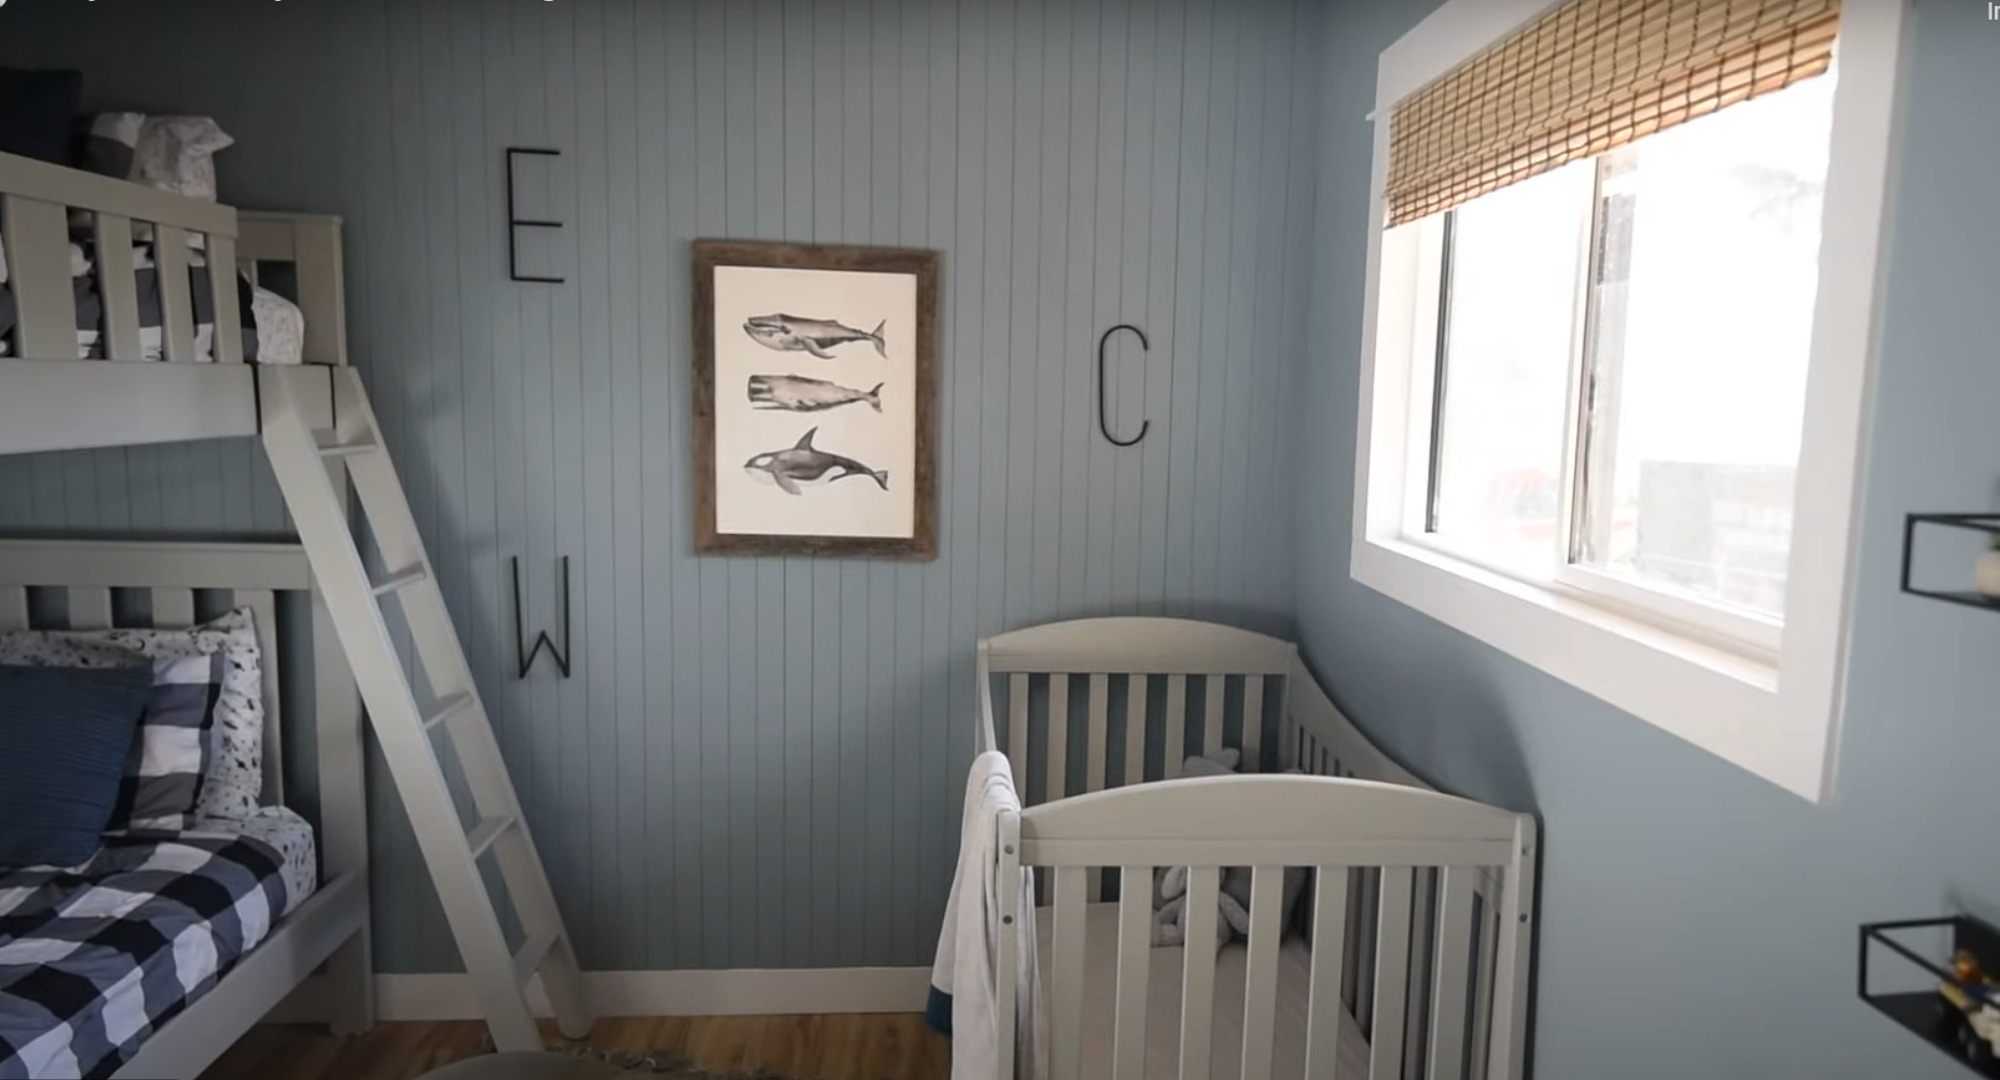
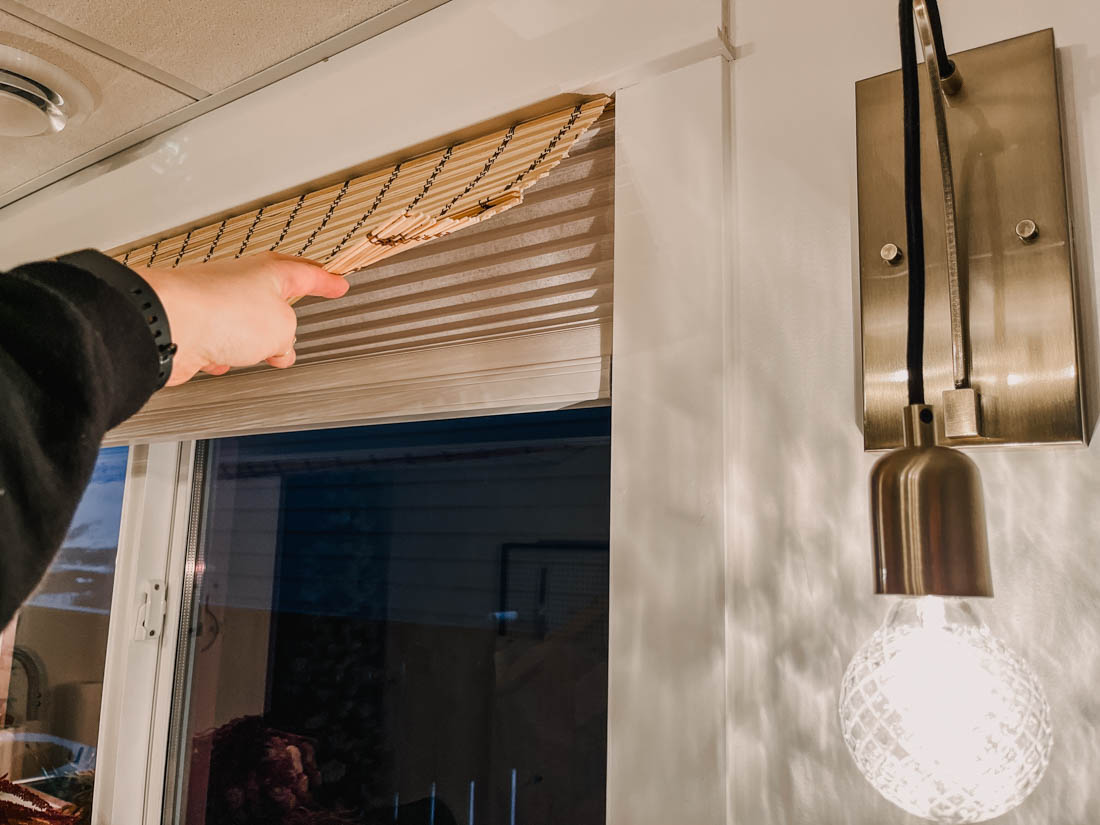
If you like the way these faux valances look, you can use them in spaces other than a bay window! For example, we put them in our boys’ bedroom and my office too. The difference here is that in those rooms we put a room-darkening privacy shade up too, which disappears behind it when it is rolled up and not in use, which keeps the window looking tidy and cozy. This is a creative, pretty, and affordable way to install window coverings in your home.
window coverings for privacy
For the bay windows in our bedroom and in the dining room, we had to take a different approach, since we wanted a way to close the window coverings for privacy and to block sunlight occasionally. Given these requirements, the best way to cover these windows was with either curtains or blinds. This girl loves a layred look for how it makes a space feel- so we chose both!
I like this look for a couple of reasons. First, if you are looking for privacy or an afternoon nap, I think it’s really handy to be able to pull down the room-darkening, privacy bamboo blinds. This would obviously be most convenient in the evening. Then in the daytime, if you want to let light in but still need privacy, the curtains are a wonderful option because they can be closed but still let that bright glow in. This is great for in our bedroom and in the dining room.
Honestly, we rarely close the actual blinds in the dining room- I love having the natural light filter through the curtains even when we’d like some privacy.
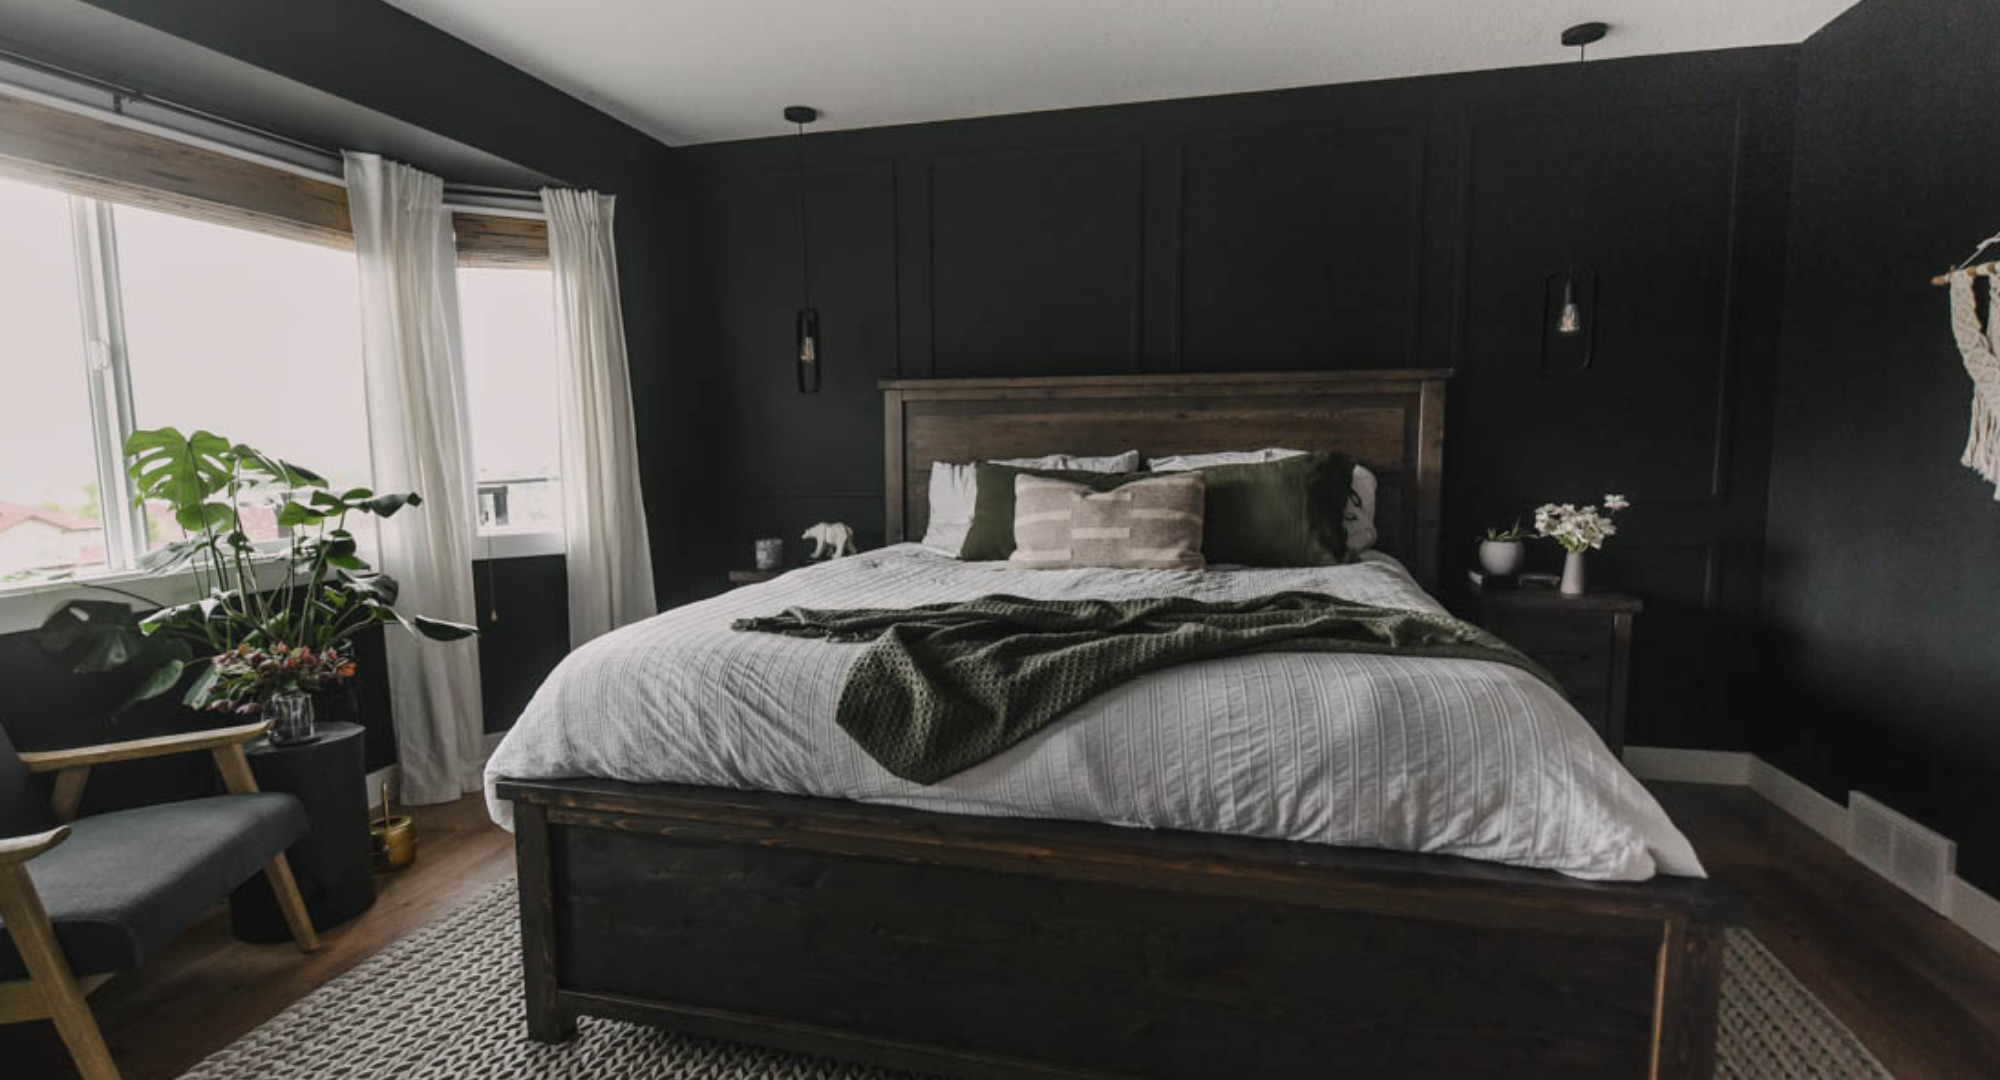
But, bamboo blinds can be really pricey. There are many places online that you can look at and compare for the best deal. It can actually be a bit tricky to figure out the best price because often each size is priced a little differently. I’m in Canada, and the best deal I could find was with Select Blinds but depending on when I was ordering, Blinds.ca was better deal… it’s all about those sales!
How To Order bamboo blinds
So, let’s talk a bit about strategy and things to pay attention to when ordering bamboo blinds. For bay windows, you need to have three shades. Each shade is probably going to be a custom size, especially the two side windows. And, unfortunately, those two tiny windows will take away a lot of your options for the really affordable bamboo blinds. You will find that the options disappear the smaller your window gets. For example, in one of my rooms, the side windows were 18”, which was a straightforward size to order. But then, I have one room that only has 13” side windows, and those were really challenging to get at a decent price. That size eliminated a lot of choices. So, one very important tip is to search specifically for size as your first criteria so you can see what is actually available in the sizes you need, instead of falling in love with blinds only available in bigger sizes!
How to Measure to Order Blinds Online
Measuring is so important! I suggest measuring twice just to confirm. Or measuring all your windows then having someone else measure and make sure they match. Not that I would know how frustrating it is to order the wrong size by accident… ;)
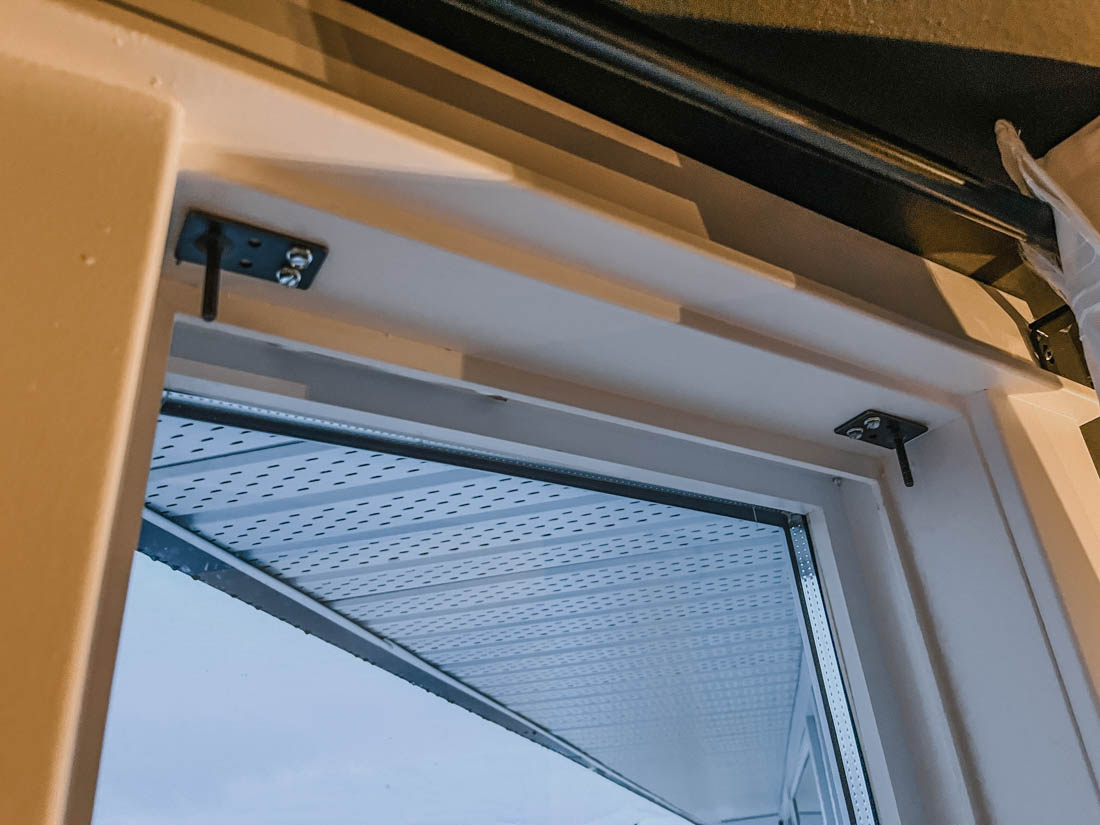
So for this style of woven wood shades, we want to measure INSIDE the window casing. We don’t want these sitting on top of your trim or on your wall. We want them to hang from the top window casing (screws going up). So measure the inside of your window casing width AND length. Width needs to be exact, but the height, we will just choose a the closest long enough option. But for now, let’s write down exact measurements. Most sites I looked at used inches.
f
You can see all of the shades available in this line on most sites under window coverings >woven/bamboo shades or sometimes they’re called woven wood shades.
Get all of your measurements together, add all of the blinds you are interested in into your cart at one time, apply any coupons that you can, and do that on a few different sites so that you can easily compare. Try Select Blinds, or blinds.com/blinds.ca to start. If you are in the States, you should be able to get these kind of blinds from Home Depot for a reasonable price. In Canada, that’s just not an option for us! Once you add them to your cart, you can see the different deals in the specific sizes, and pick the best one.
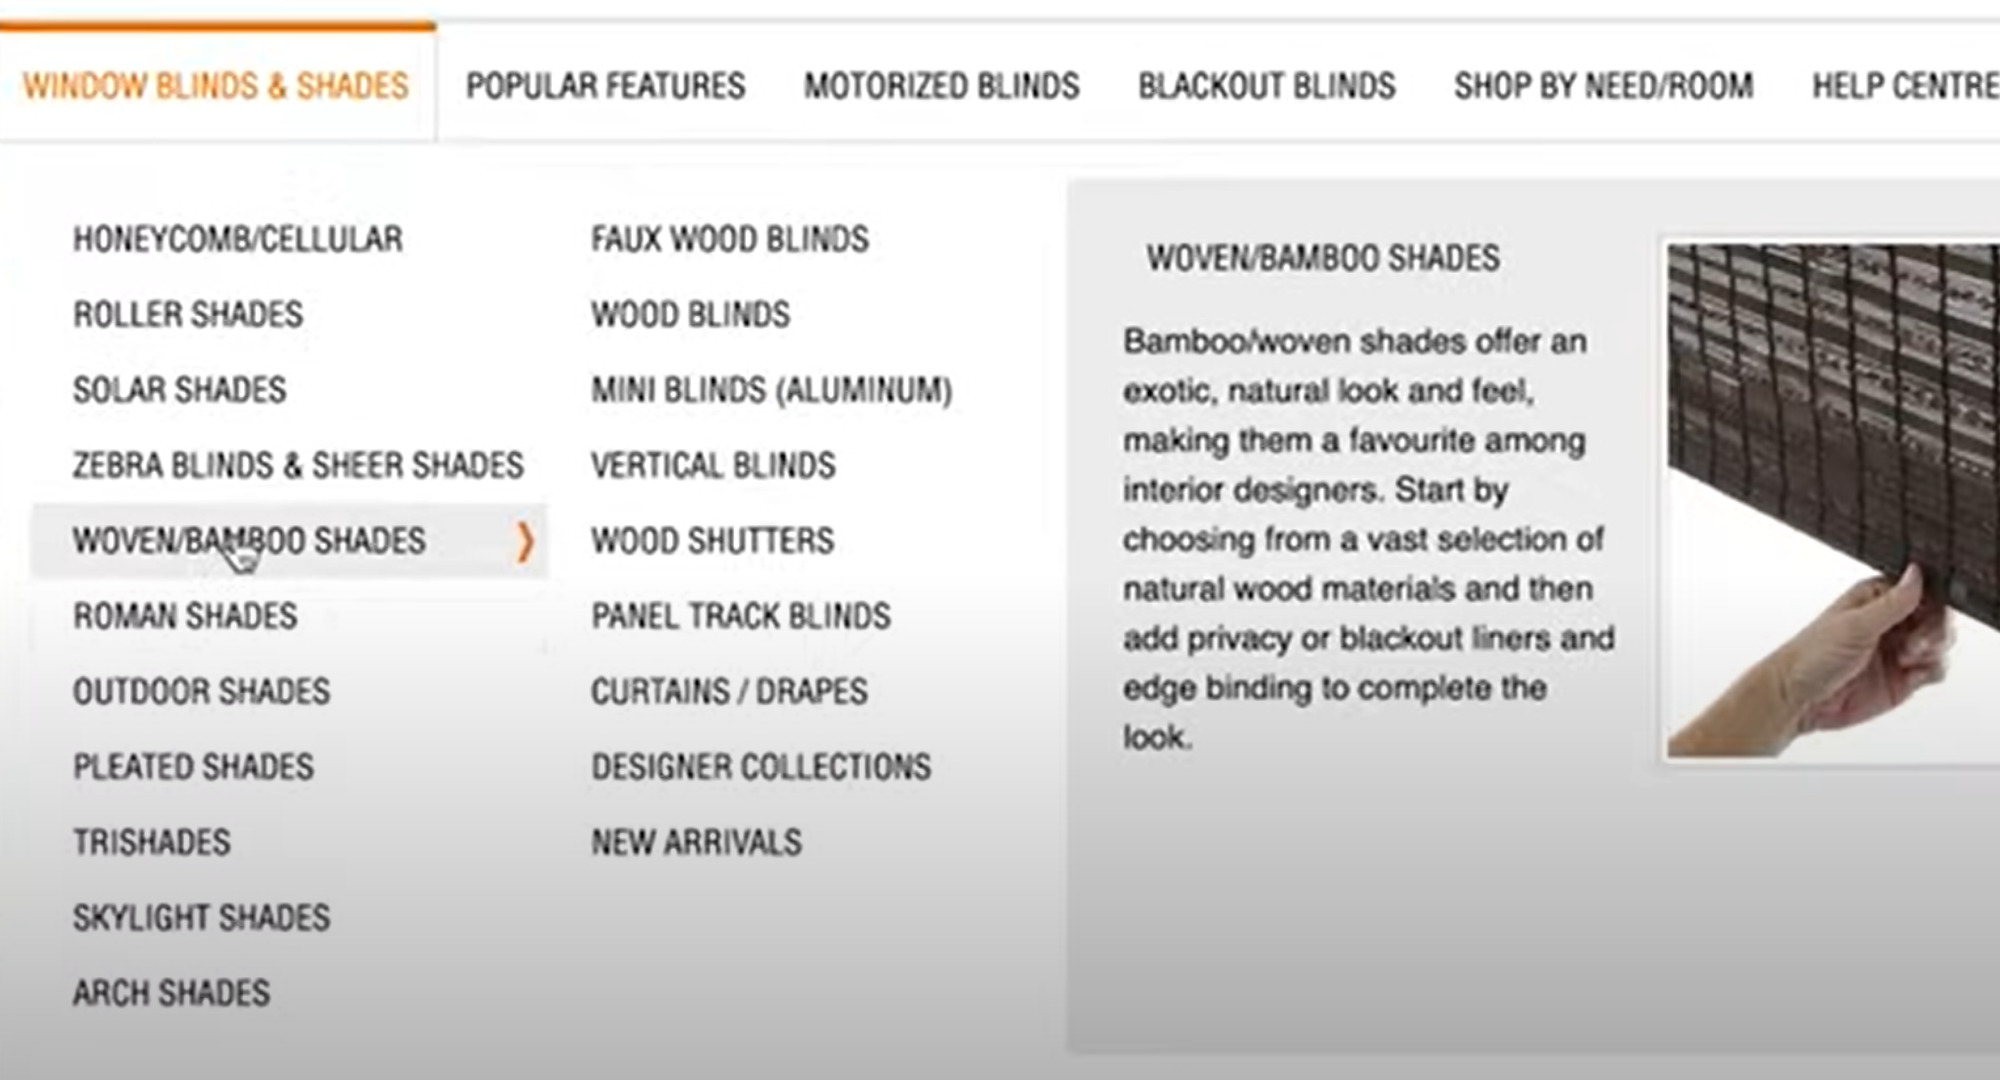
Best Pricing for Modern Bamboo Blinds
If you’re not seeing a deal for at least 40% off the regular price of the blinds you are interested in, I would save the details, and check back every week looking for a sale. Sign up for the seller’s newsletter too, so you get notified about any sales. Then, jump on it when it does go past 40% off! There is no reason to pay full price for blinds because these sites do sales ALL the time.
The other thing to keep in mind is that depending on what colour of the wood shades you are interested in, the price changes substantially. So when you’re clicking between different colours, make sure you pay attention to how that price jumps around. We ended up choosing the most affordable colour that I also liked the look of. Resist the urge to save money and choose the cheapest option, because you don’t want to hate the colour of your blinds every time you walk past them!
Let’s also talk specifics – what exactly you need to order!
Make sure you purchase the inside-the-window option if you are planning on layering curtains over your blinds as I did. You won’t be able to use curtains in a pleasing way if you get the outside-the-window option. You want the blinds to go right in that window frame, and then you can put the curtains outside the window.
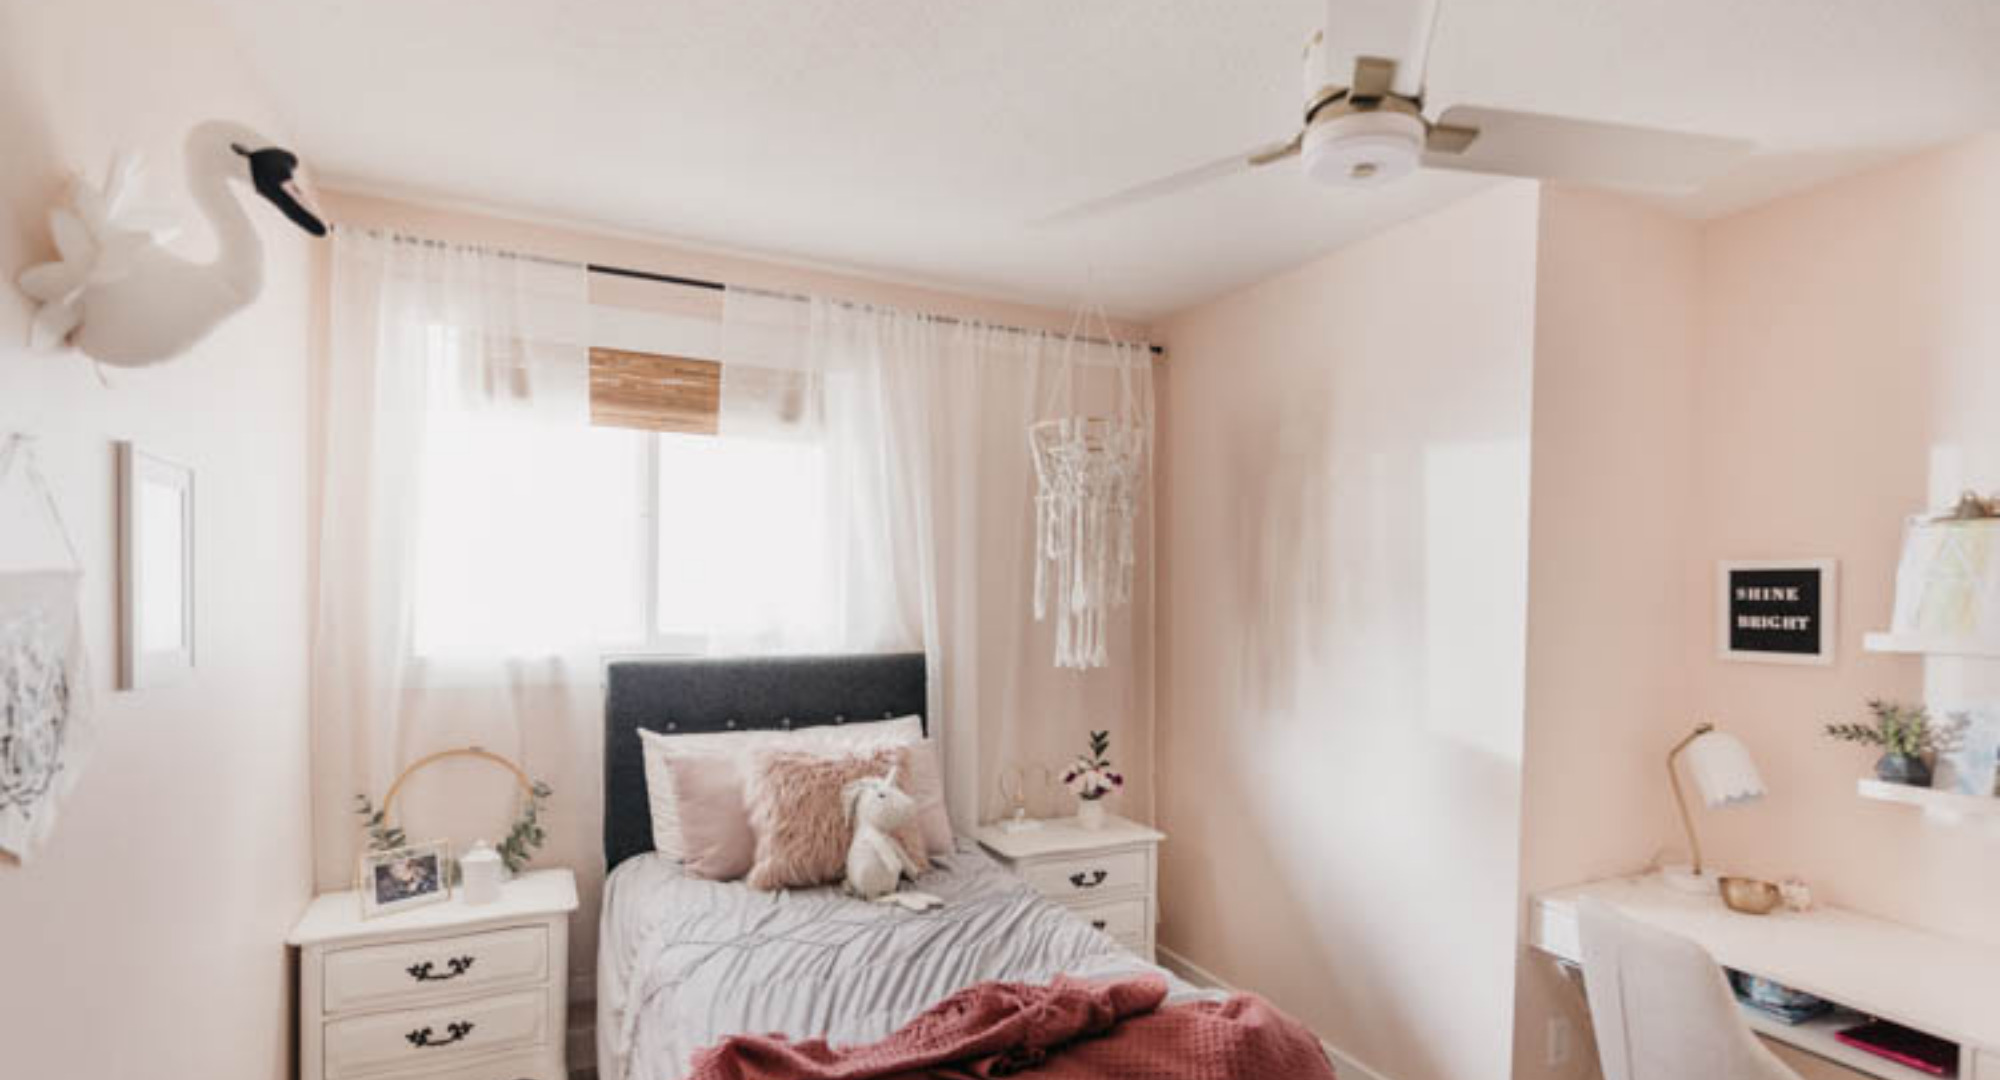
We also saved money by going with the corded option, which works well if you are planning window coverings NOT for a child’s bedroom. In our daughter’s bedroom, we installed the cordless option. You do pay more for this option, but for us that extra cost is worth the safety. Keep in mind that if you need floor-length blinds, that might change things too. Your cord gets way longer, and there’s more risk there, even if it isn’t in a bedroom.
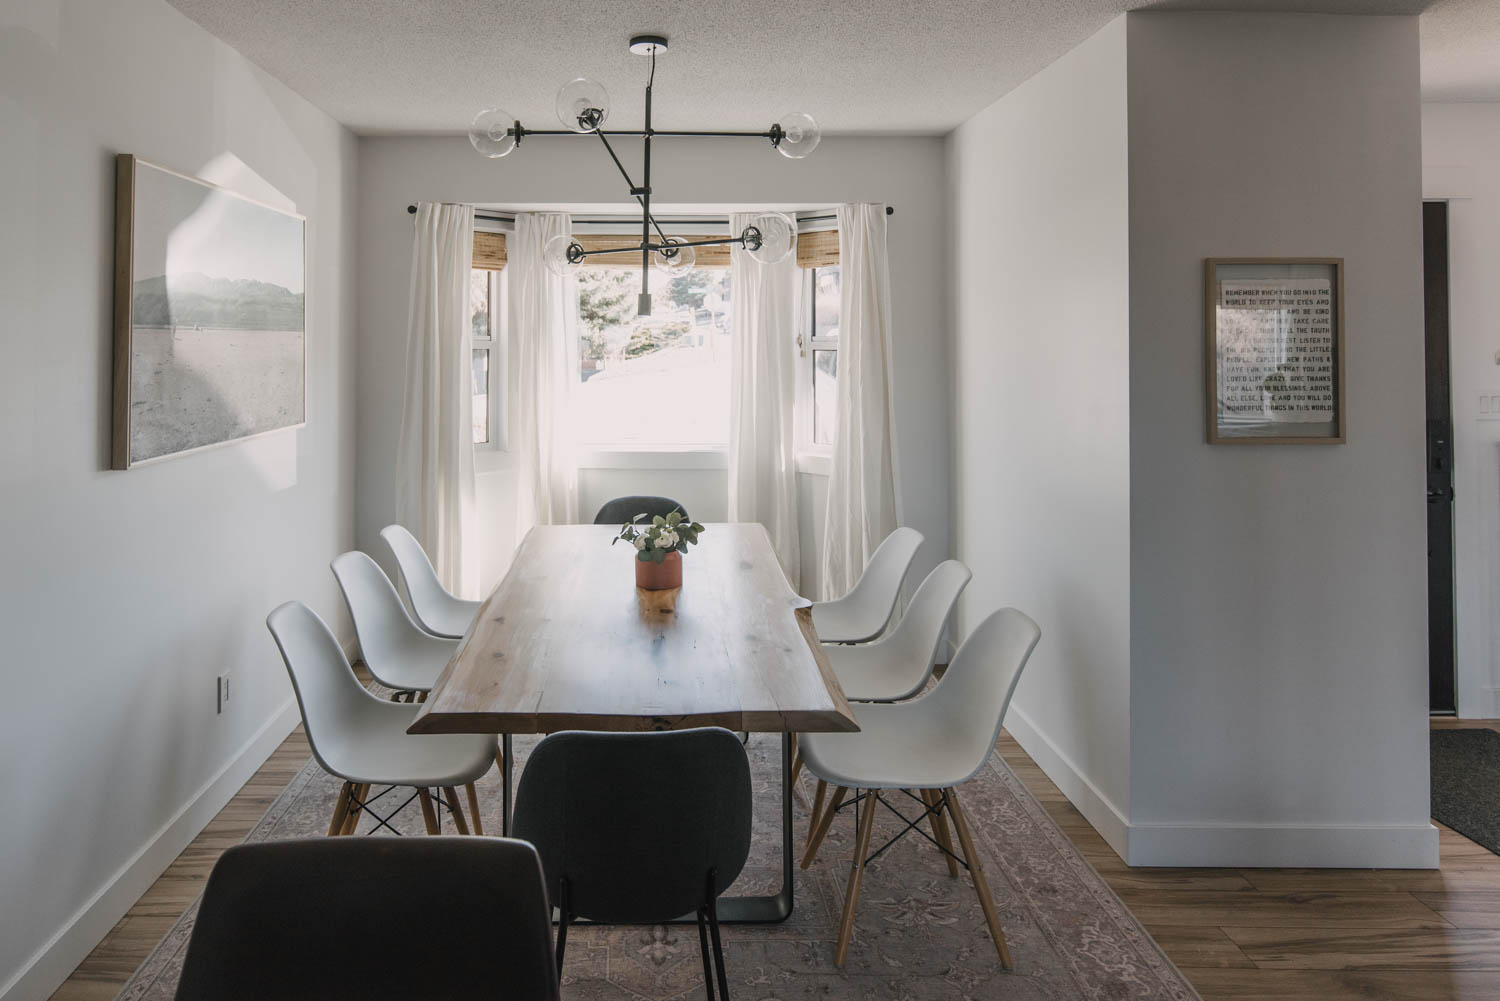
Our bedroom and dining room windows are half-height, so we felt comfortable with the length of the cord. And as you can see in our pictures, the dining room windows have tie-backs so that we can put the string up when the shades are up (about half way up on the far right shade you can see it!).
How To Install Bamboo Blinds on Bay Windows
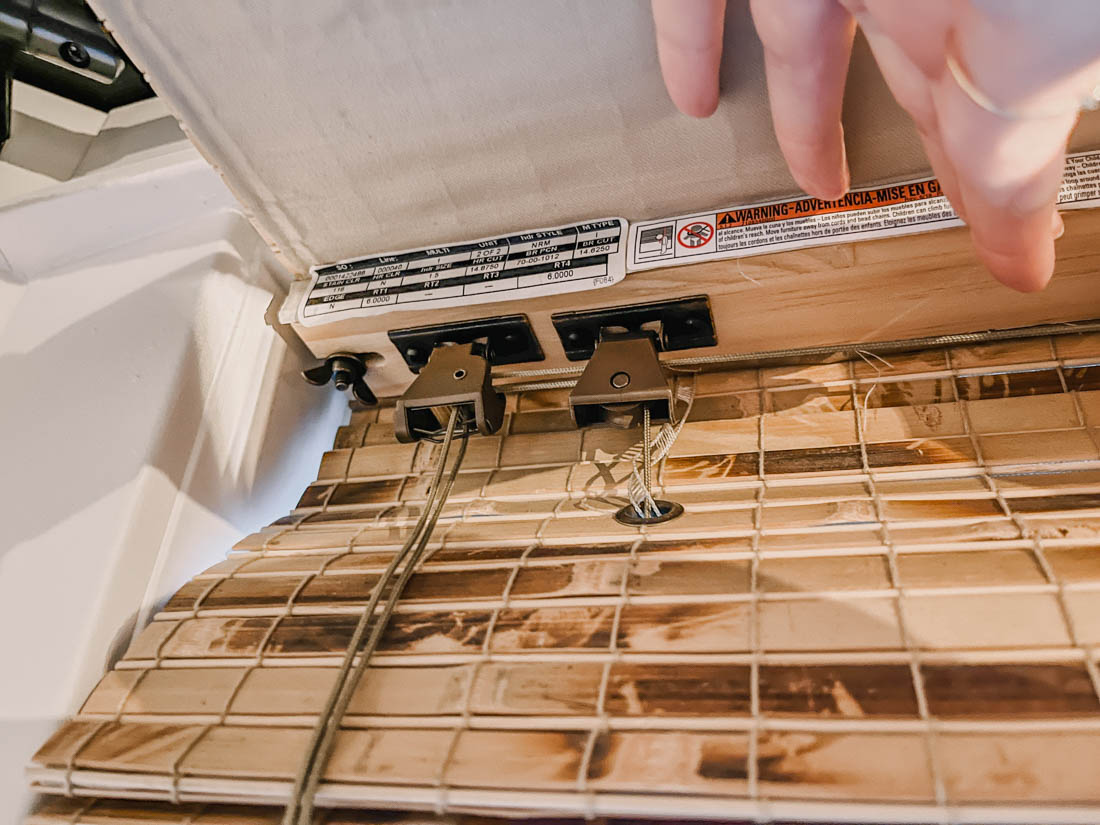
For the blinds, you just put up the supporting brackets they come with, and then the blinds clip right into them! They’re super simple. On the wooden shades we ordered for my daughters room, these were plastic clips. On our primary bedroom shades, they were these metal ones with wingnuts to thread on (I preferred this!).
Since you’re installing three separate window shades, there is no different instructions for installing a shade on a bay window than any other window. Simple :)
Where to find Bay Window Curtain Rods
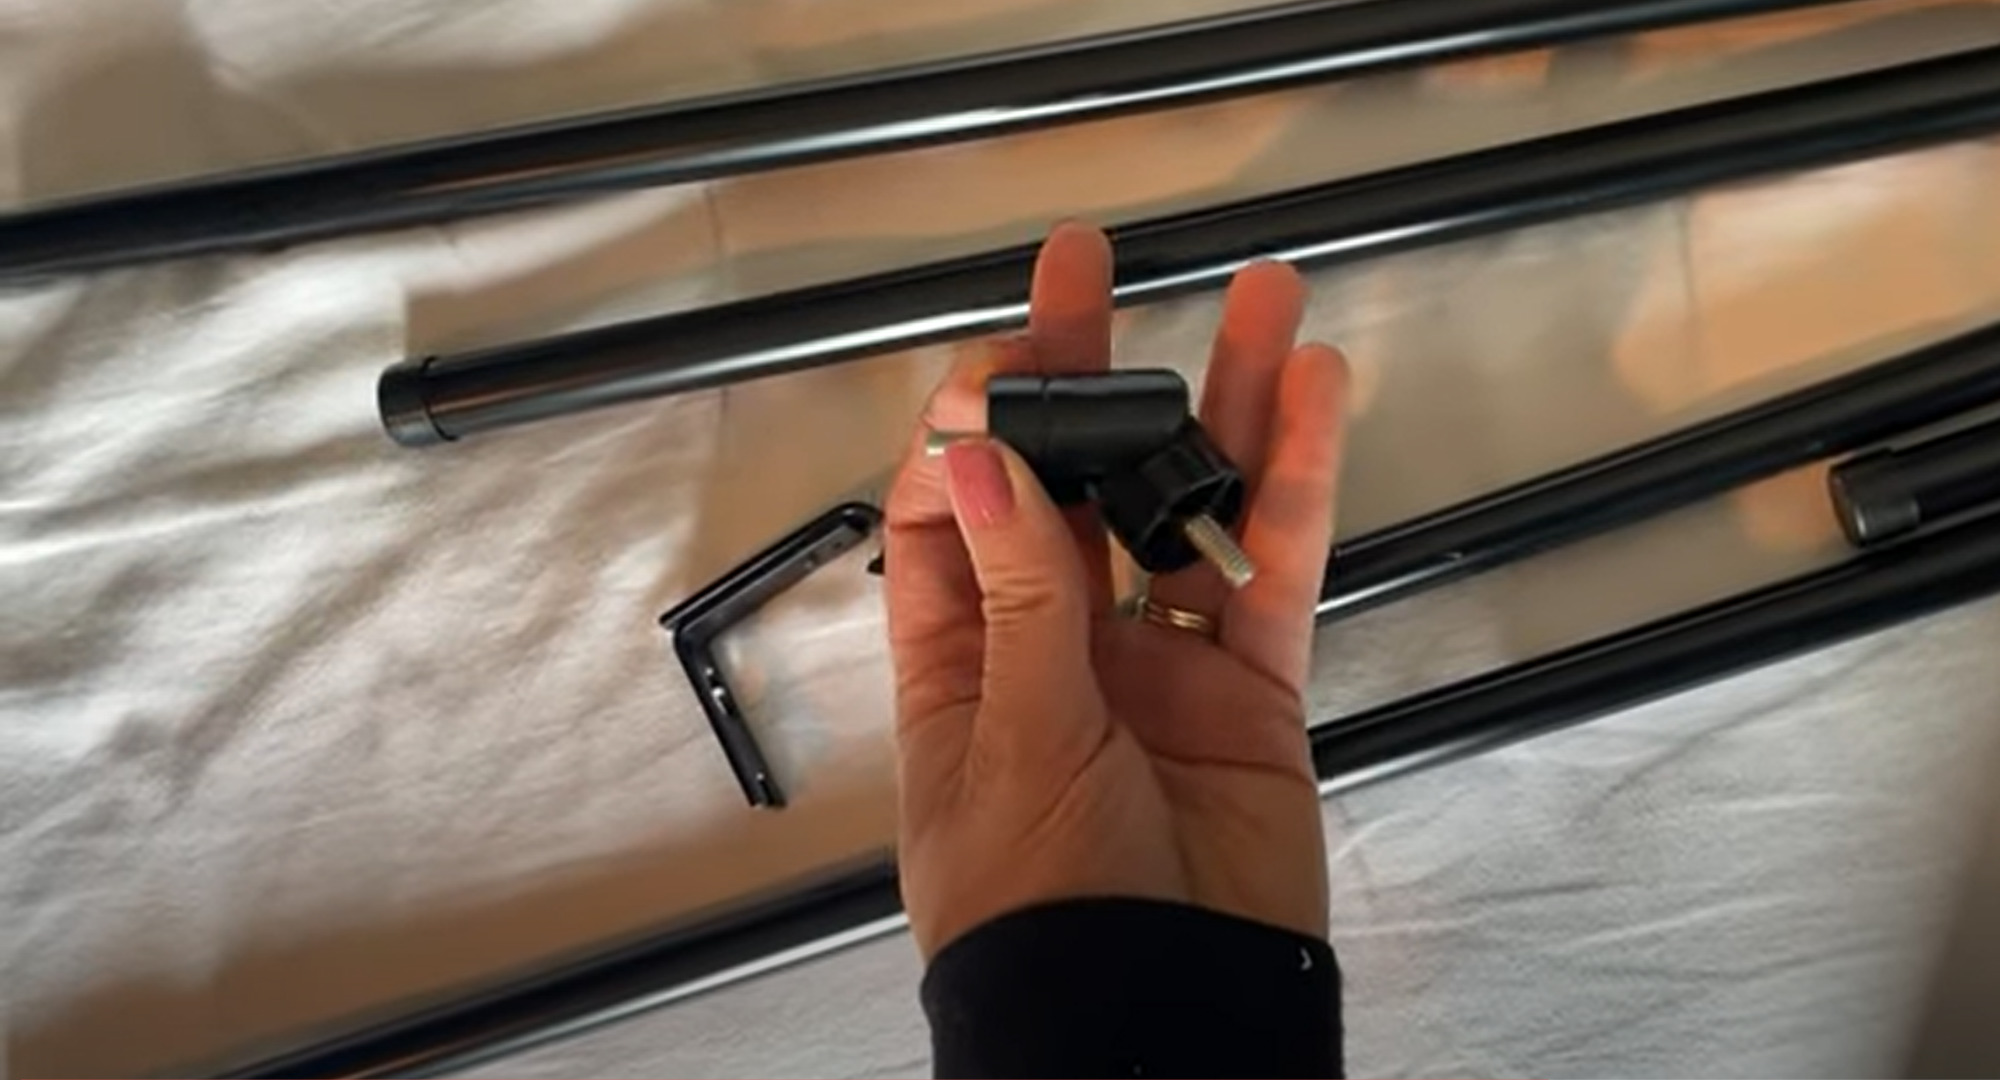
The curtains are a more interesting discussion. Before ever owning a home with bay windows, I didn’t realize you could order curtain rods specifically for bay windows- with bendable joints. This means that it doesn’t matter what angle your window is compared to another, these joints will bend to custom fit your window- bonus!
The curtain rod we got is from Amazon. It’s an Amazon Basics item, and so it’s very affordable. It’s gone up a bit in price since we ordered it, but I’d still definitely recommend it and order it again. You can order different finials separately, and then swap them out if you like. We didn’t do that, we just used the ones the Basics curtain rod came with. On a curtain rod specific to bay windows, you essentially get three rods, but instead of having finials on every end, the inside end of the rods over the small side windows will have a jointed piece, so your rods follow the curves of your windows.
I couldn’t follow the usual rules for curtain rod height on my windows, because of the dropped ceiling we had to deal with. Normally, you want to place the curtain high above the window, about 6″ from the ceiling. This helps make the space seem bigger, taller, and brighter. But on bay windows with a dropped ceiling, we had to just do what we could. We put the rod up as high as we could, and remembered to leave room to maneuver the curtain rod into the brackets.
How To install curtains with blinds
The curtains that we like to use are from IKEA. They are from the Ritva line, and have a linen look to them. We like them so much that we have used them throughout our entire current home, and throughout our last home as well! They are good value for the money, and I also love that there are a few different ways you can put them on the curtain rod. I like to use the thread loops on the back to get a more custom look. For bay windows, you really only need two sets of curtains, even though there are three windows because the little side windows only need one curtain panel each.
I like my curtains to touch the ground, but you can do it however you like! I have seen some people use curtains that are just the length of the window, but I personally don’t like that look. Floor-length, flowing curtains look intentional and elegant, and give an impression of ample and generous space when you enter a room!

The Easiest Way to Hem Curtains
OK, let’s talk about hemming. Remember to wash your curtains before you hem them because they do shrink. I’m so grateful I found that out by accident- washing one that got spilled on before I ever hemmed them. Also, make sure that they are completely dry before you begin, so you know exactly what length you are working with.
You have options with sewing methods. Of course, you can sew them properly. I am lazier than that most of the time, and I like to put them on the hung curtain rods and then use hemming tape. For hemming tape, all you need is an iron and no sewing skills! It will hold up through the wash. Some curtains even come with hemming tape. Here’s how I hemmed mine:
- I pinned these curtains up to the length I wanted, measuring to ensure they were even,
- Cut off the excess material with sharp fabric scissors,
- Created a double-rolled hem (hem it twice essentially) which will help keep it from fraying when it goes through the wash later,
- Then, ironed them in place! I used my Cricut EasyPress Mini, but you can use any iron. The heat activates the hemming tape which becomes an adhesive.
There are a hundred different ways that you can finish off bay windows but we really love this way! I think that our windows now contribute to the cozy modern vibe that we have in our house. I hope that this got you thinking about different ways that you might be able to update yours!
Want to see more photos of how these spaces look? See our full bedroom makeover here, our dining room weekend makeover here, and our kitchen remodel here!
watch: Cozy modern bay window coverings
like it! pin it!


 Beginner guide to Painting Interior walls with a Sprayer
Leave a Reply