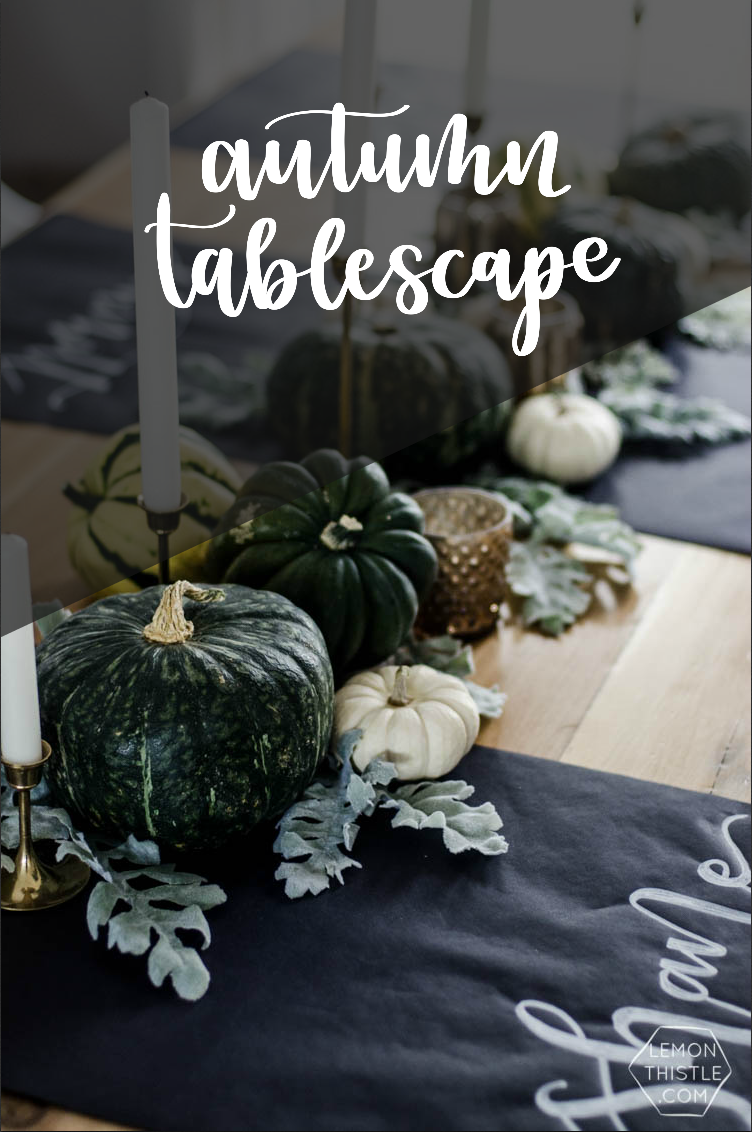
Helloo autumn! Autumn is my favourite time of the year for so many reasons and one of them is that we always take more time to get together with friends and family around the table. Every year, I look forward to it more and more. Whether it’s a Friendsgiving potluck, a birthday dinner, girls cook night or whatever-the-heck… it’s my favourite thing to do with an evening. I’m a fan of sitting around the table until the candles burn and the wine runs out and leaving dishes until the next morning. And having a pretty table to look at while you sit there? All the better ;)
It sounds like we’re having our friendsgiving late this year, so I put together the tablescape for one of our regular family dinners this year and recorded the process for you all as part of a Youtube challenge with The DIY Mommy. Instead of a mad dash, throwing things on the table before people walked in the door… which is usually how things work around here- ha! You can scroll down to see the whole video here.

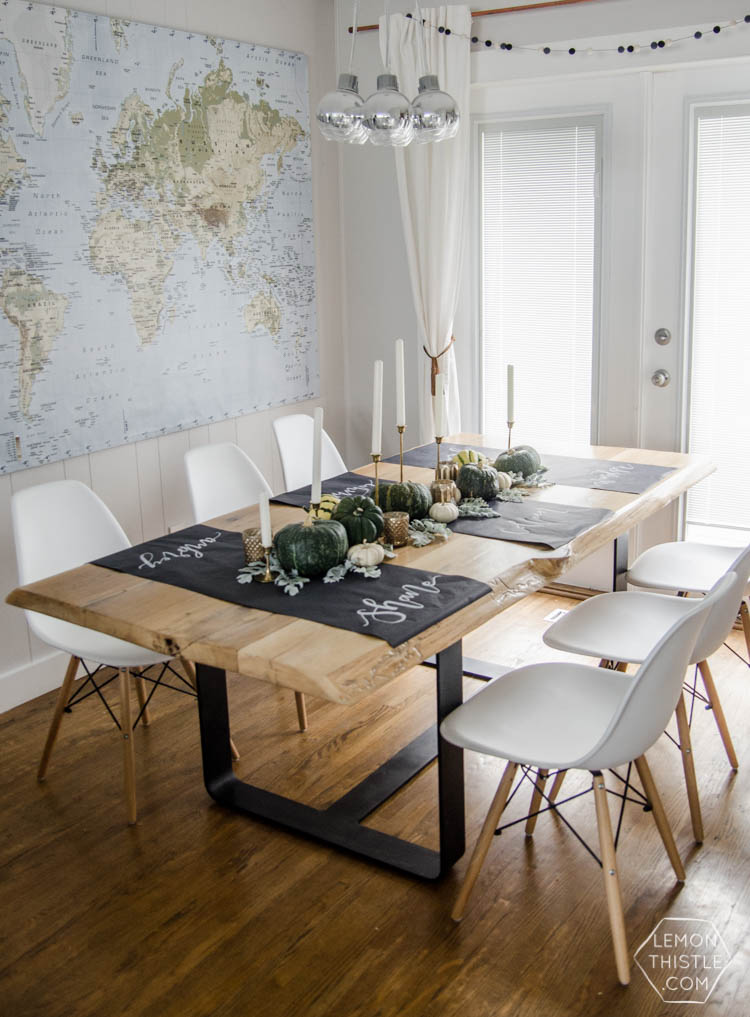
If you’ve been following Lemon Thistle for a while… you might have noticed that all my tablescapes have a few things in common. I don’t have any fancy flatware or dishes (one day I’d love to… but who has the storage?!) and I don’t ever want to have something I will only use once to store until next year and I’m pretty frugal with what I spend. So squash I’ll for sure be cooking up, mini pumpkins I’ll be decorating for halloween with and candleholders I already had on hand? Done. And as for that chalkboard paper… I’m totally in love with it. And yes, it helps that it was only a couple dollars for a big roll (I wrapped Christmas gifts with it too!). This is the second time I’ve brought out the paper instead of a table cloth and I’m probably going to pull it out again… and again. Whether kraft paper or chalkboard paper, isn’t it amazing to be able to roll up your mess and toss it in the trash? YES, yes it is. Especially if kids eat at your table- they’re so darn messy!


Pulling this tablescape together was pretty simple- it just The only other thing I picked up was a stem of faux dusty miller. I actually bought it a while ago and have been using leaves of it with garden florals for my countertops (I’m sharing my fall home tour in a couple days and I think you’ll spot some of it in there!). I really like dusty miller and have bought it live a few times but find it wilts way too fast. This faux stuff is from Michaels and actually looks great mixed in with real blooms.
SO Where’s everything else from?
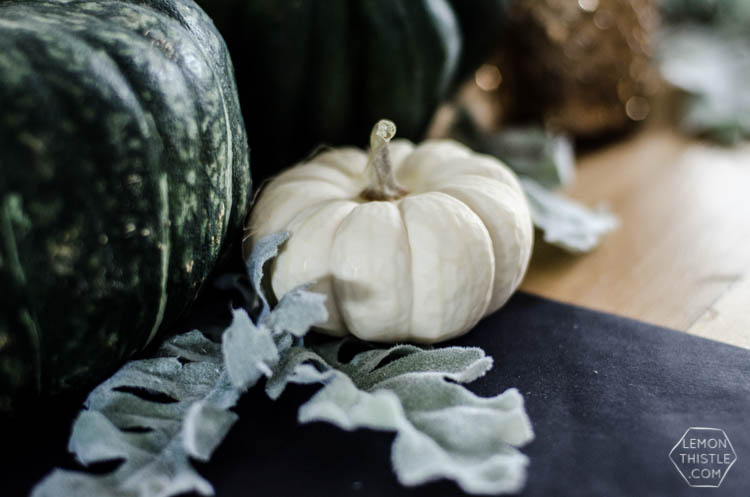
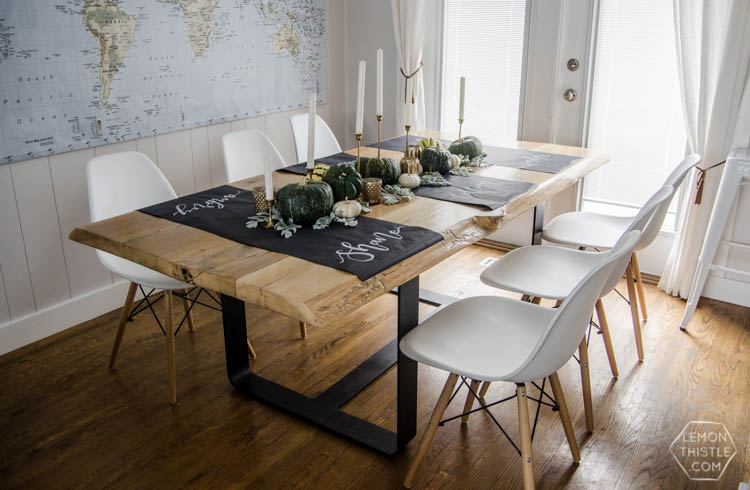
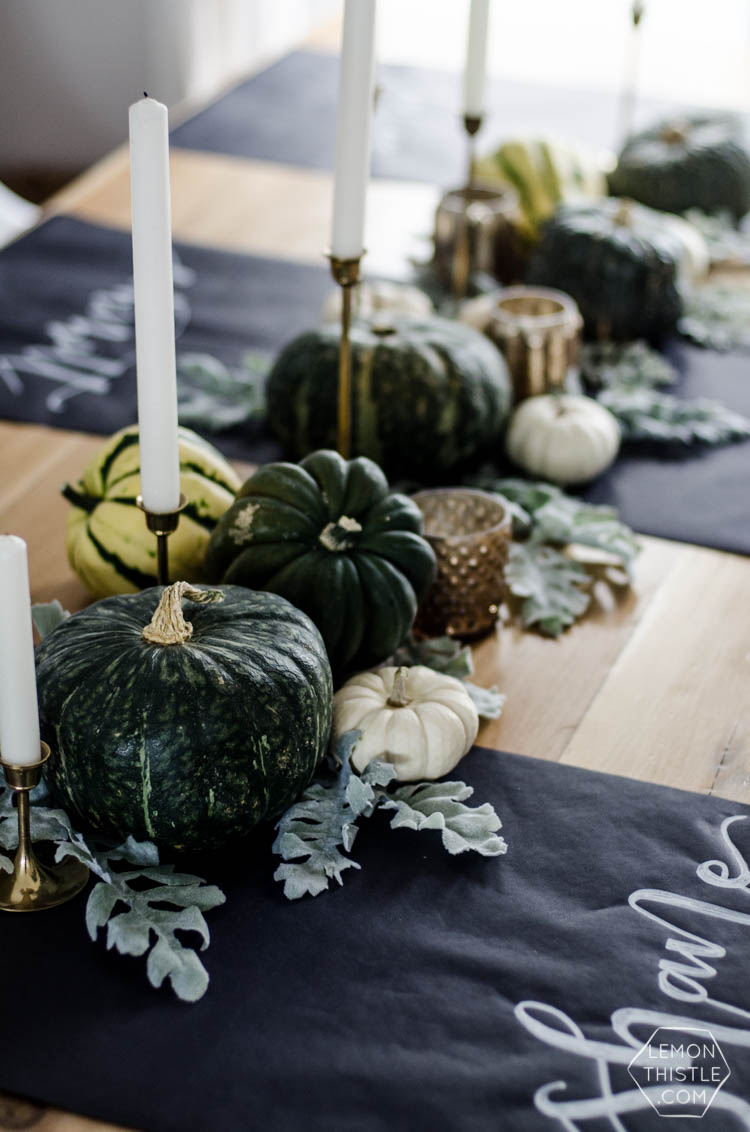
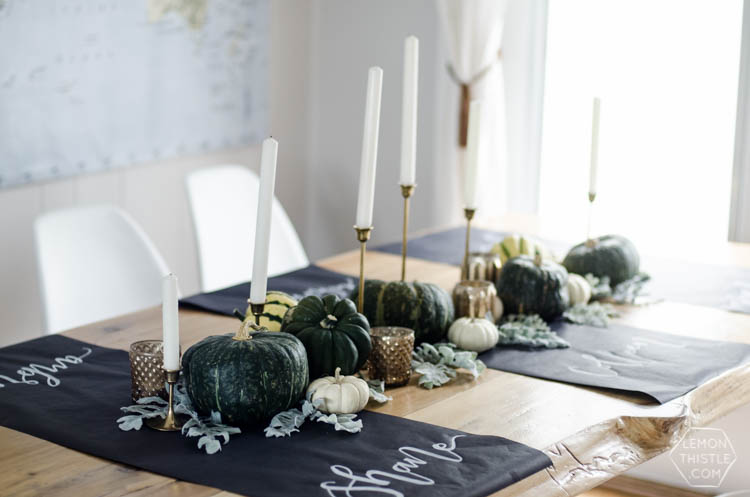
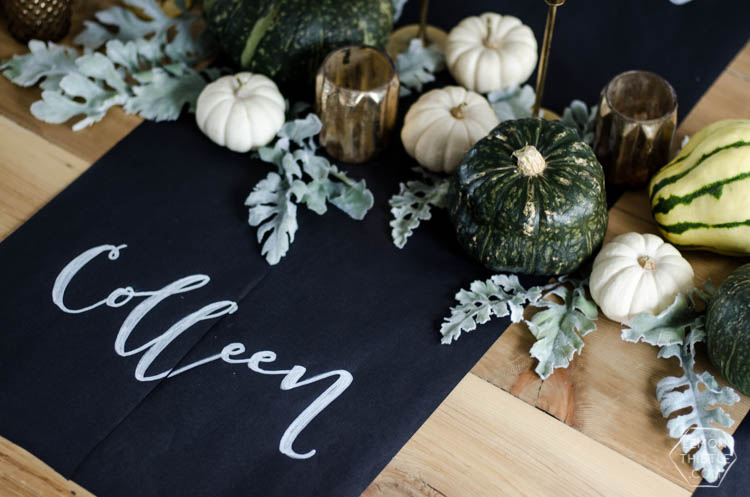
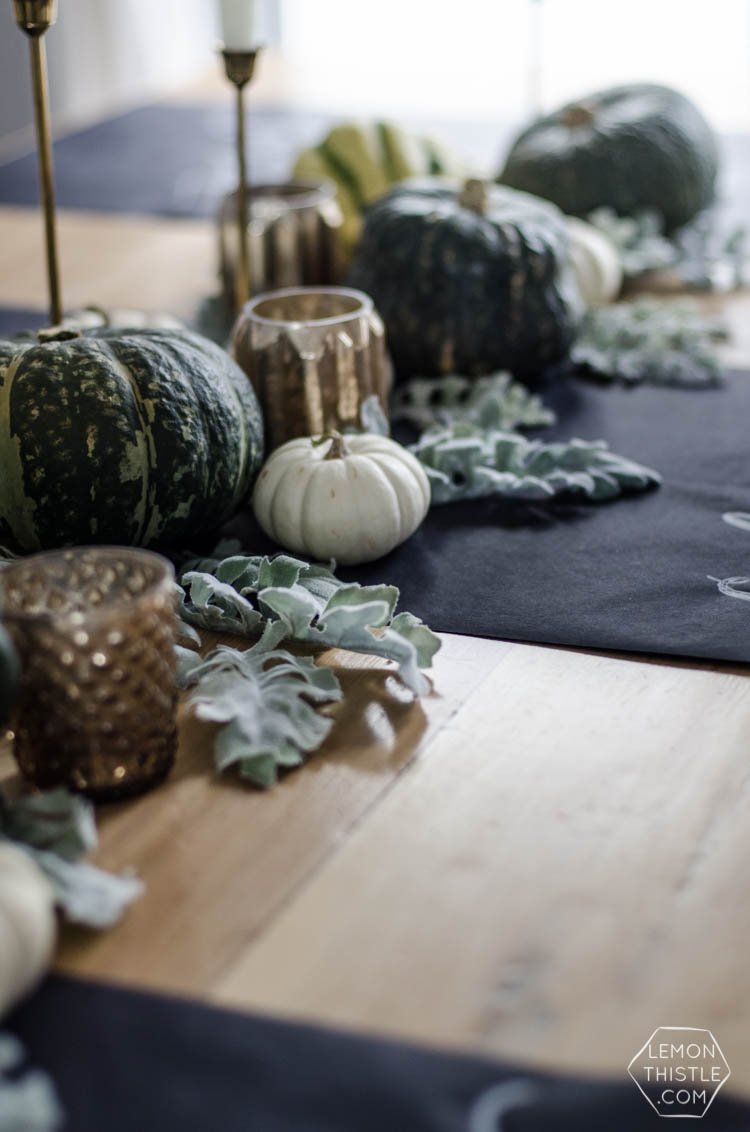
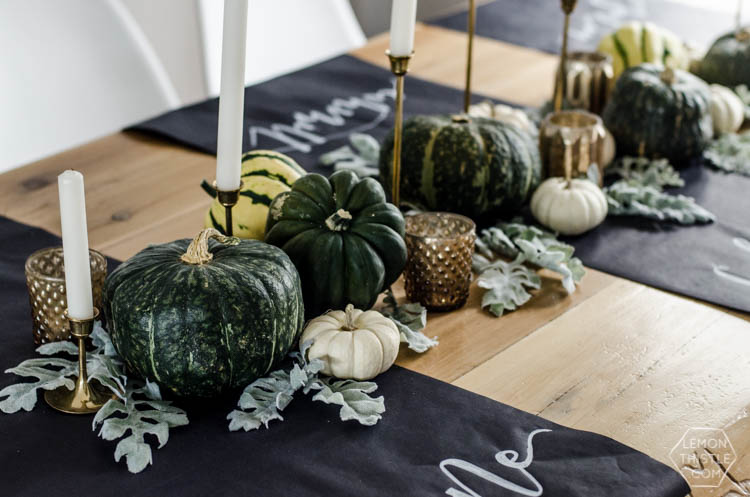
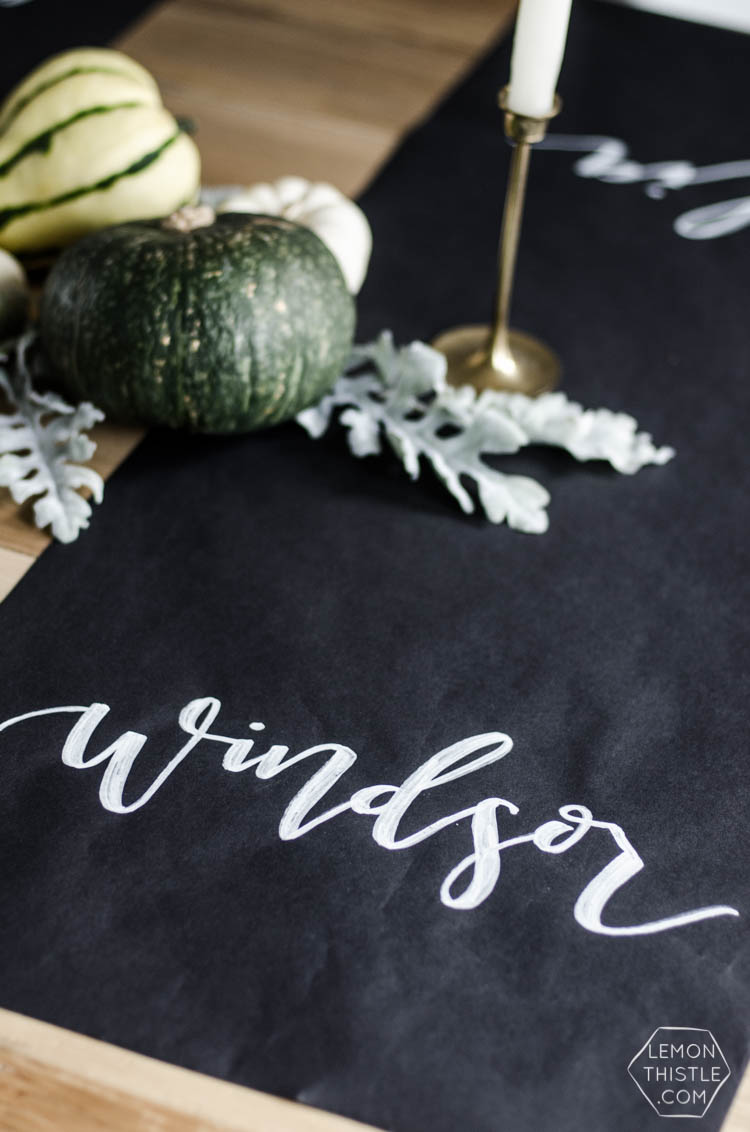
The white mini pumpkins come in a bag for about $4 from Superstore and the squash are all farmers market (and you can’t tell me you we won’t be eating well for the next week or two- squash is so freaking good!). The gold tealight holders were on clearance at Target for ten cents (seriously!) each yeaaars ago. Like back when Canada had Target. And the brass taper candlesticks are a thrift store find from years ago as well. The chalkboard table runner is from Target when I was down at SNAP, I think it was $2 and I’m kicking myself for not buying a few rolls. I used a bunch to wrap some fake Christmas presents and this used up the rest of it. It really is just a matte black wrapping paper, but it’s nice and thick. The marker I used to letter the names is my favourite paint marker- Montana Acrylic Markers, they are sold at Michaels or you can find them on Amazon.
That’s preeetty much it, you guys! You can see it all in the video below! And while you’re there… go on and subscribe to my channel, why don’t ya? ;)

OH and yes… I totally cut the video of the lettering short before I crossed my ‘T’. I went back and fixed it but learned you can’t edit a YouTube video so that’s just the way it’ll stay. I’ll add it to the list of lettering oopses I’ve made over the years ;)



 DIY Copper Foil Halloween Garland
Leave a Reply