I’m sharing how I stained my deck- turns out yes, yes you can use stain with a paint sprayer and it works amazing! Here’s my tips.
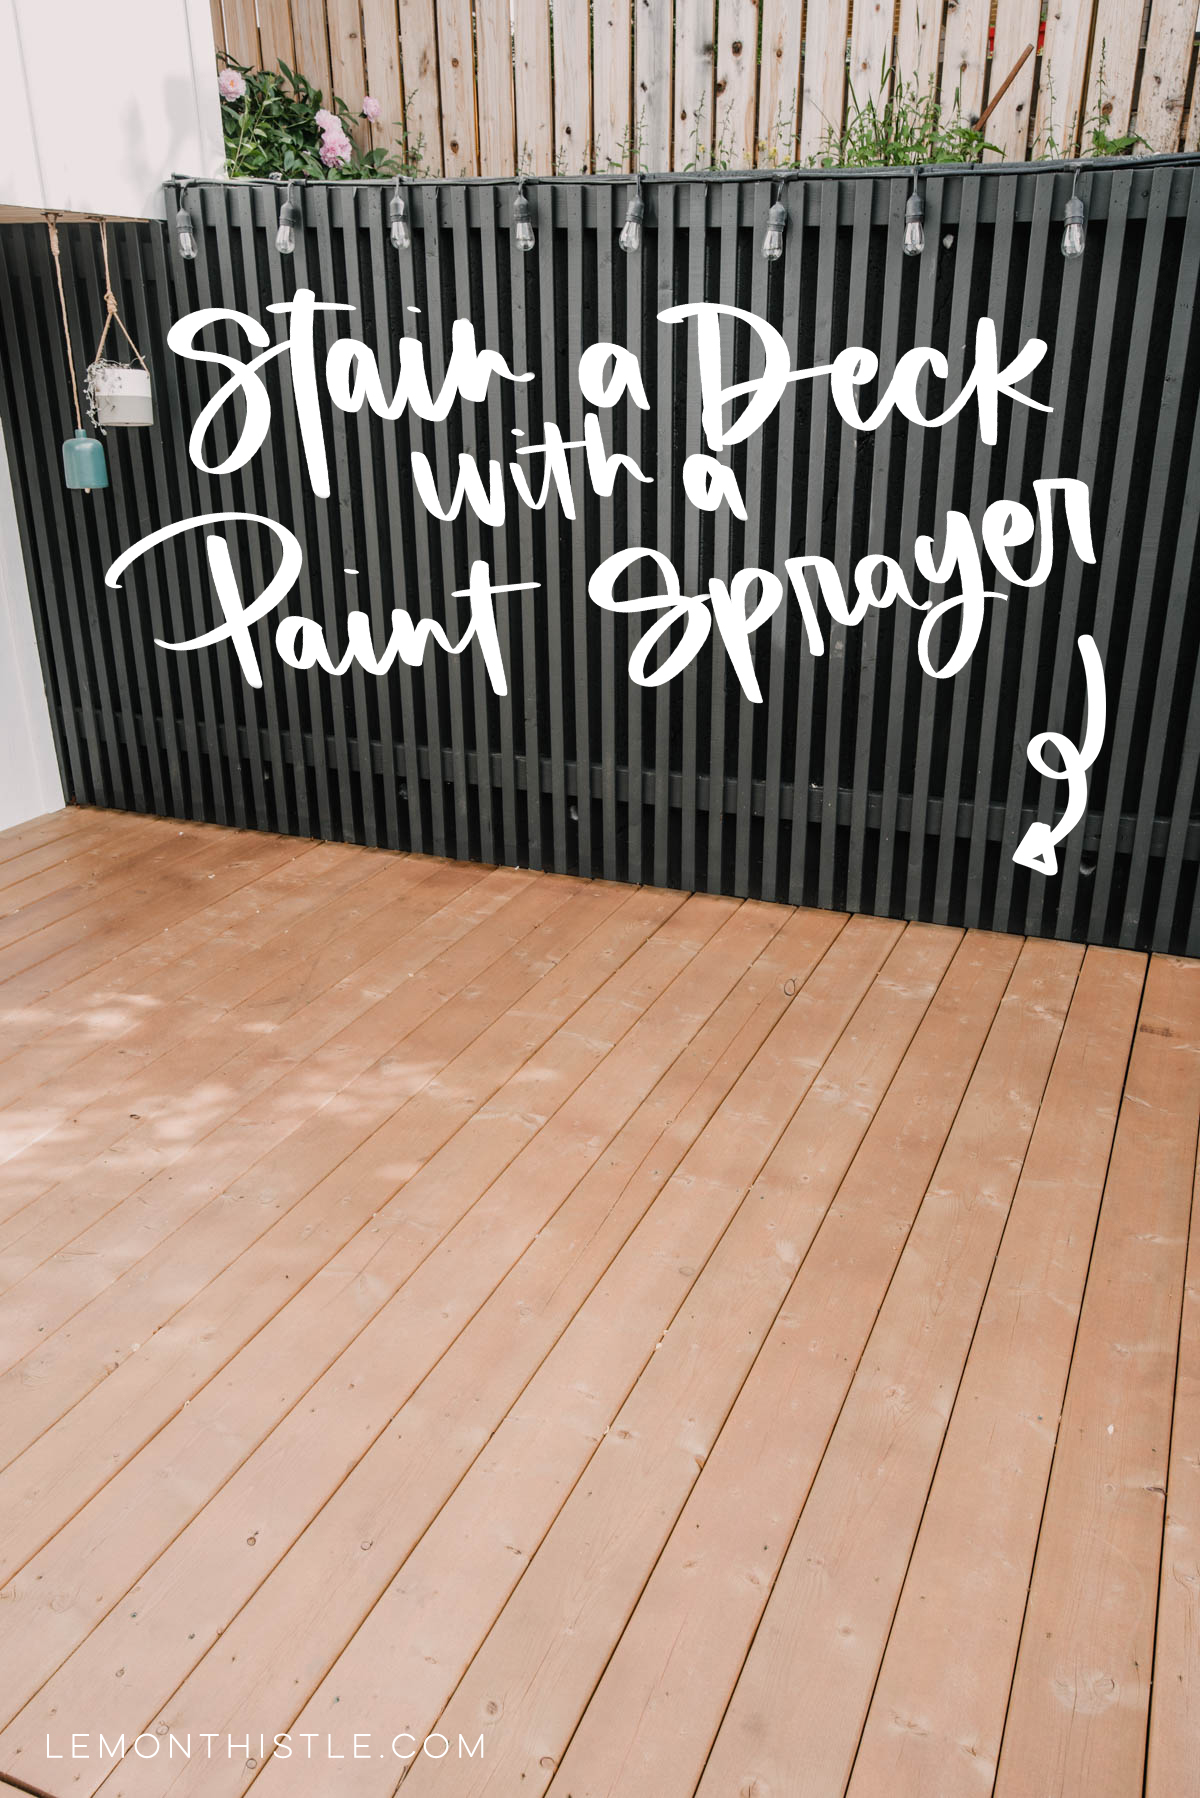
This past weekend, after waiting patiently for the rainy weather to end- I pulled out my paint sprayer and finally stained our deck! You may have noticed in my patio reveal that our wooden deck looked pretty stained for being almost brand new. I wanted to spend some time cleaning it and give it a stain to help disguise some of that staining and oh boy, I’m so glad I did! It turned out even nicer than I’d pictured and I’m beyond happy with the color!
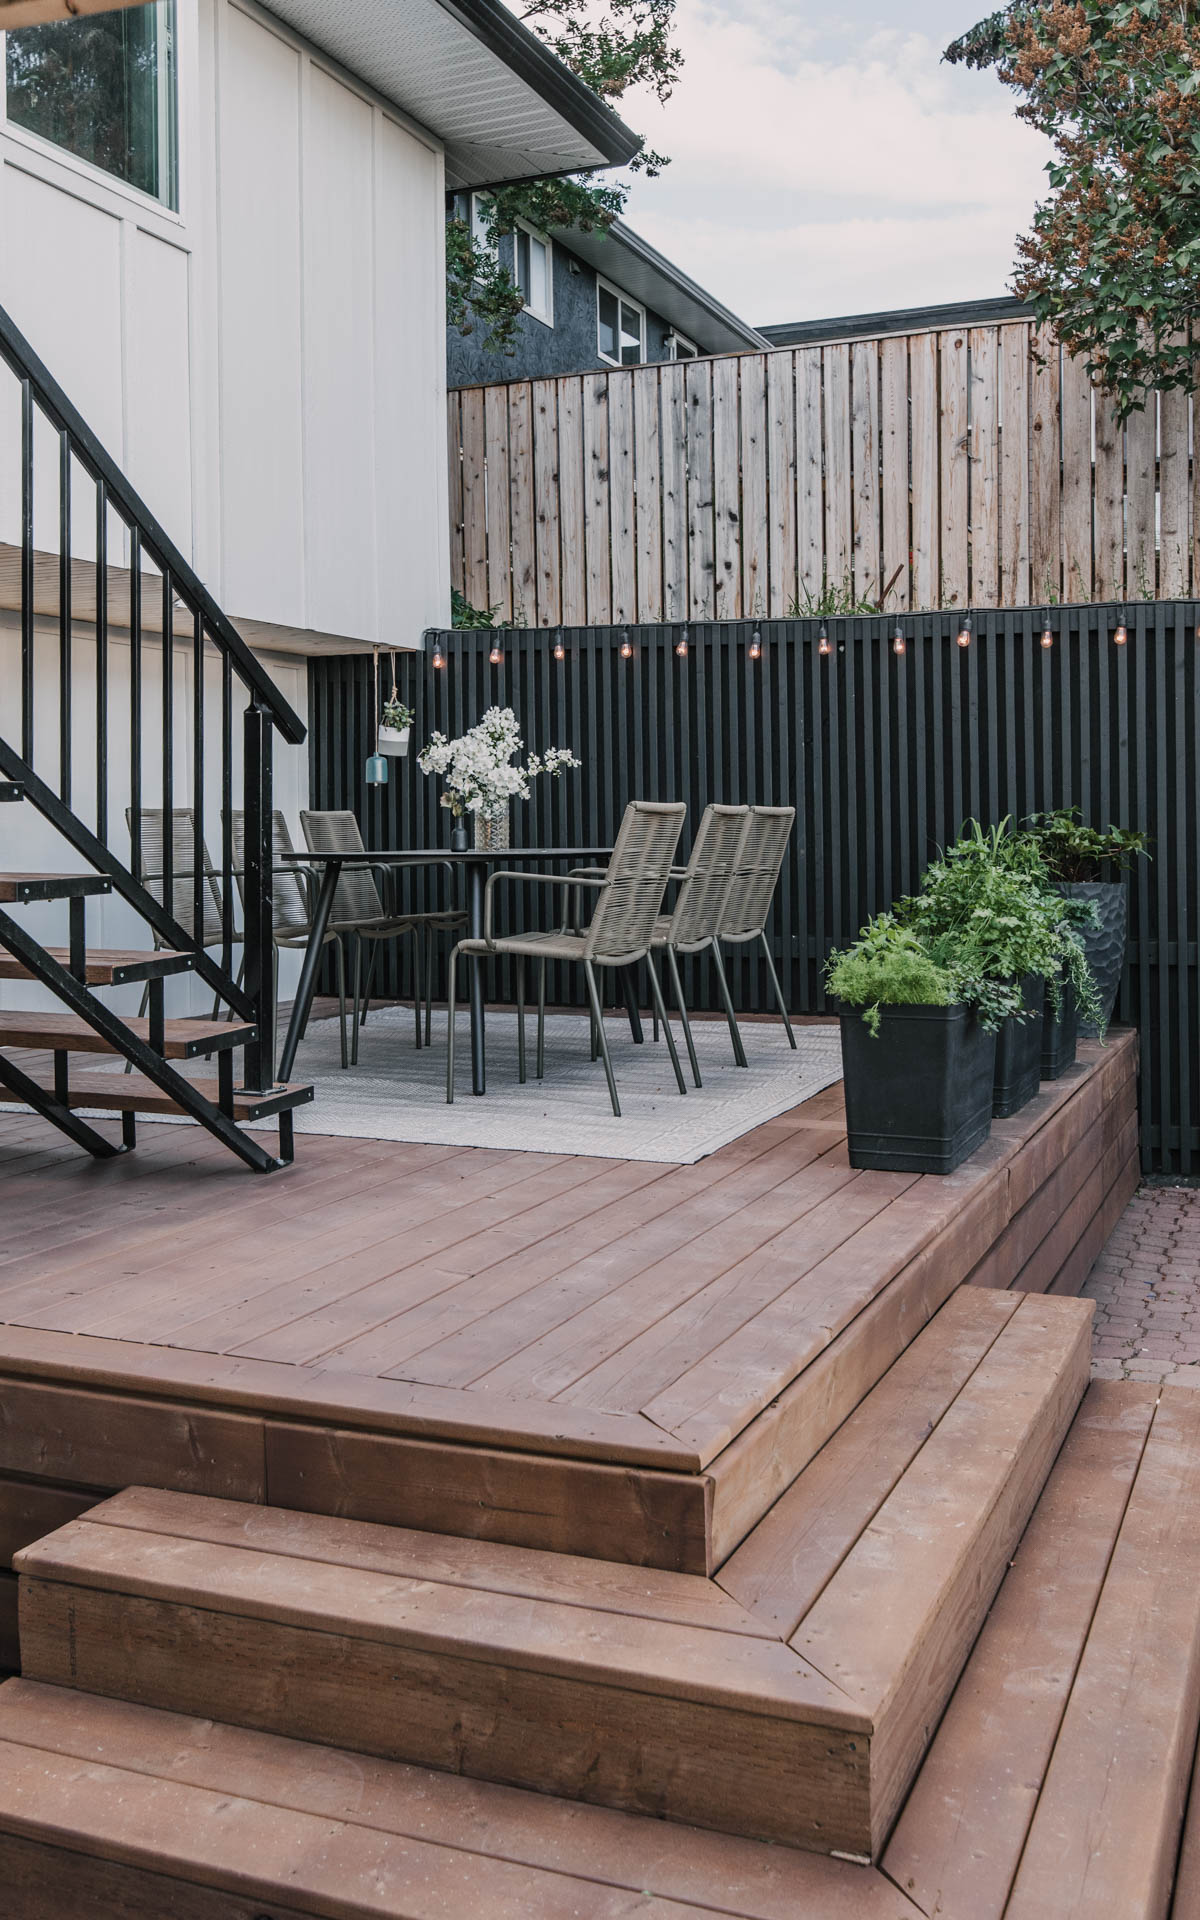
Today, I’m excited to partner with Wagner Spray Tech to share some tips I’ve picked up from staining my deck with a paint sprayer! It was way easier than I’d built it up in my mind to be and gave such a beautiful finish- no brush strokes!

First, let’s take a look at those stains, shall we?
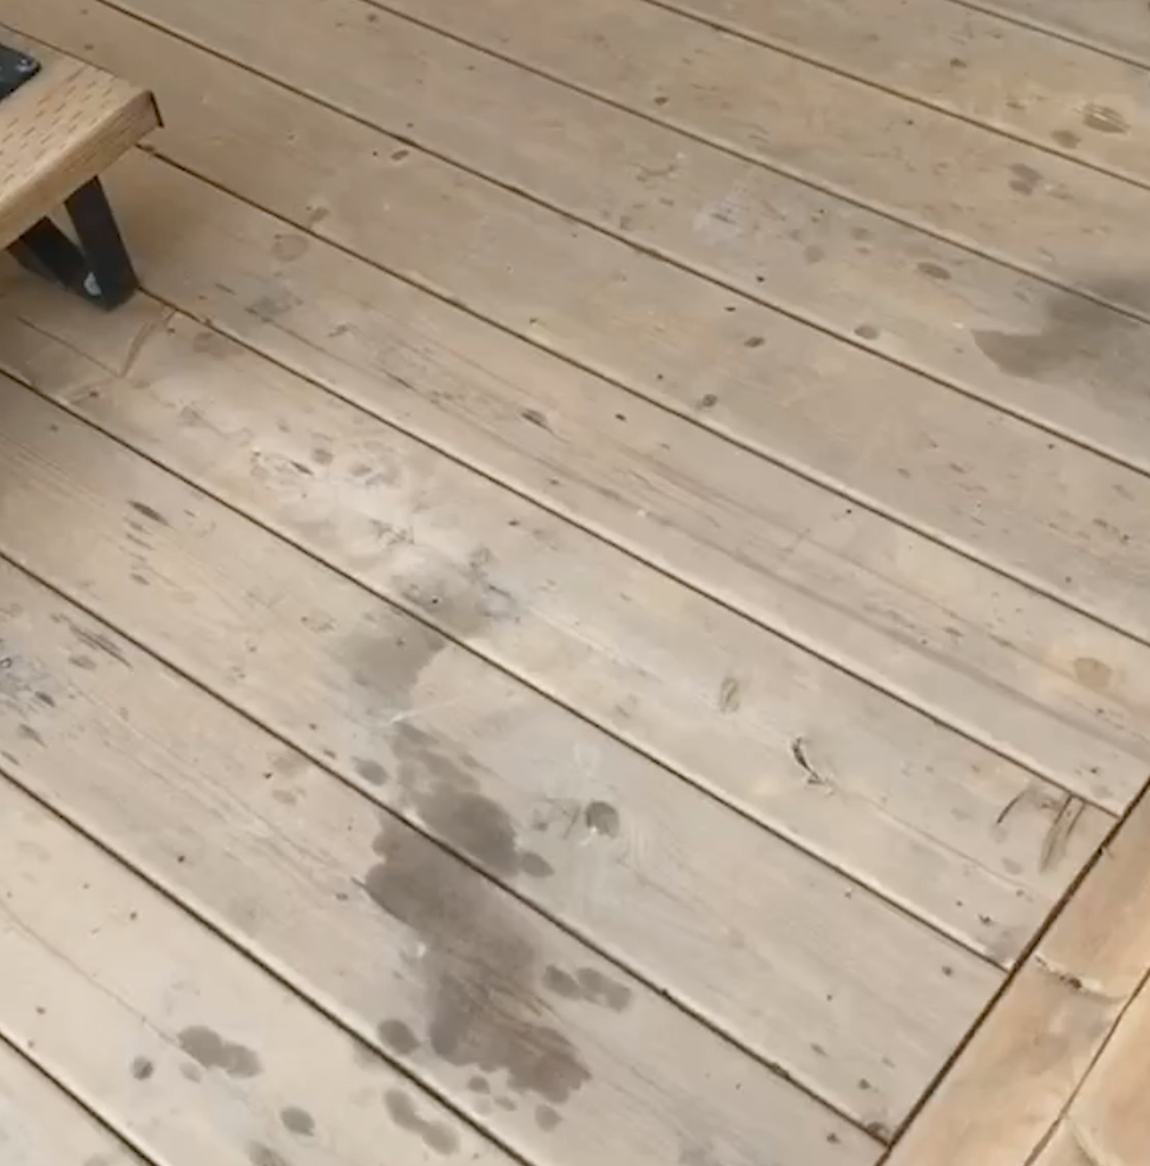
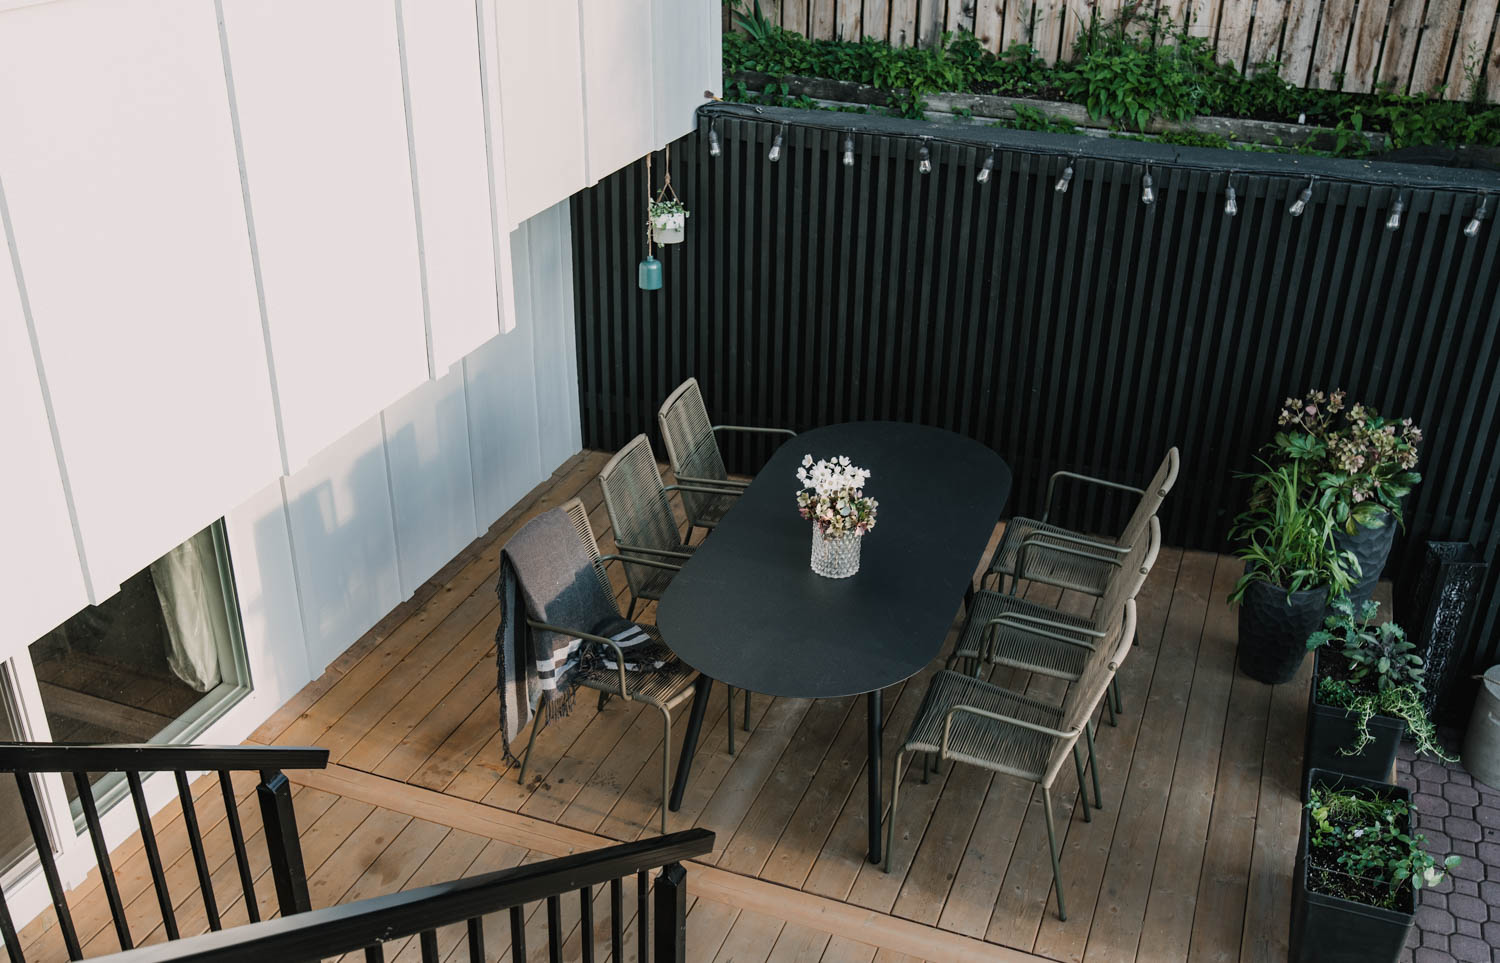
There was a lot of them and they were dark. You can see most of them by that chair with the blanket. Honestly- I even tried to smooth them out when editing those photos from our initial makeover post. My youngest son got a can of spray sunscreen and by the time we noticed, he’d emptied the whole bottle. On the deck.
These oily stains would have taken quite a bit of sanding to get out and that wasn’t an option for us. We built this deck with pressure treated lumber for a few reasons- one of which is we live in an area of town that has known termite issues and we wanted the deck to not attract them to our house. From what we understand, pressure treated lumber is only coated on the outside, so sanding is not only toxic (totally wear a mask!) but makes the treatment less effective. We chose just to give the deck a really good scrub with a wood cleaner (you can buy in the paint section at your hardware store when you’re getting your stain). You essentially dilute it, then keeping your deck wet with a hose, scrub it down using a deck brush really well with this solution.
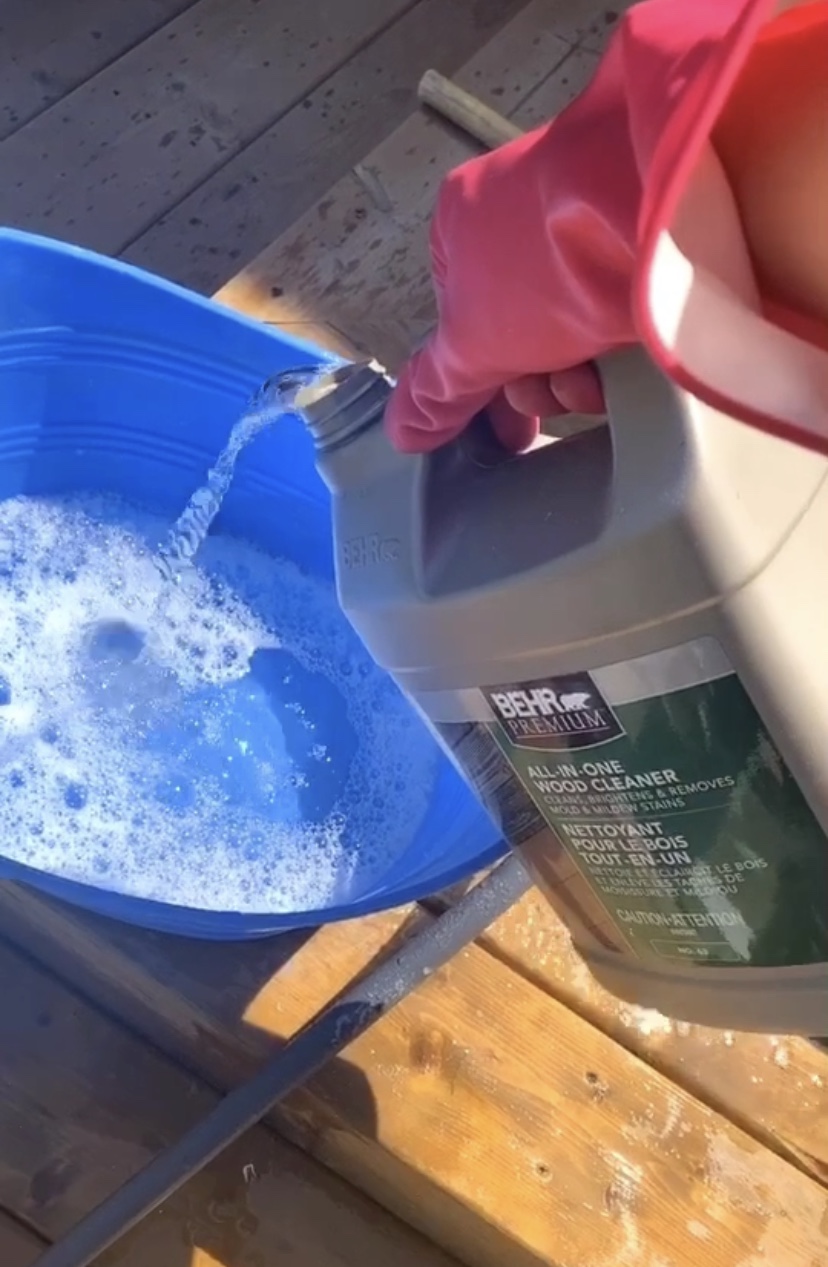
Let it dry completely before moving to staining! I think you’re supposed to let it dry overnight at minimum, but I did this in the morning then had a 30+ degree day (direct sun) and stained after the sun started to go down that night.
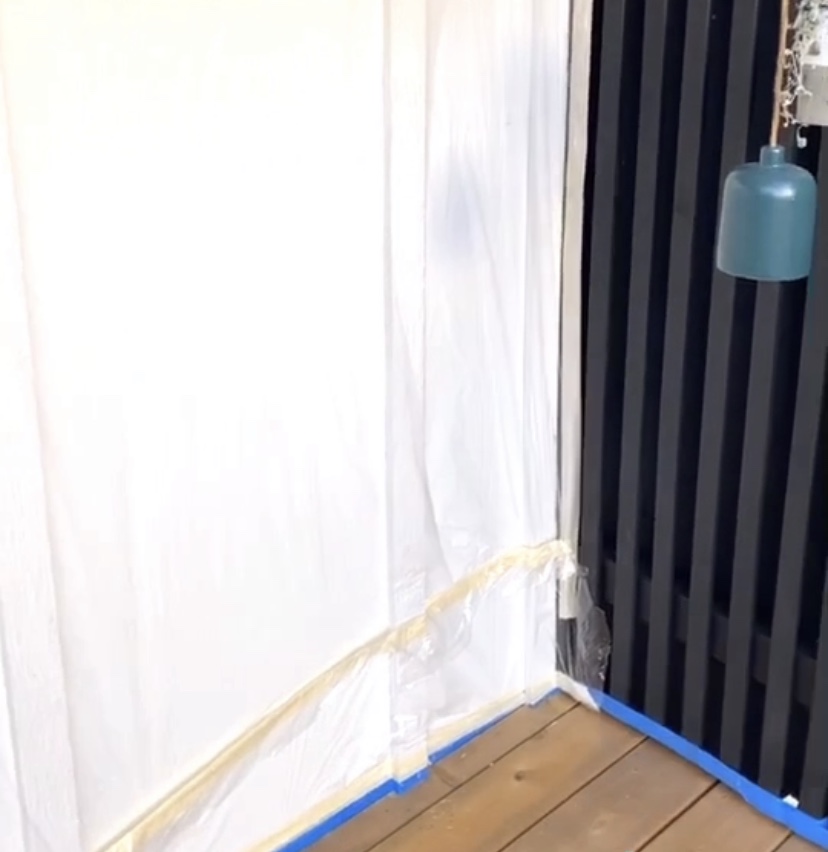
With any spray project, the most time consuming part is masking. Masking takes time but is what makes a project excellent (and look really fabulous). I used painters tape to give a really clean edge at the deck, then used double sided painters tape to add the plastic to cover the rest of the siding. We used flooring paper (thick kraft paper, found by the drop cloths) to slide under the edge of the deck sides to cover the brick.
The paint sprayer I used for this project is the Wagner FLEXiO 3000. It’s the same sprayer I used for our fireplace and for our patio doors. I have never used it- or any paint sprayer- with stain before. After doing some research, we chose a water based stain for ease of clean up. The catch is just that you can’t get it wet for 12 hours after staining. We chose a semi transparent stain for this as I wanted to keep the wood look of the deck, but pressure treated lumber isn’t all that beautiful. A solid stain would have hid the stains really well (they didn’t come all the way out, but the cleaning did minimize them) but that would have hidden the wood grain.
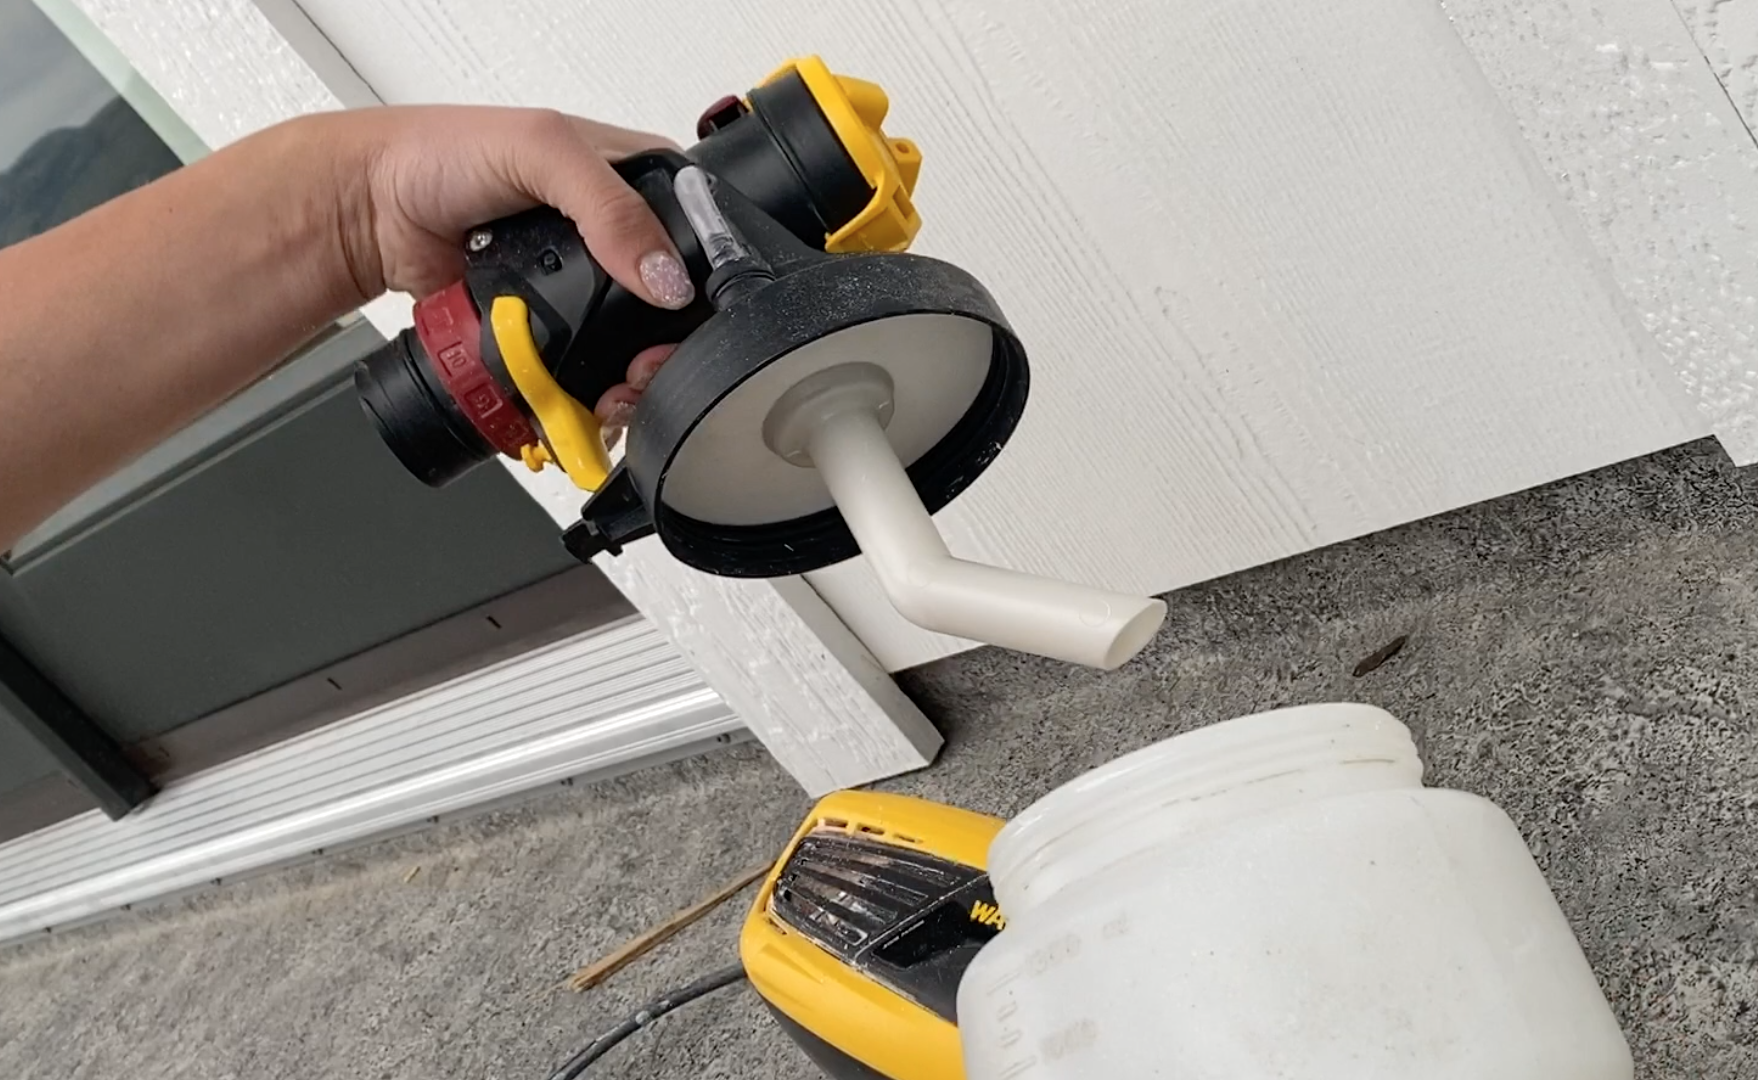
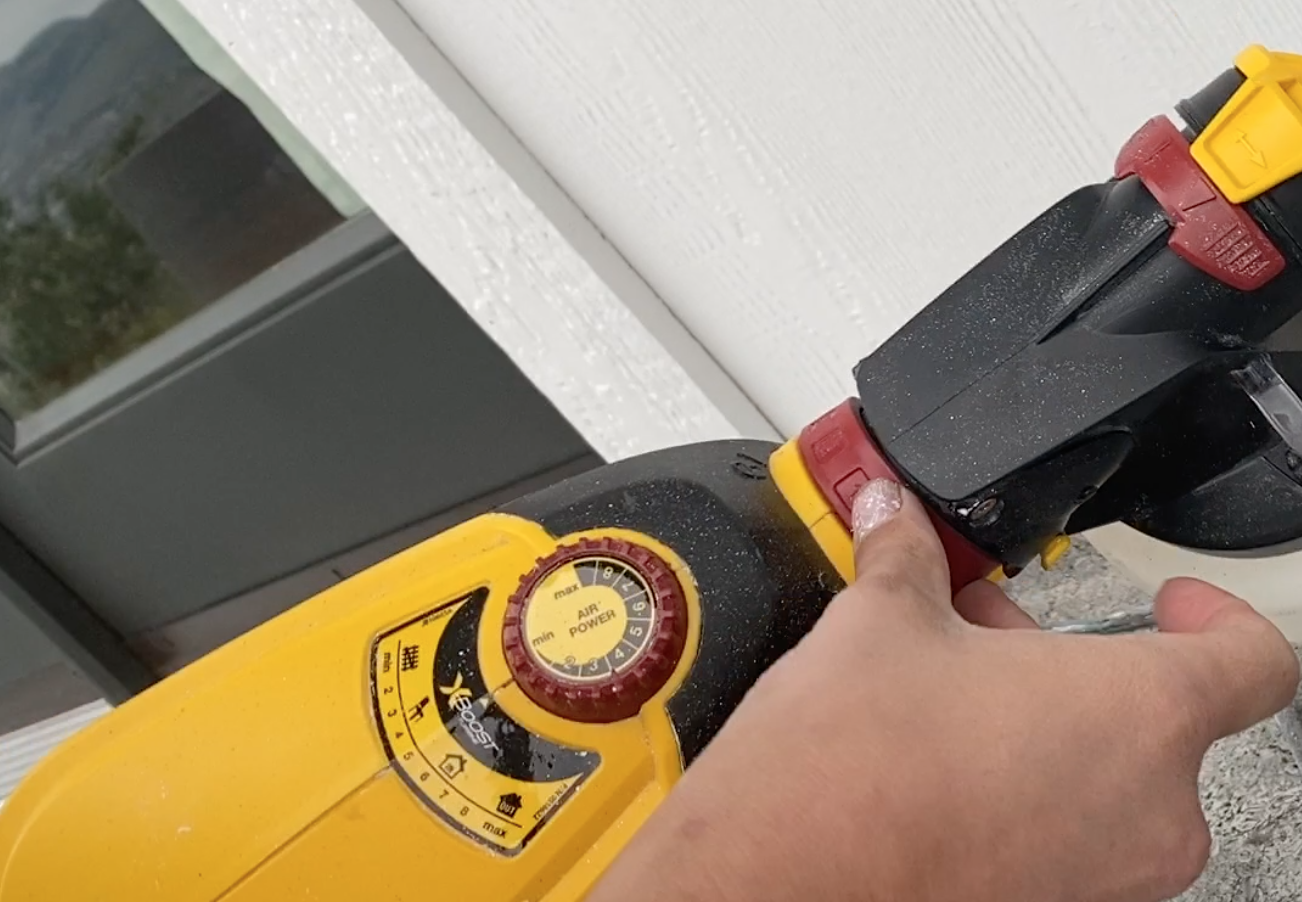
When setting up the paint sprayer, here’s the settings I used. I made sure to point the pick up tube forward so that even as I had the gun angled down towards the deck it would pick up stain. I chose the lowest settings for both the air pressure and stain output.
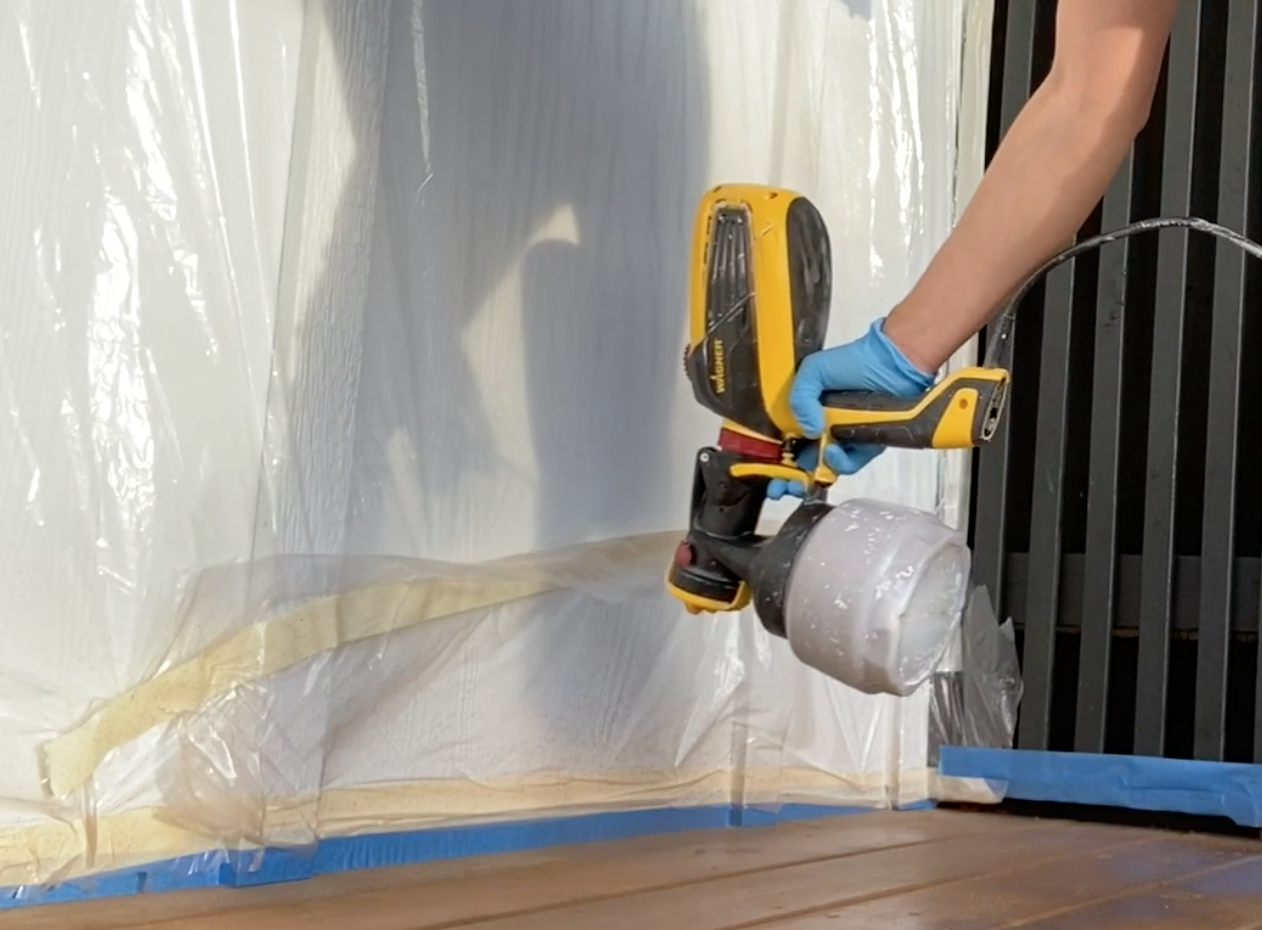
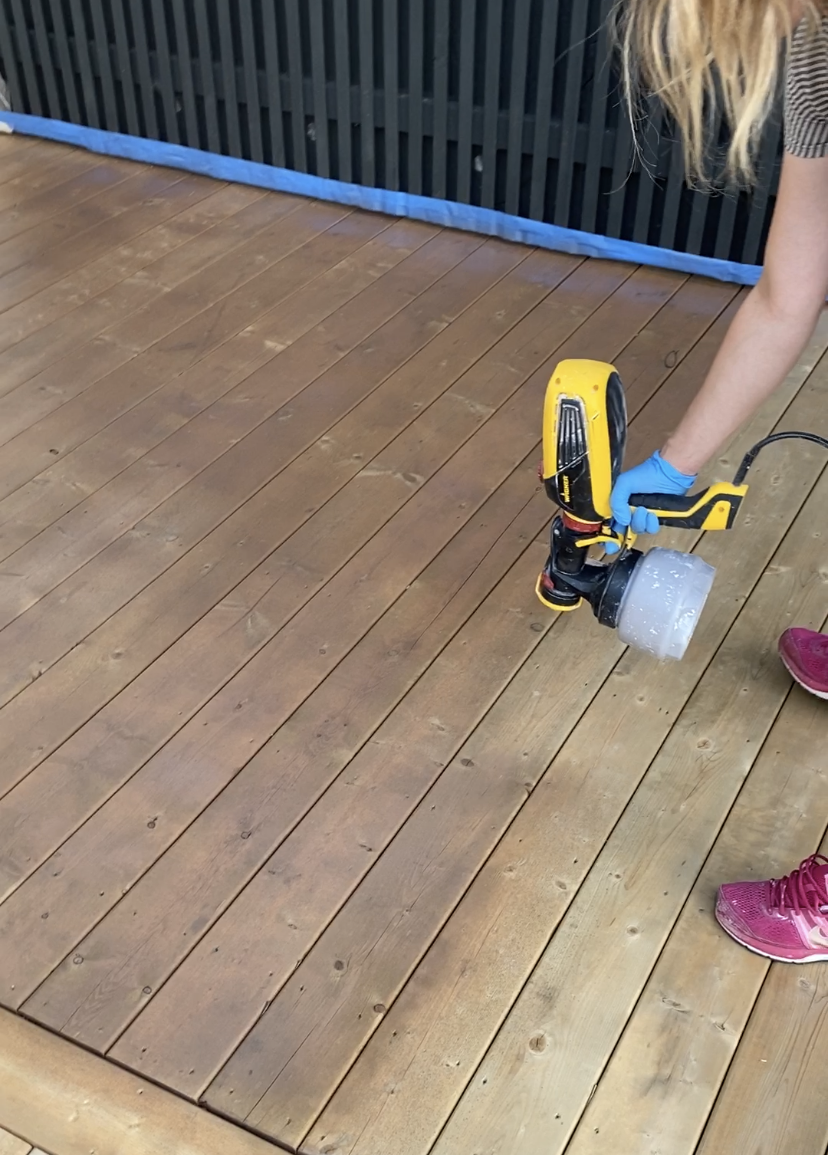

As always, test this on scrap or on cardboard before moving on to your project. If you find you need to make adjustments, do that as you go. I ended up increasing the stain output to two (from one), but definitely start at the lowest and see how that works first. Go slow and work one long board at a time to avoid lap marks. If you accidentally spray too much on one area (for example, if your kiddo interrupts you- not that I know from experience), you can use the deck brush to wipe it in to the wood. The whole idea is to keep the stain from pooling so it soaks in evenly.
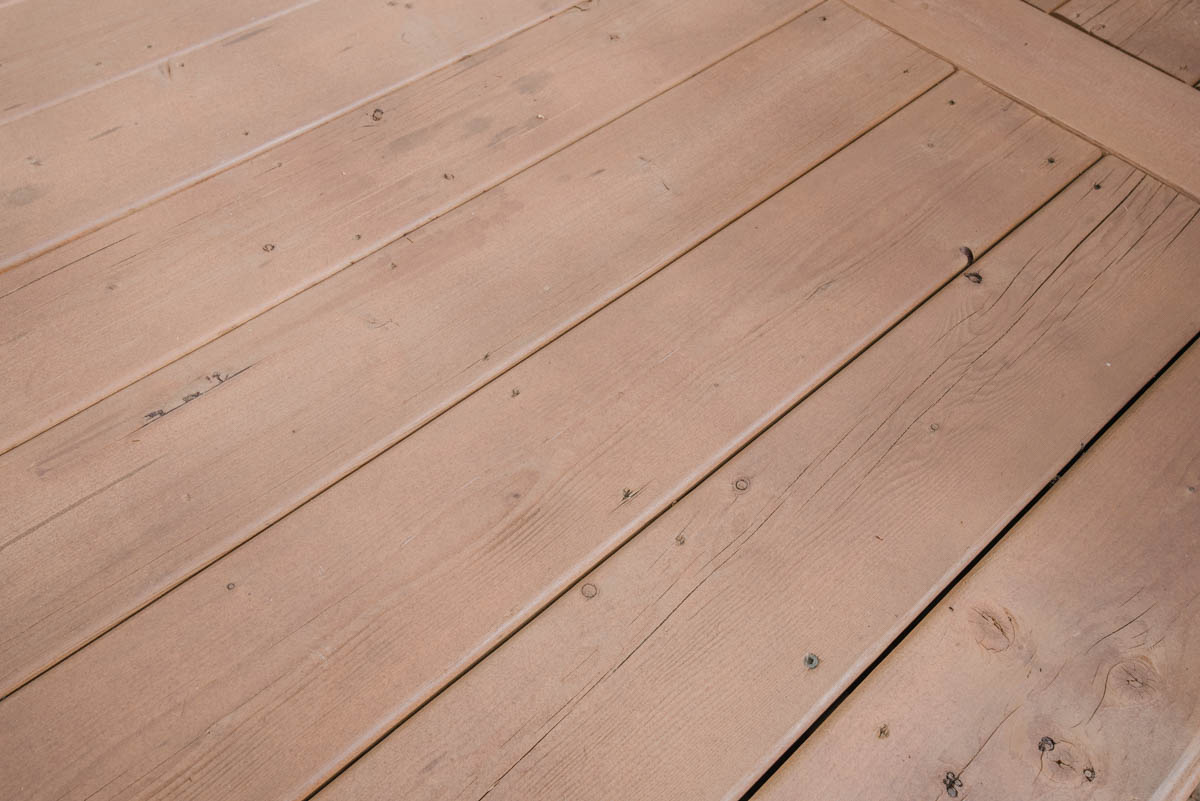

For some reason I’d really built up staining with a sprayer as super messy. It wasn’t at all. Once we were masked, spraying went SO quickly. We stained the stairs to the upper deck by hand and that took us probably double the time that it took me to stain the whole deck, lower stairs, and deck skirting. Because I masked well, there was no drips or over spray to worry about.

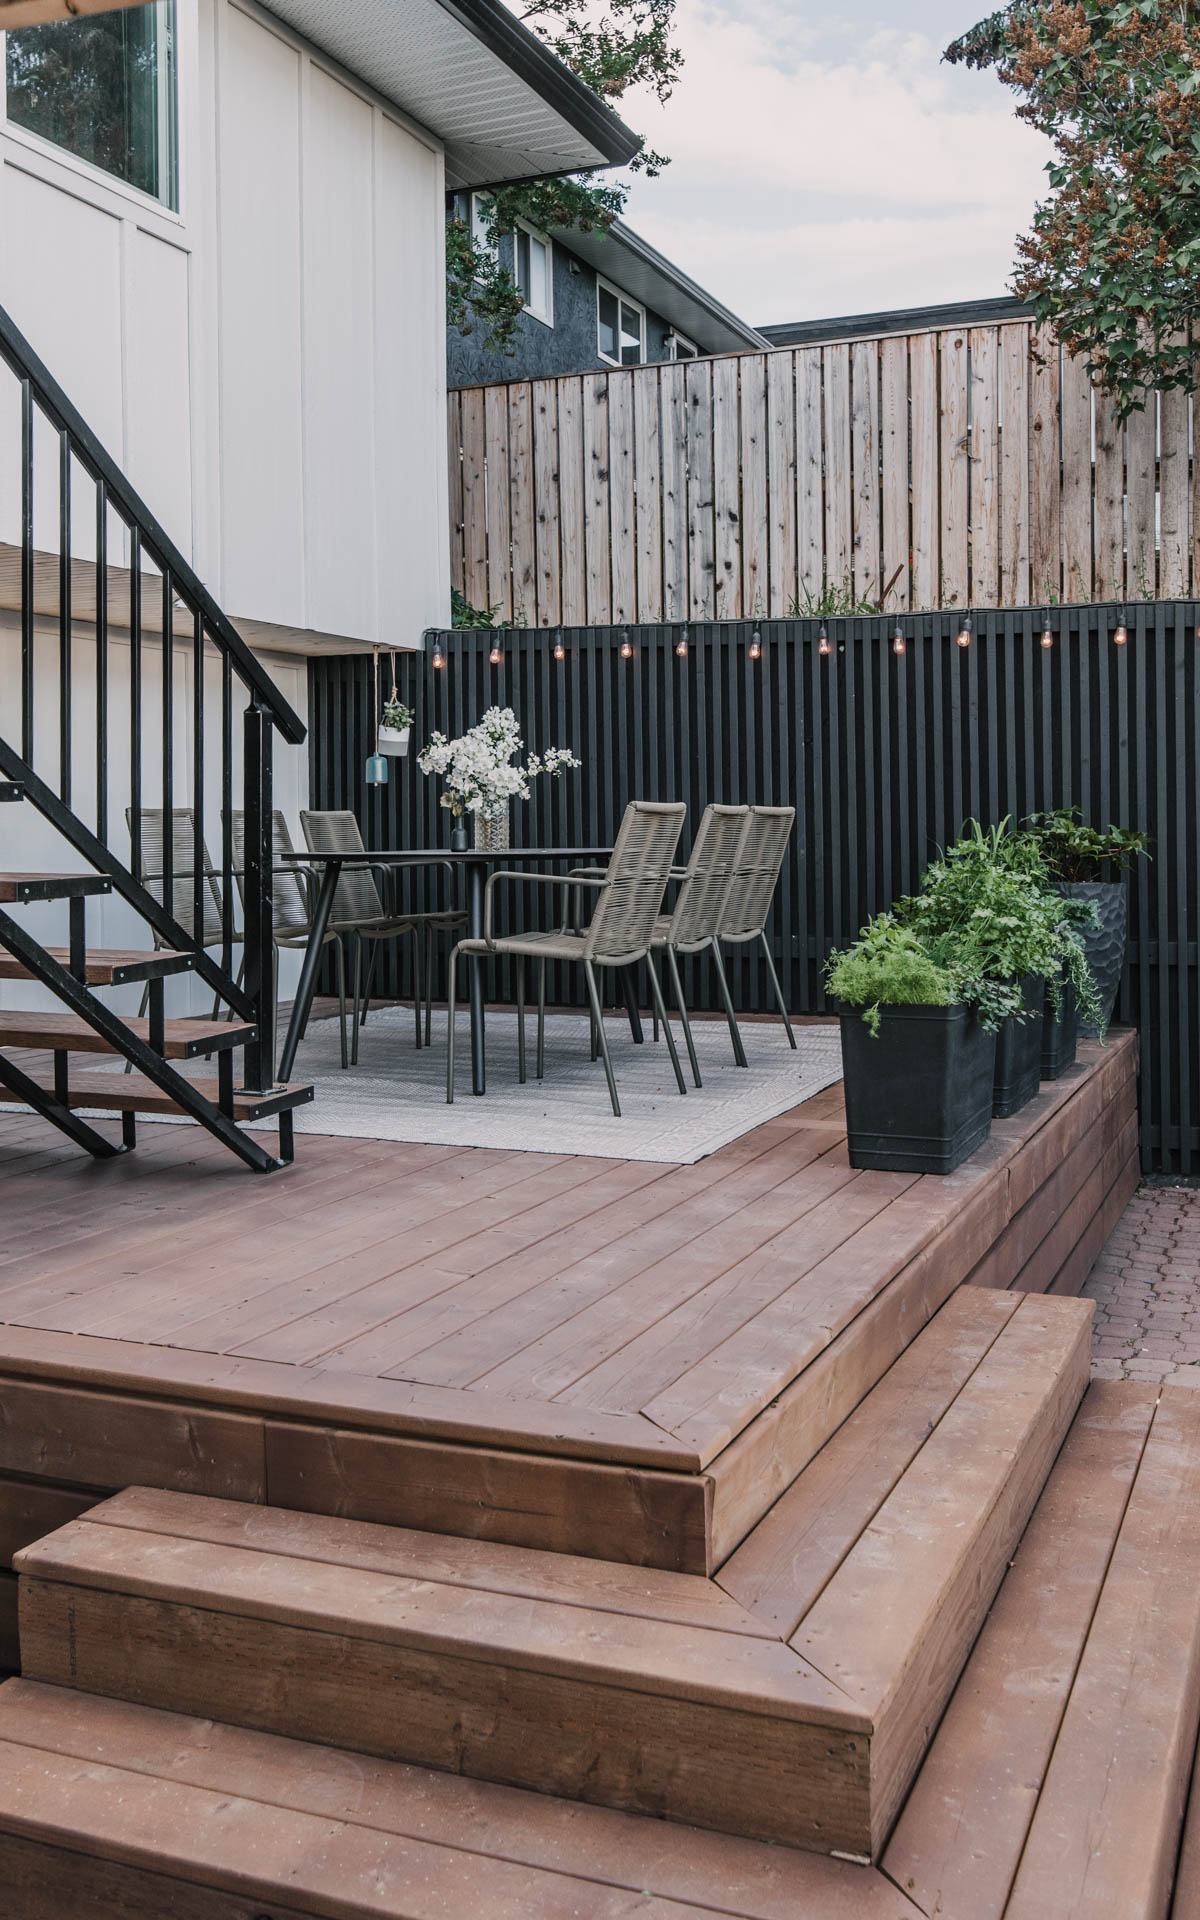
That’s it, you guys! I’m SO impressed with how easy it was and can’t wait to get that fence up top next! Doesn’t it look so aged next to this deck now? And then, when we finish the overhang with pine, we’ll stain that to match. We have to finish running it to the other side of the house then I’ll do that all at once. One step at a time around here!
Hope this helps take away some of the intimidation around using a paint sprayer with stain for you!

 How I Edit Phone Photos
Leave a Reply